Making of FirePad64 - Joystick Replacement for Commodore 64

Making Of / 27 June 2019

Artstation Project Page: https://www.artstation.com/artwork/xzwa3r 

Hello!

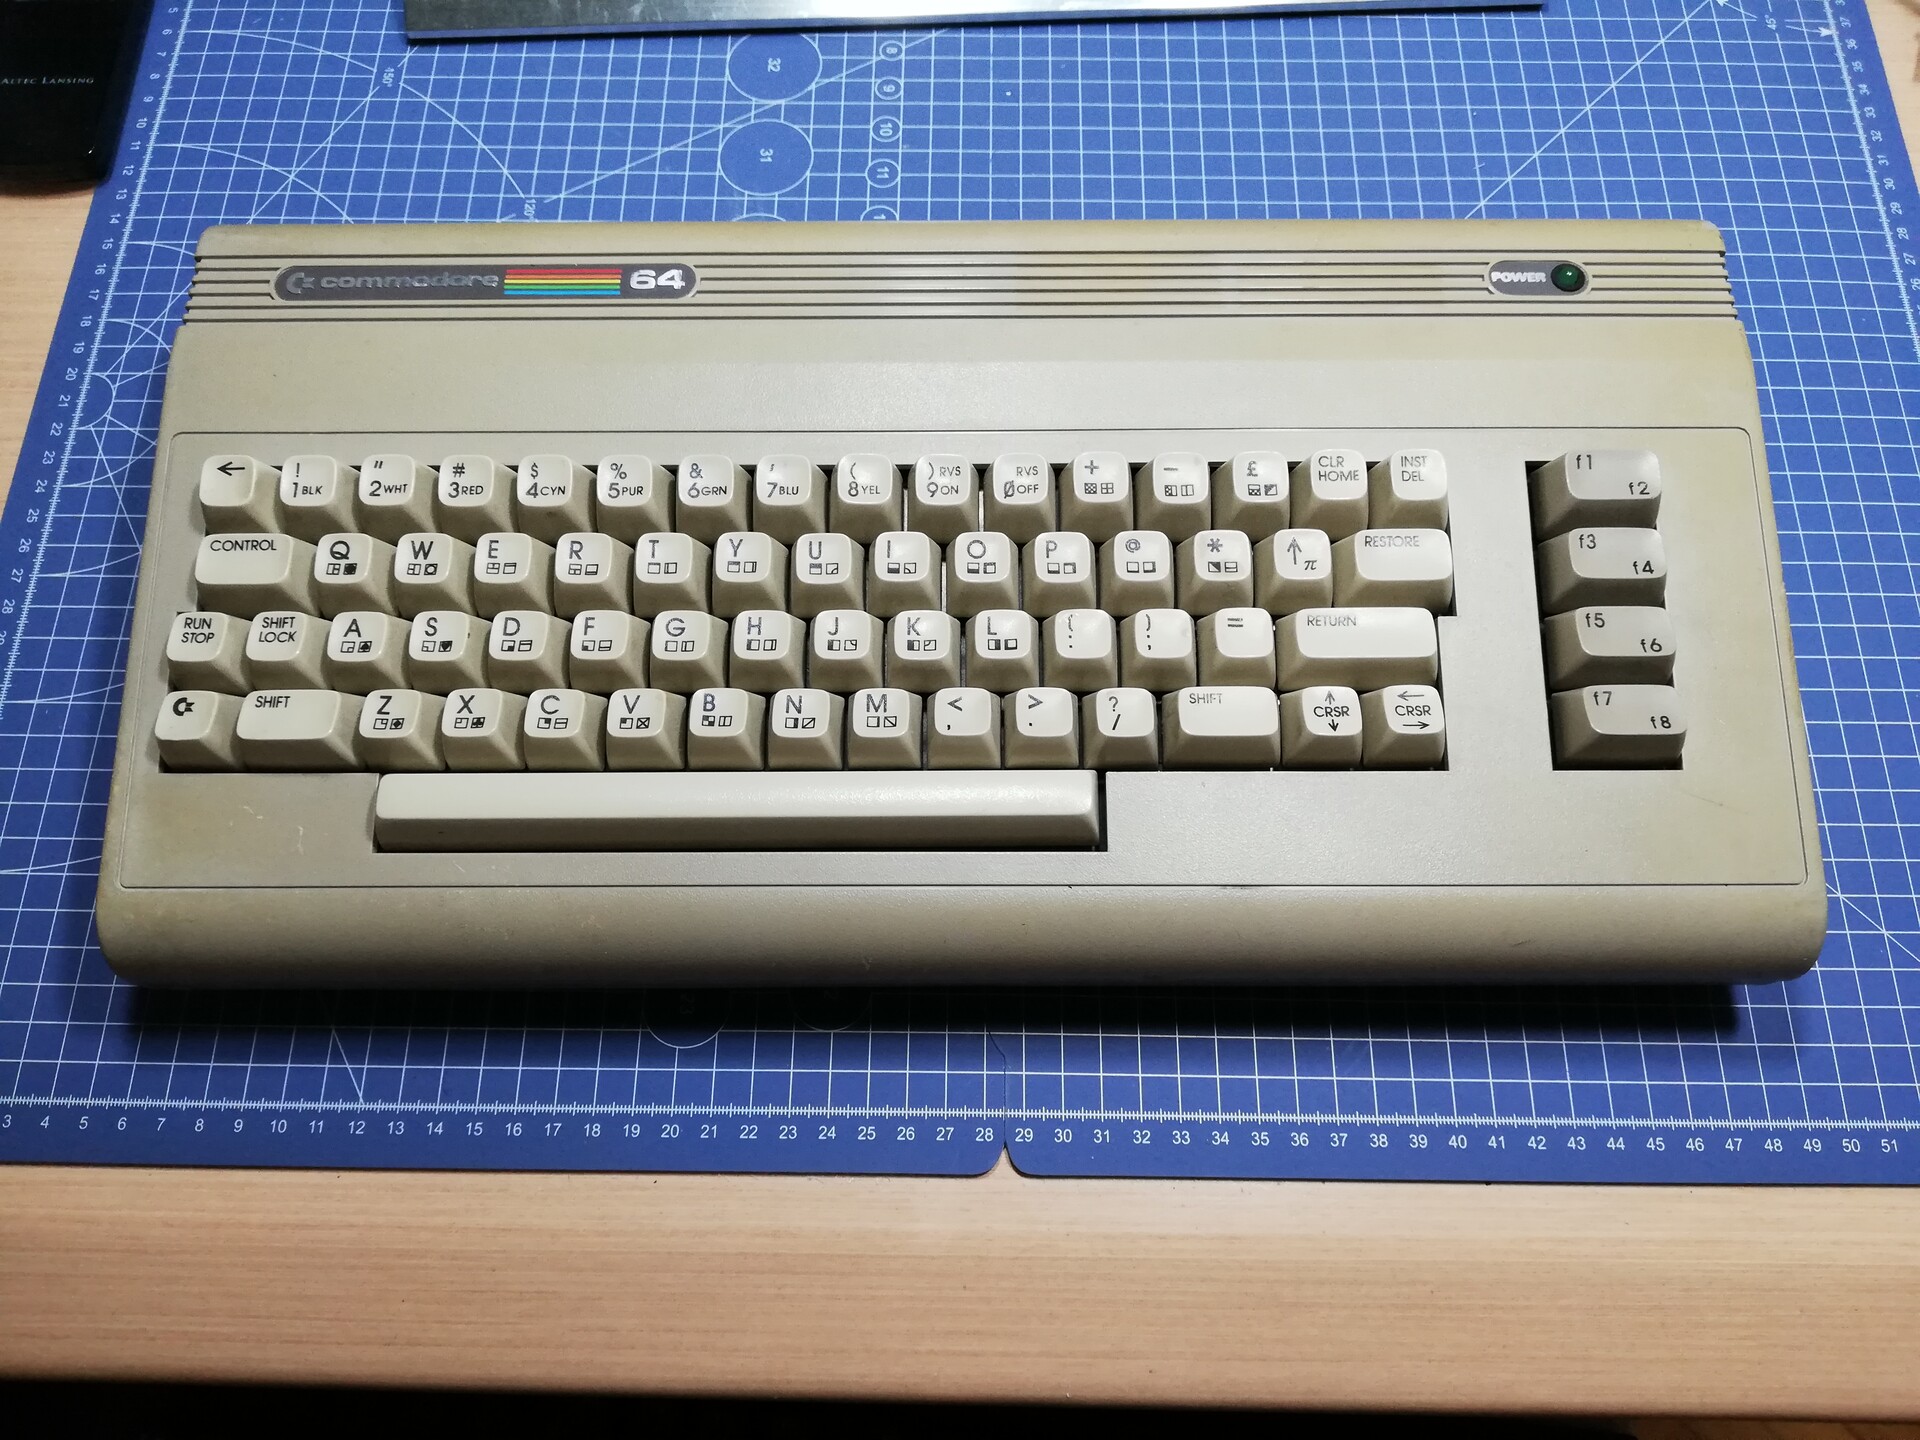
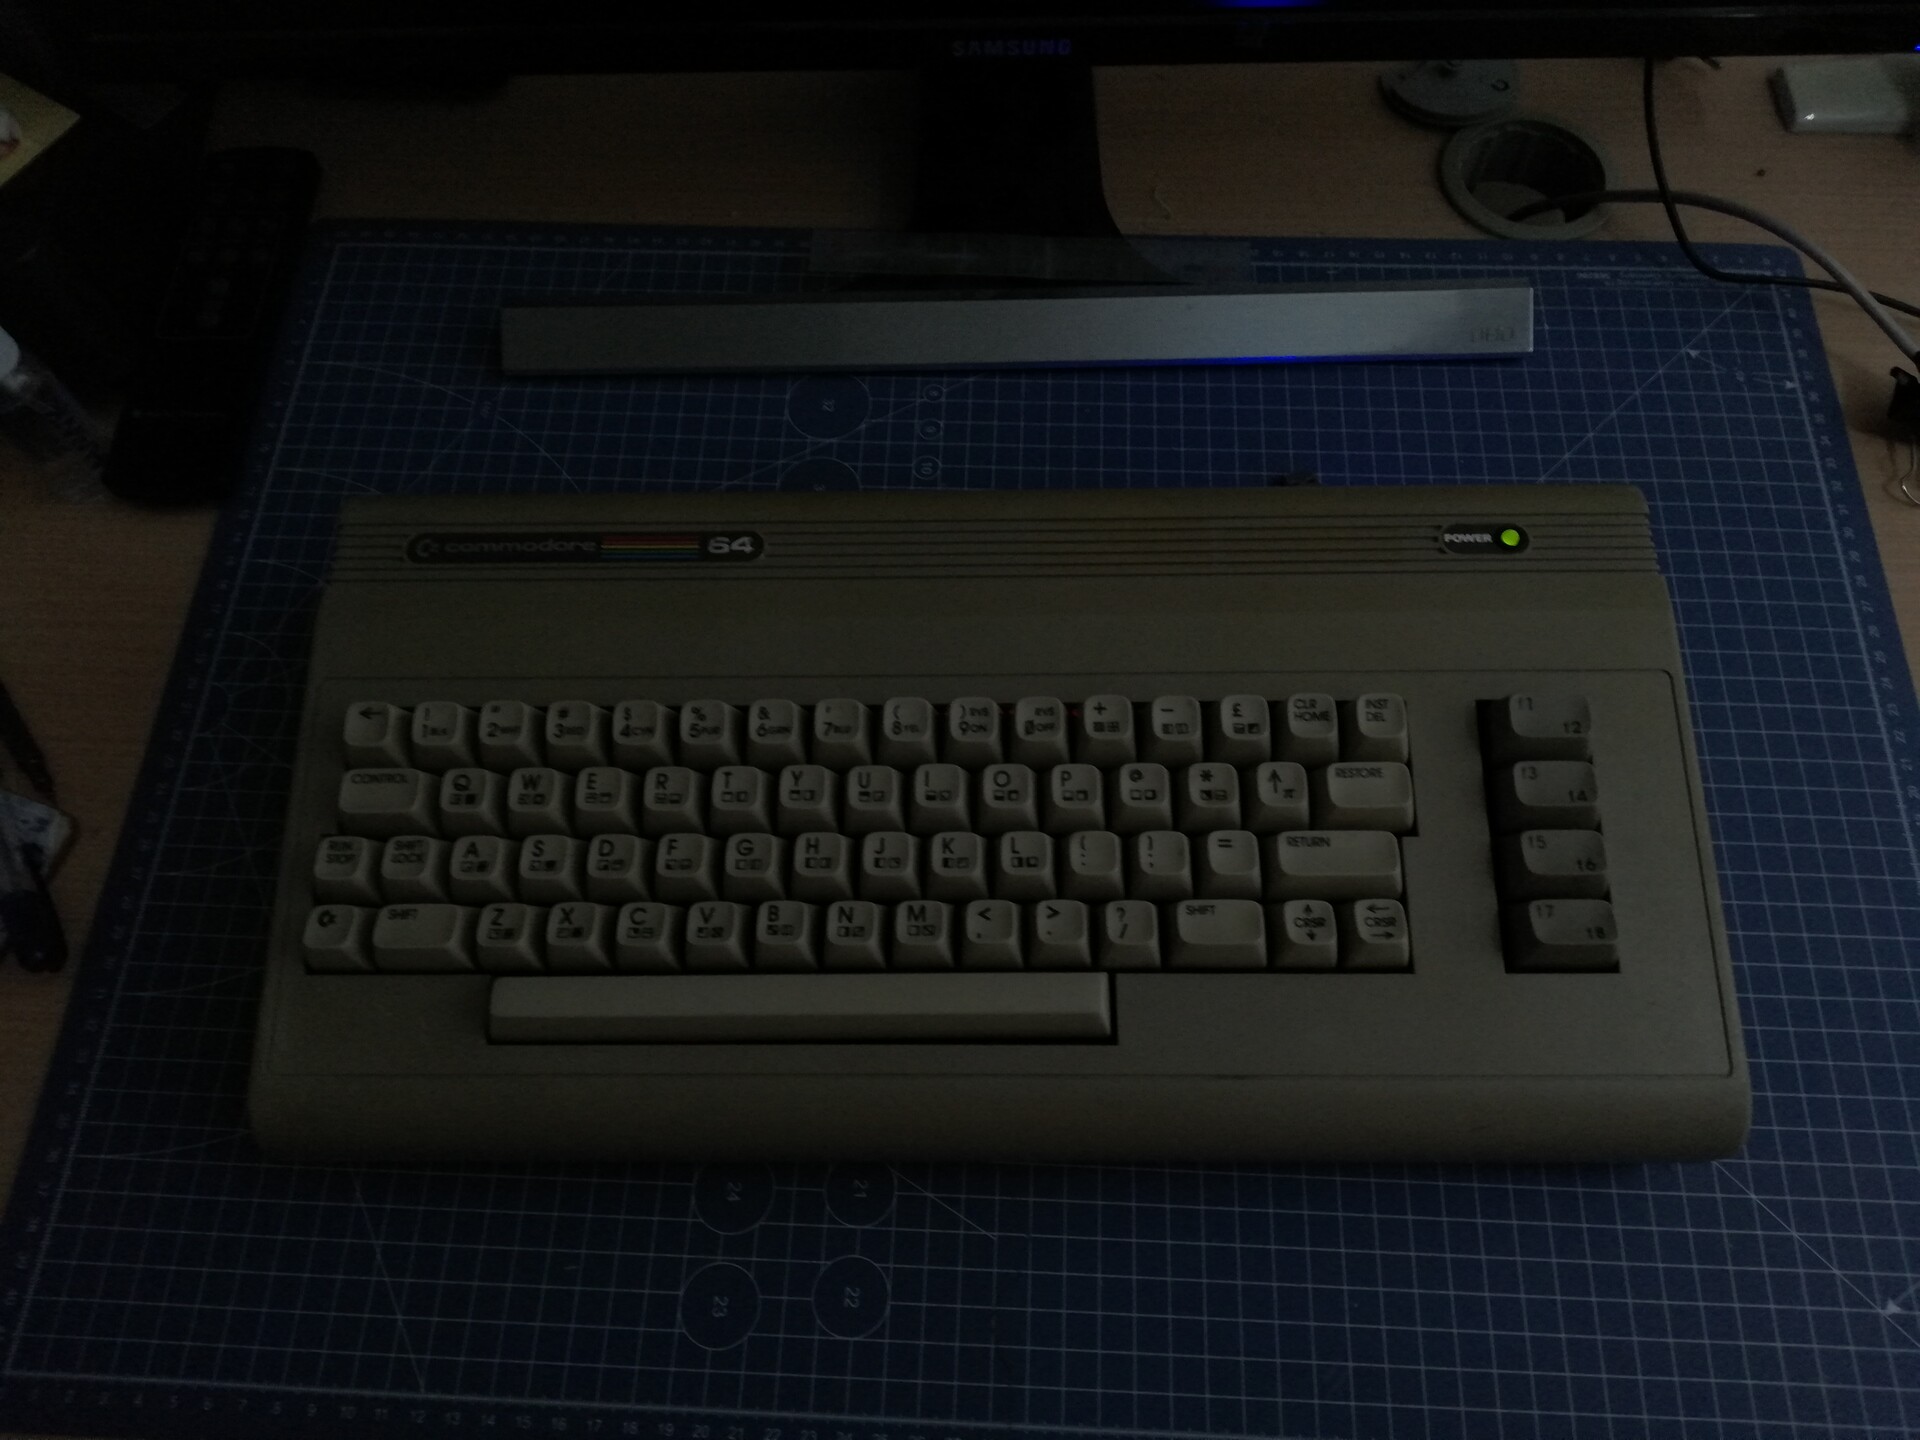
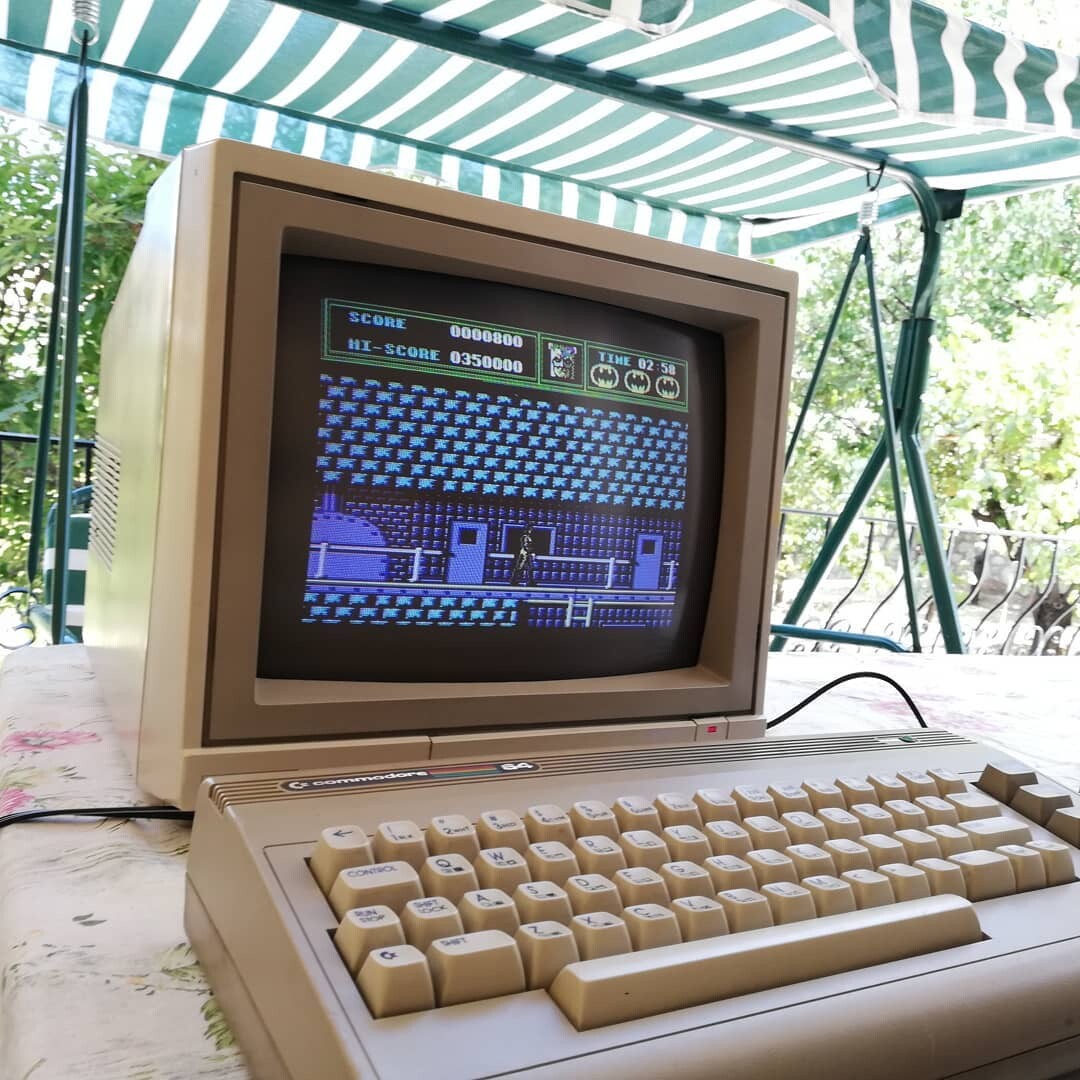
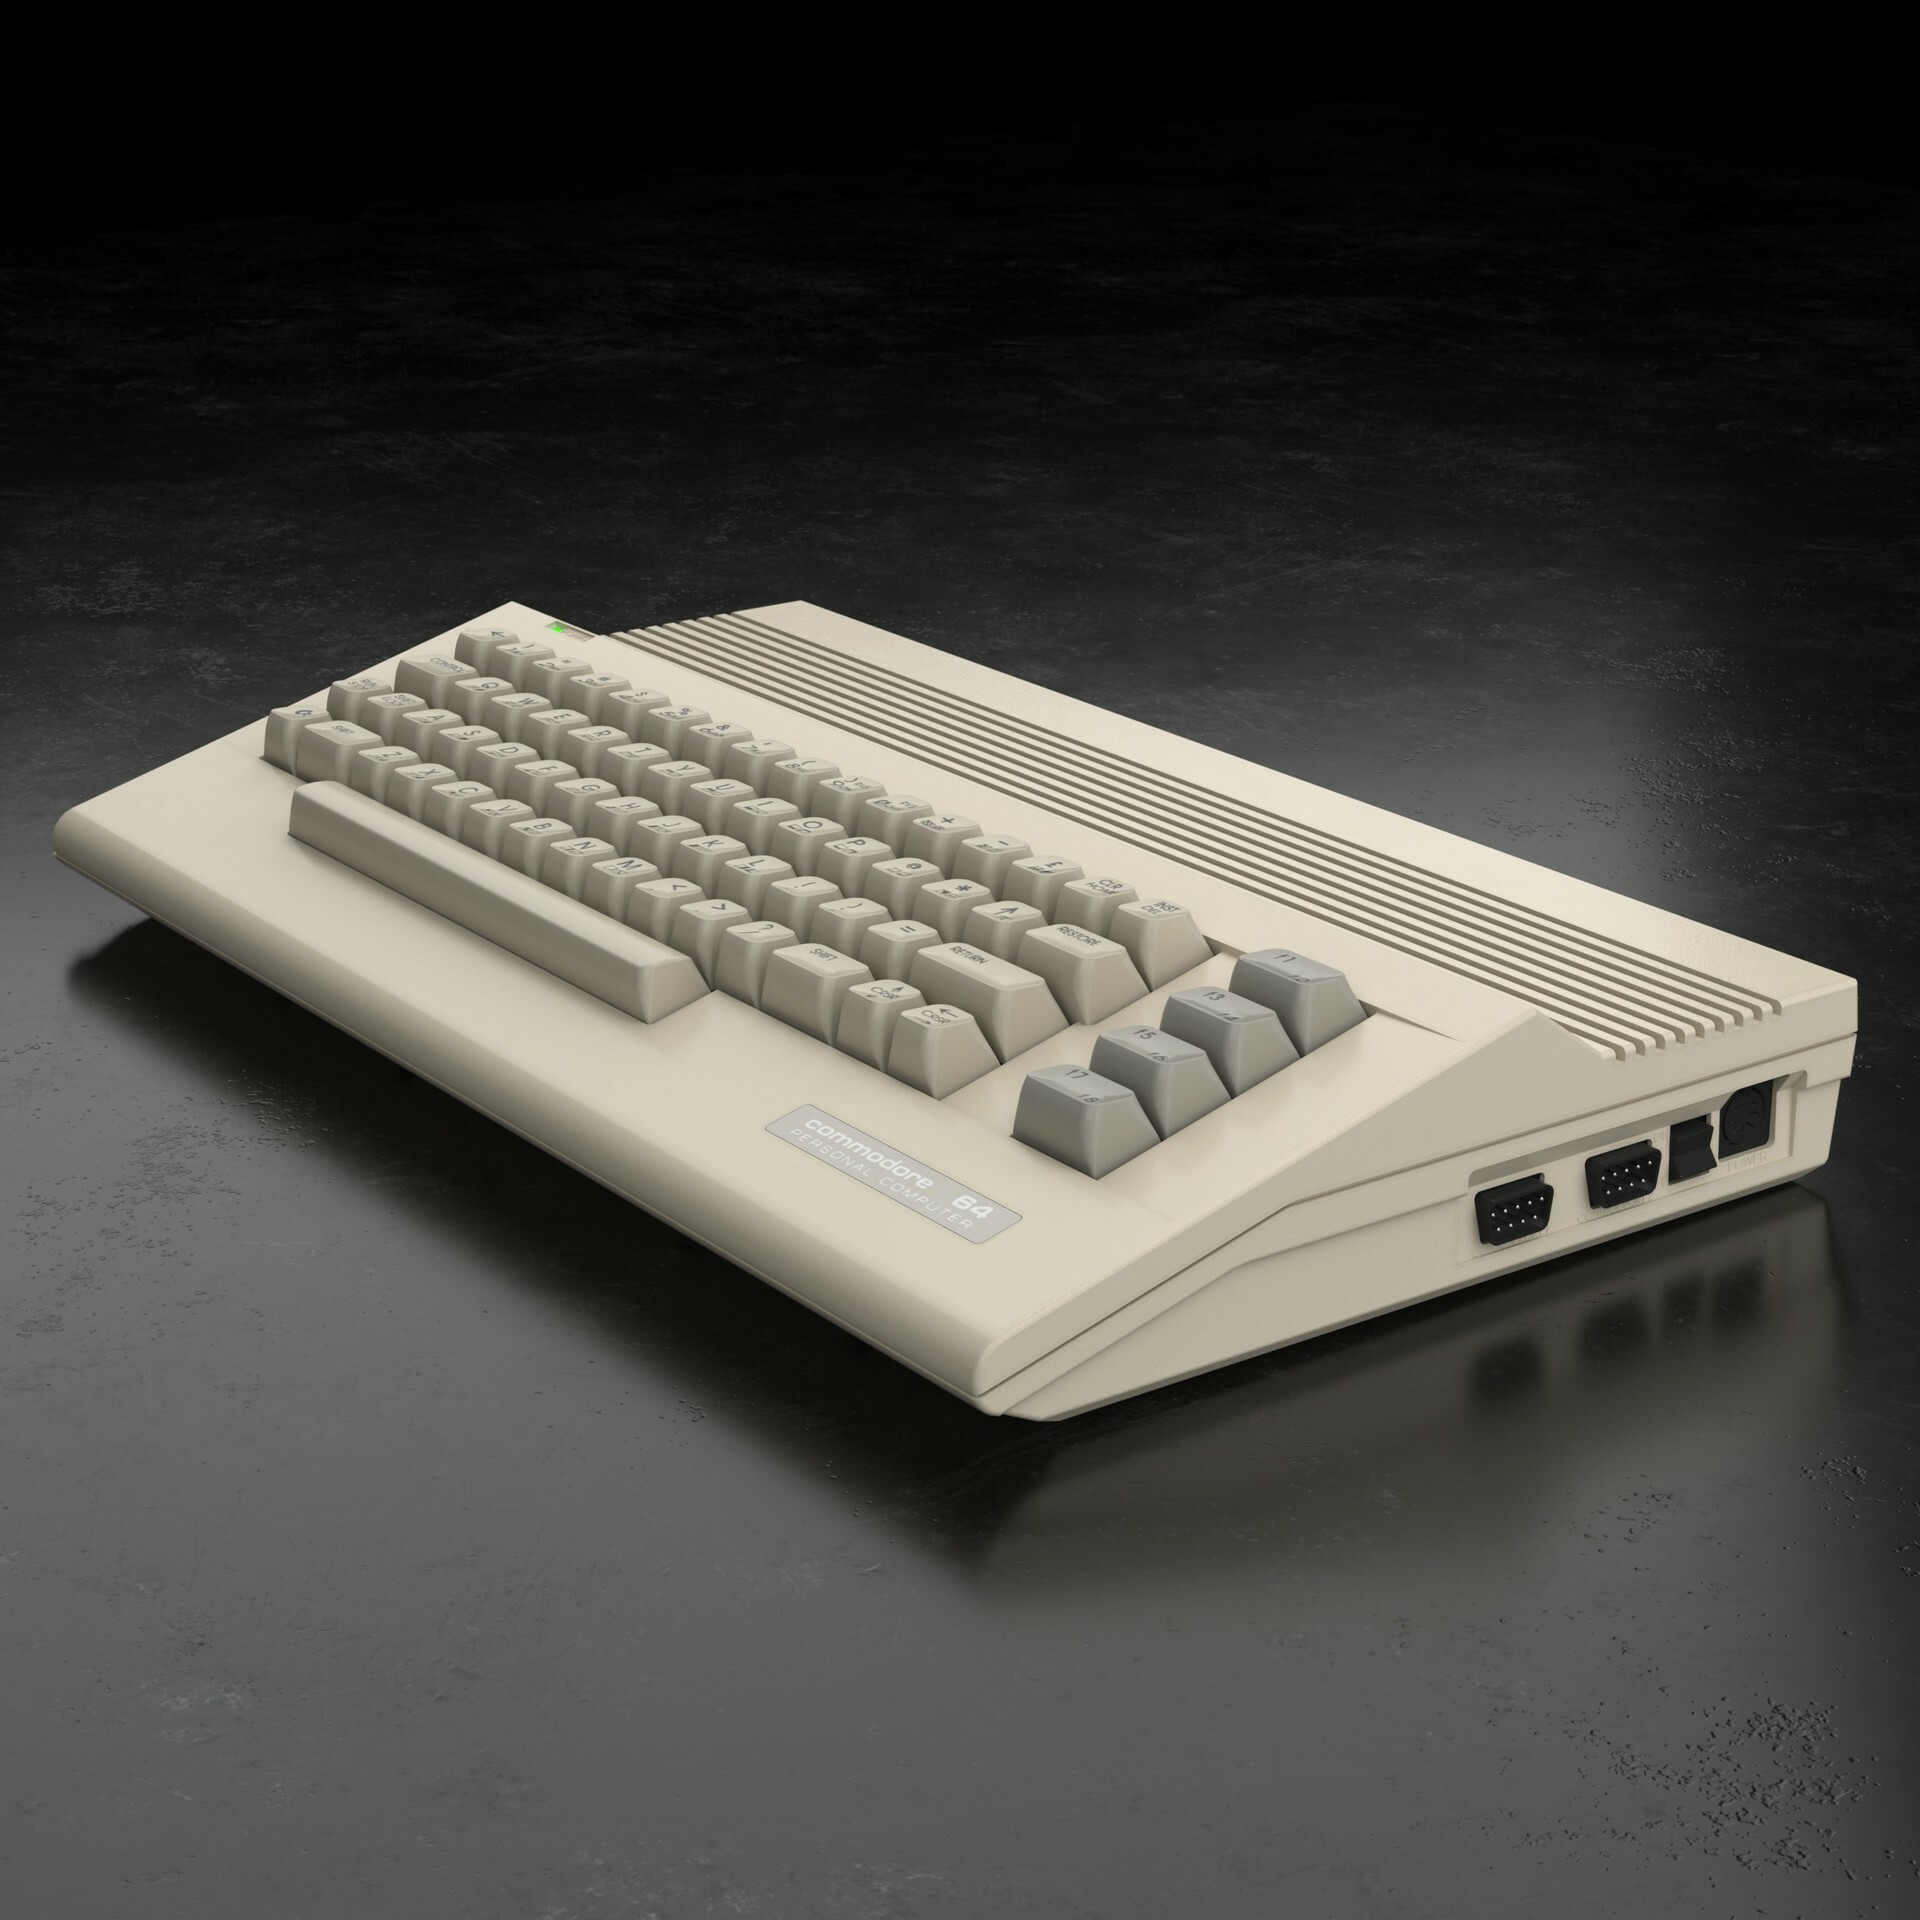
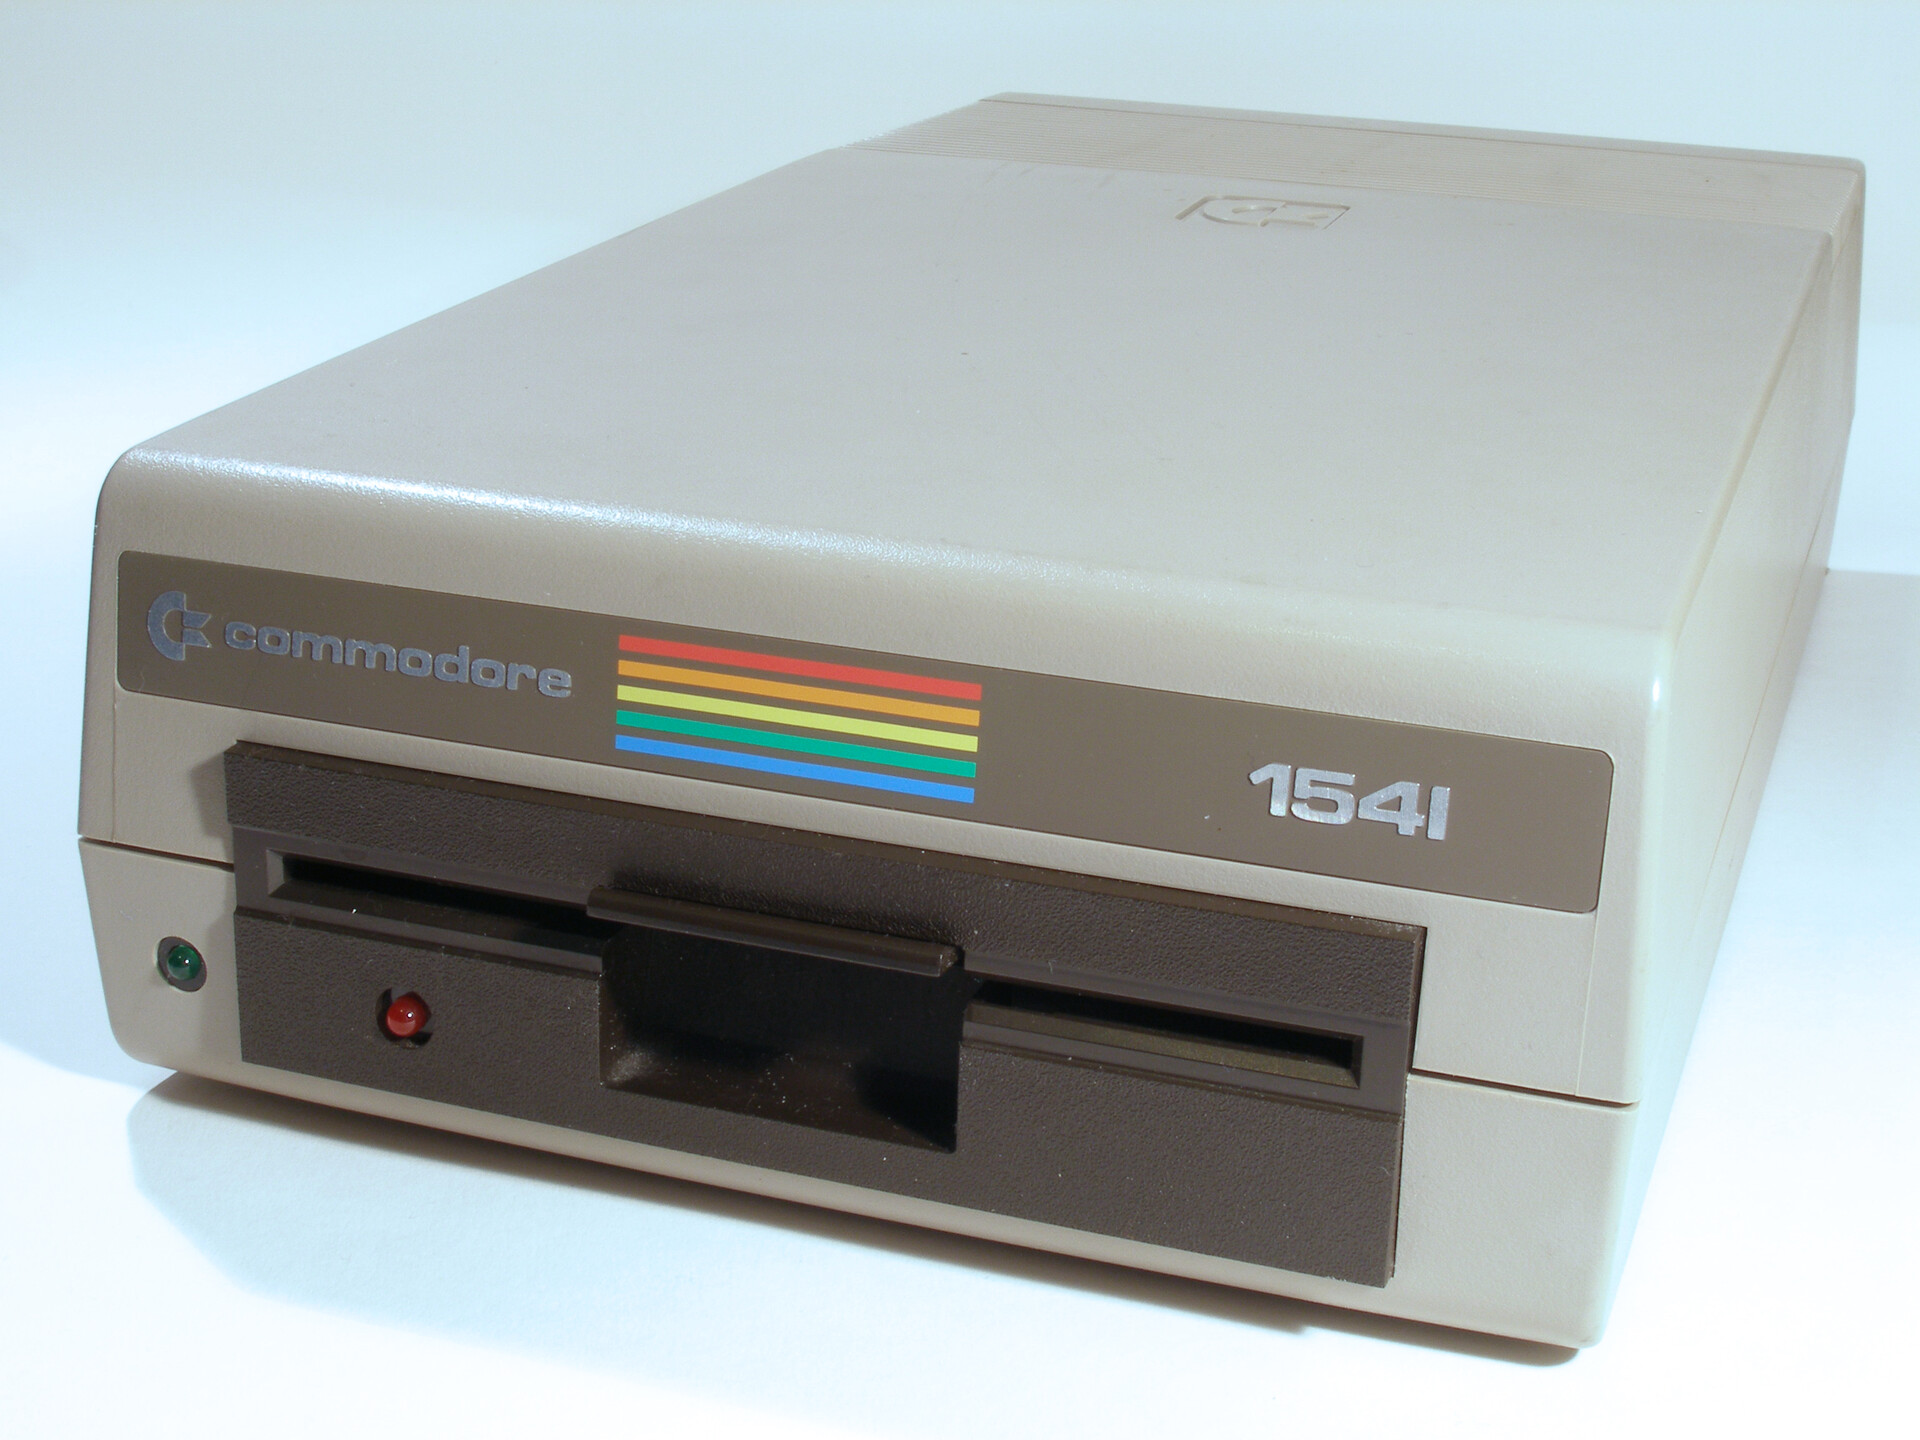
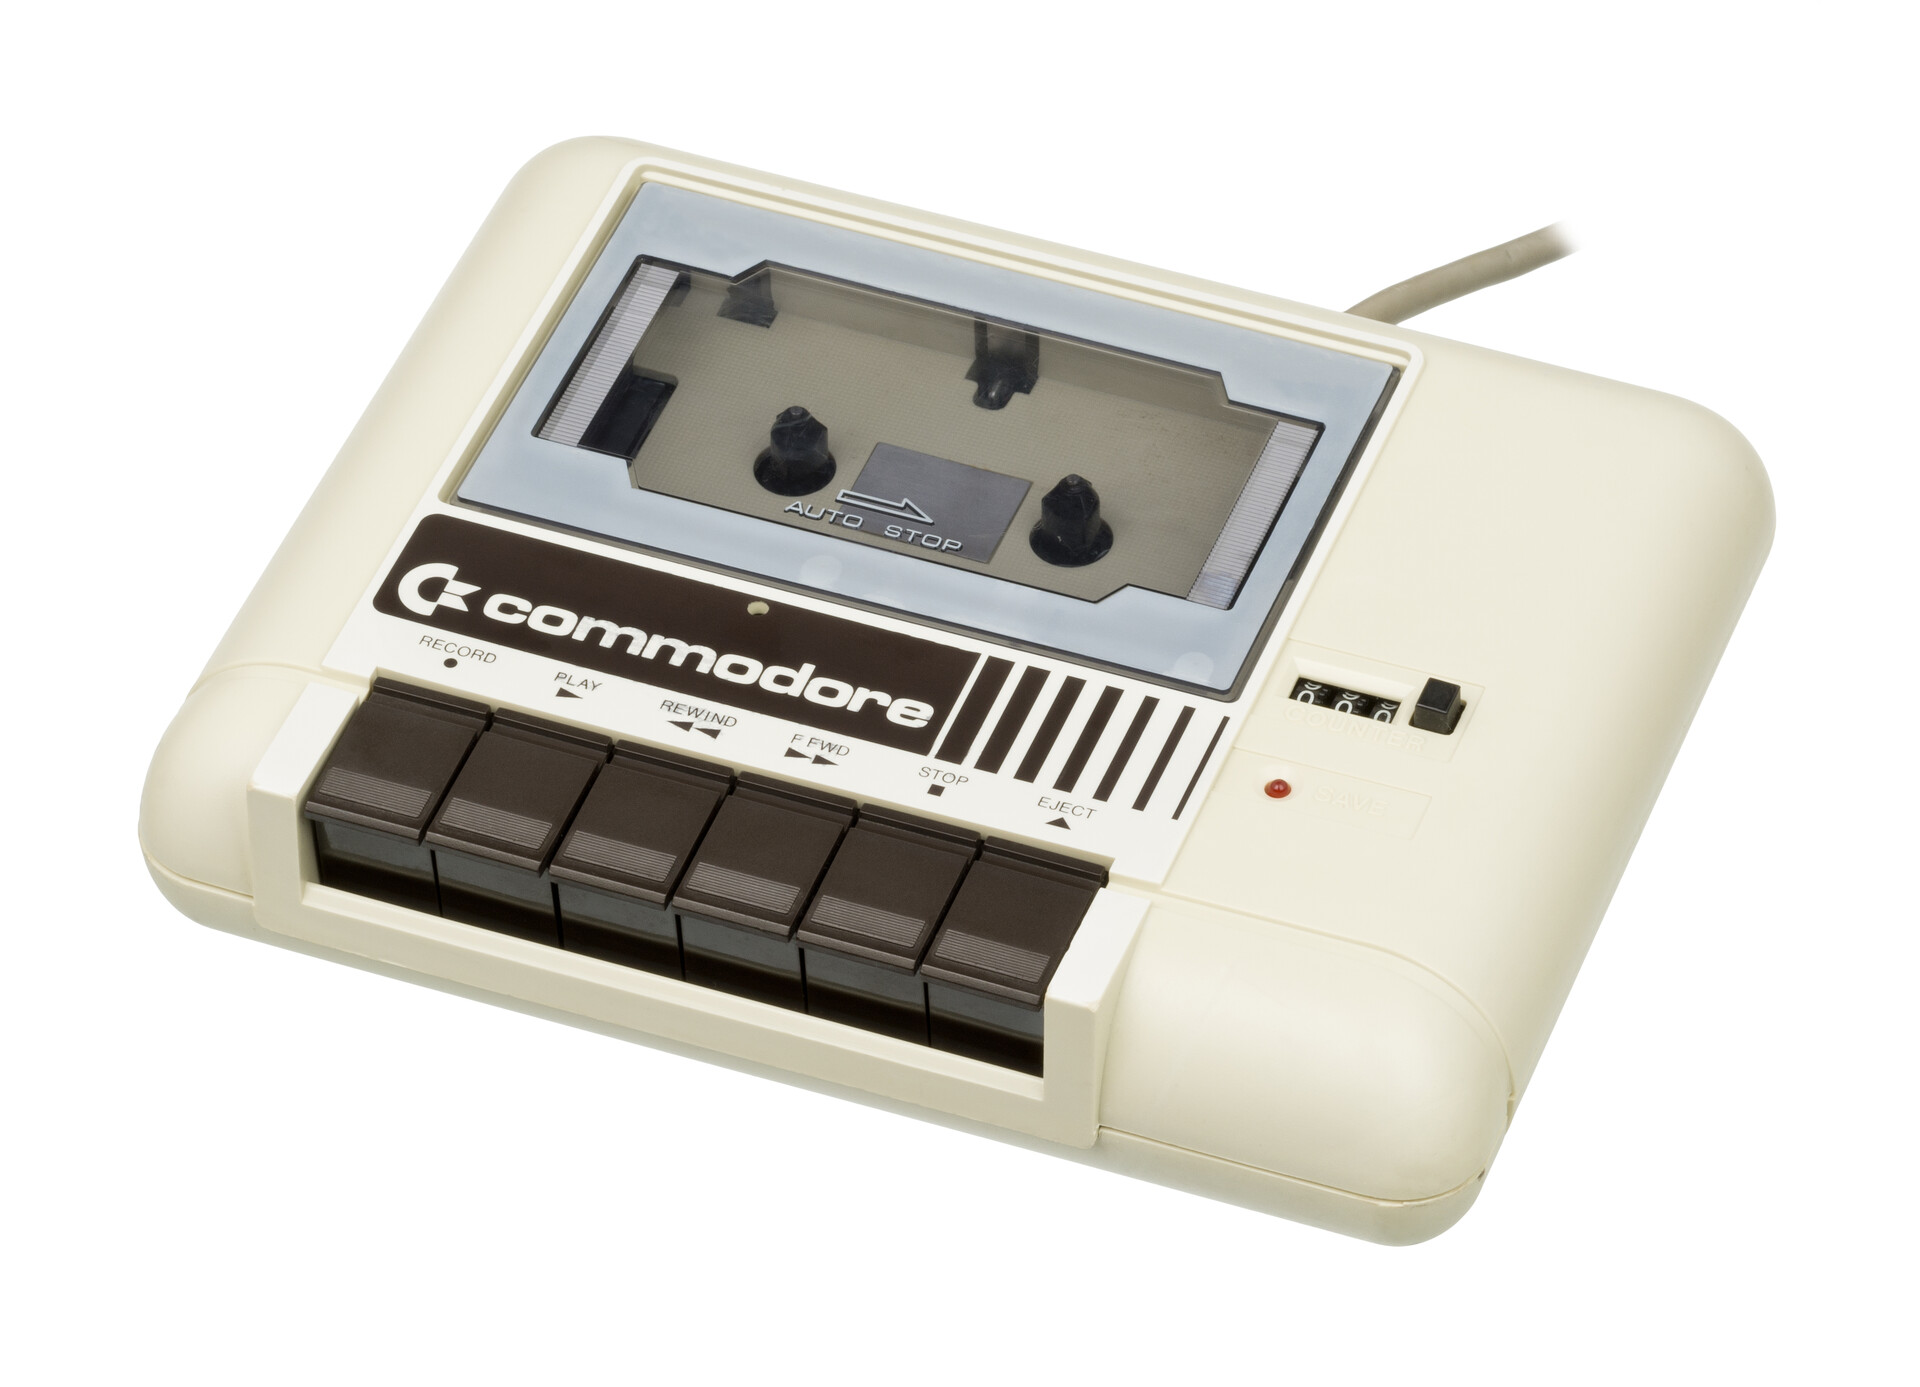
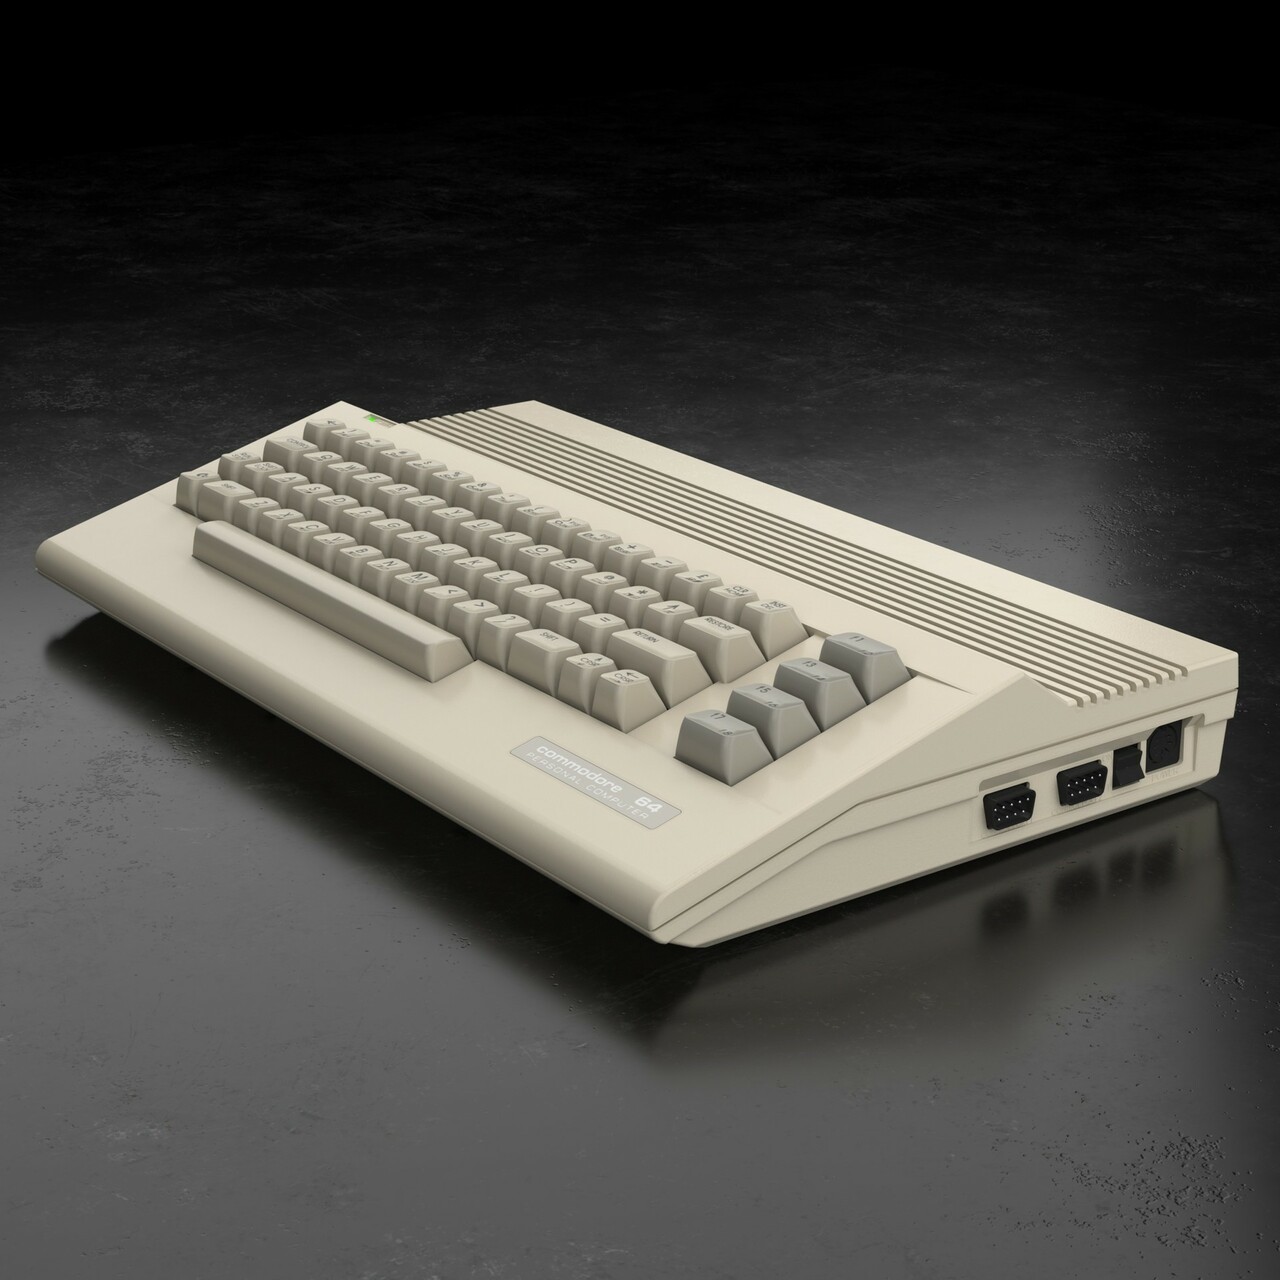
Lately as a hobbyist, I got into electronics in basic level. This time I made a keypad for joystick replacement for my Commodore 64. 

Joysticks are hard to use on many games since we got used to keyboard and gamepad use by PC and console gaming. So I tried to create a device to be used on joystick ports and will work as a keyboard arrow key arrangement.

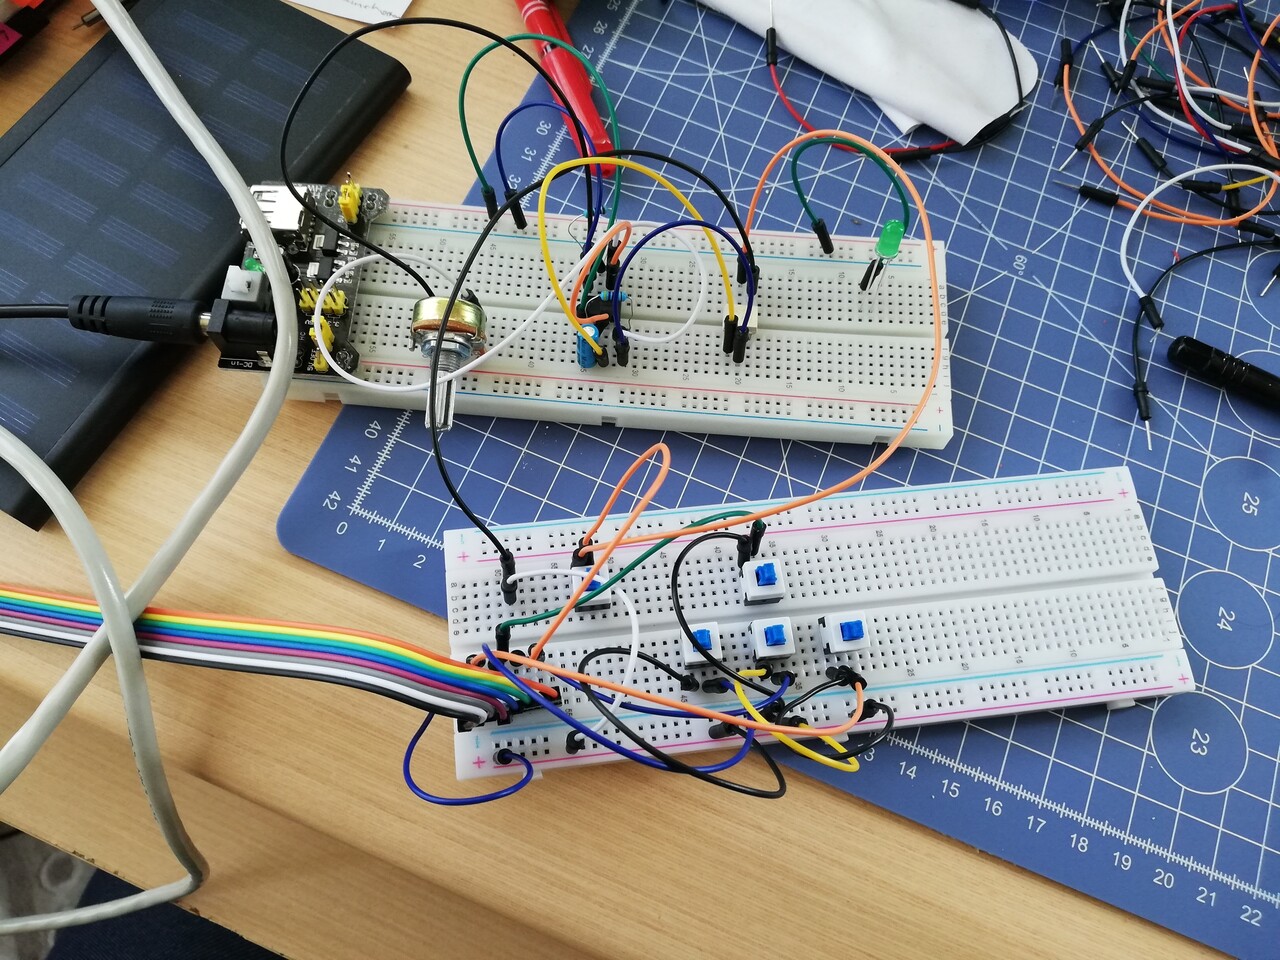
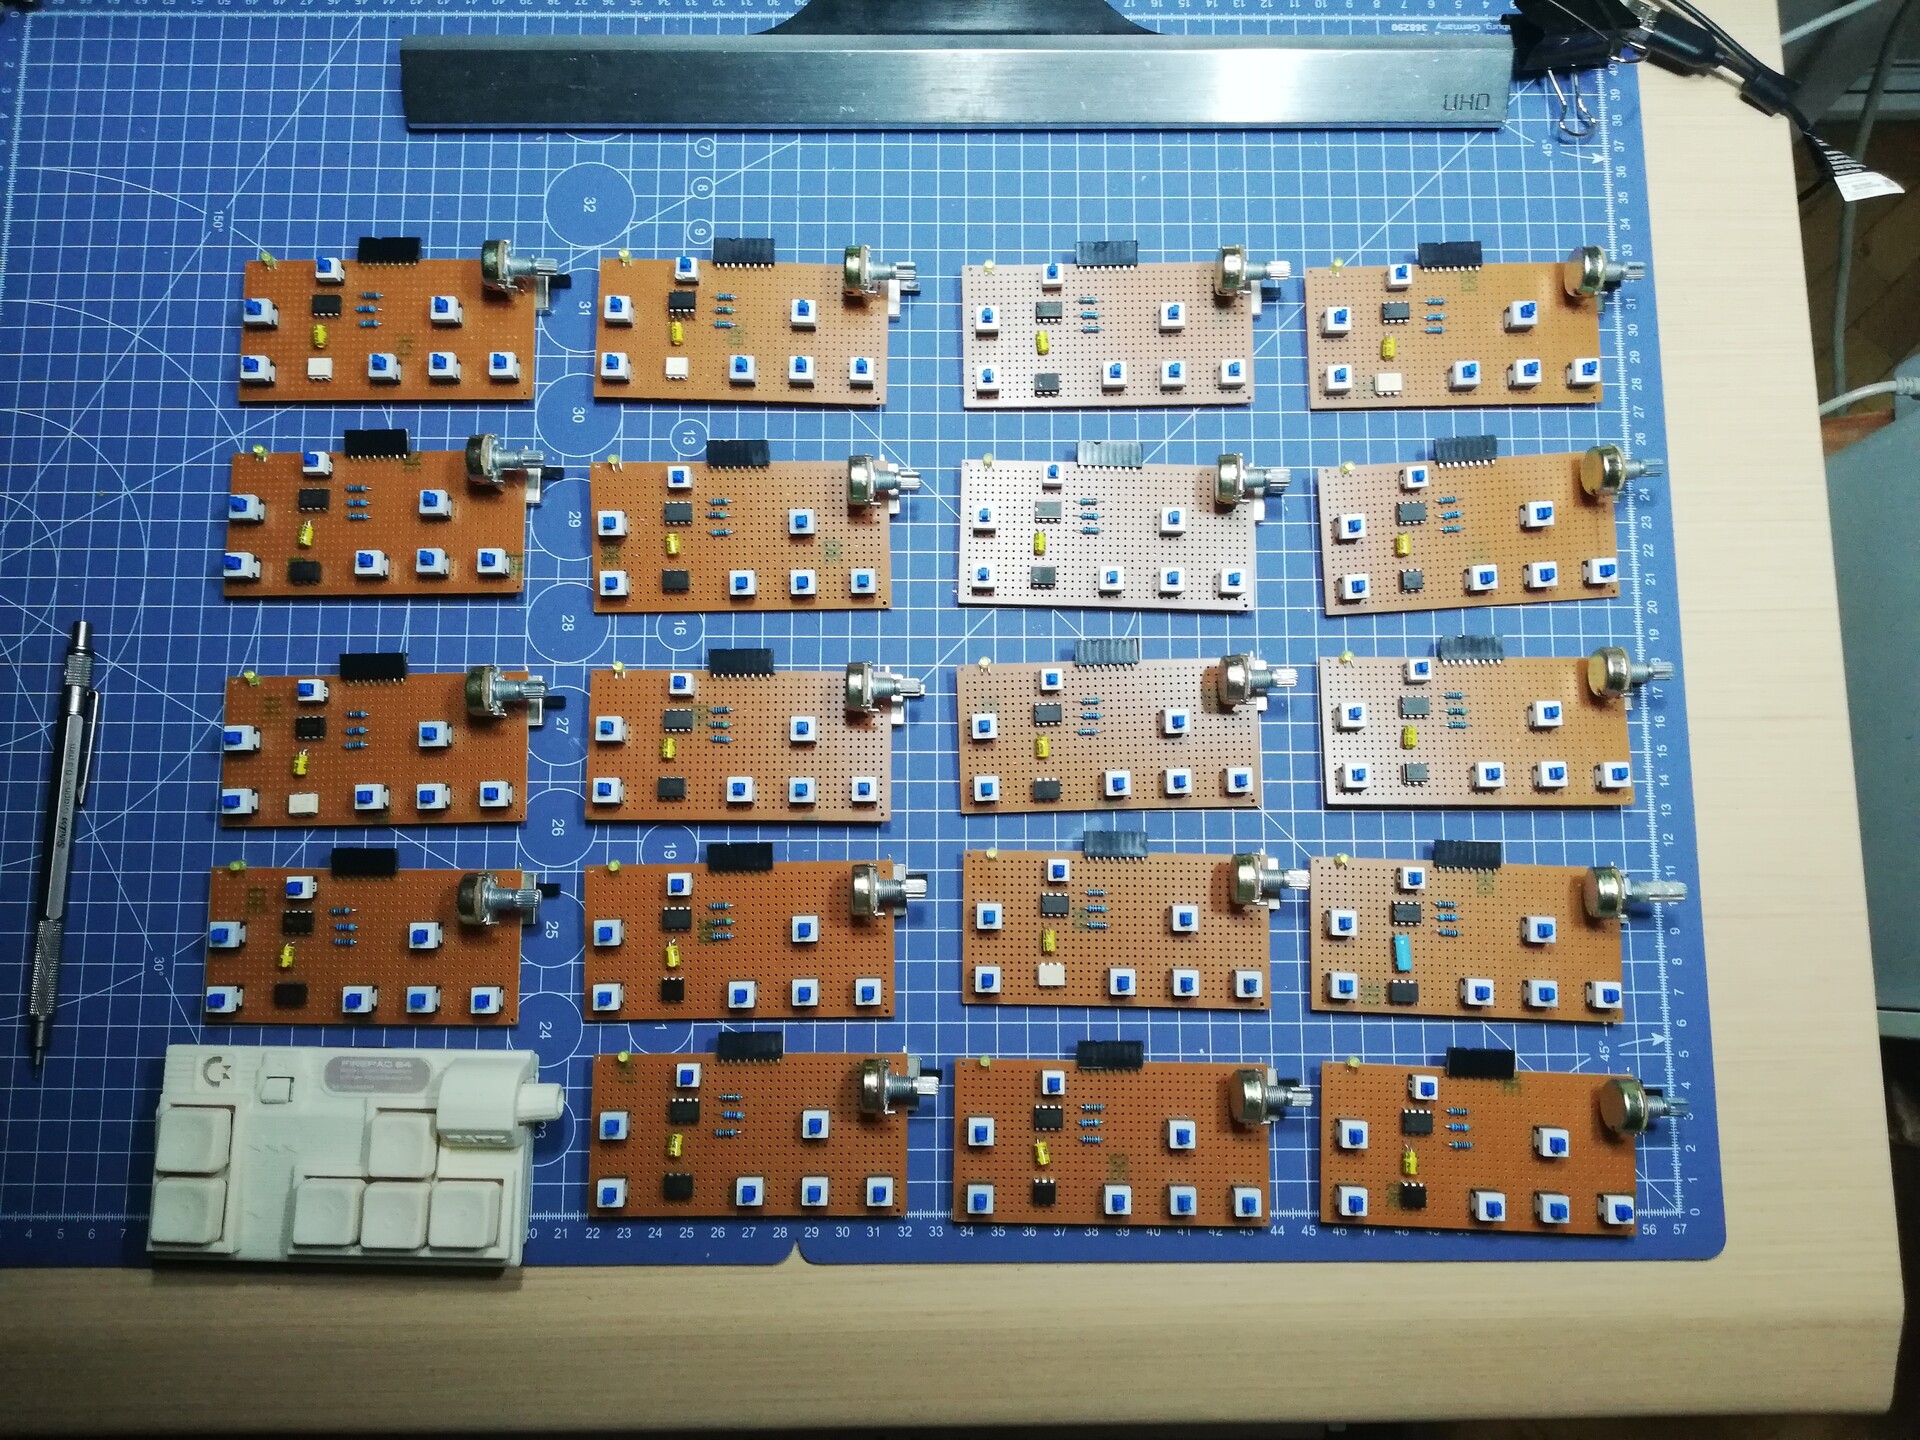
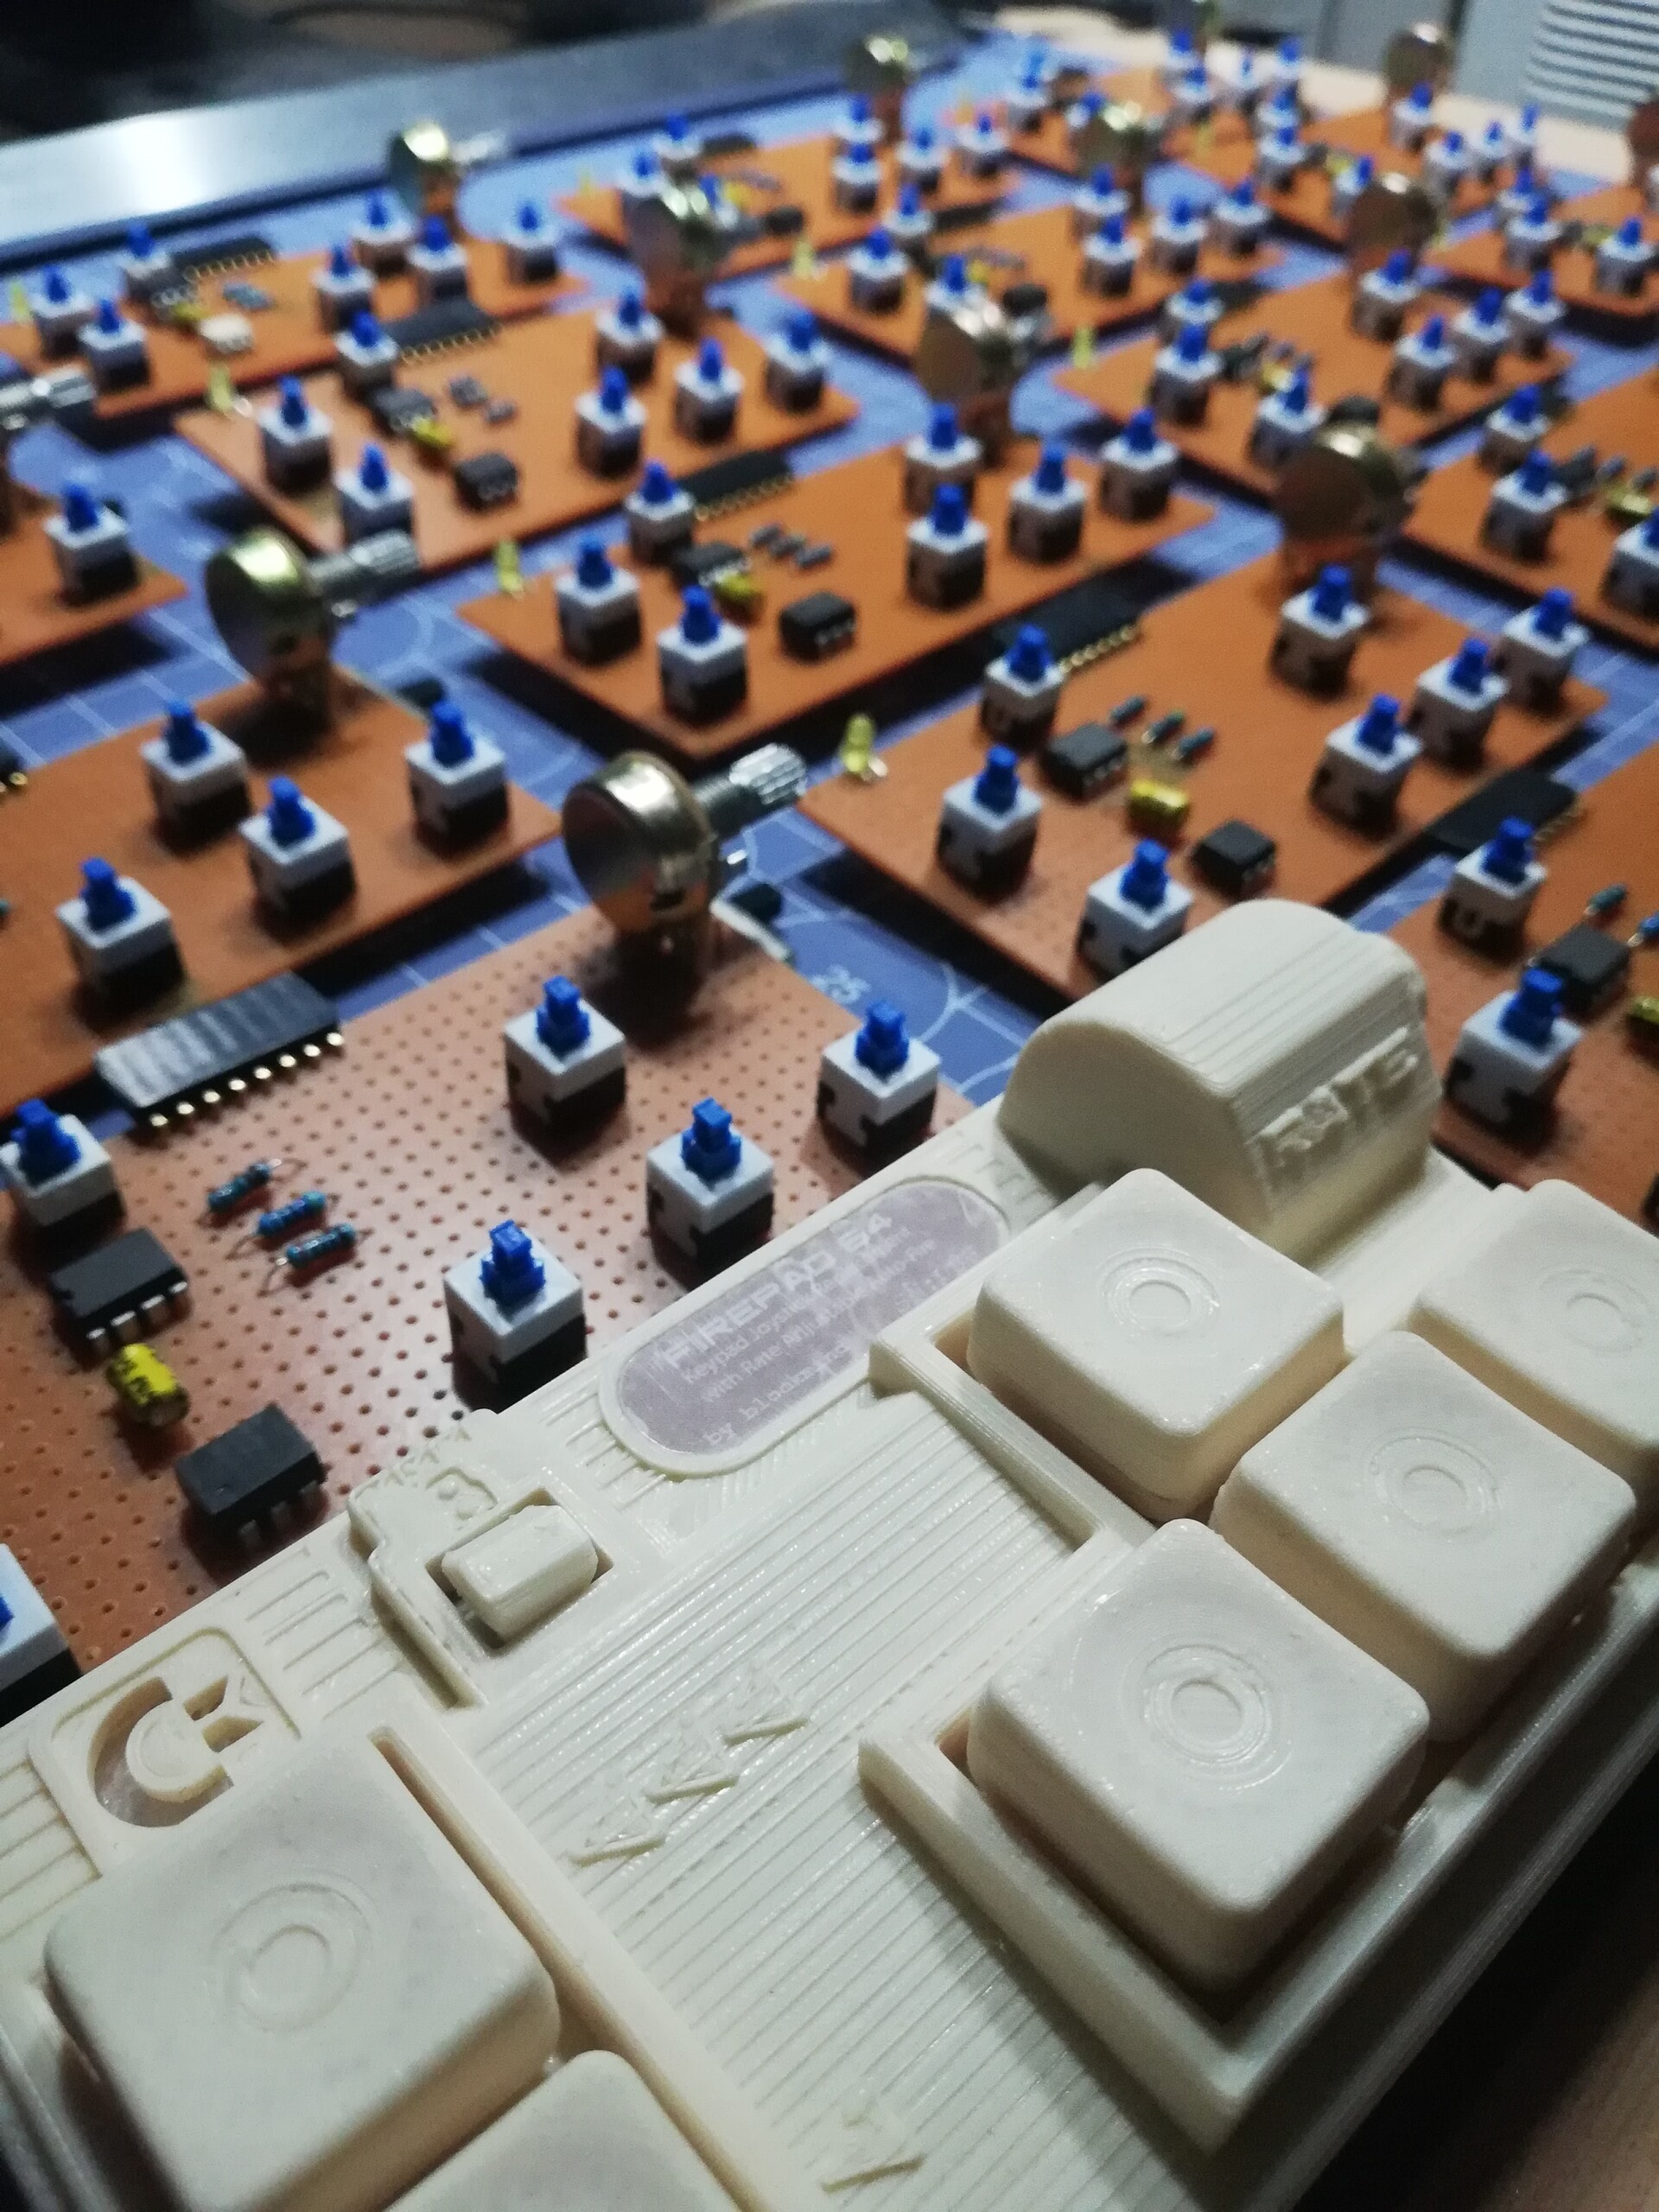
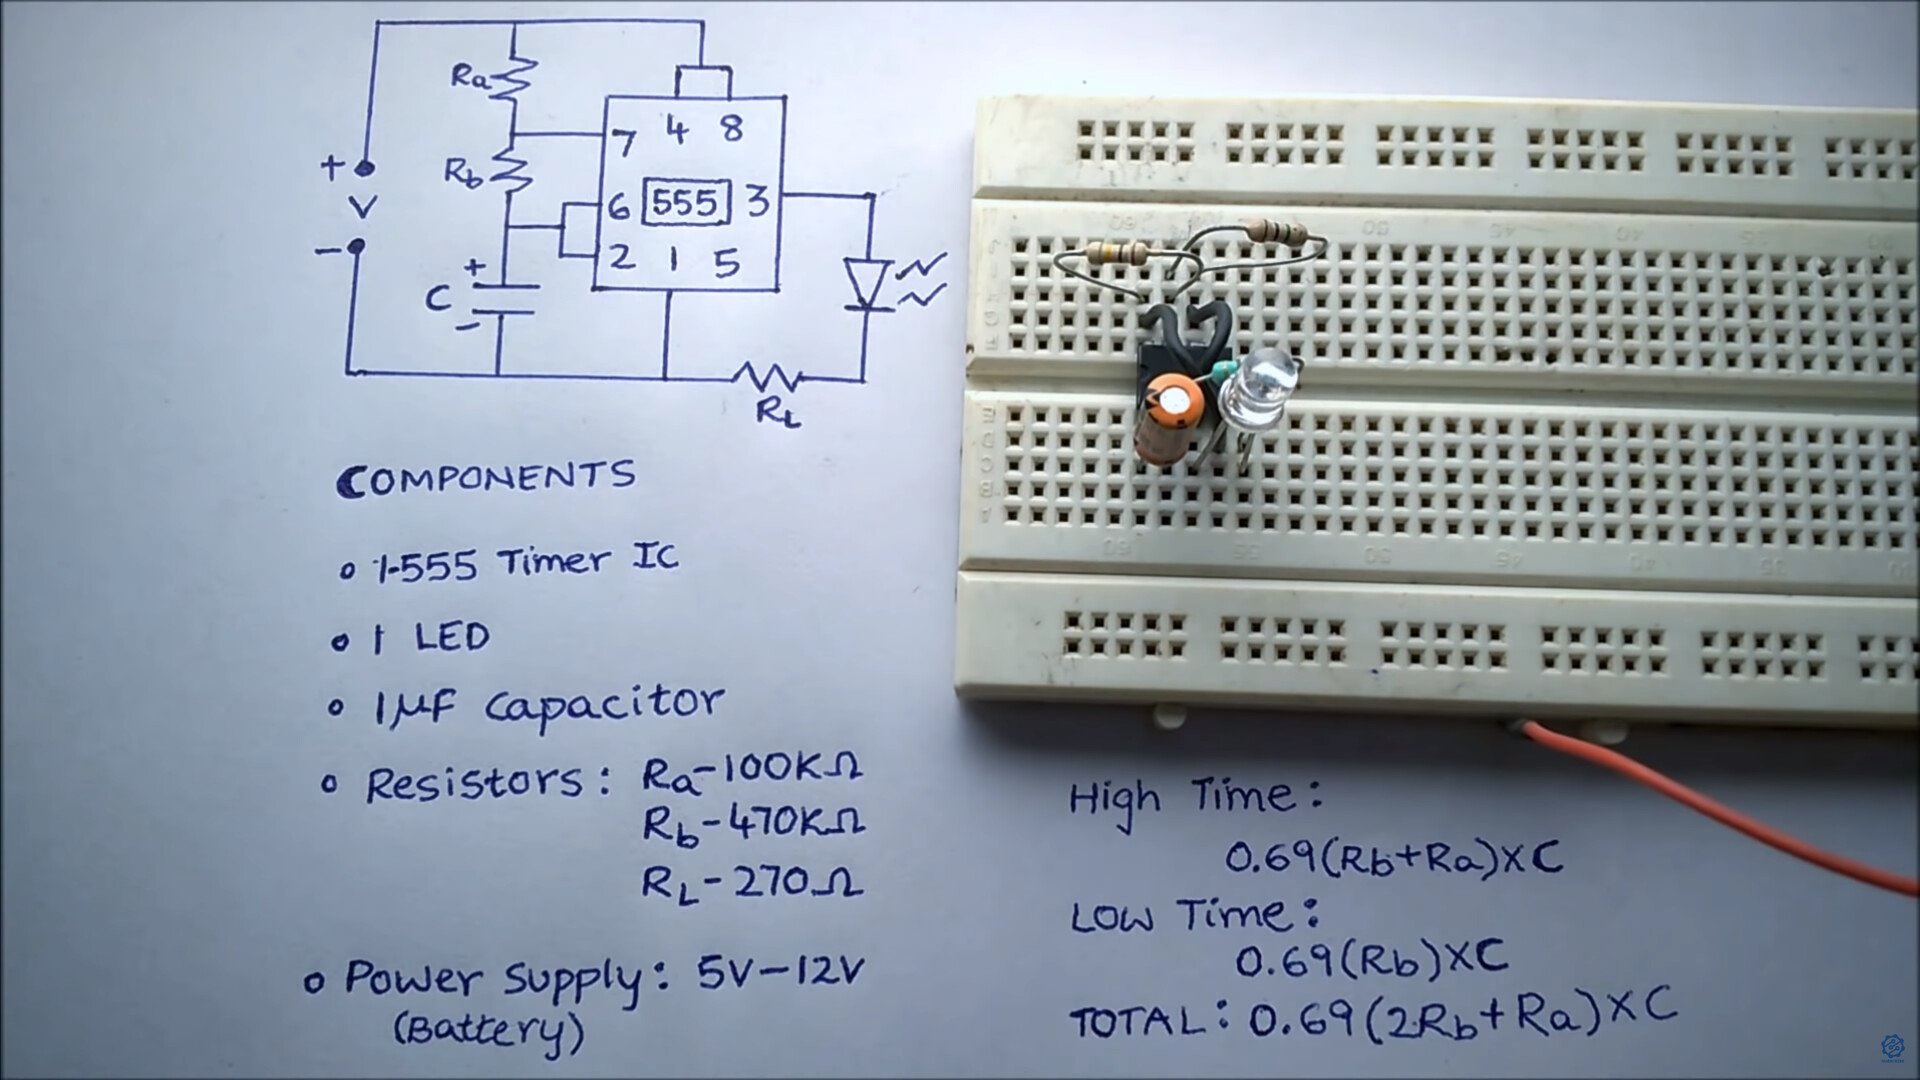
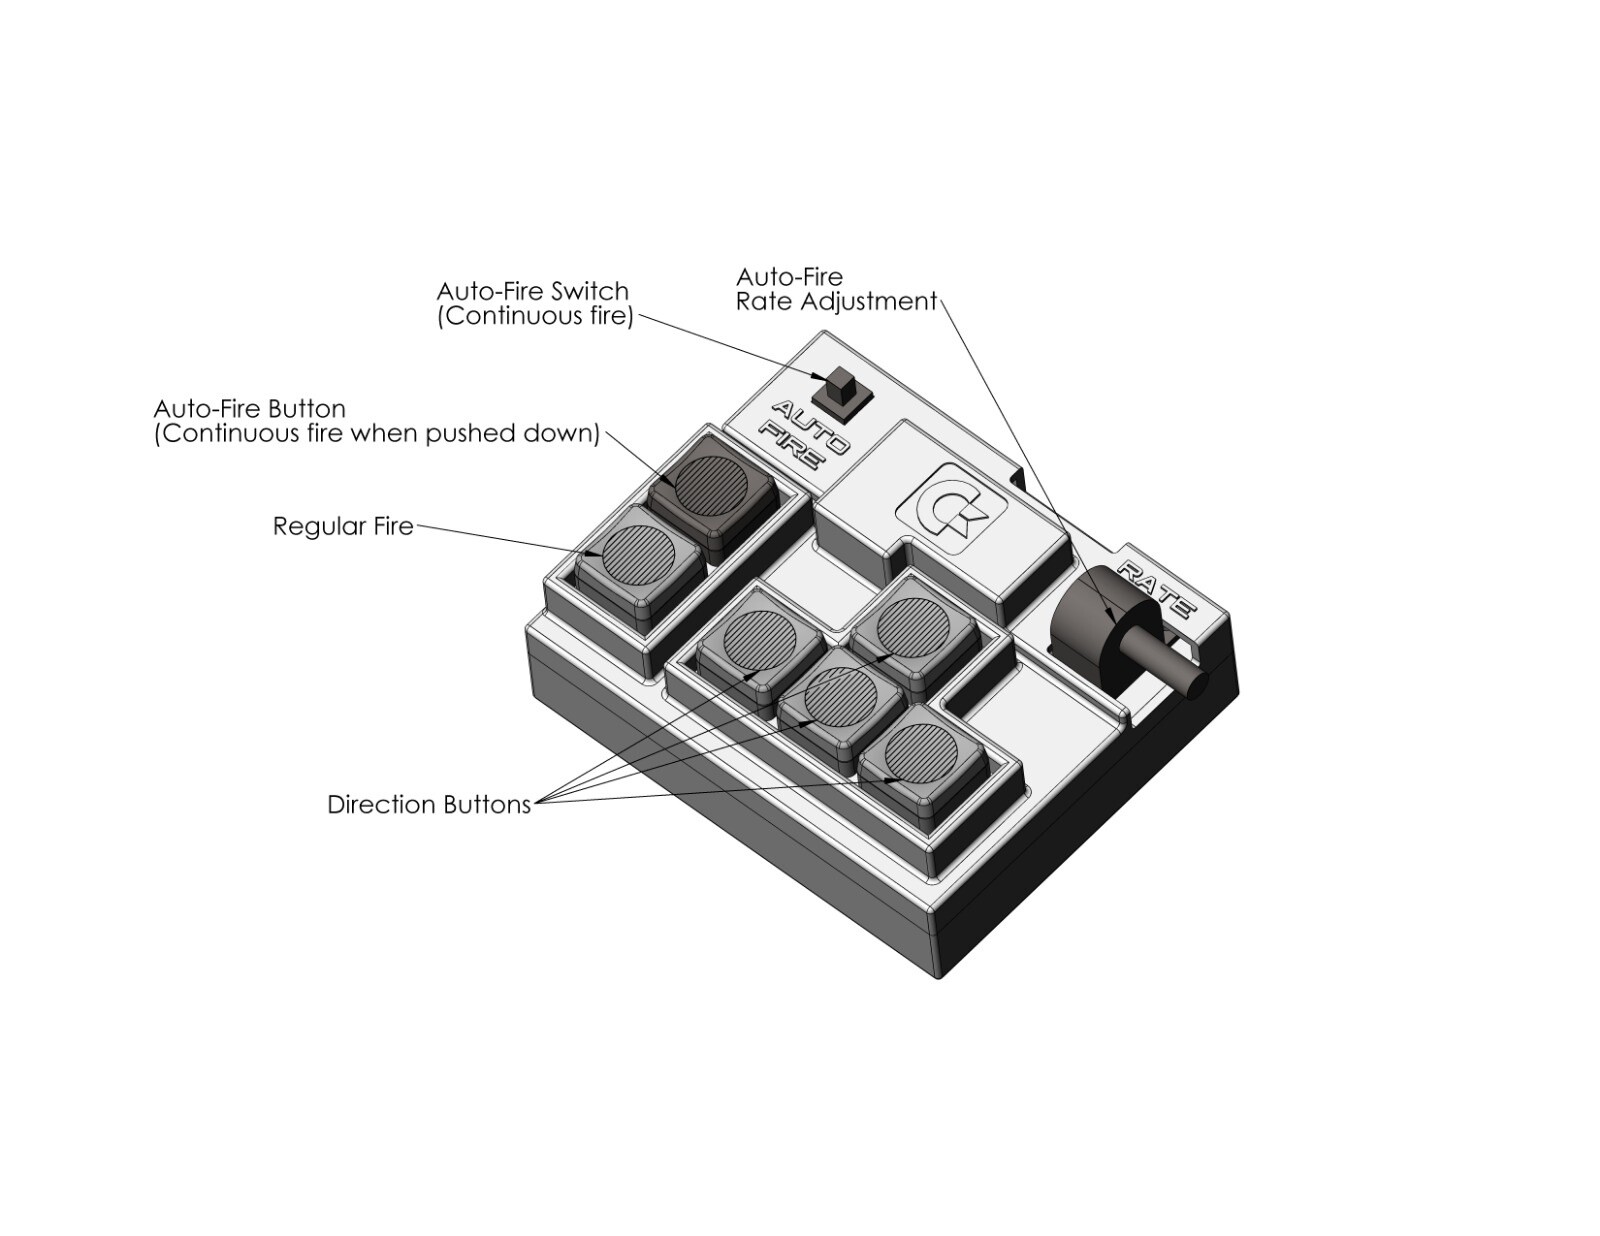
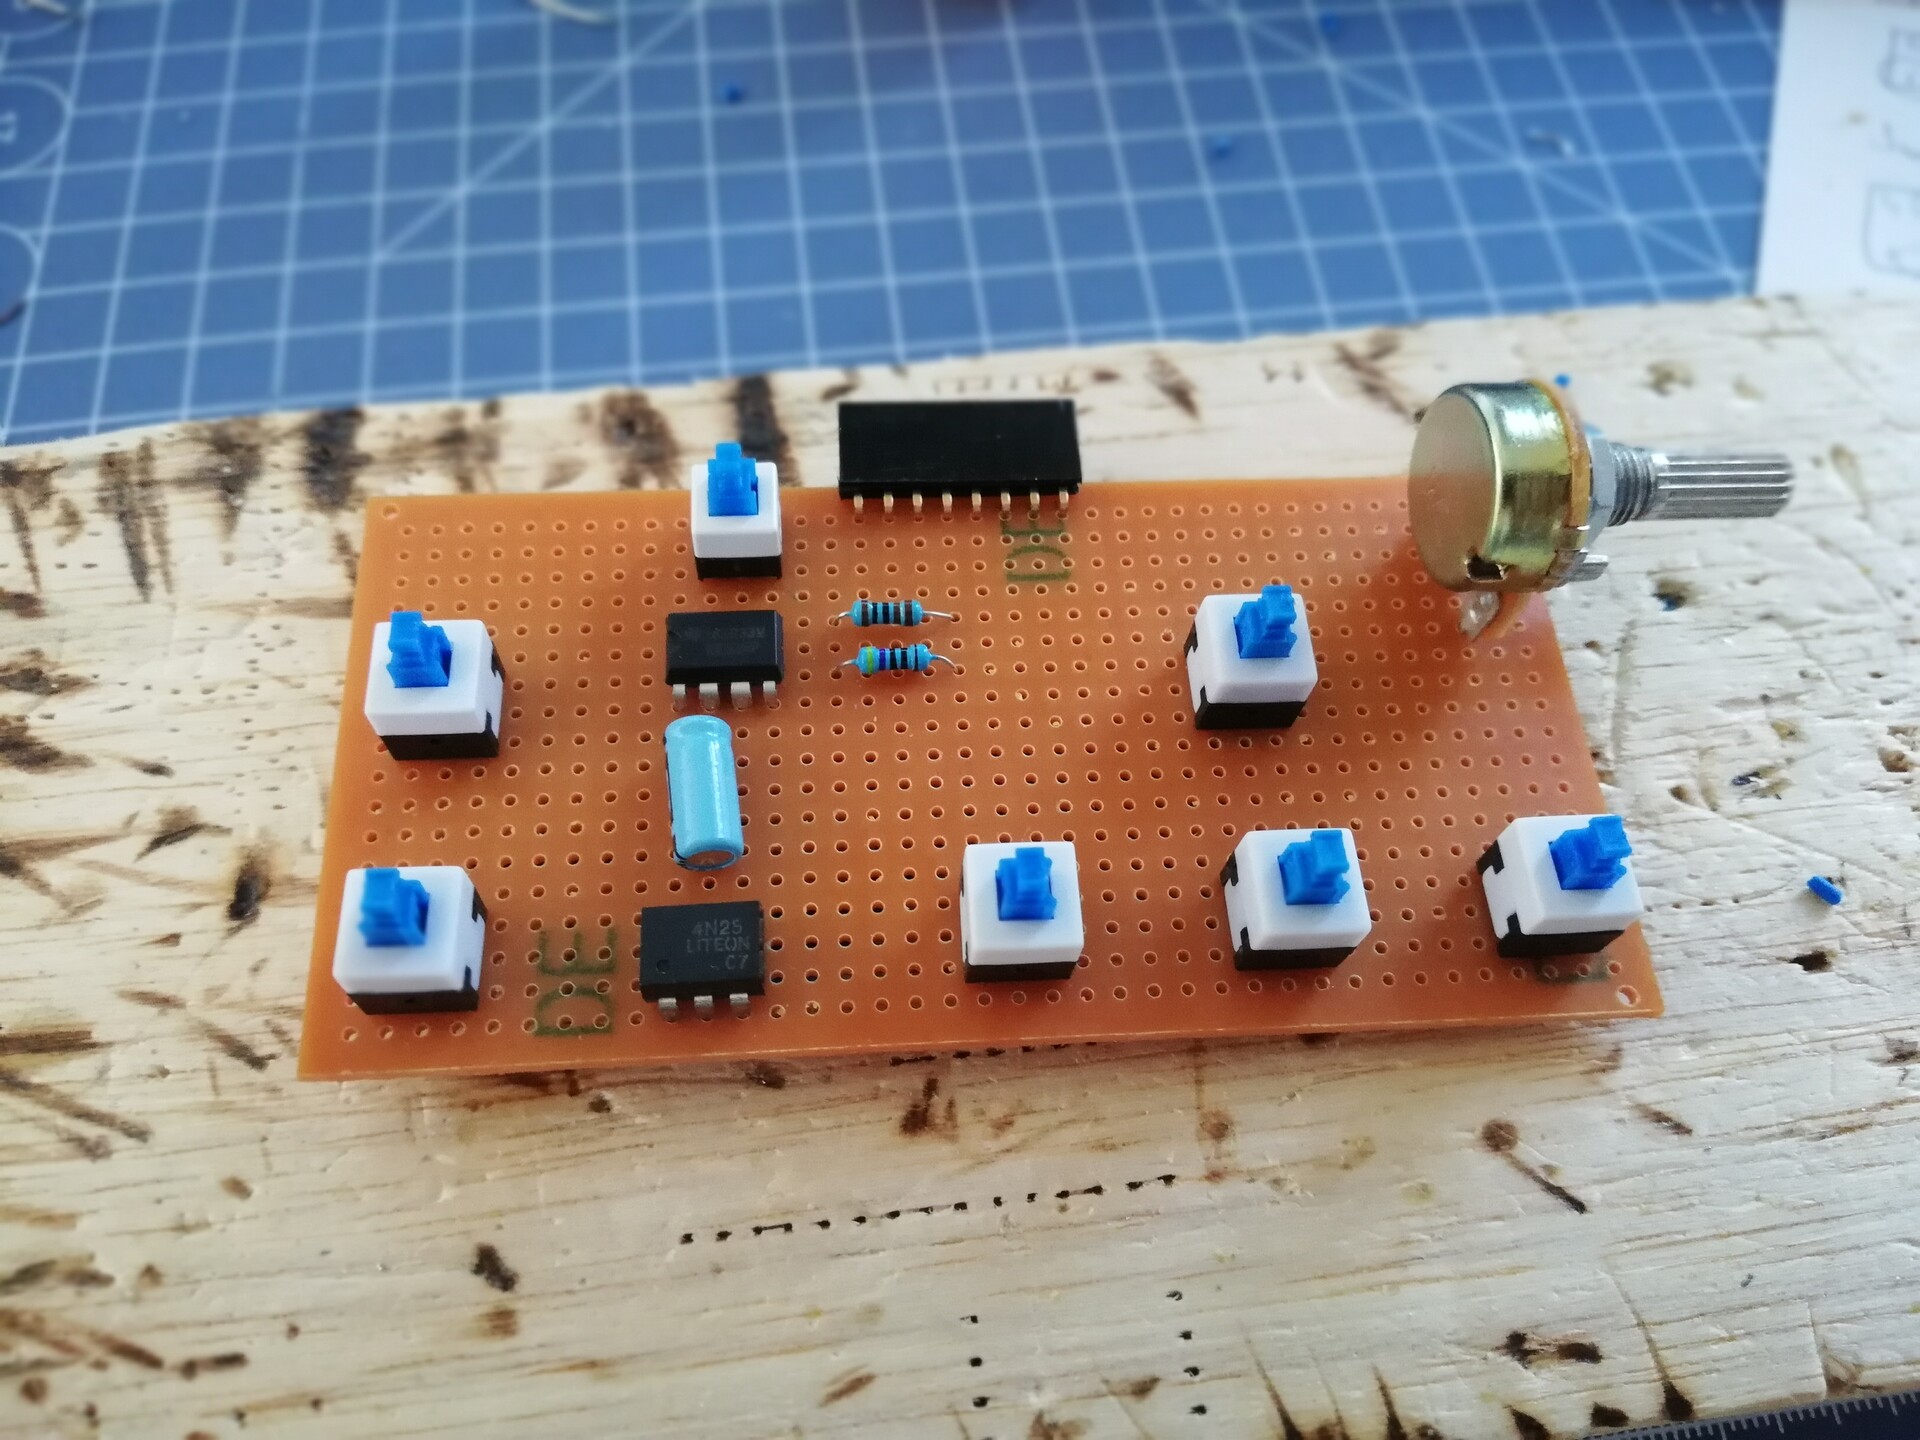
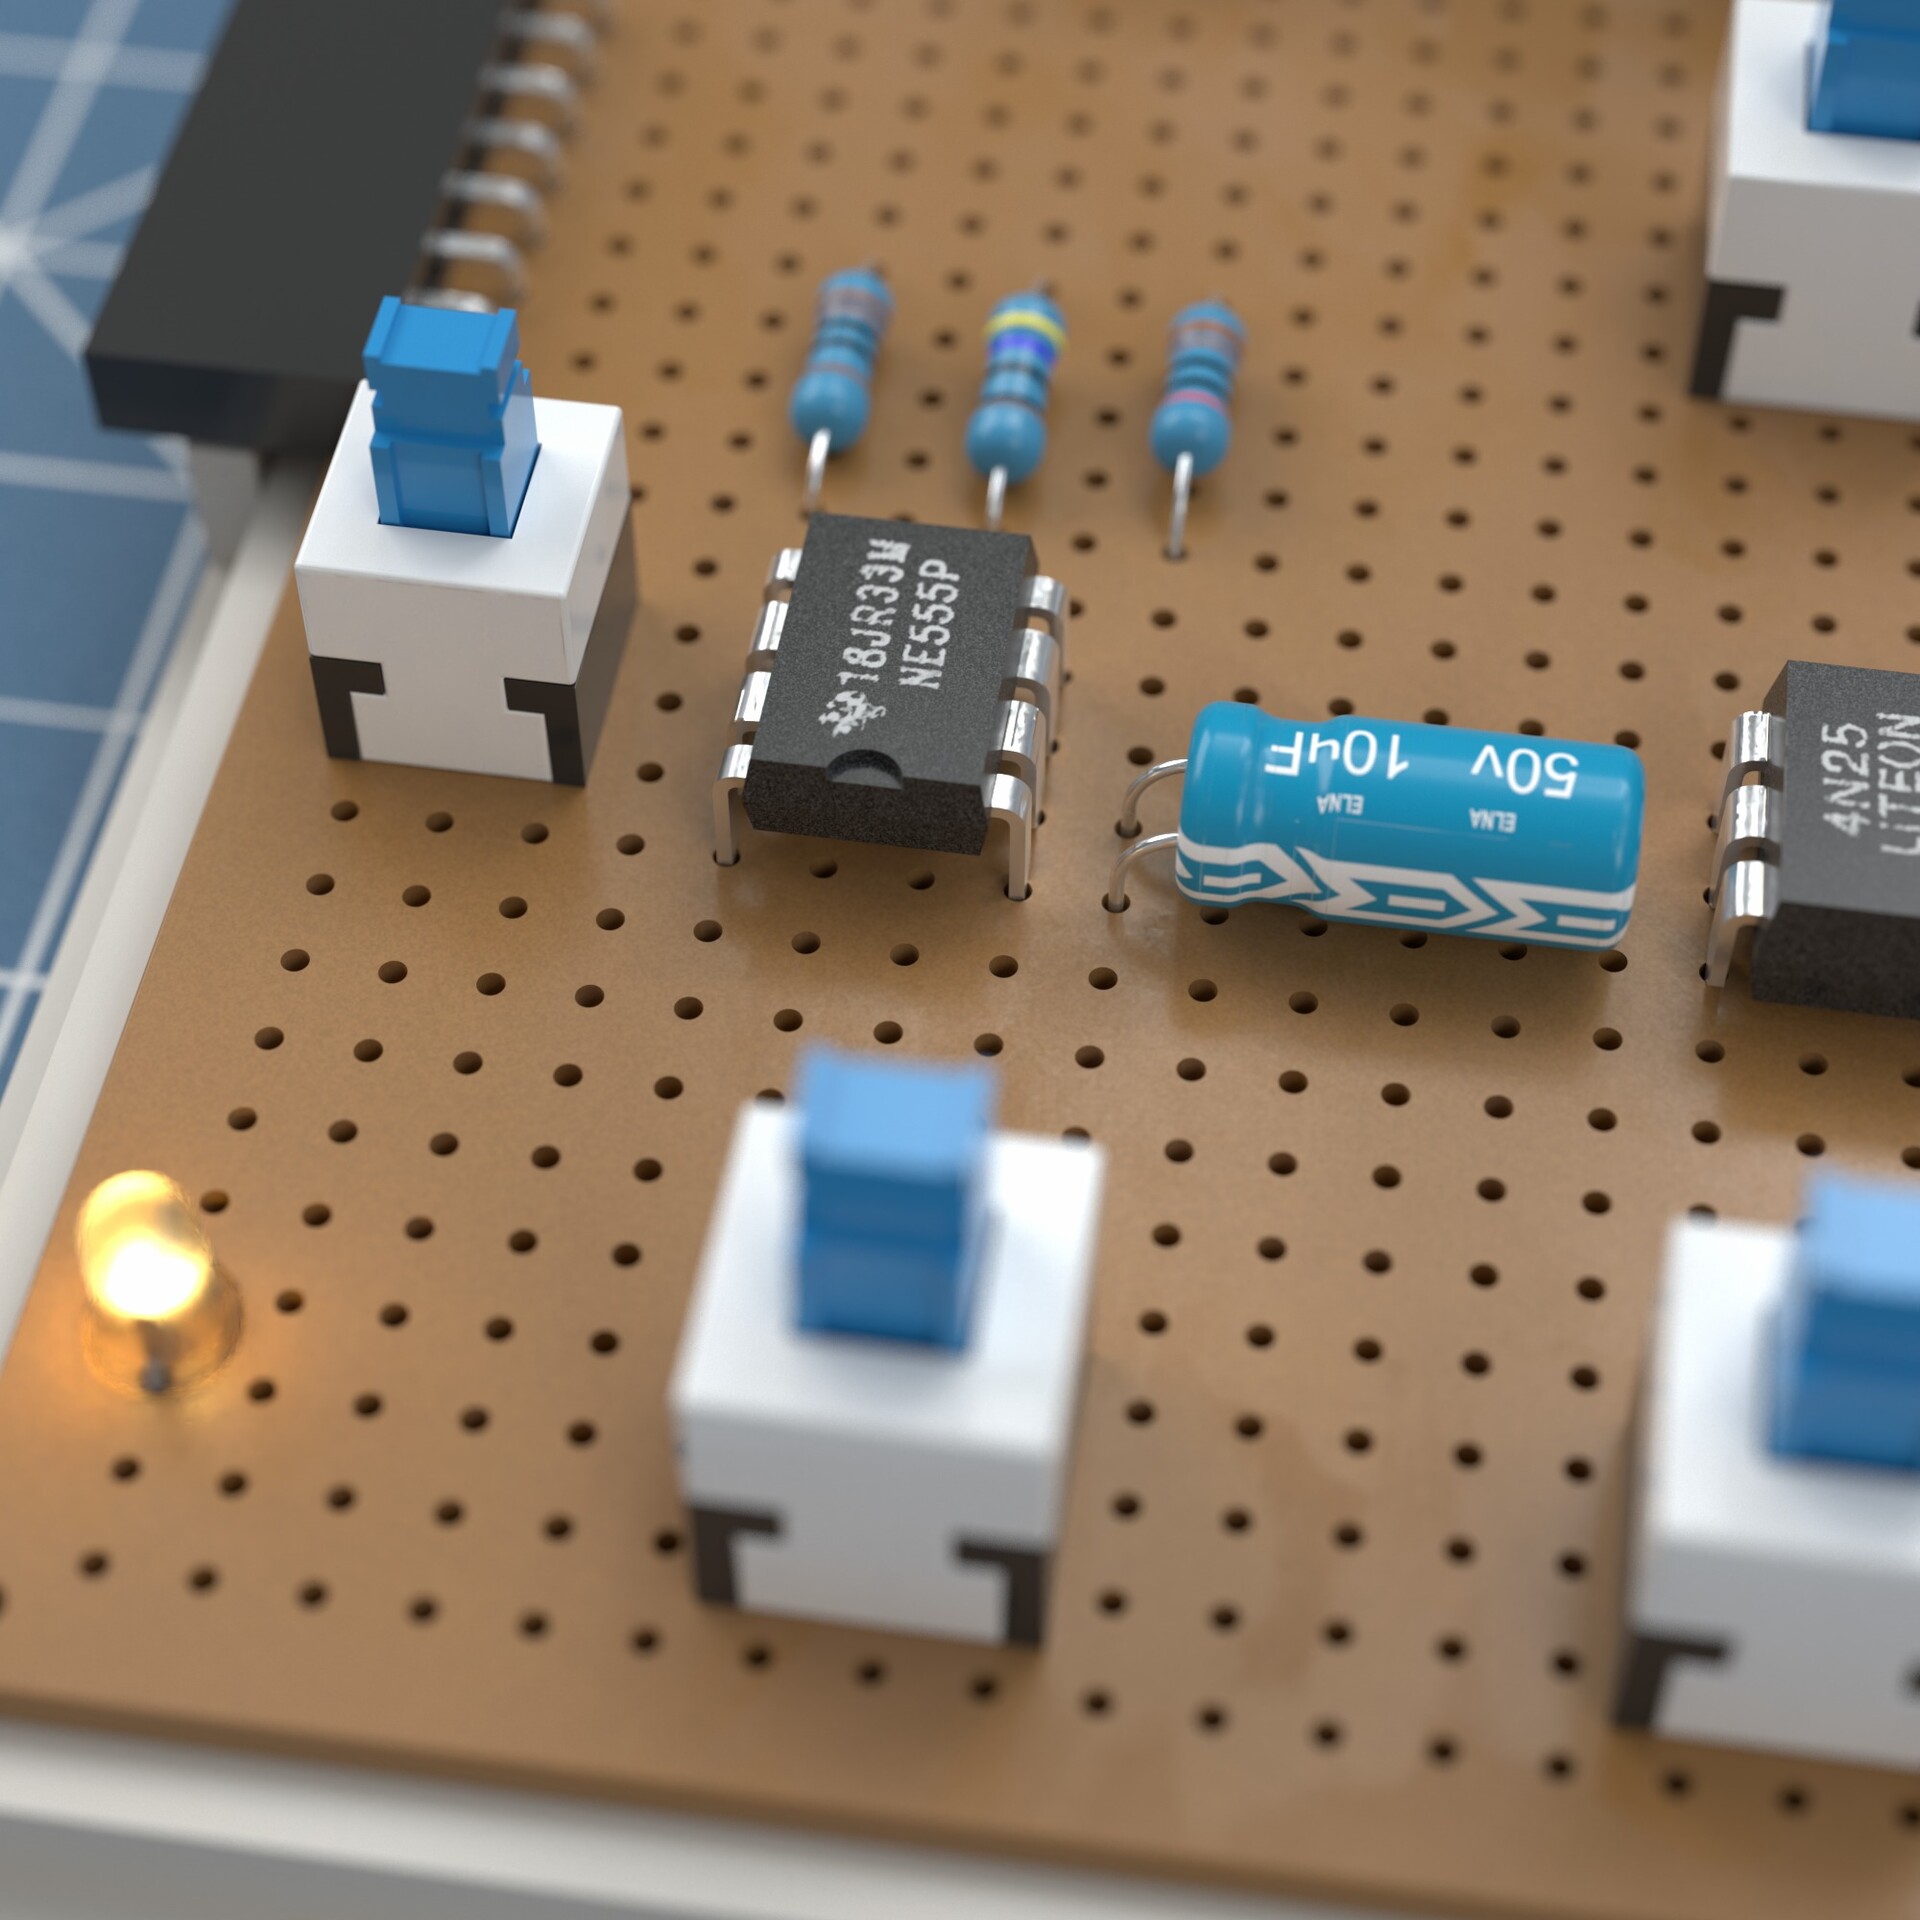
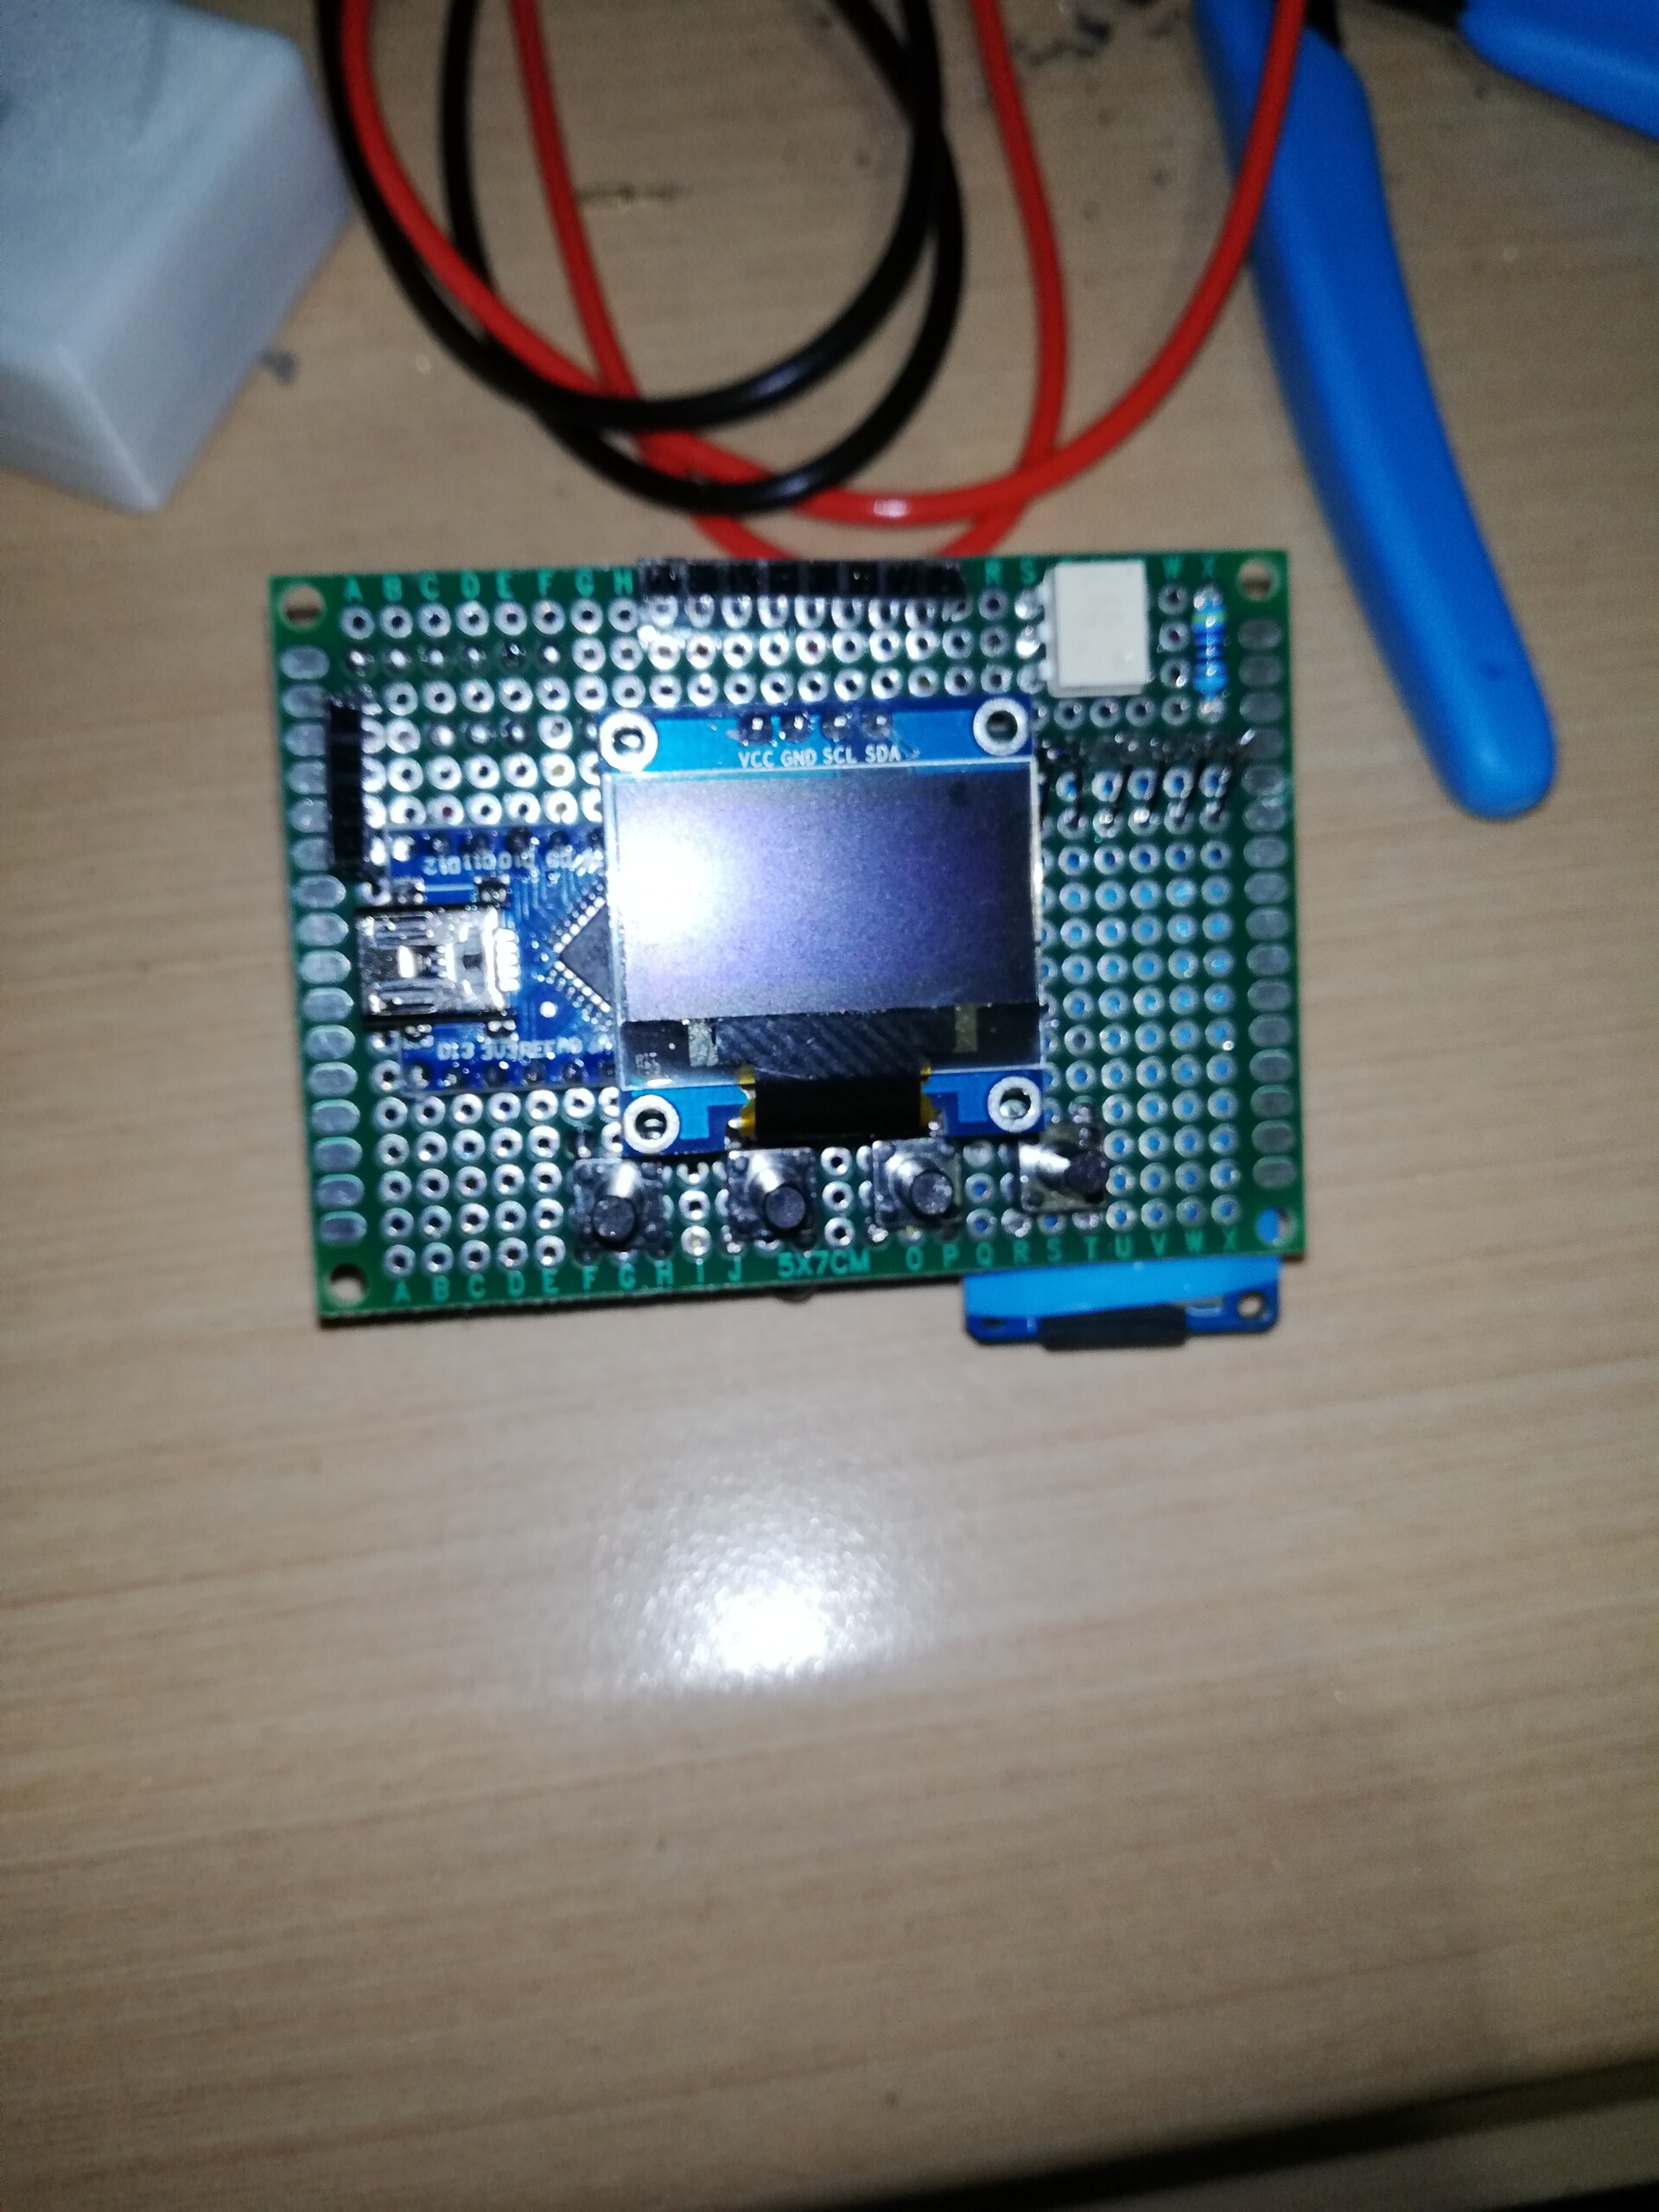
My first attempt was just for operational stability. I used a prototyping board and used 8 x 8mm buttons and a 7 x 7mm switch, few resistors and an 555 Timer IC. 555 Tımer IC is used for making frequent flows. They used basicly for making blinking lights, for example.

It compares 2 resistors and defines on and off times by a capacitor. There is a formulation for the on and off times. Which is covered on this video: https://www.youtube.com/watch?v=gTn_HmzXYLo

So I decided to use this 555 Timer IC on auto-fire of my keypad. But instead of static resistors and static rapid fire, I replaced on of the resistors with a potantiometer which is an adjustible resistor. So I would be able to change the frequency of my auto-fire.

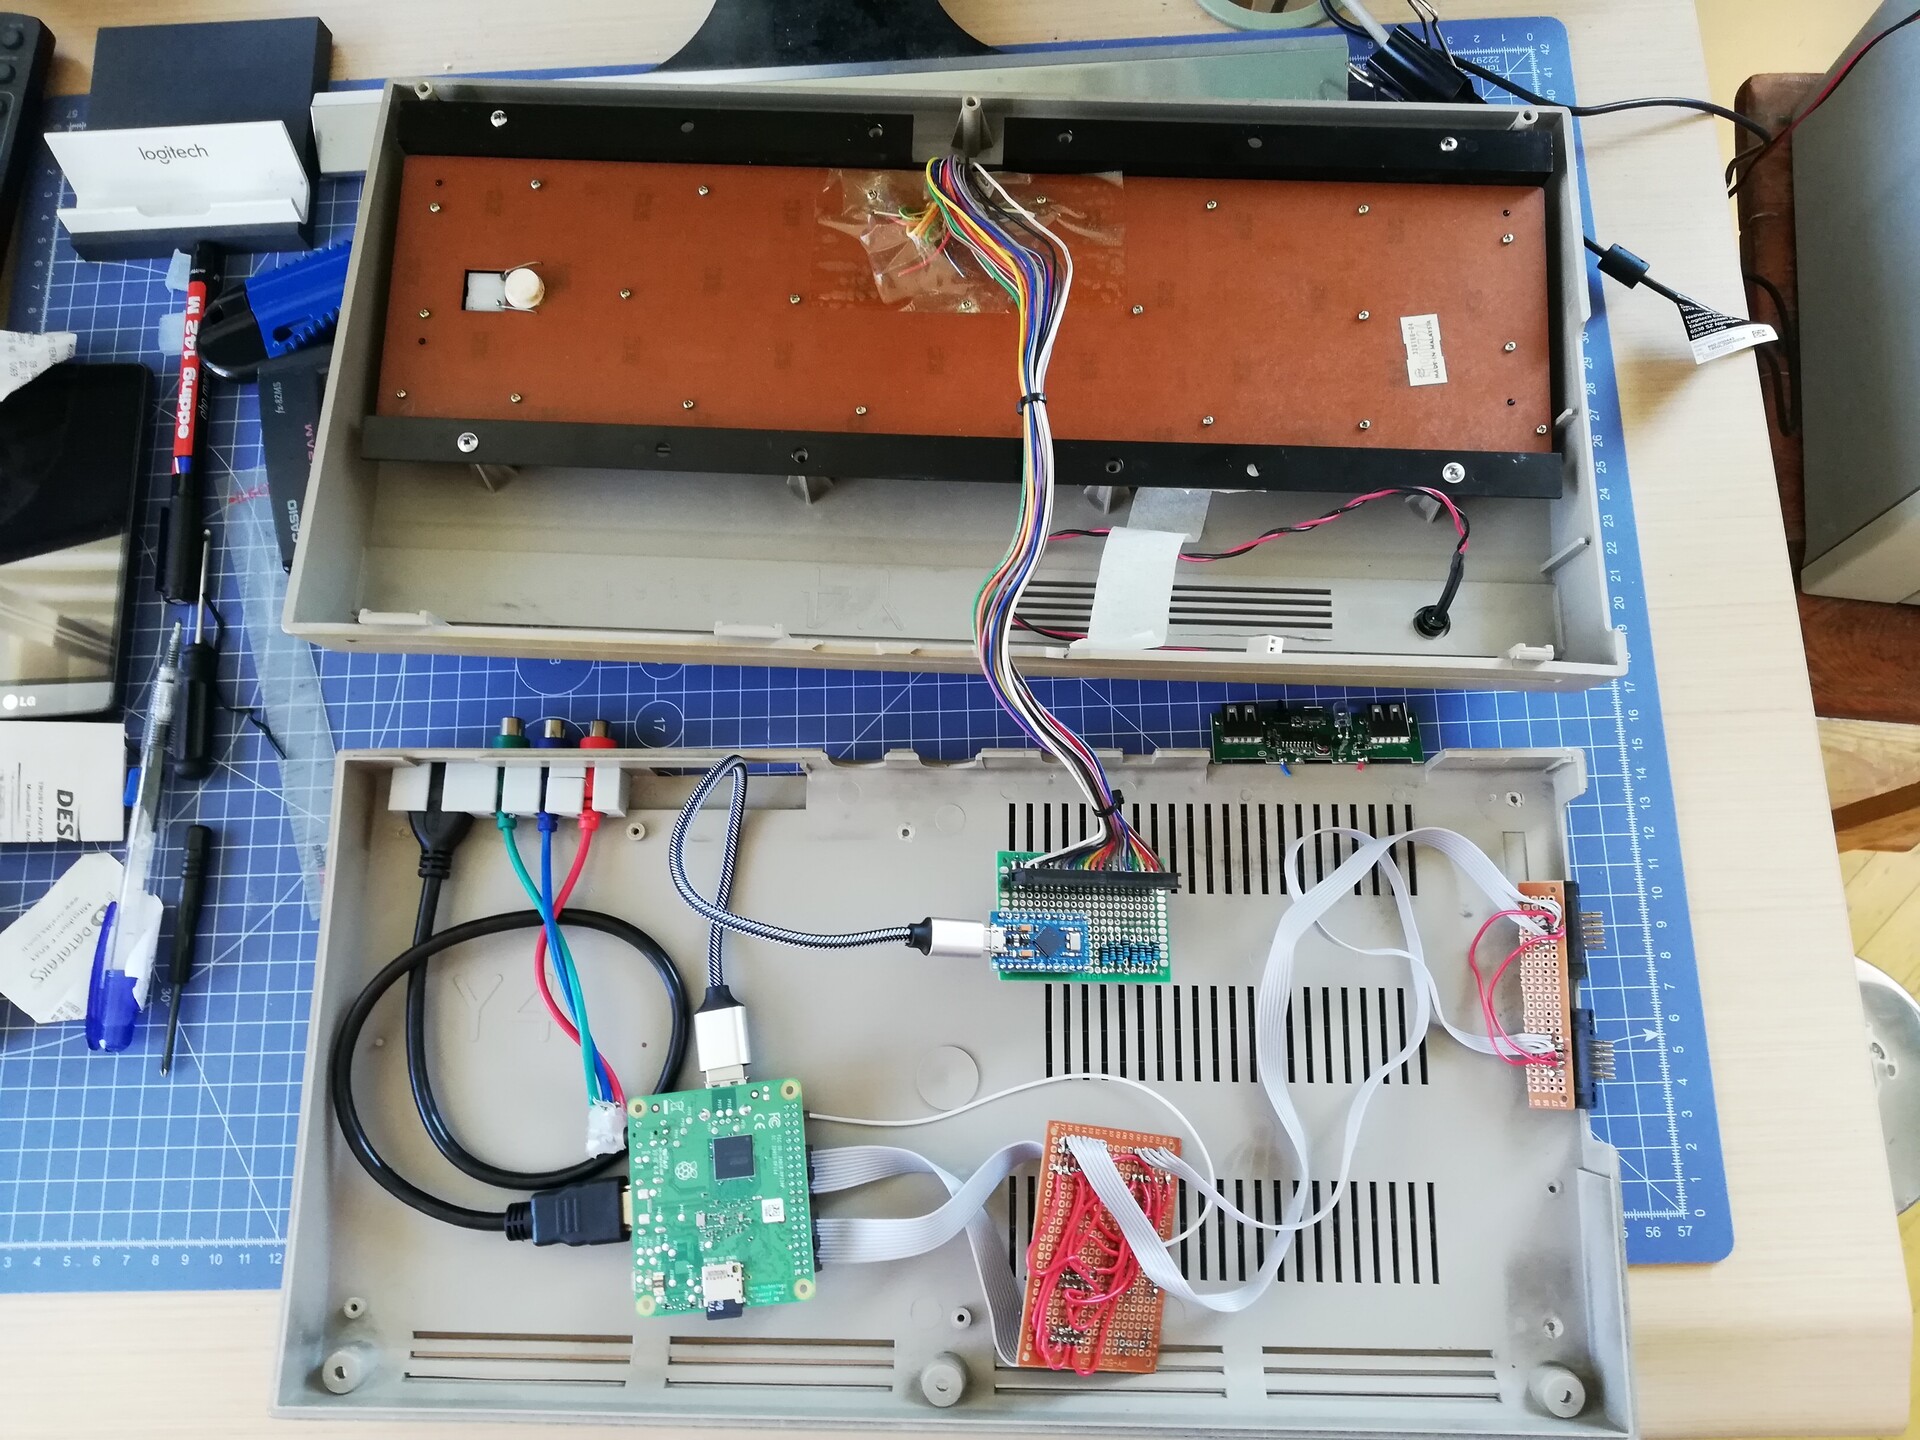
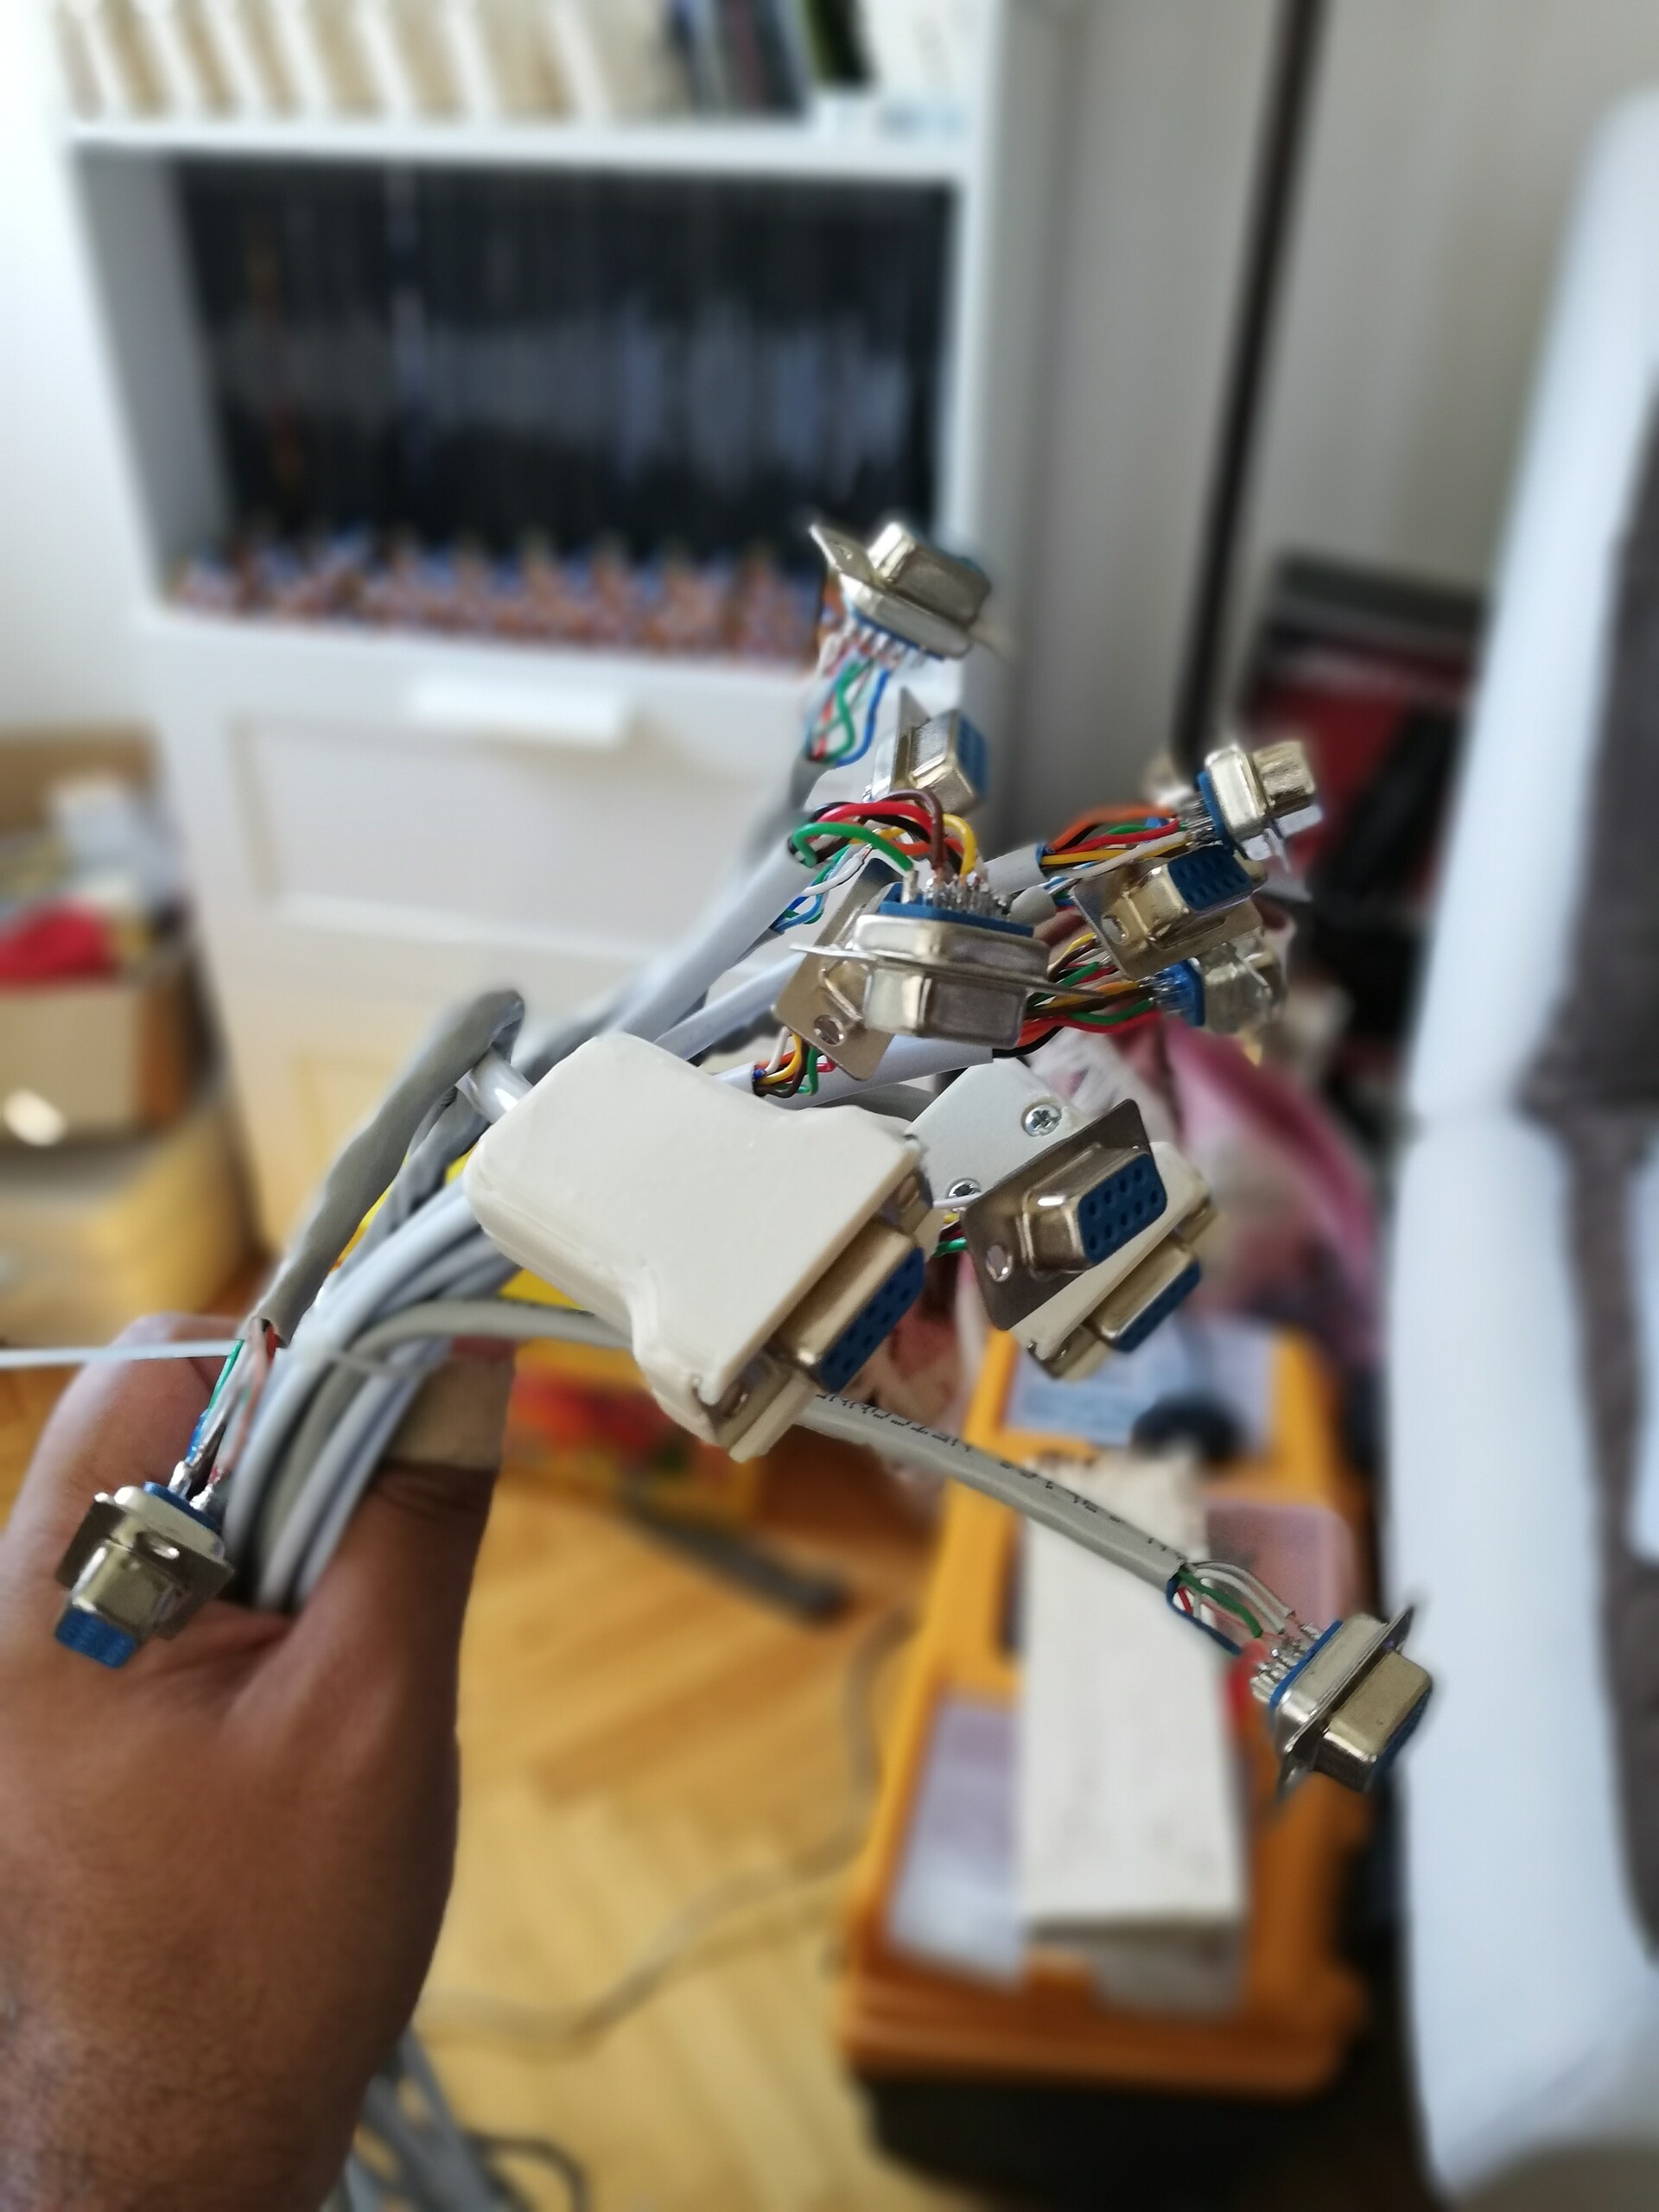
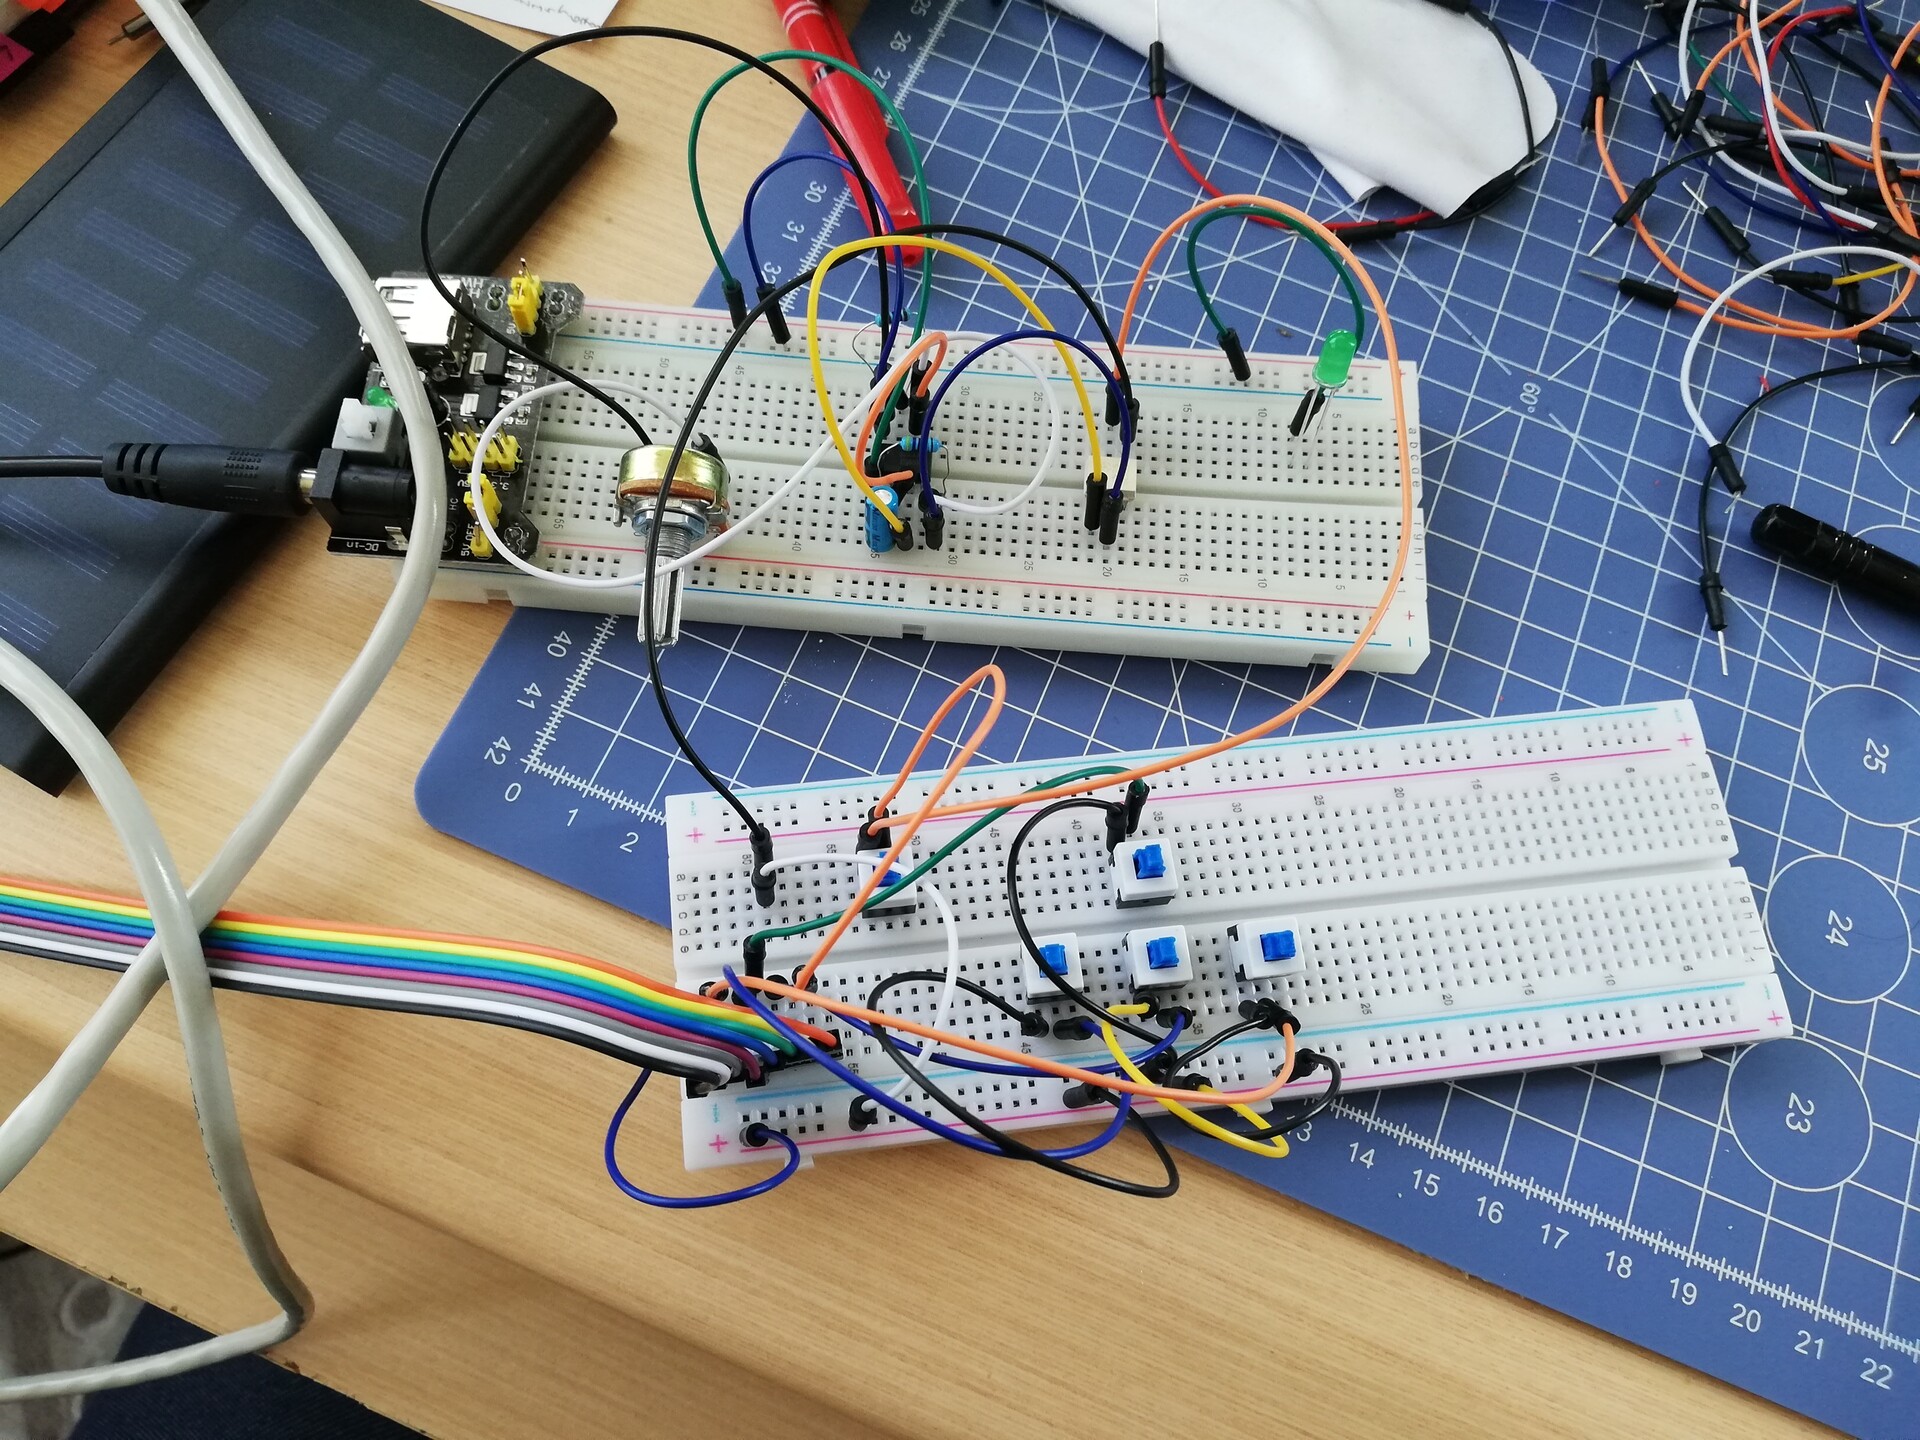
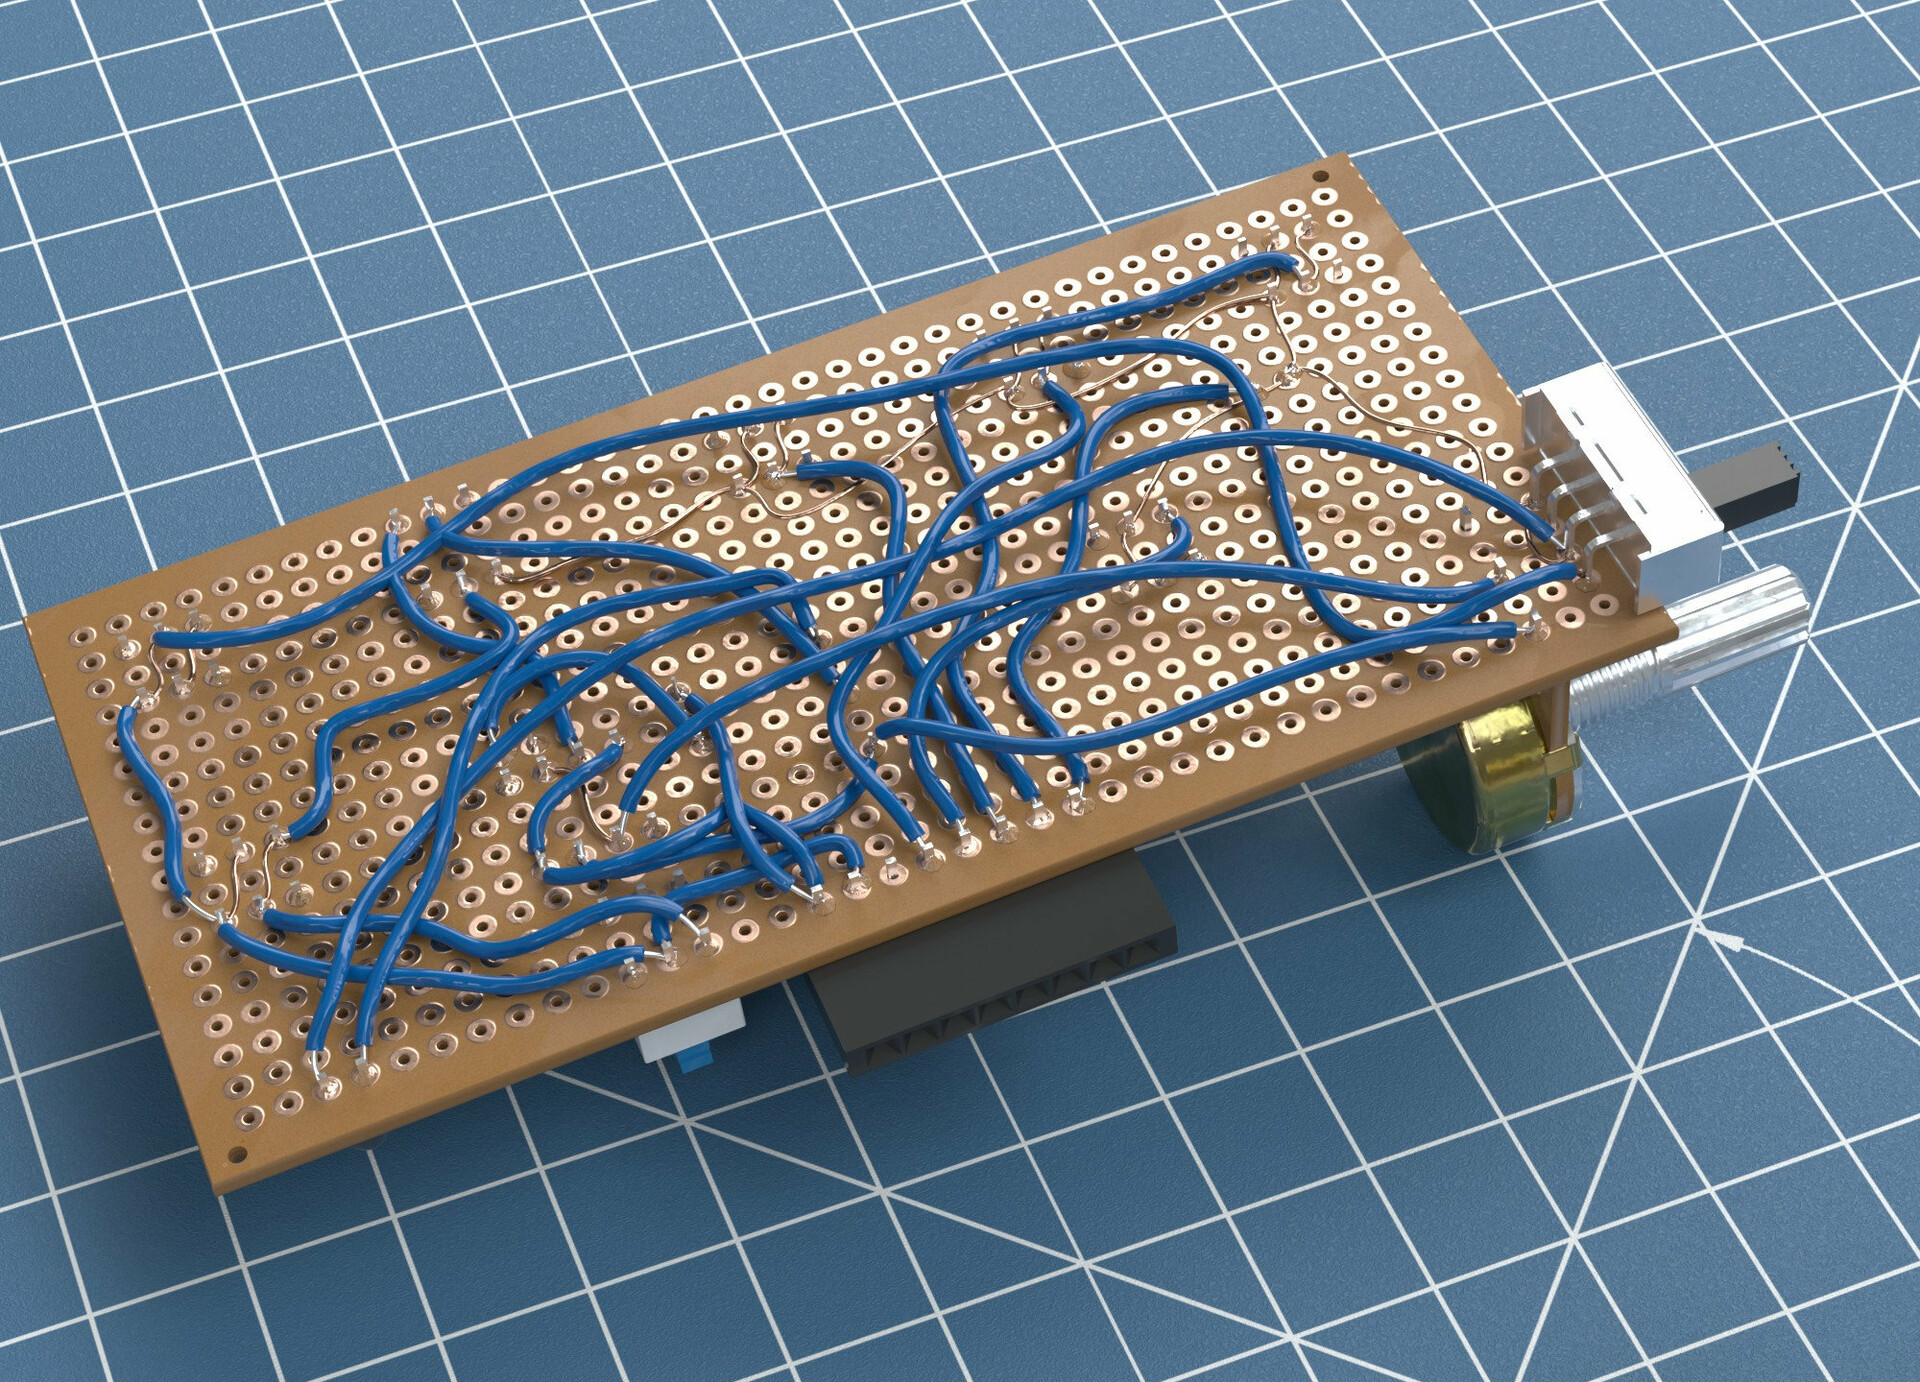
Quickly I assembled a circuit and made the connections with cables.


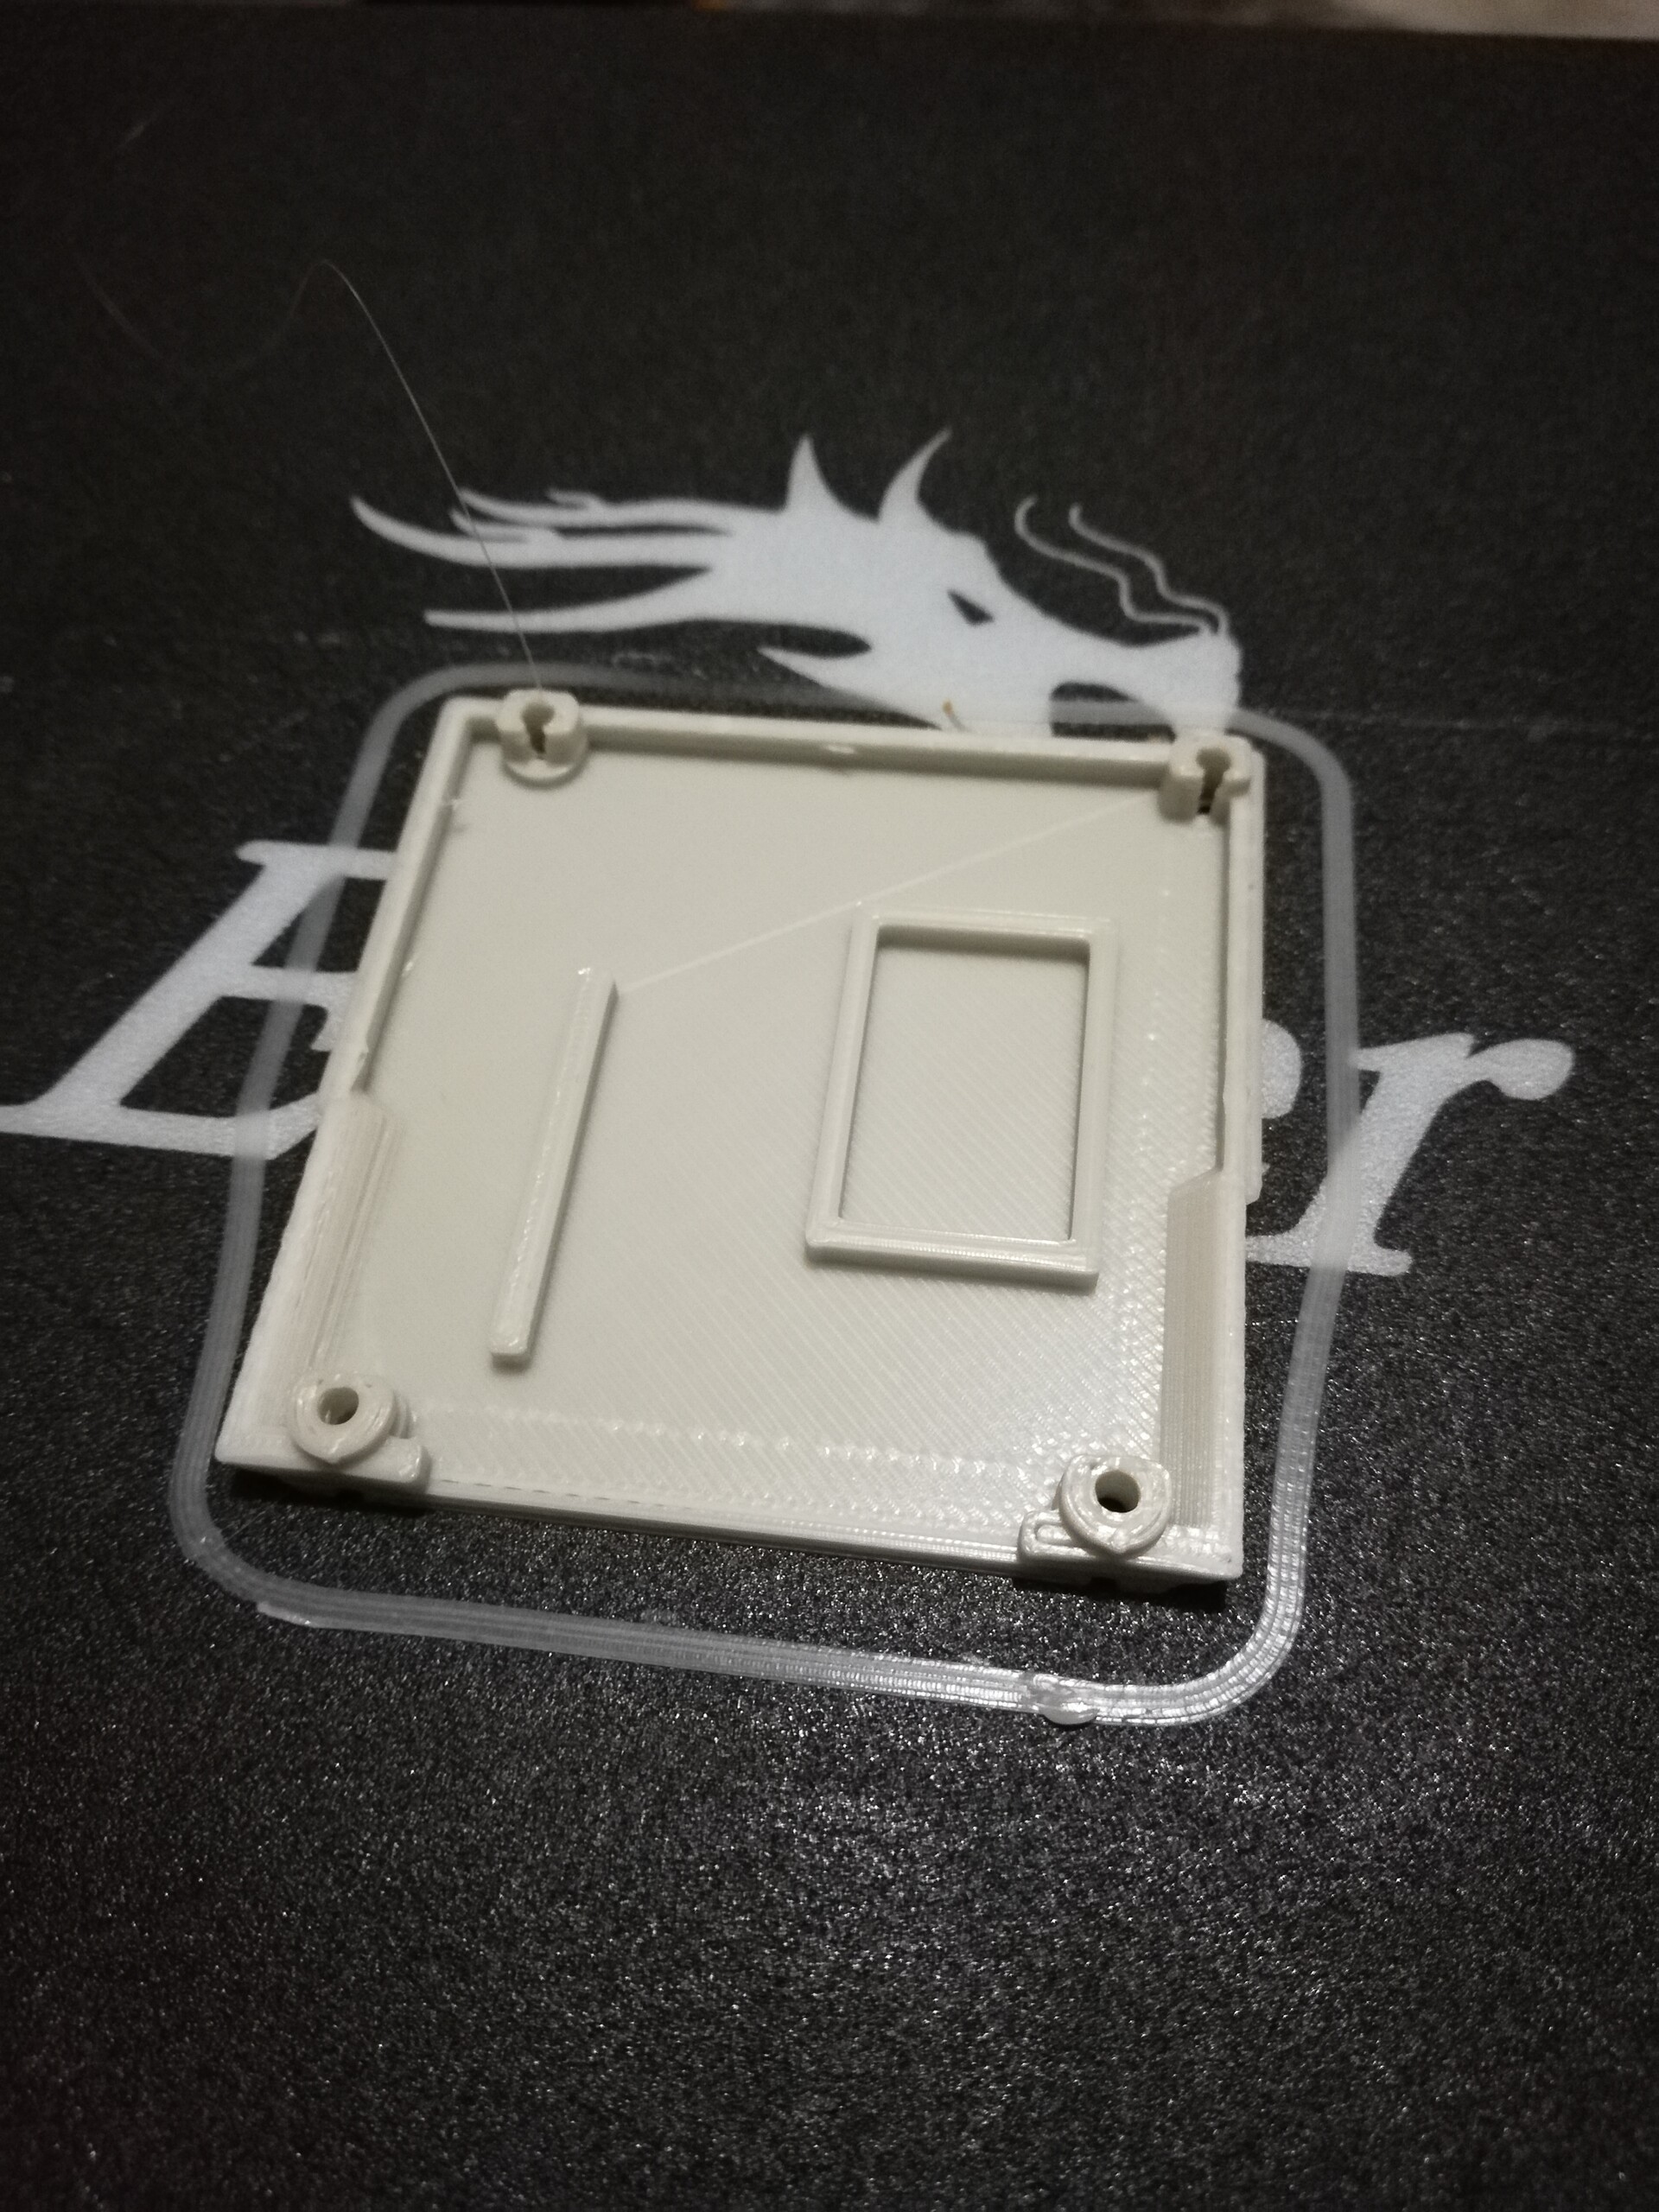
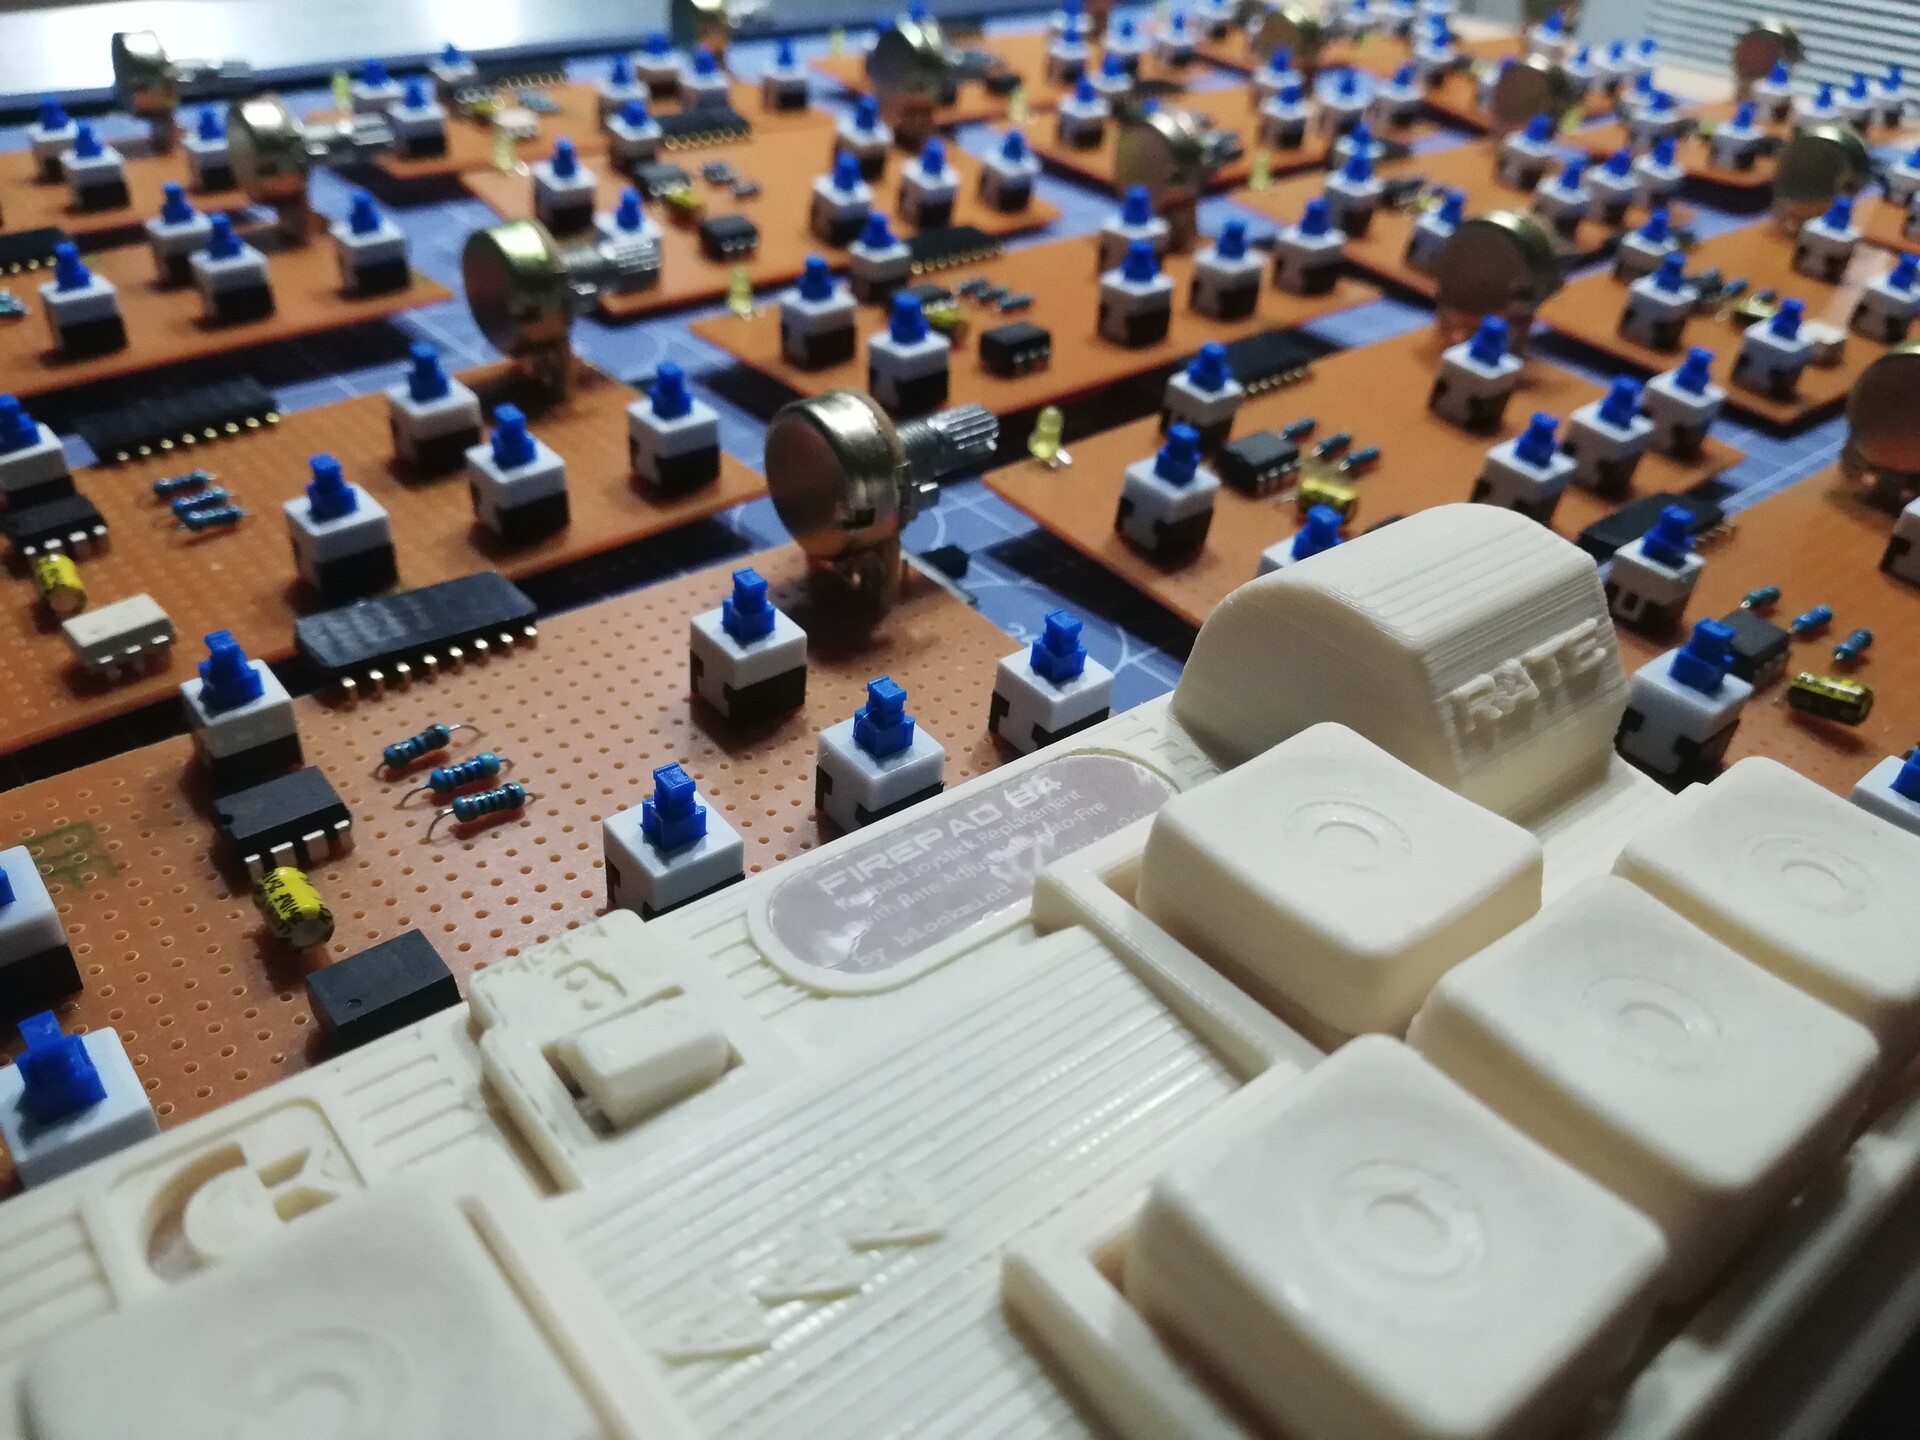
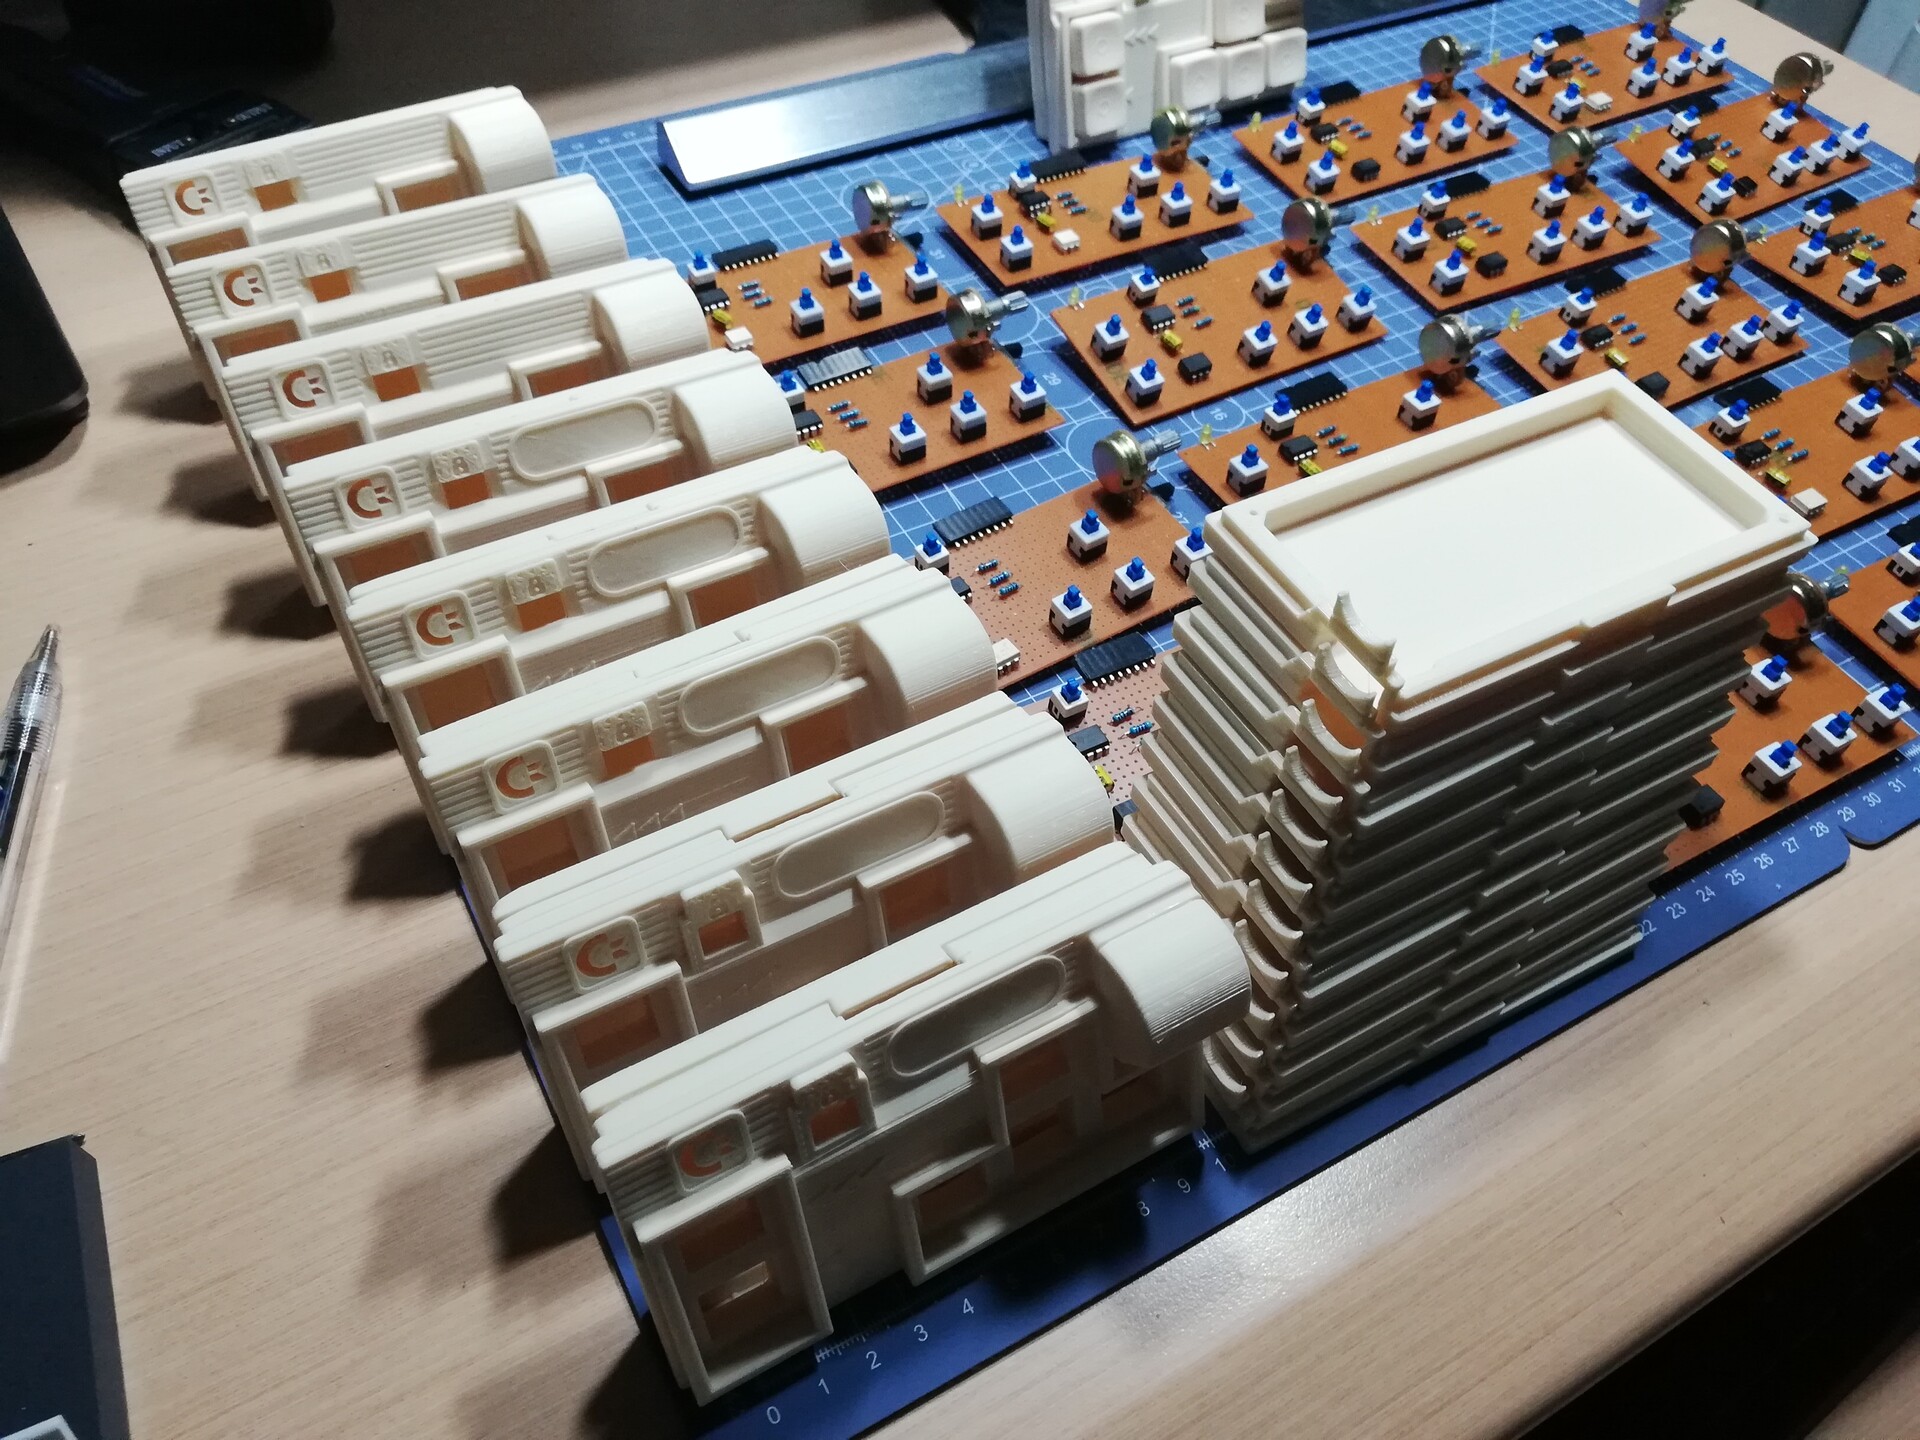
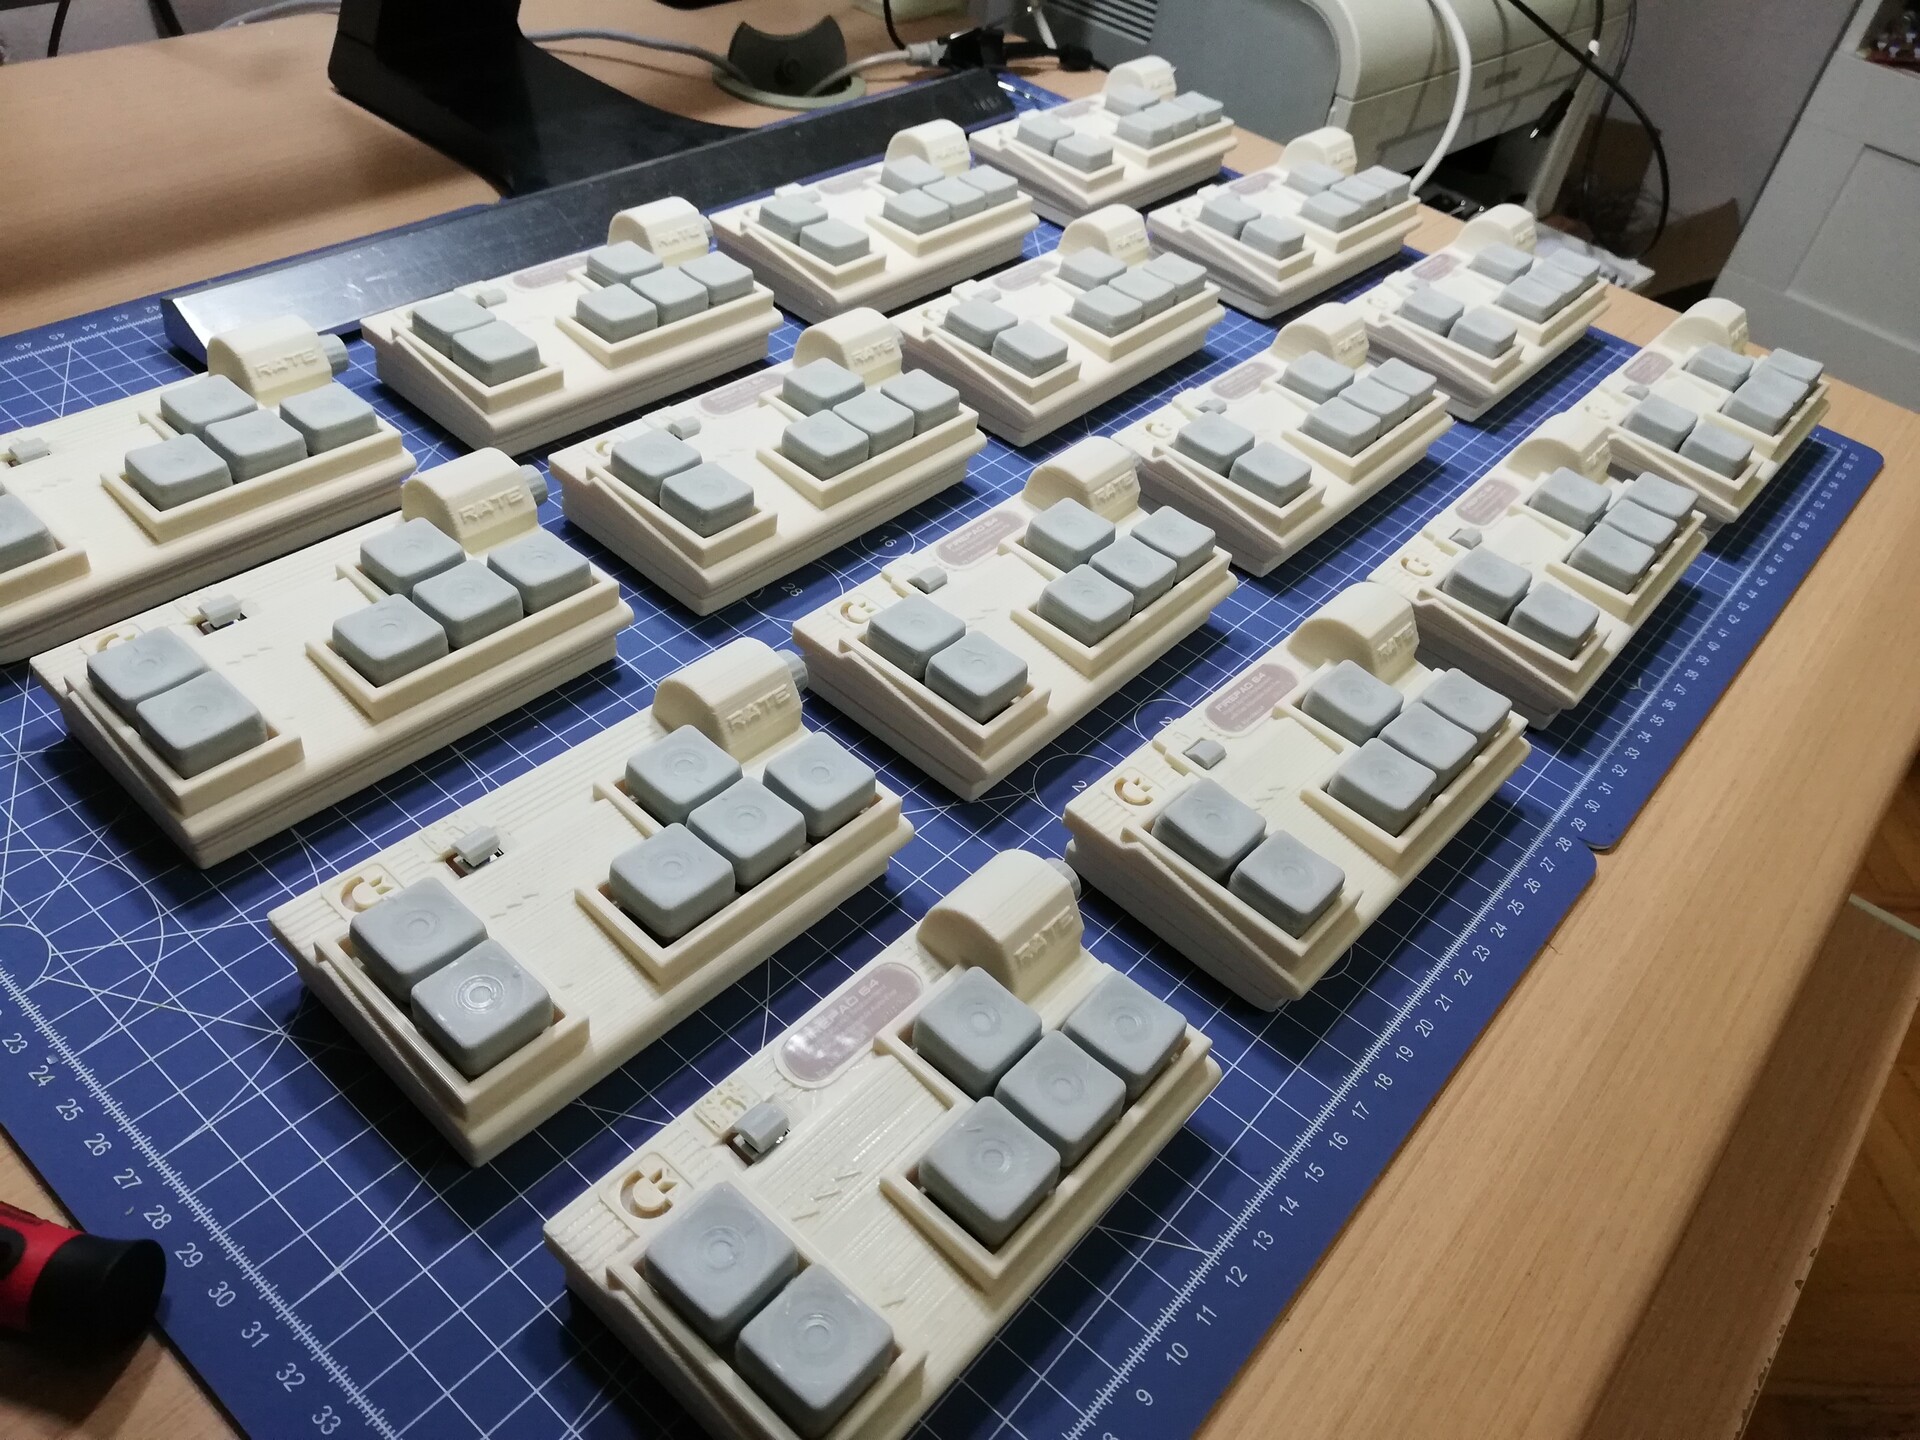
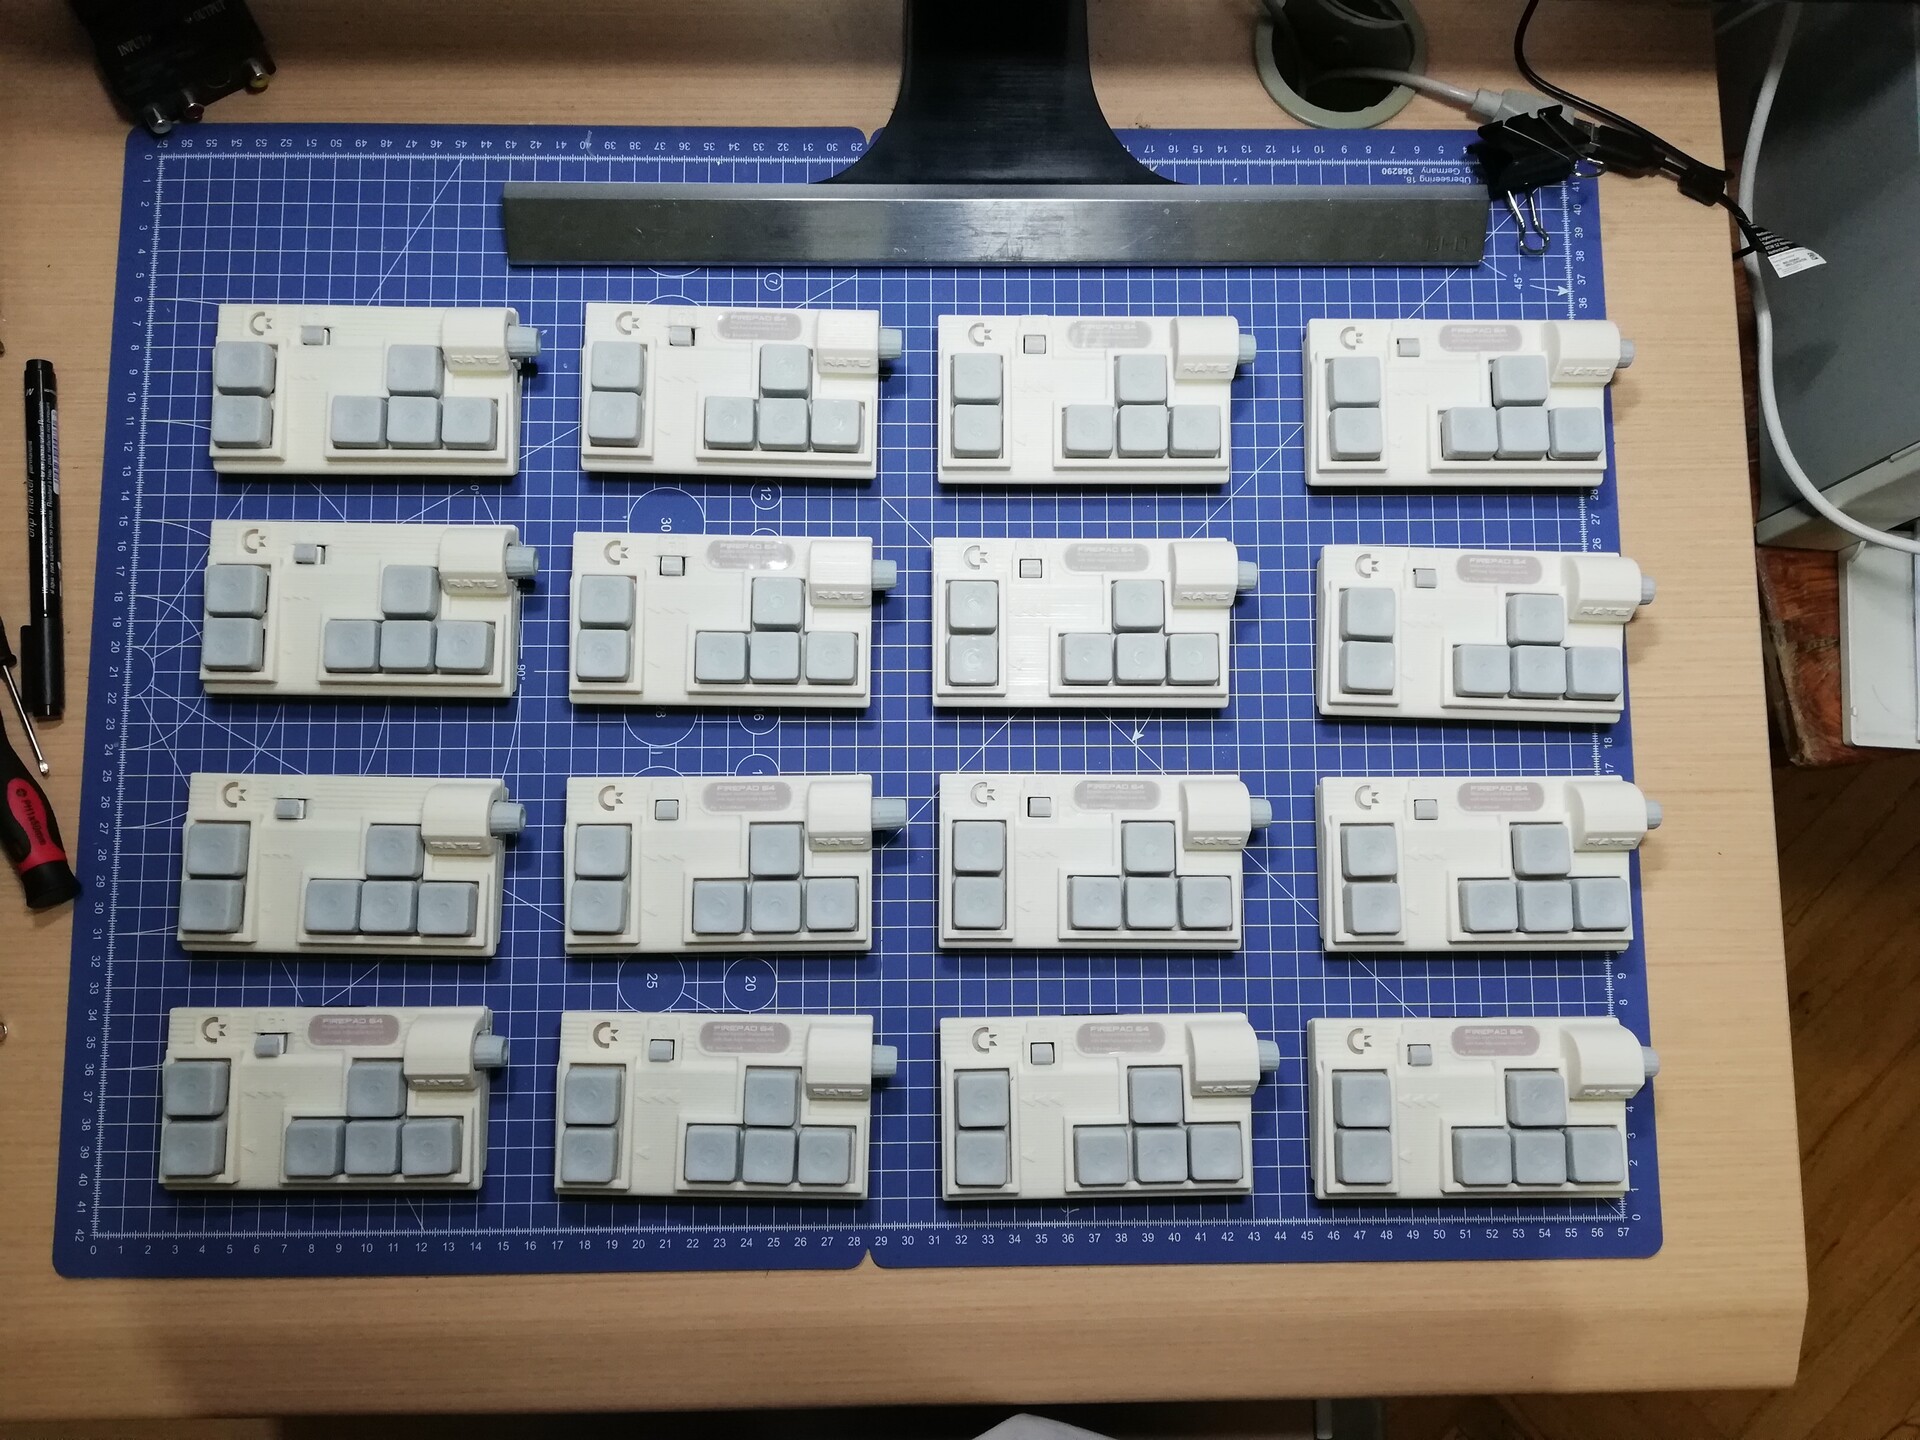
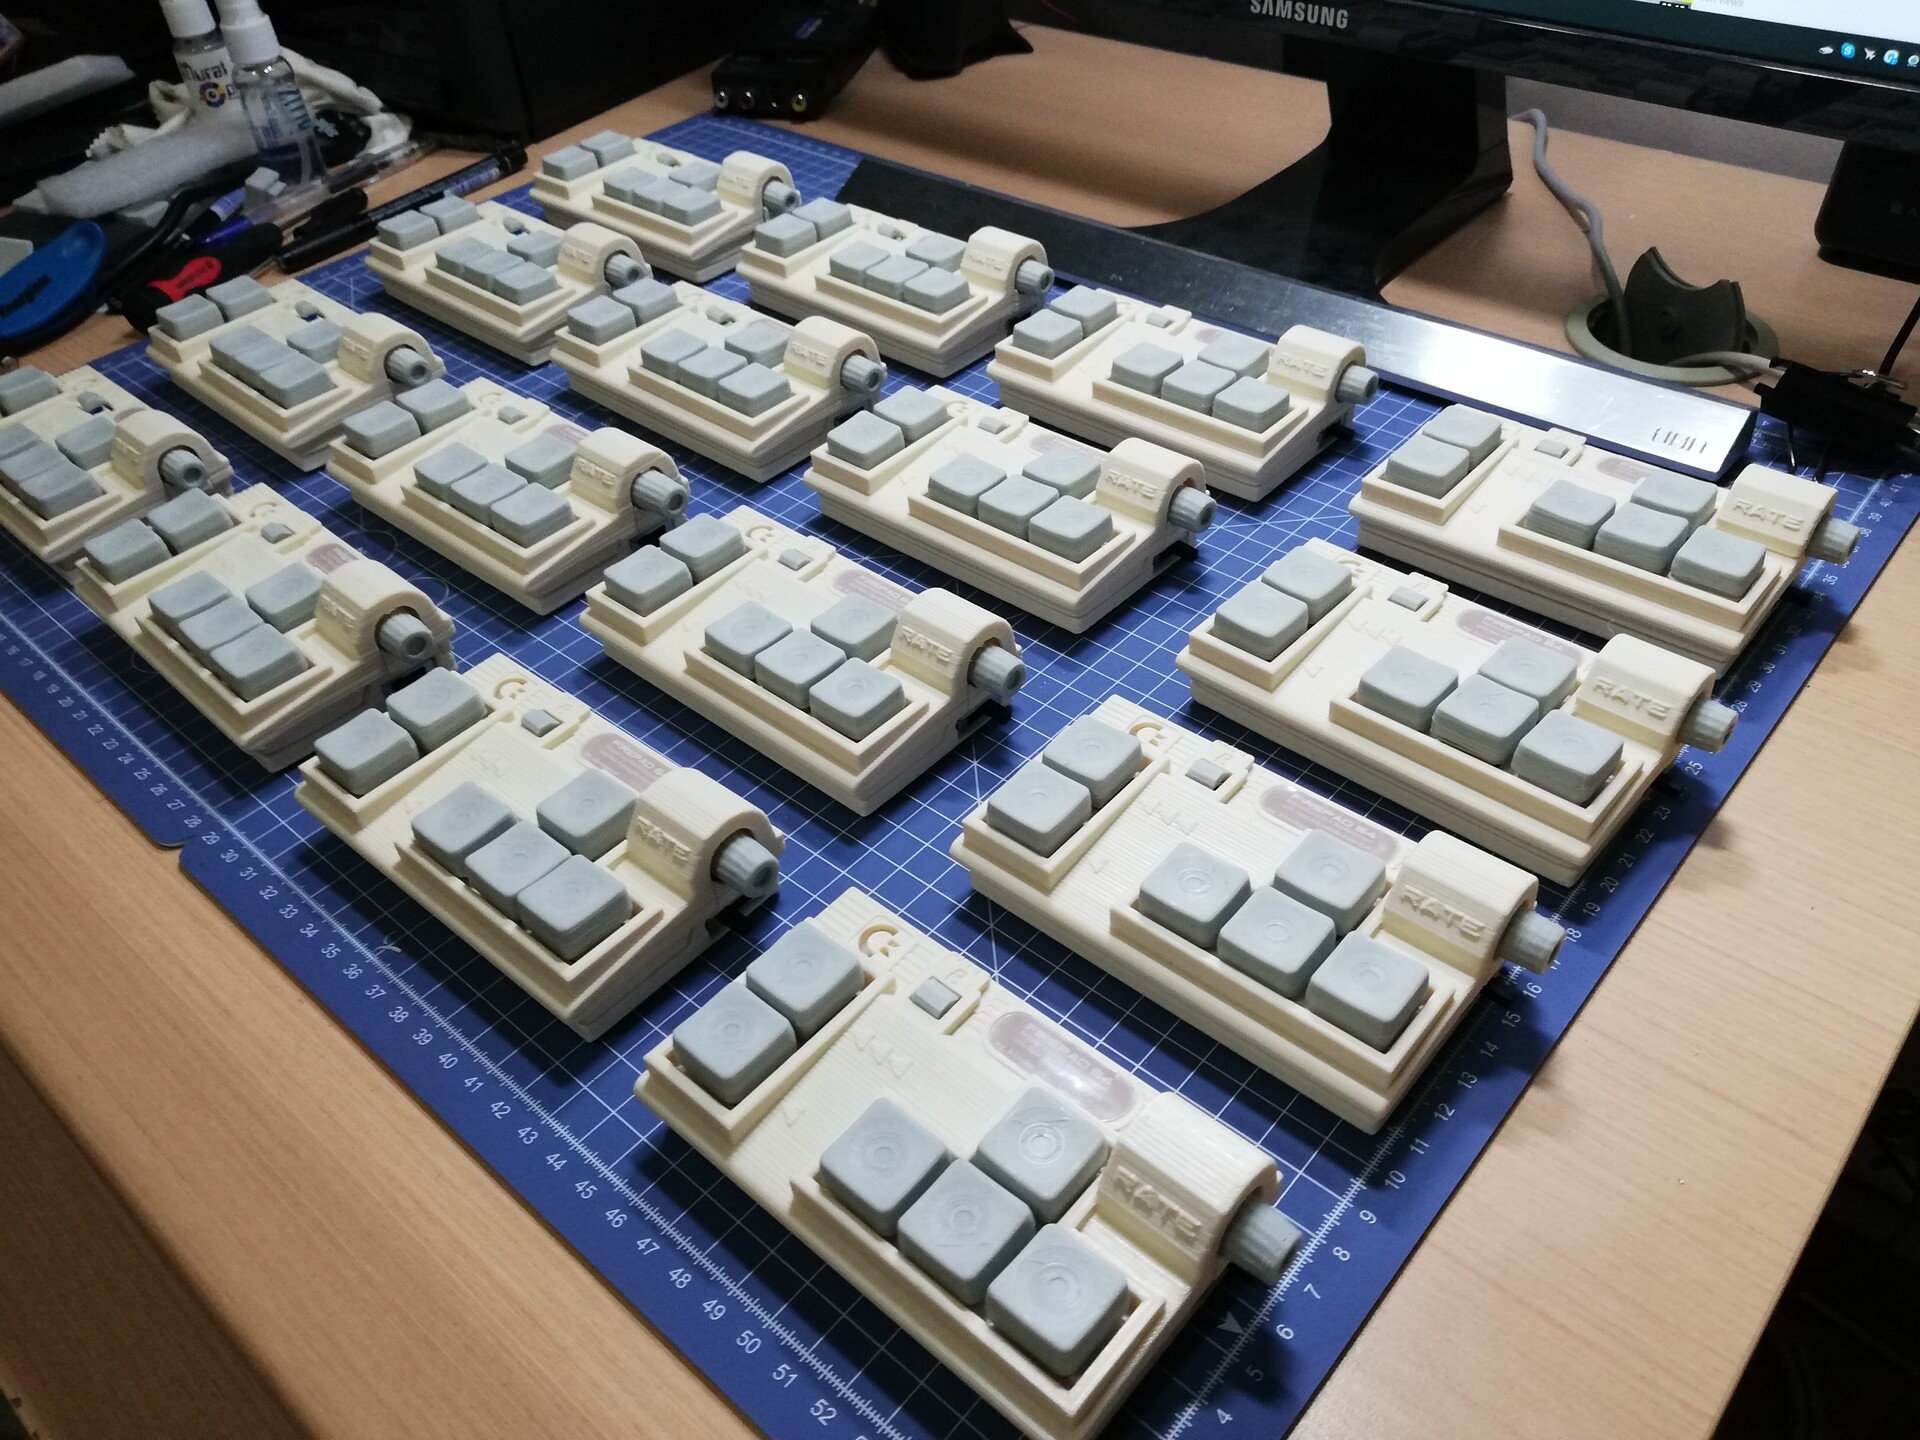
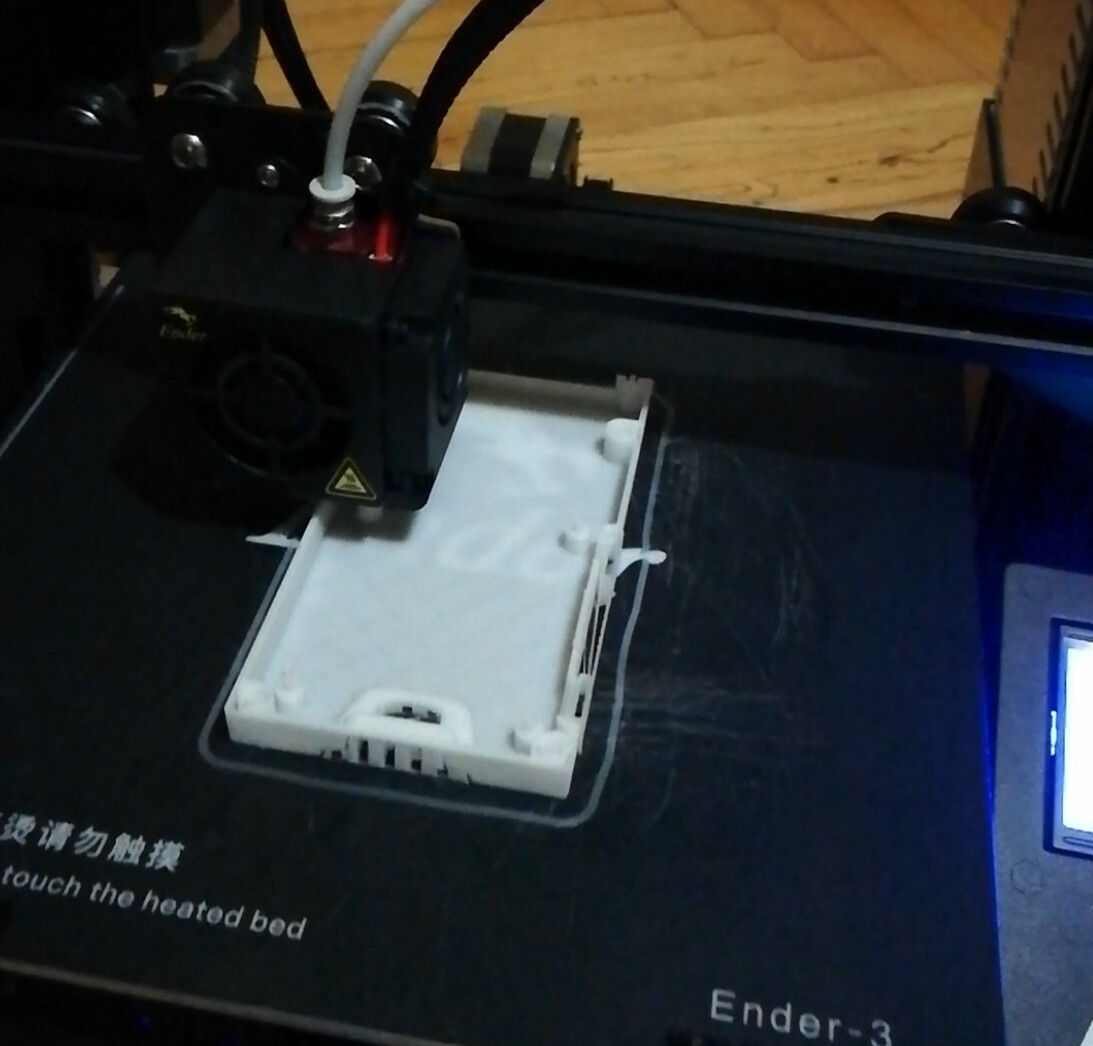
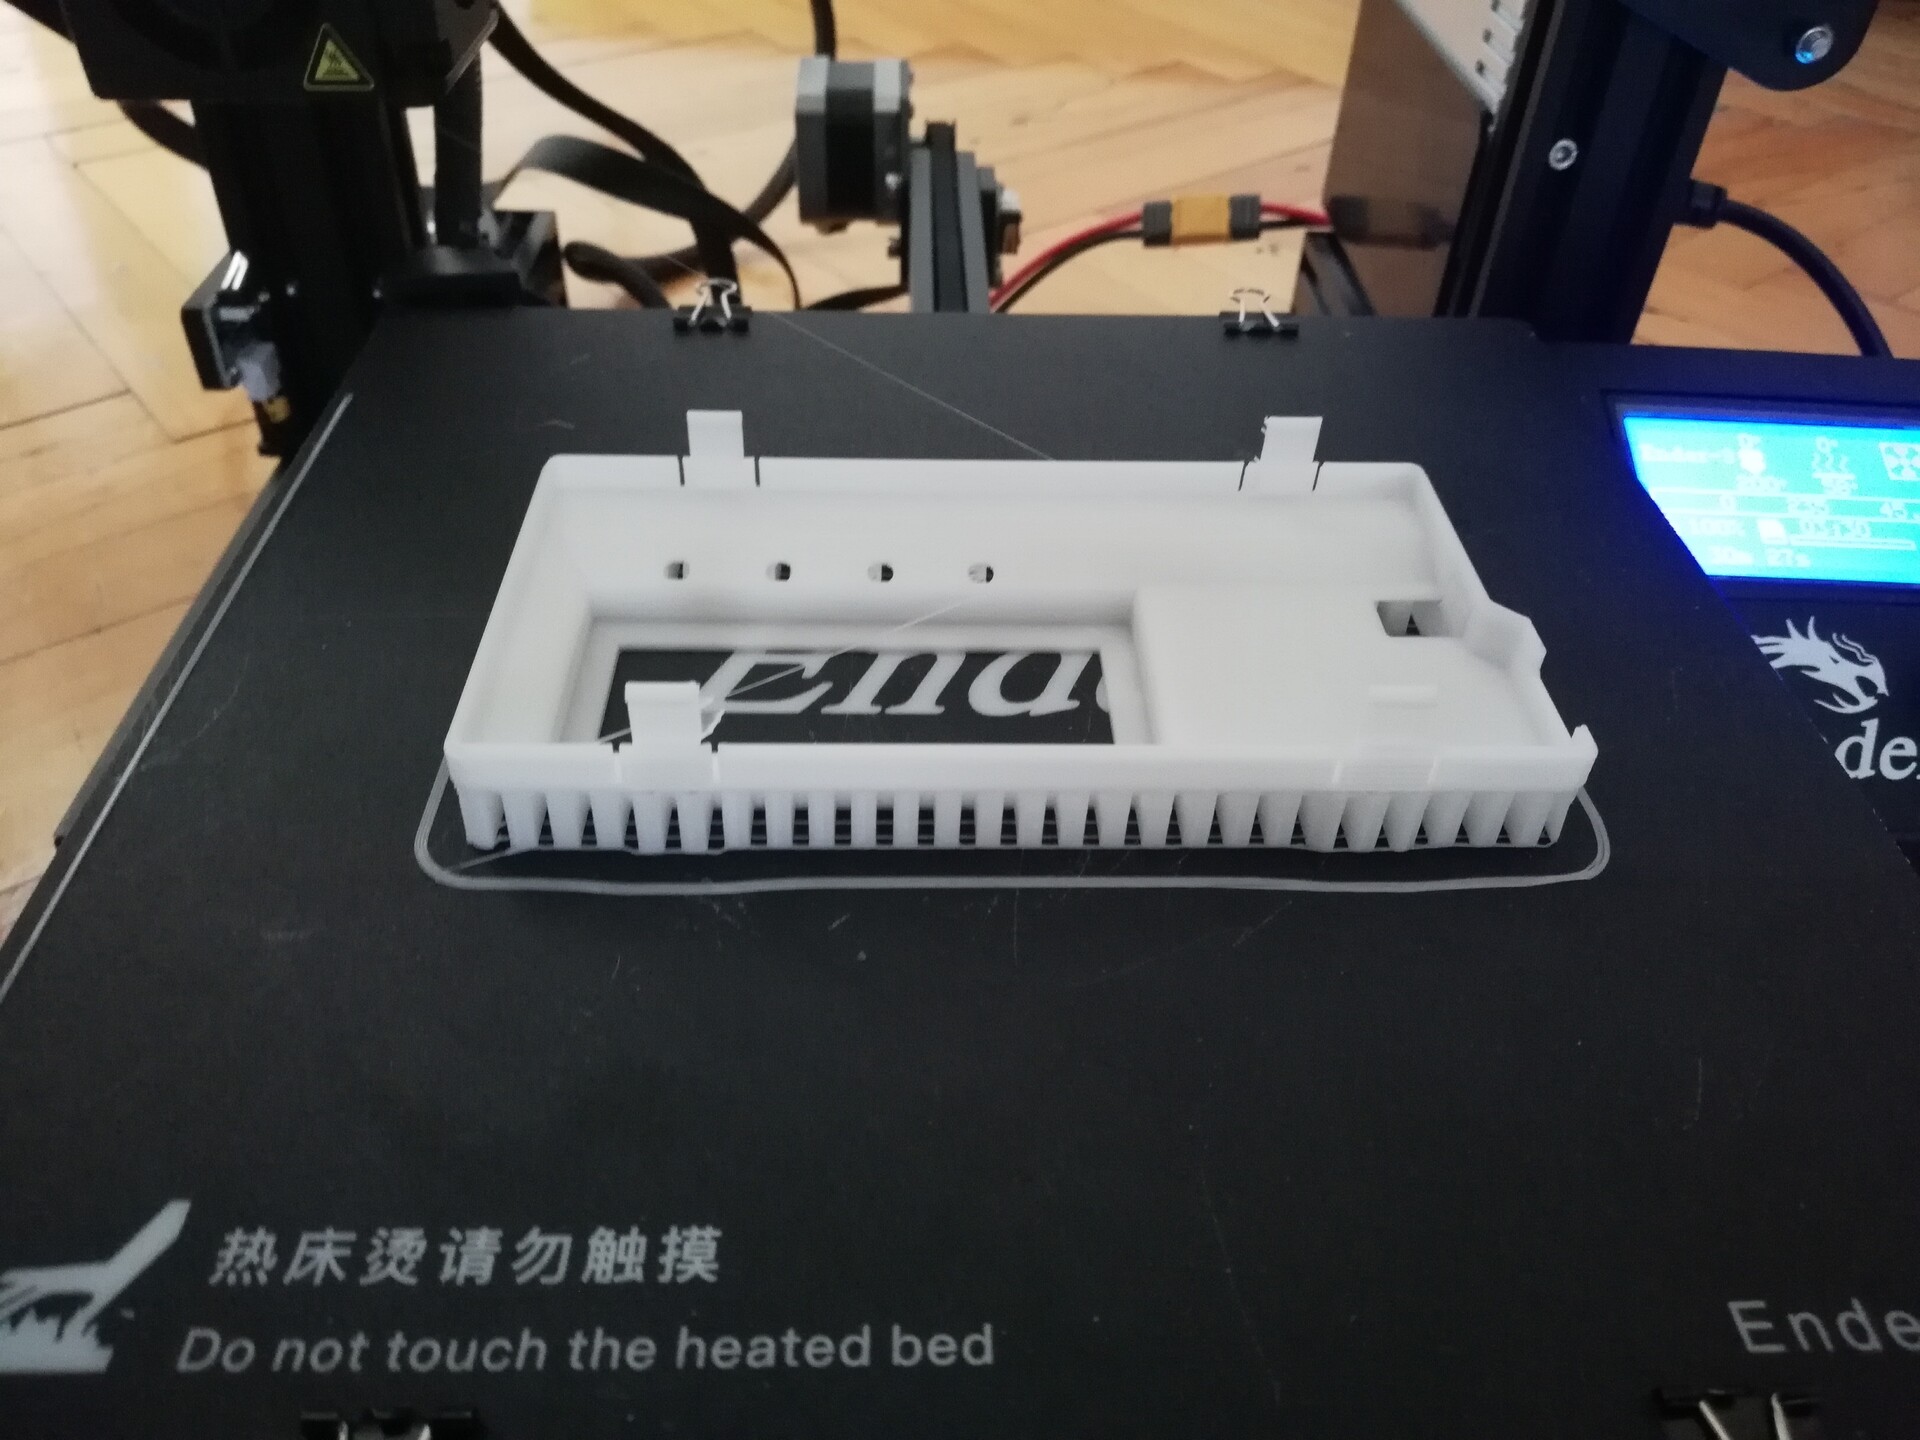
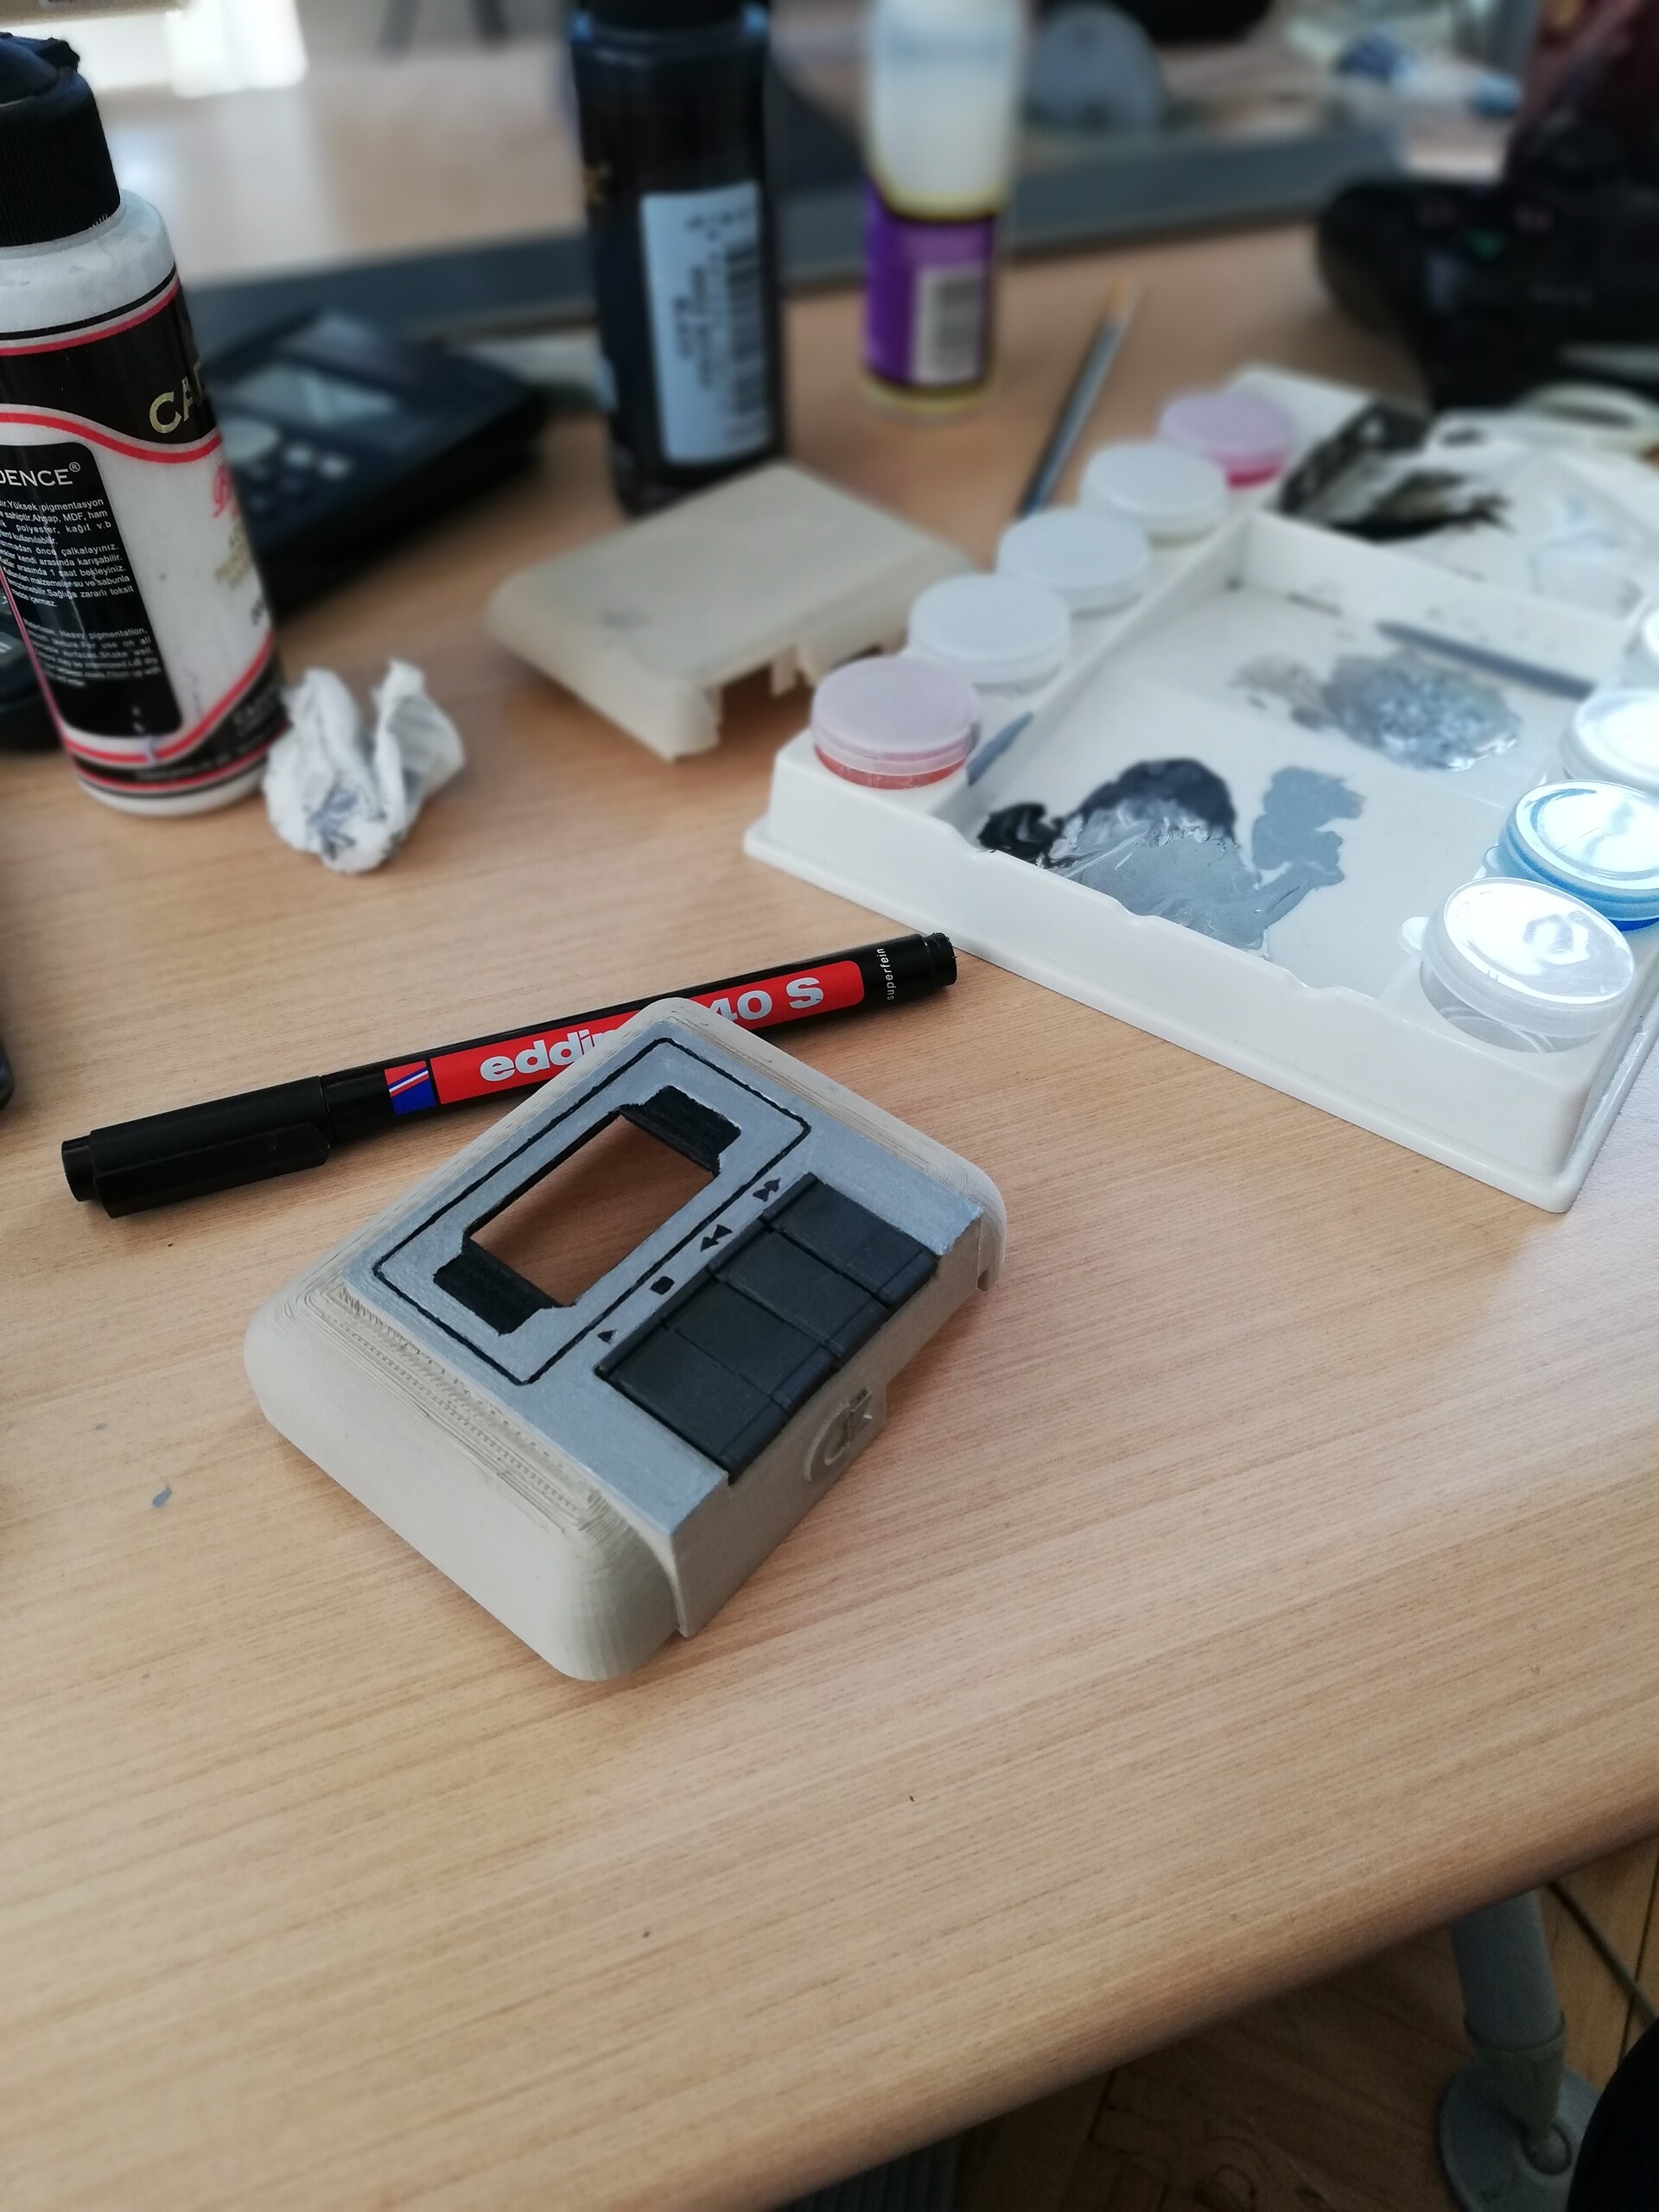
I used very cheap and generic buttons on this one. So it will be a challenge to make a usable keypad with these. Because production abilities are limited with my home and my entry level 3d printer :) So I moved on to create the case and the buttons for that circuit.

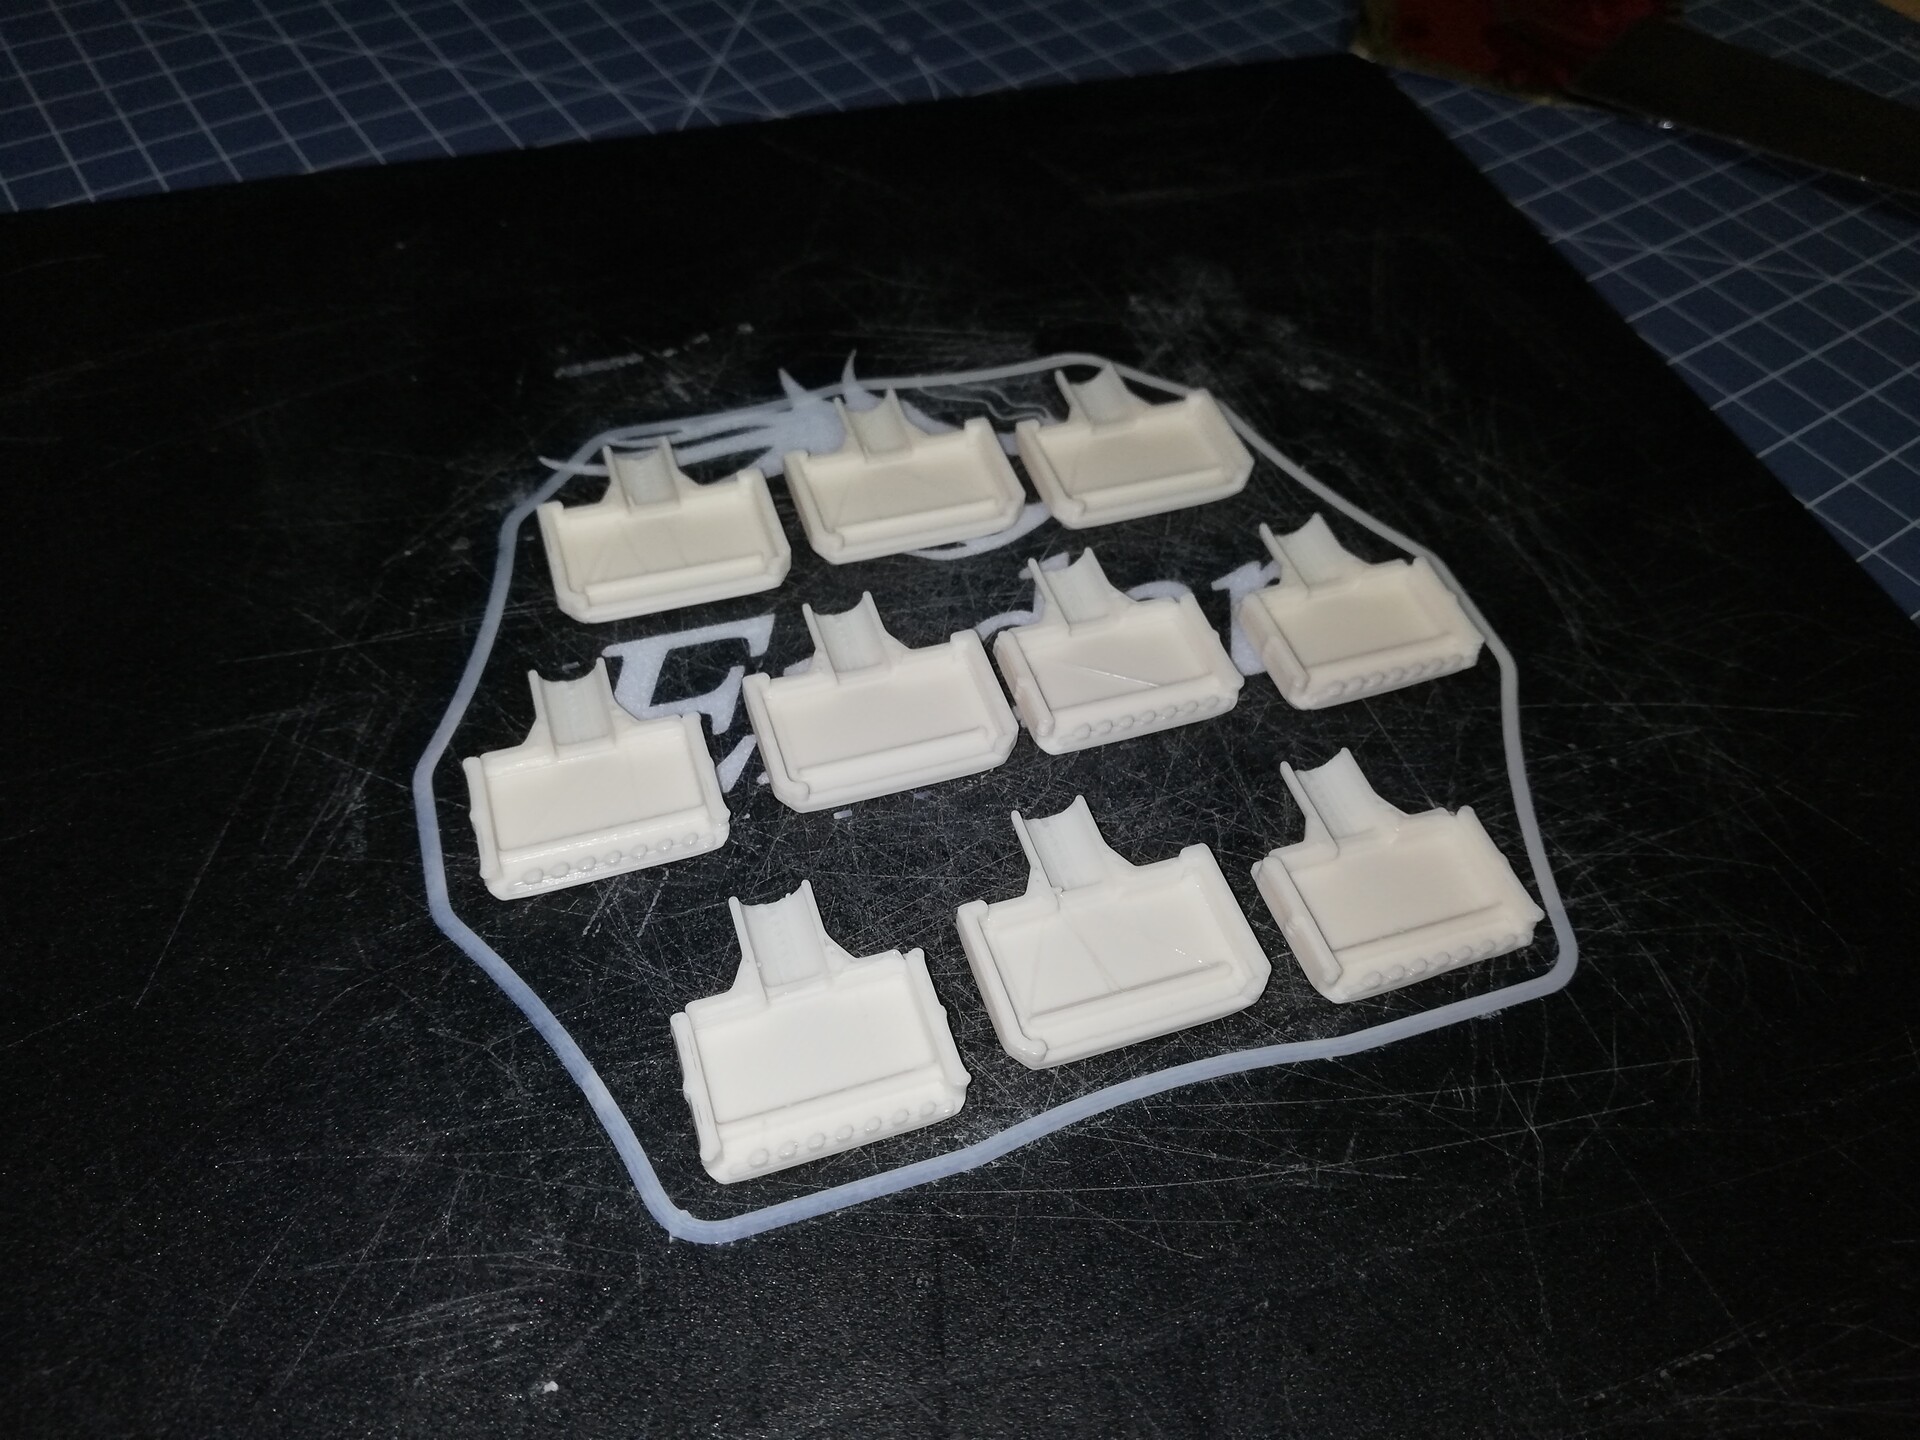
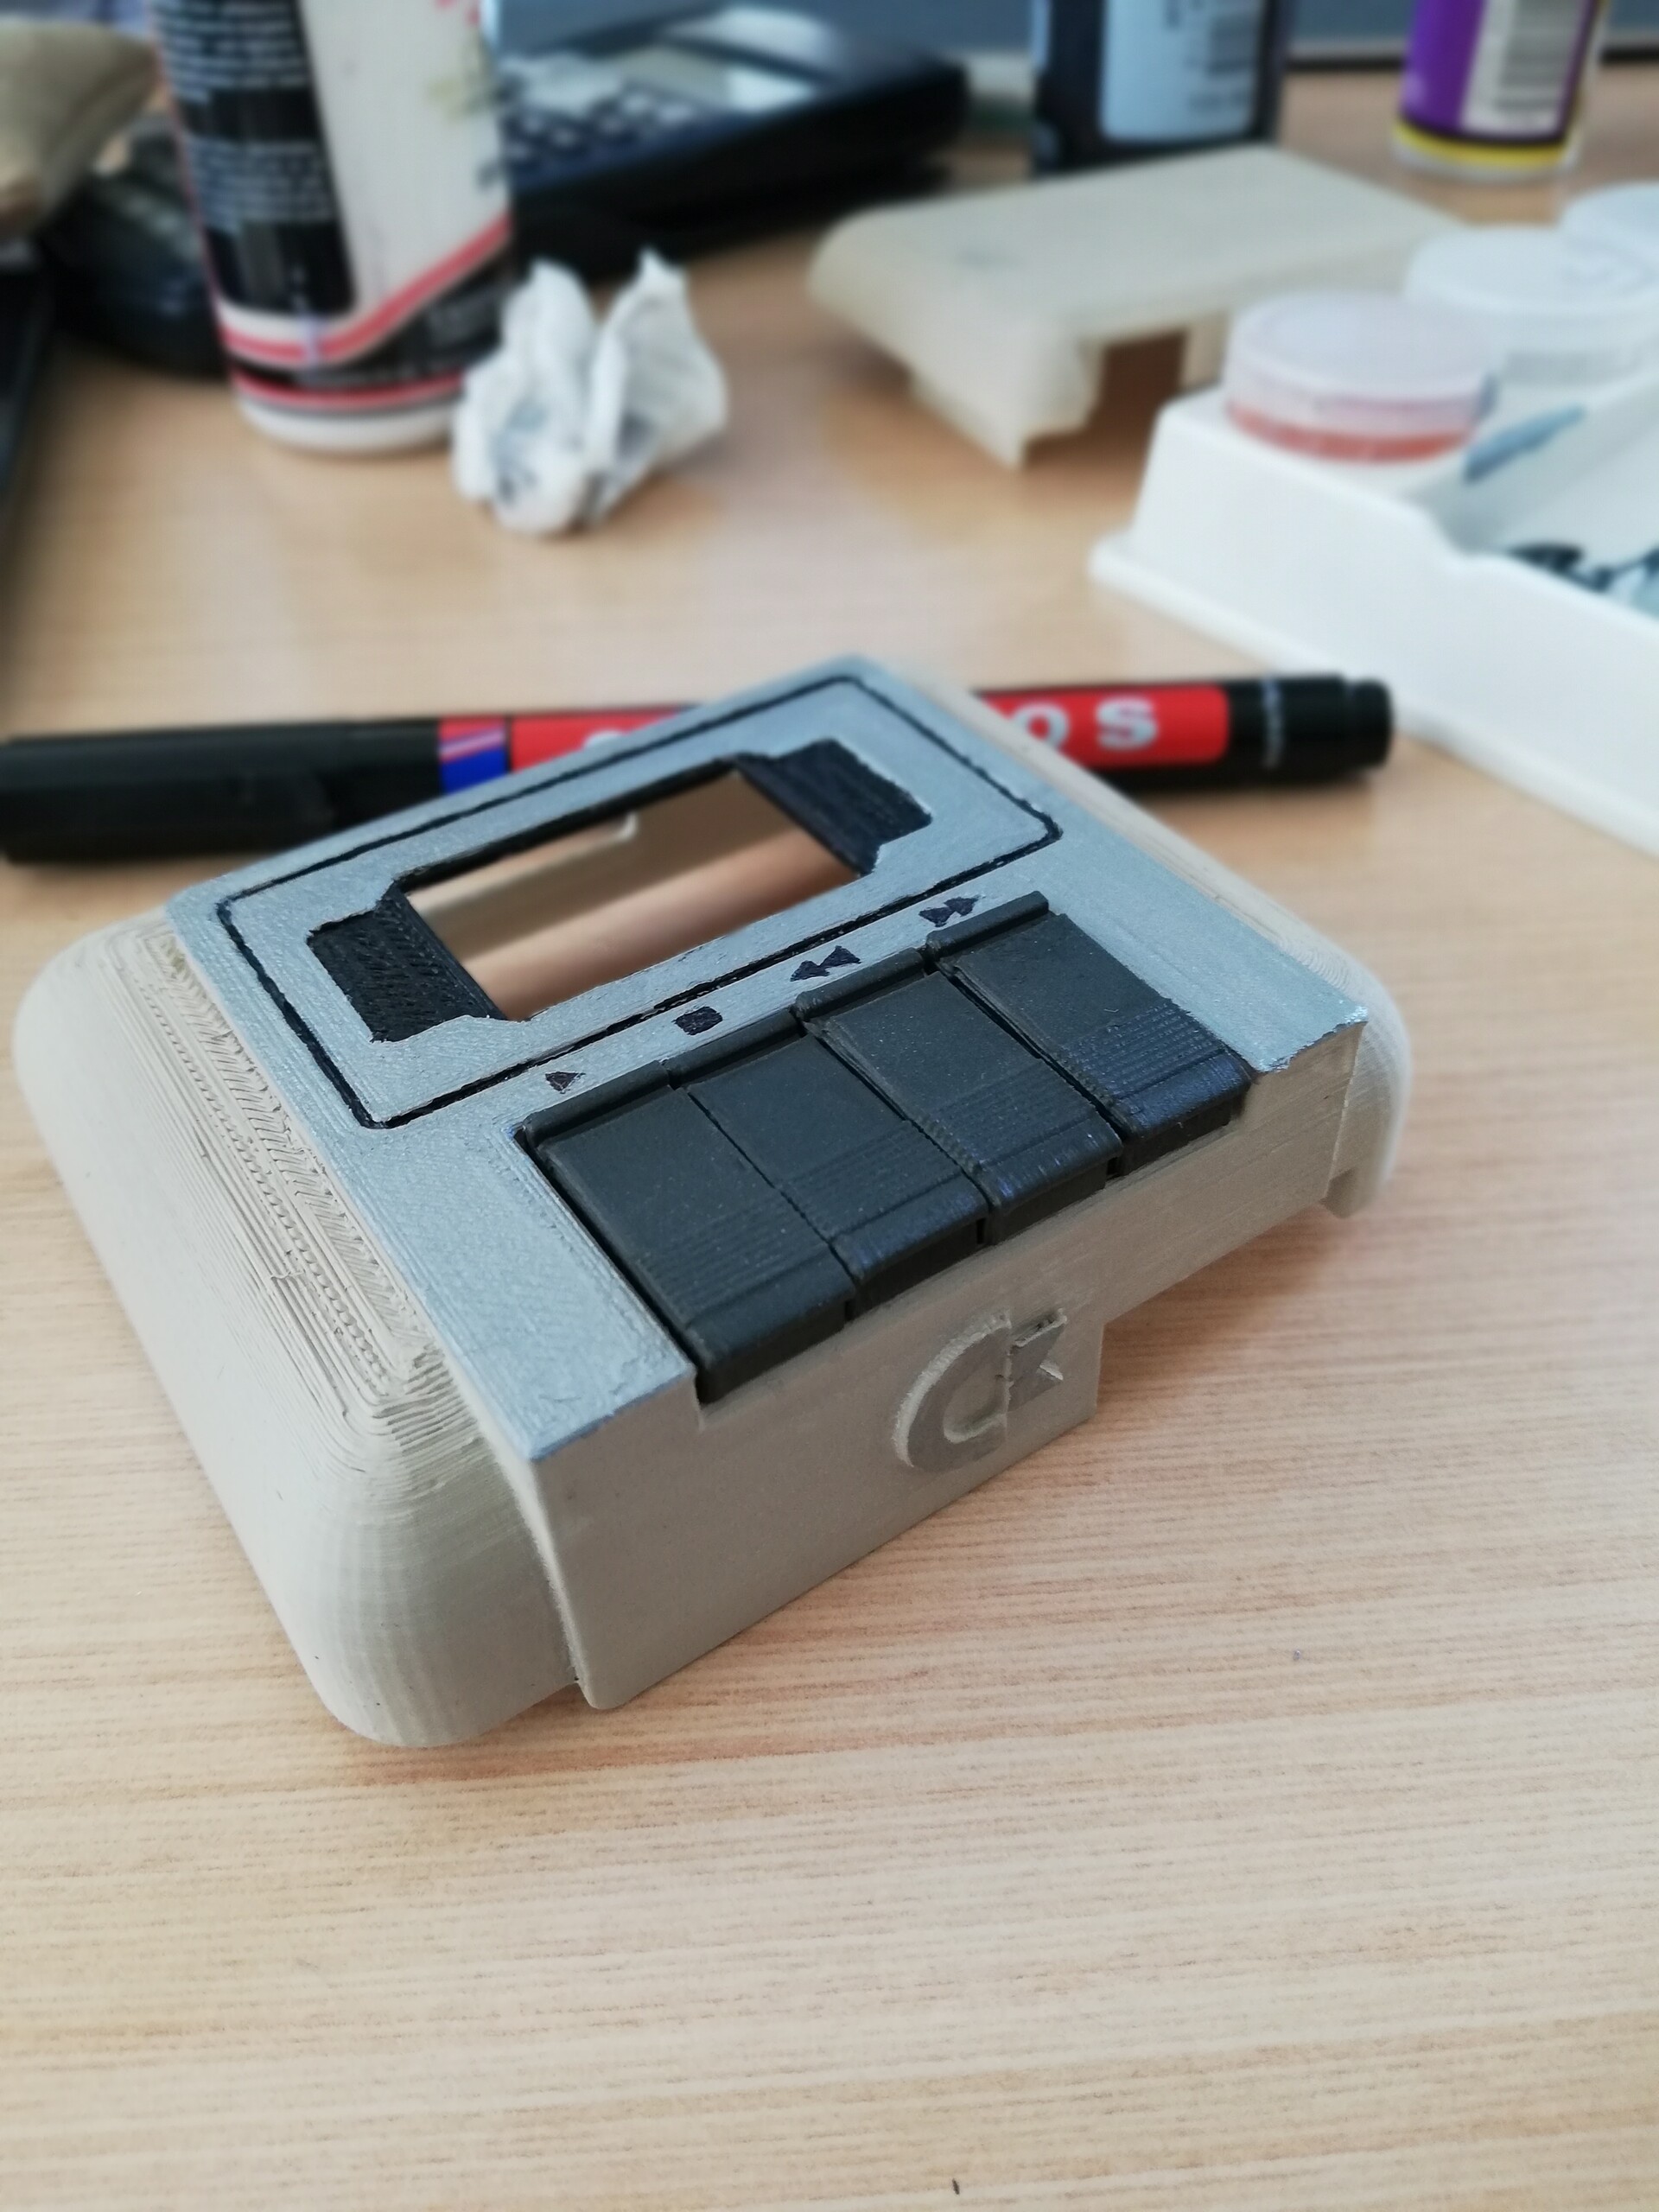
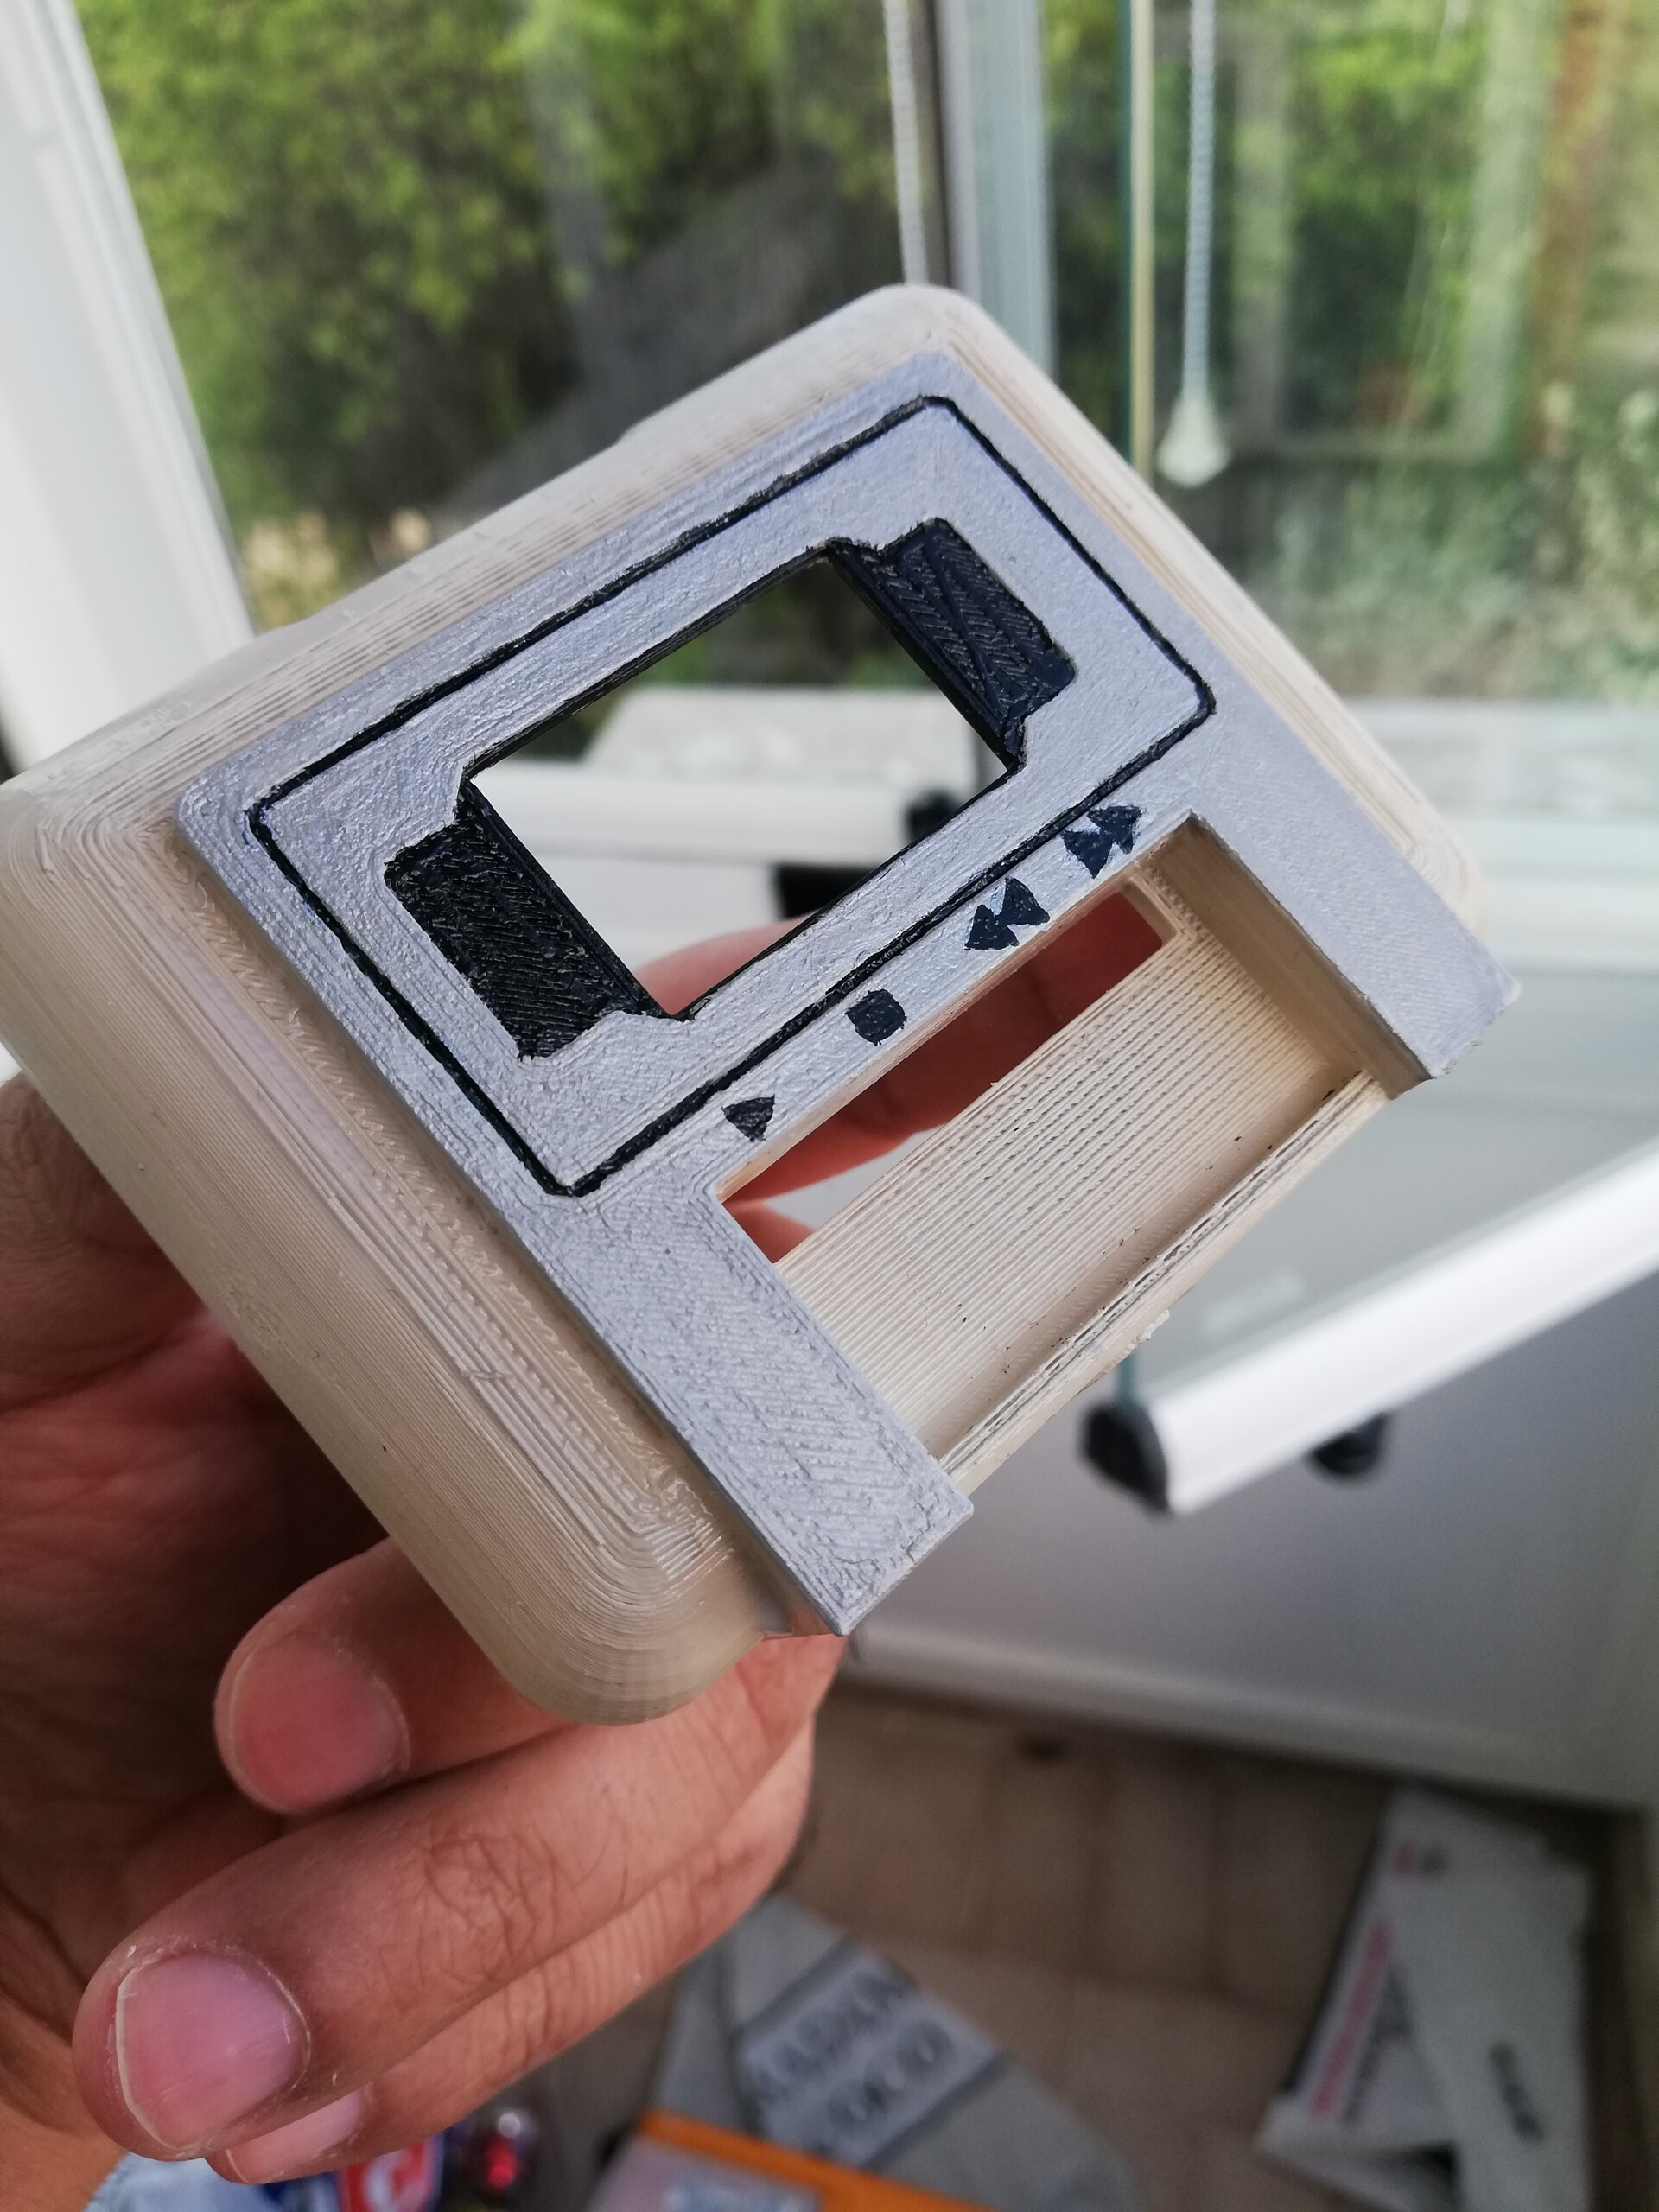
This is the first design of the keypad.


I printed the parts and used some double sided tapes to attach the buttons (I keep stamping that bad logo of my freelancing startup everwhere).


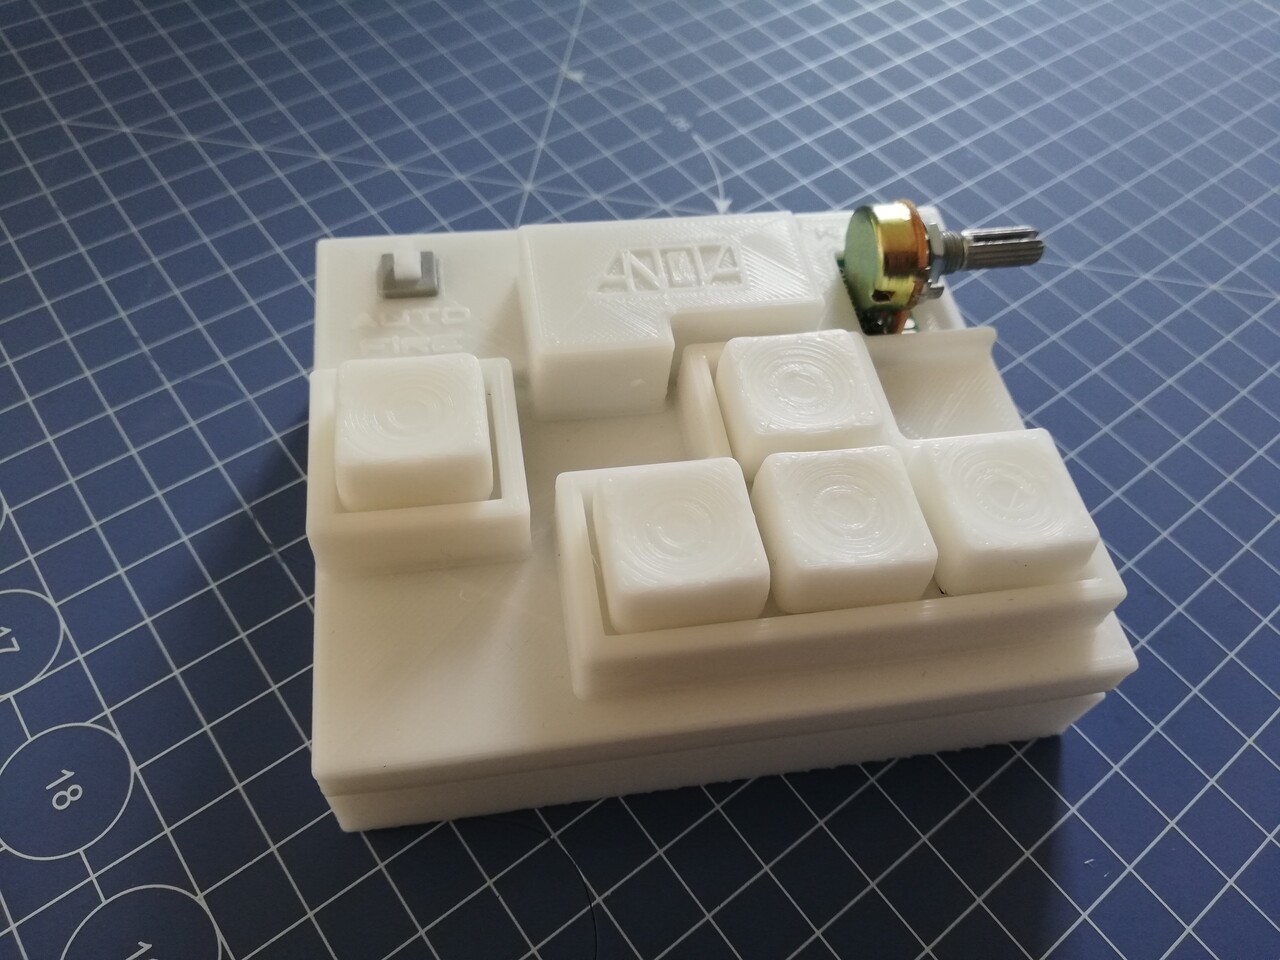
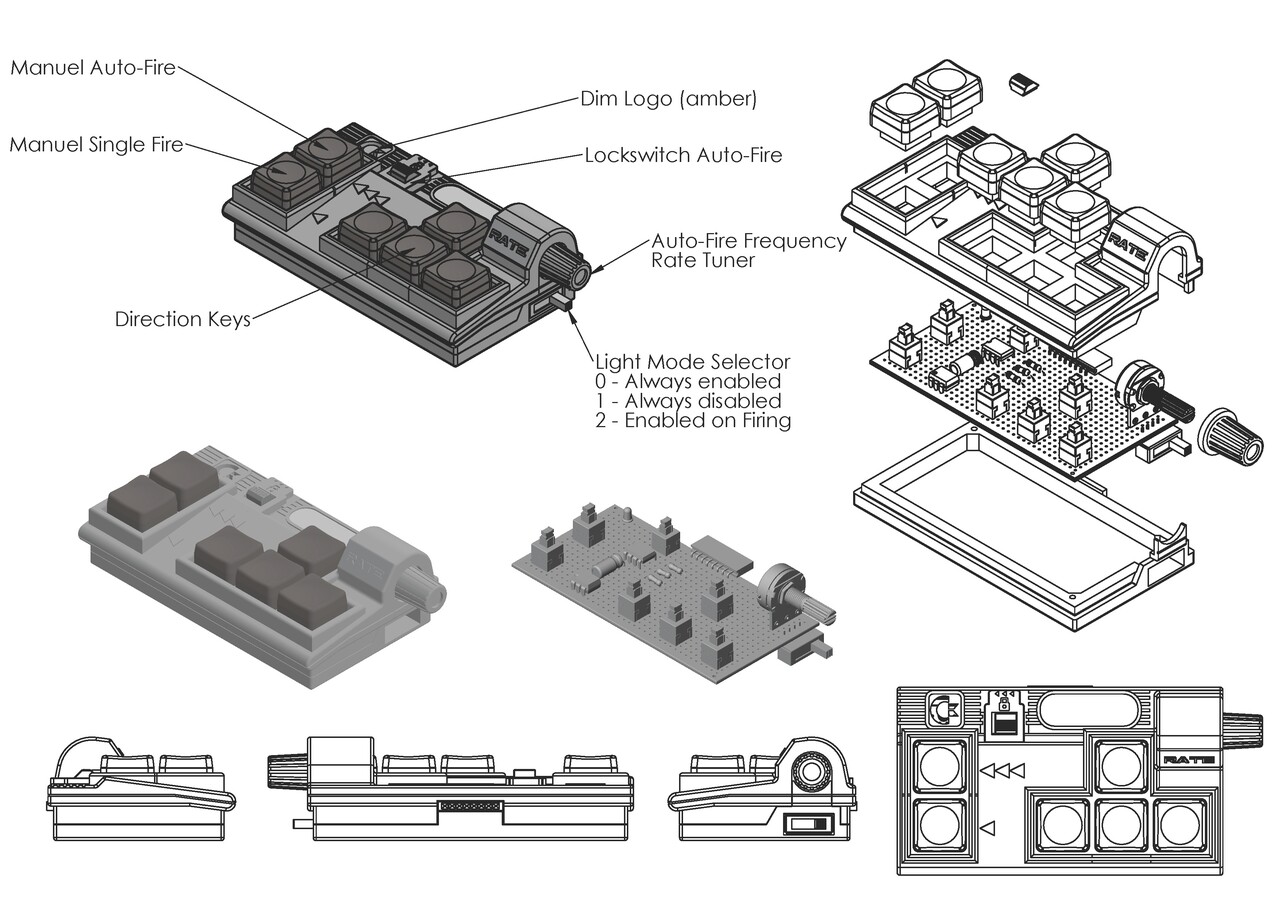
After that first design. I decided to add a second button for manually activate the auto fire and this was the drawing of it.

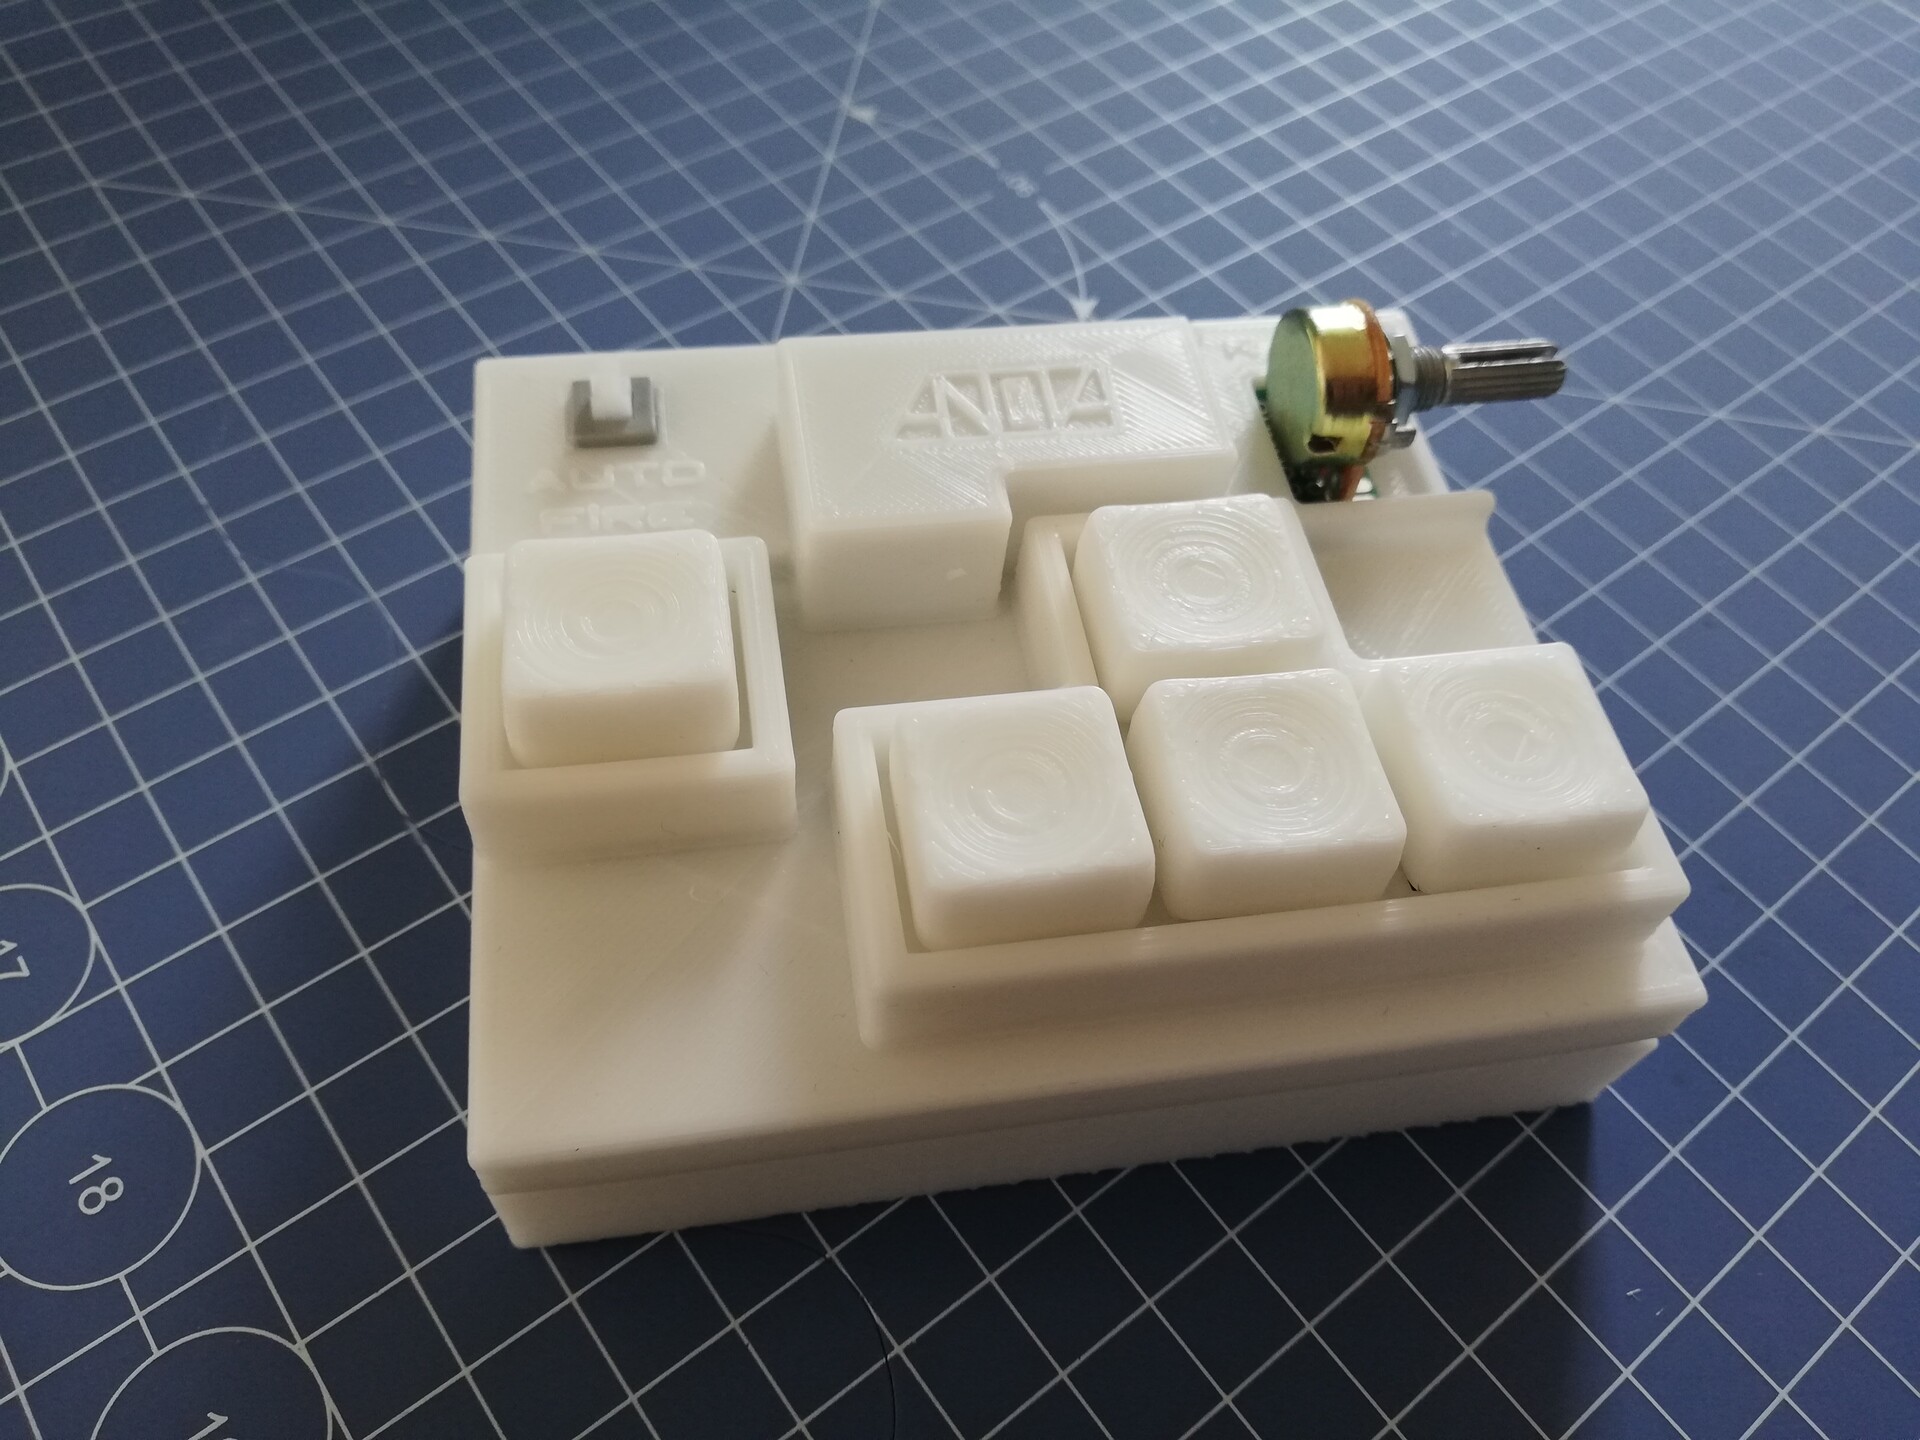
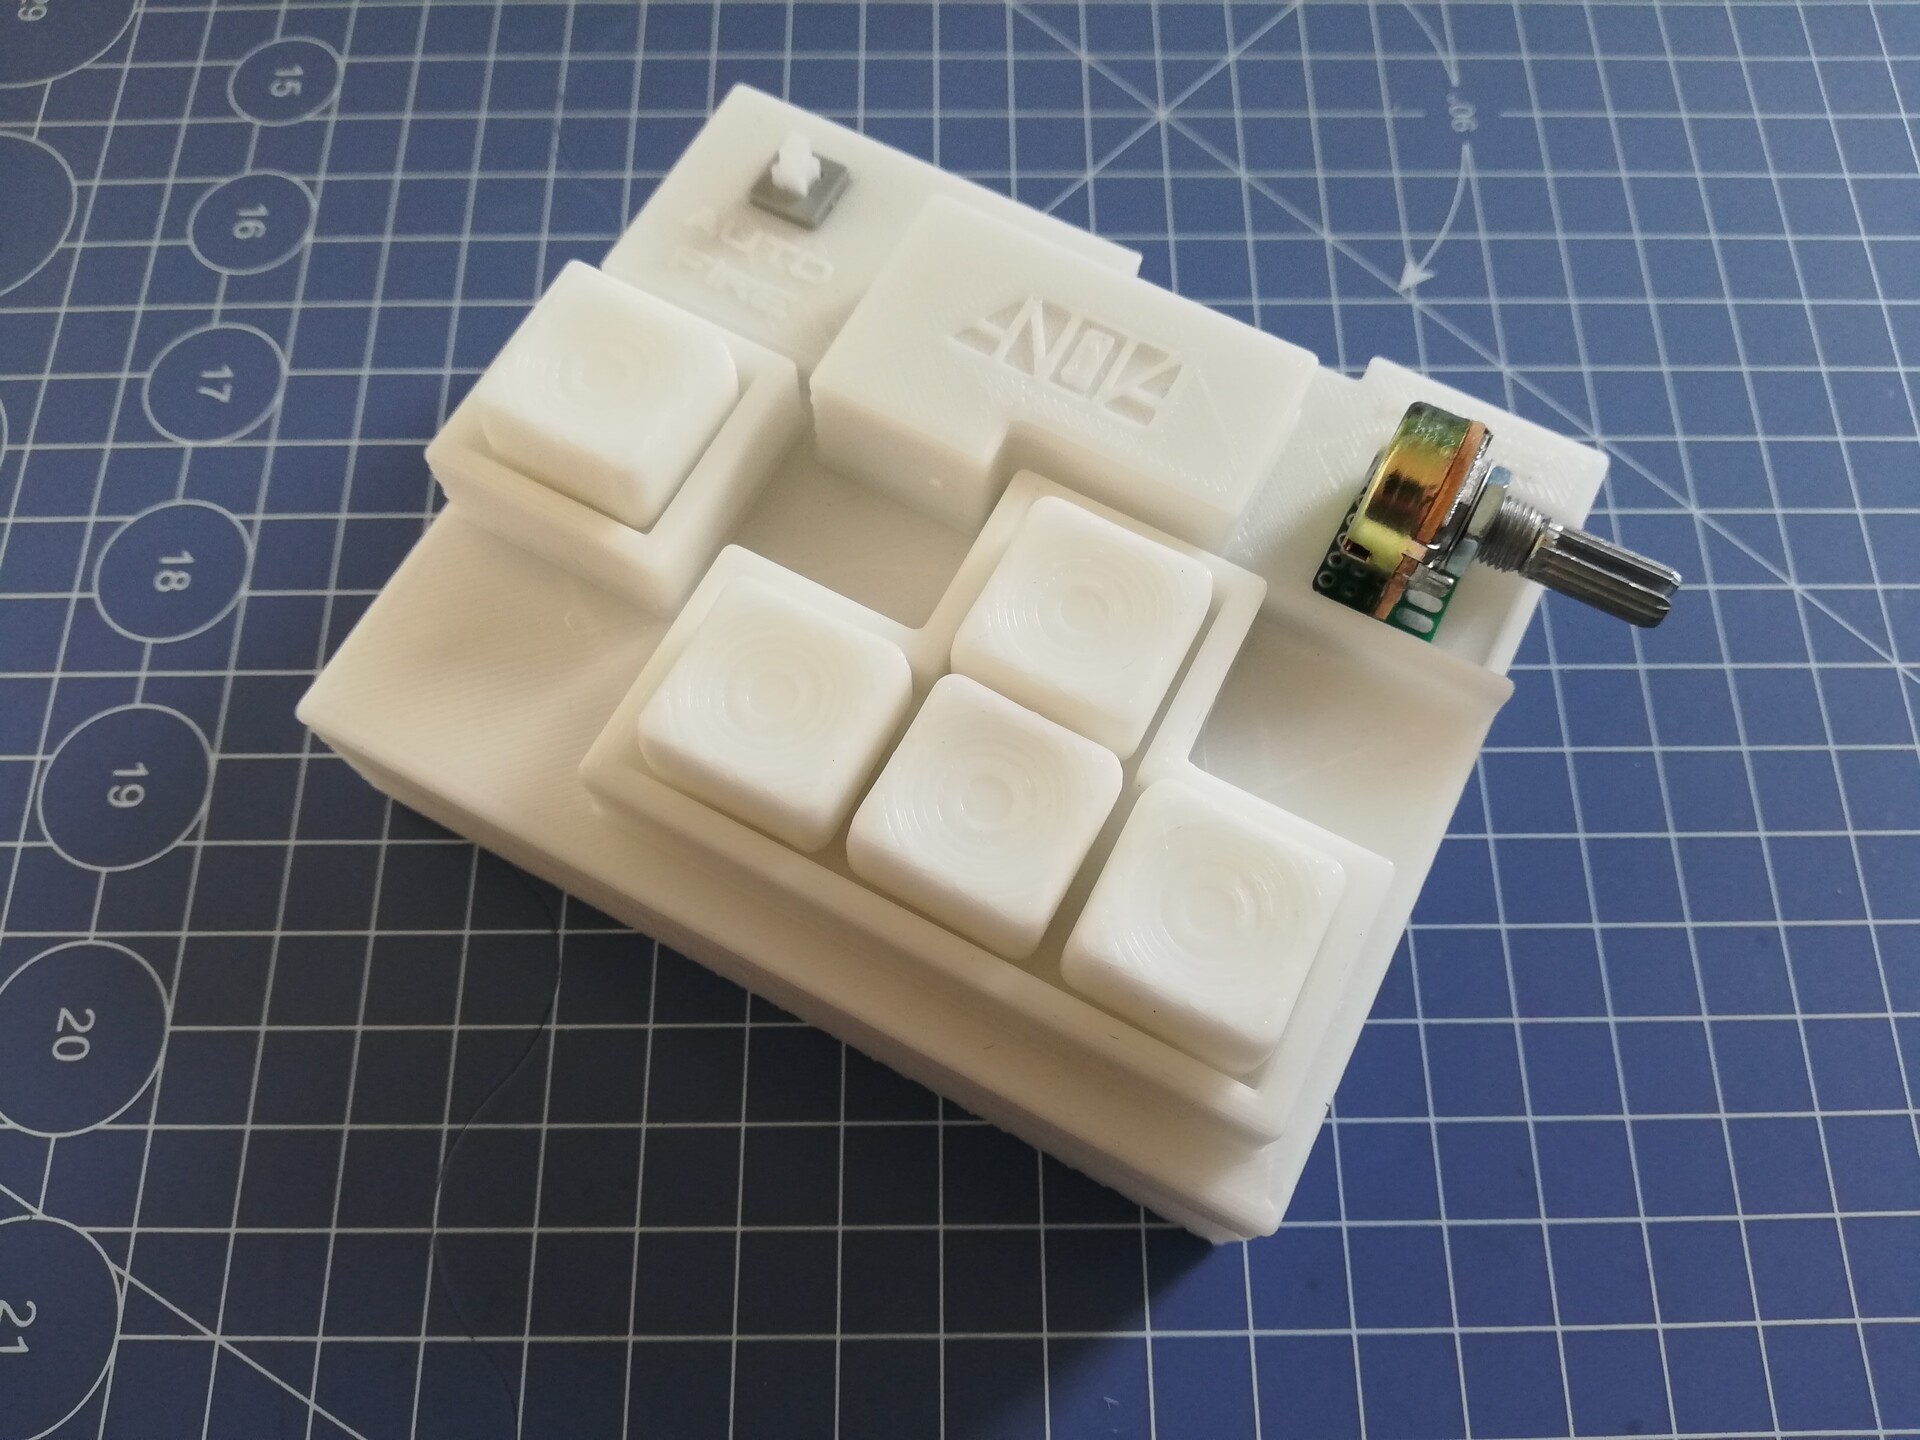
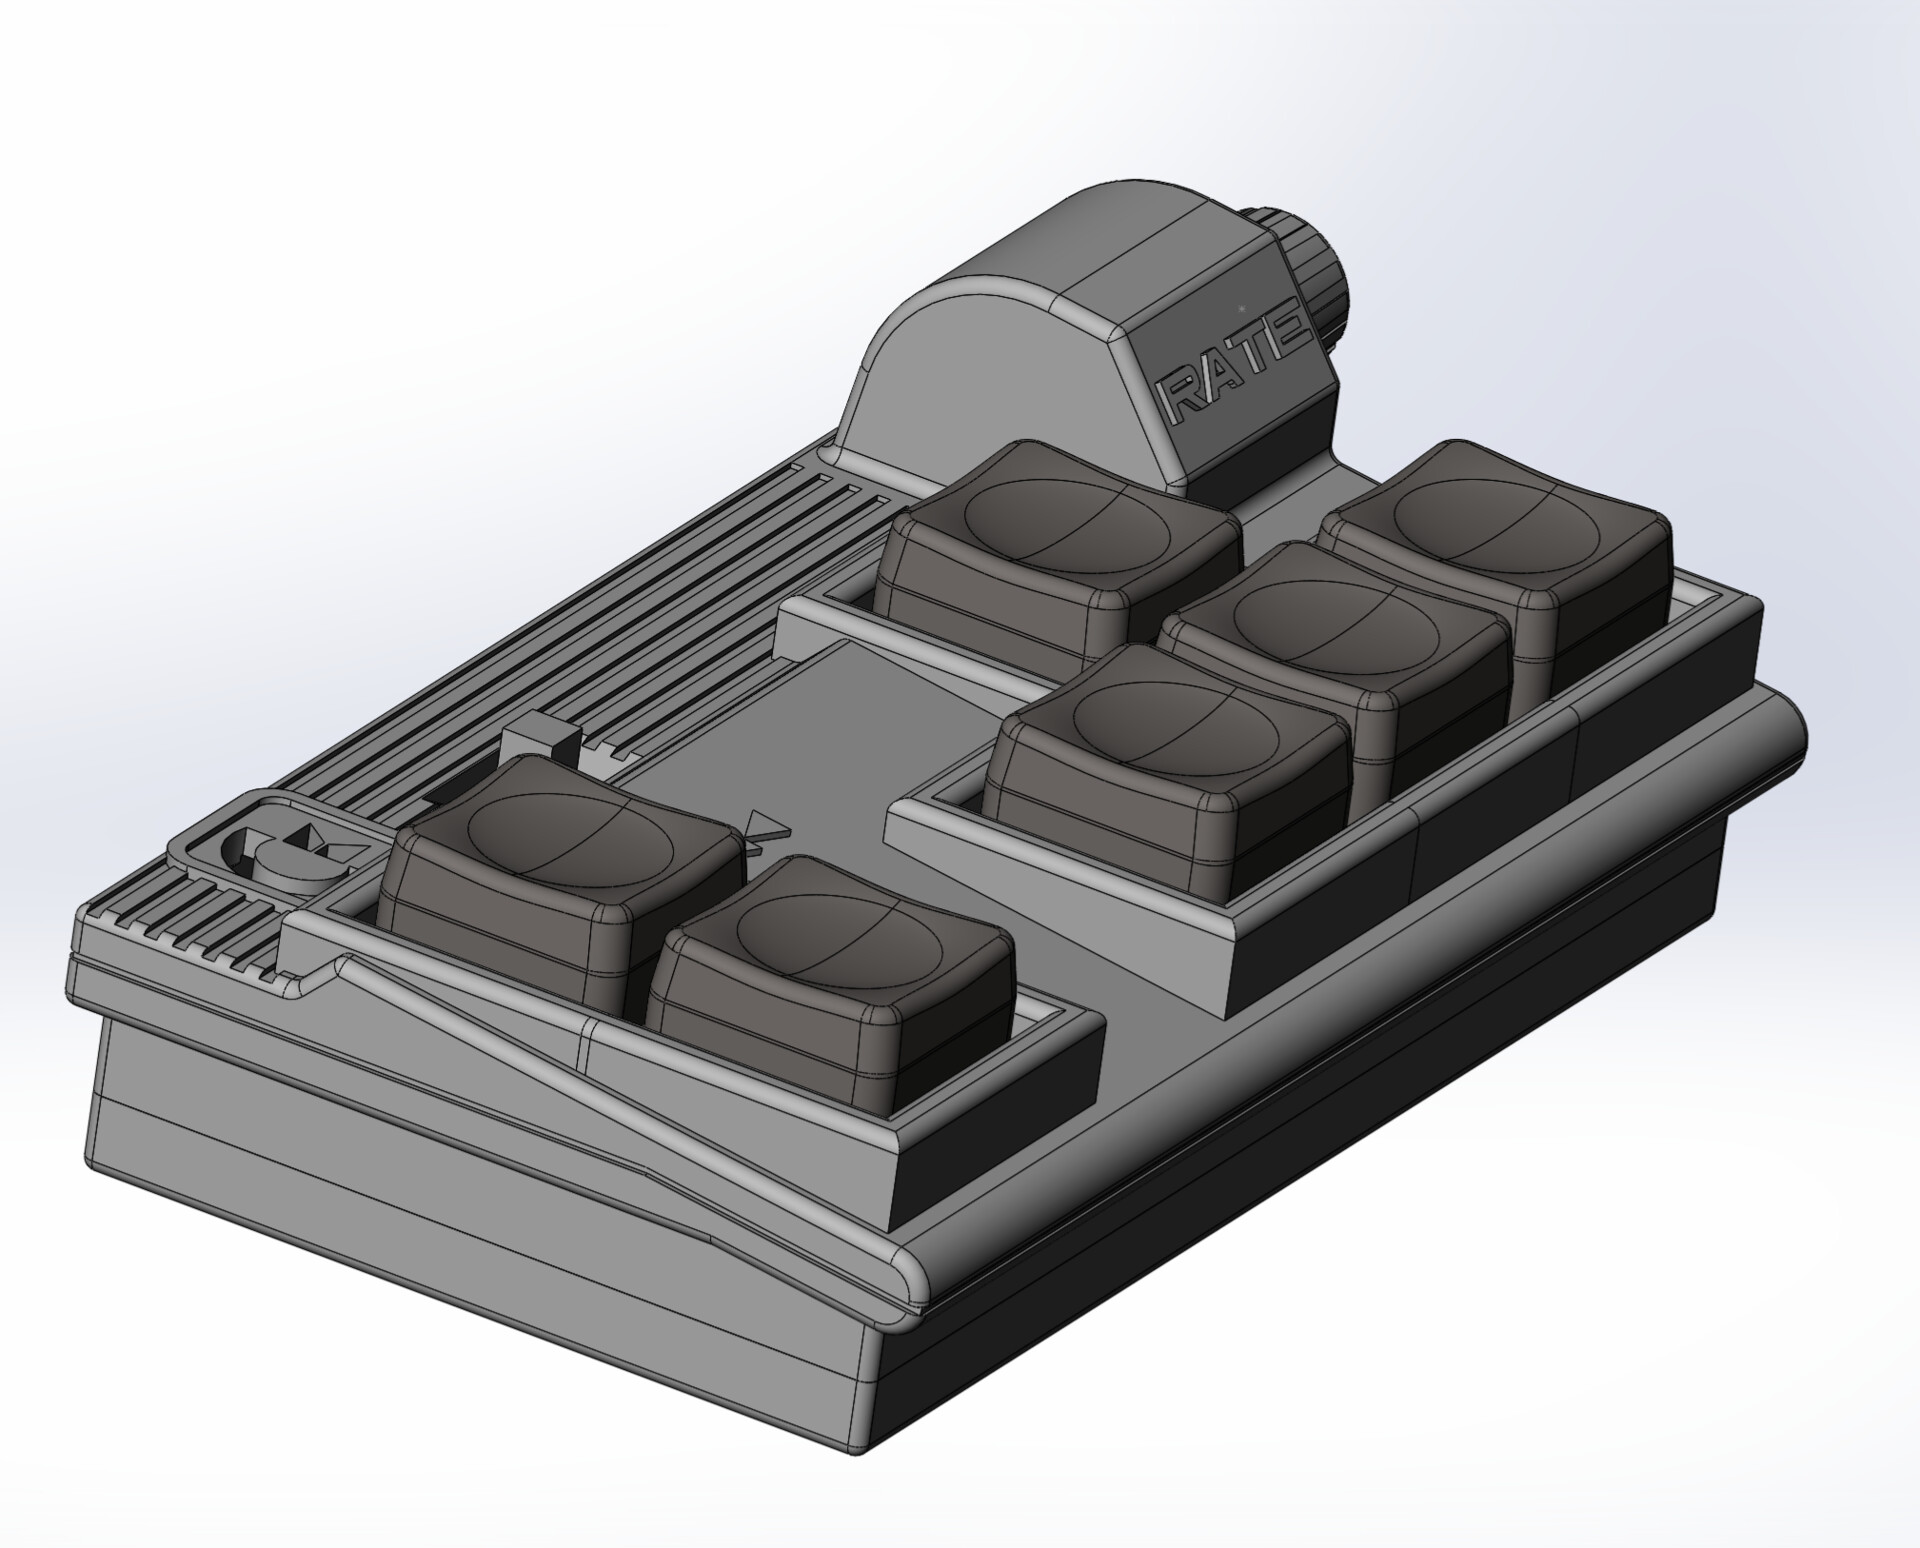
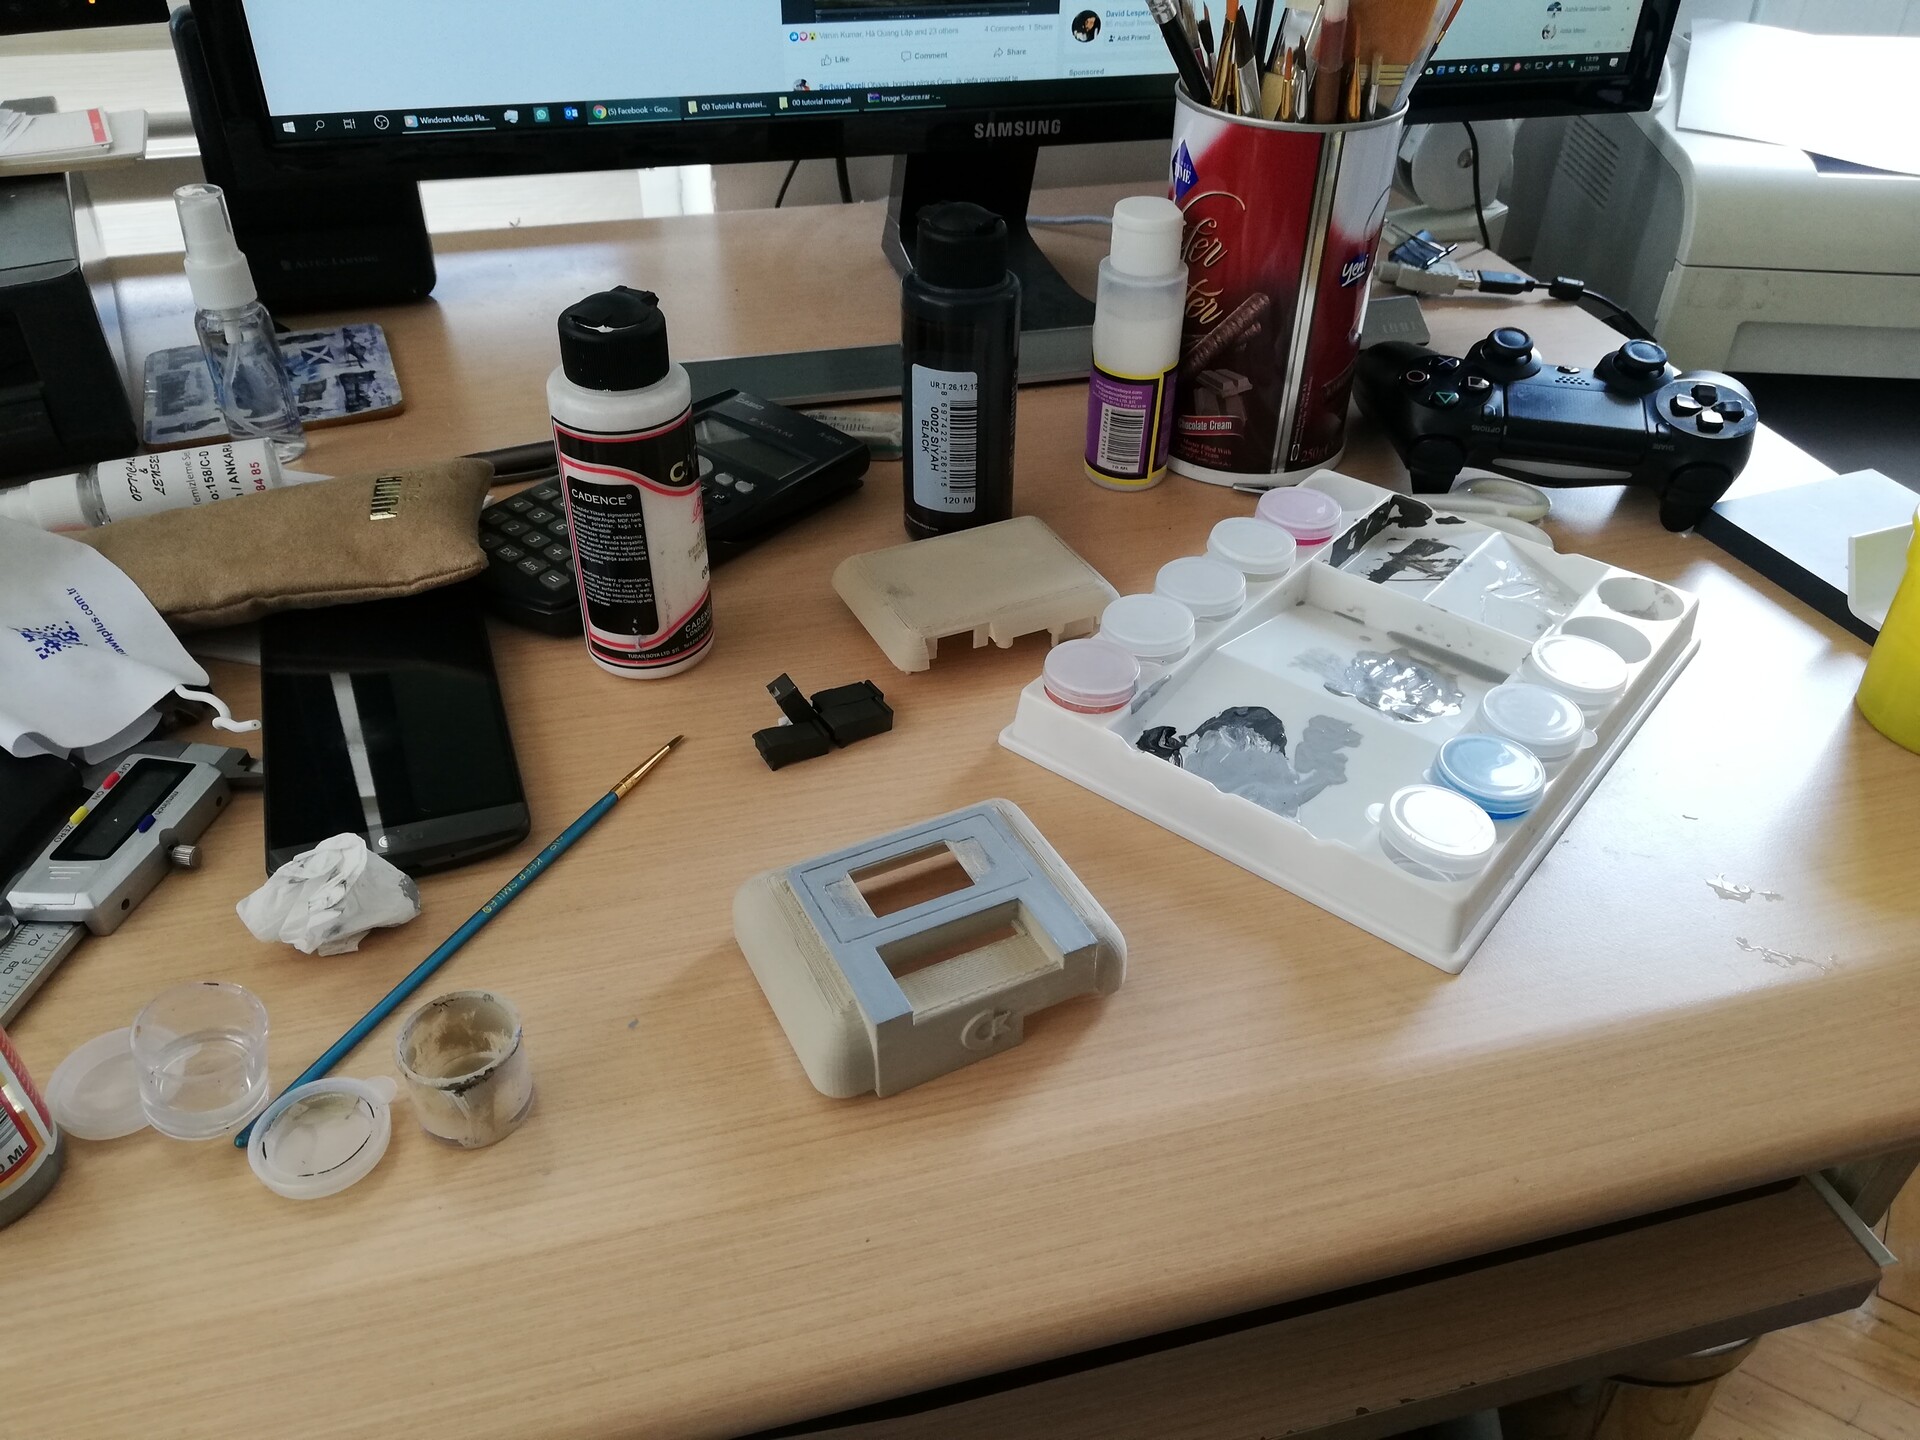
After the acceptible success of gameplay satisfaction level on that device, it was time to make a more cool design. 

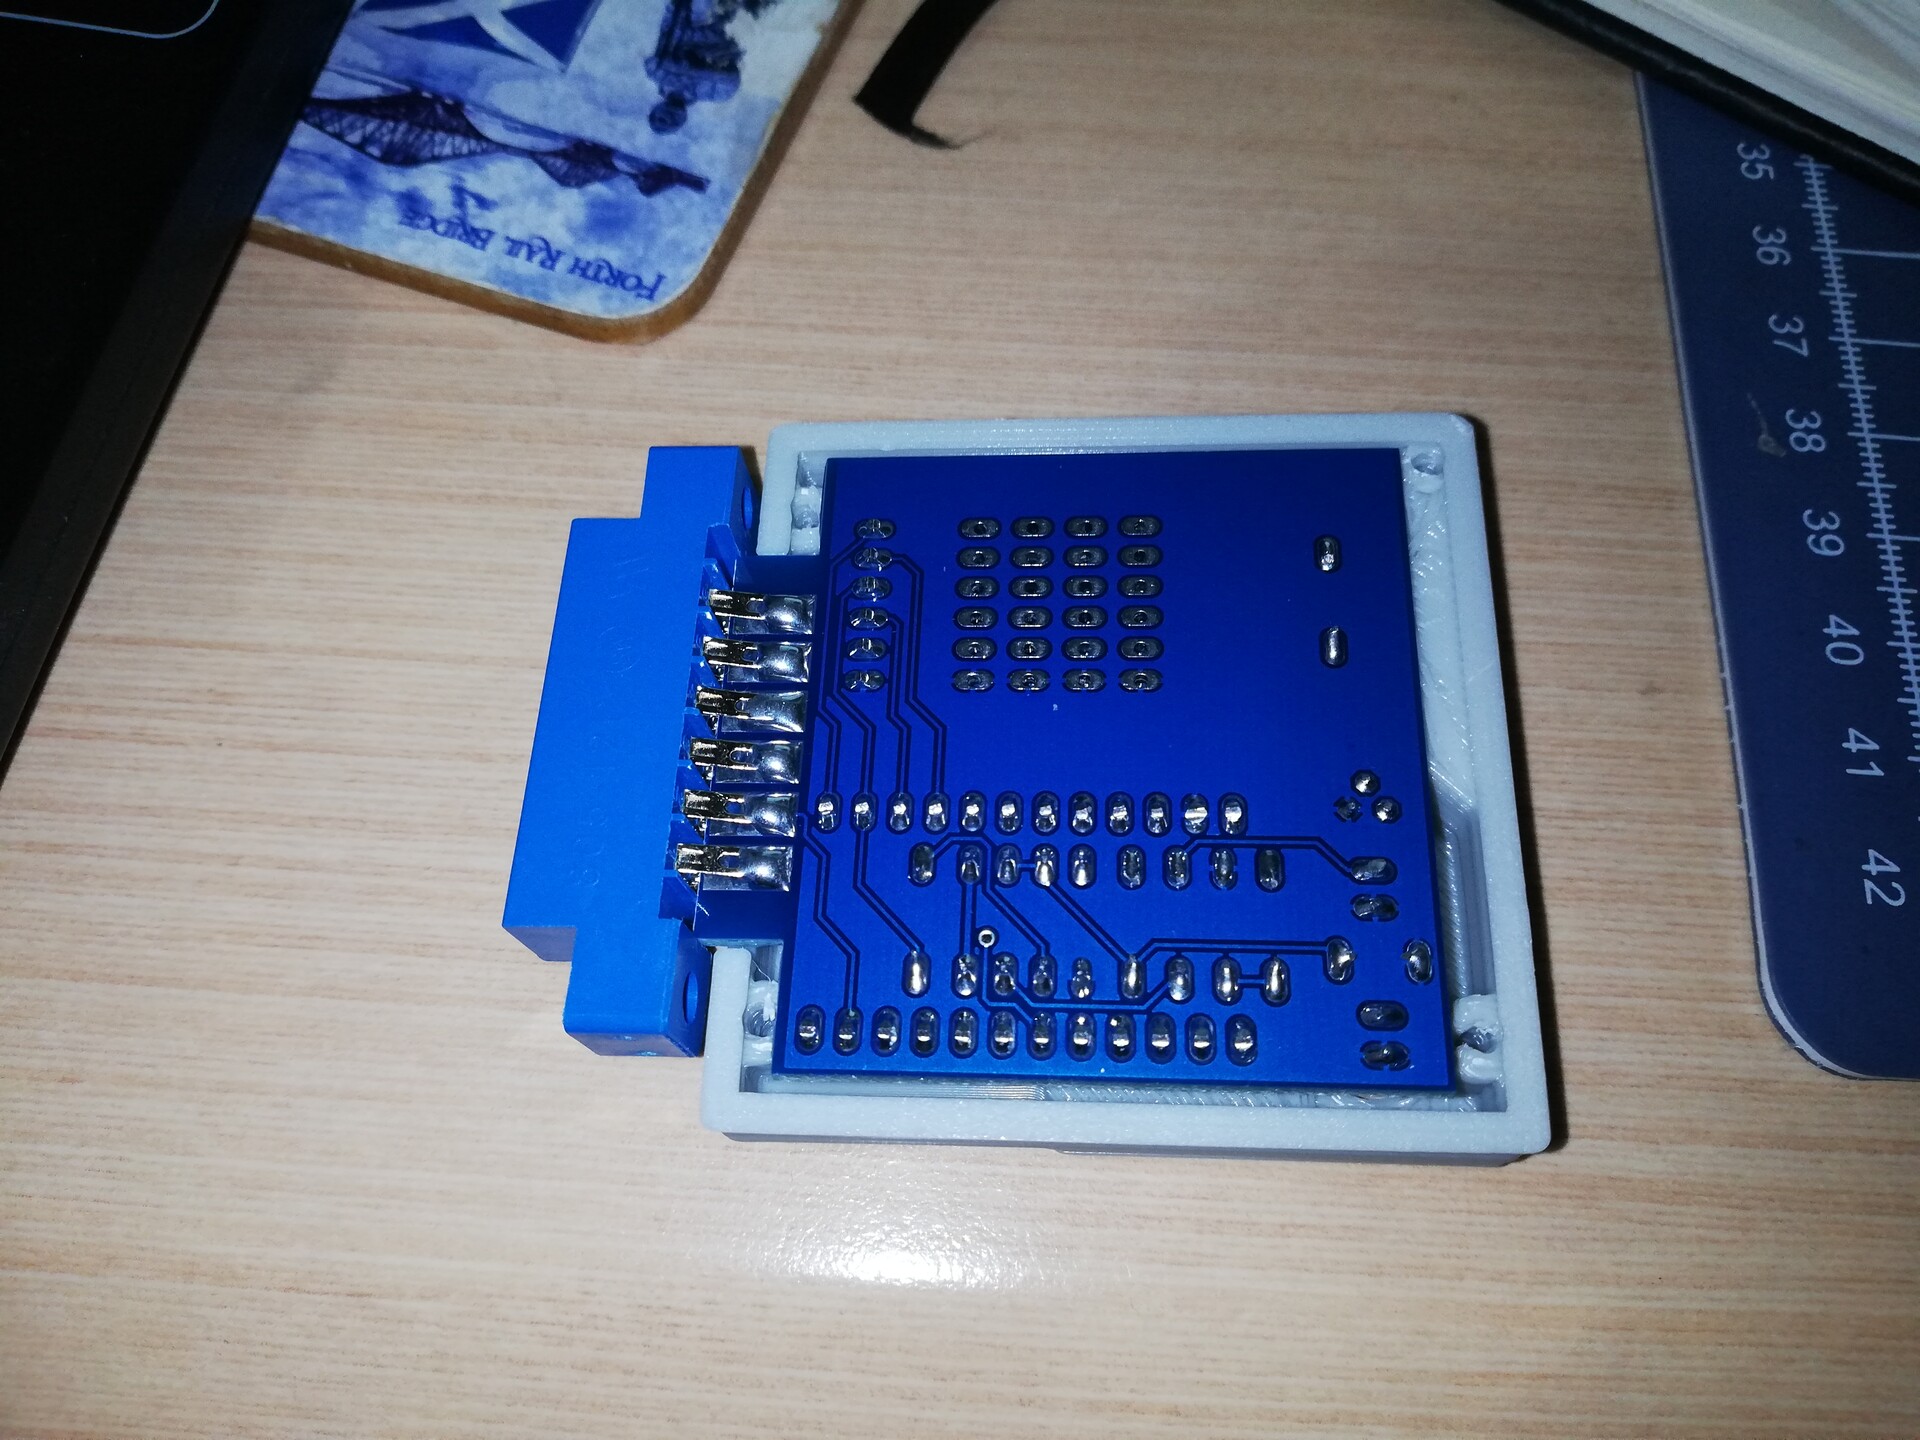
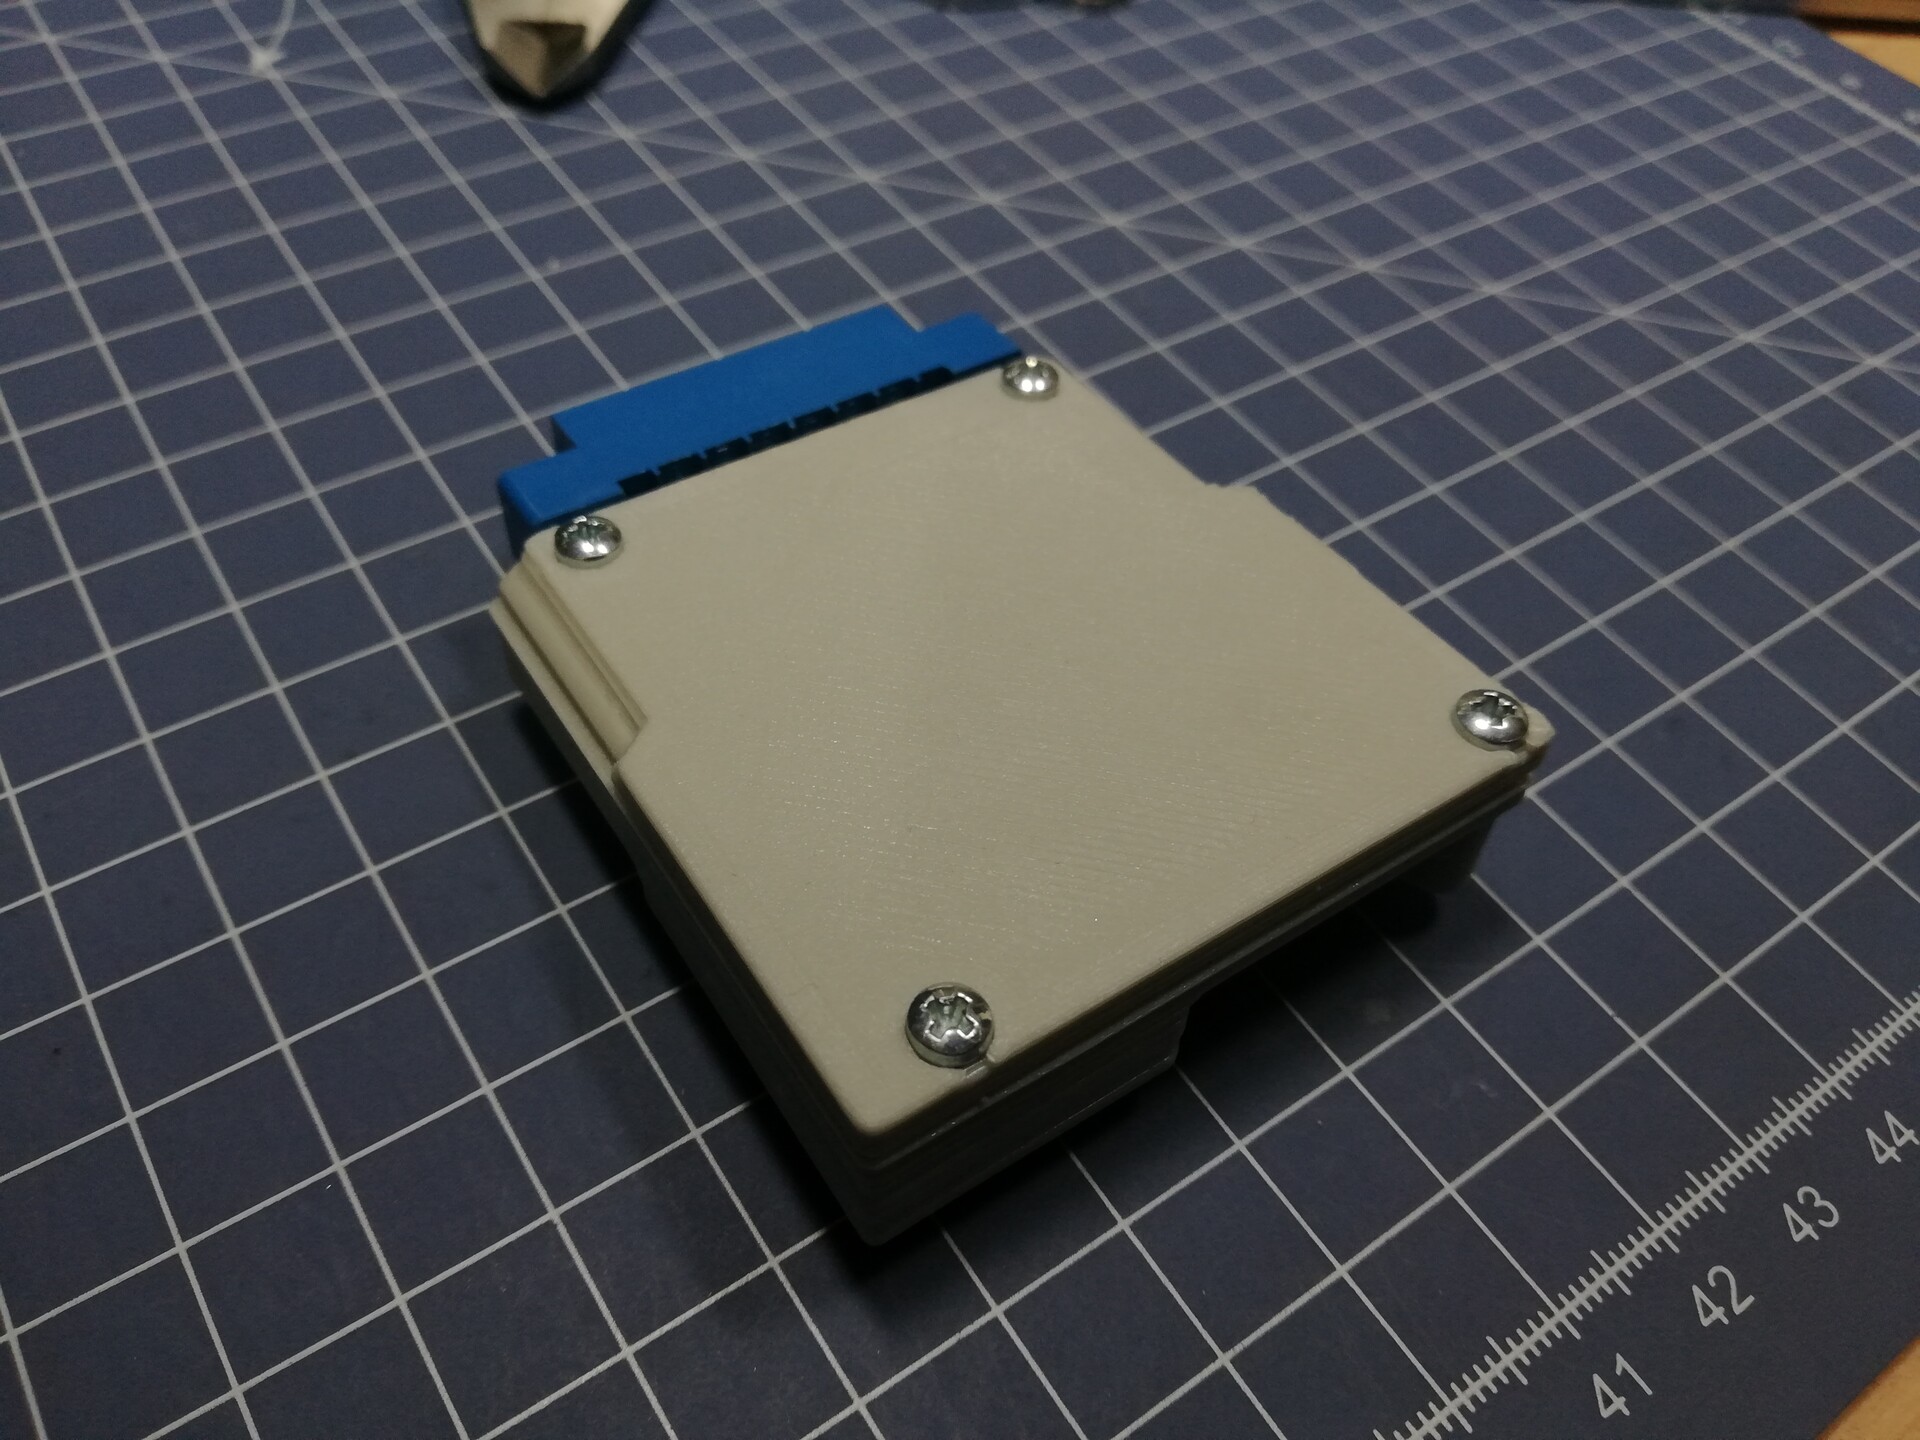
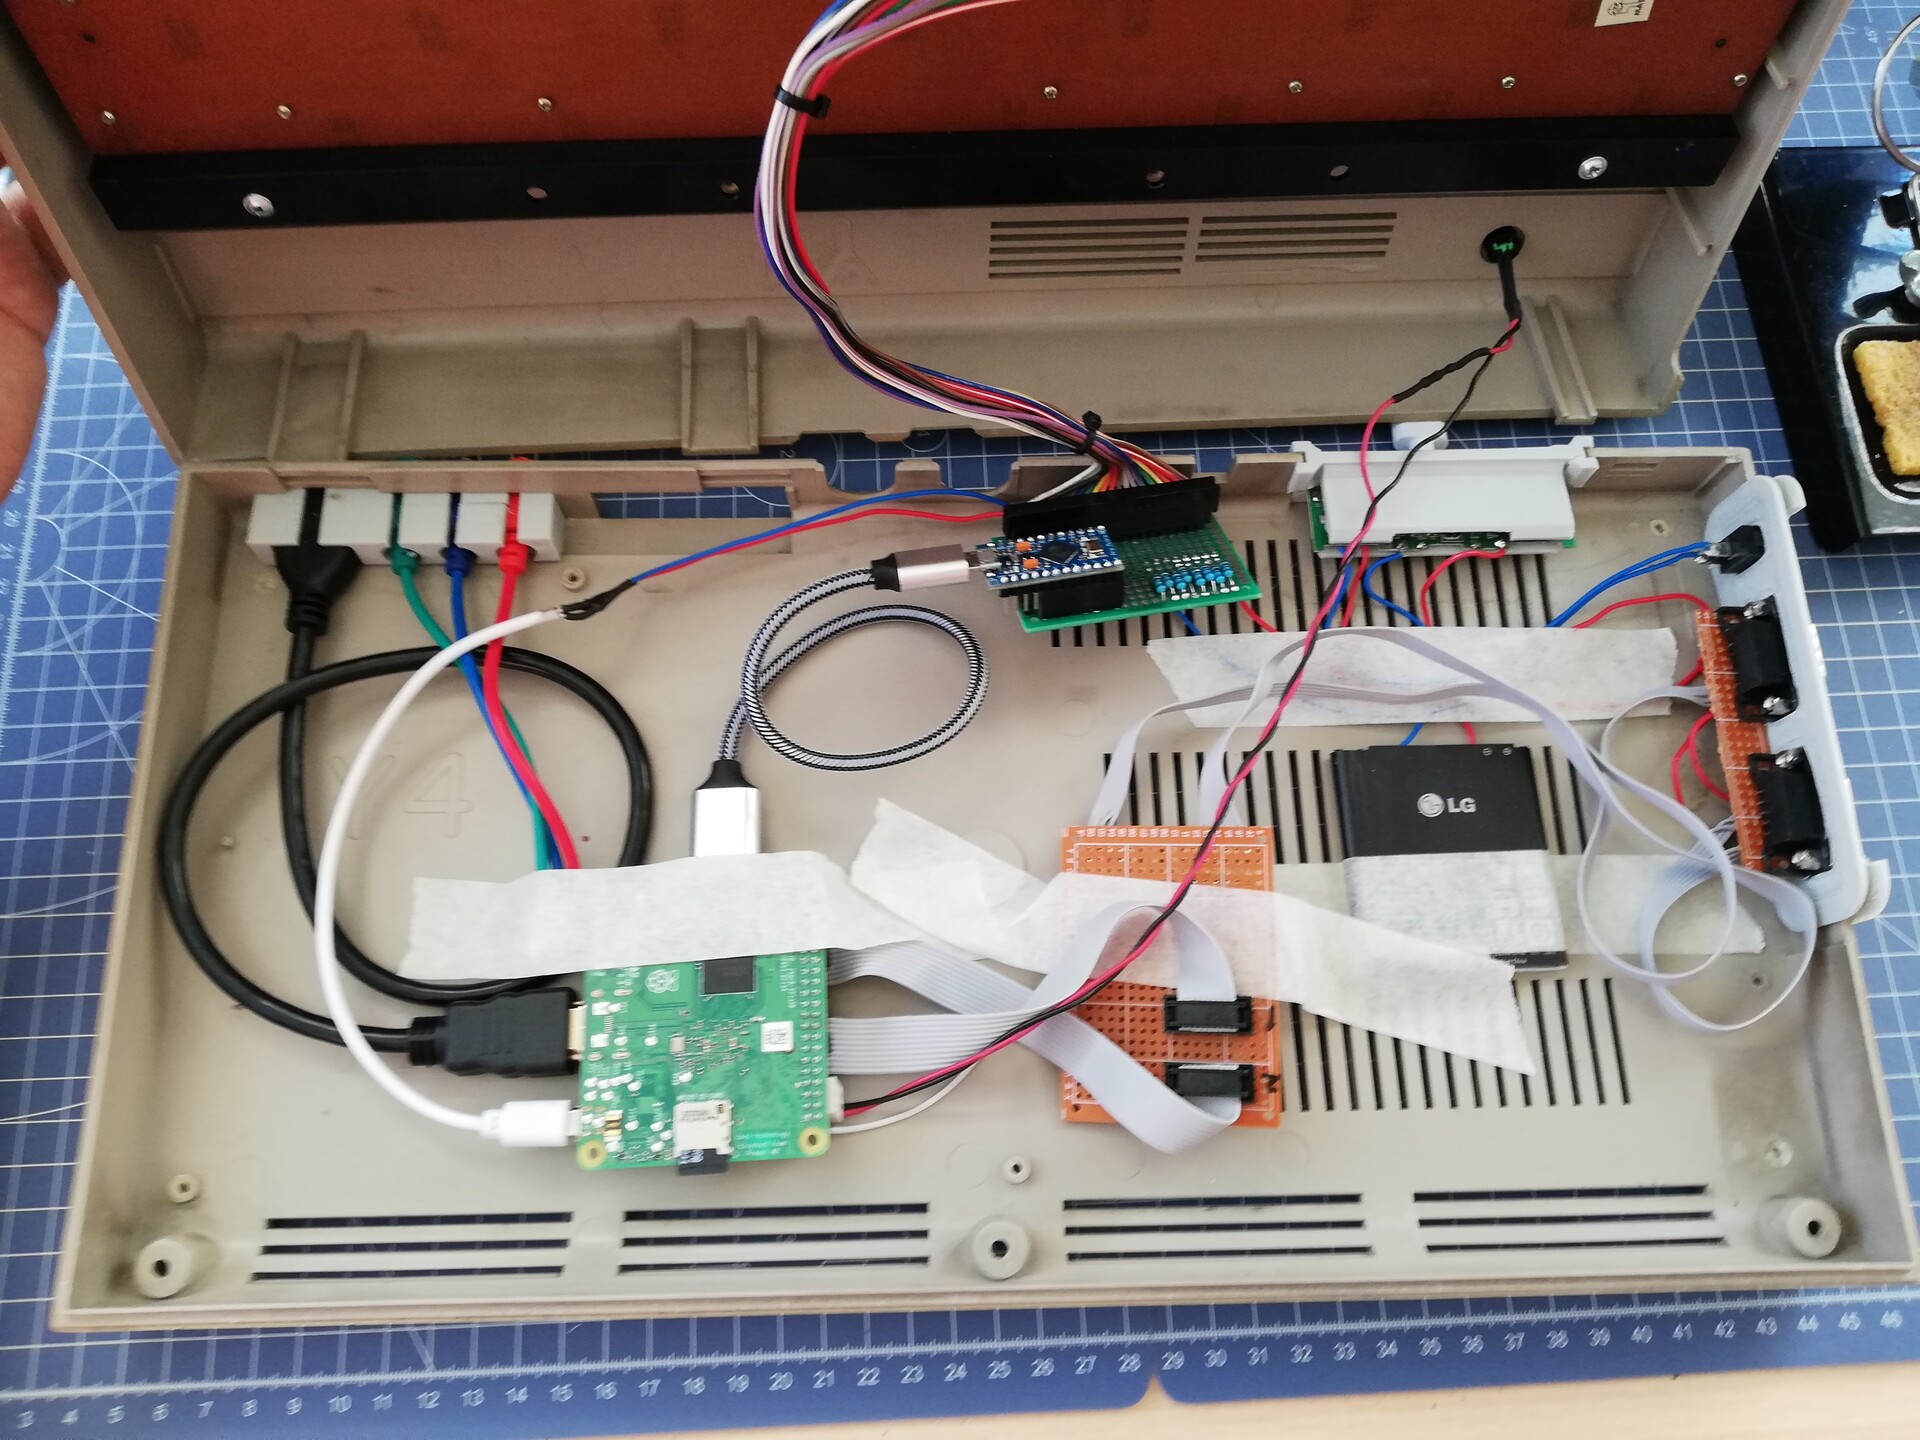
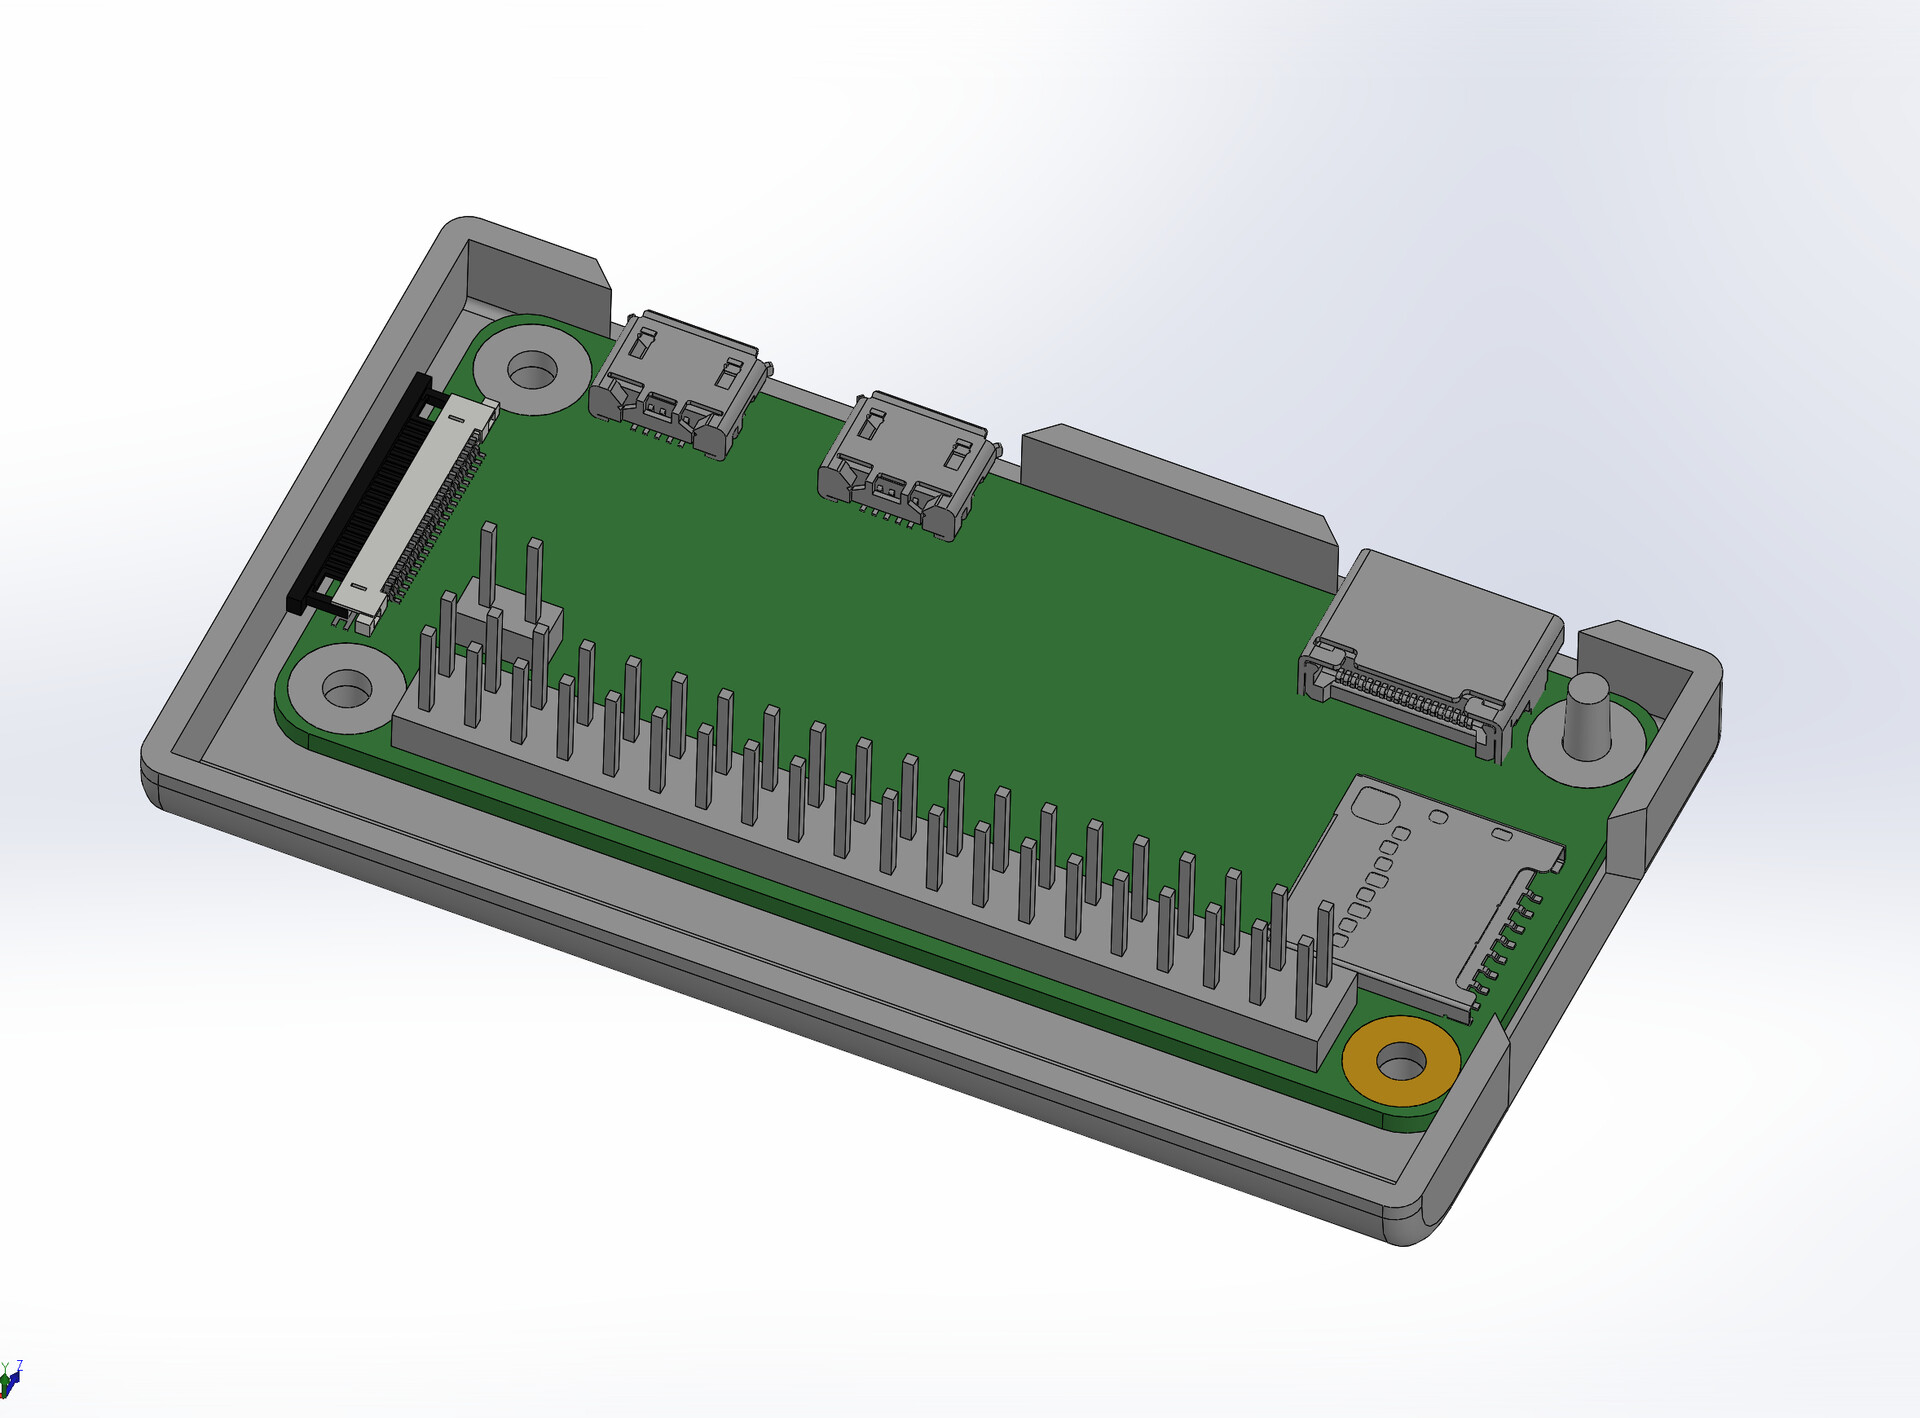
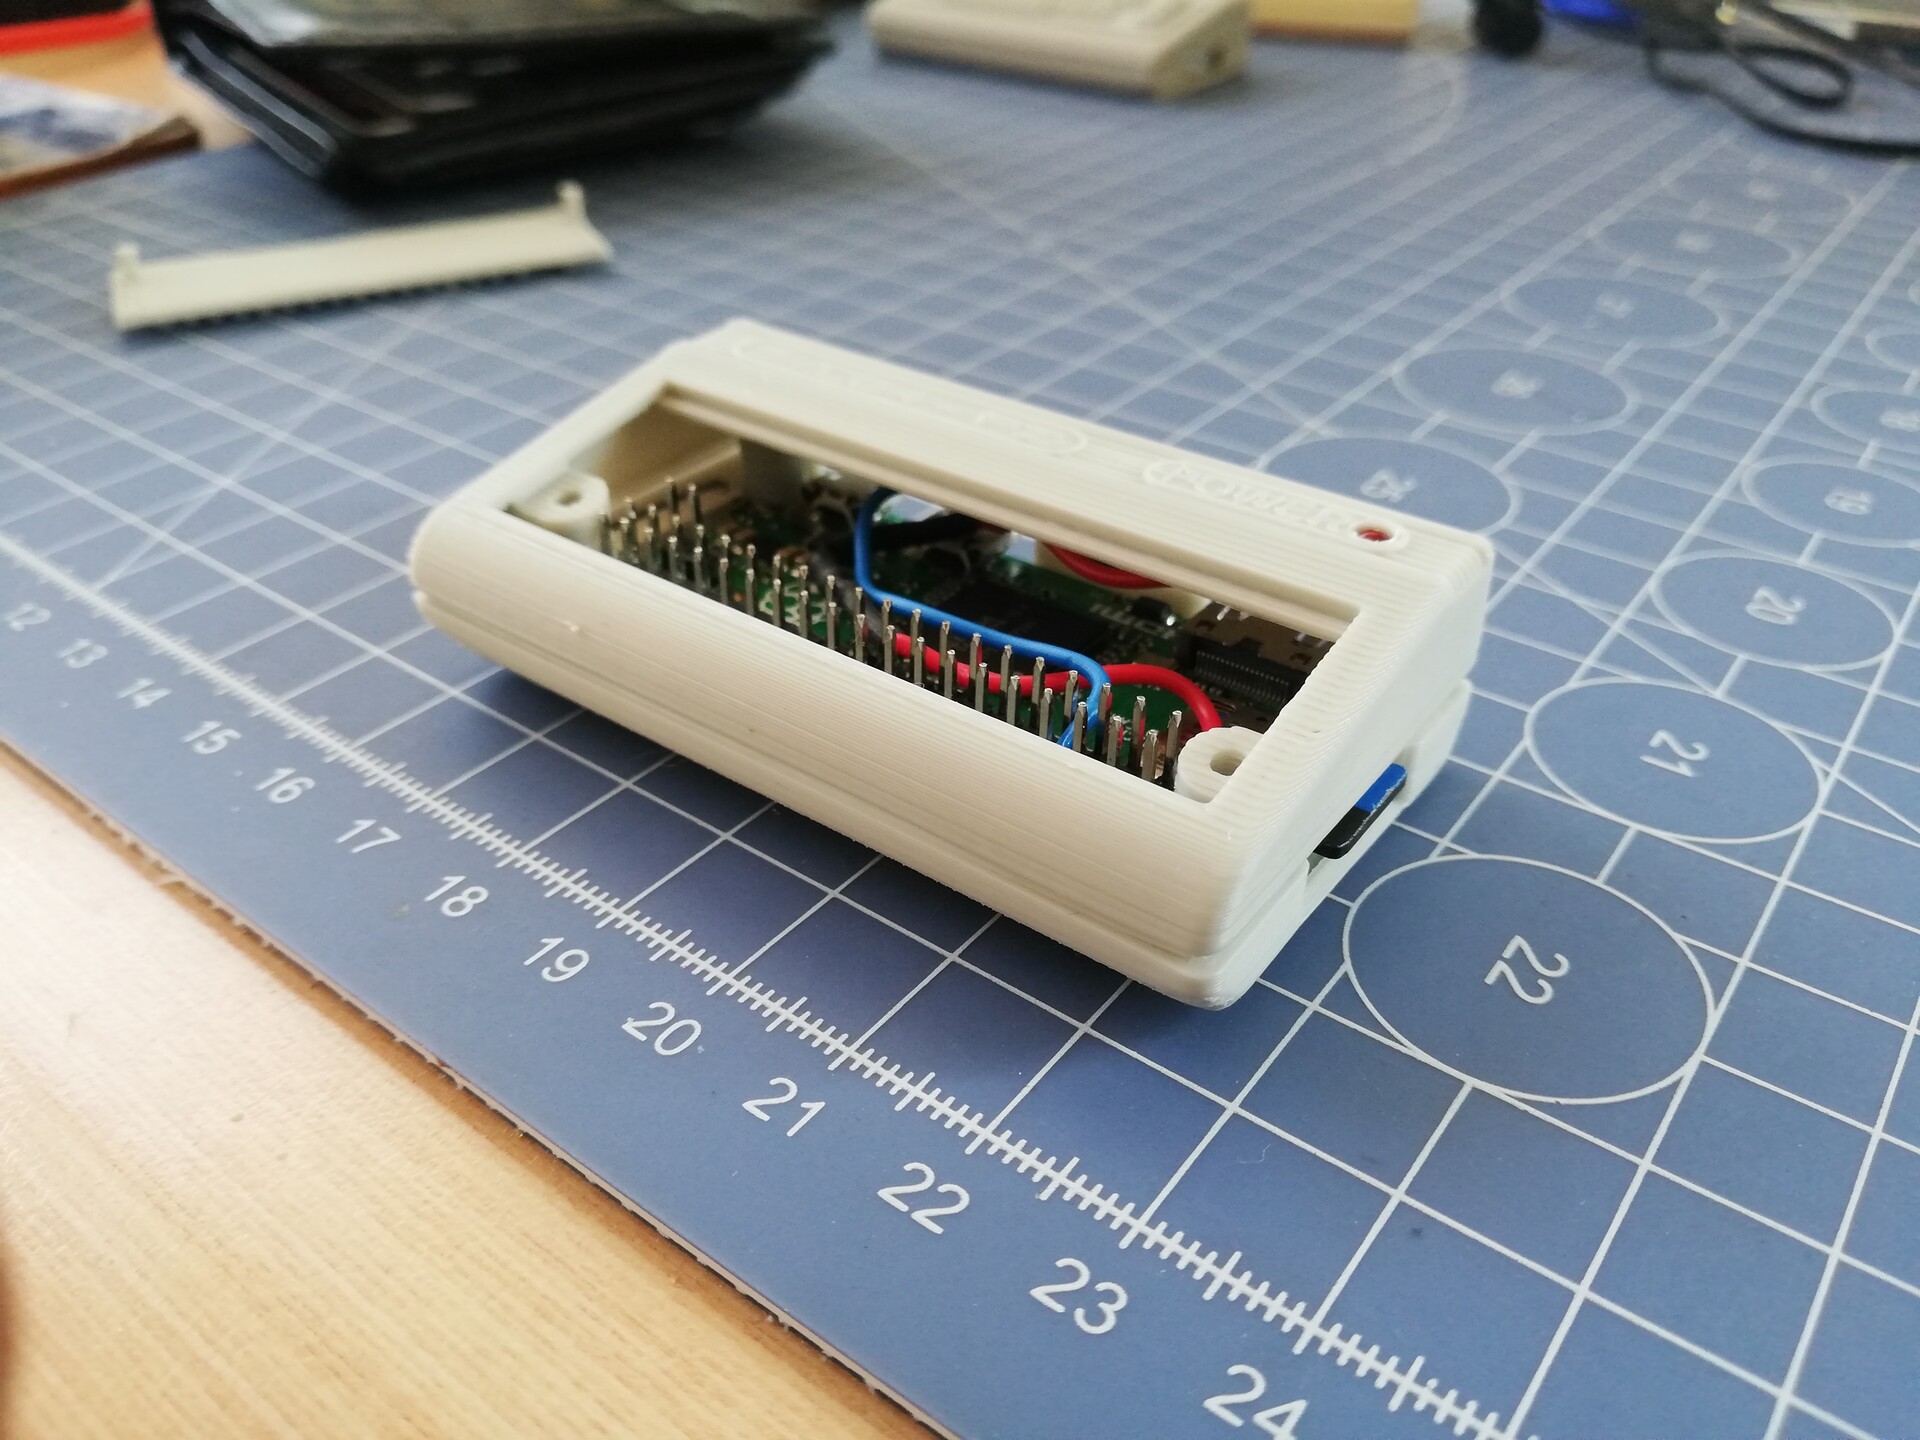
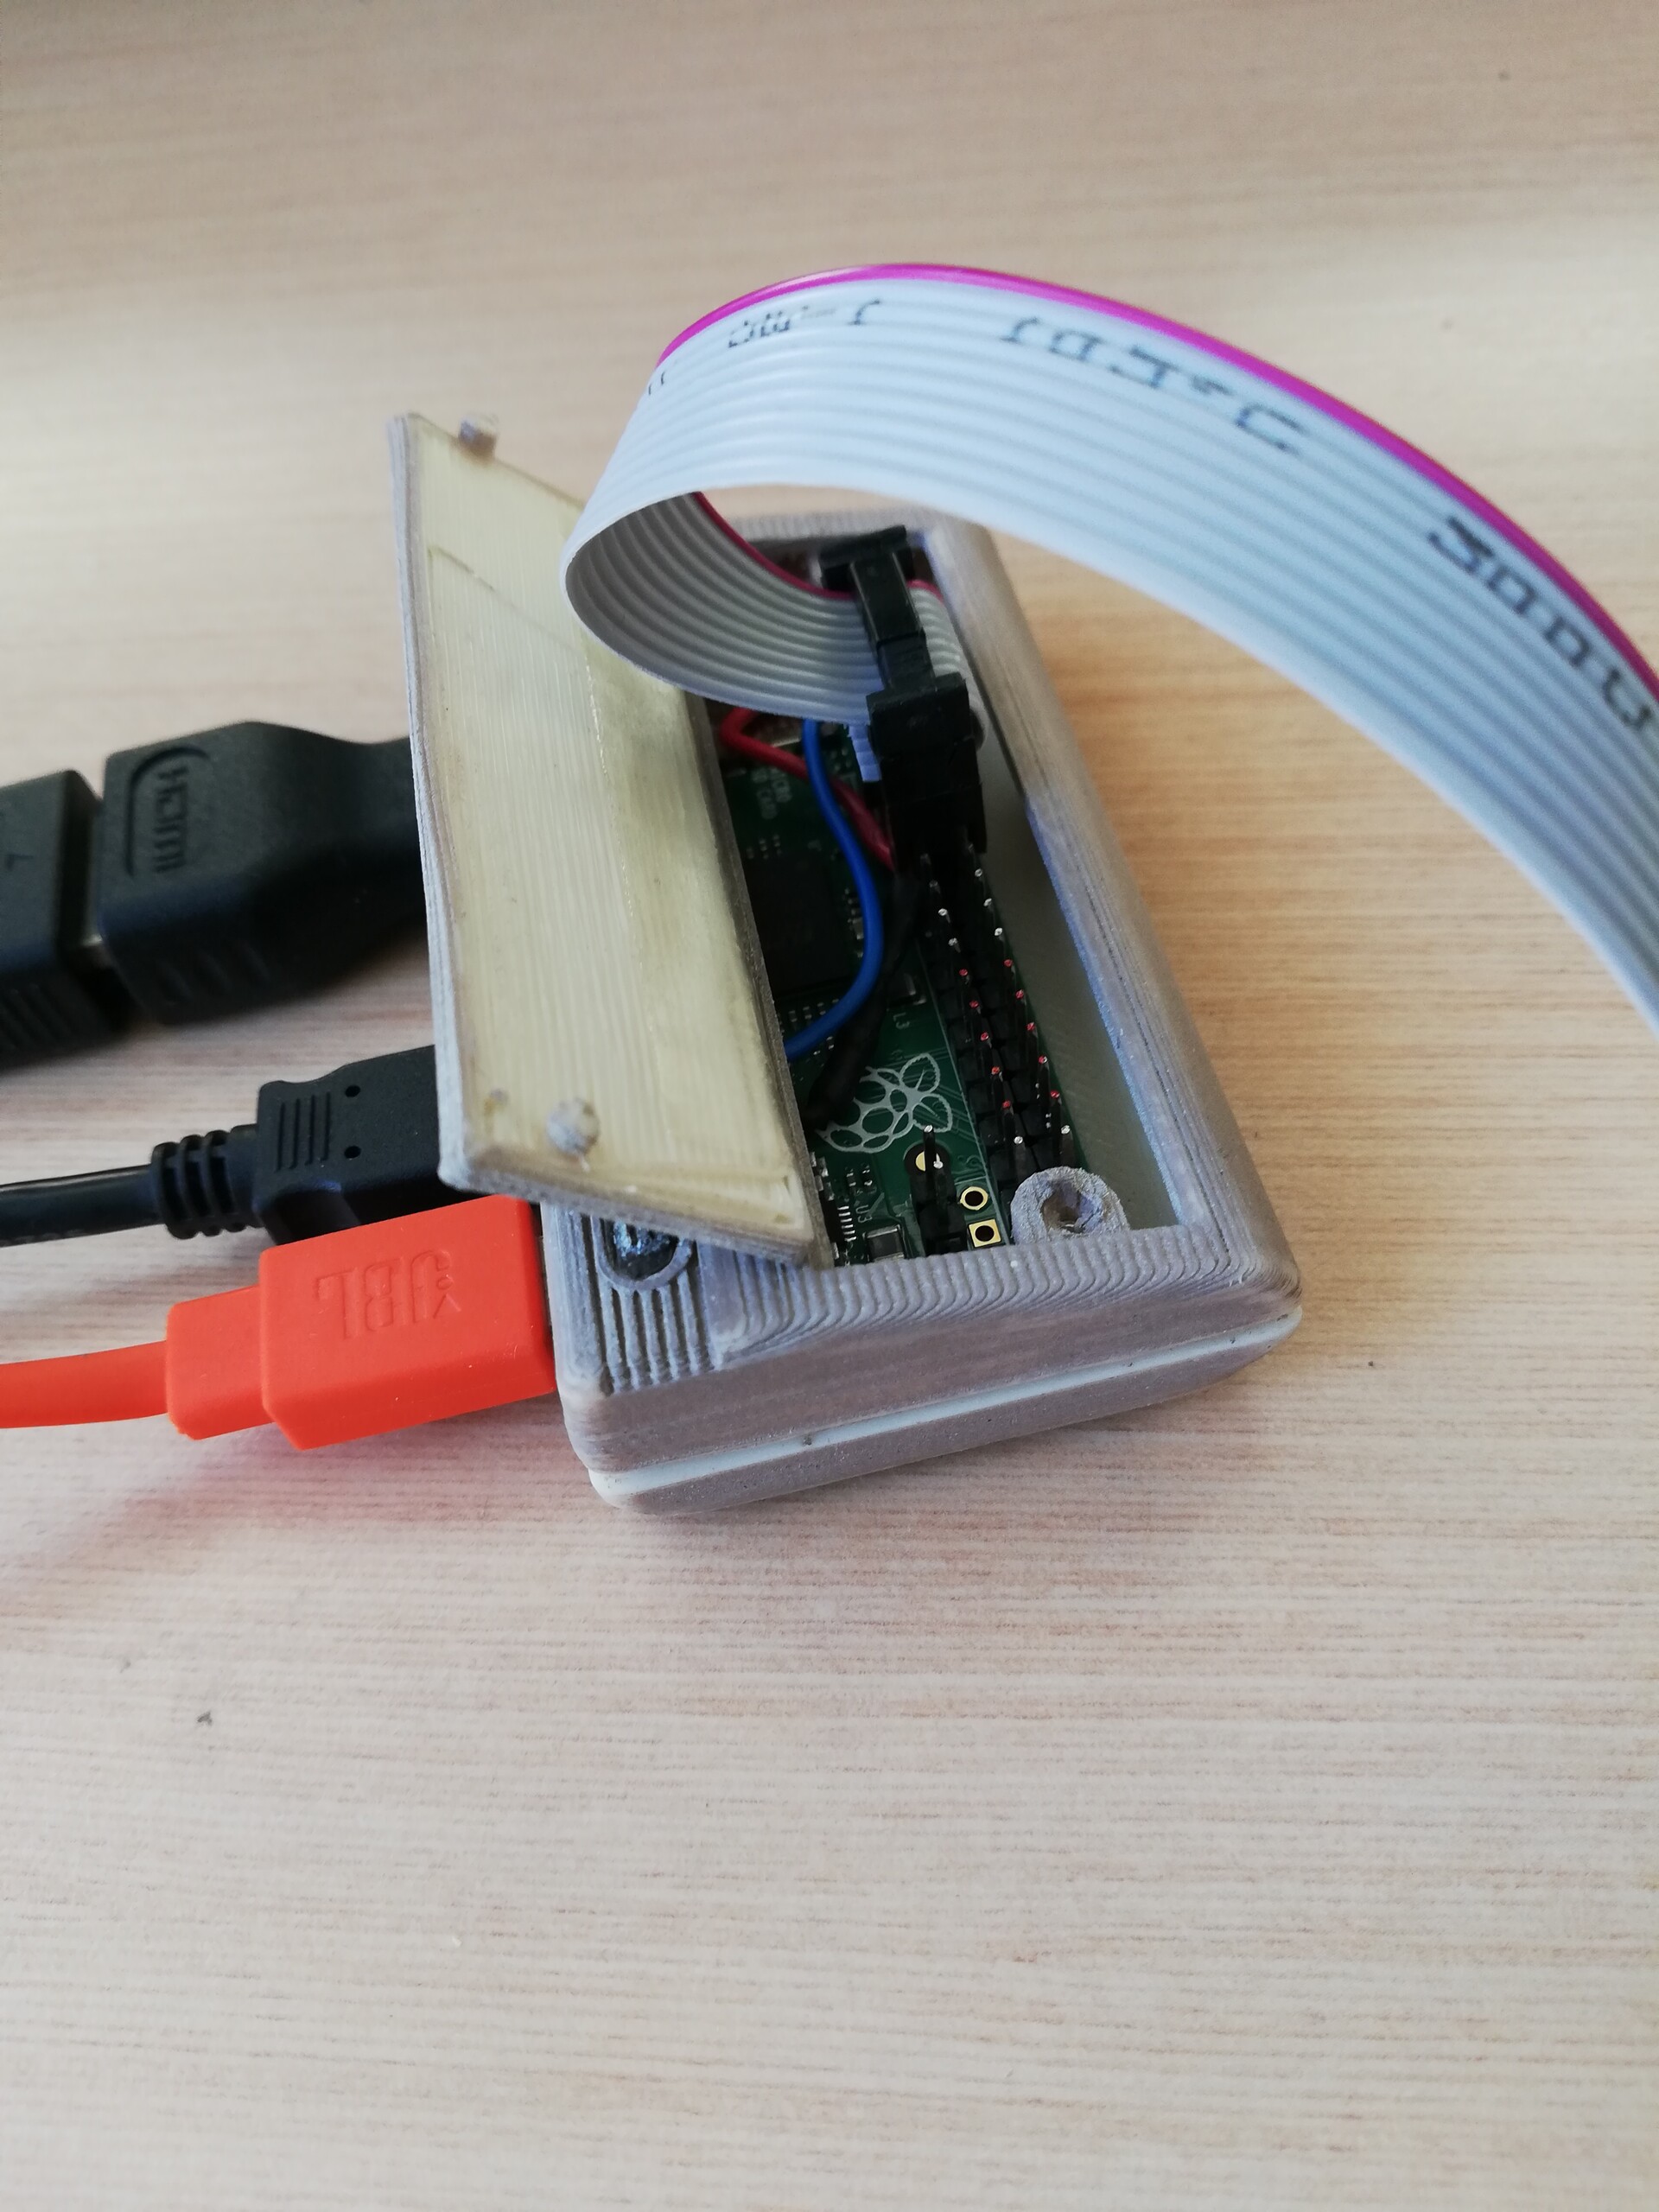
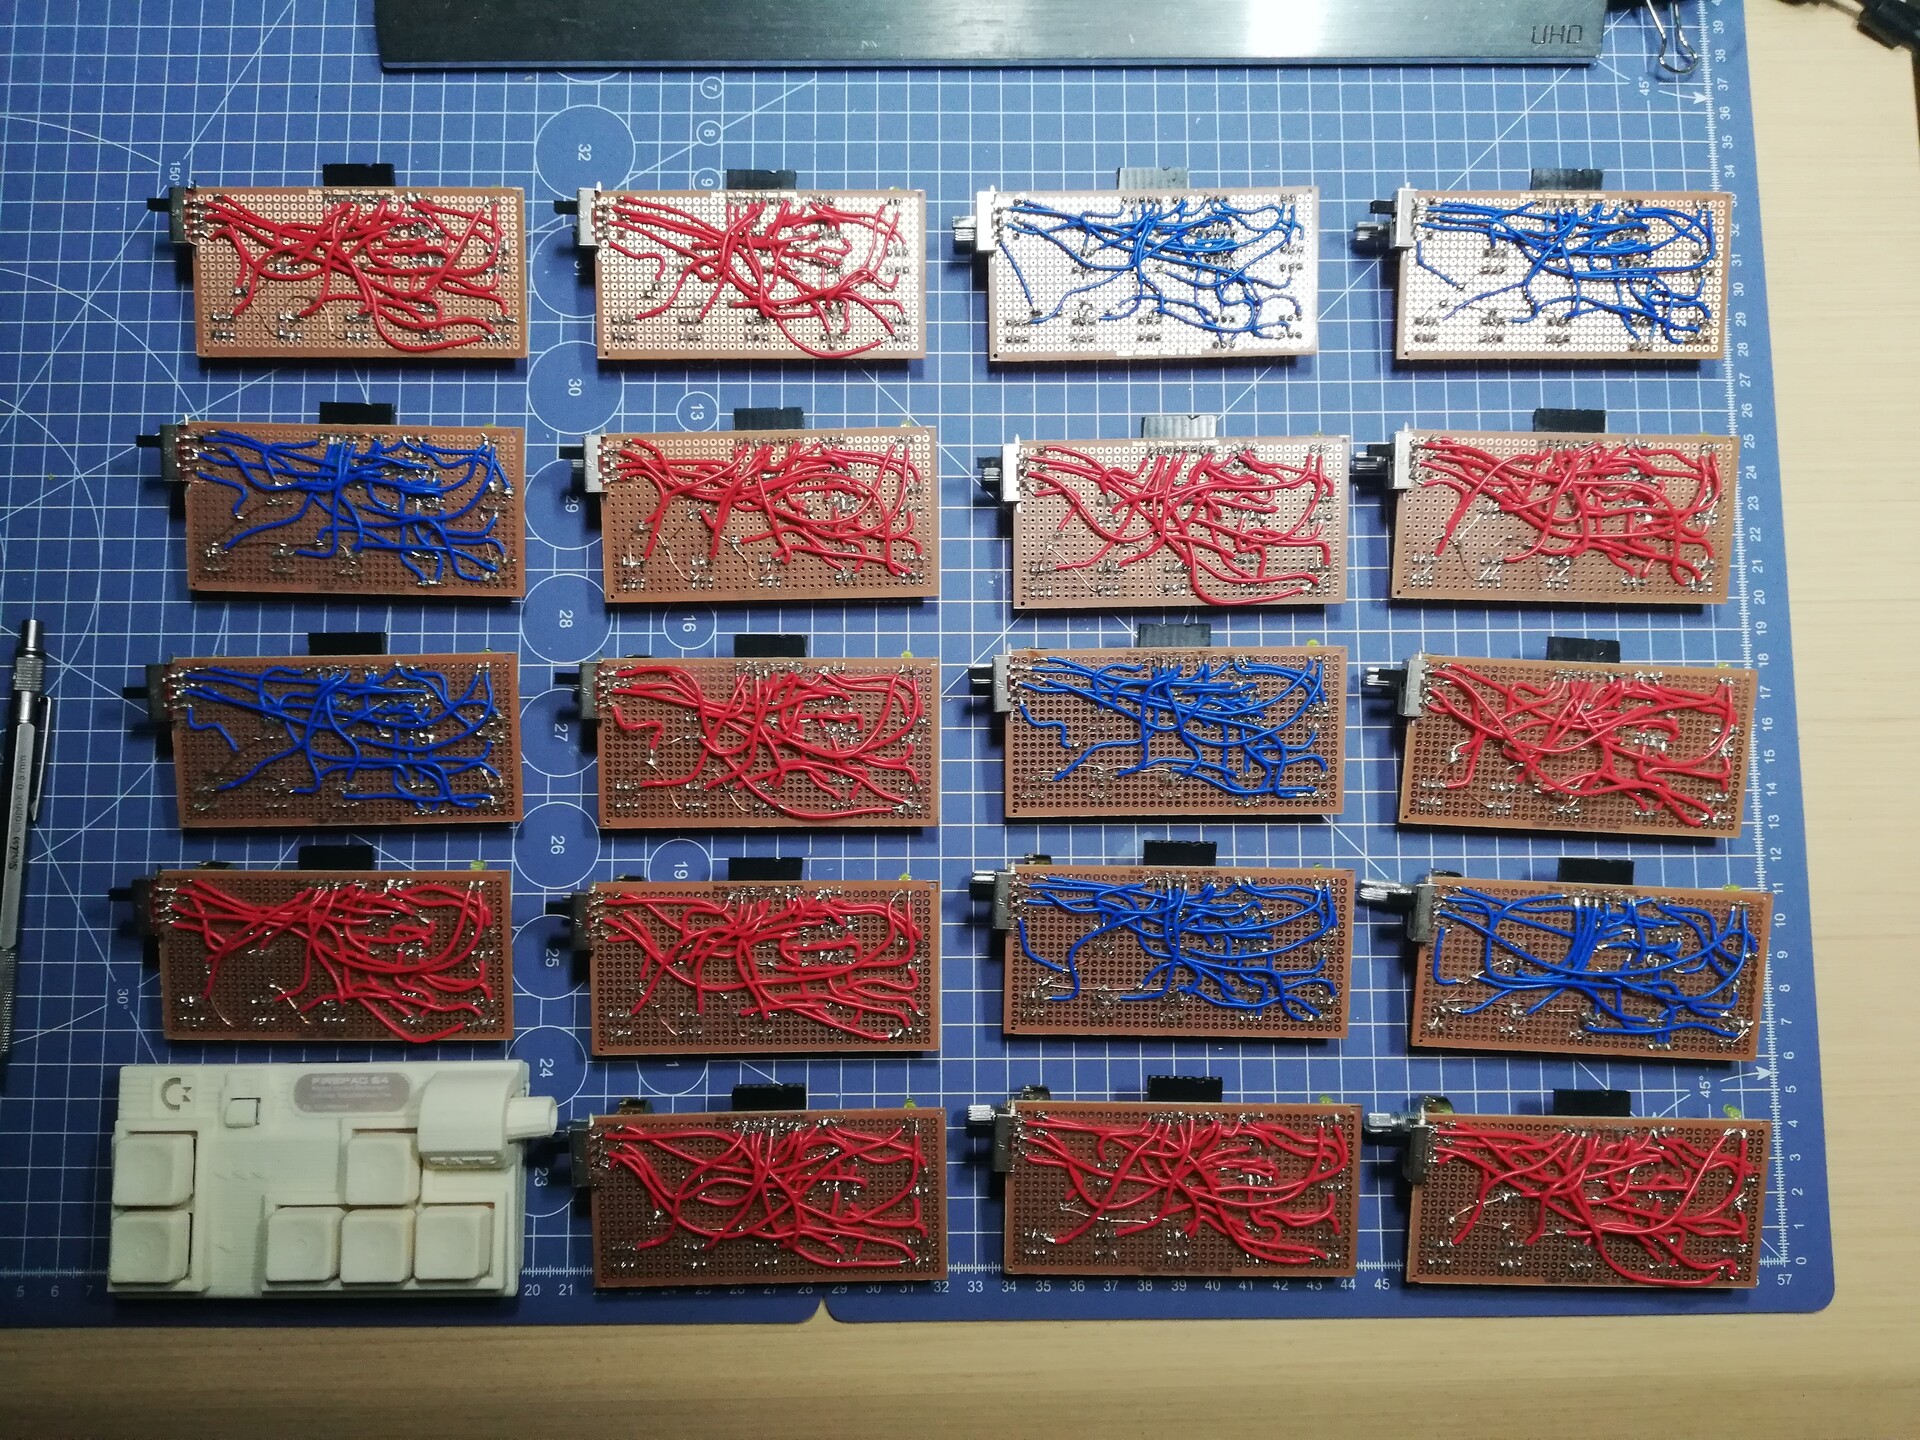
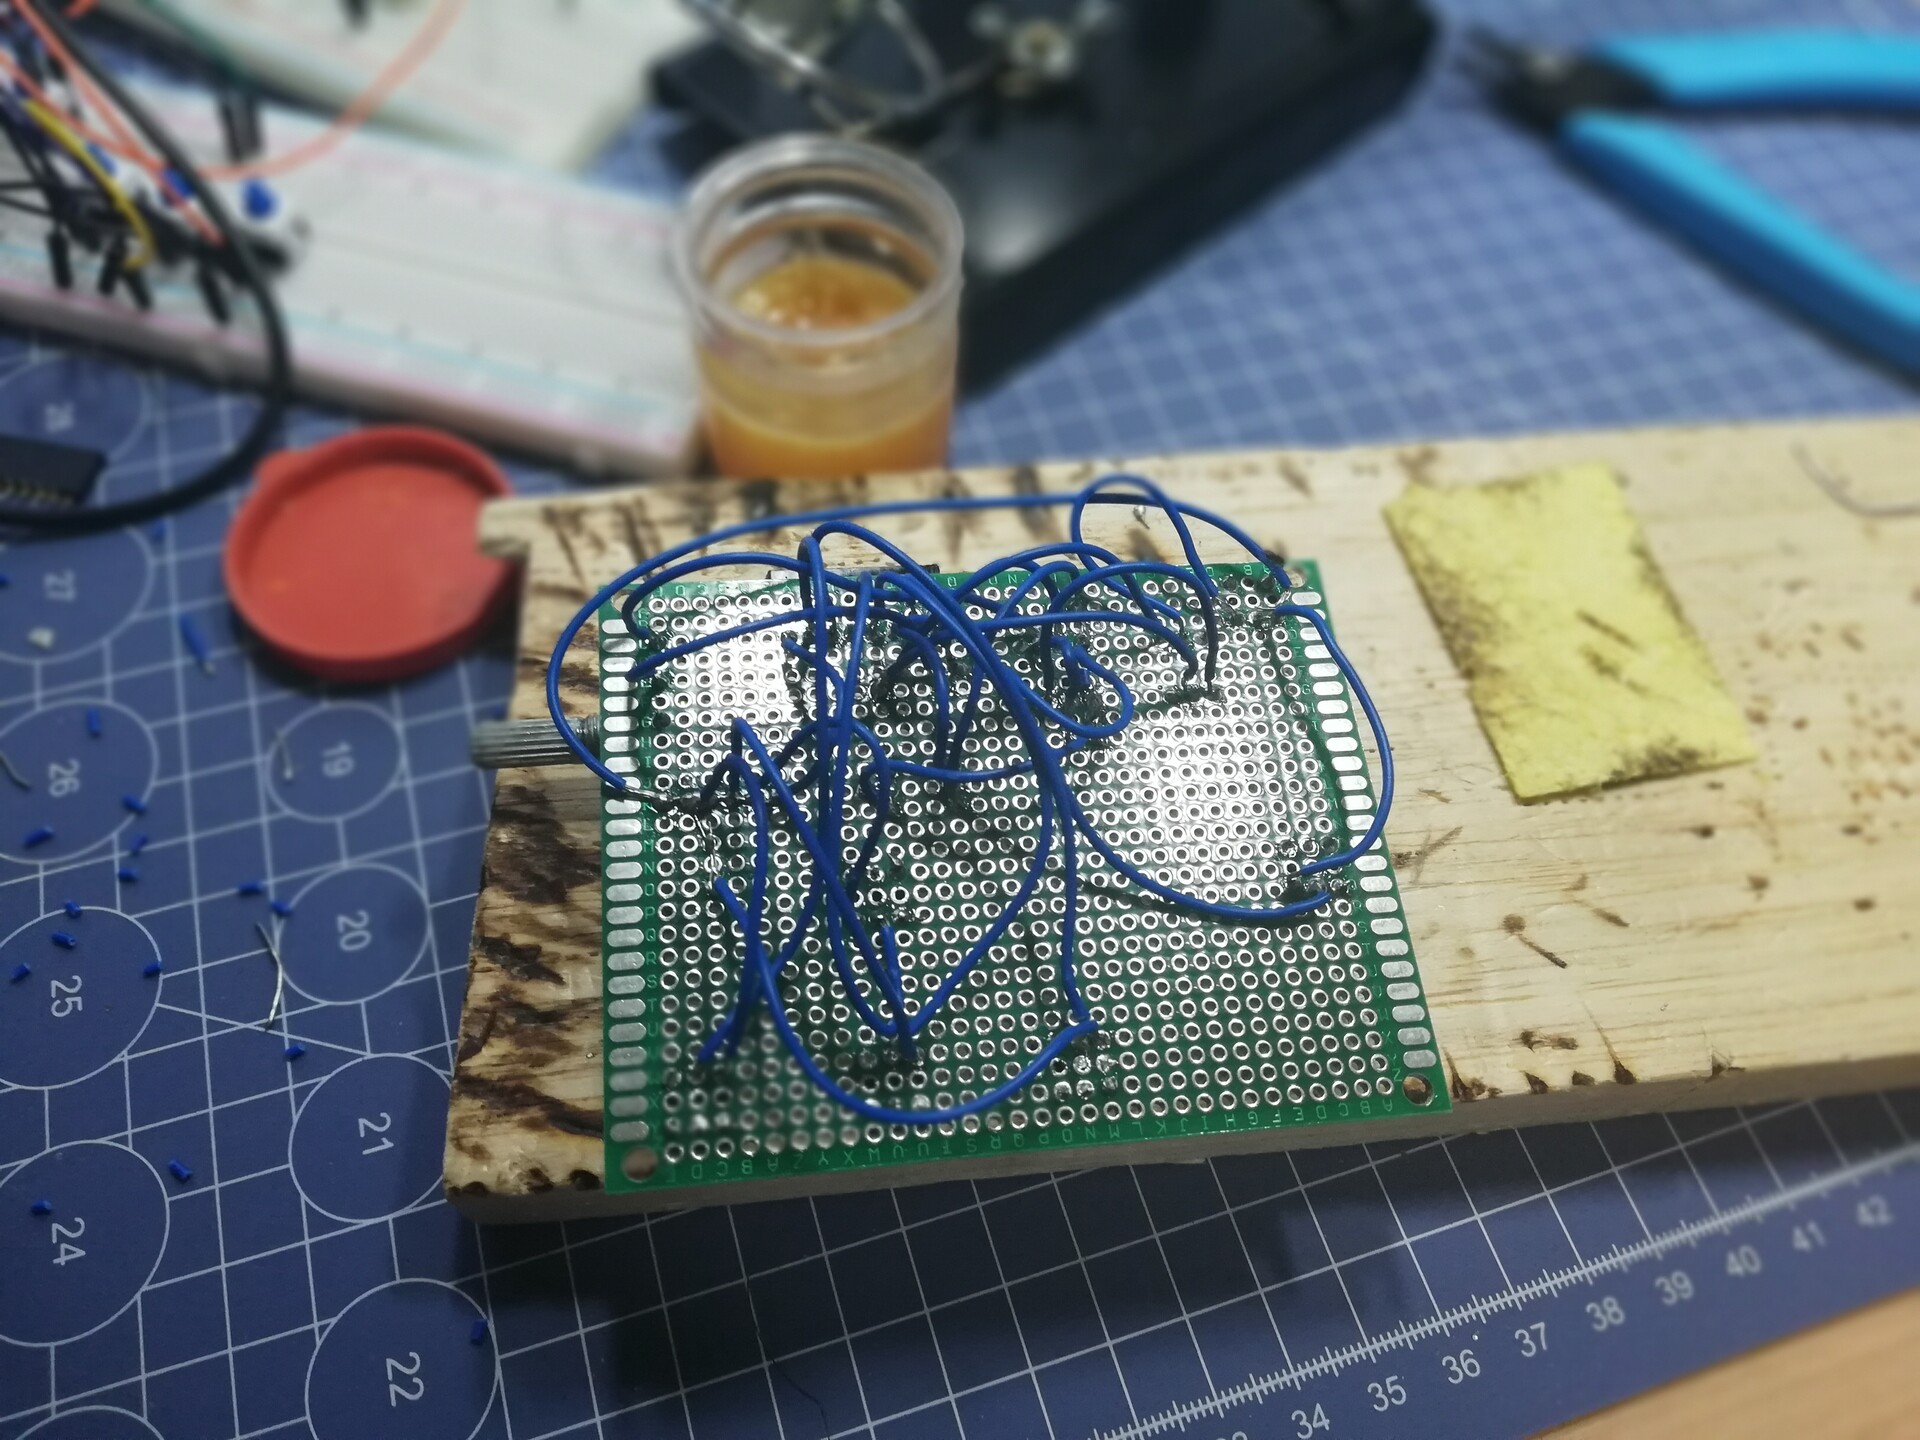
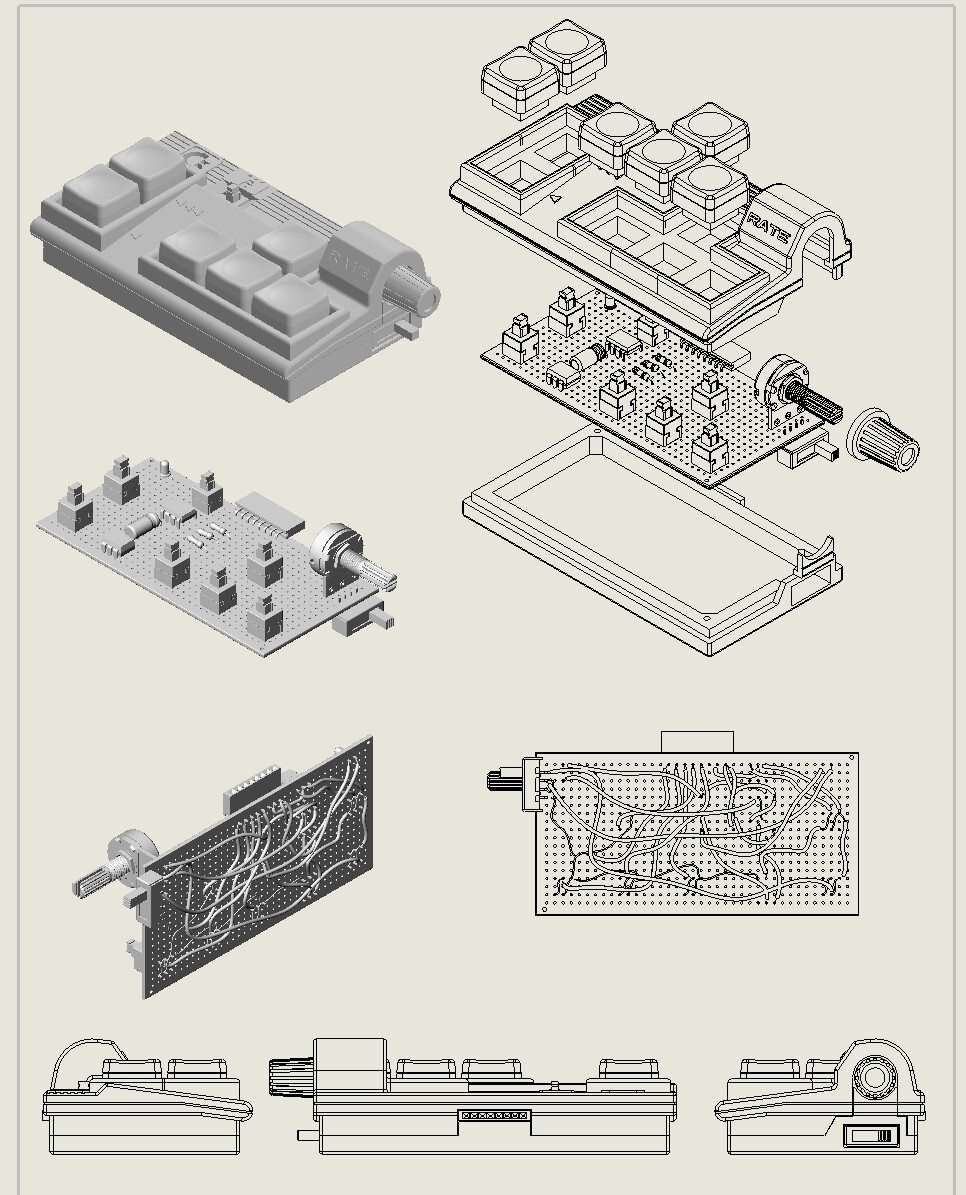
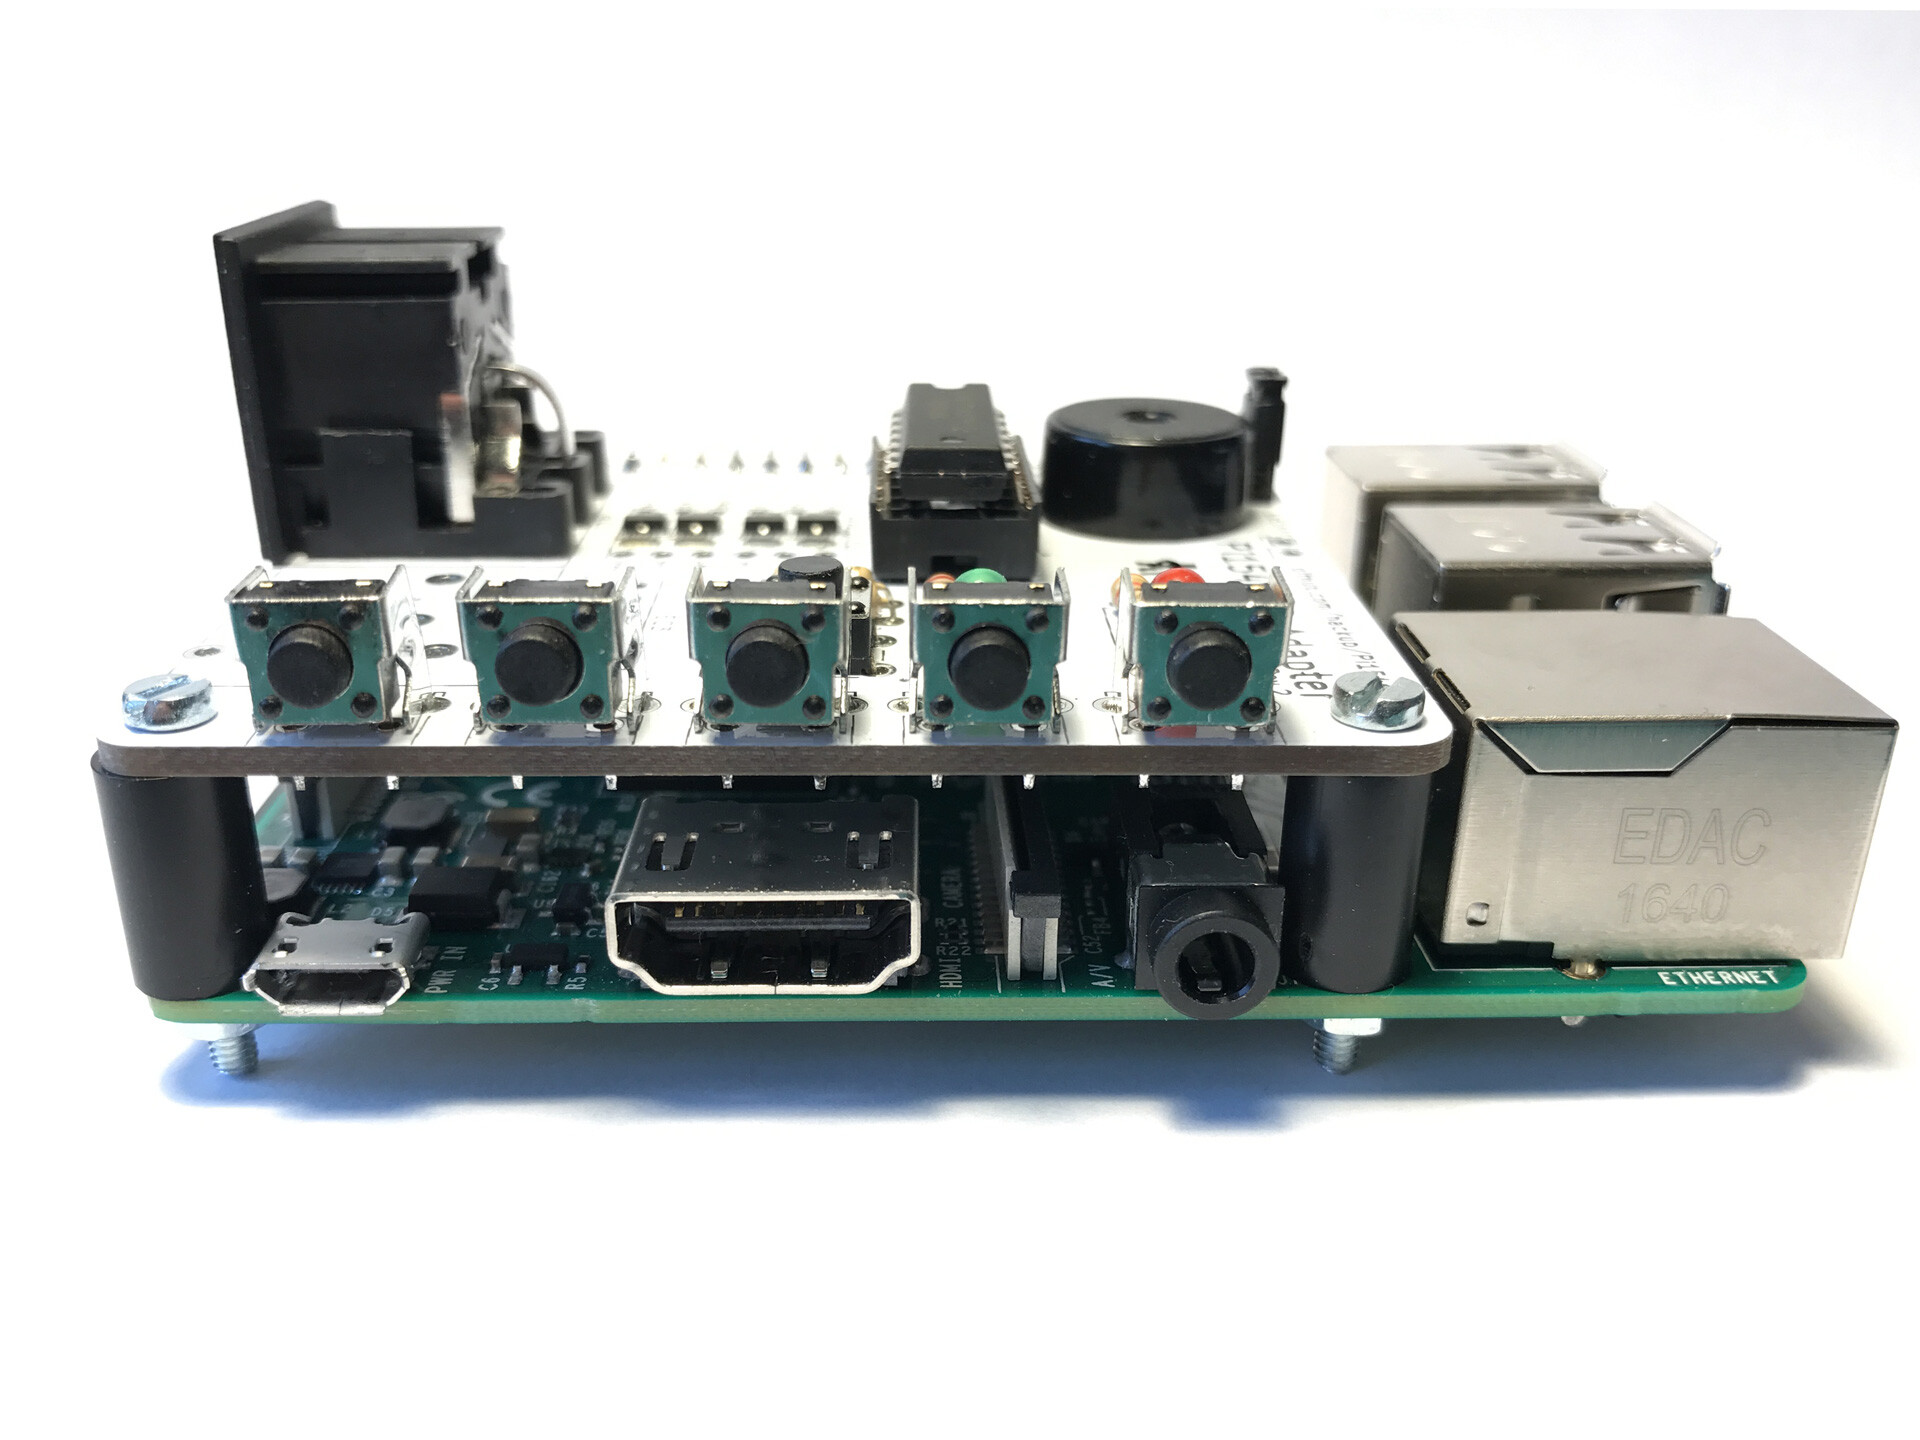
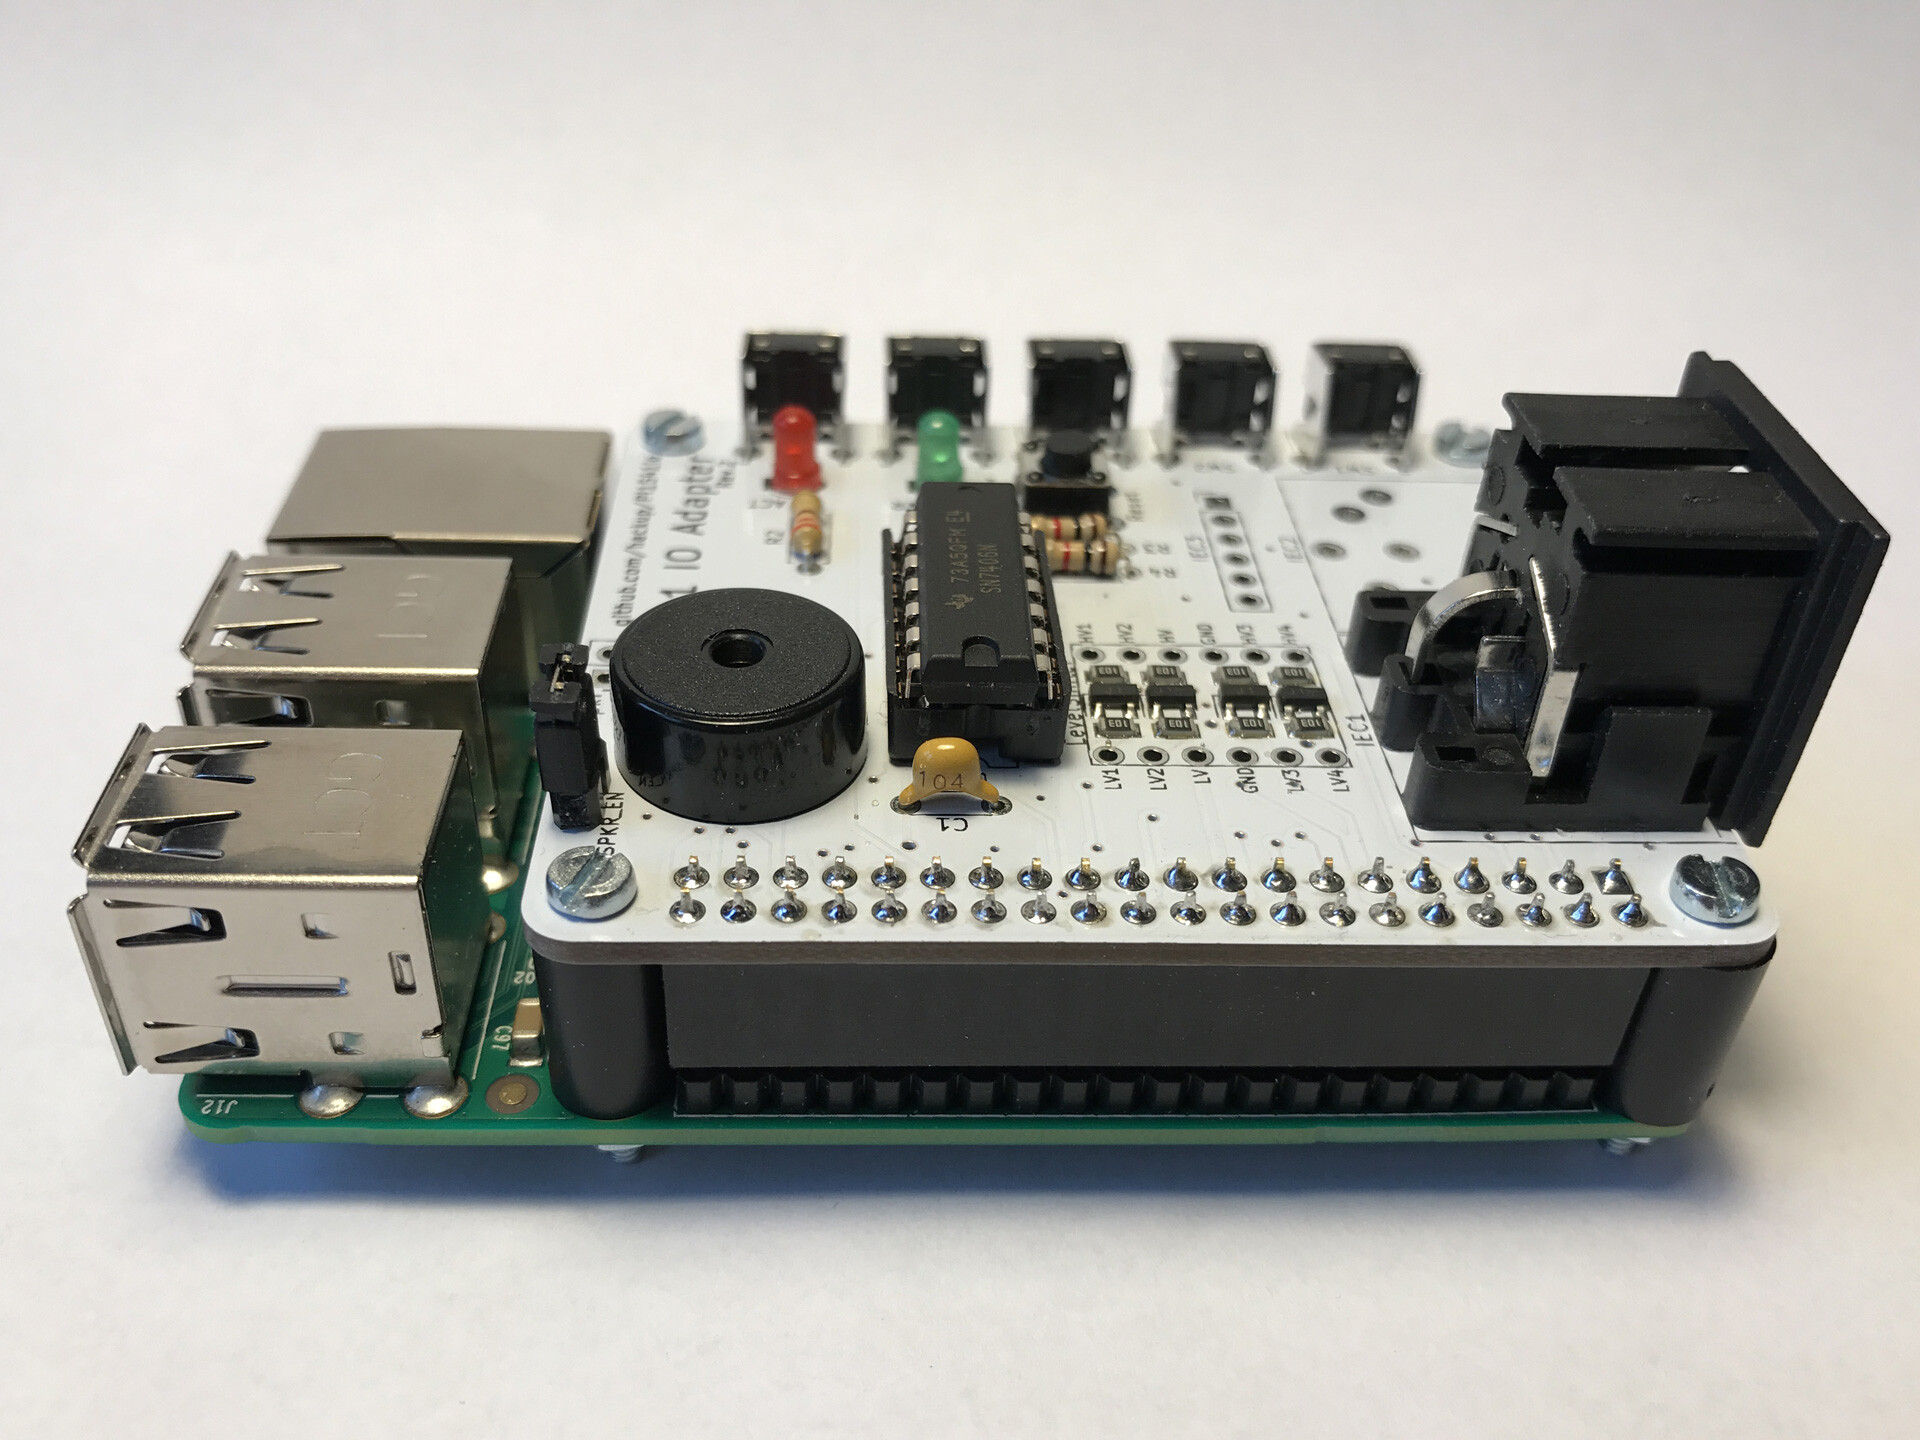
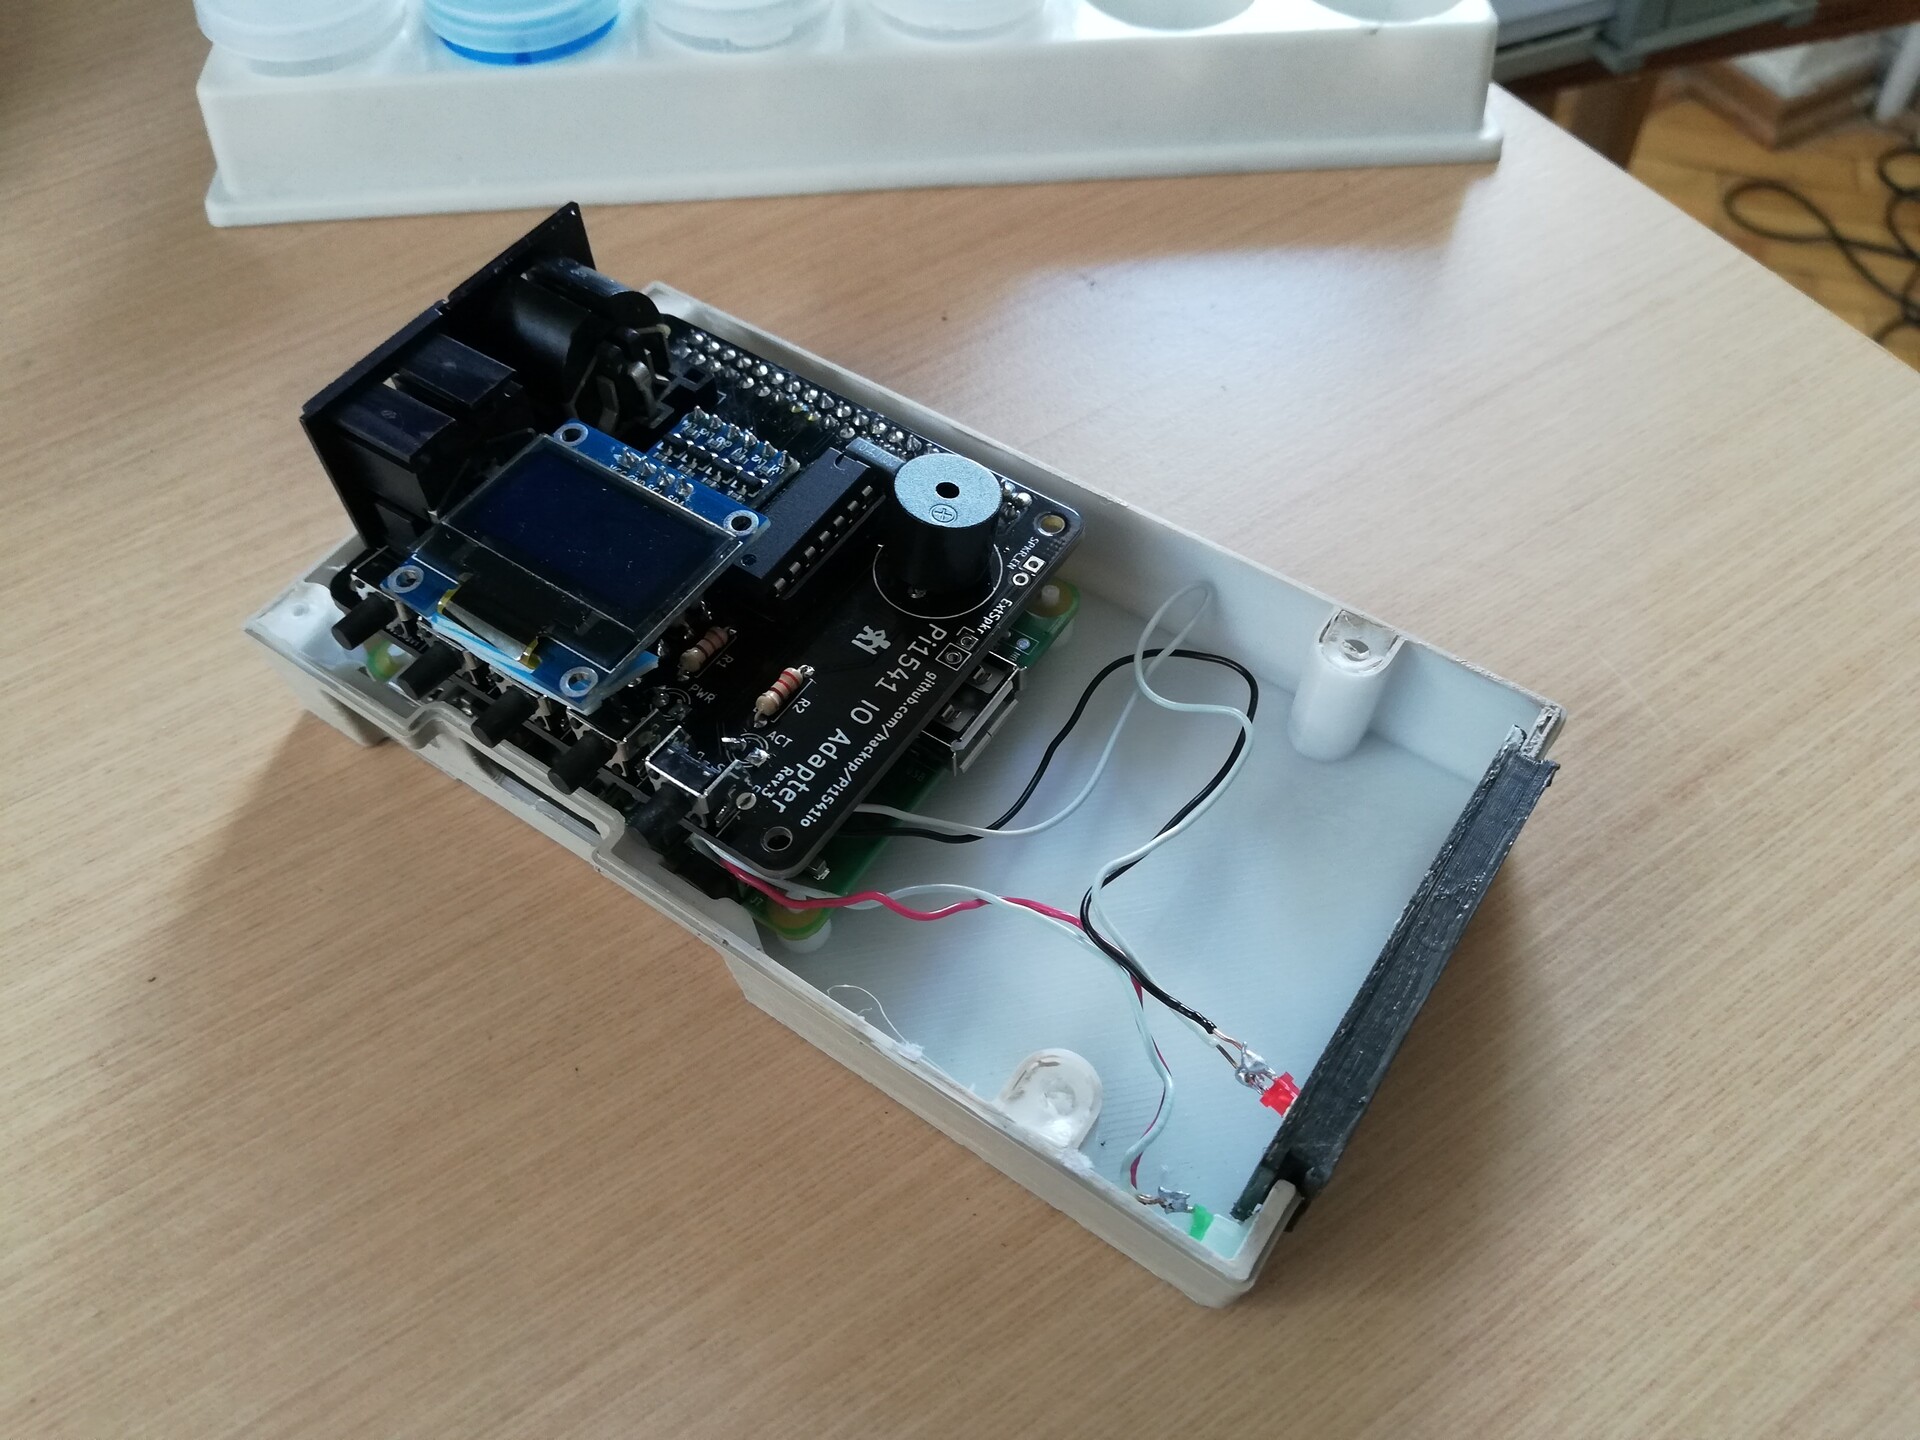
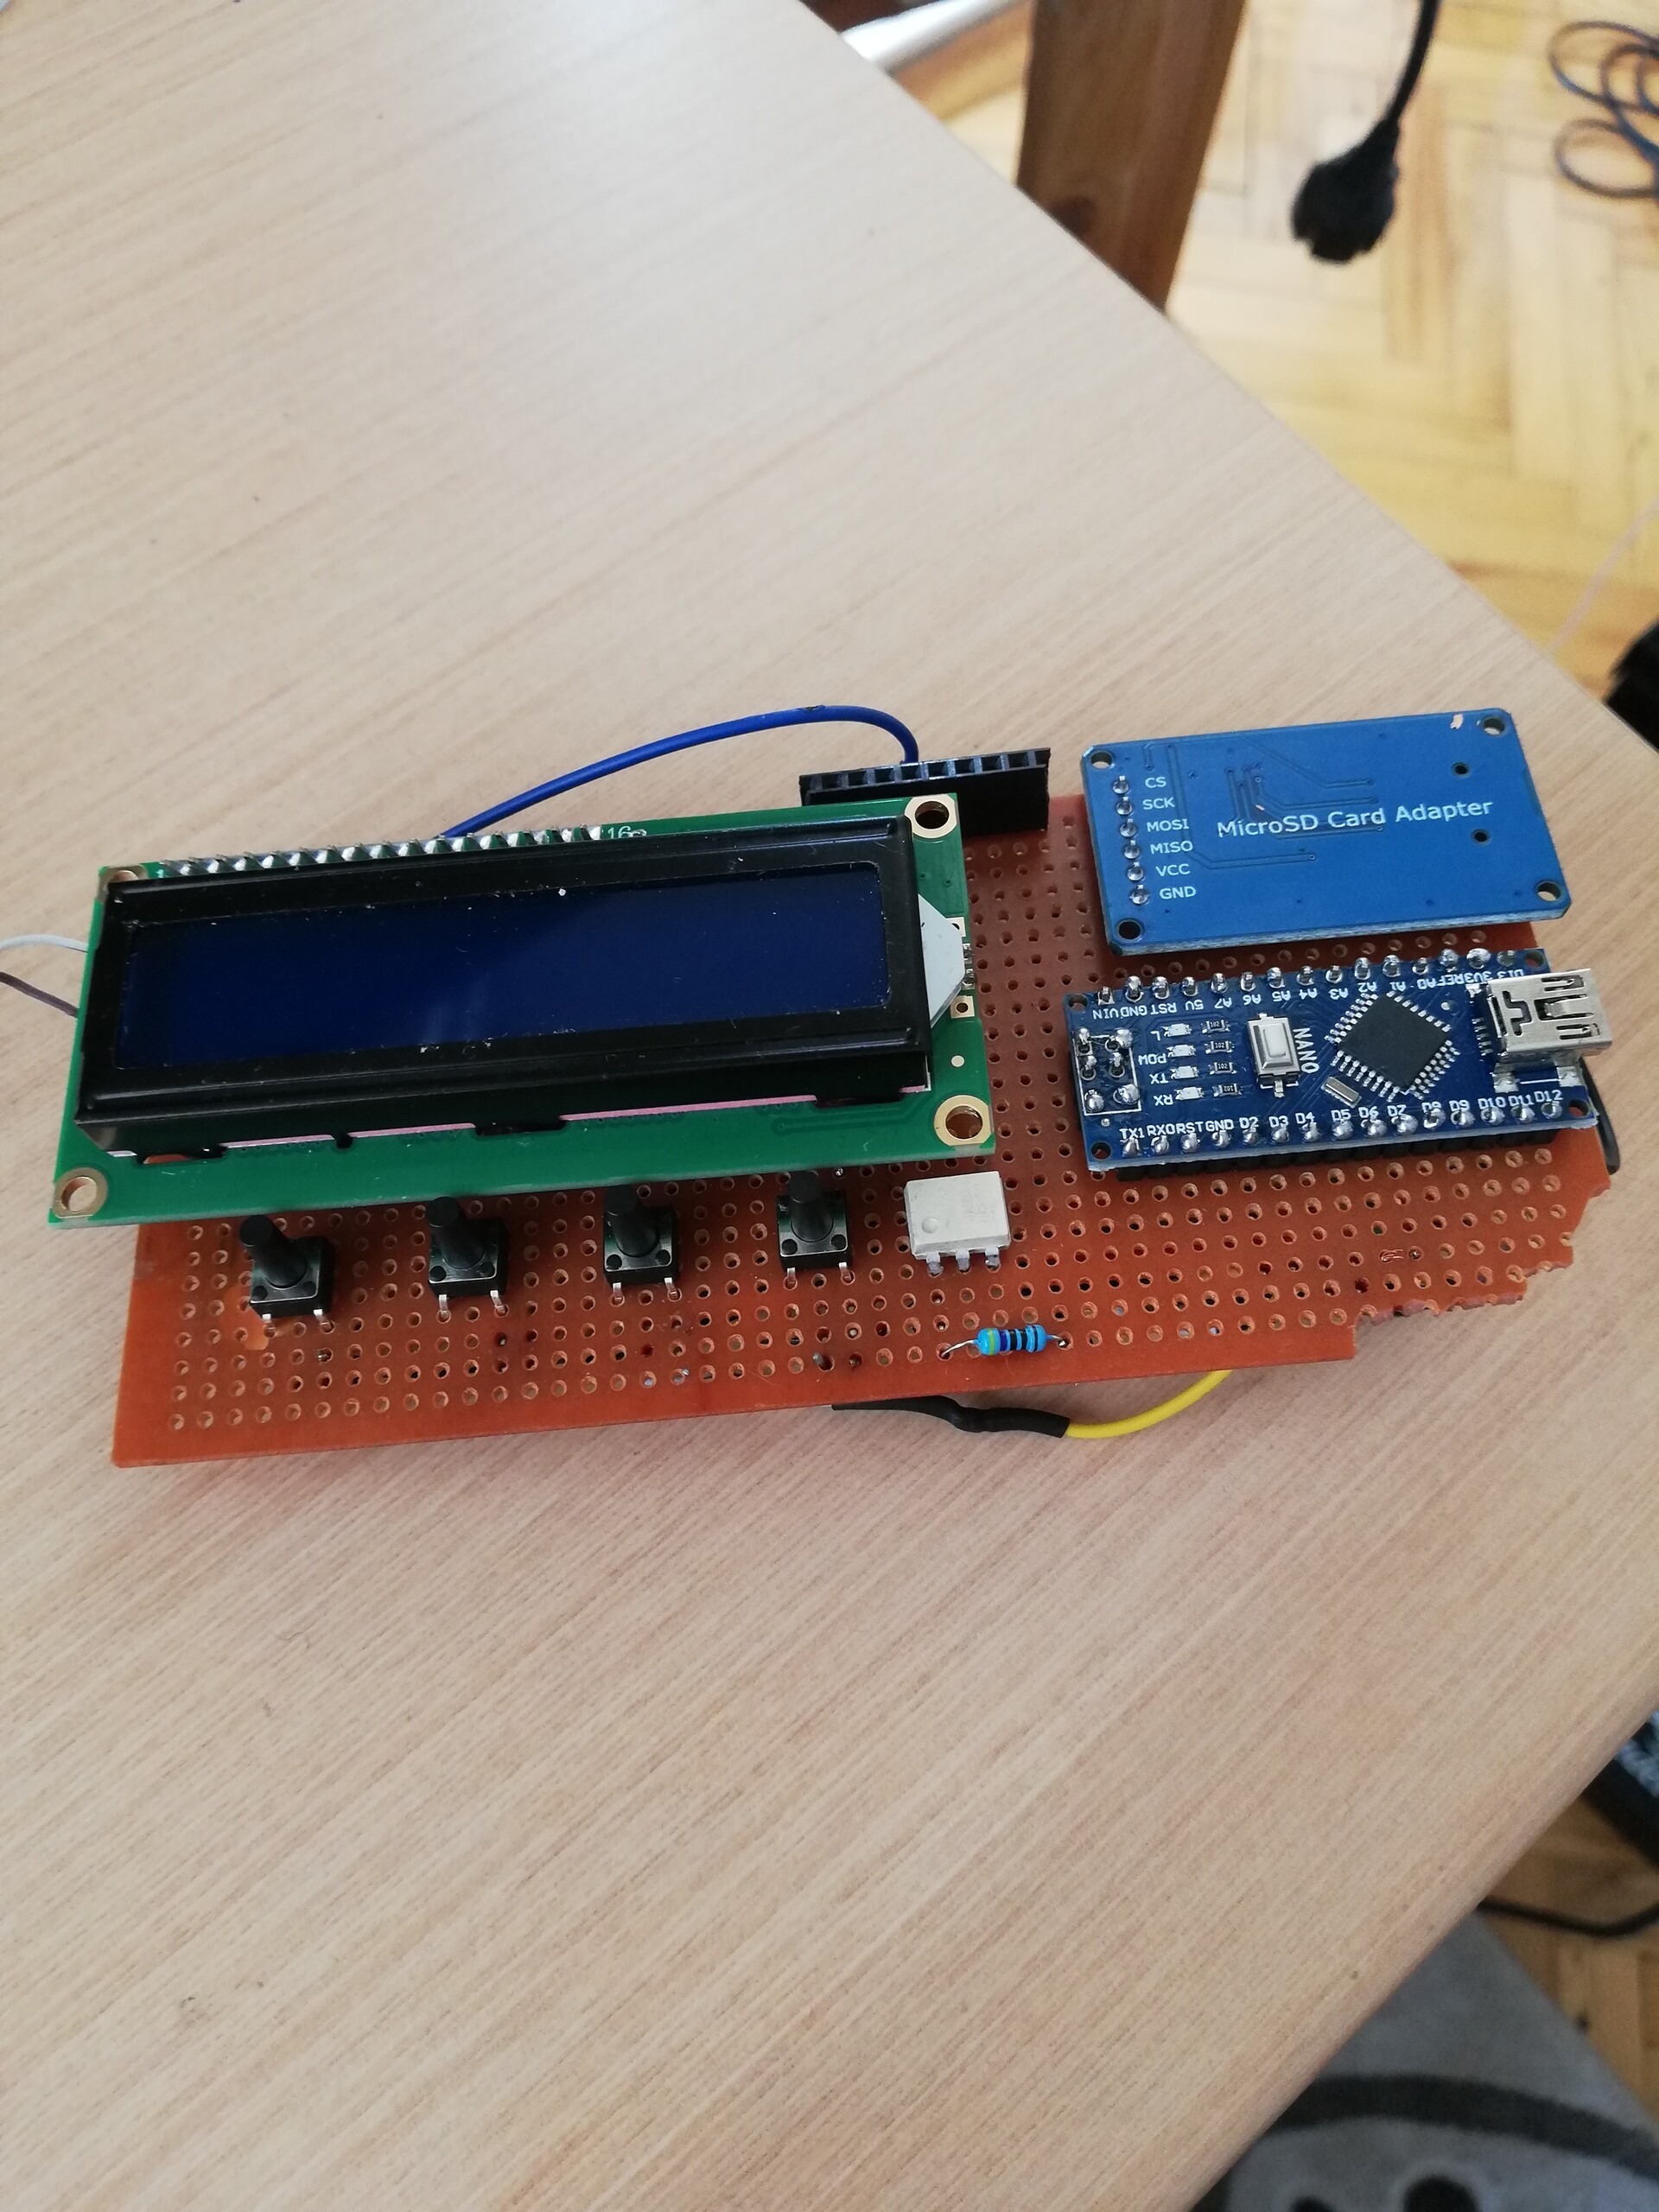
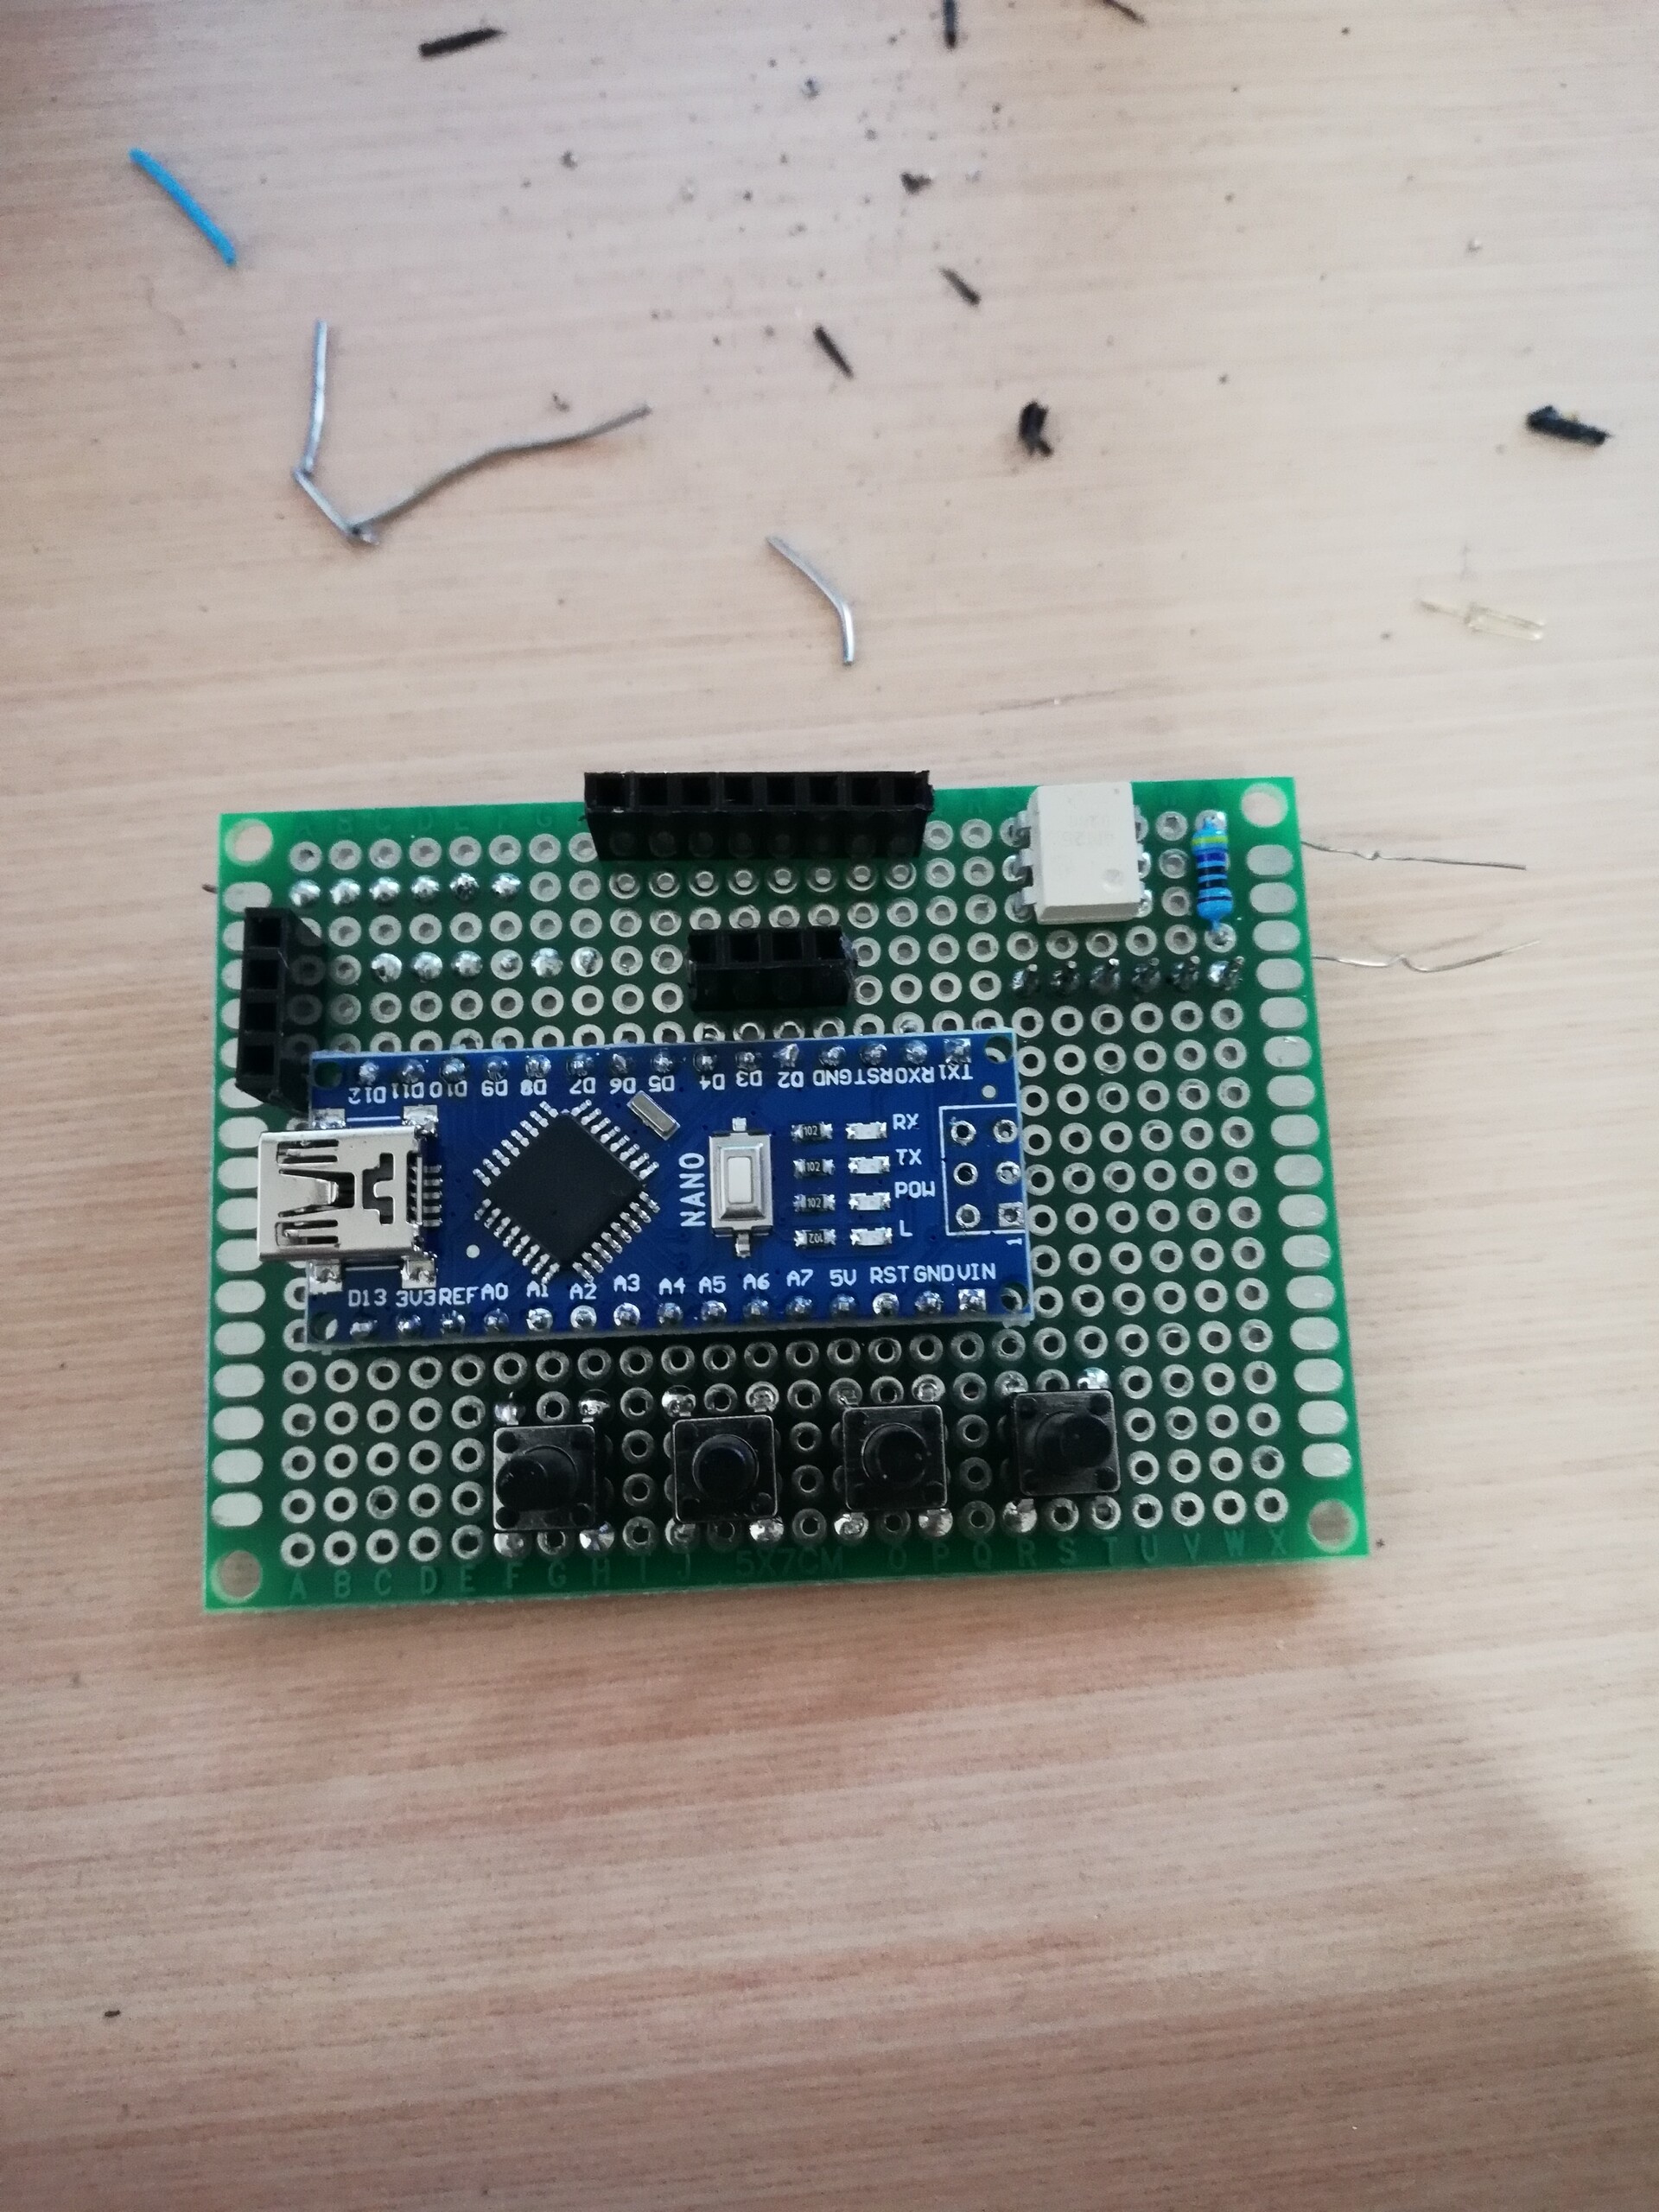
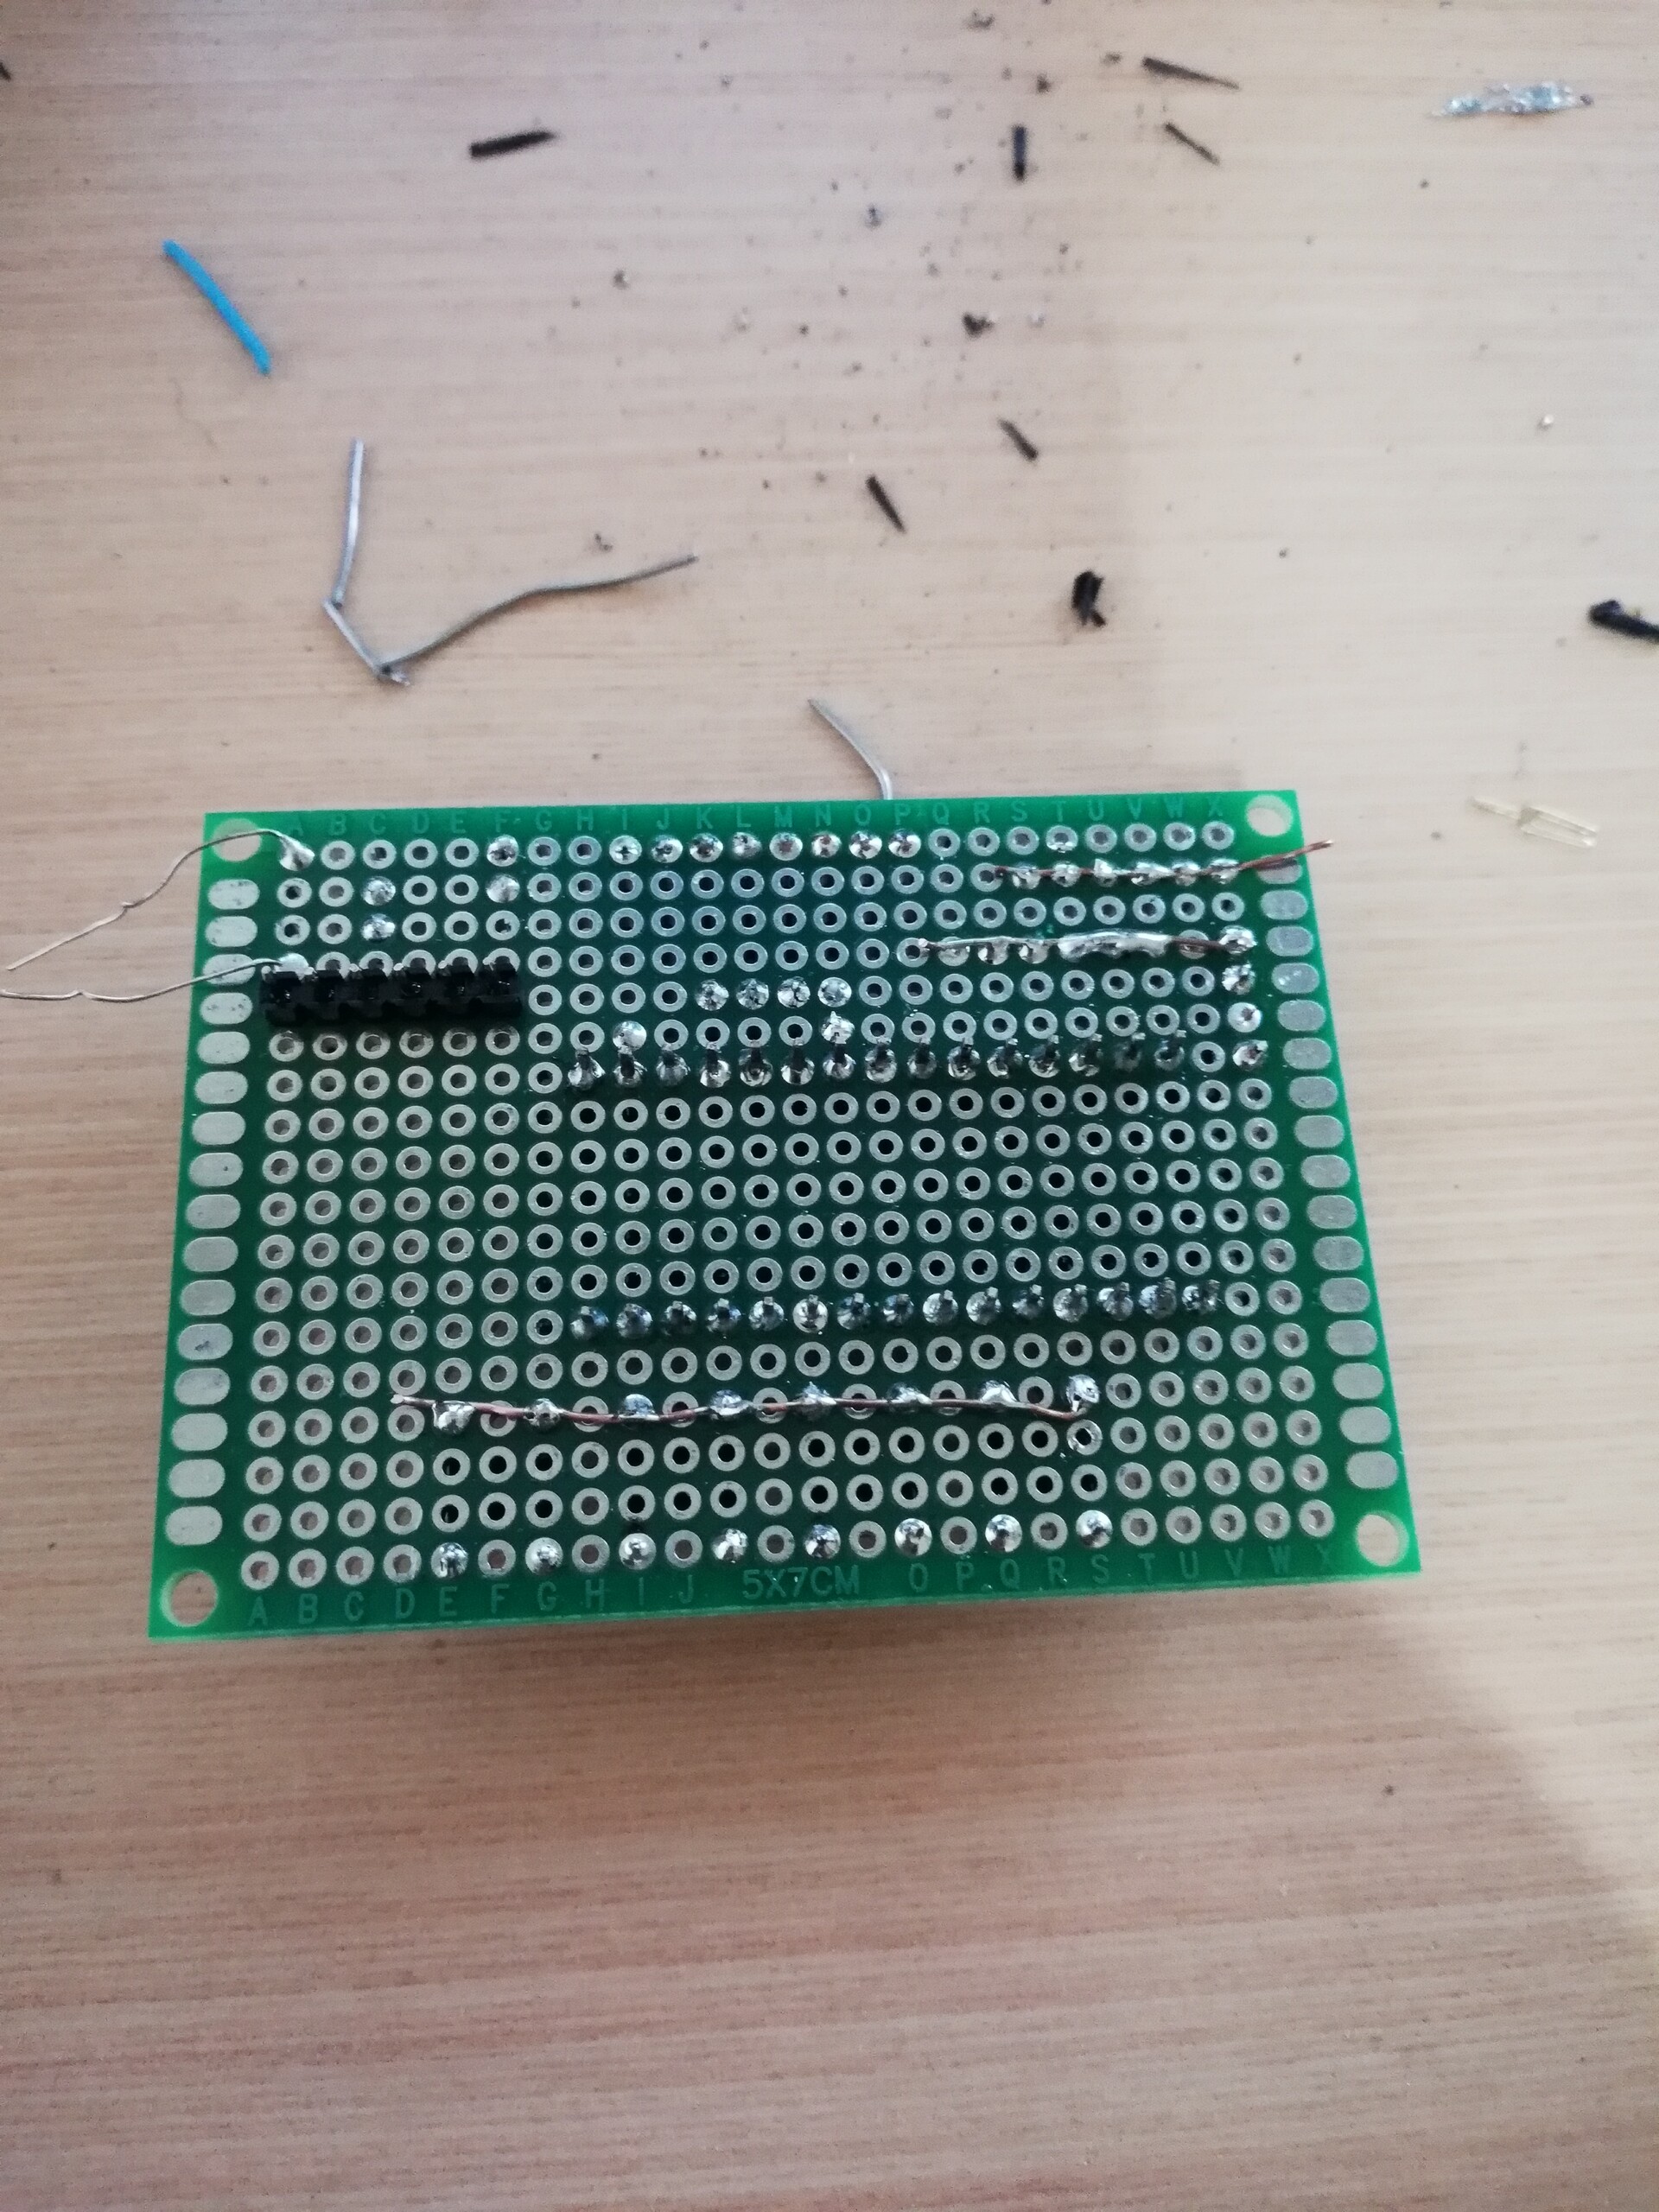
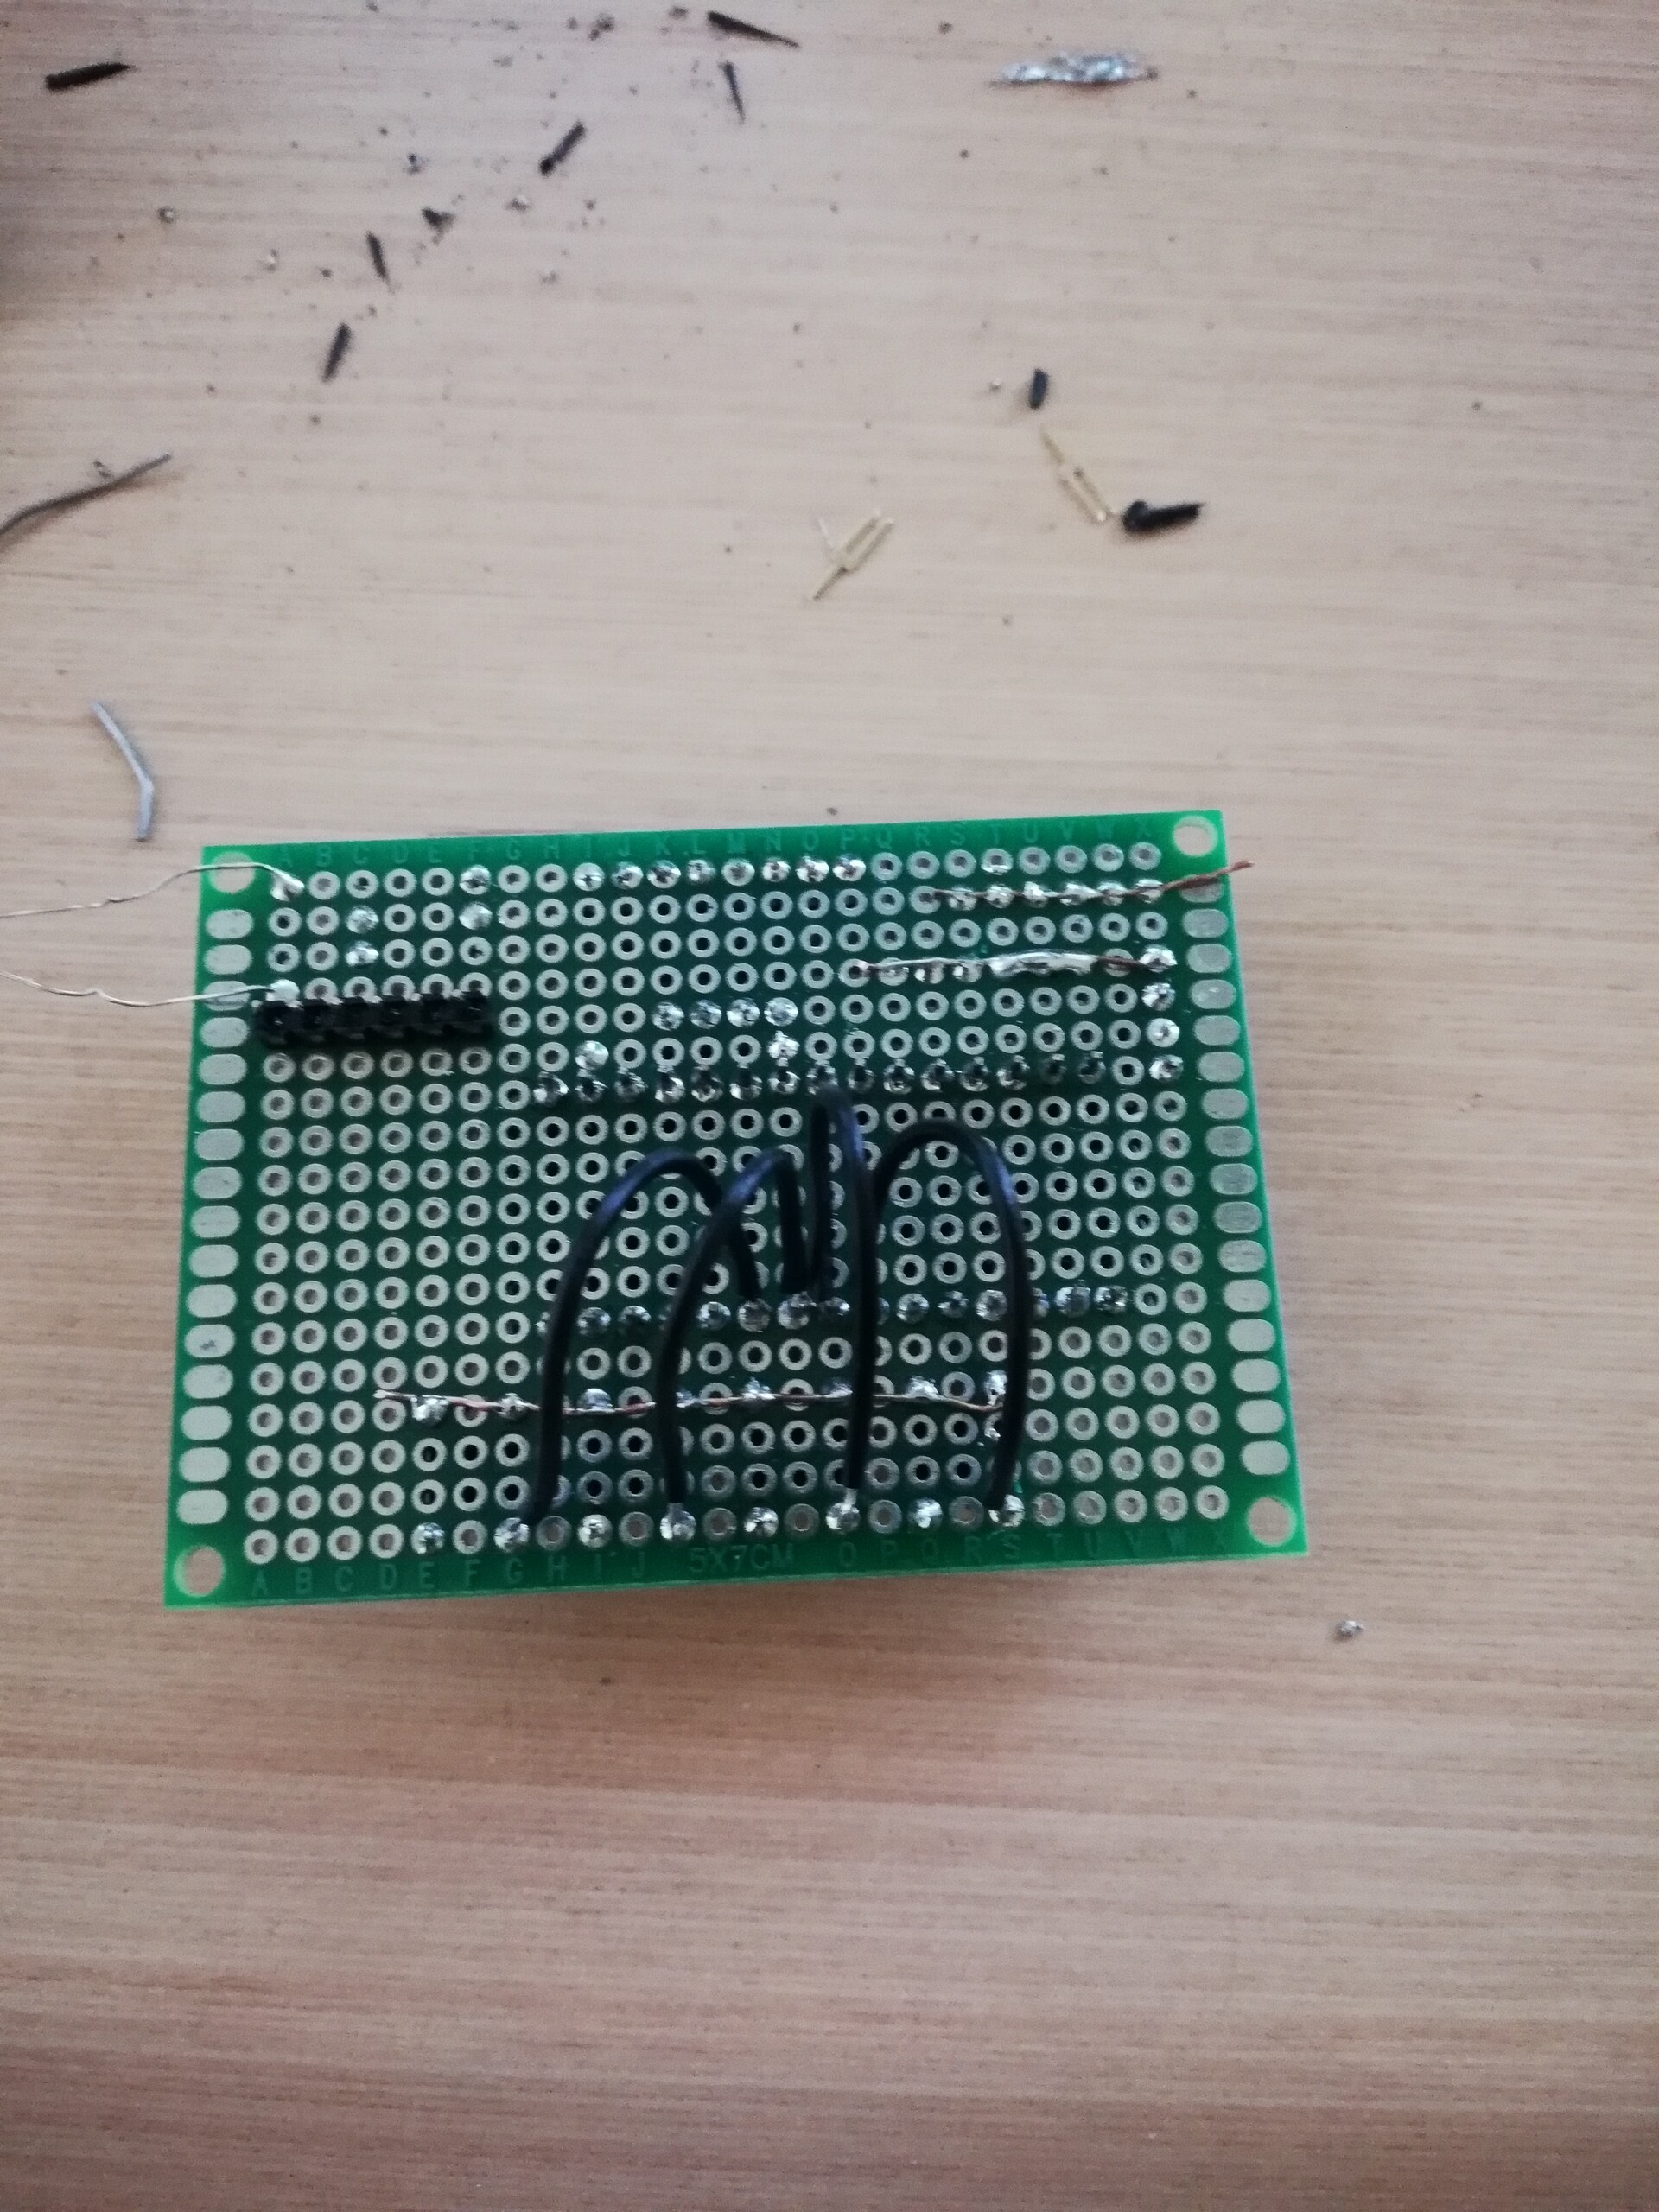
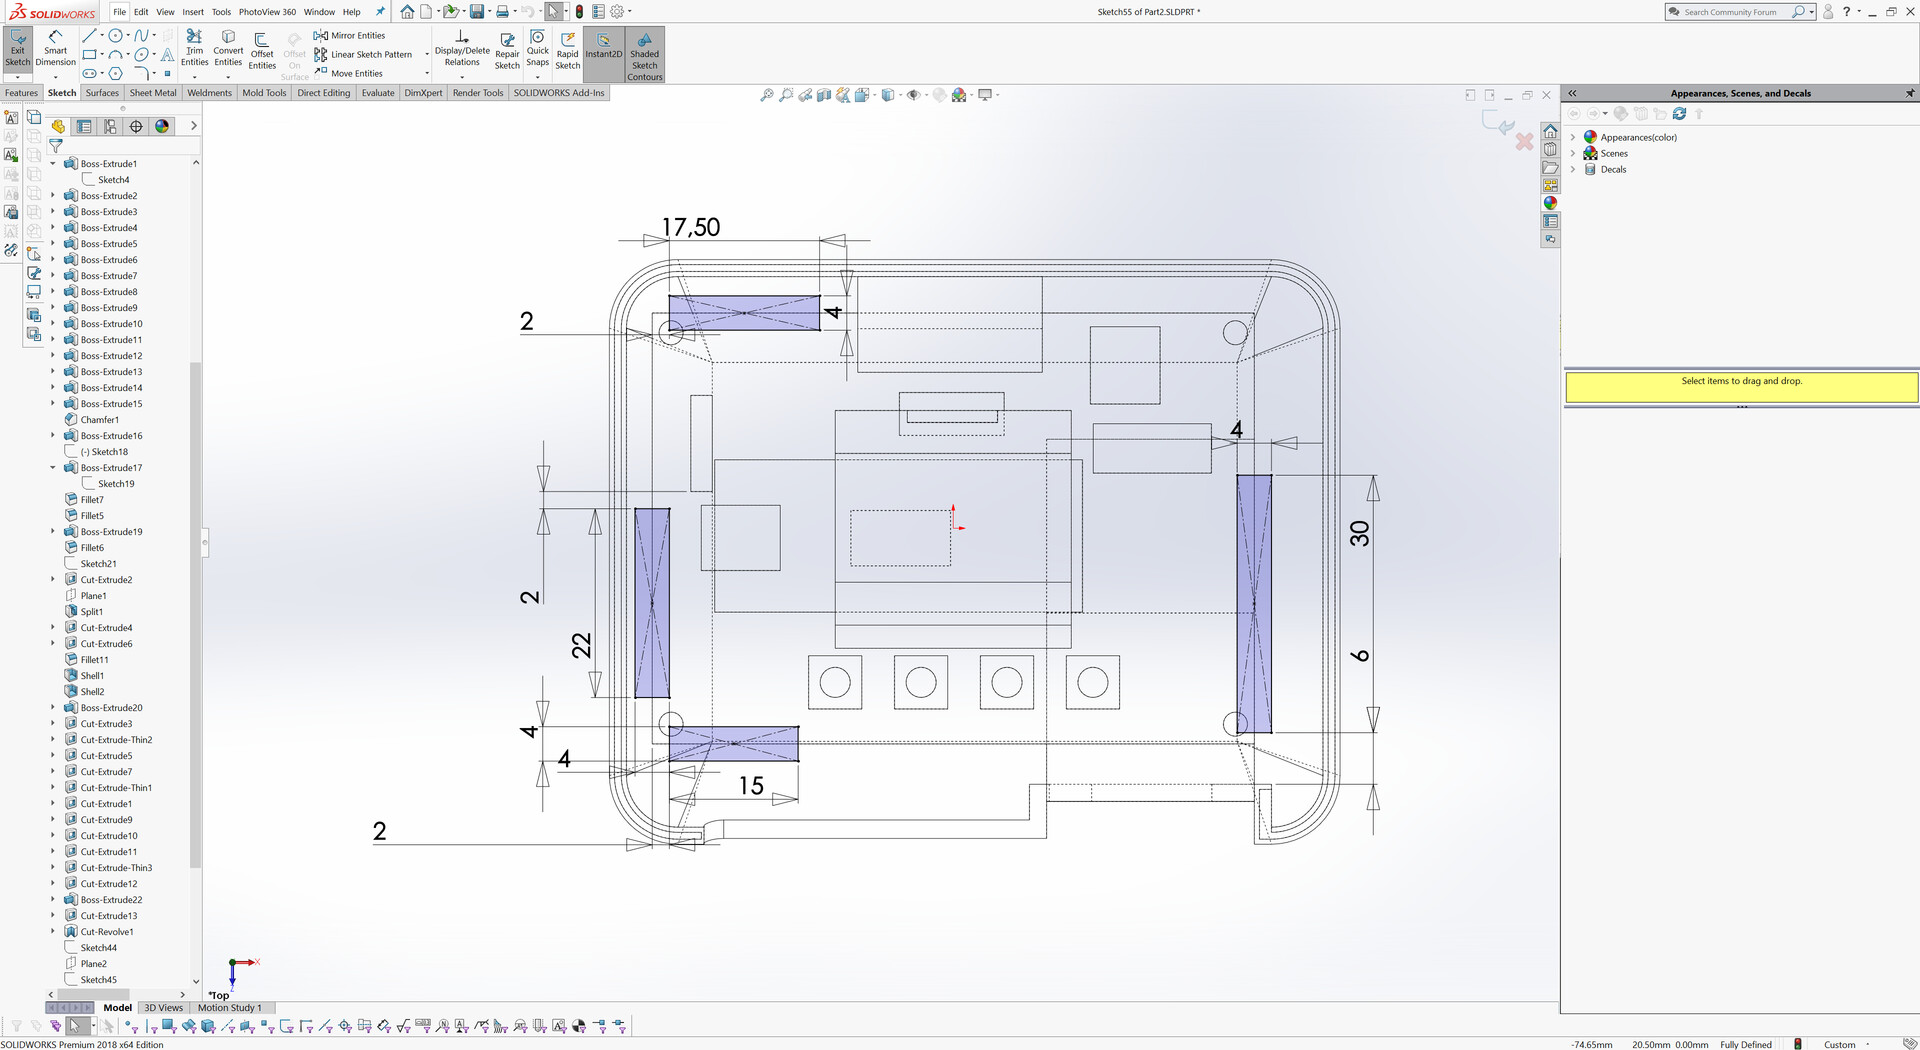
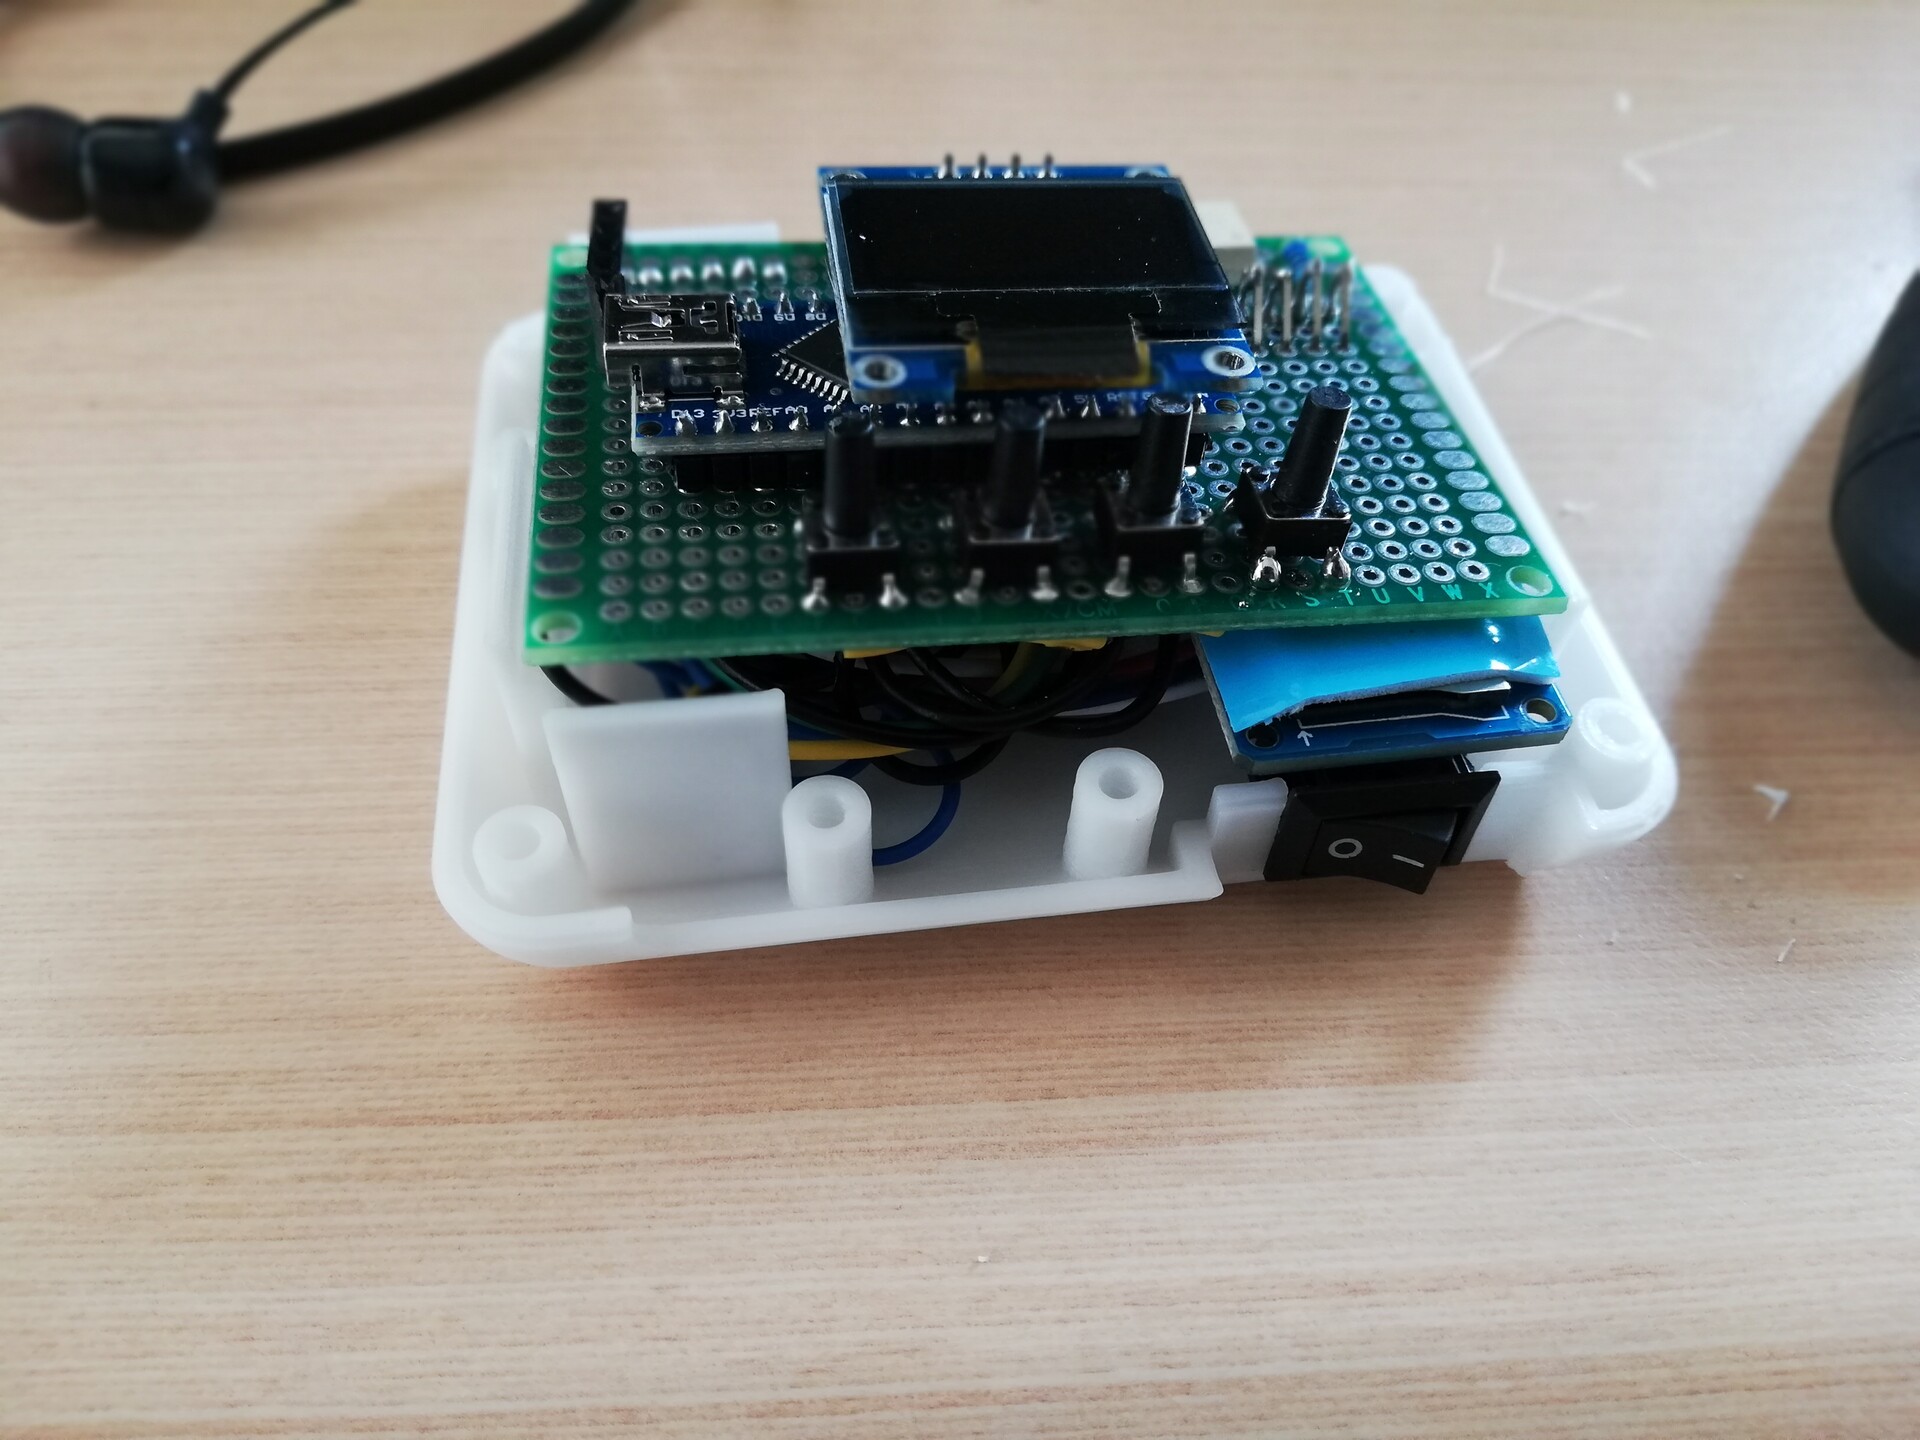
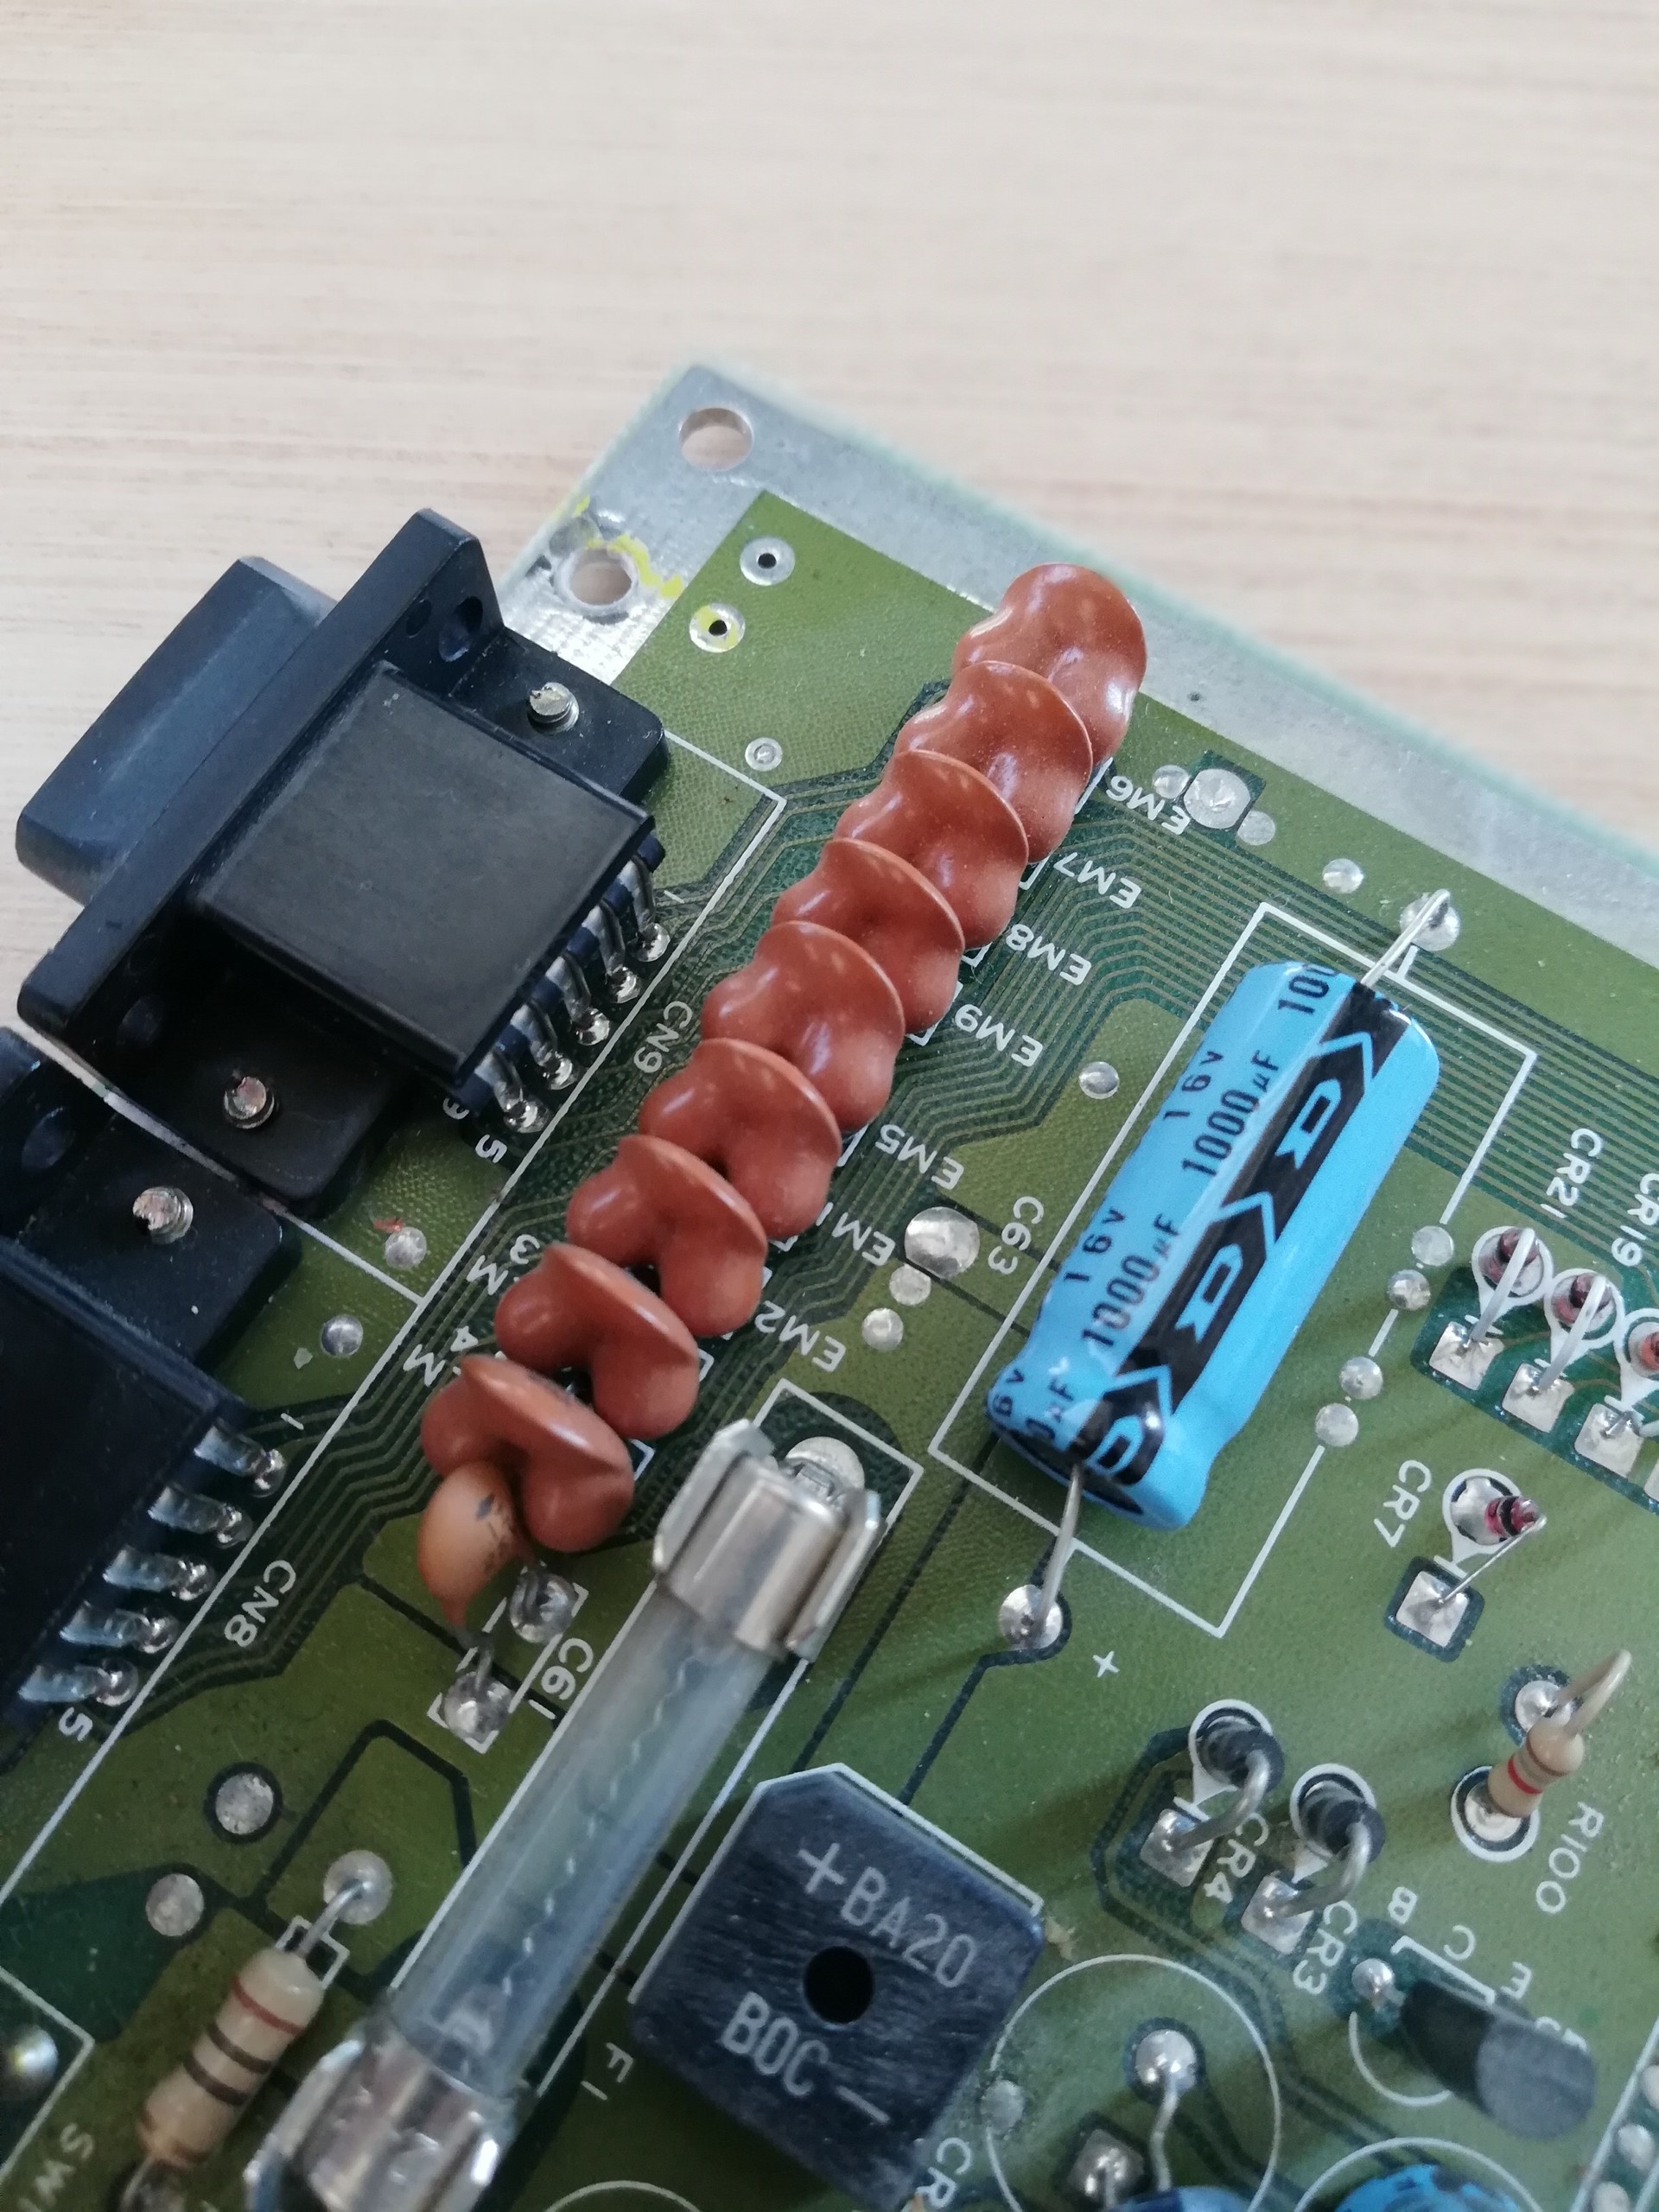
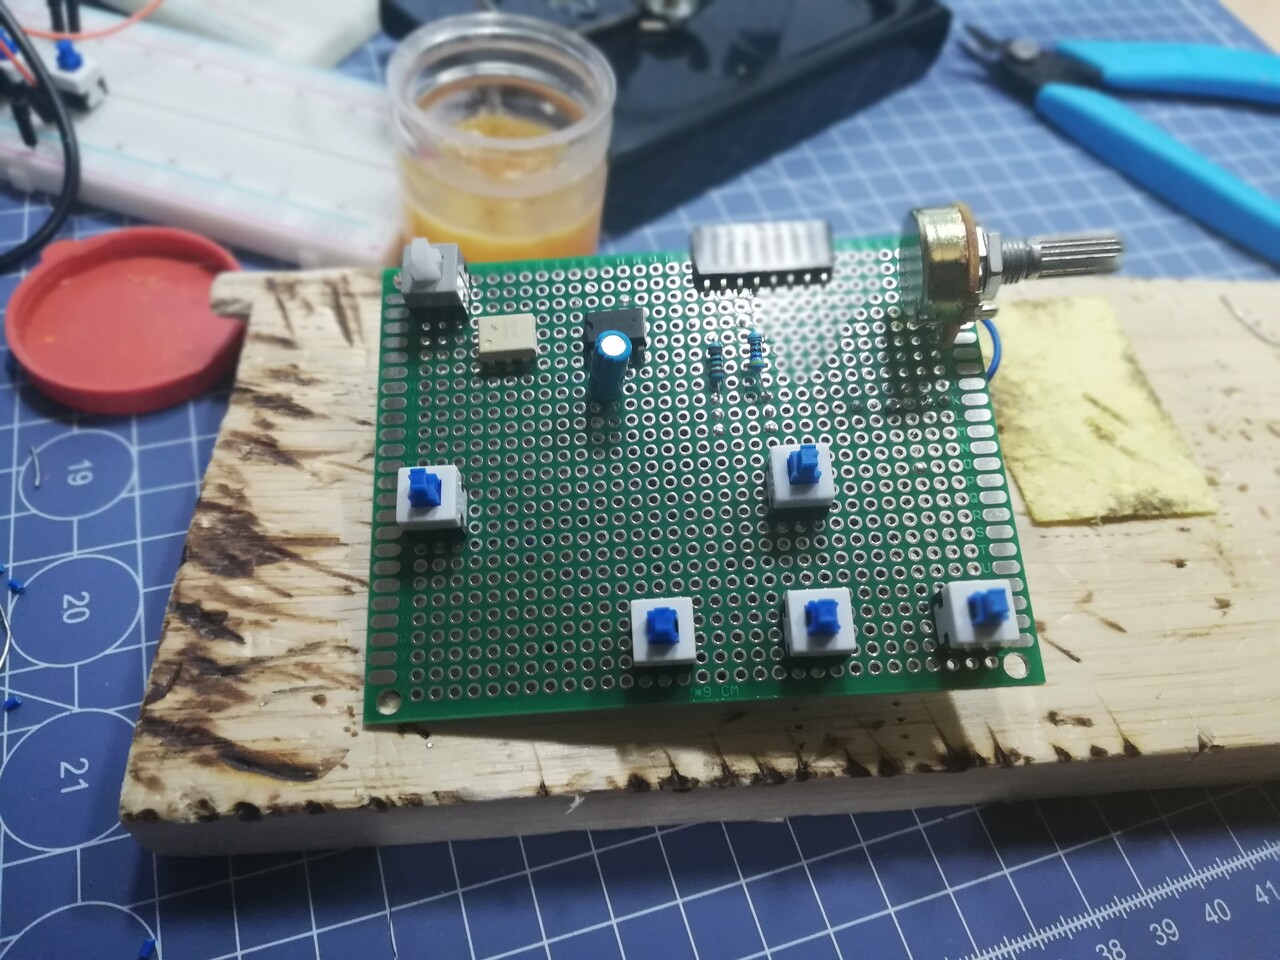
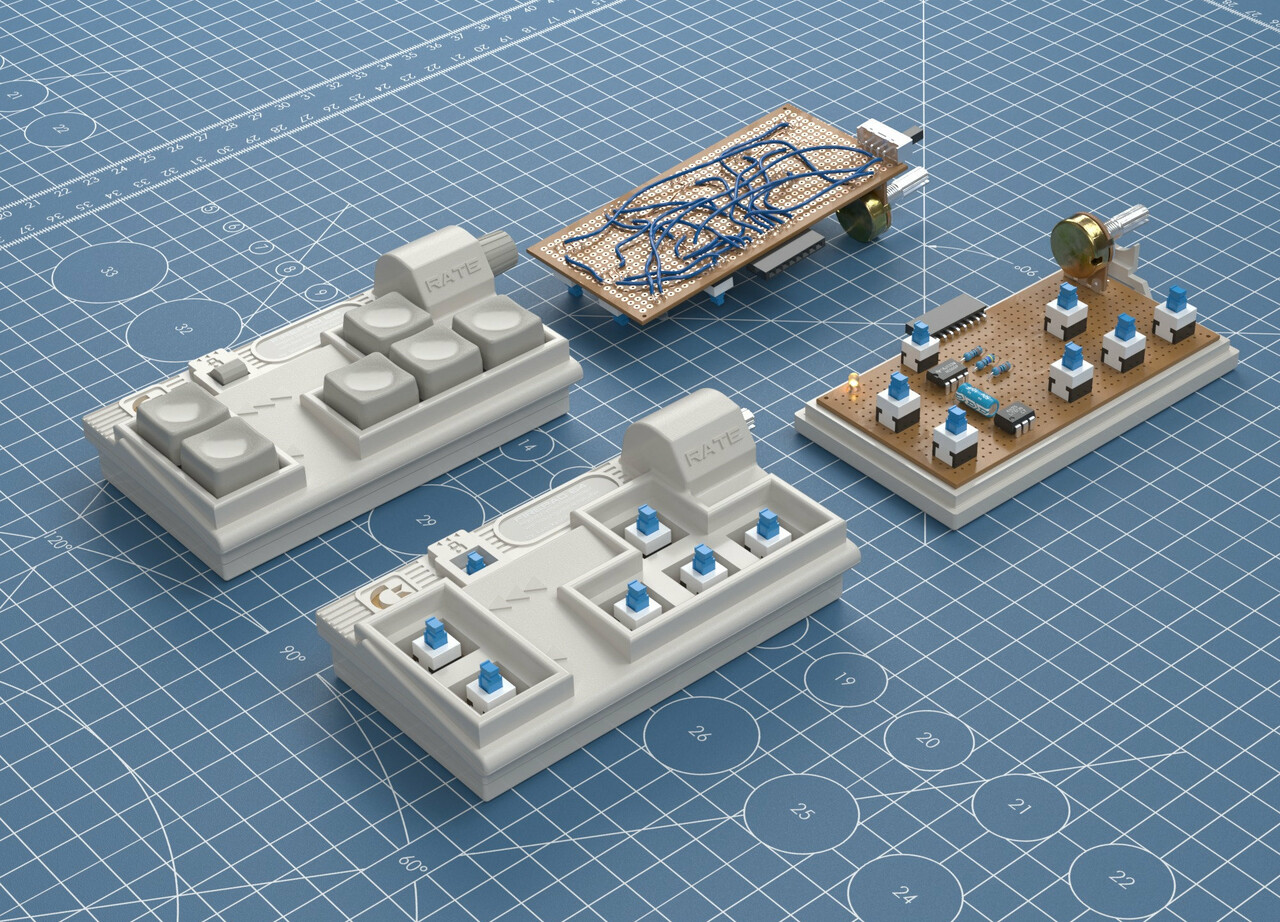
To do that, first I should create a smaller design on the board. So I measured the old one with the button offsets and clearances to the button walls and finally made this circuit.


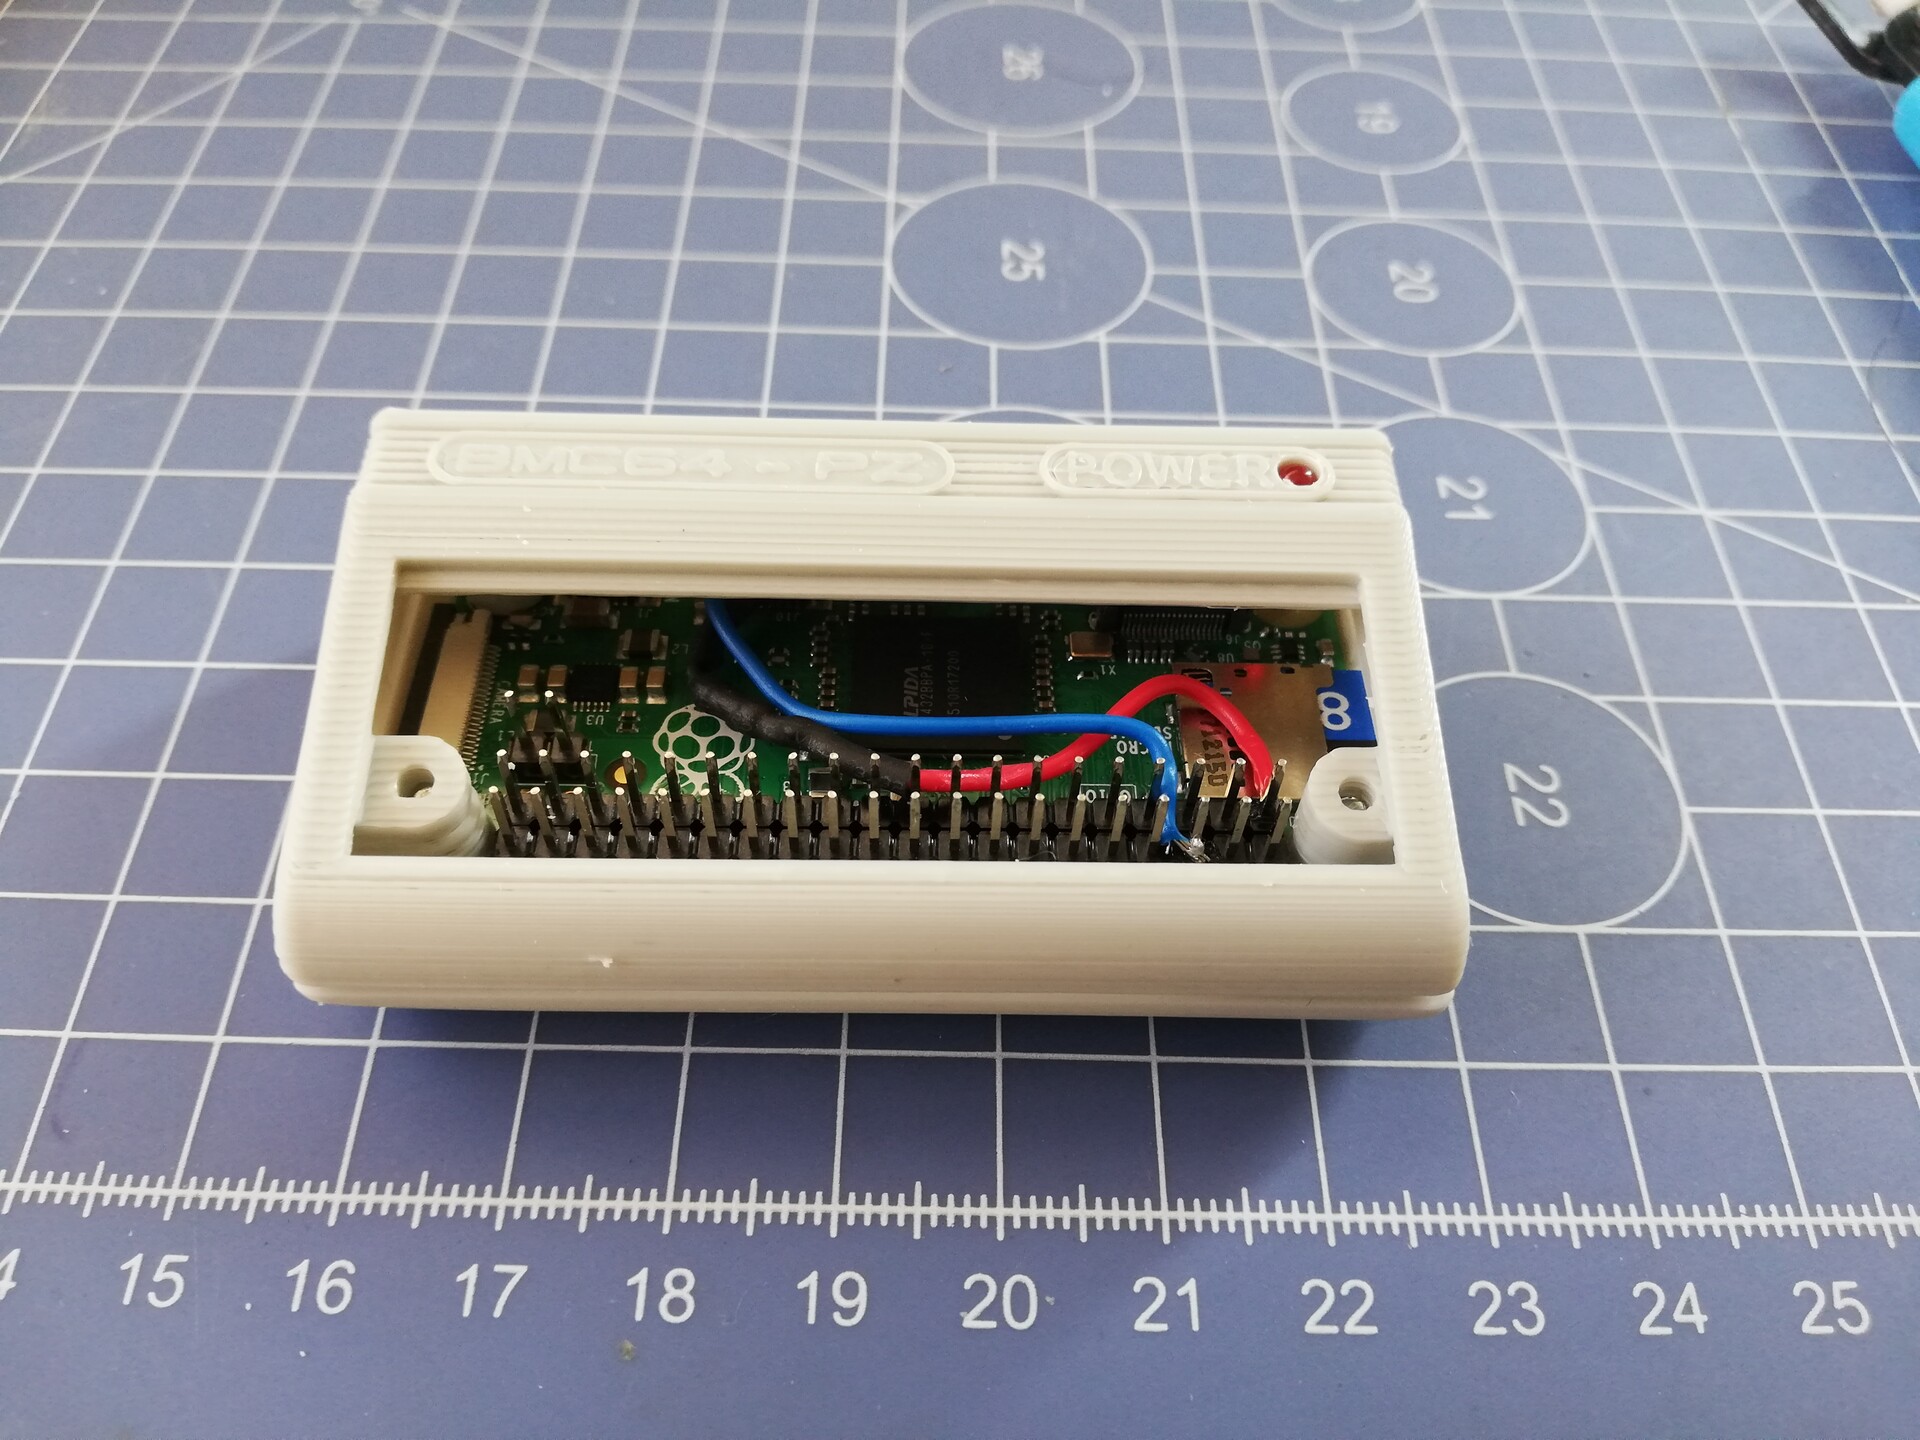
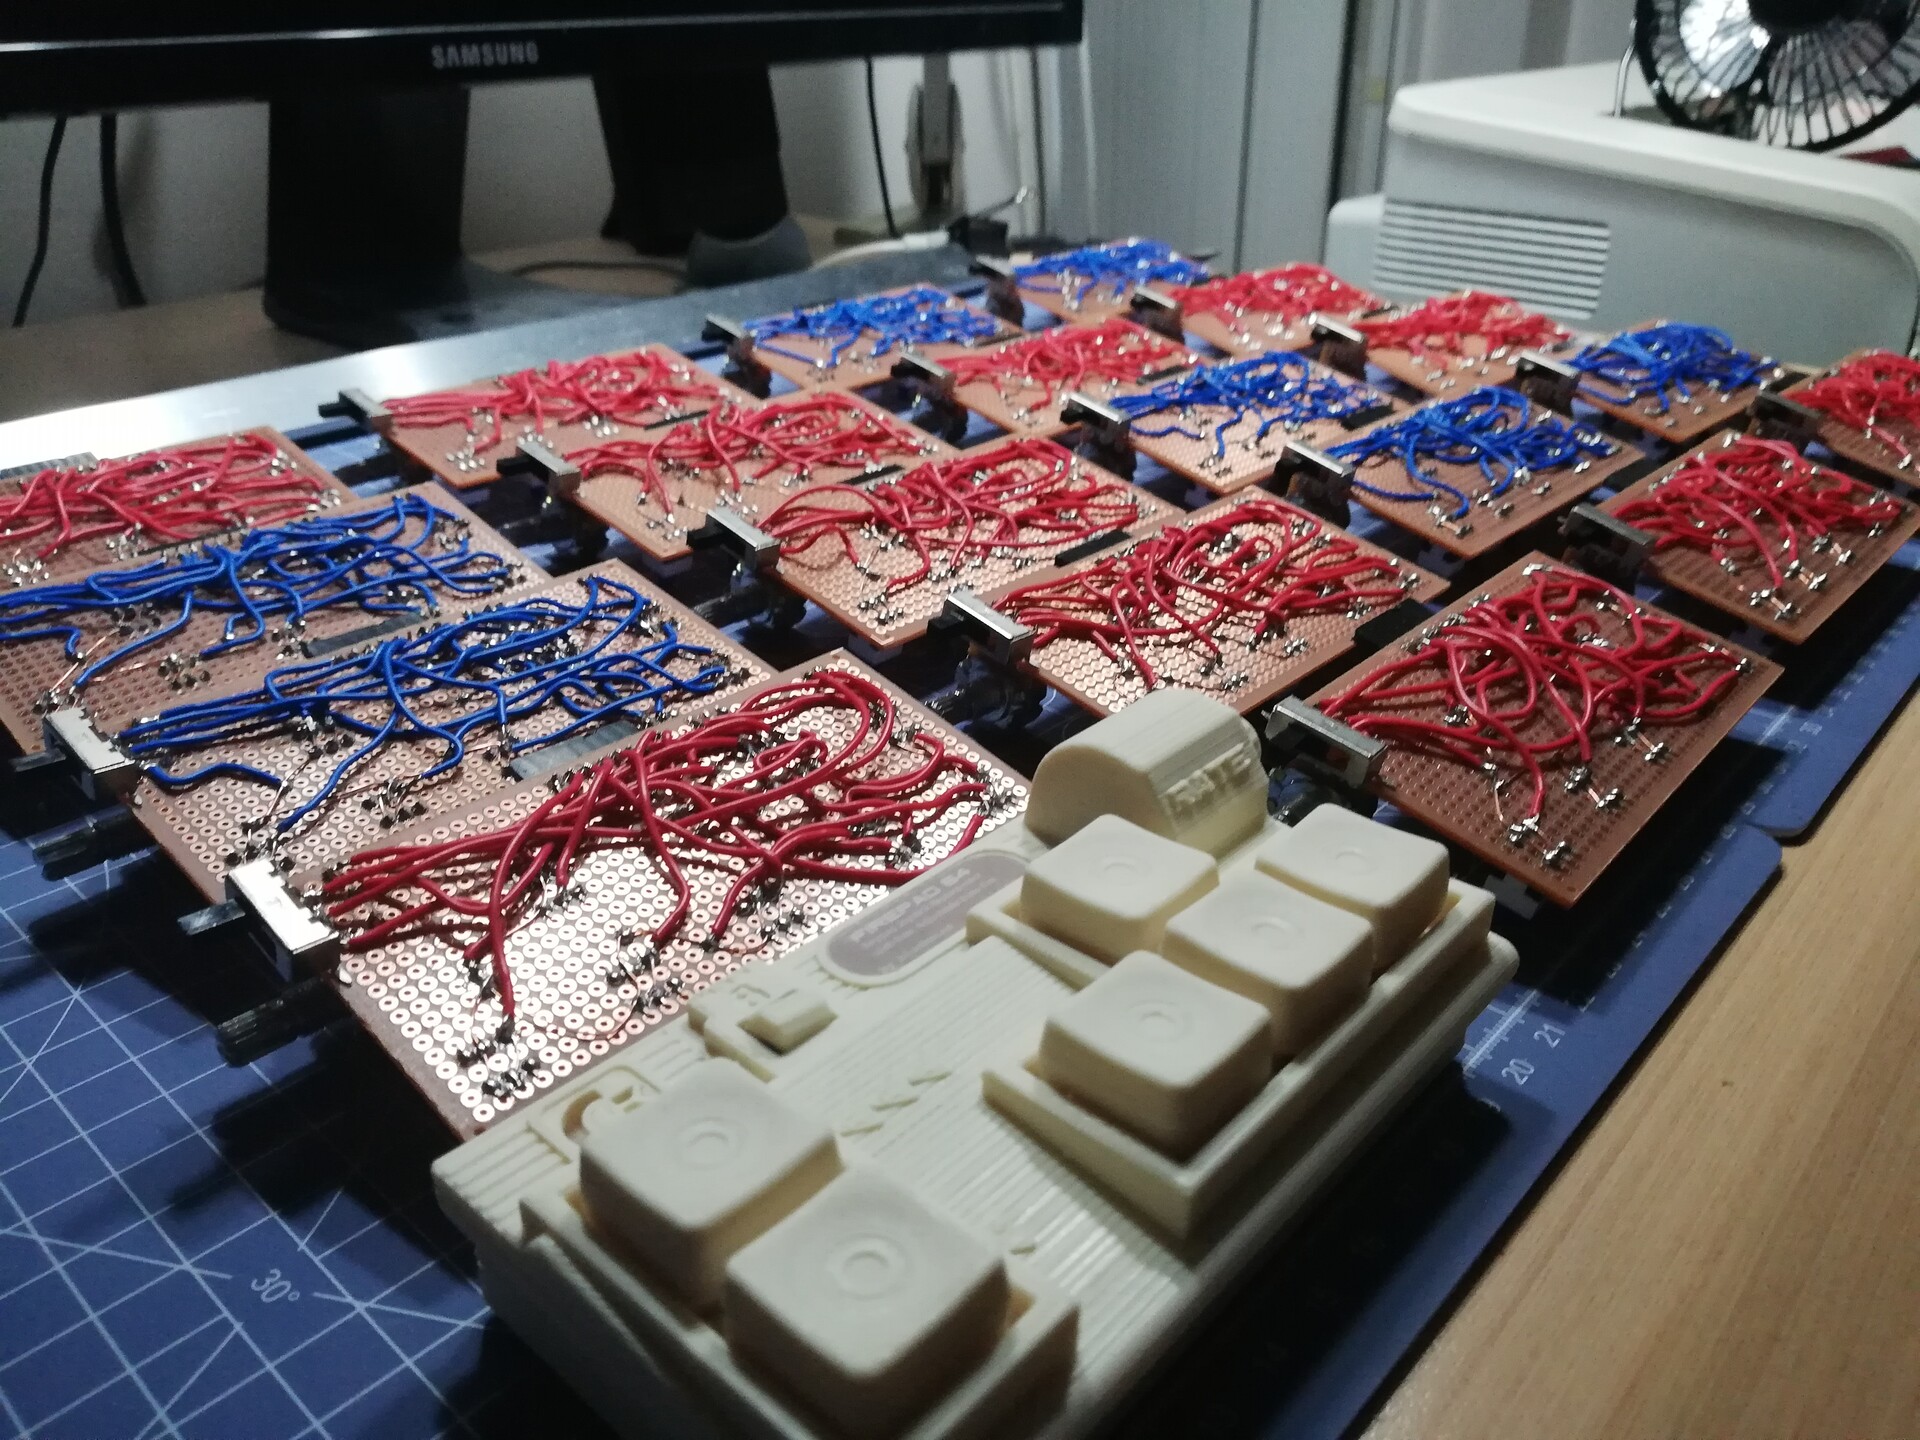
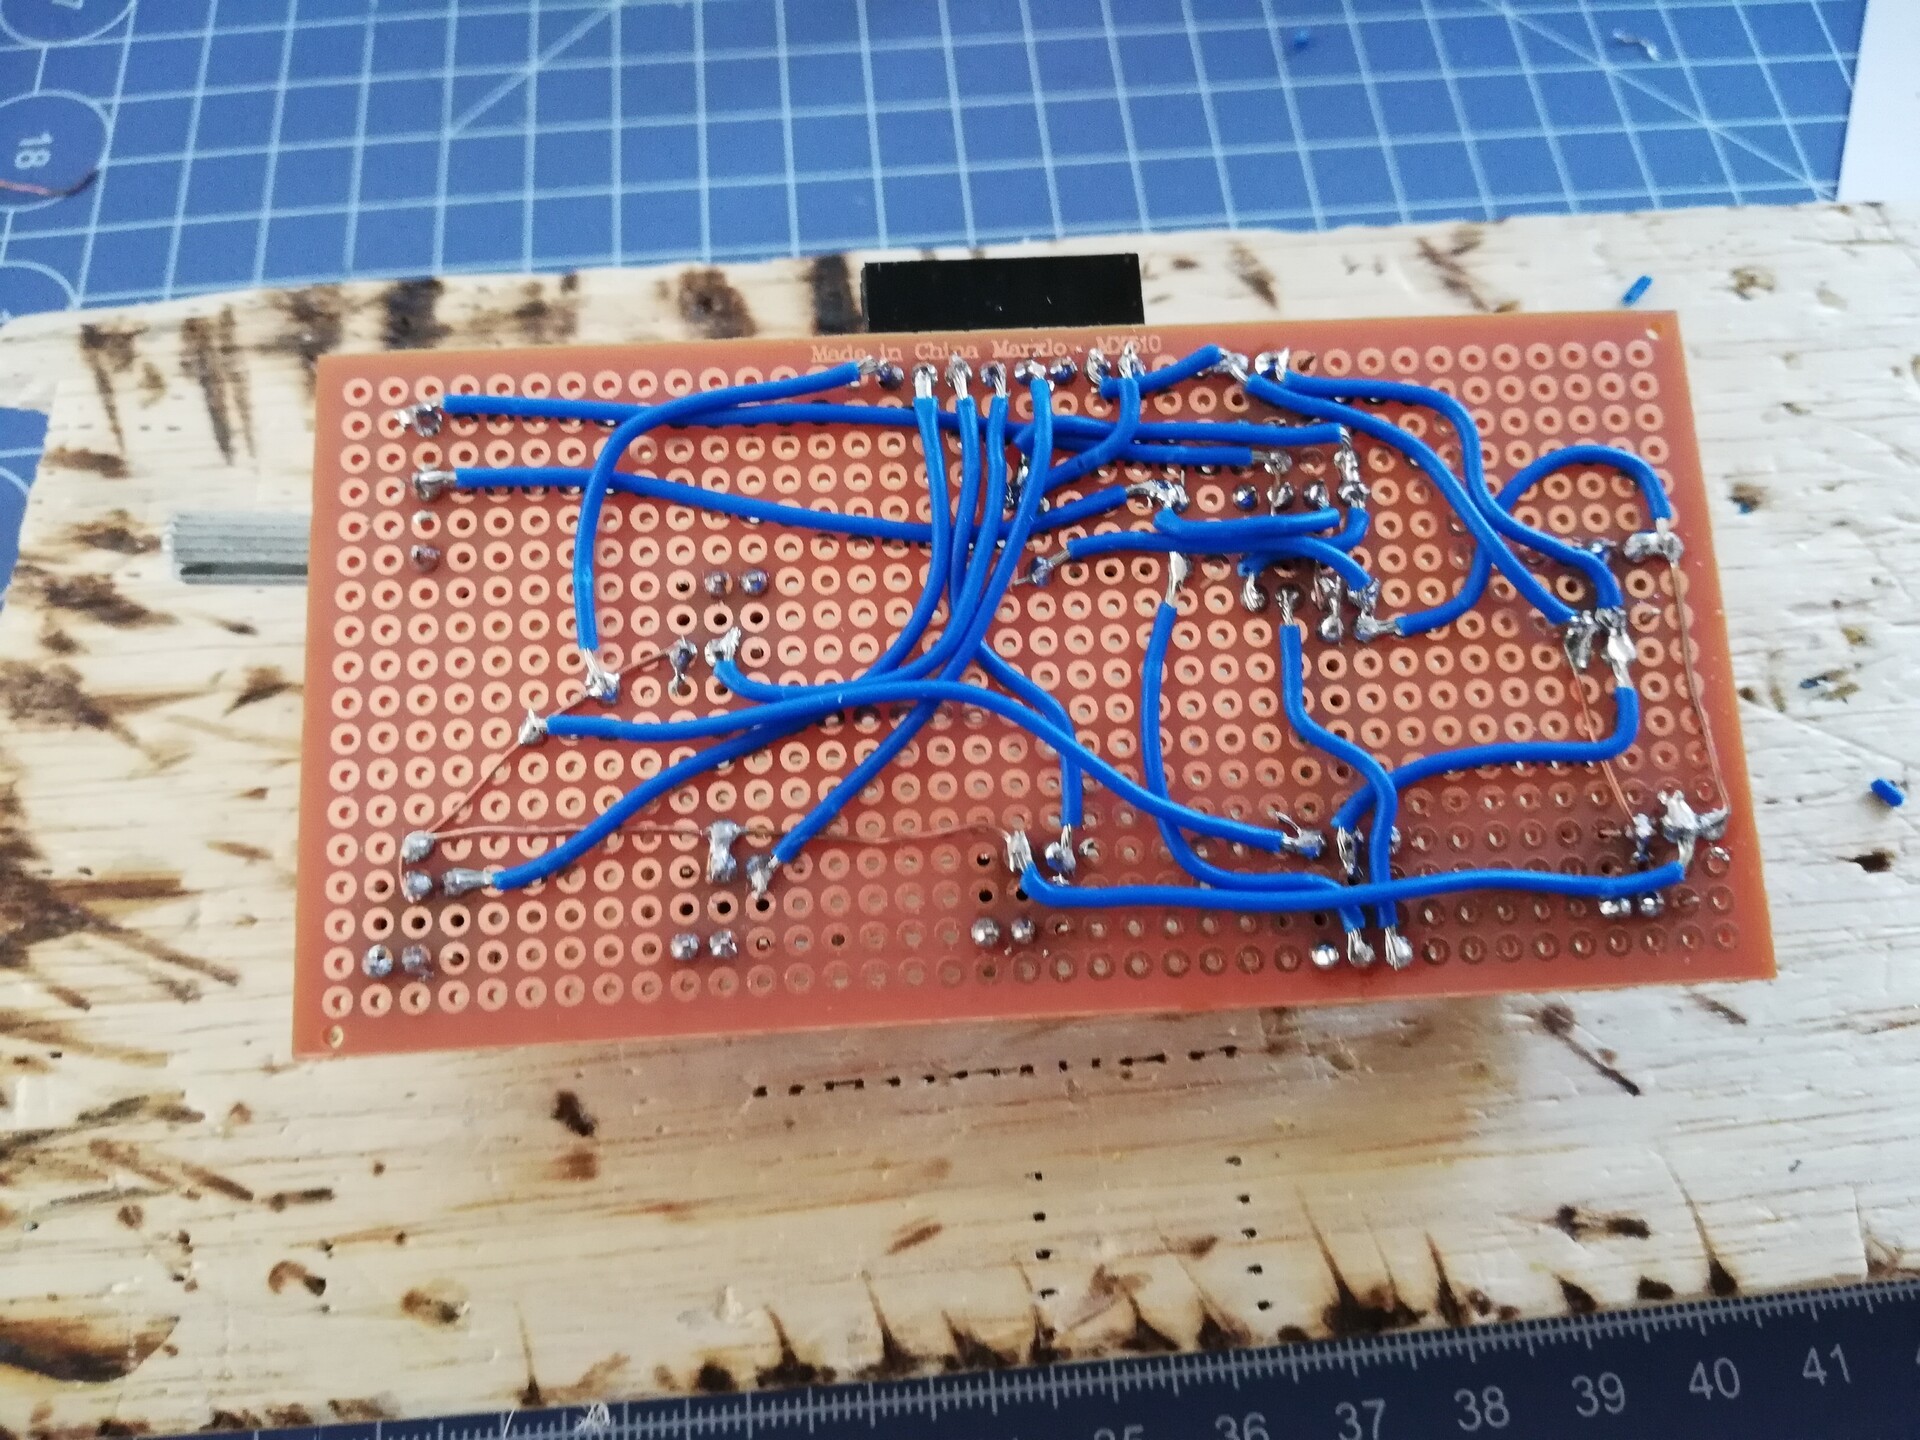
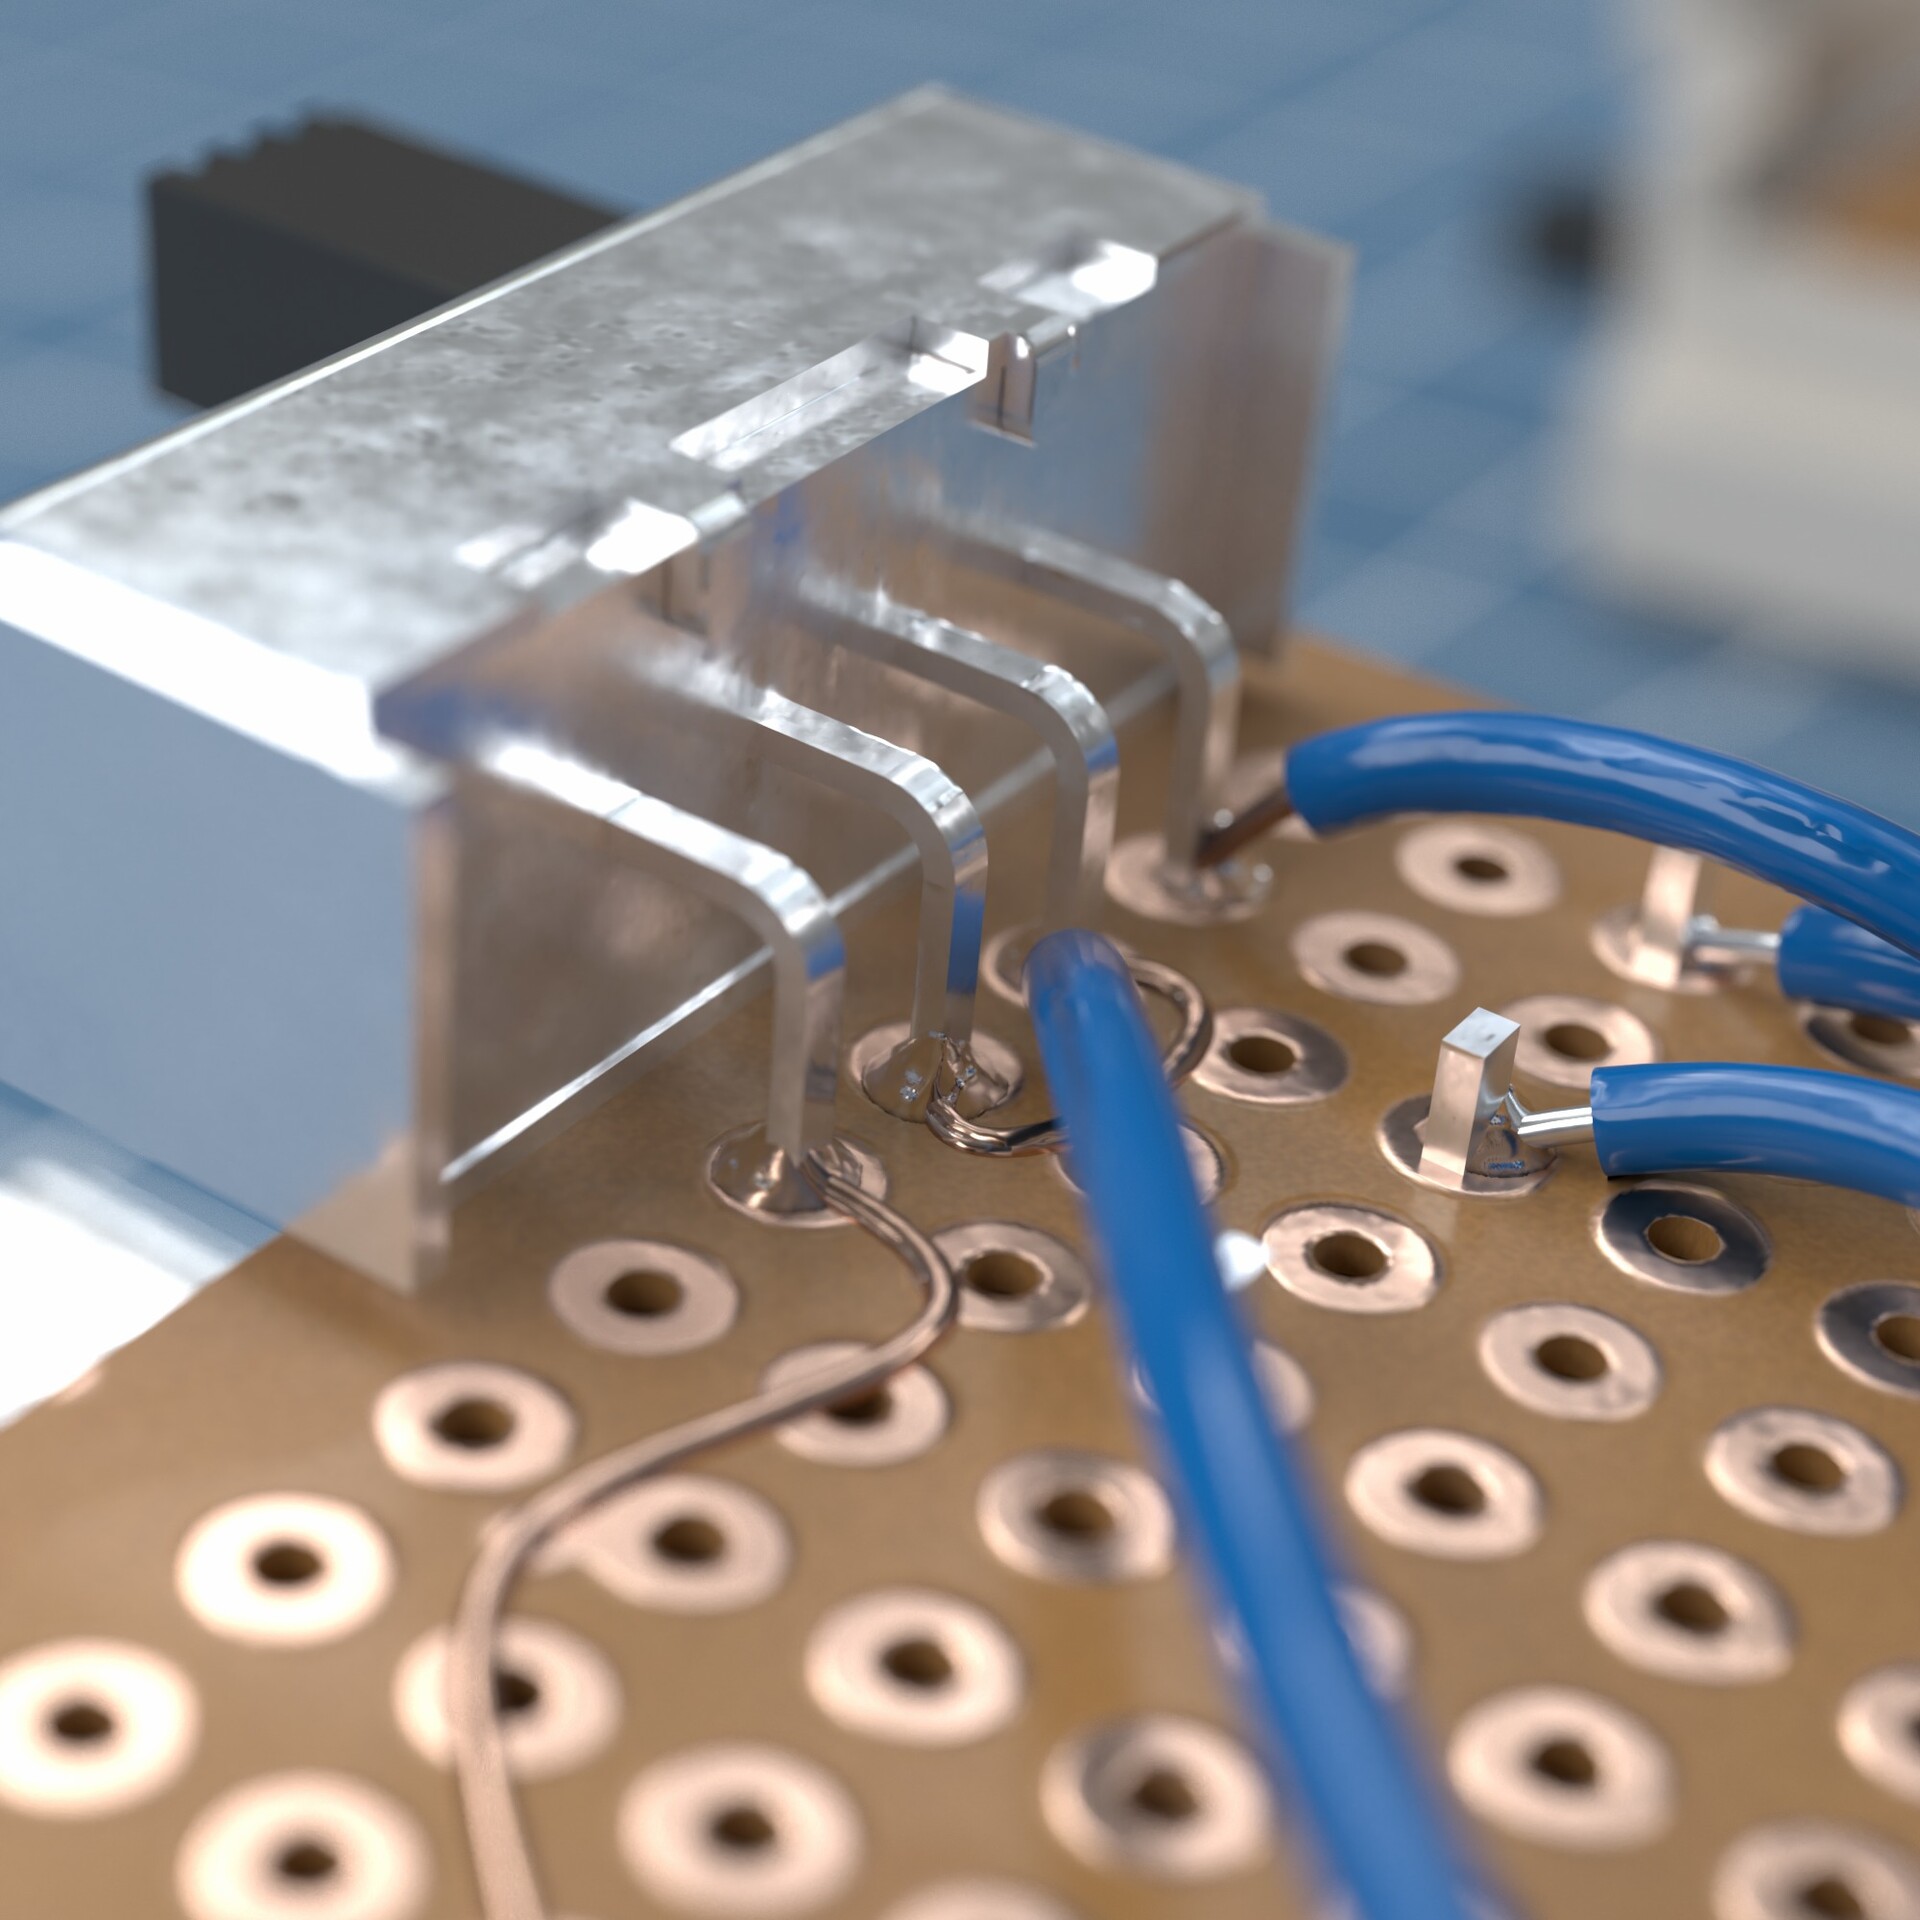
I soldered the cables by snapping them to the board this time. To make a slim case aspect to the previous one.

This is a soldering timelapse:

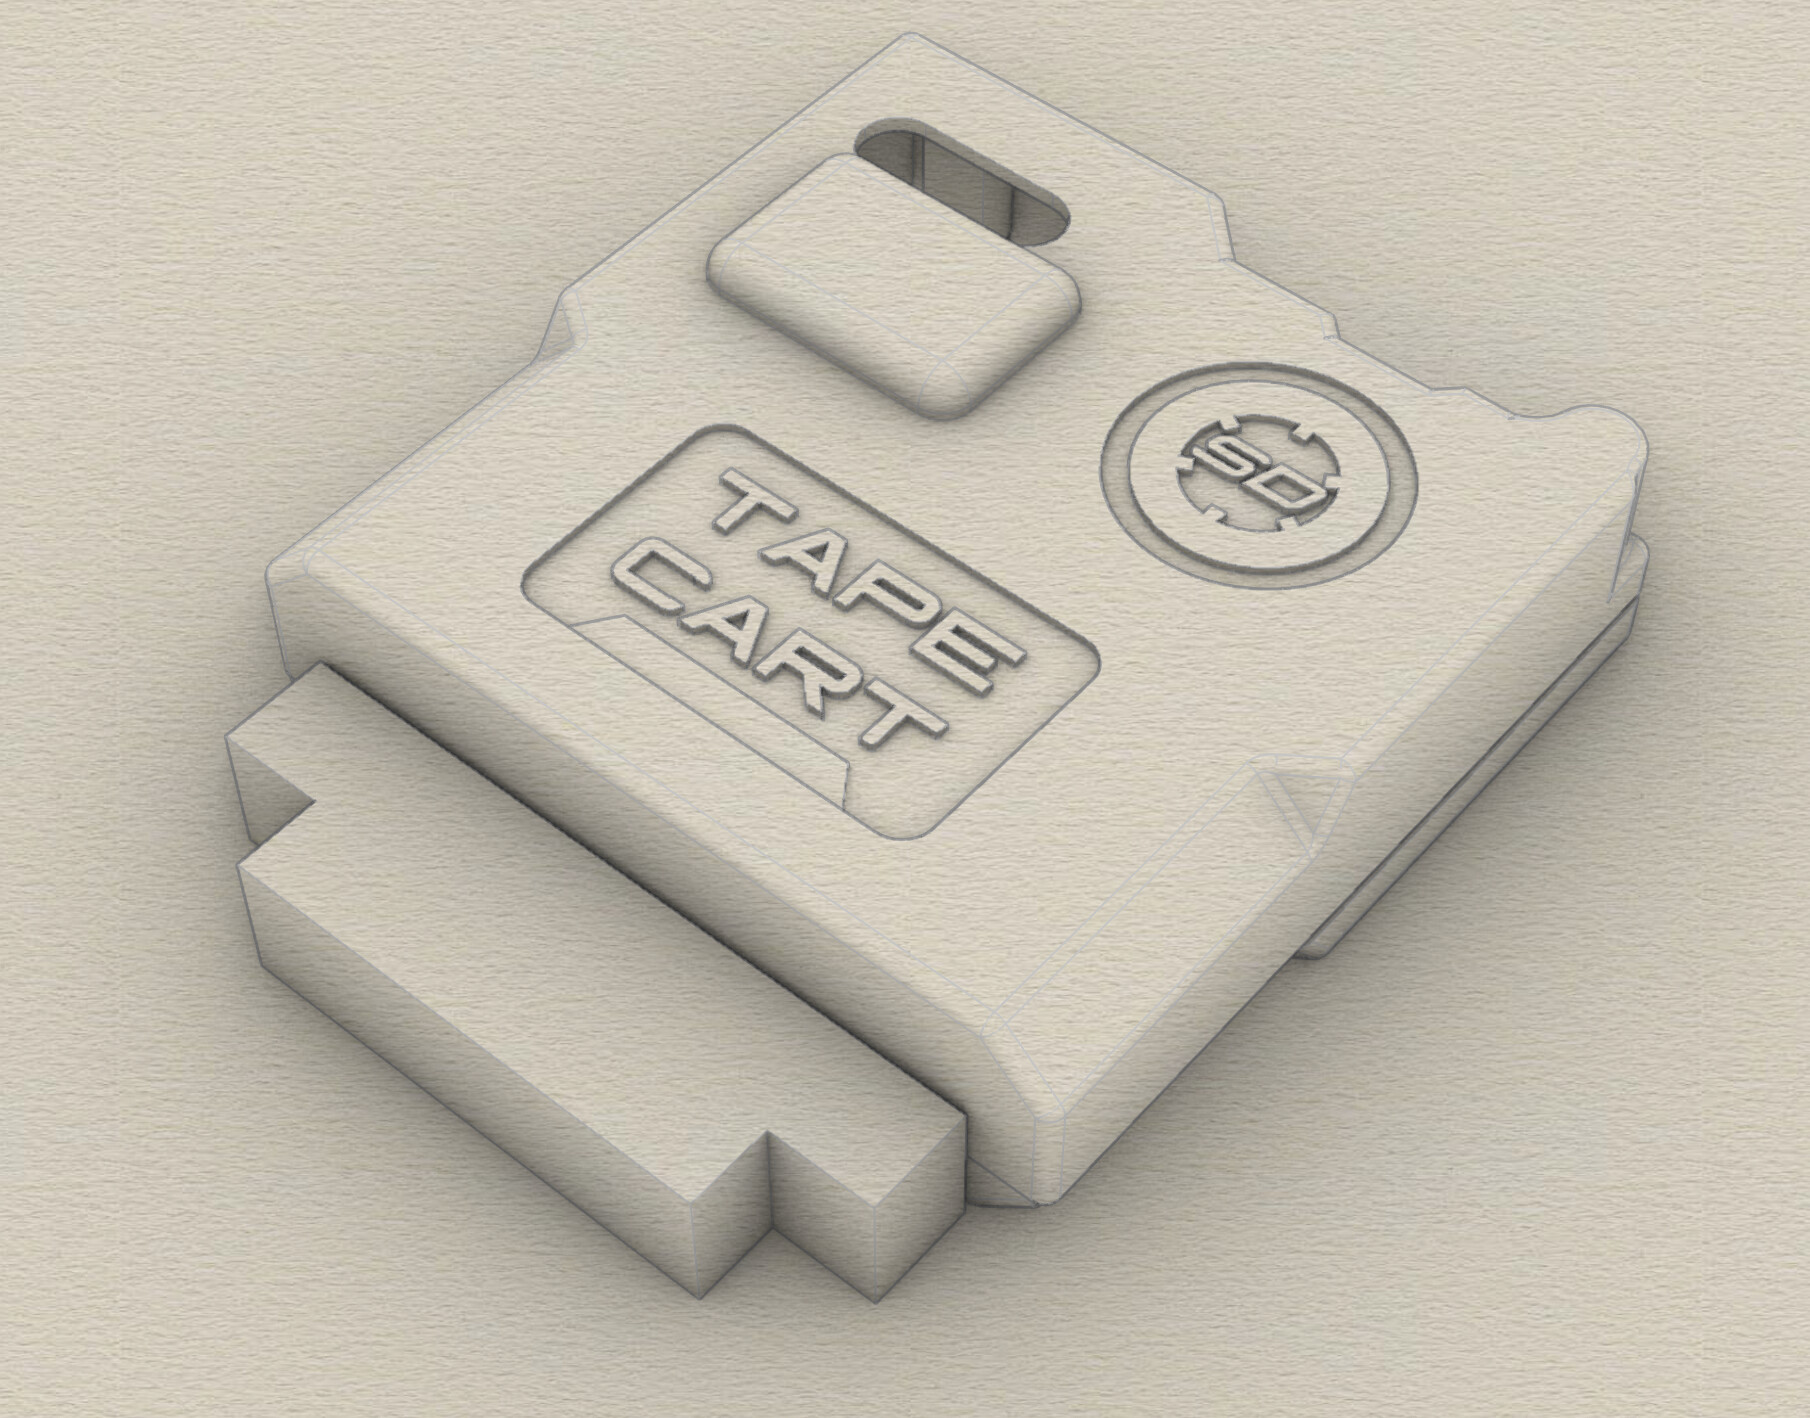
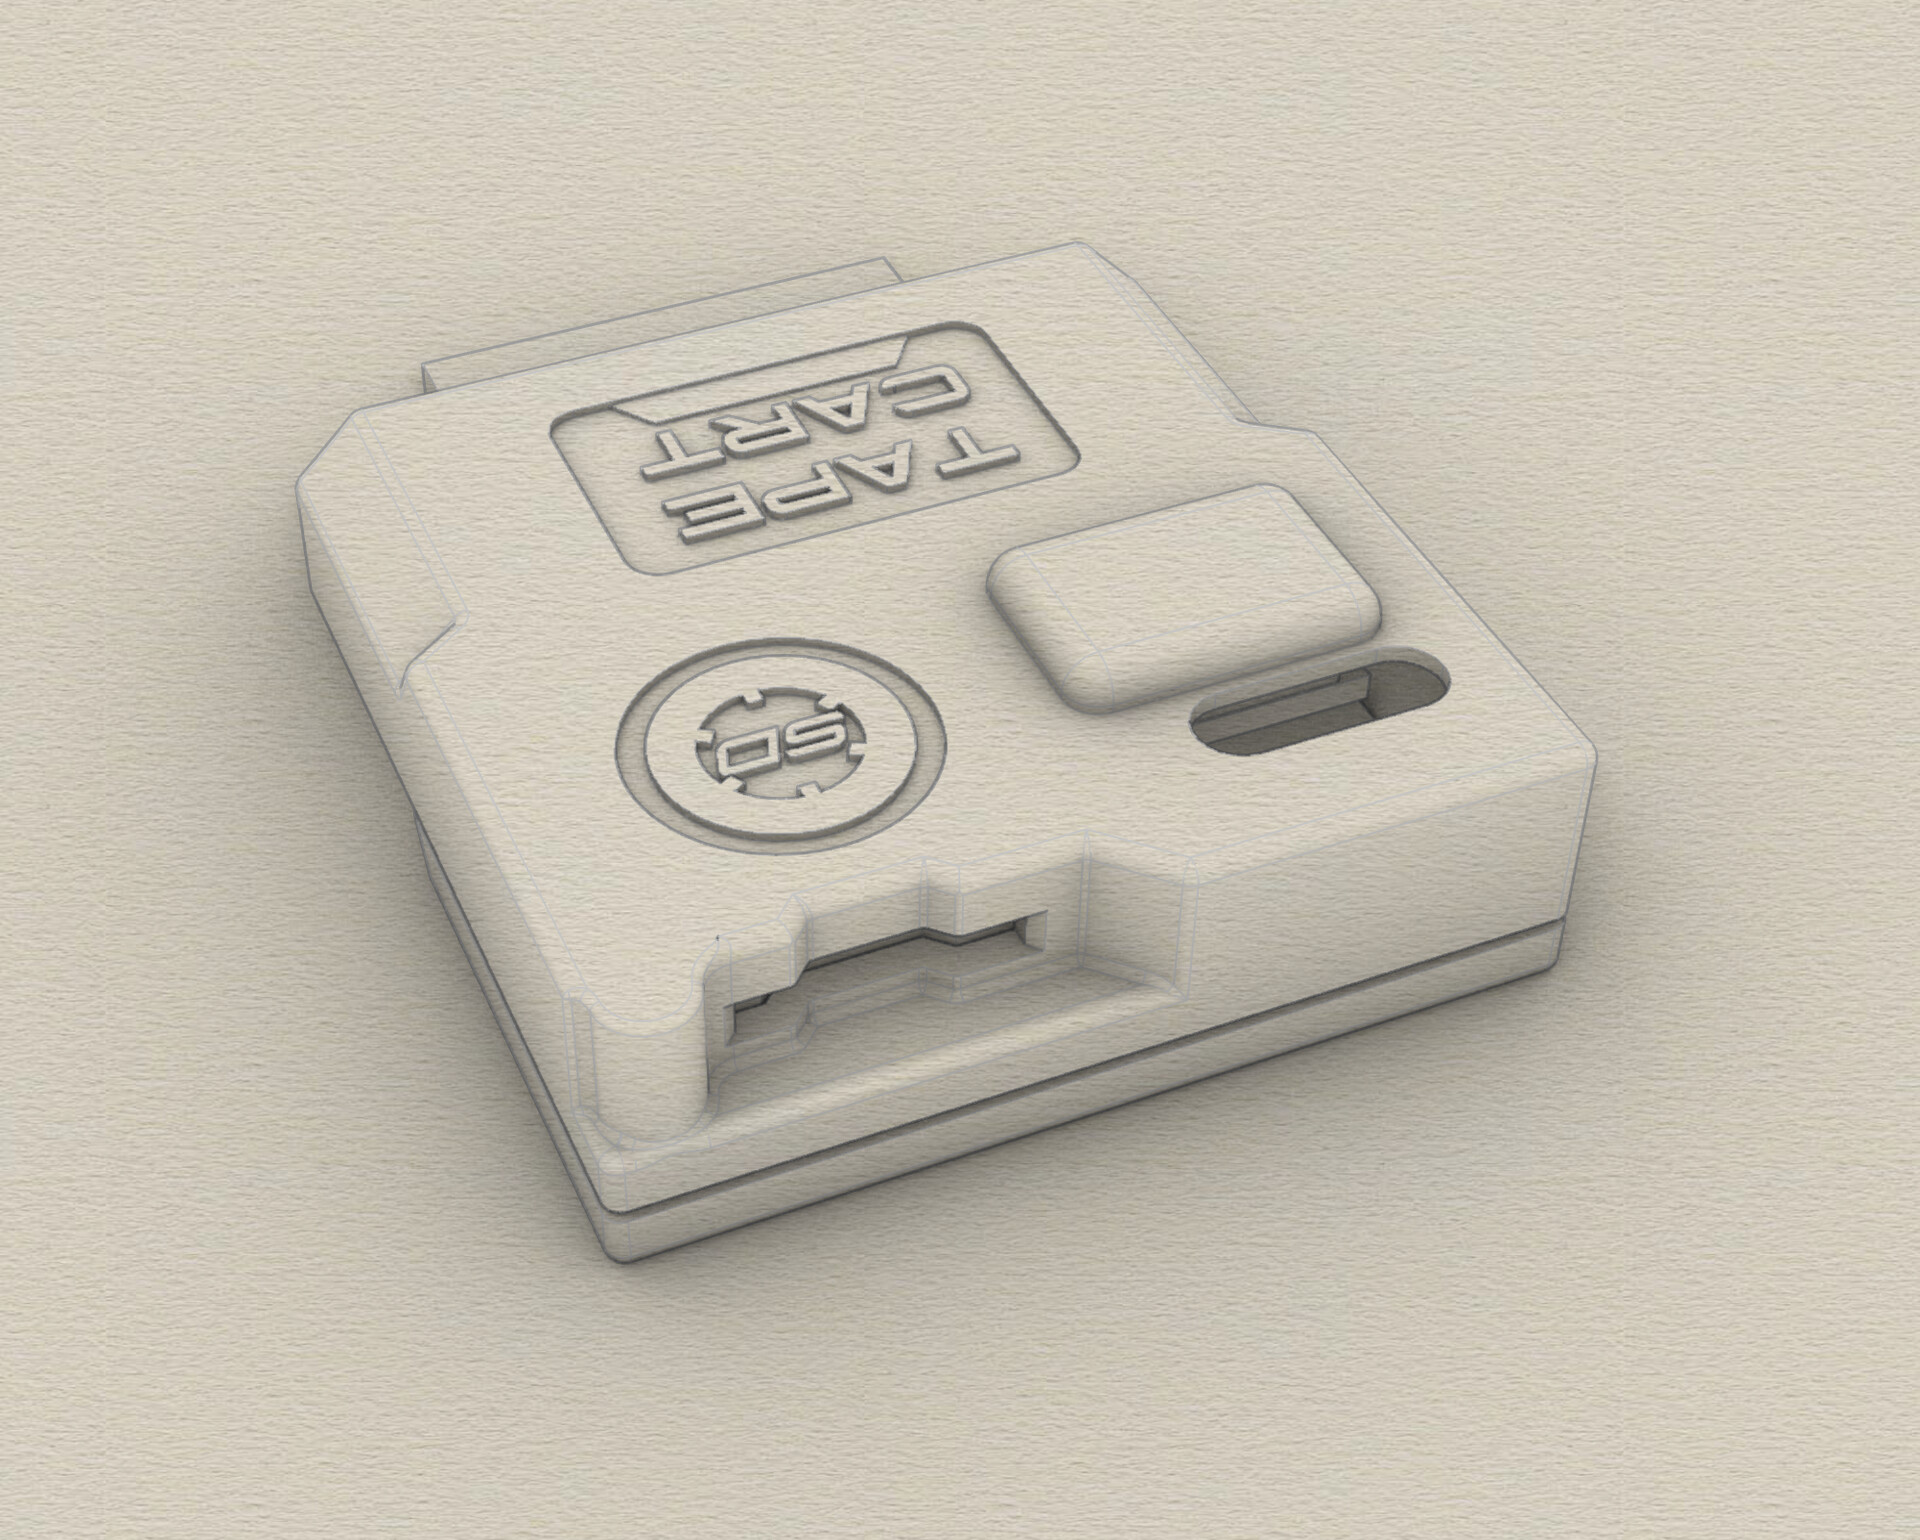
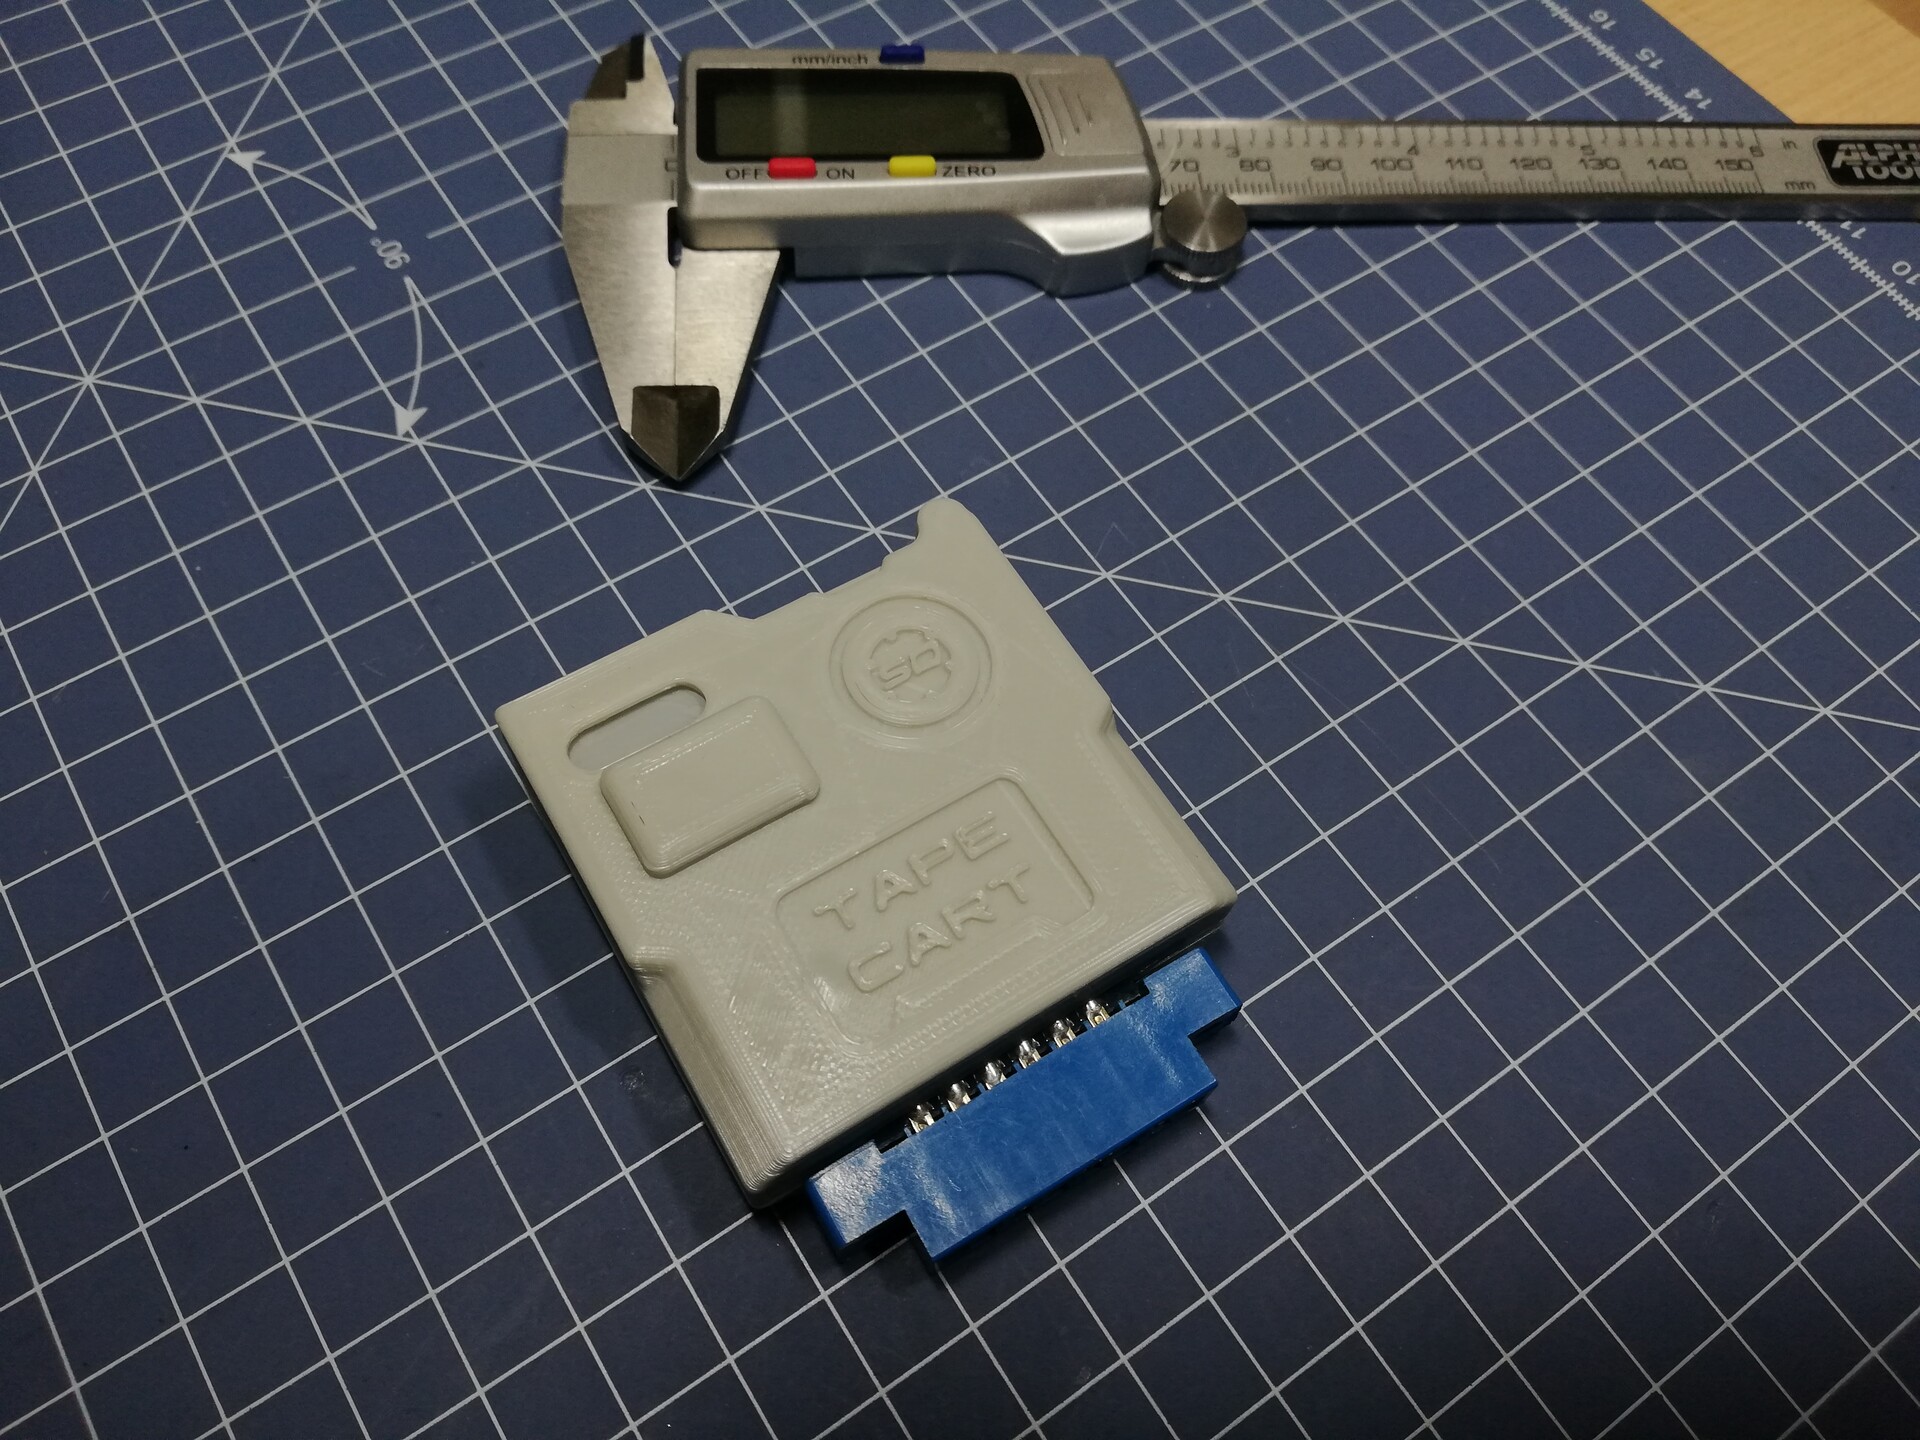
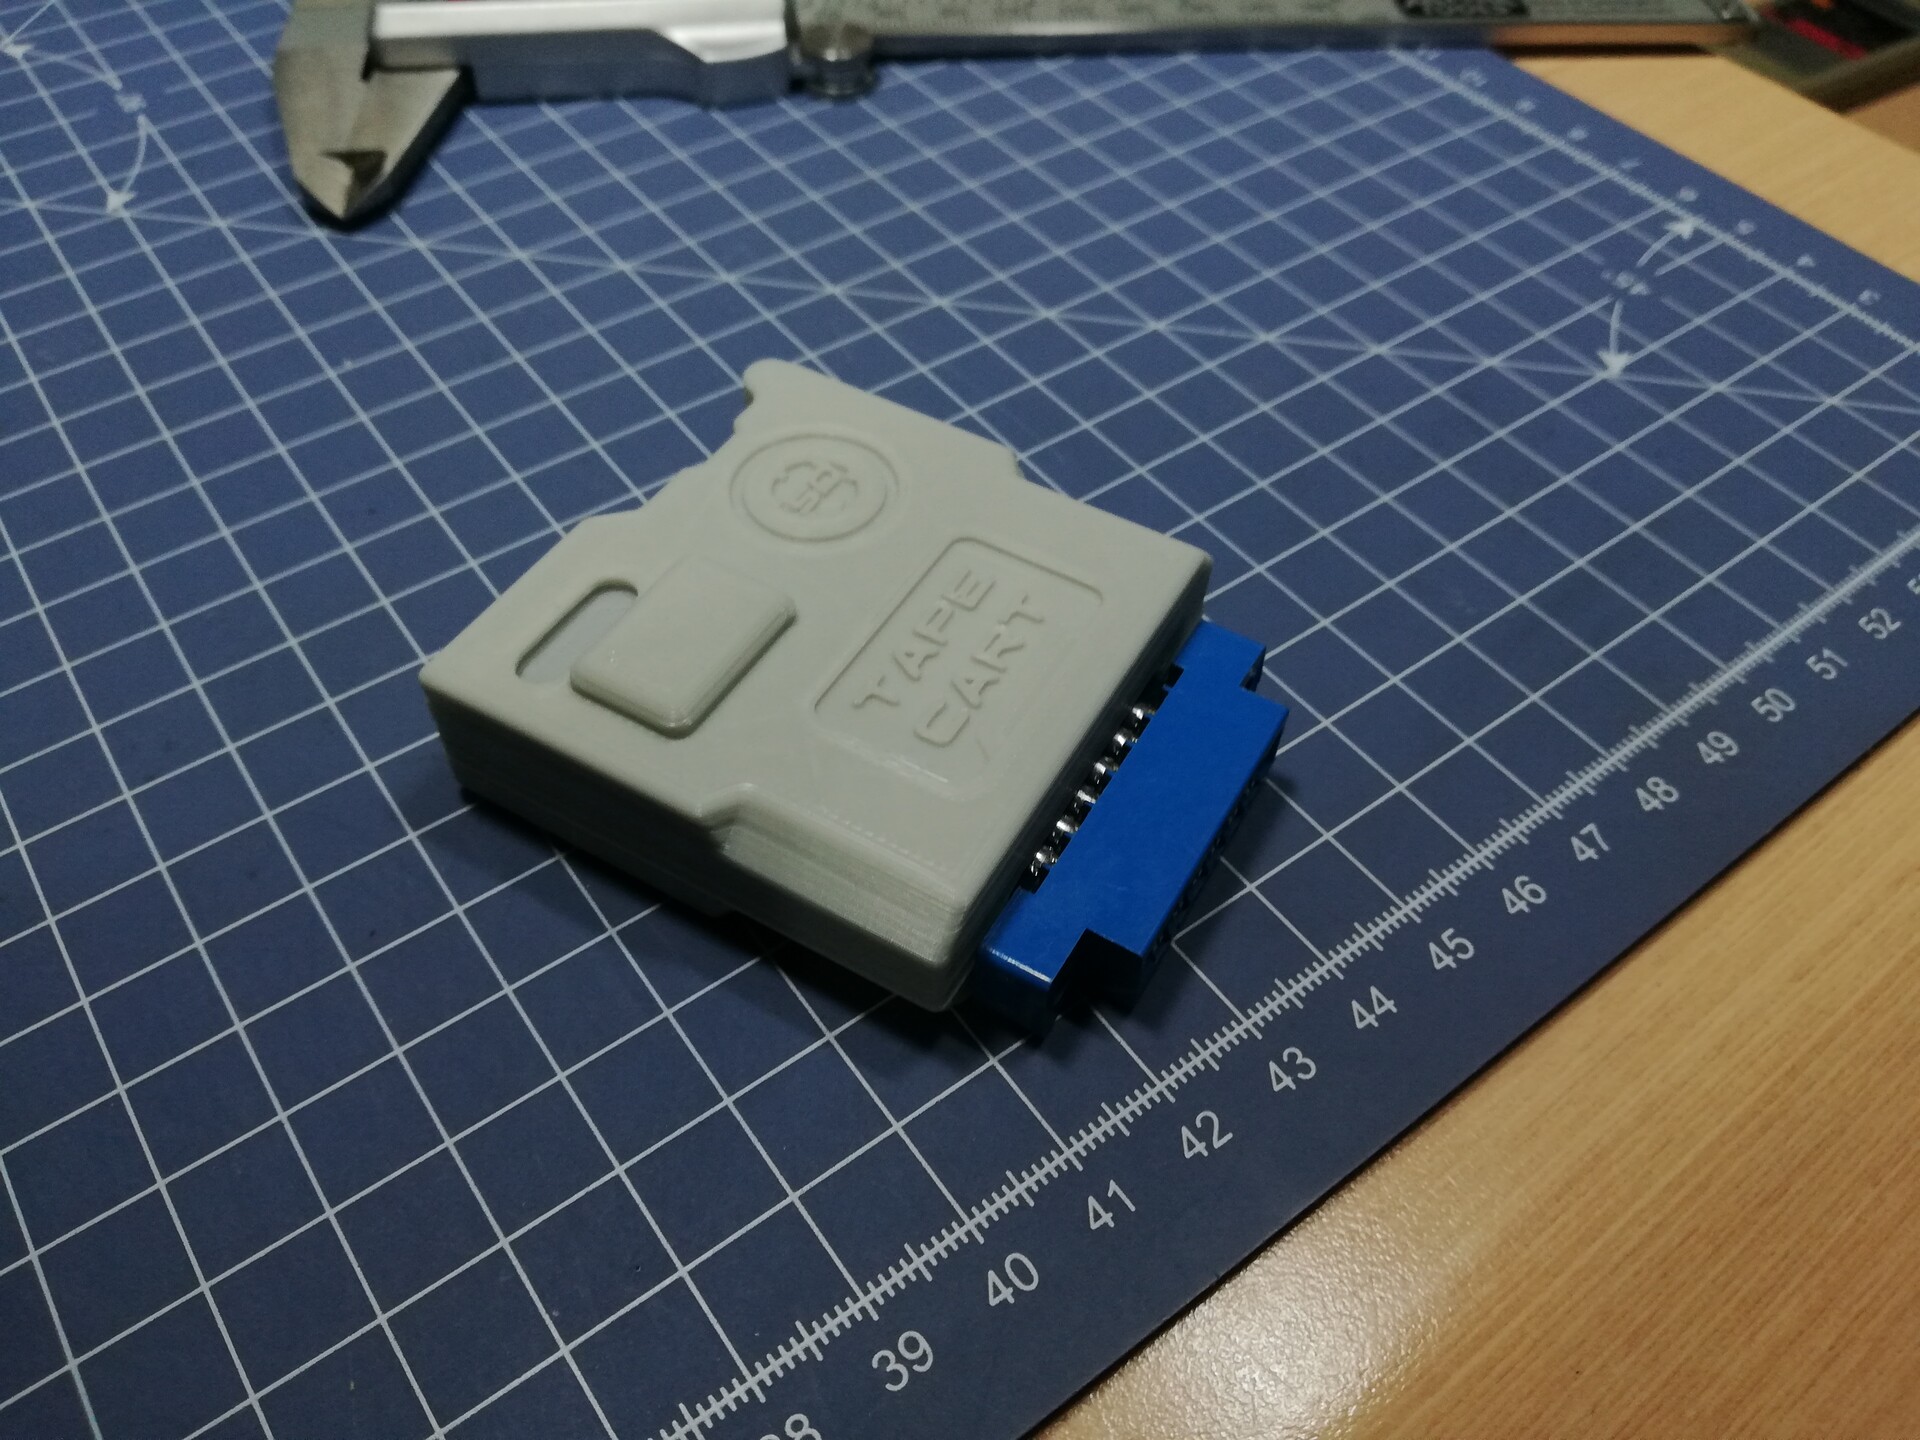
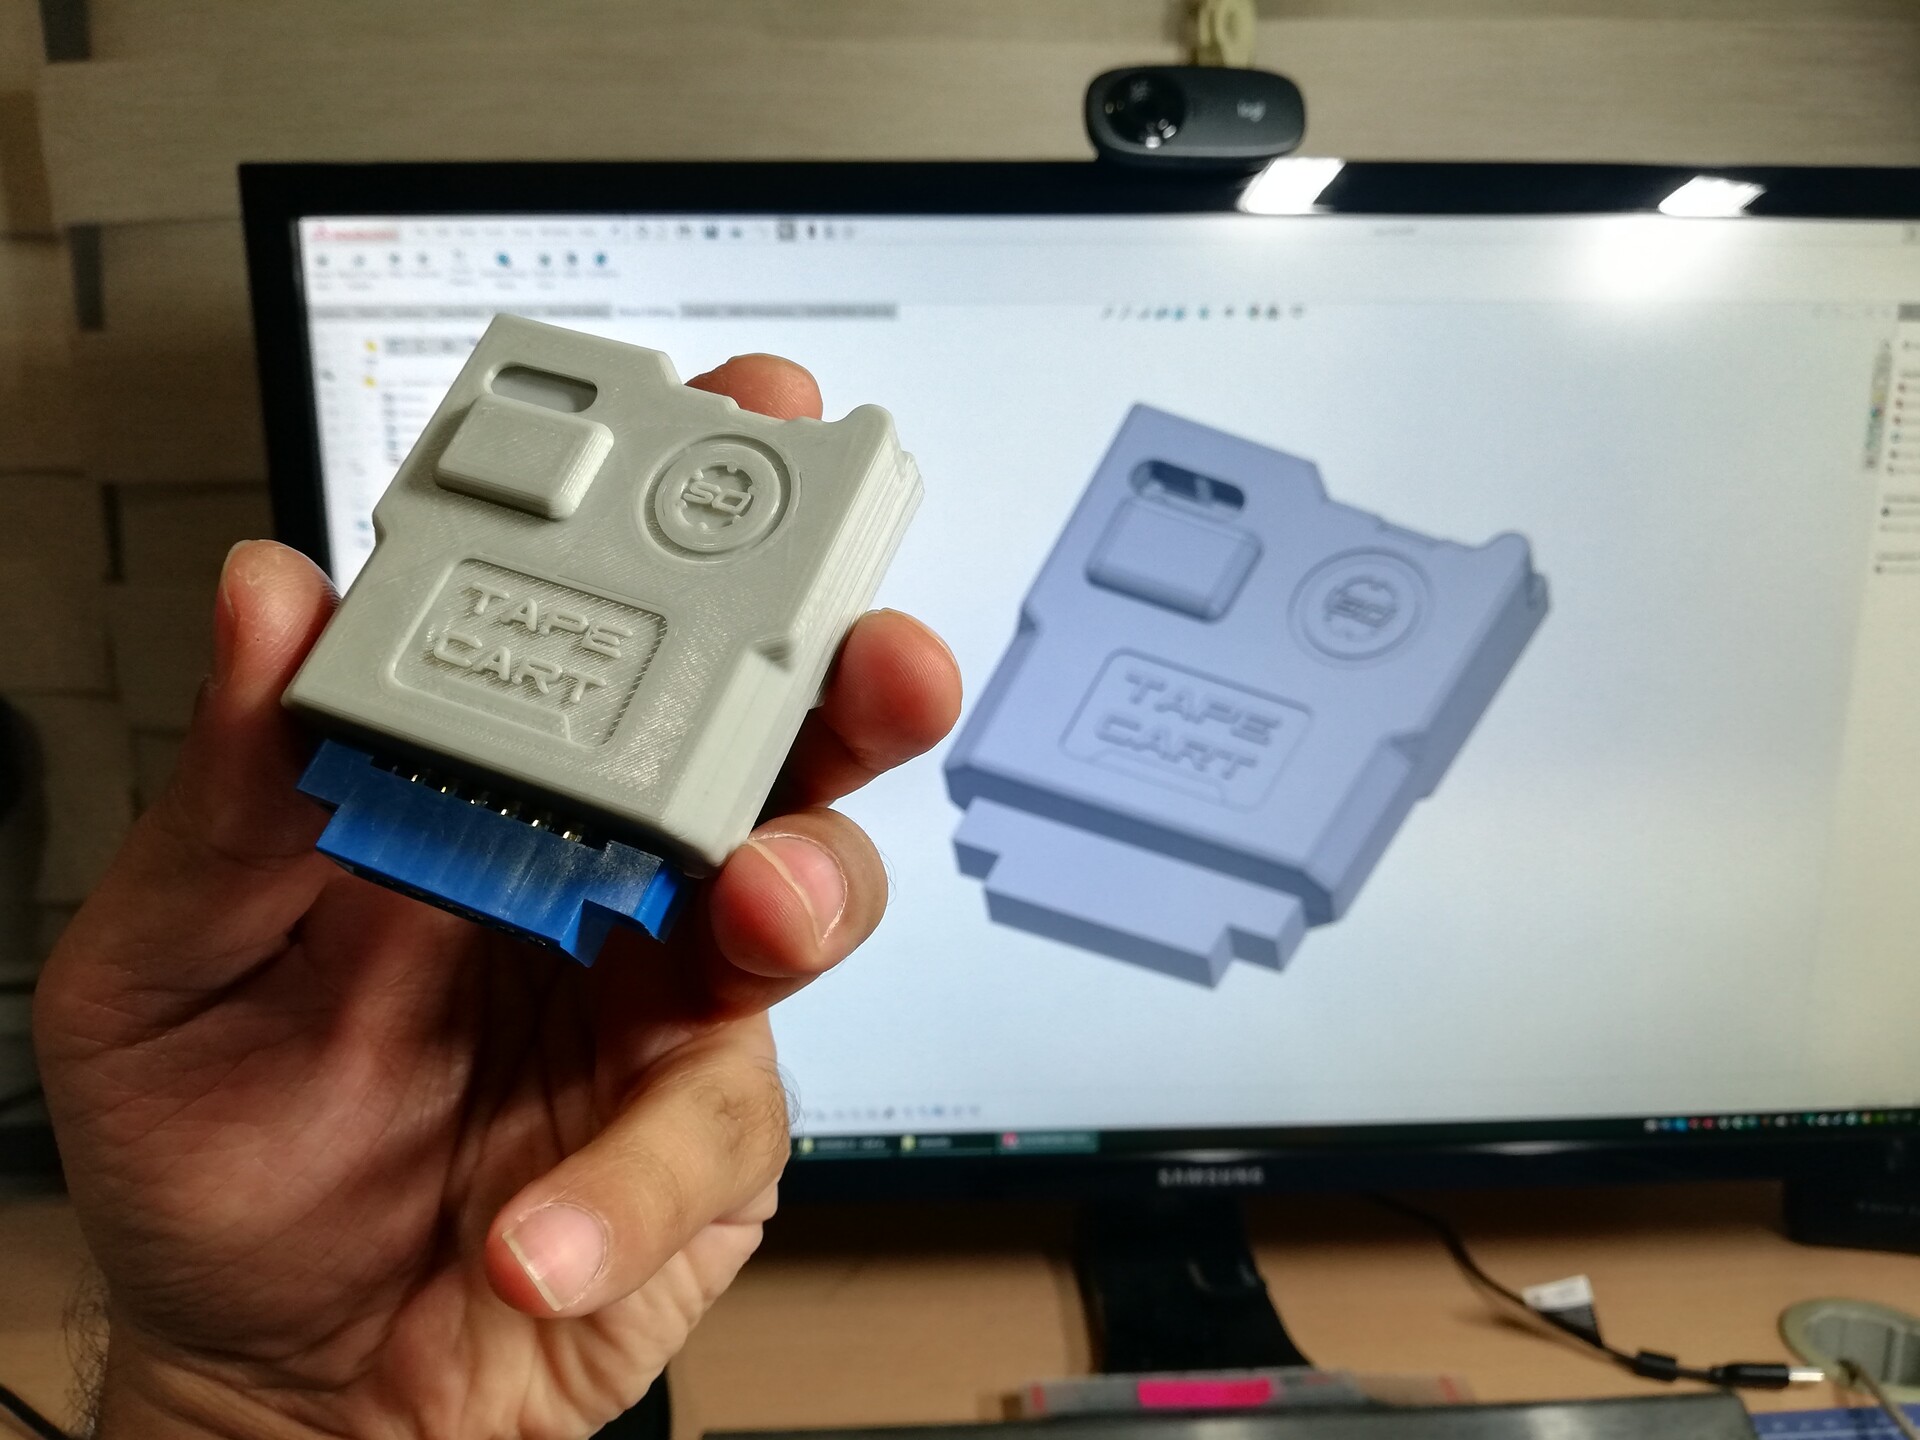
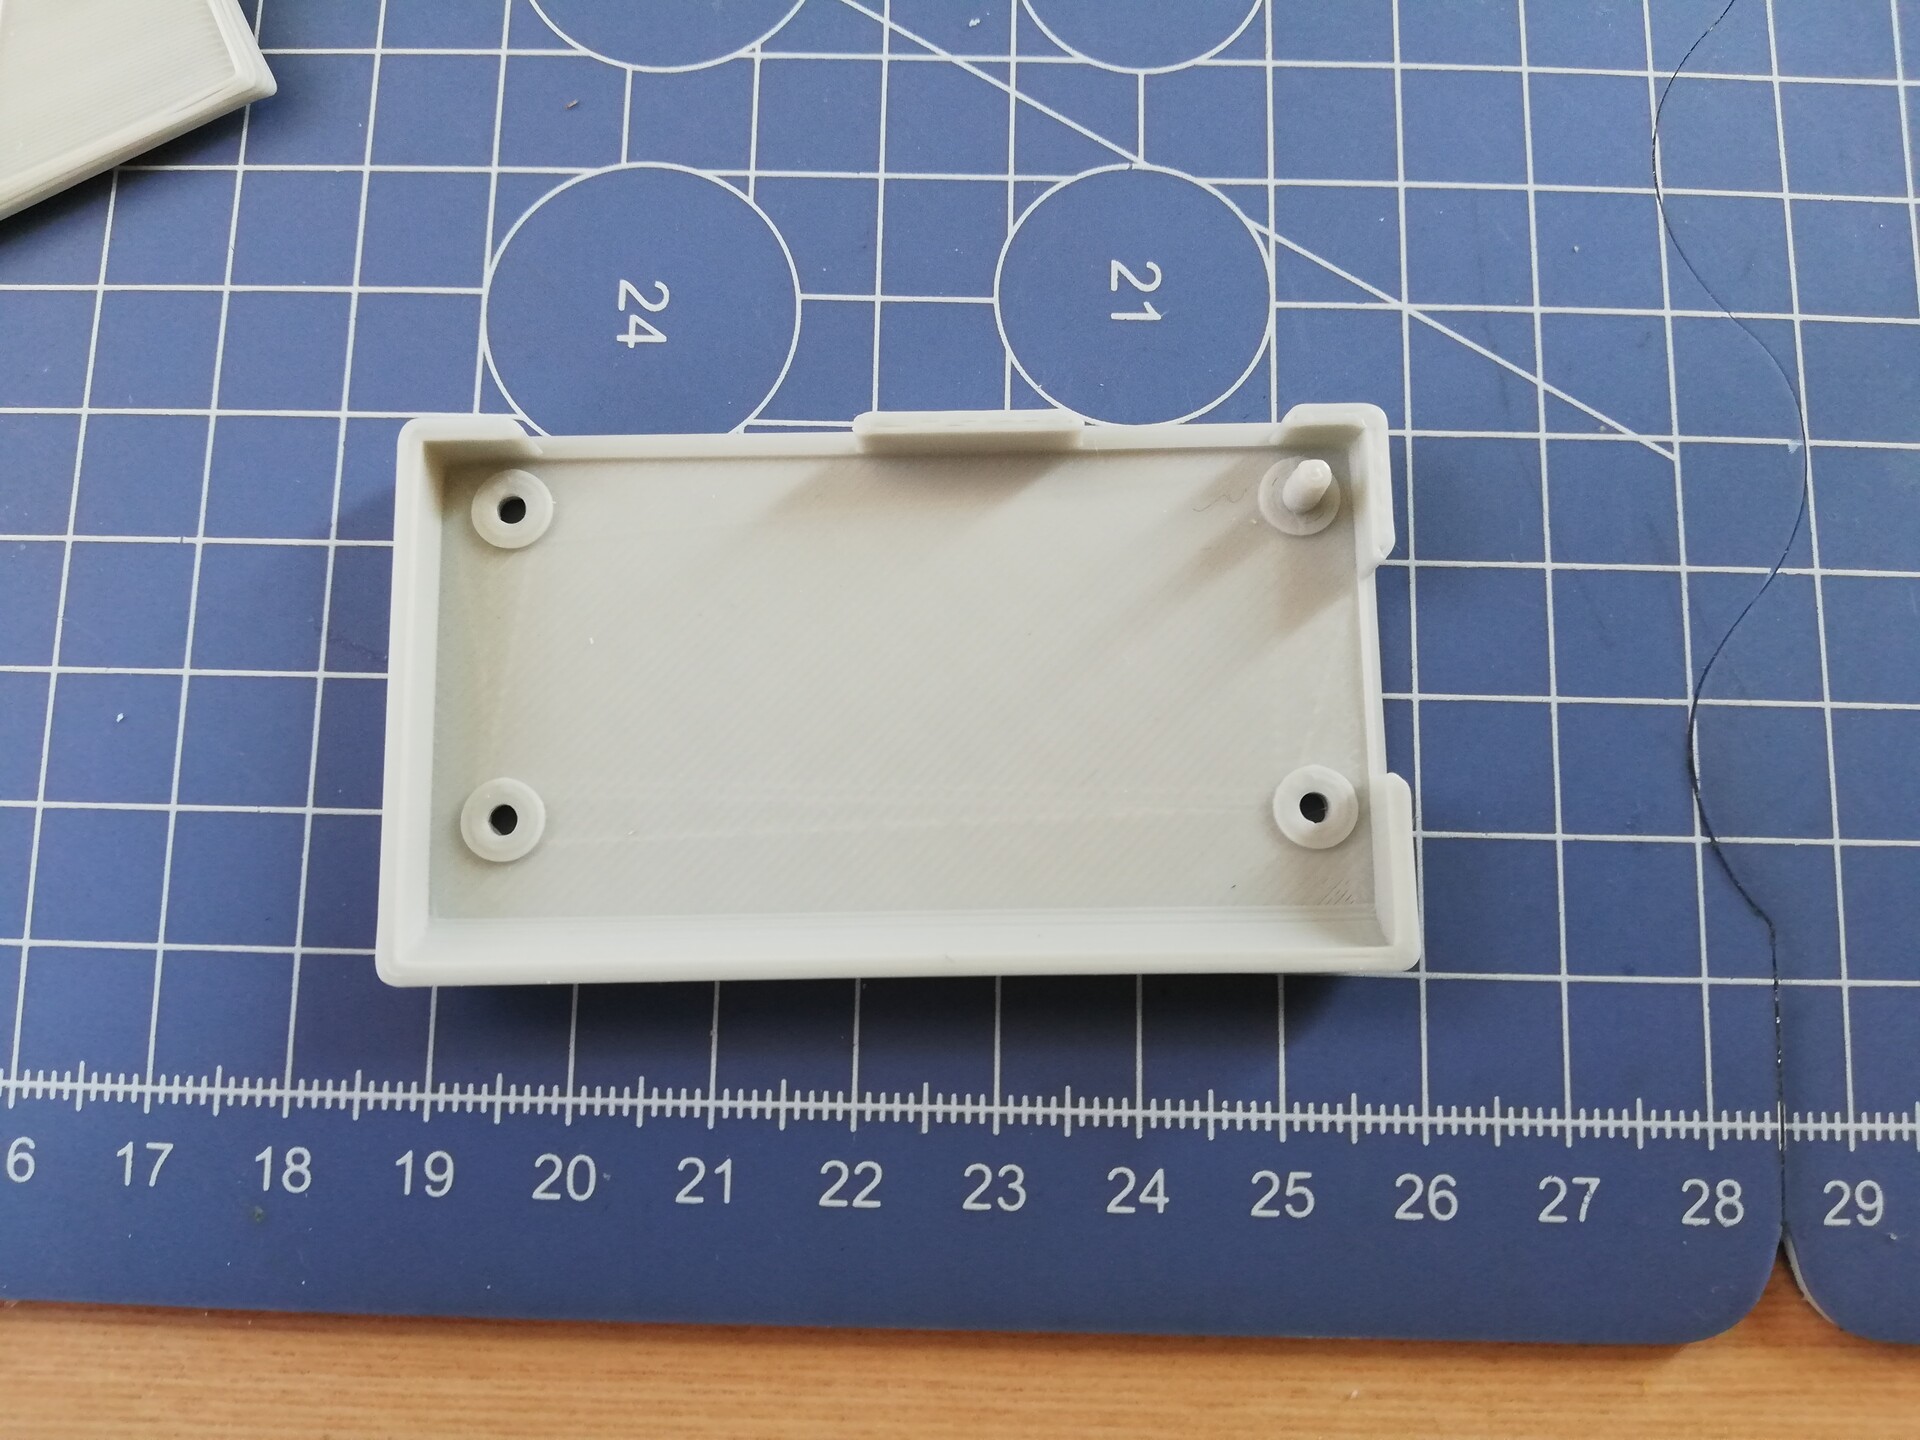
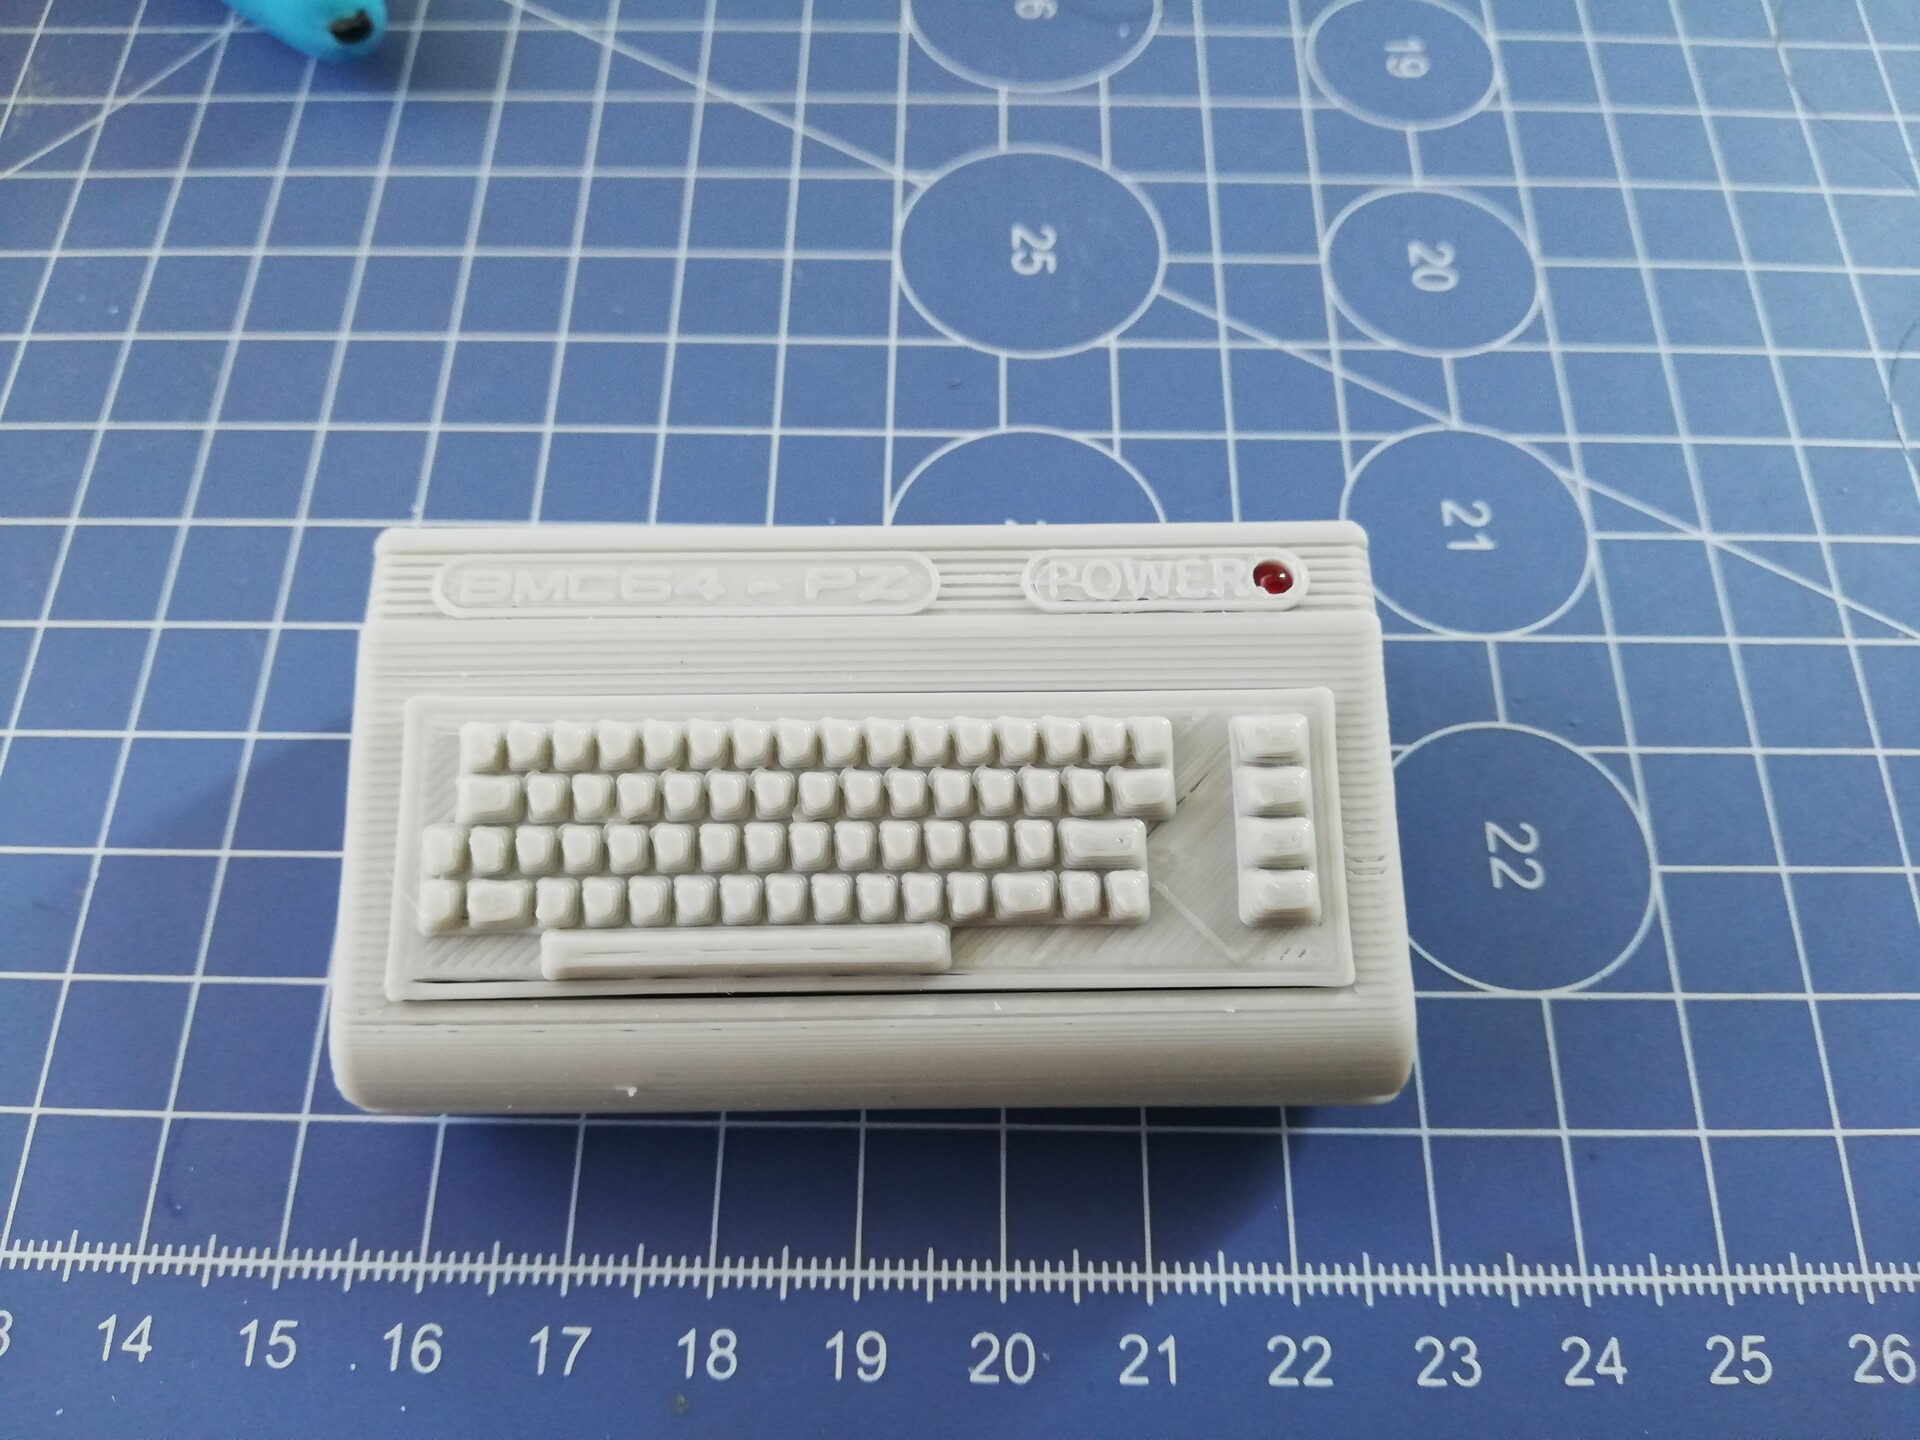
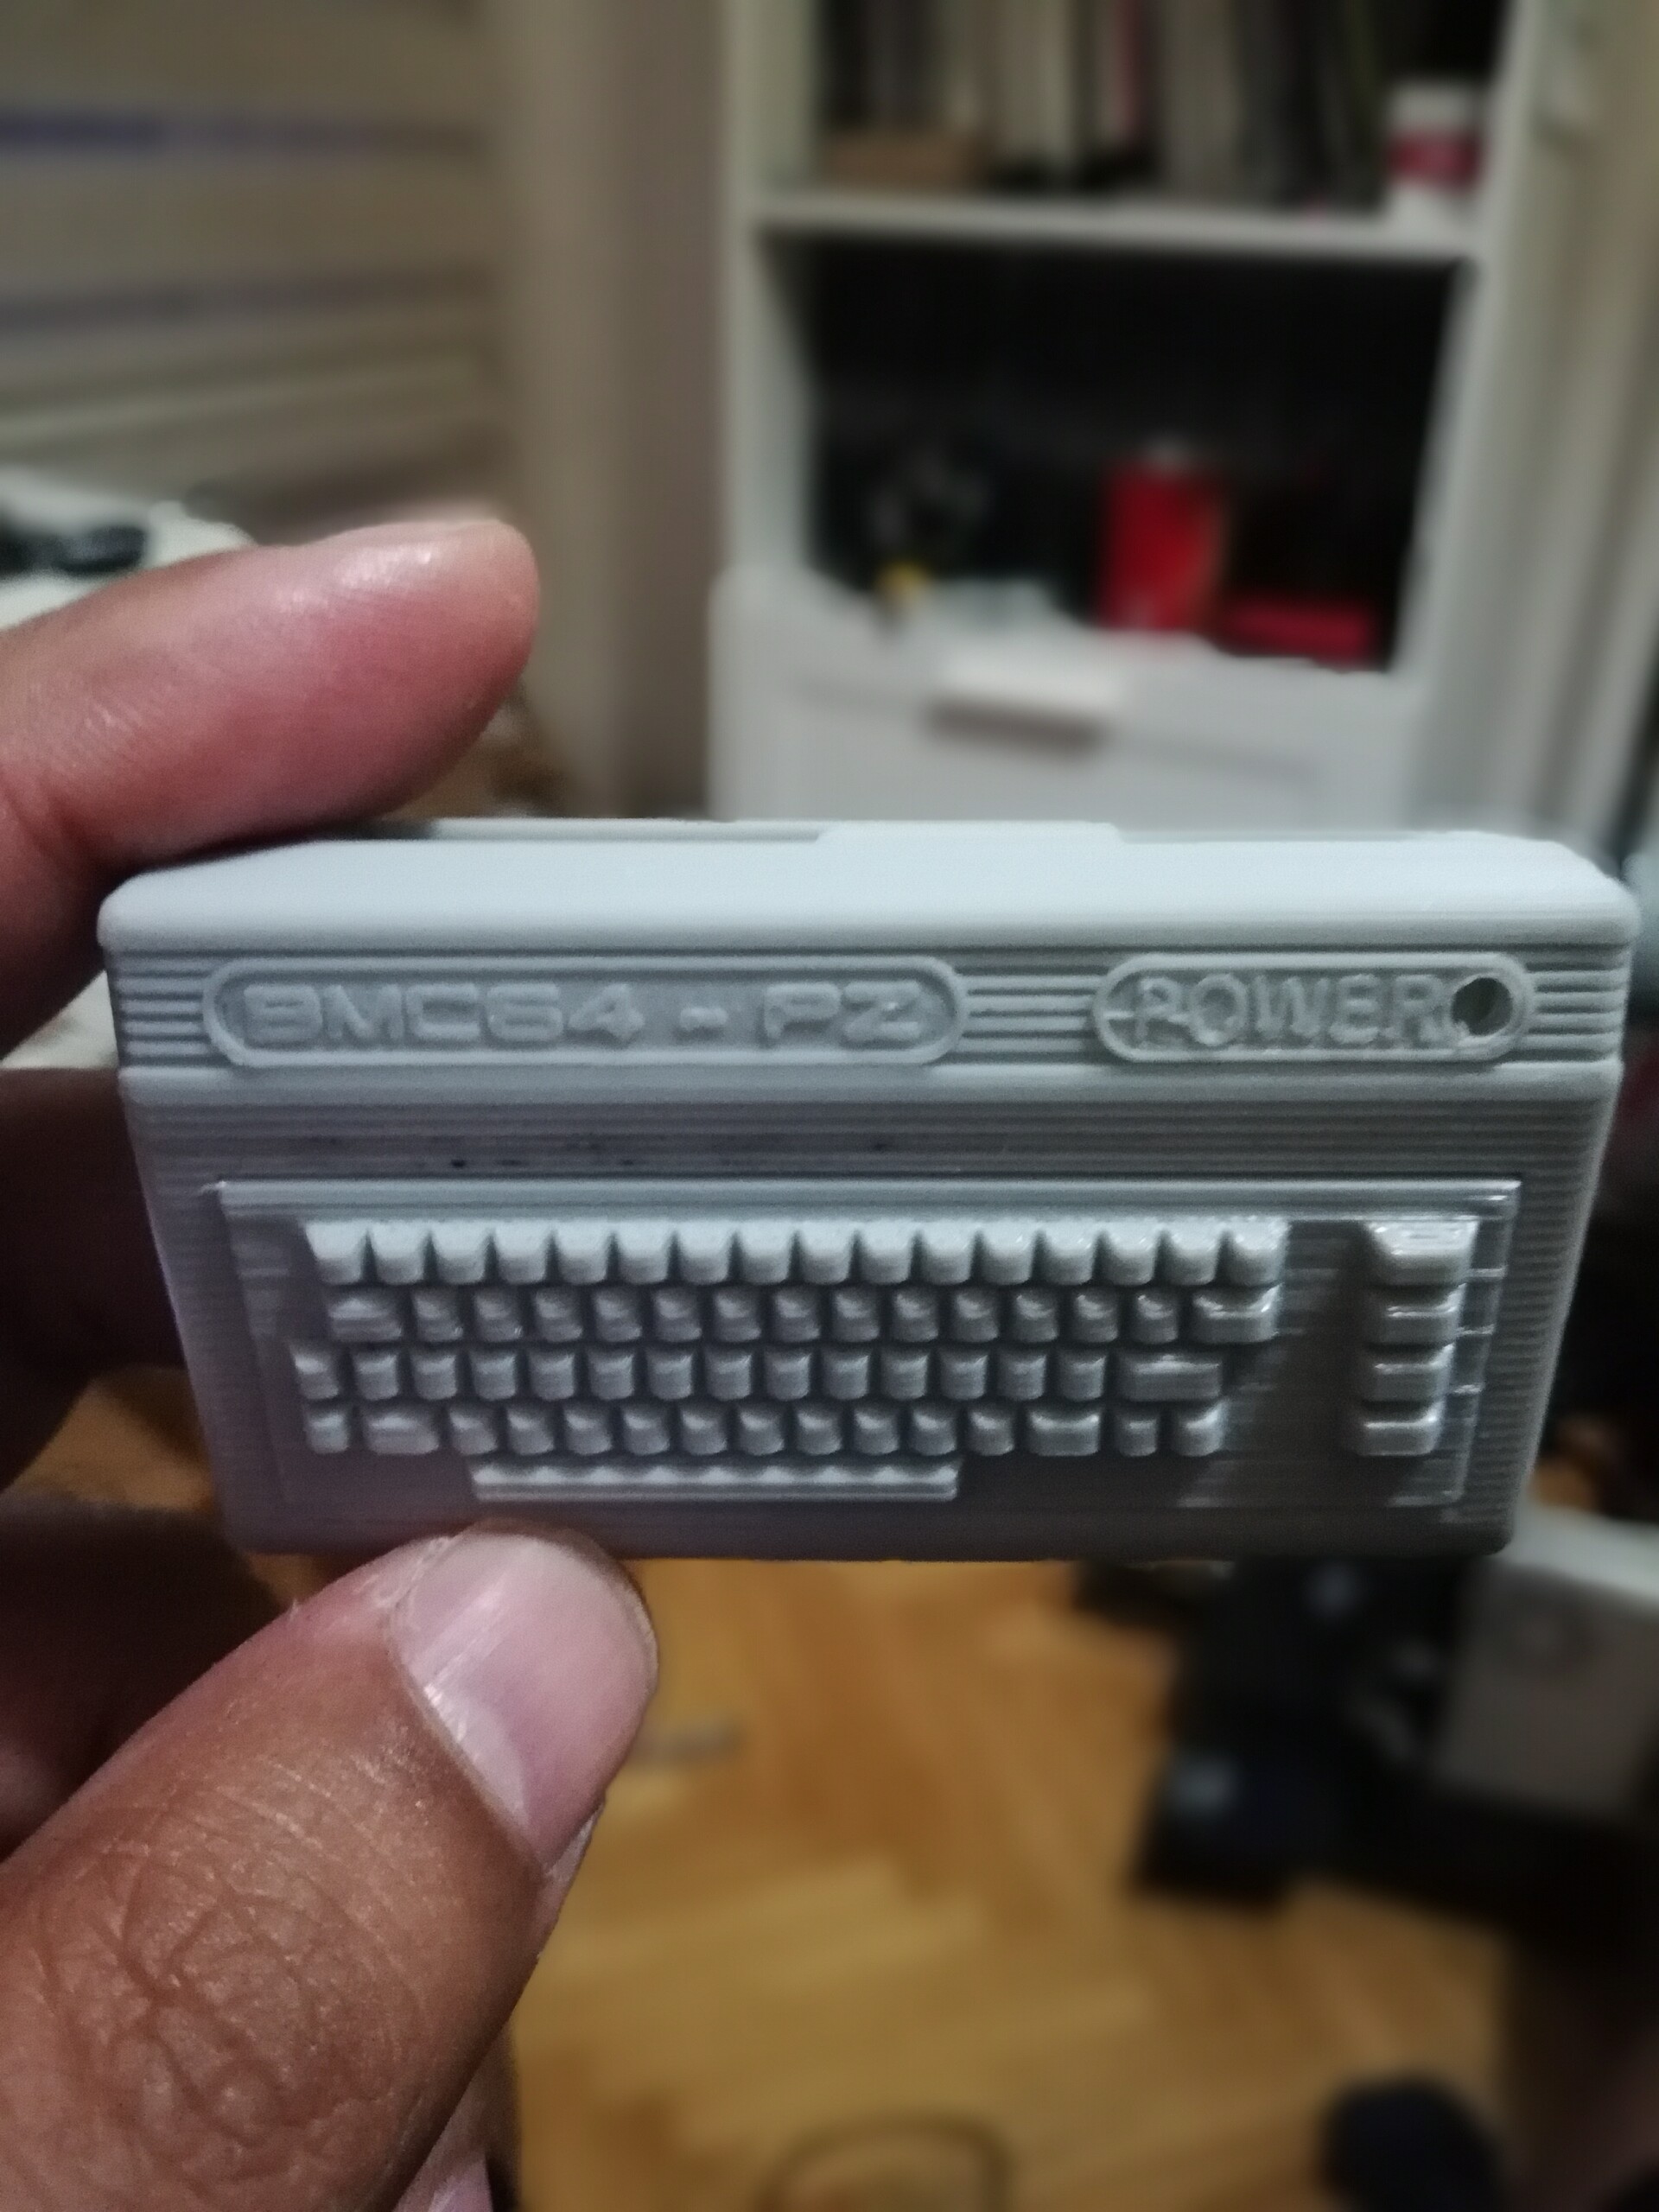
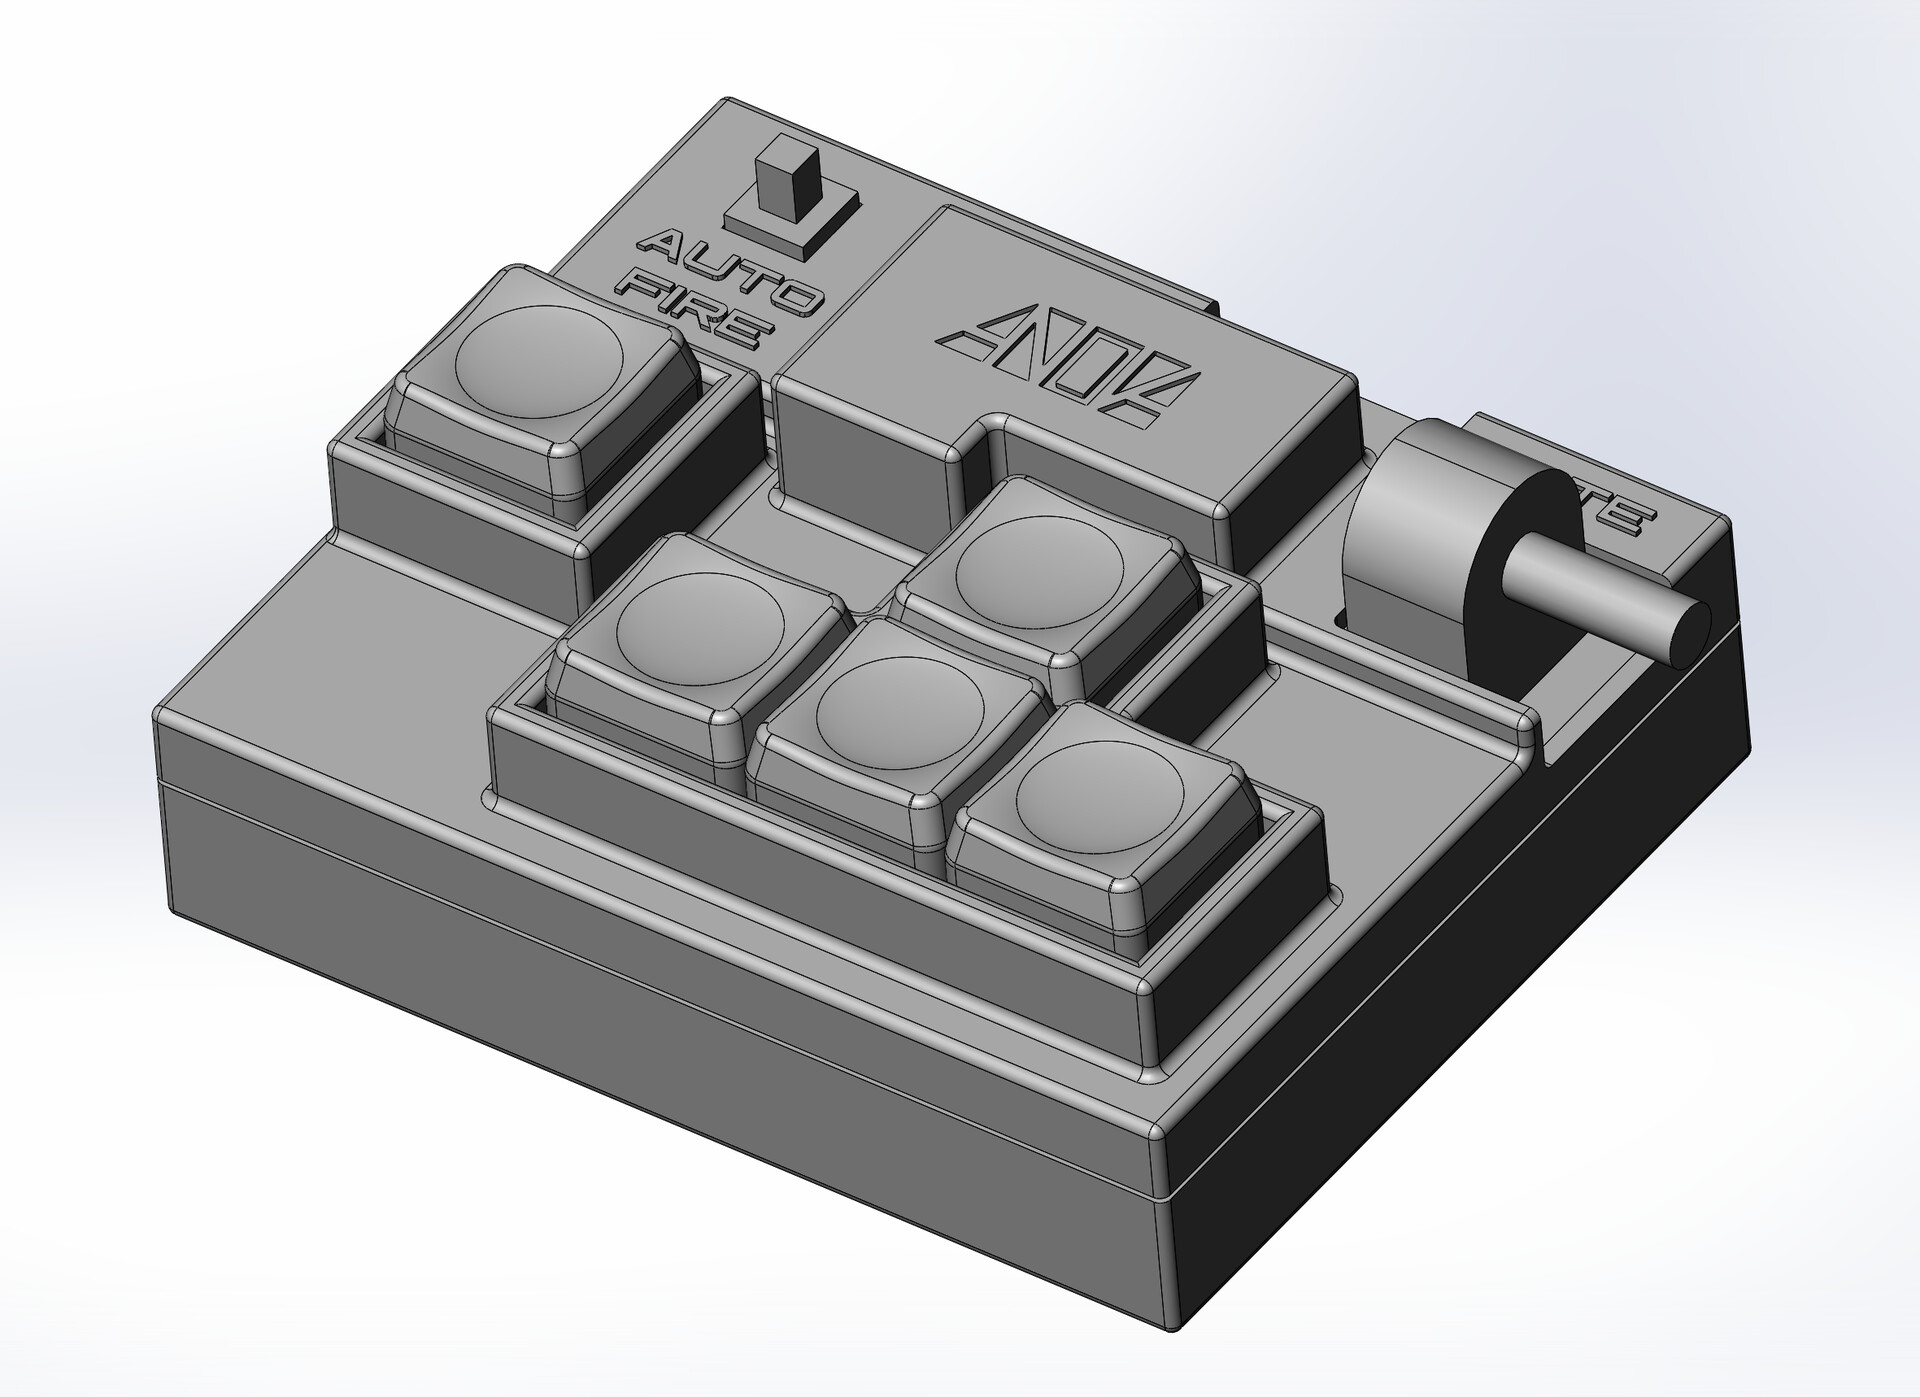
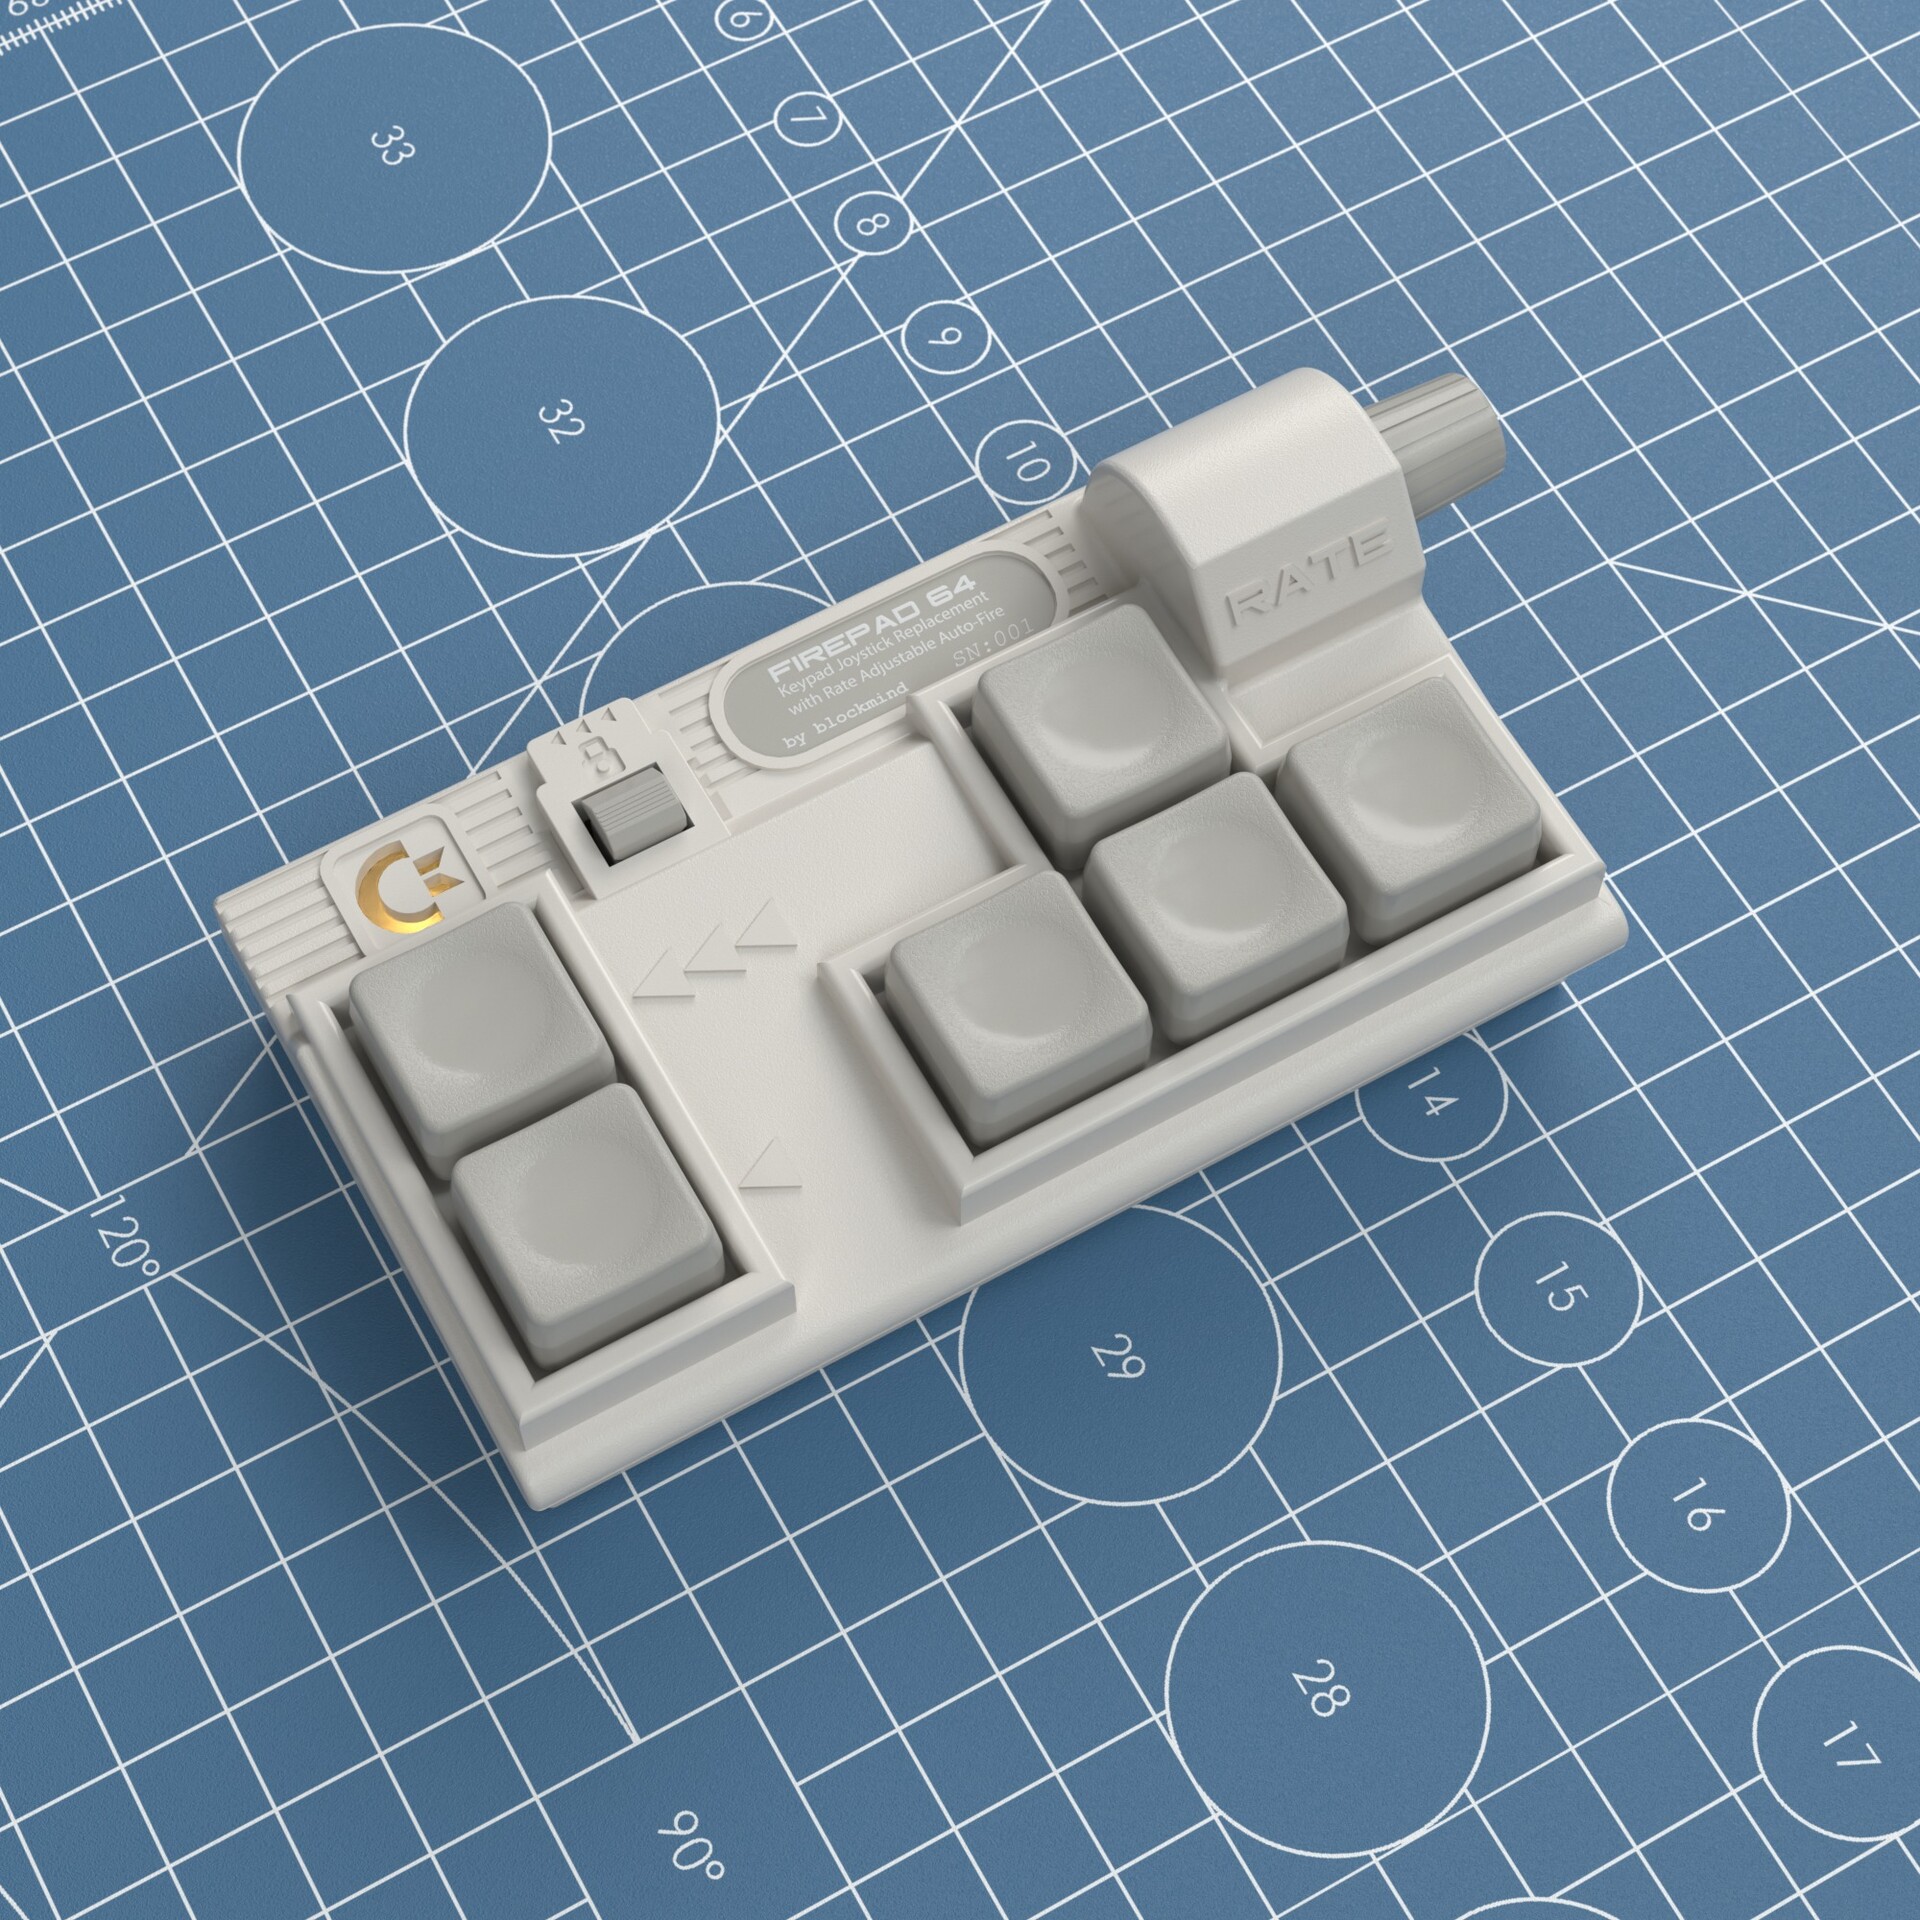
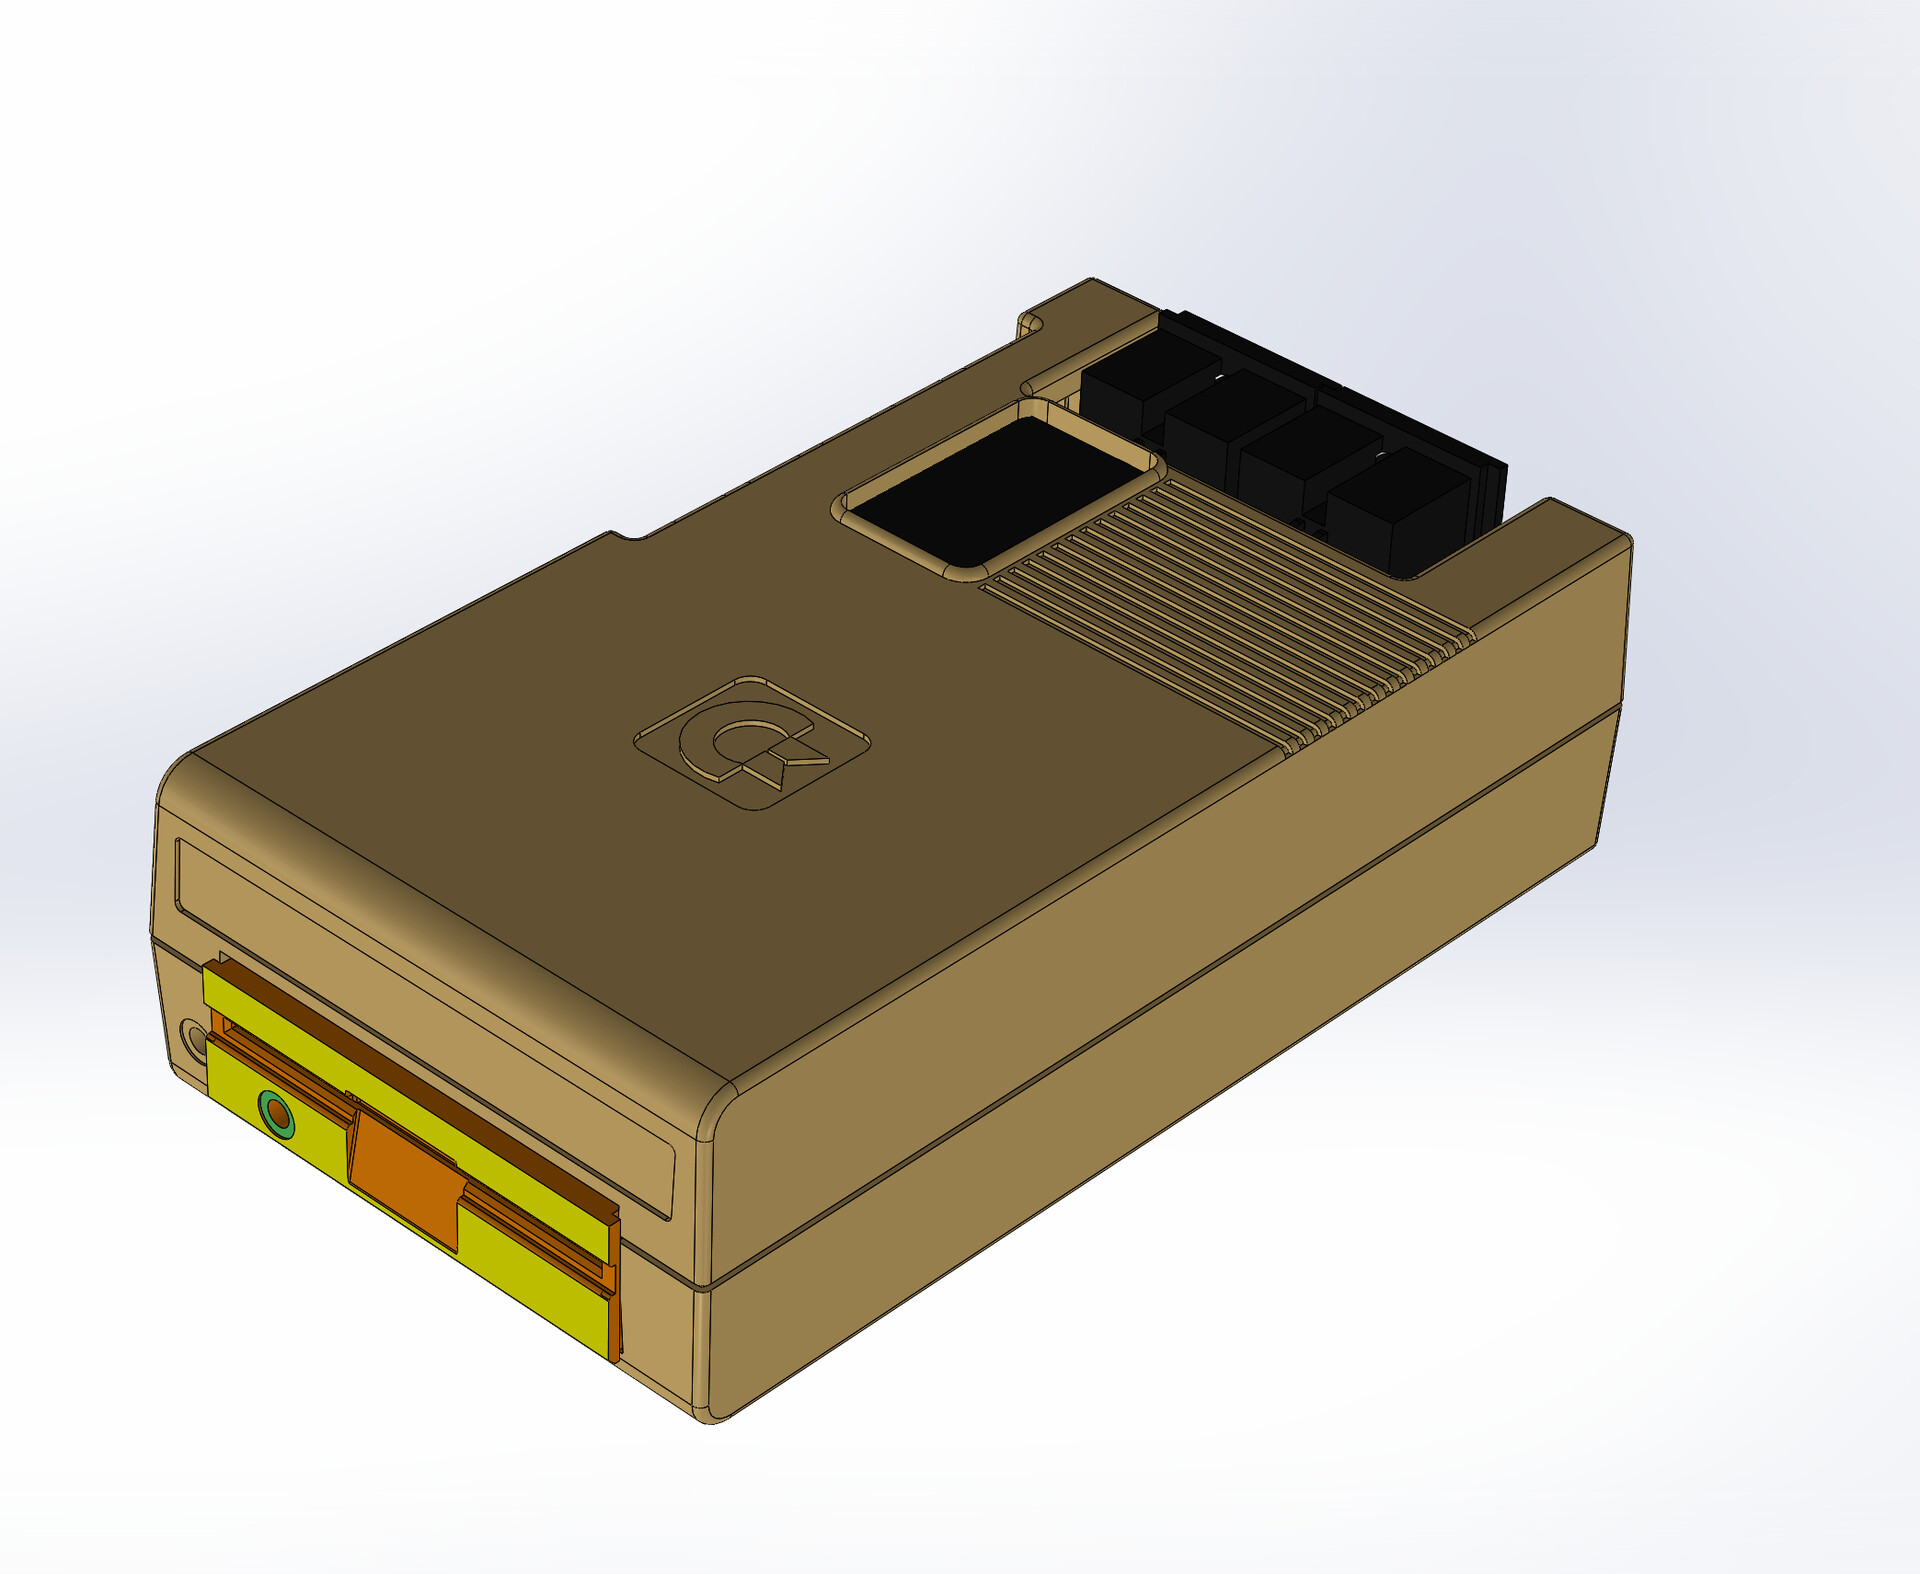
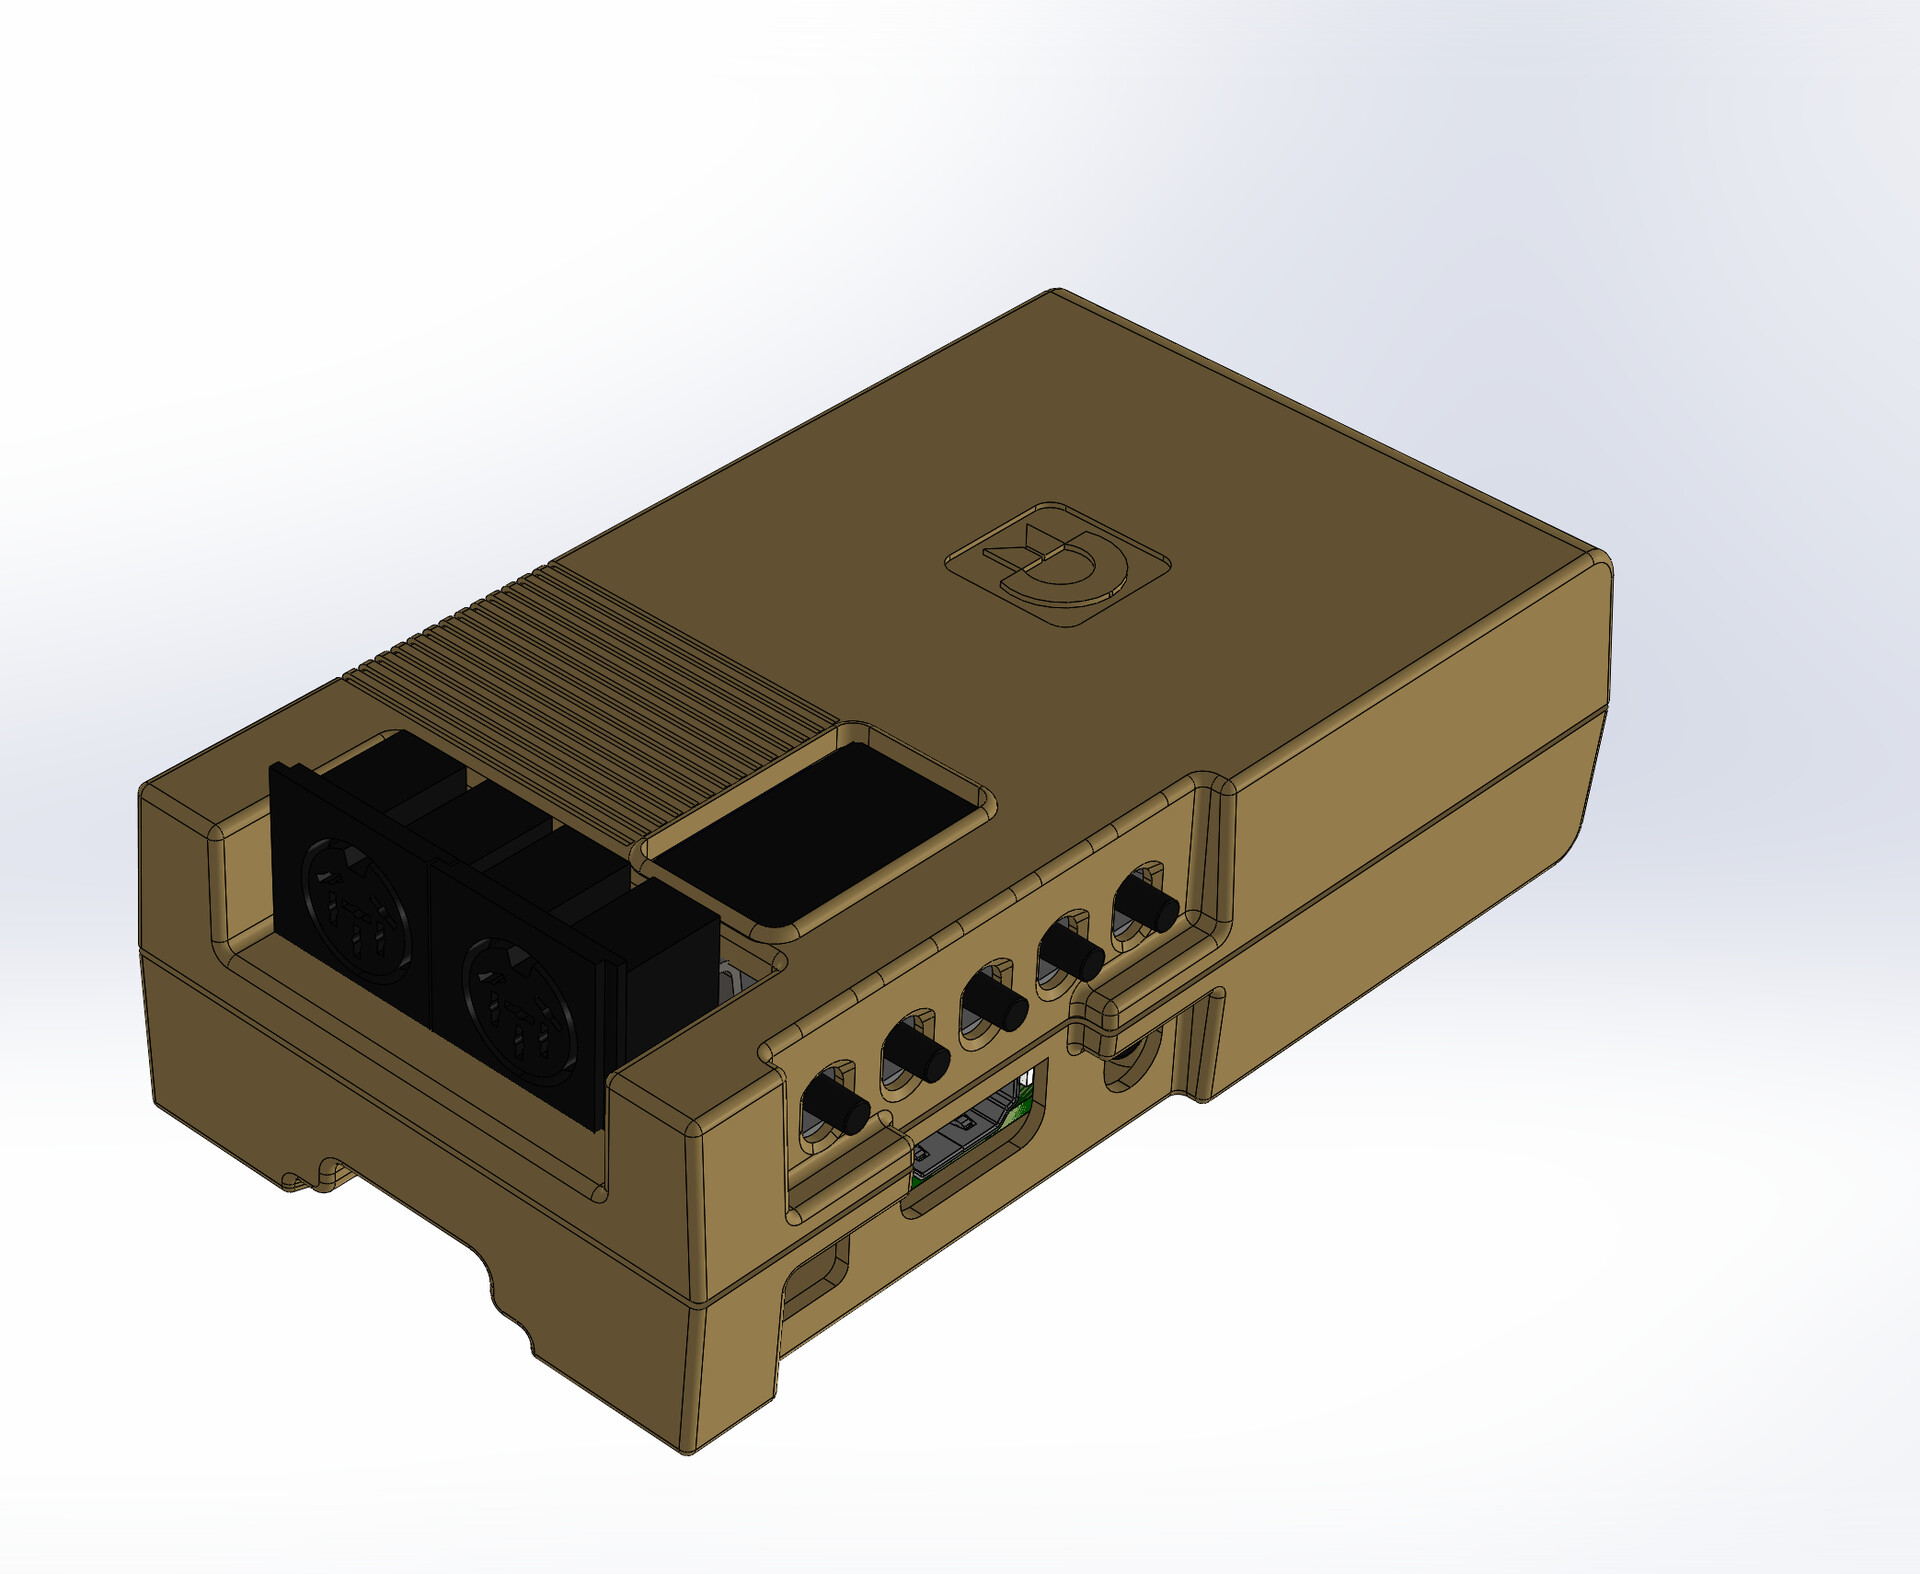
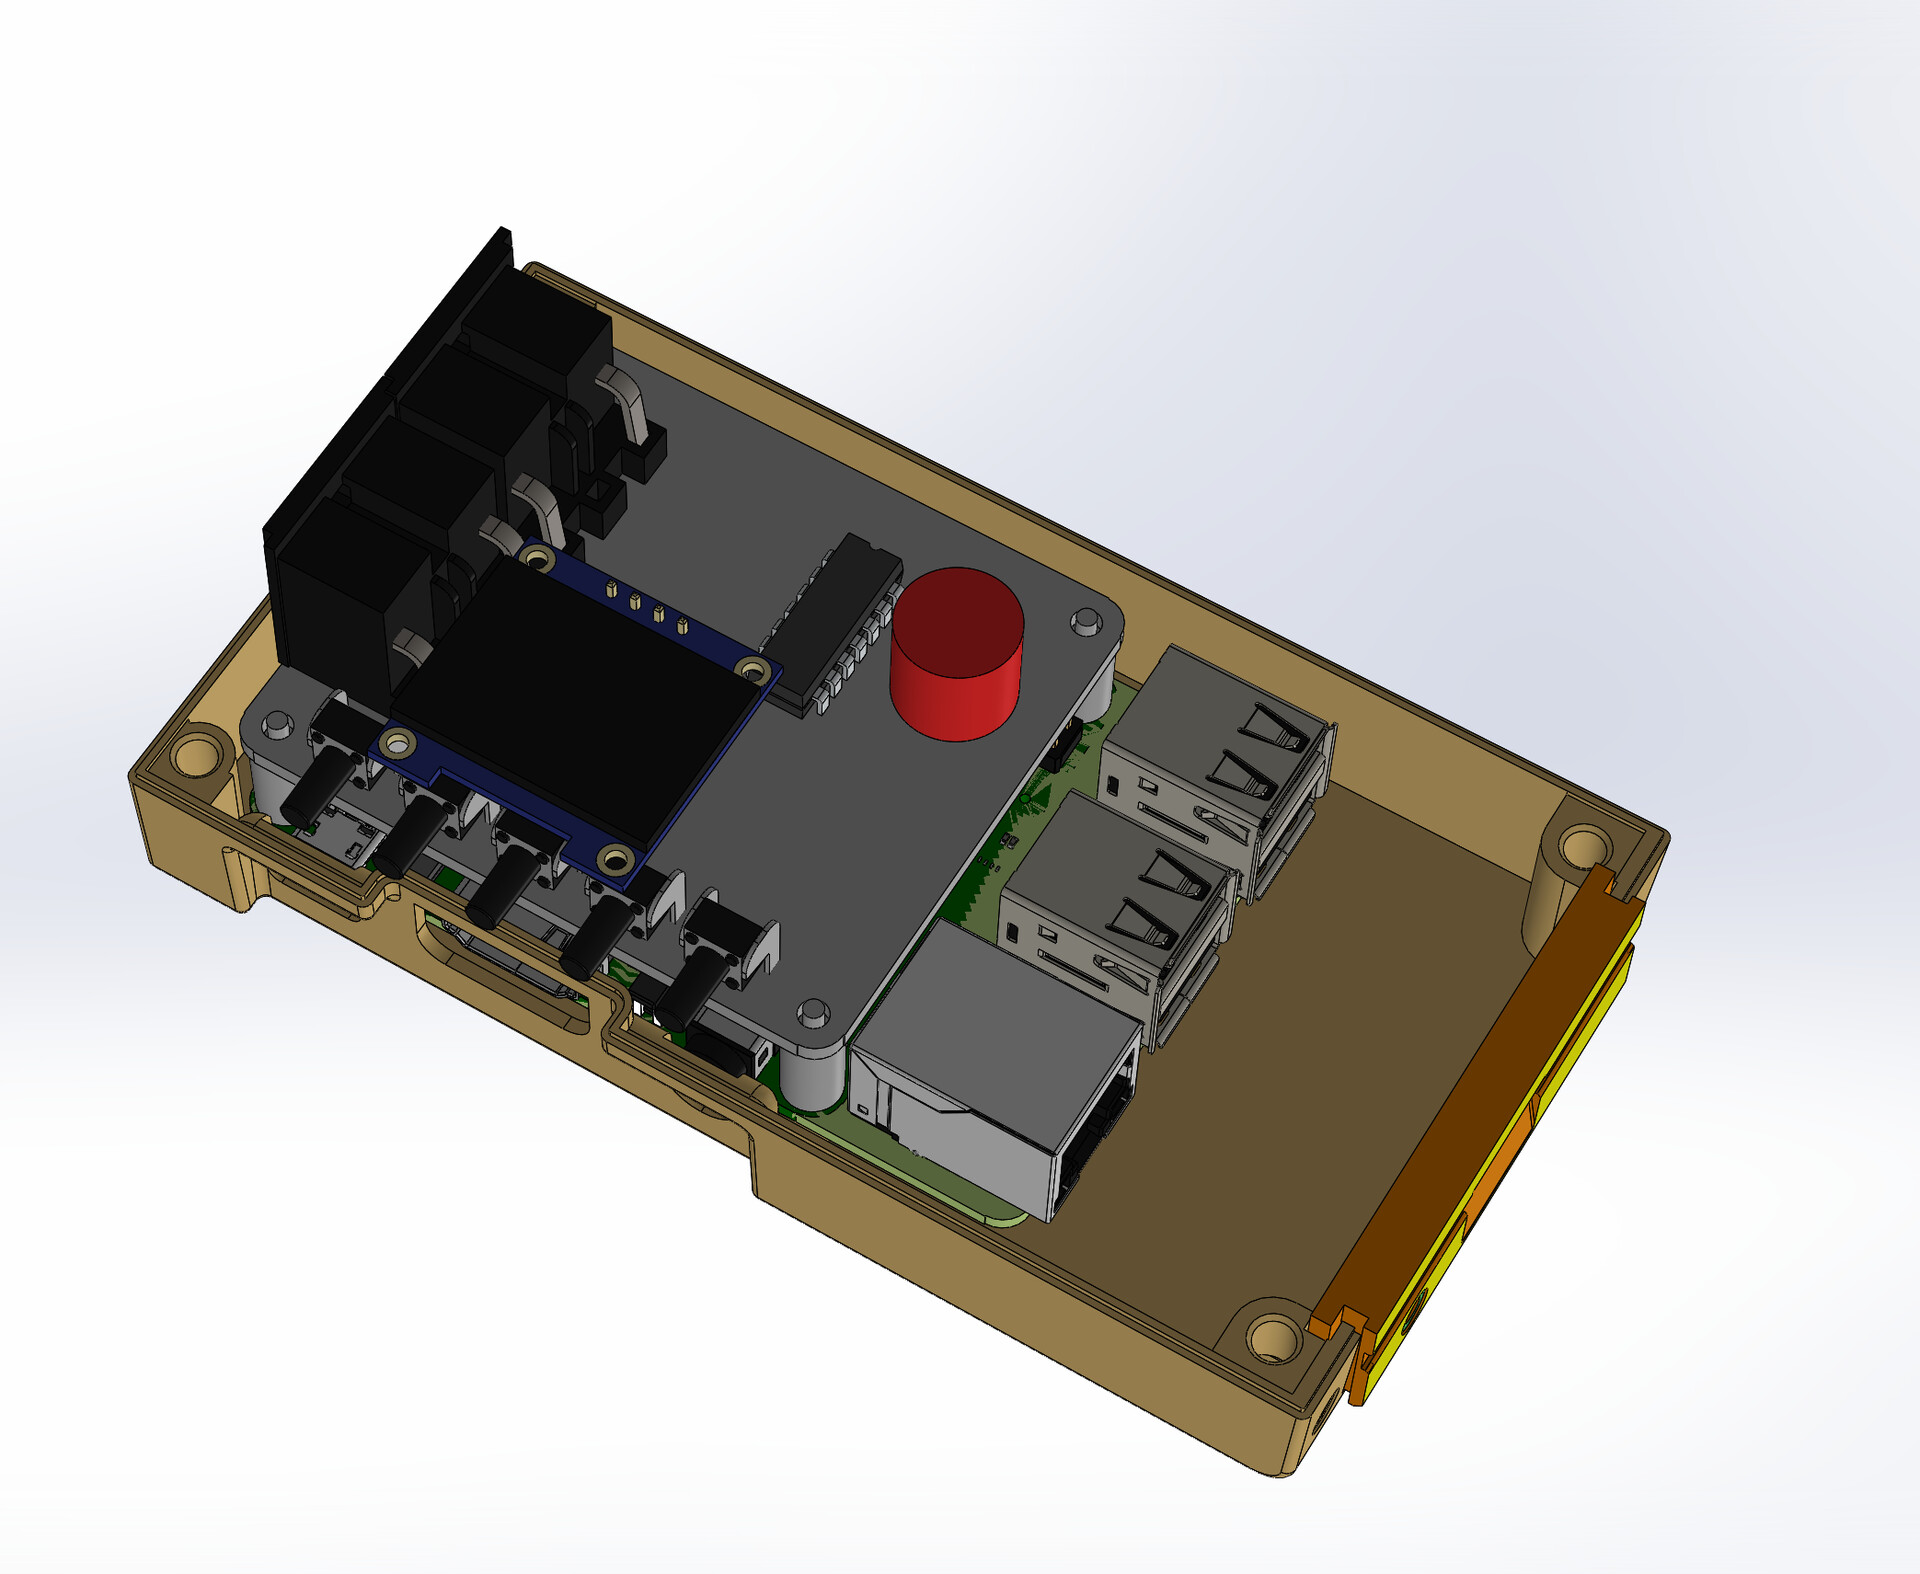
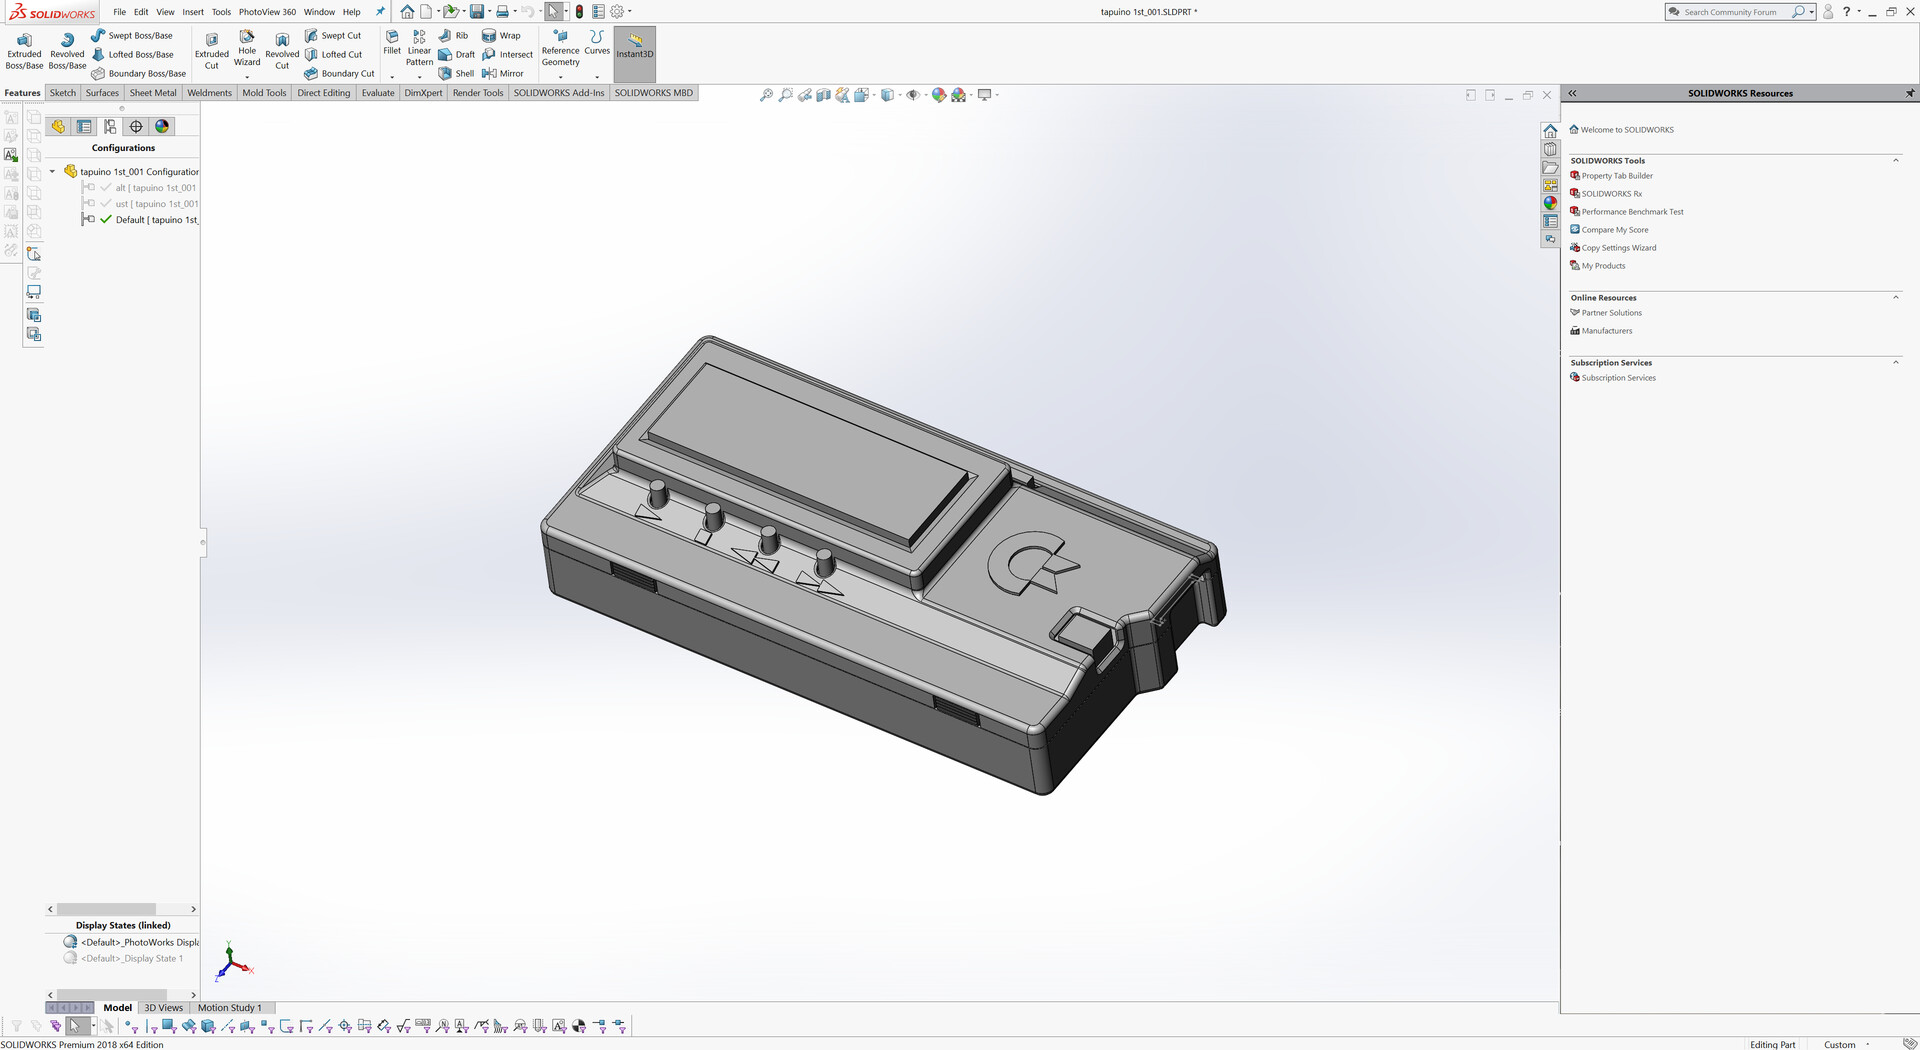
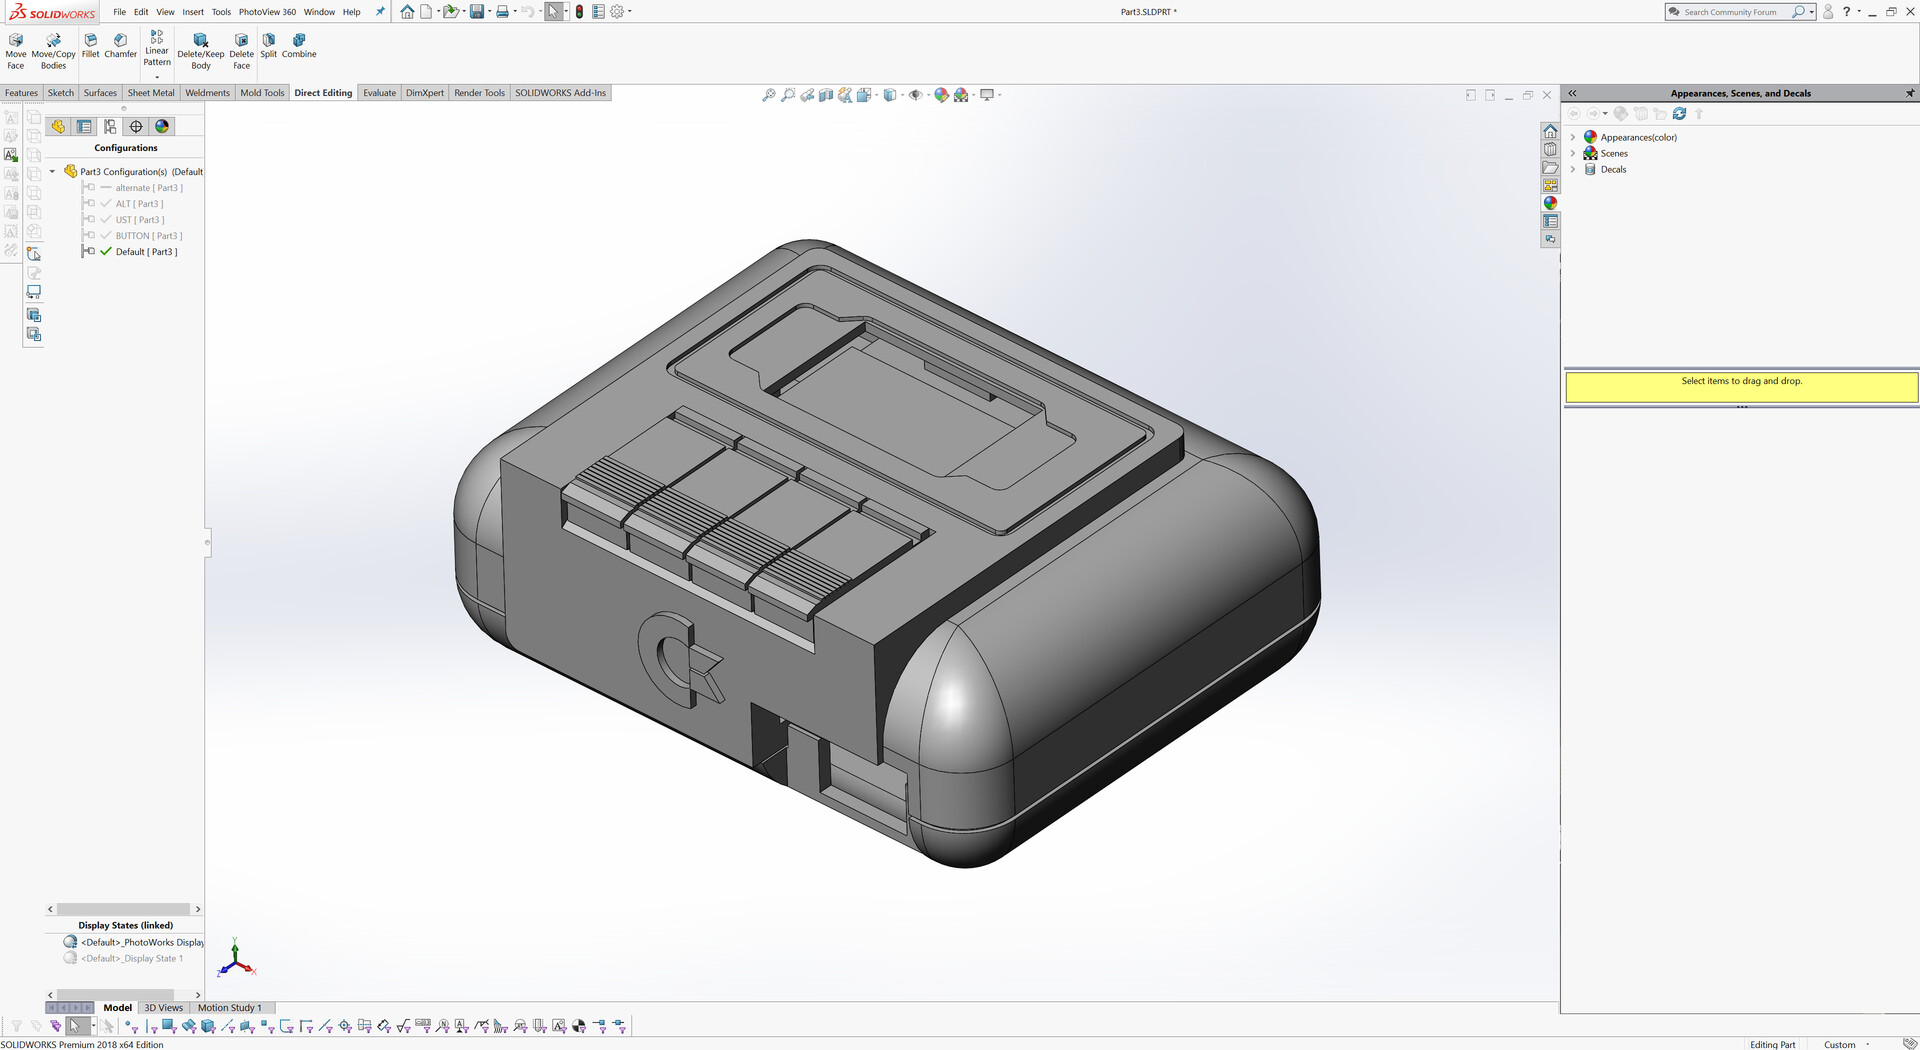
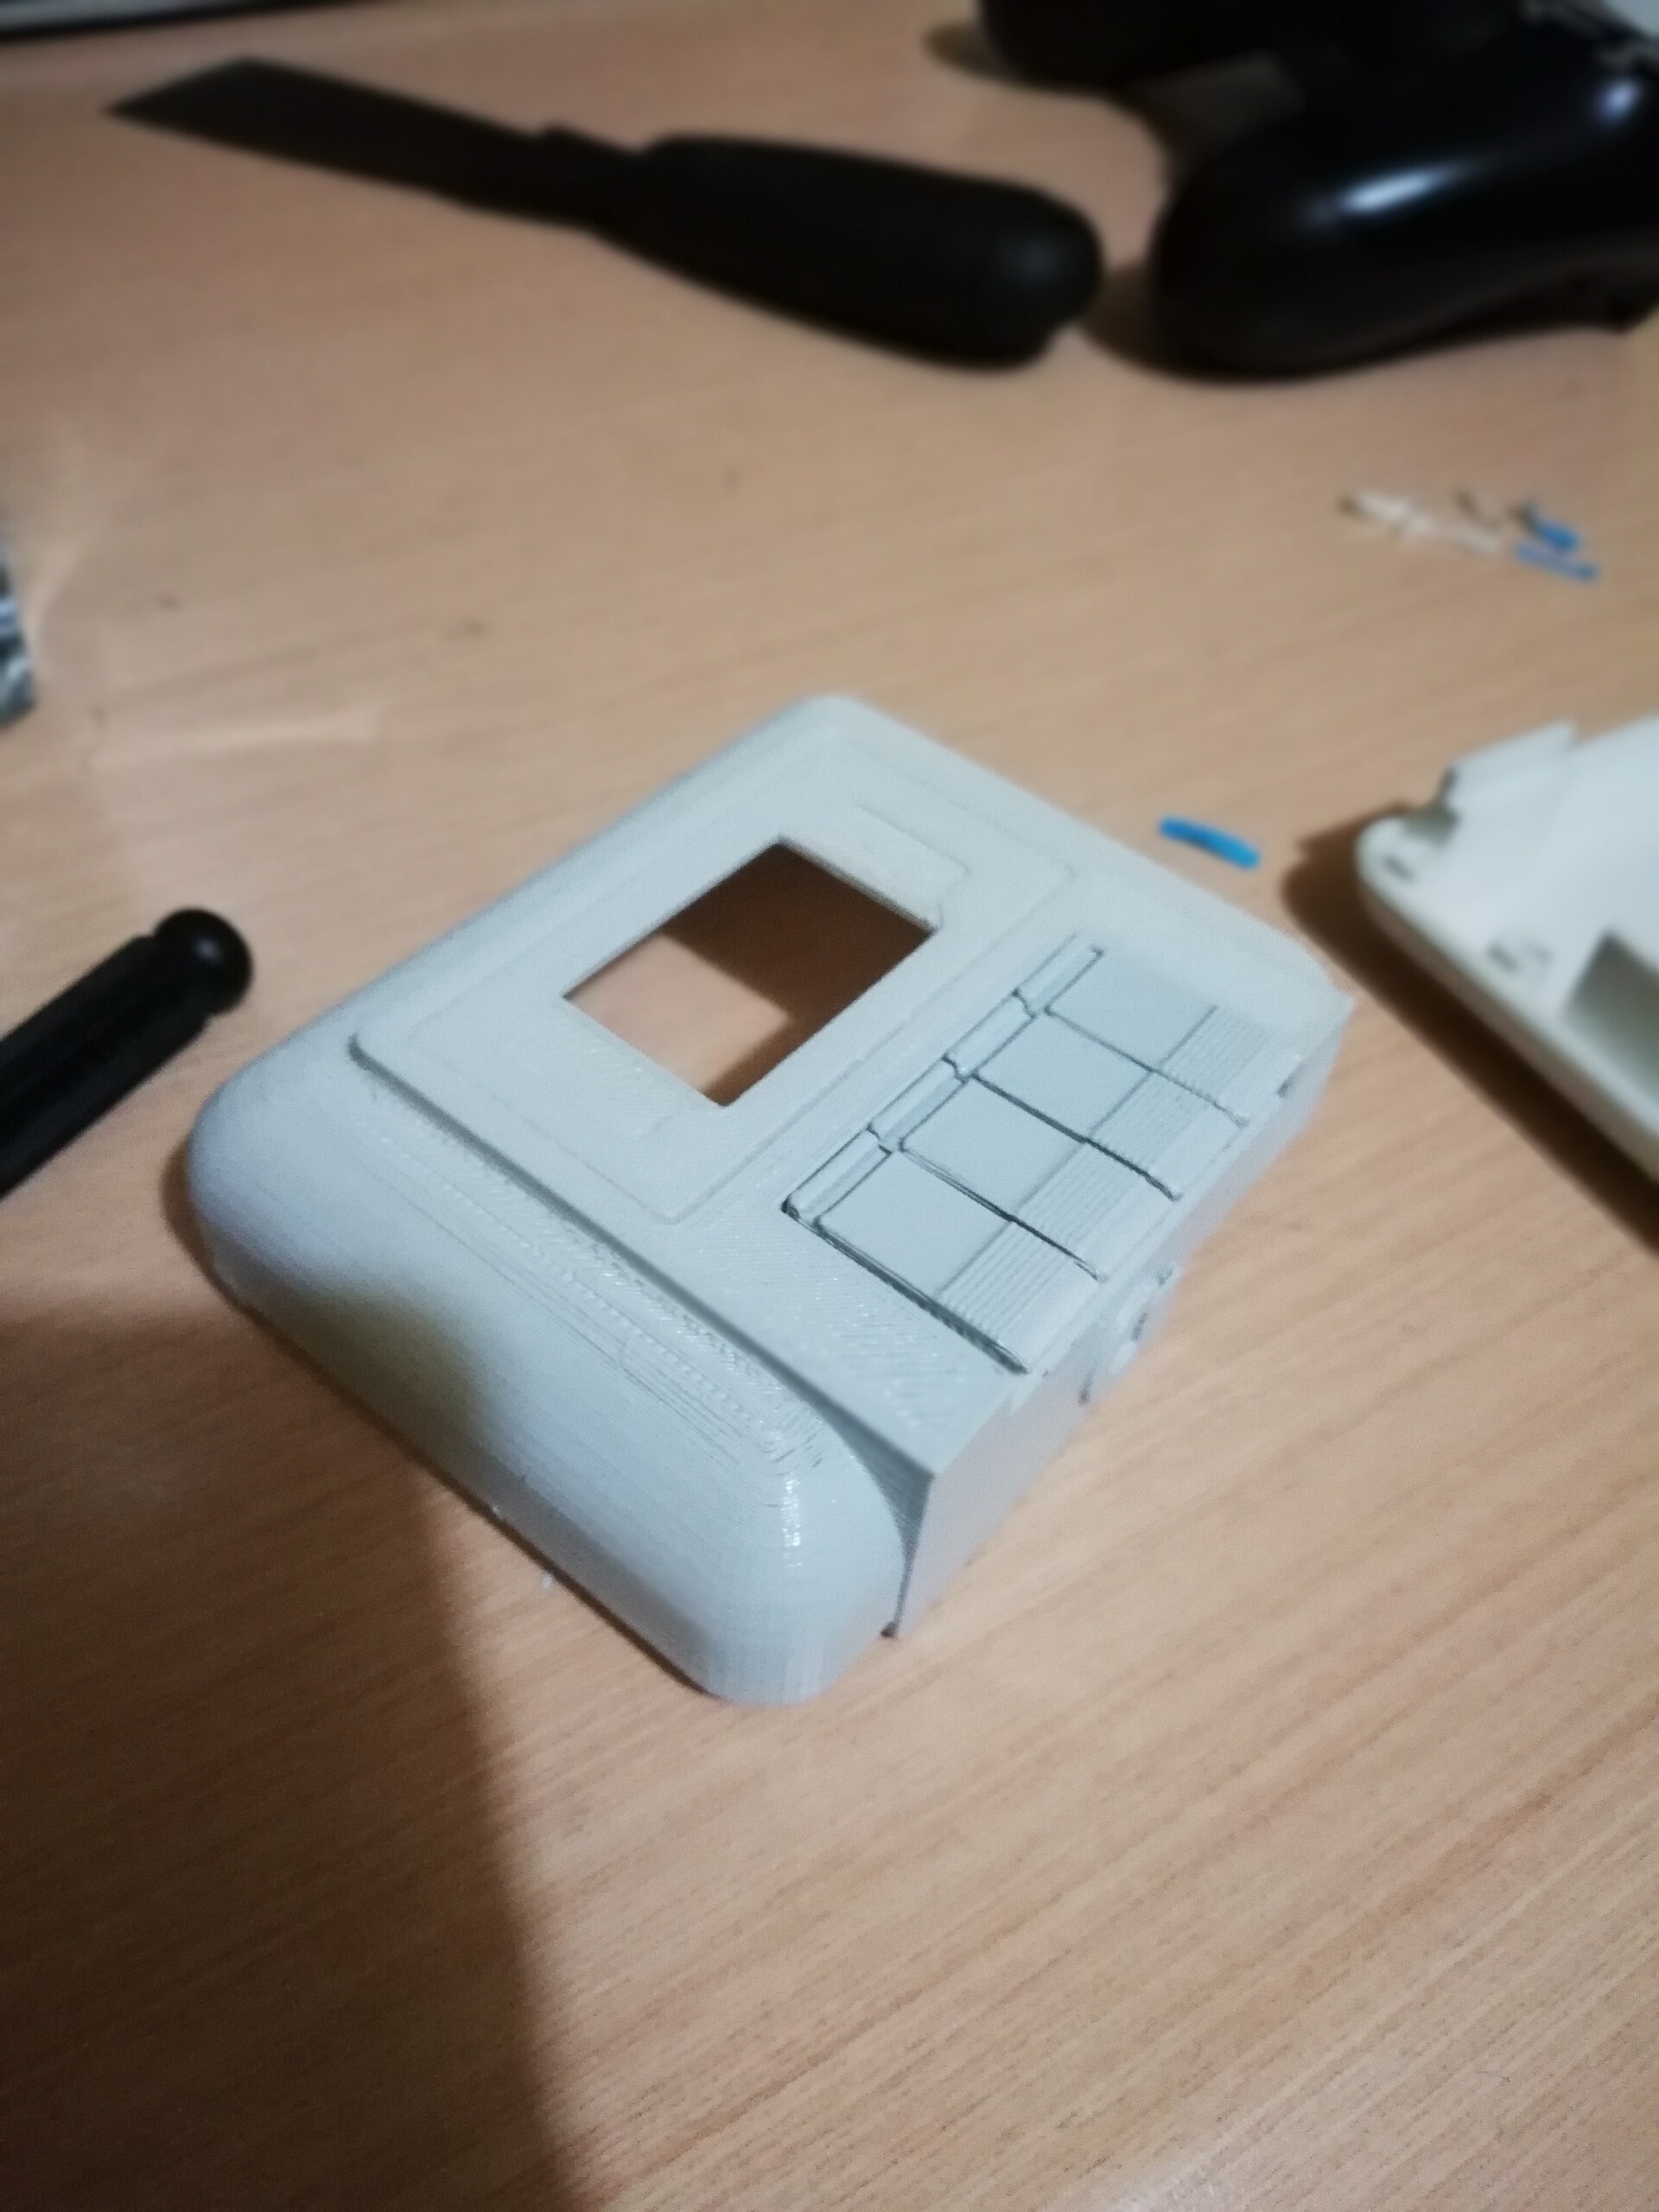
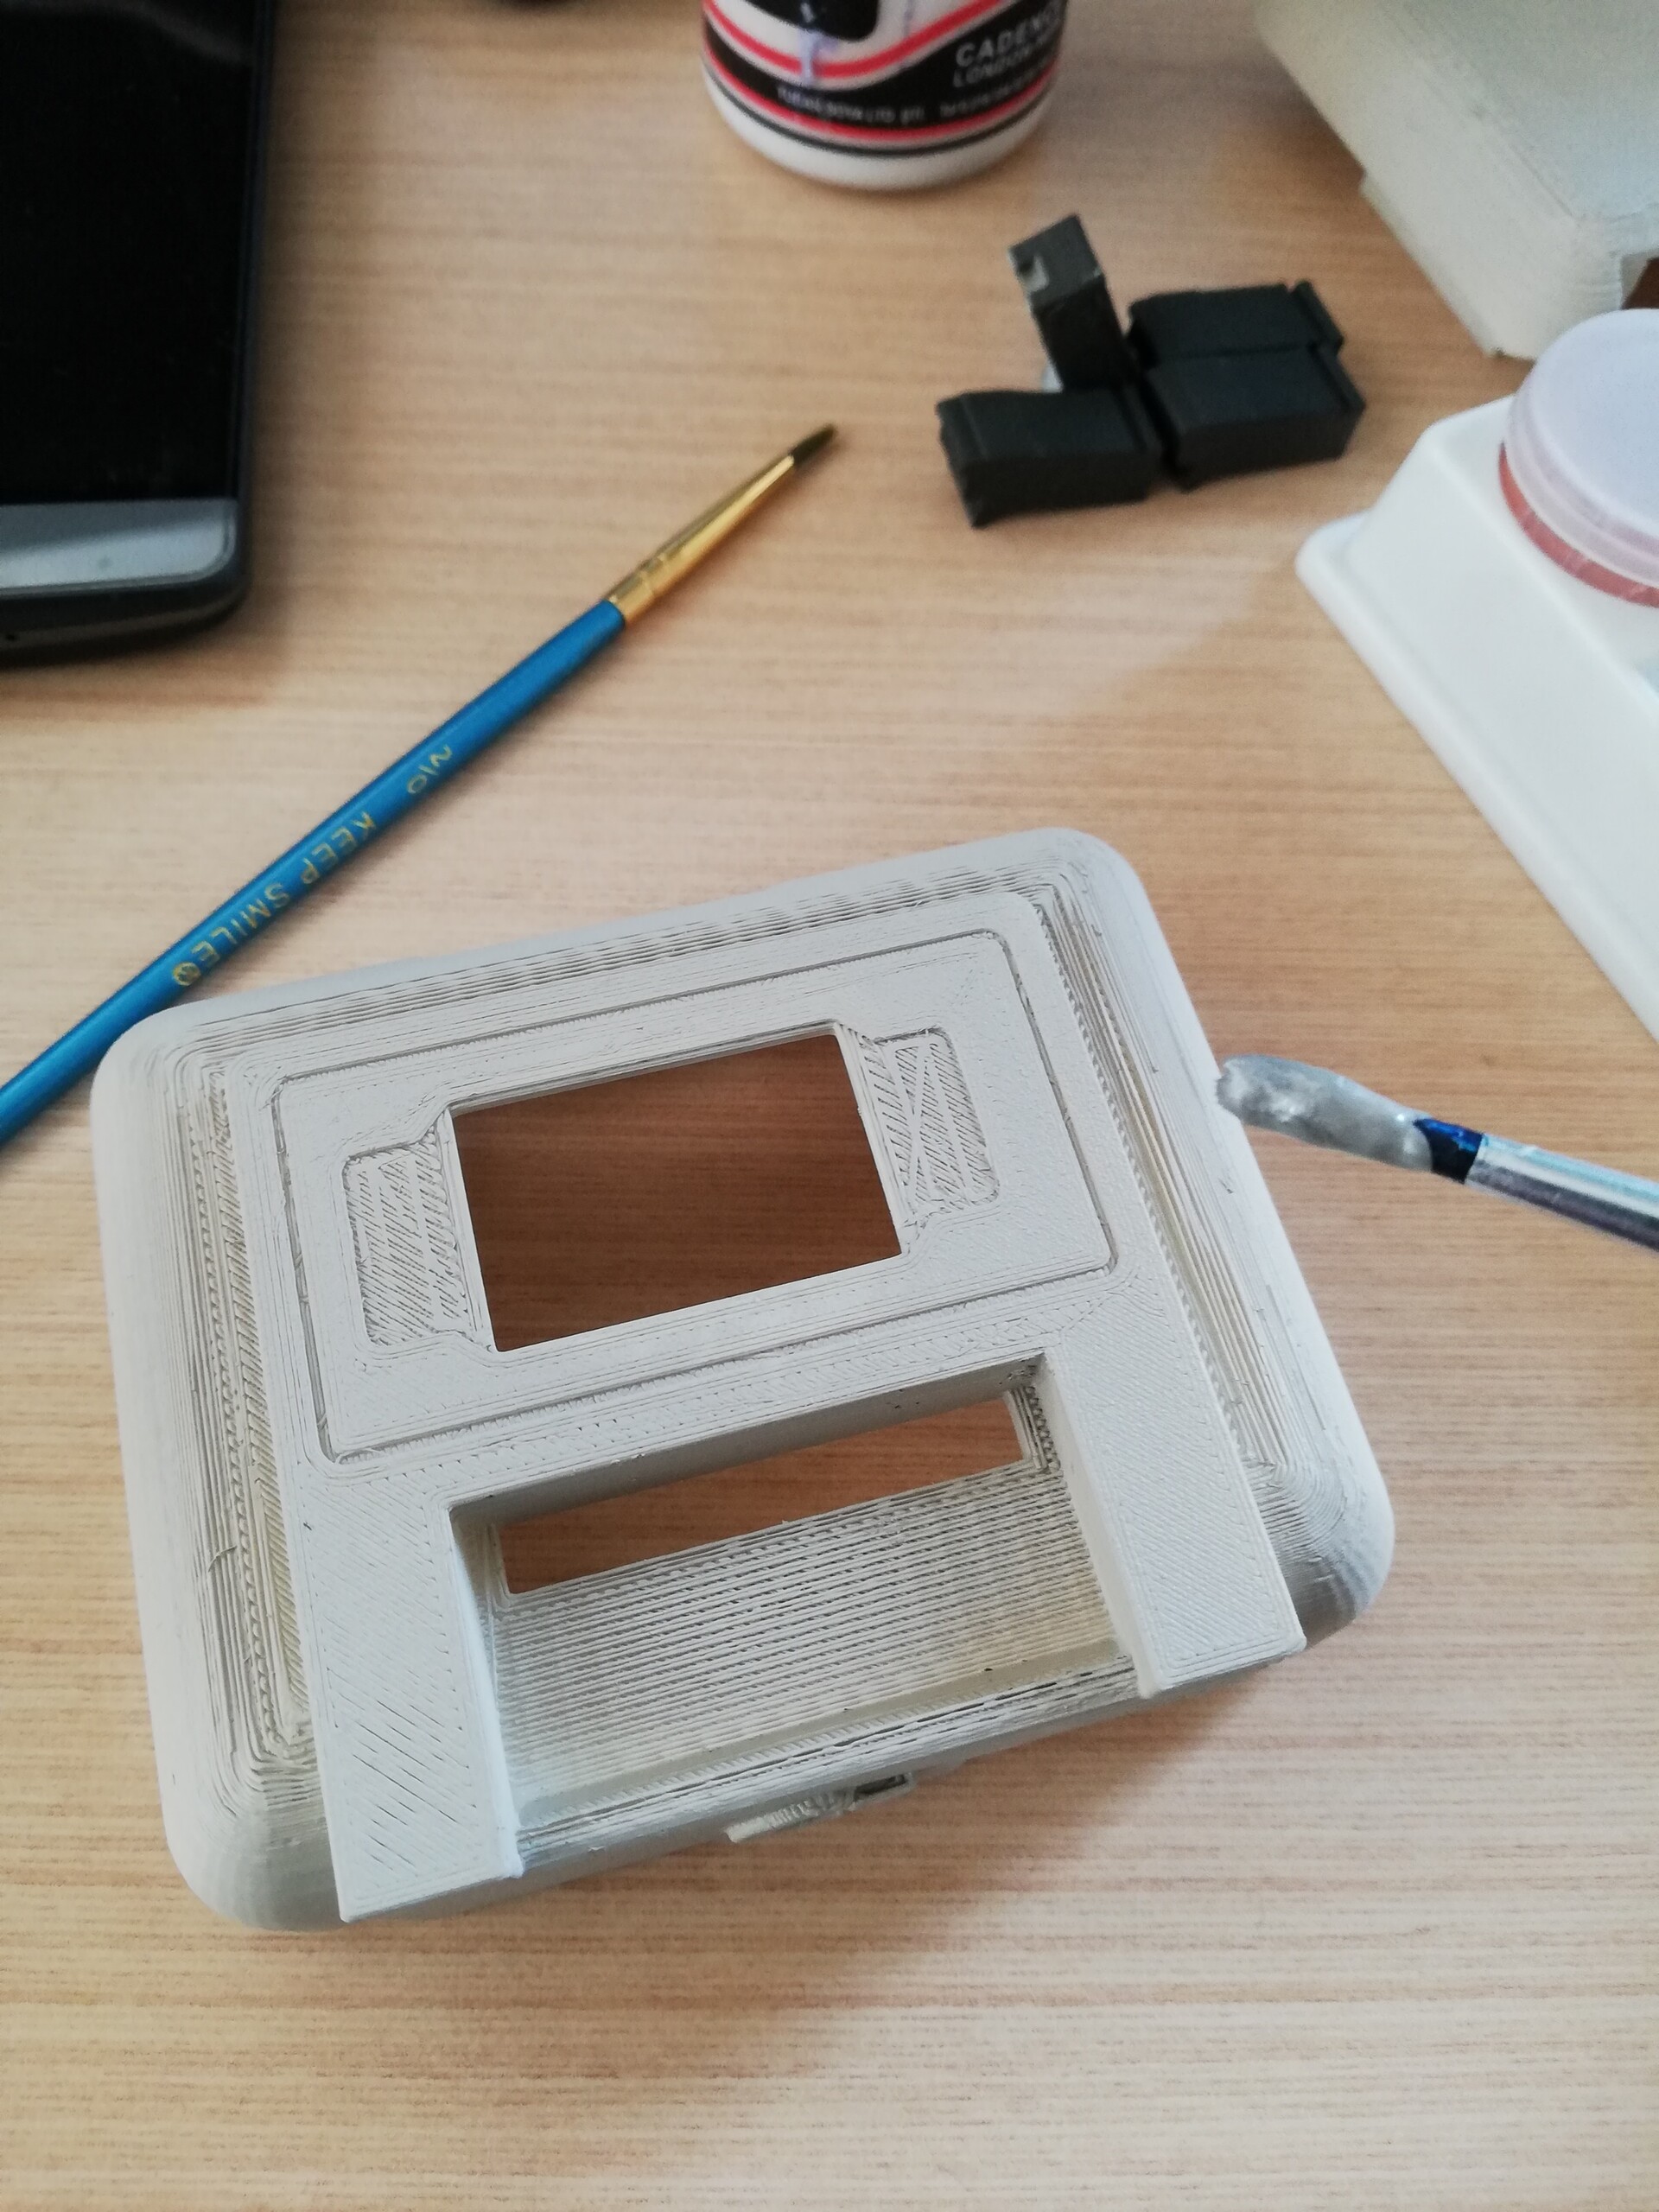
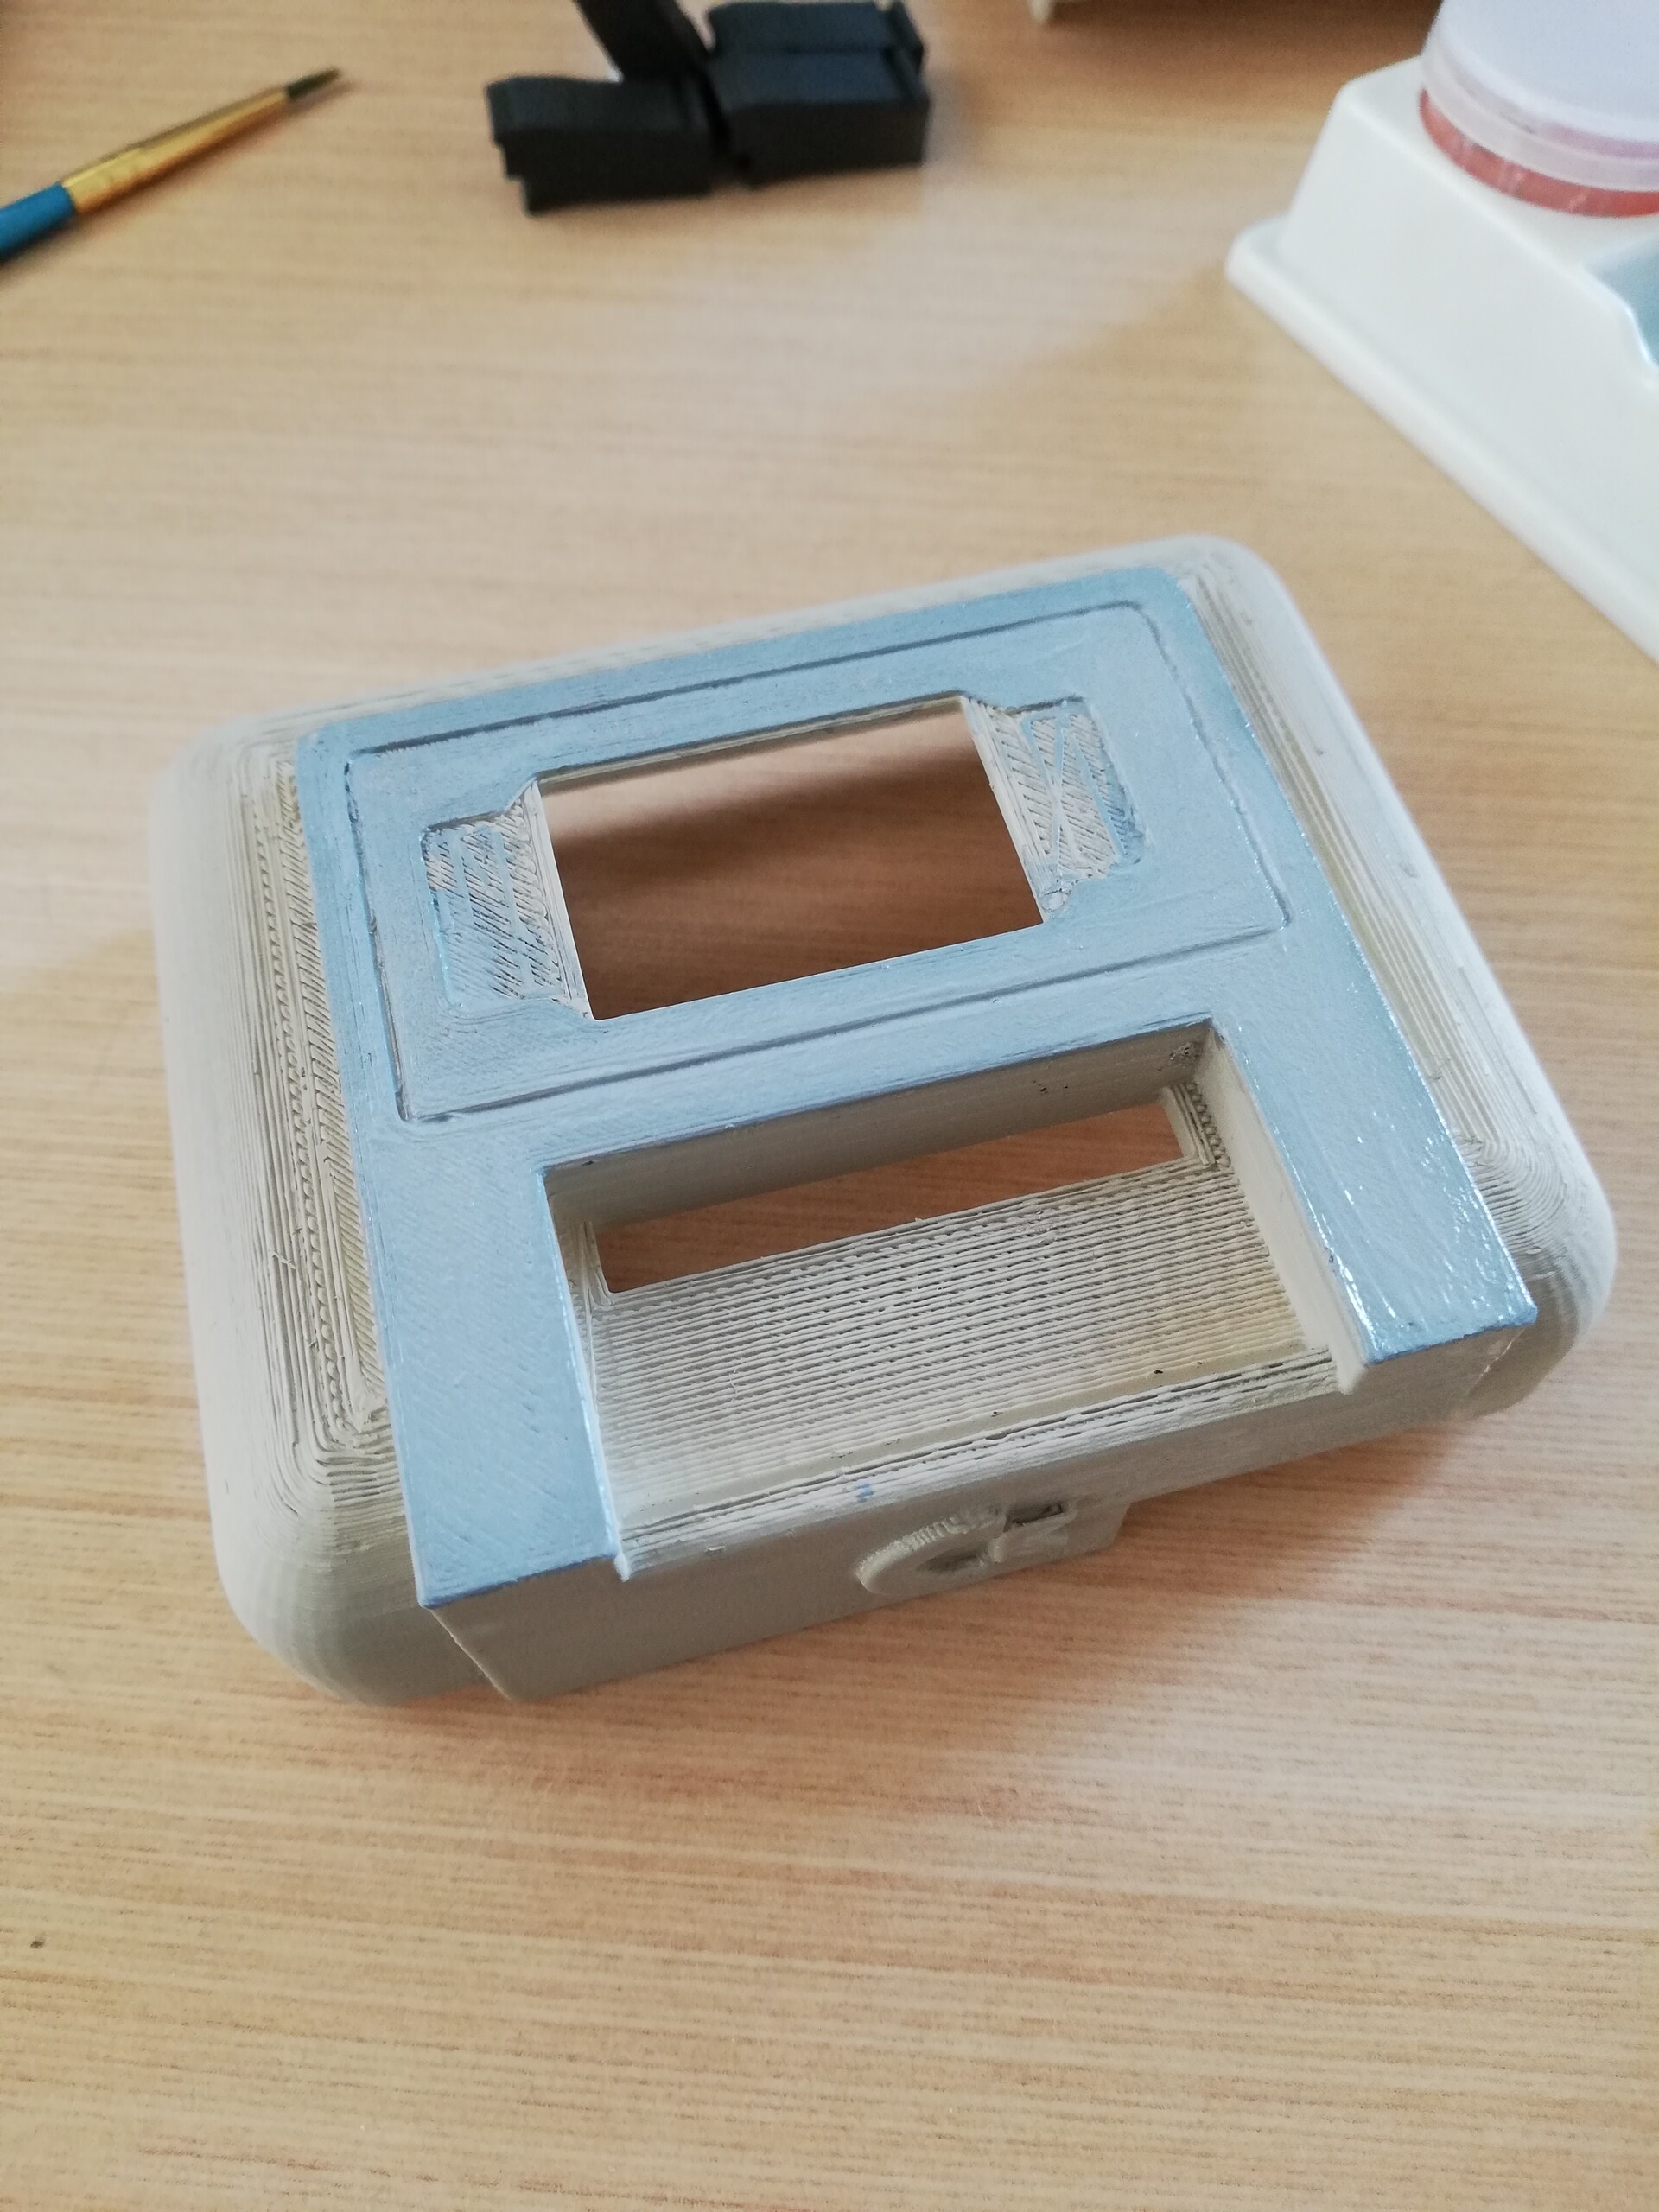
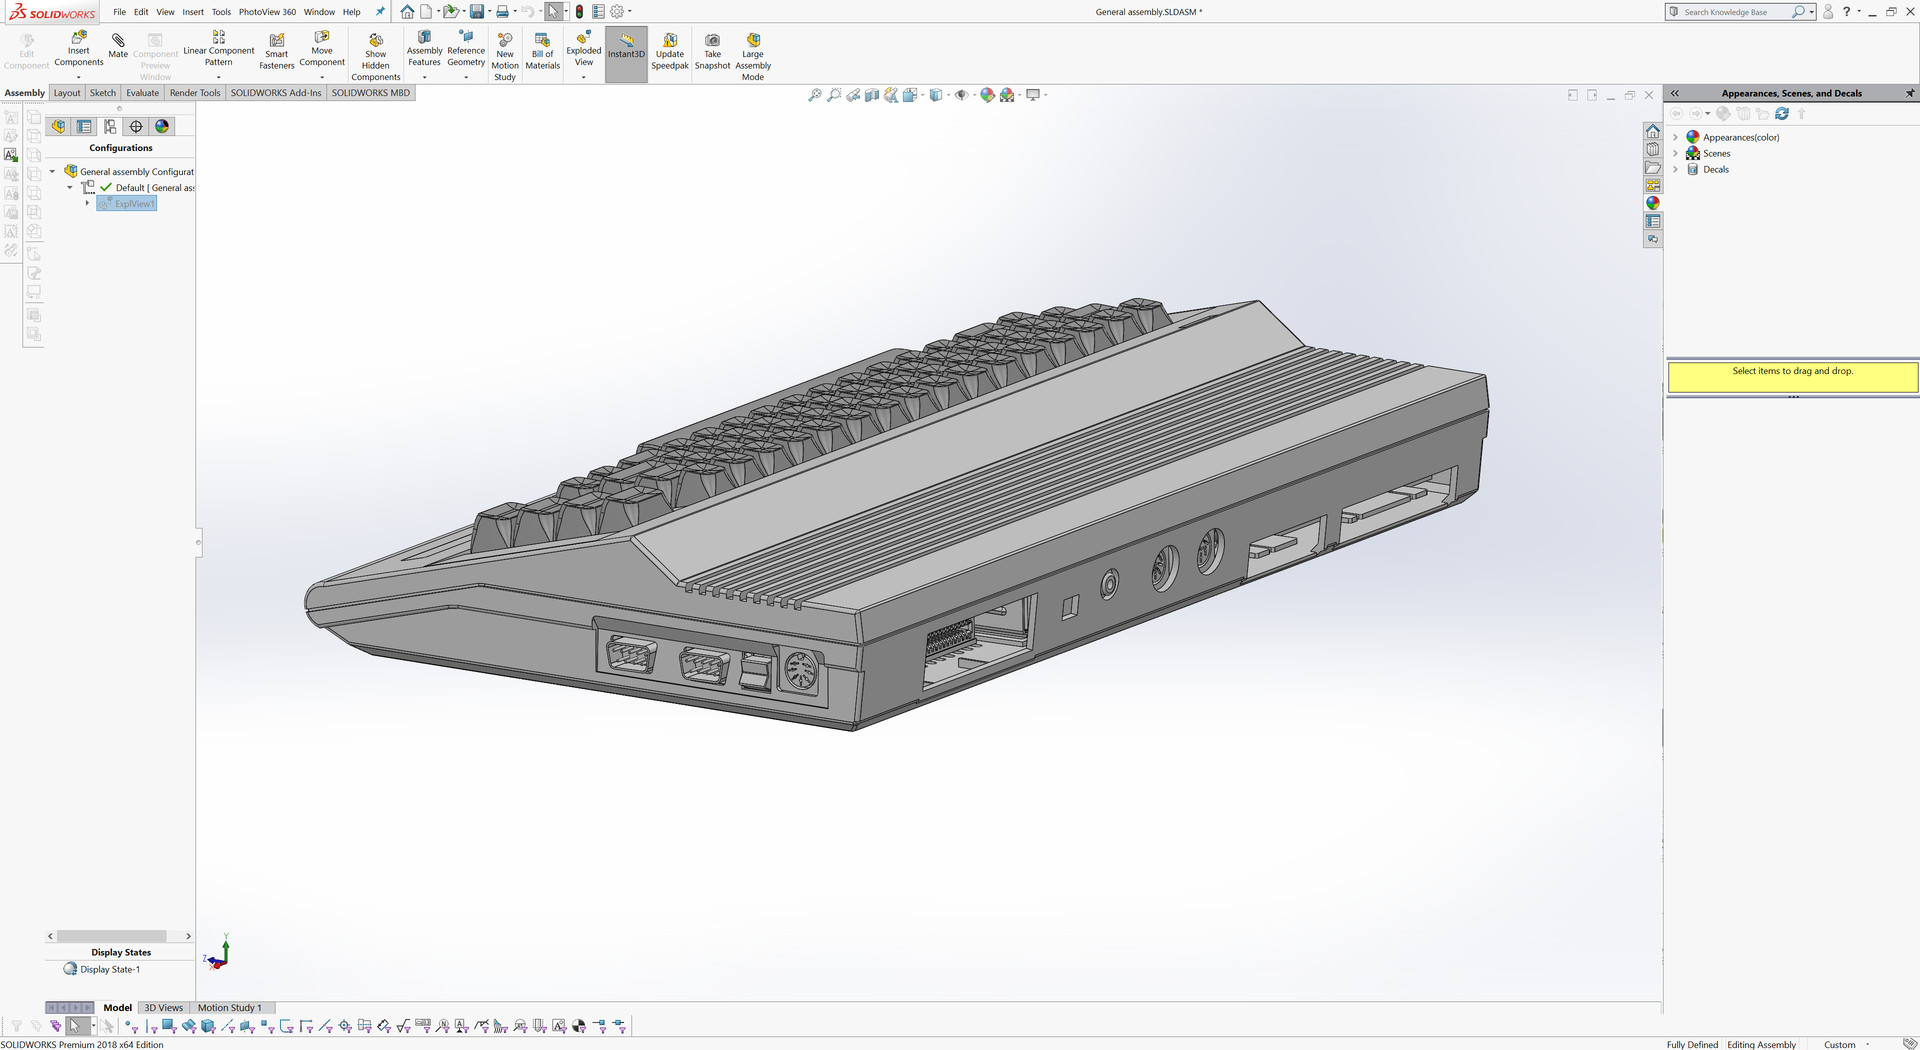
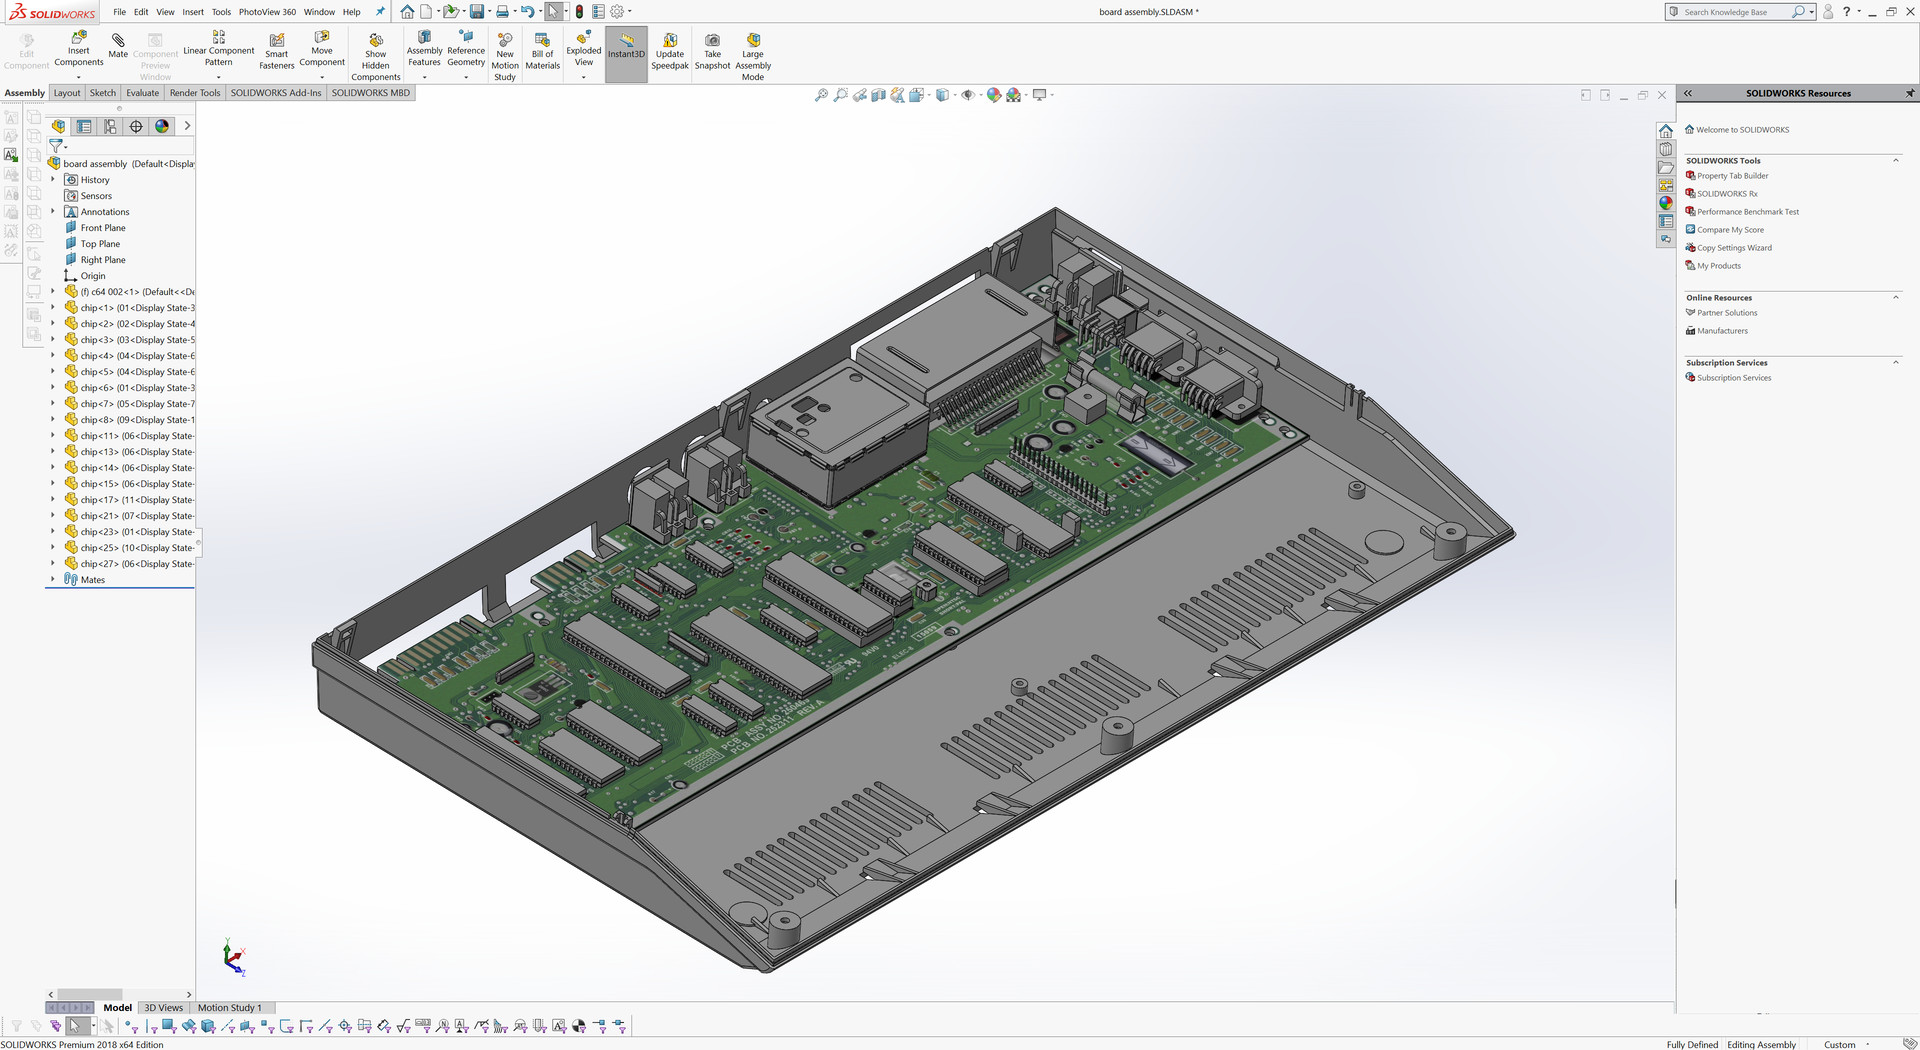
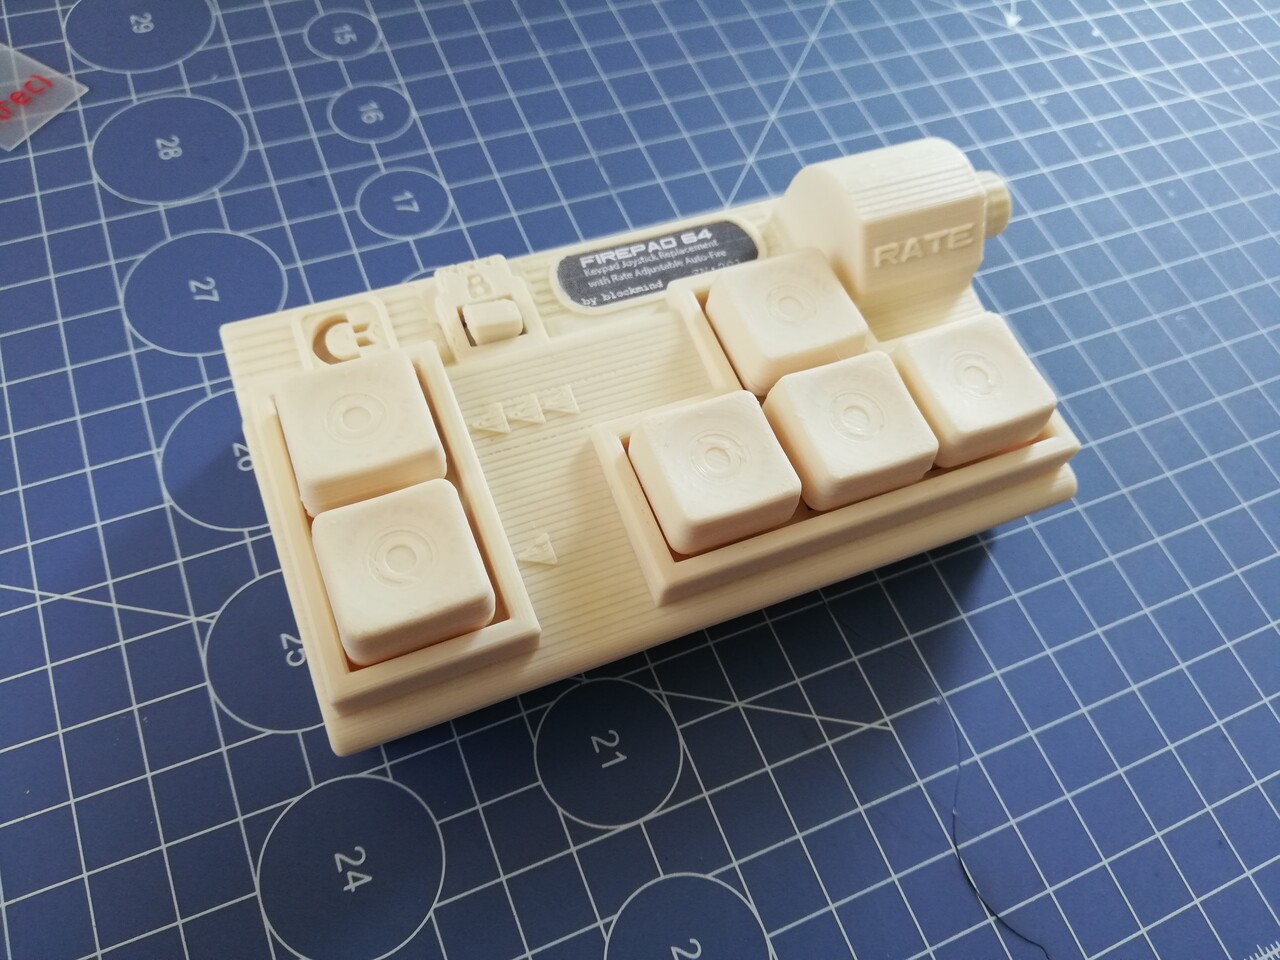
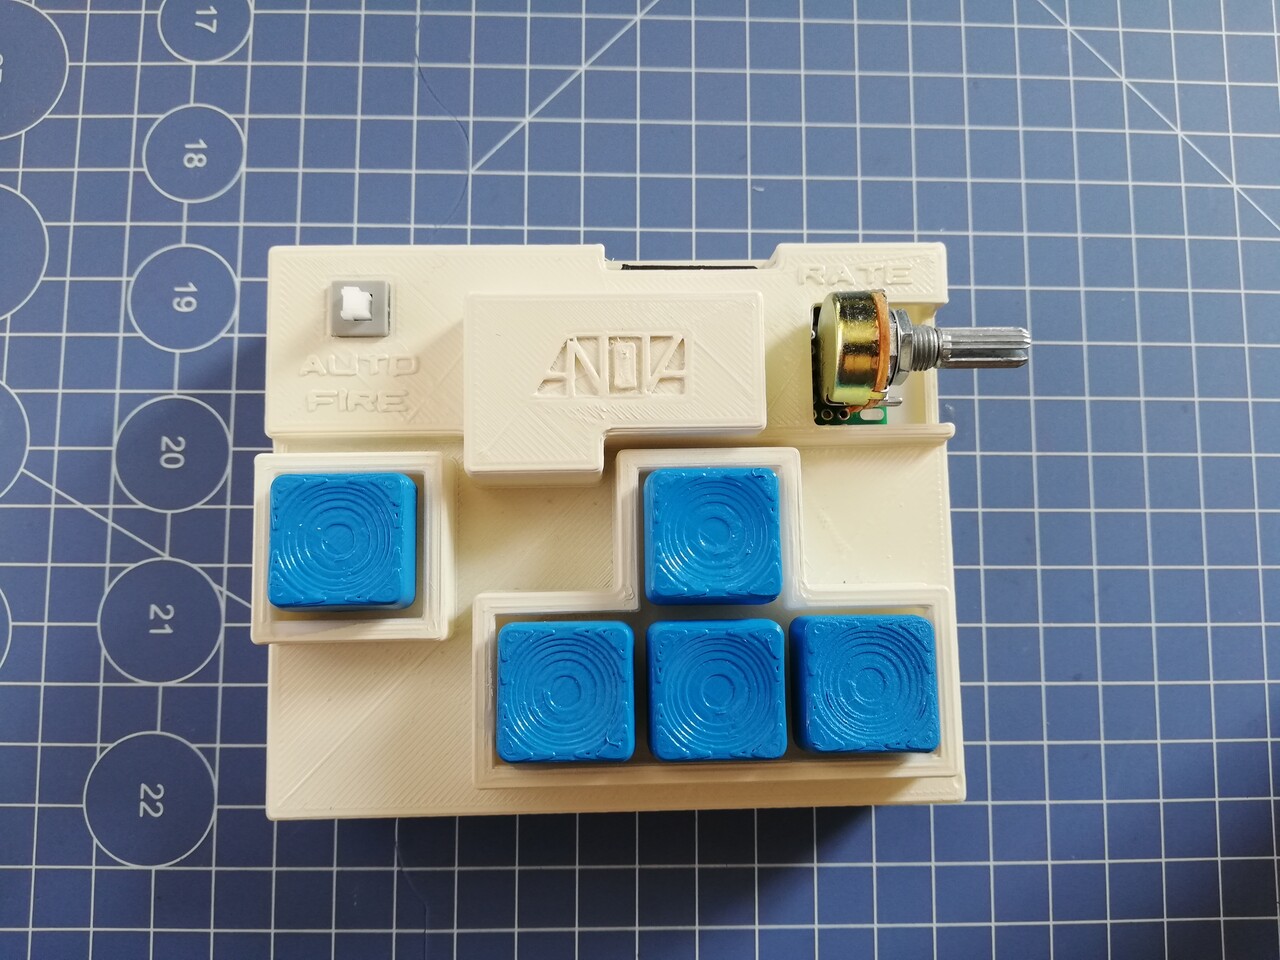
I revised and re-created the 3d model again to comply with this new board.


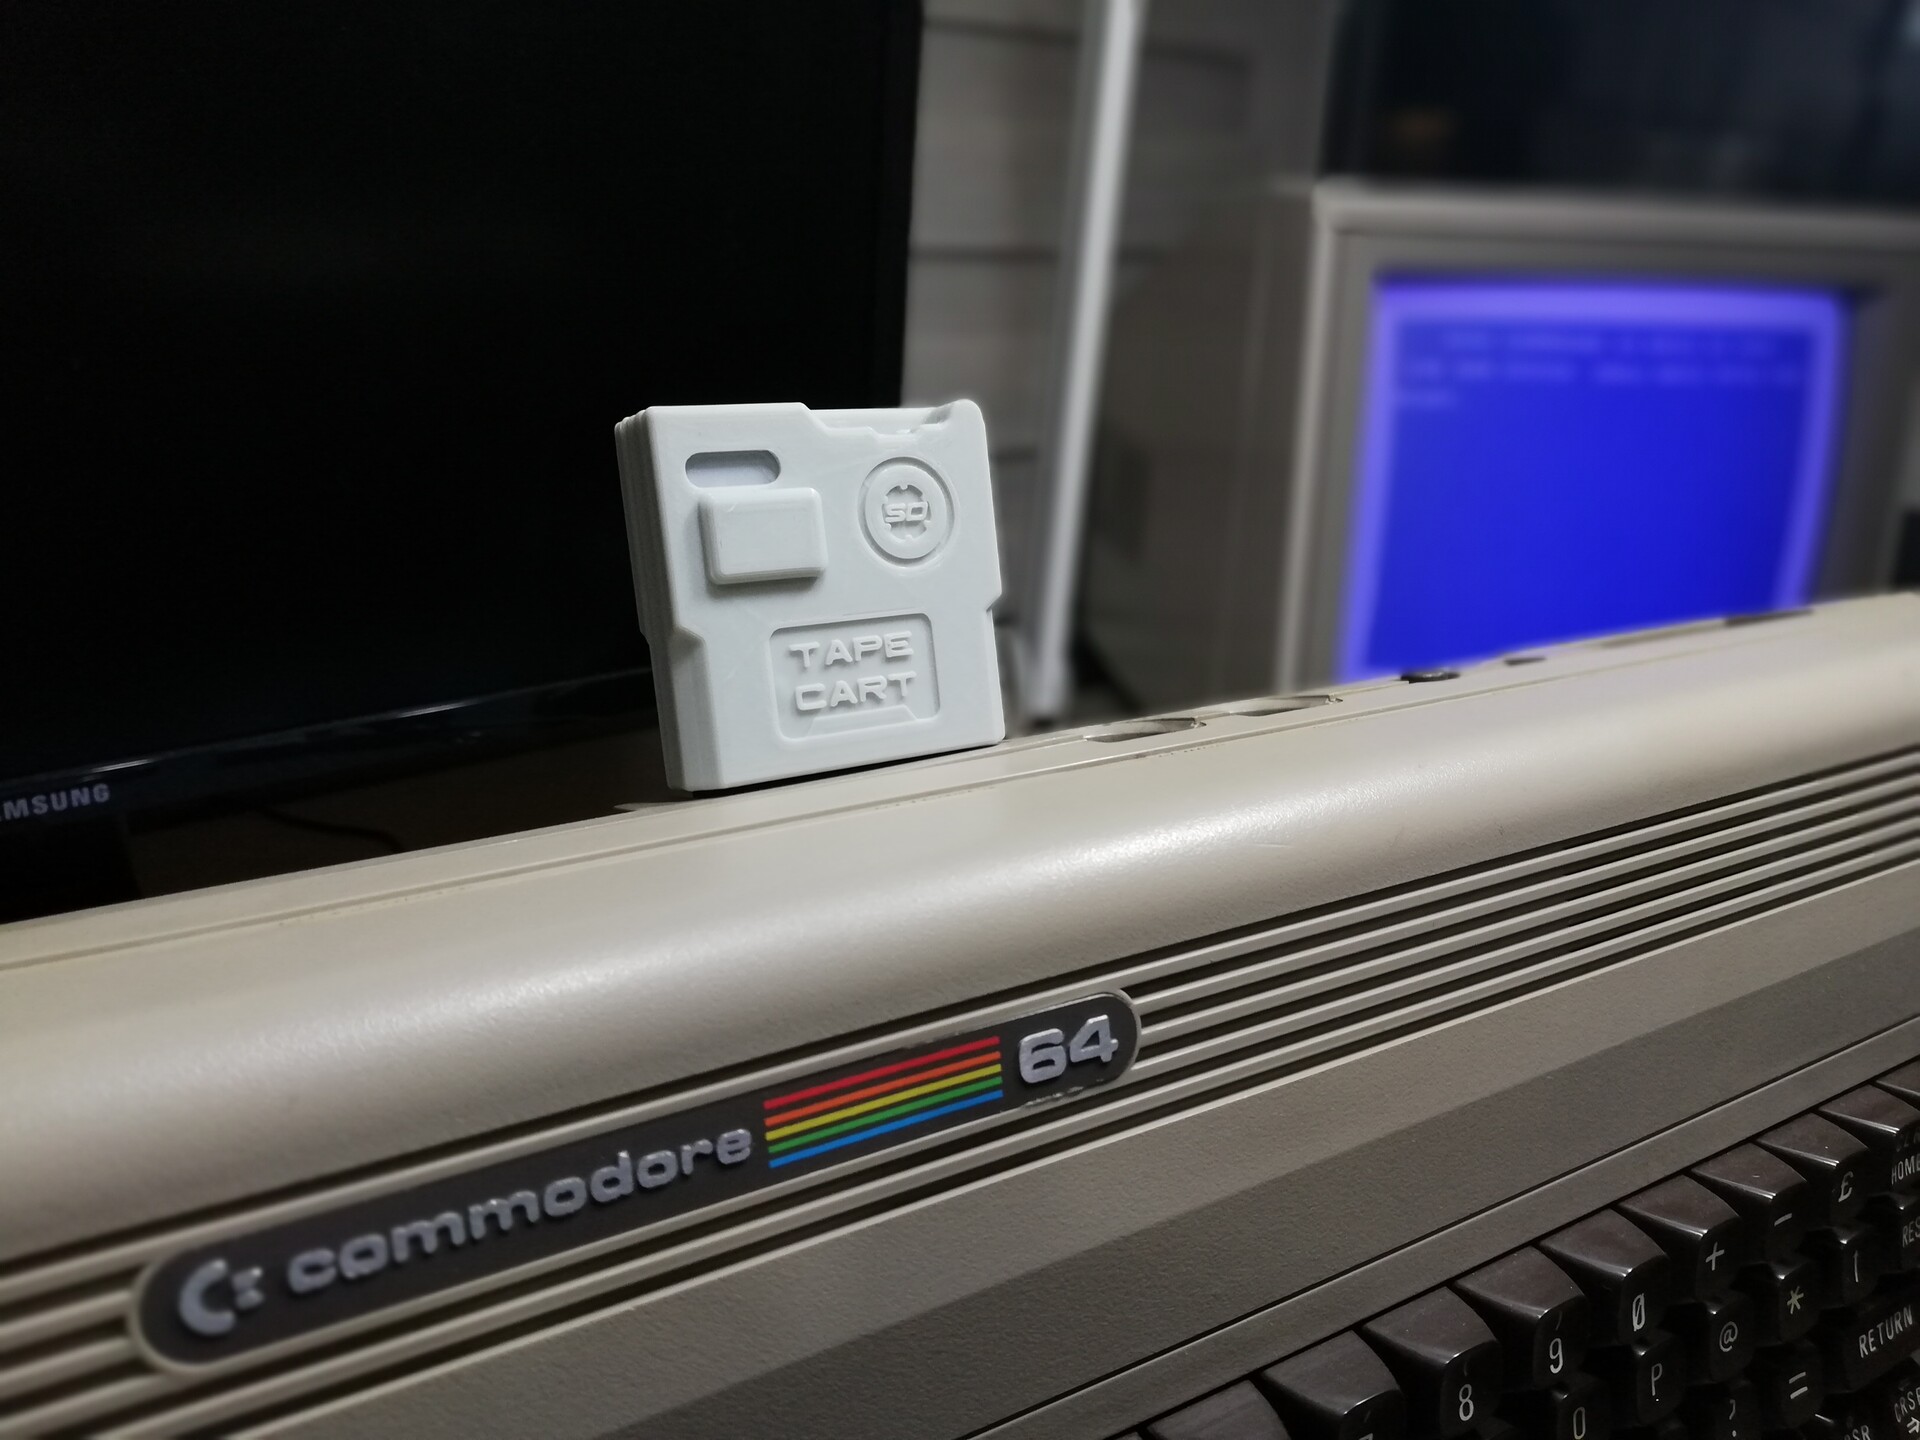
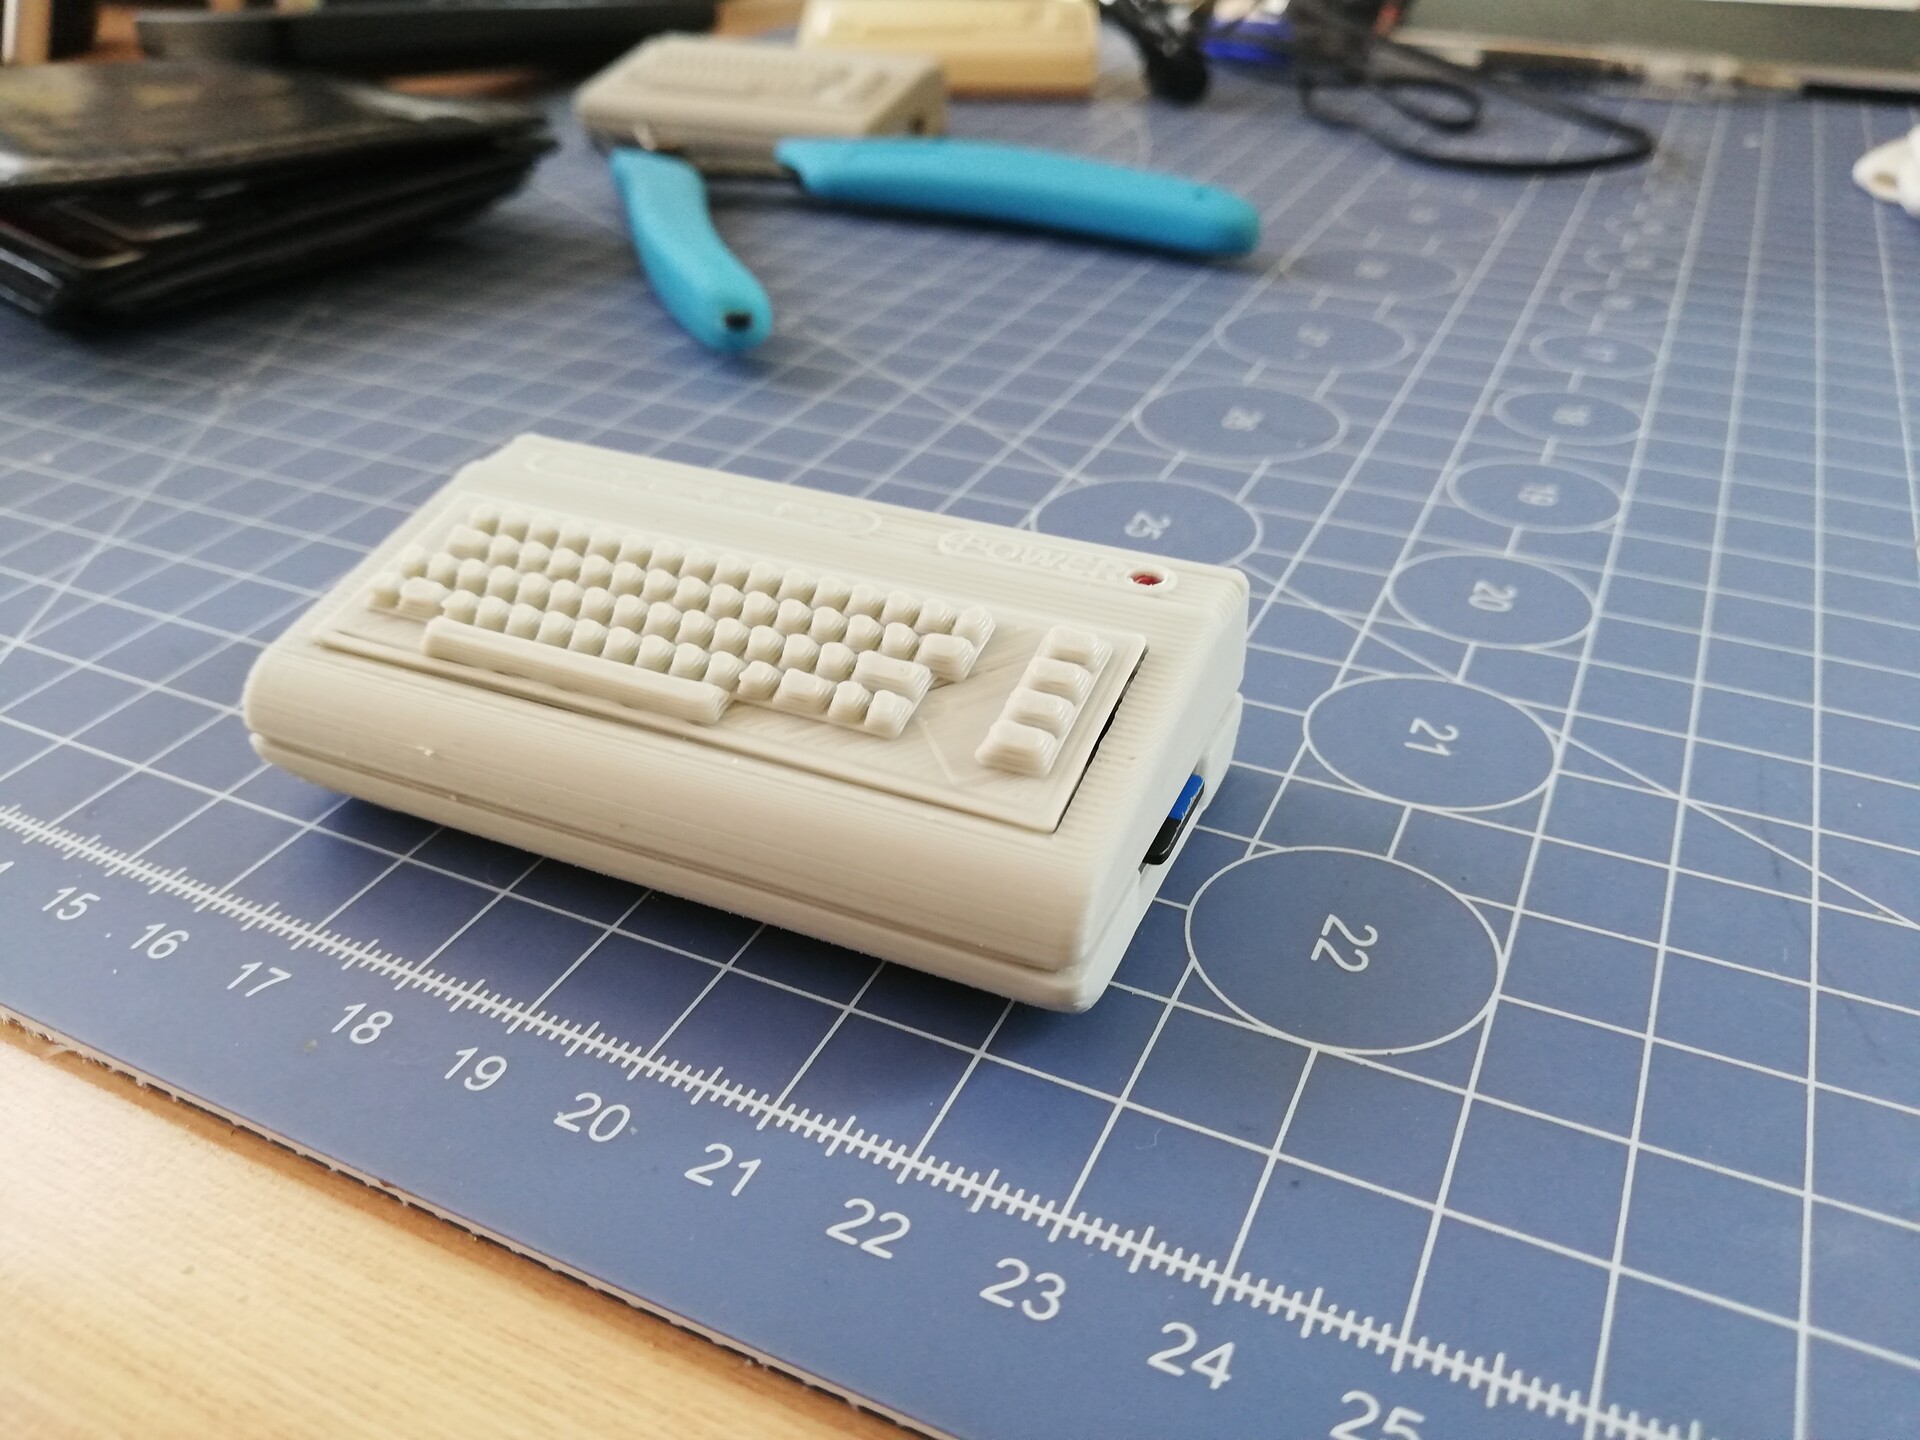
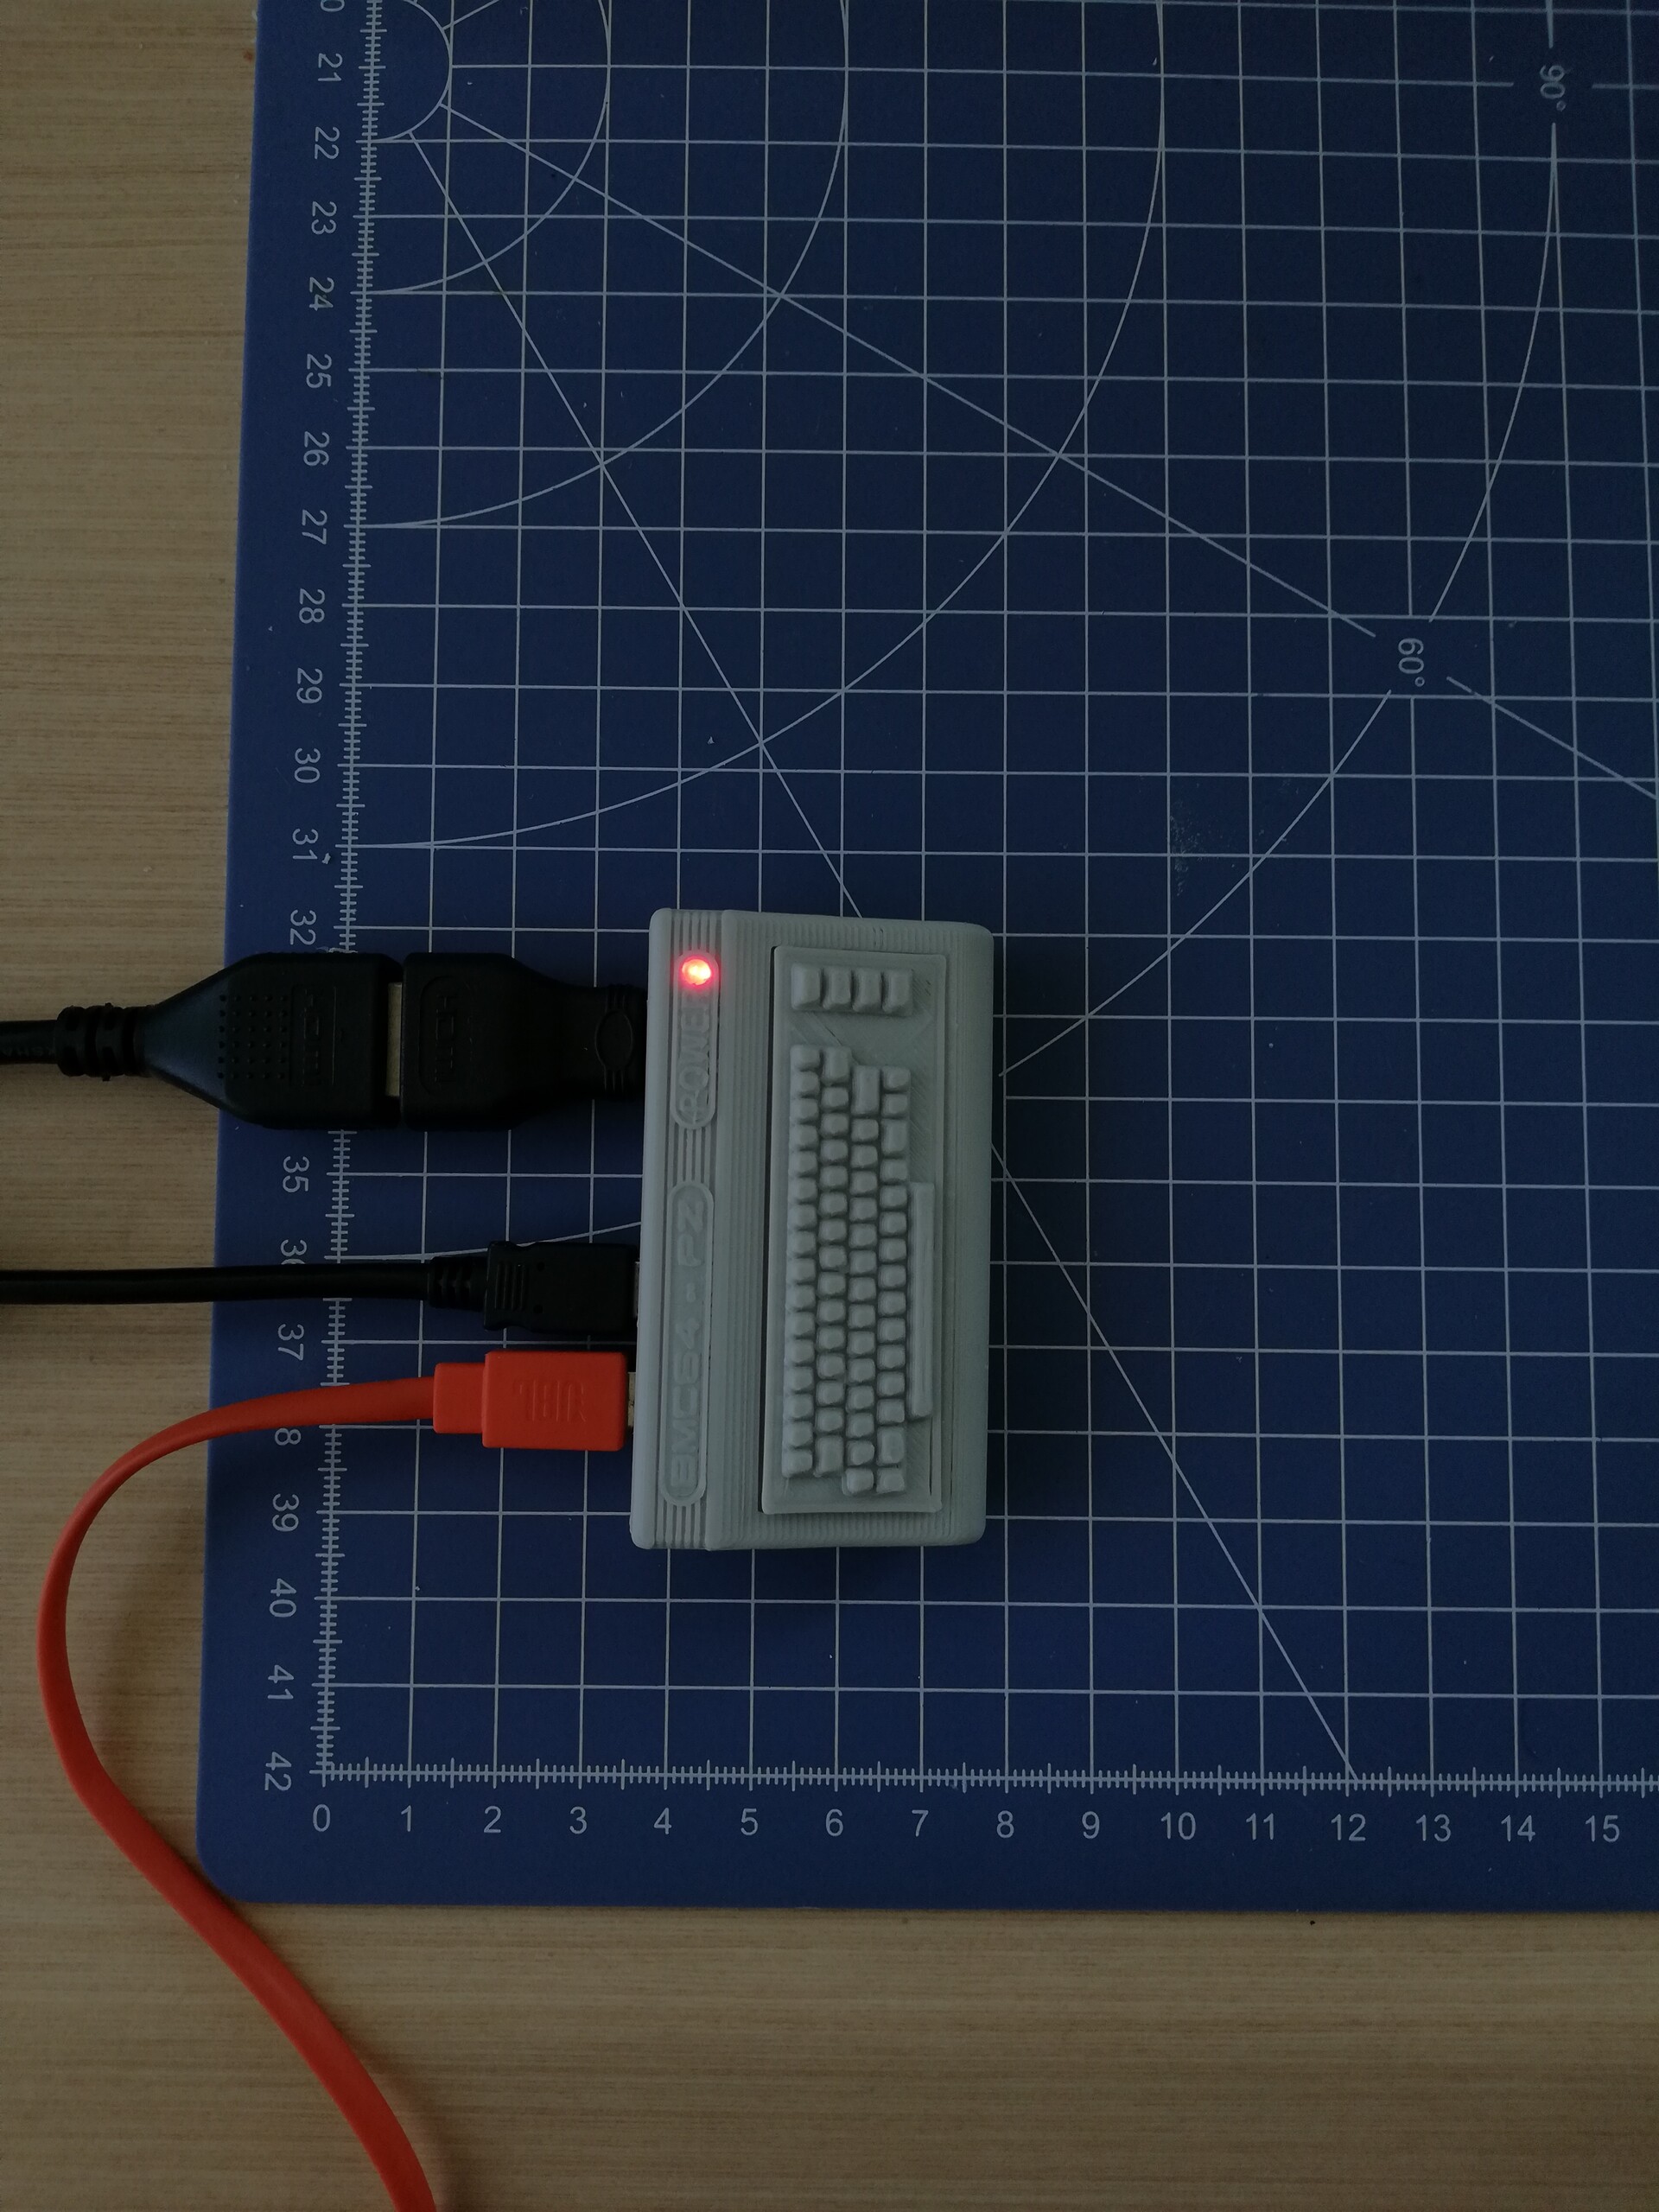
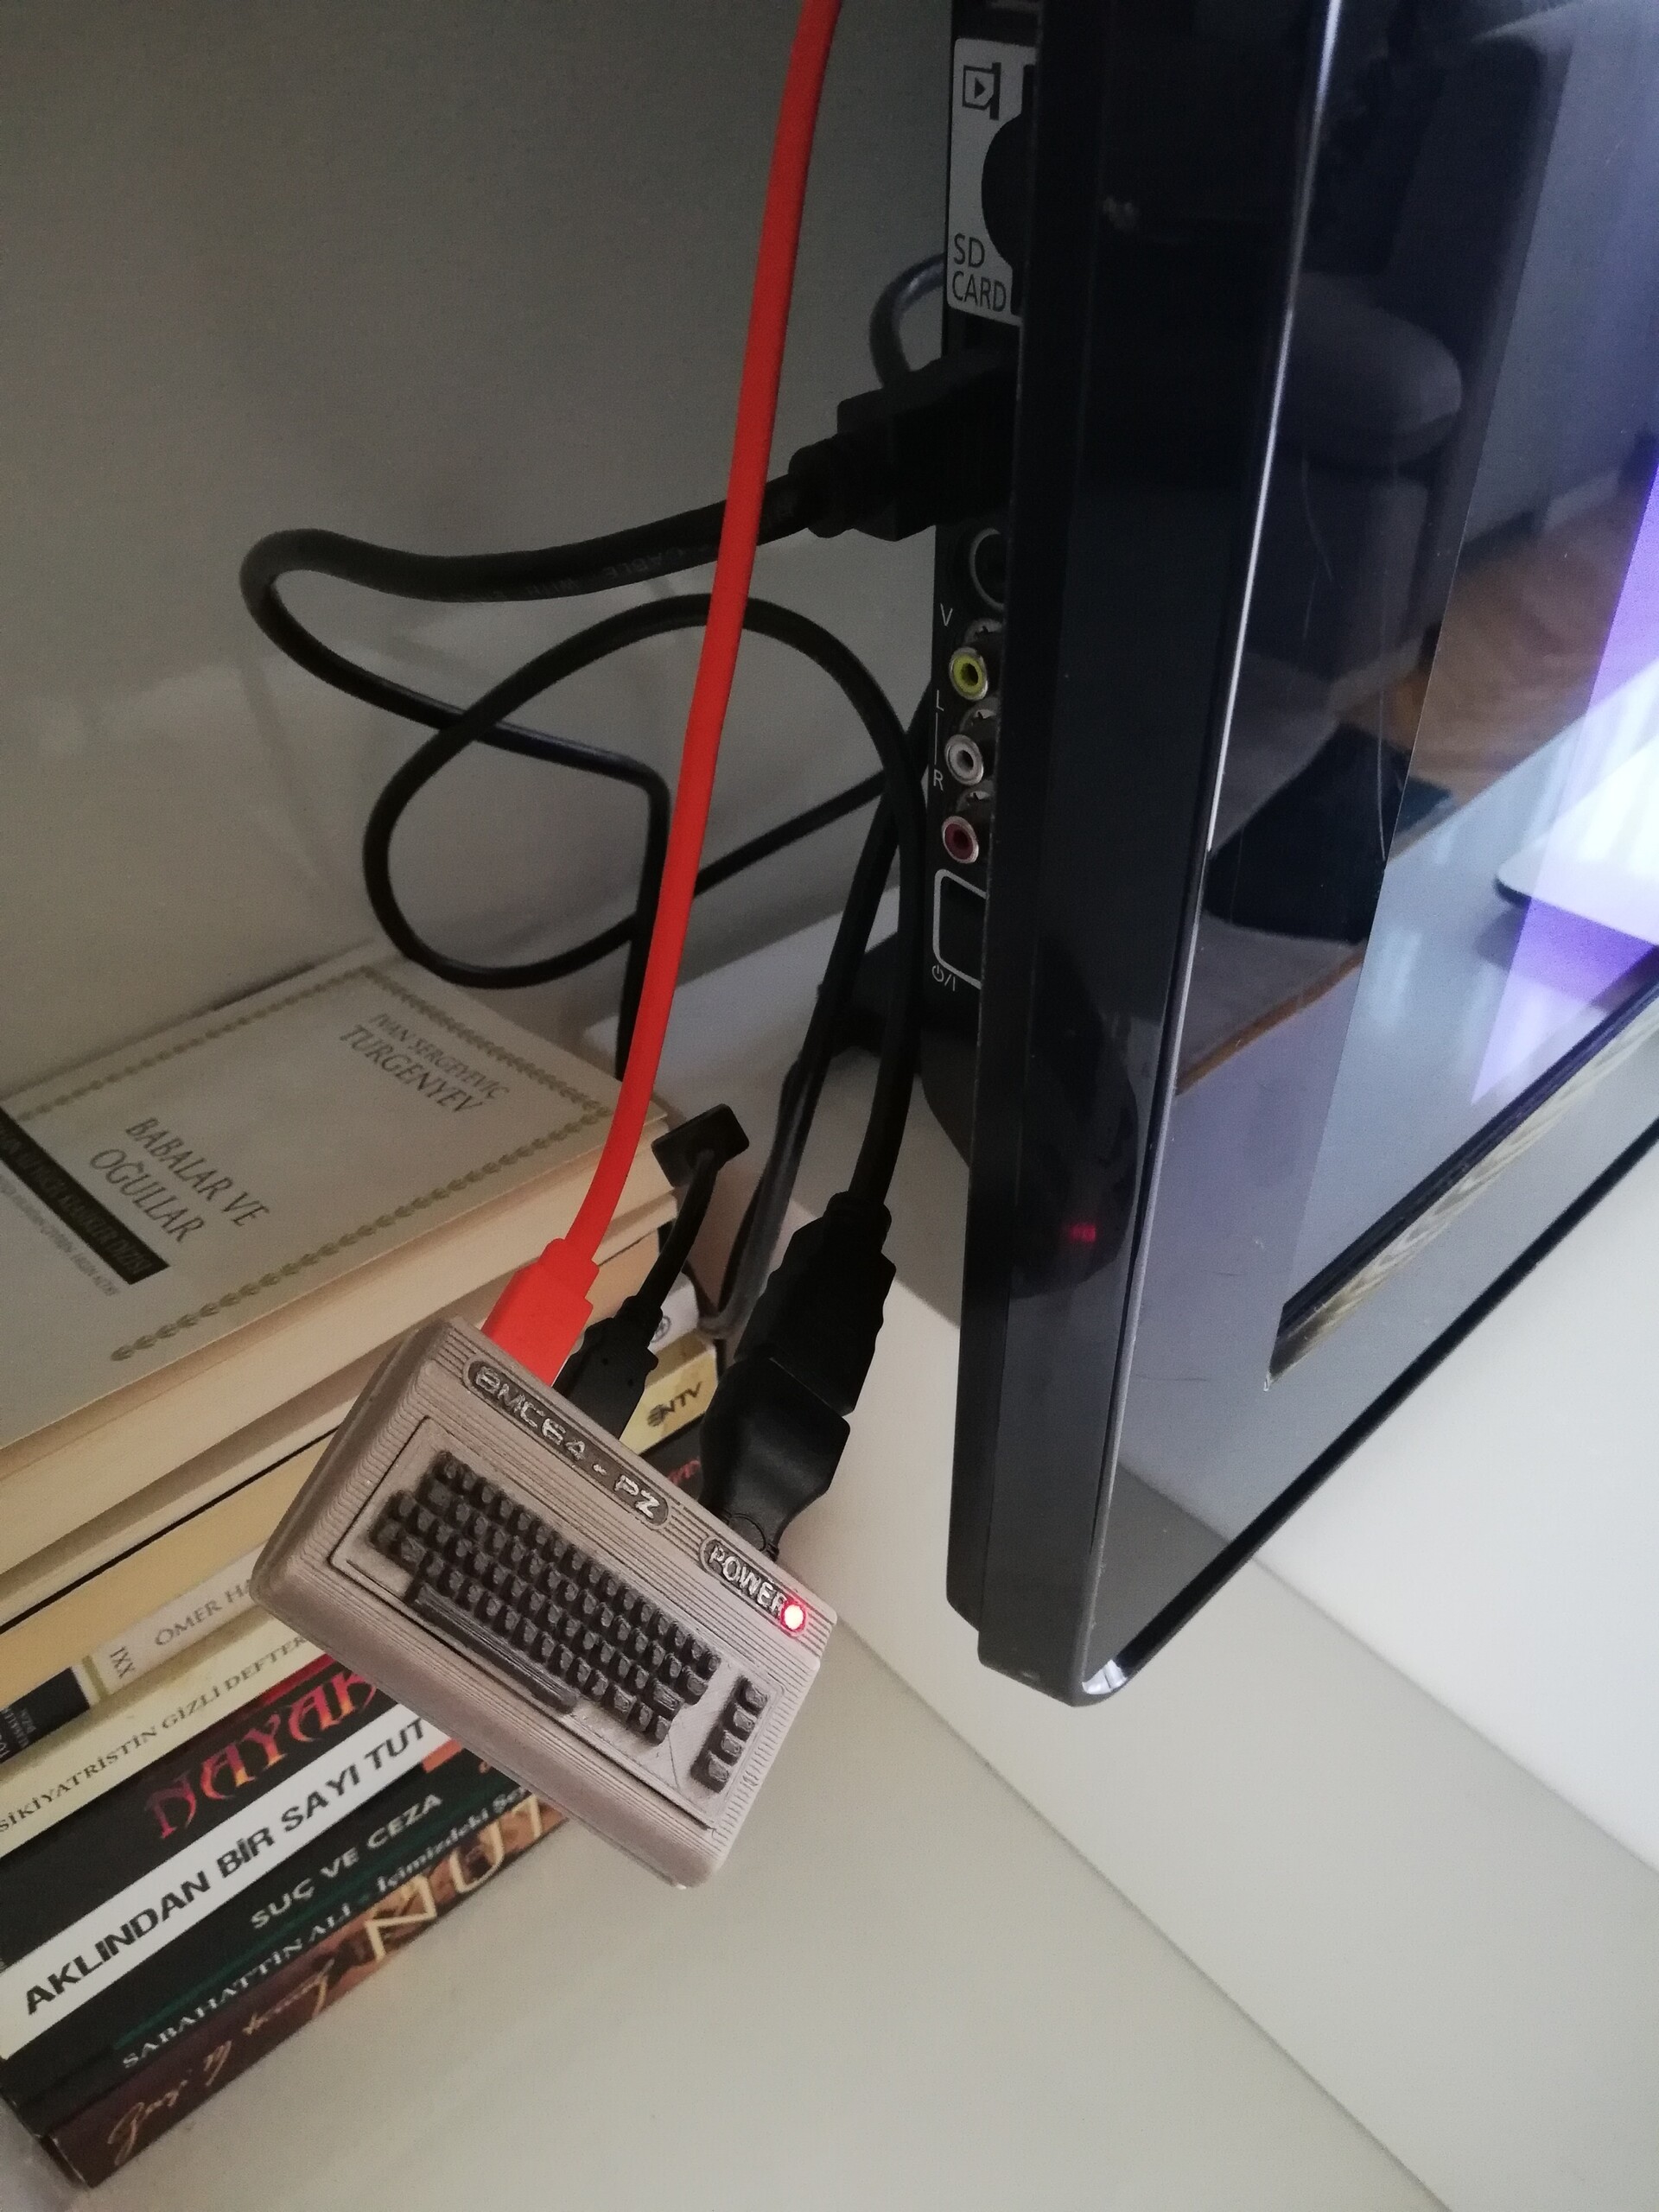
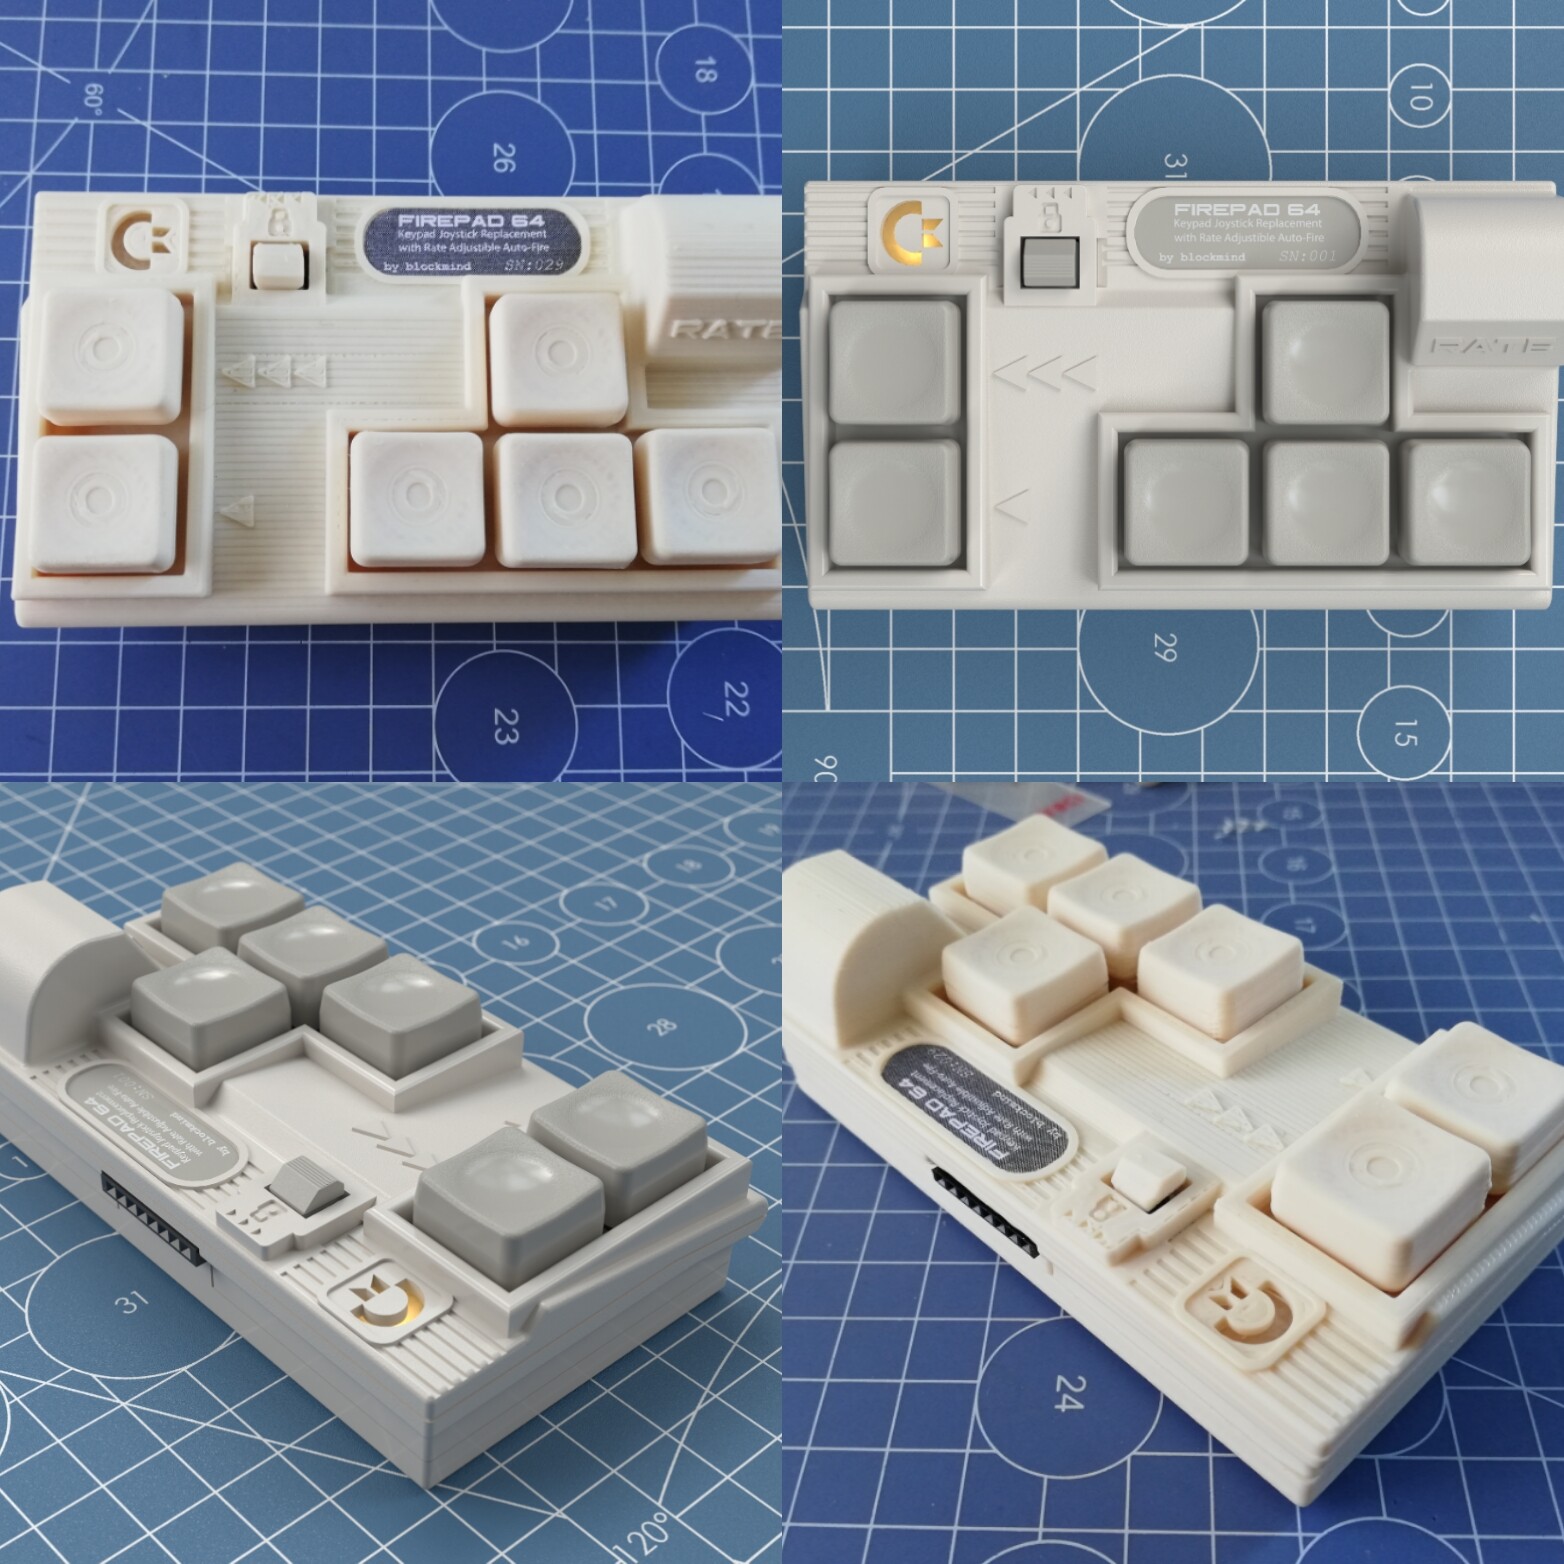
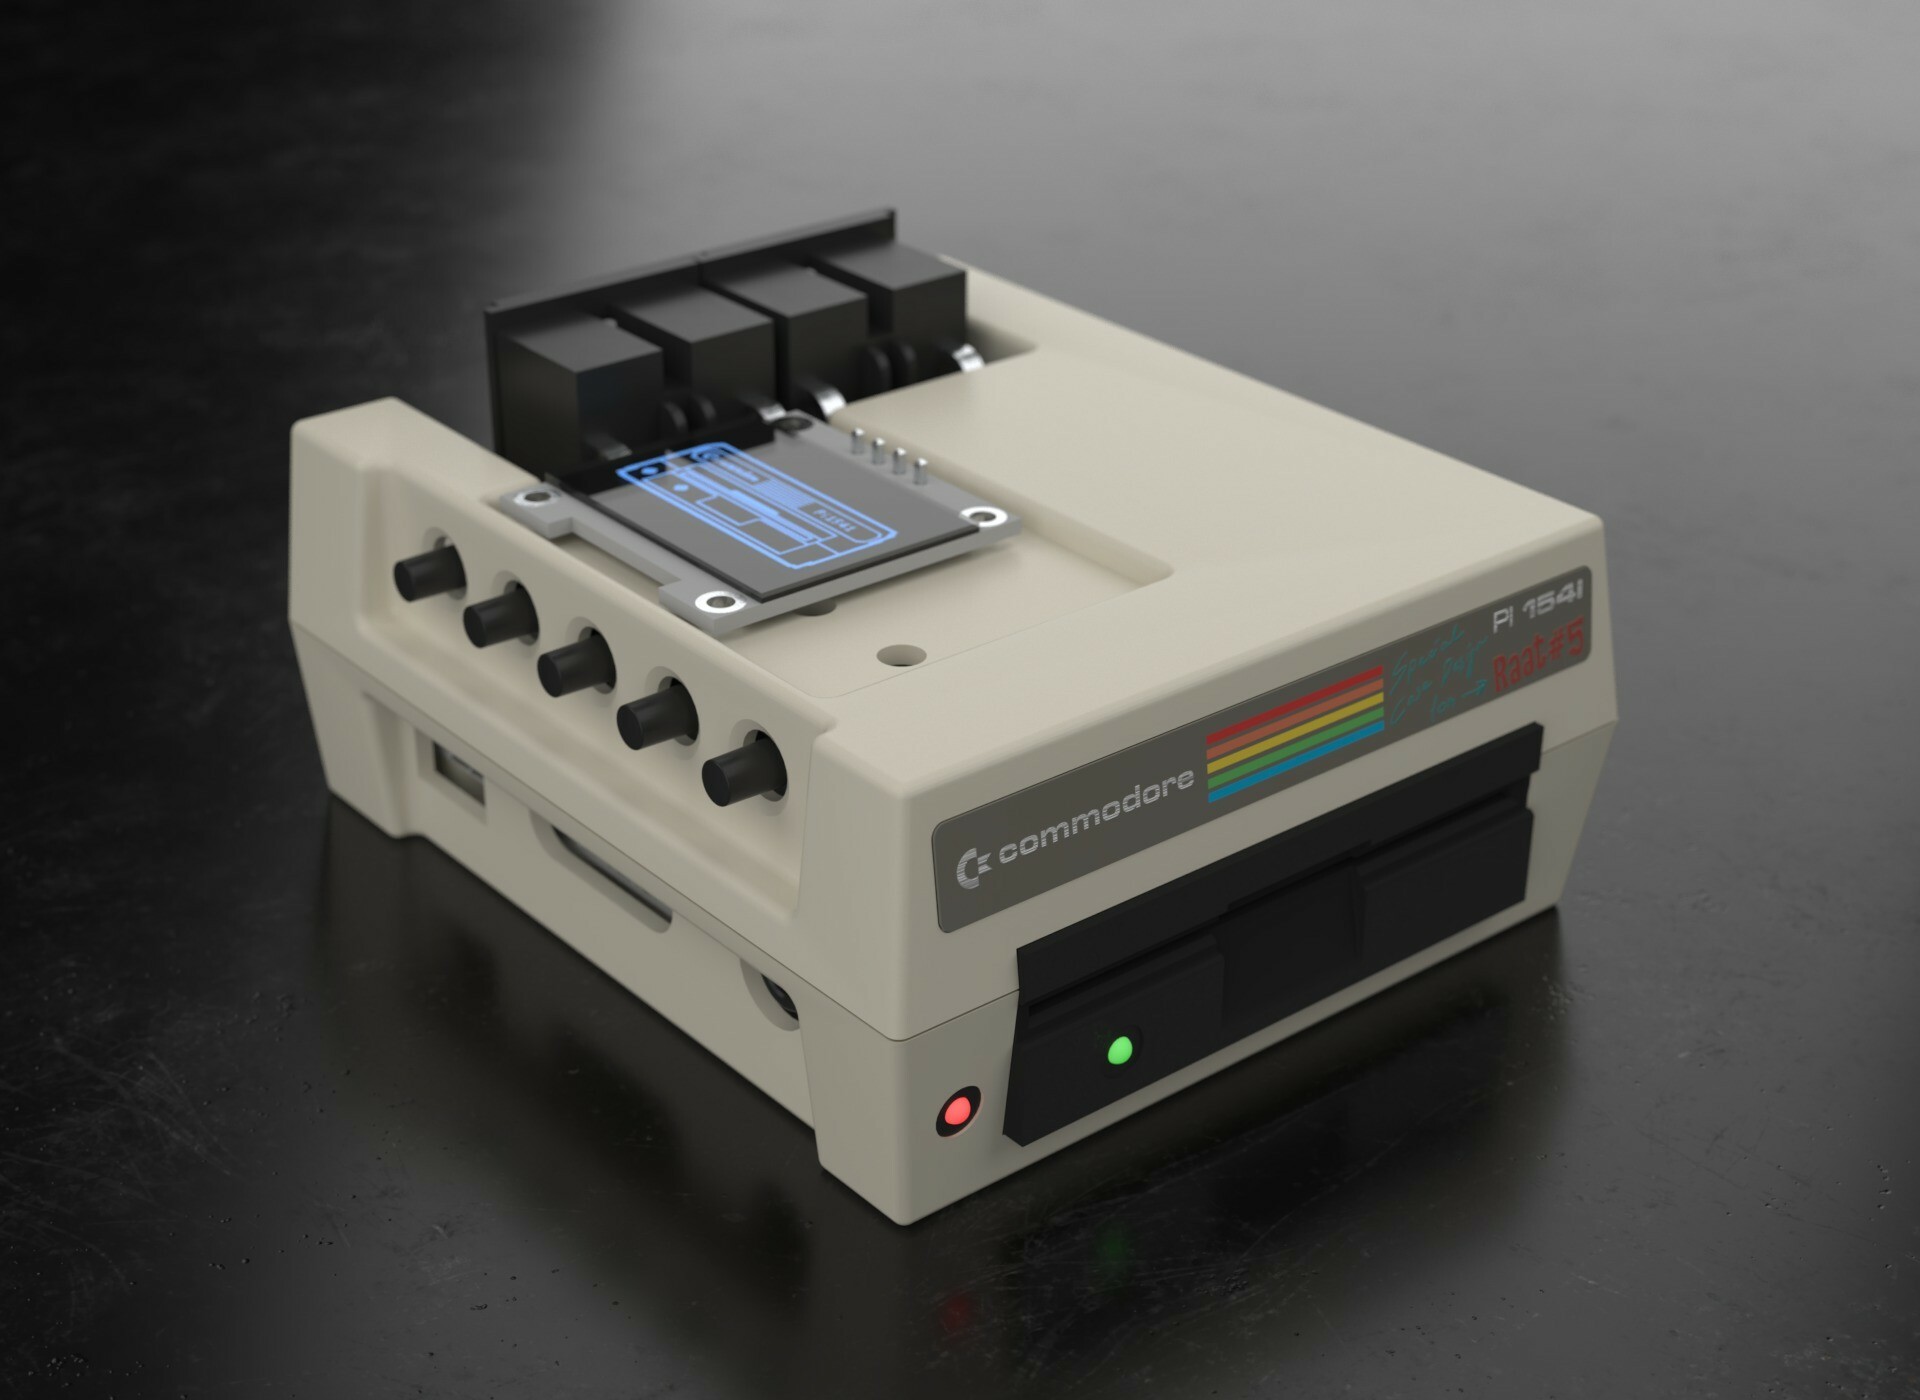
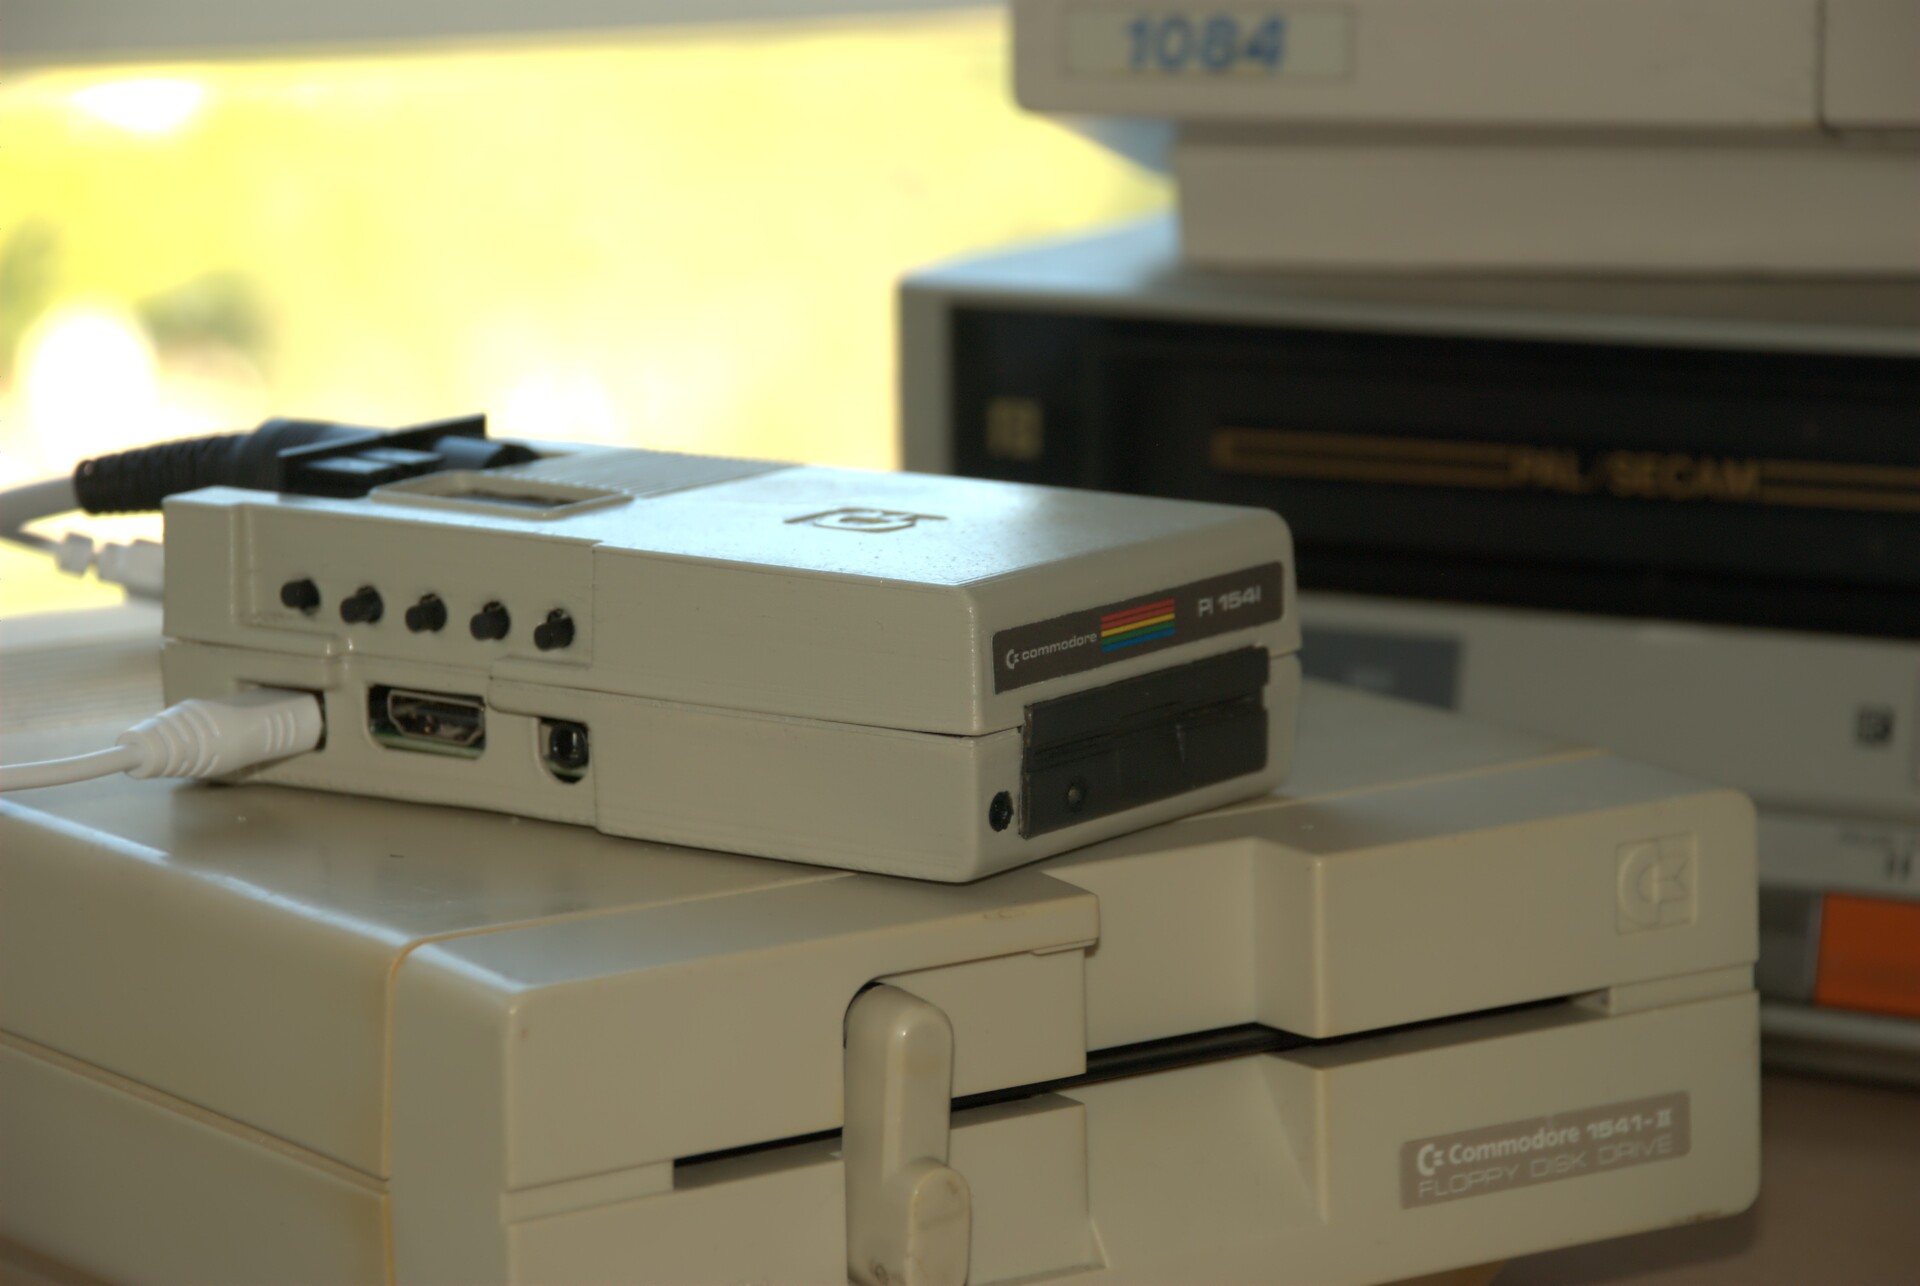
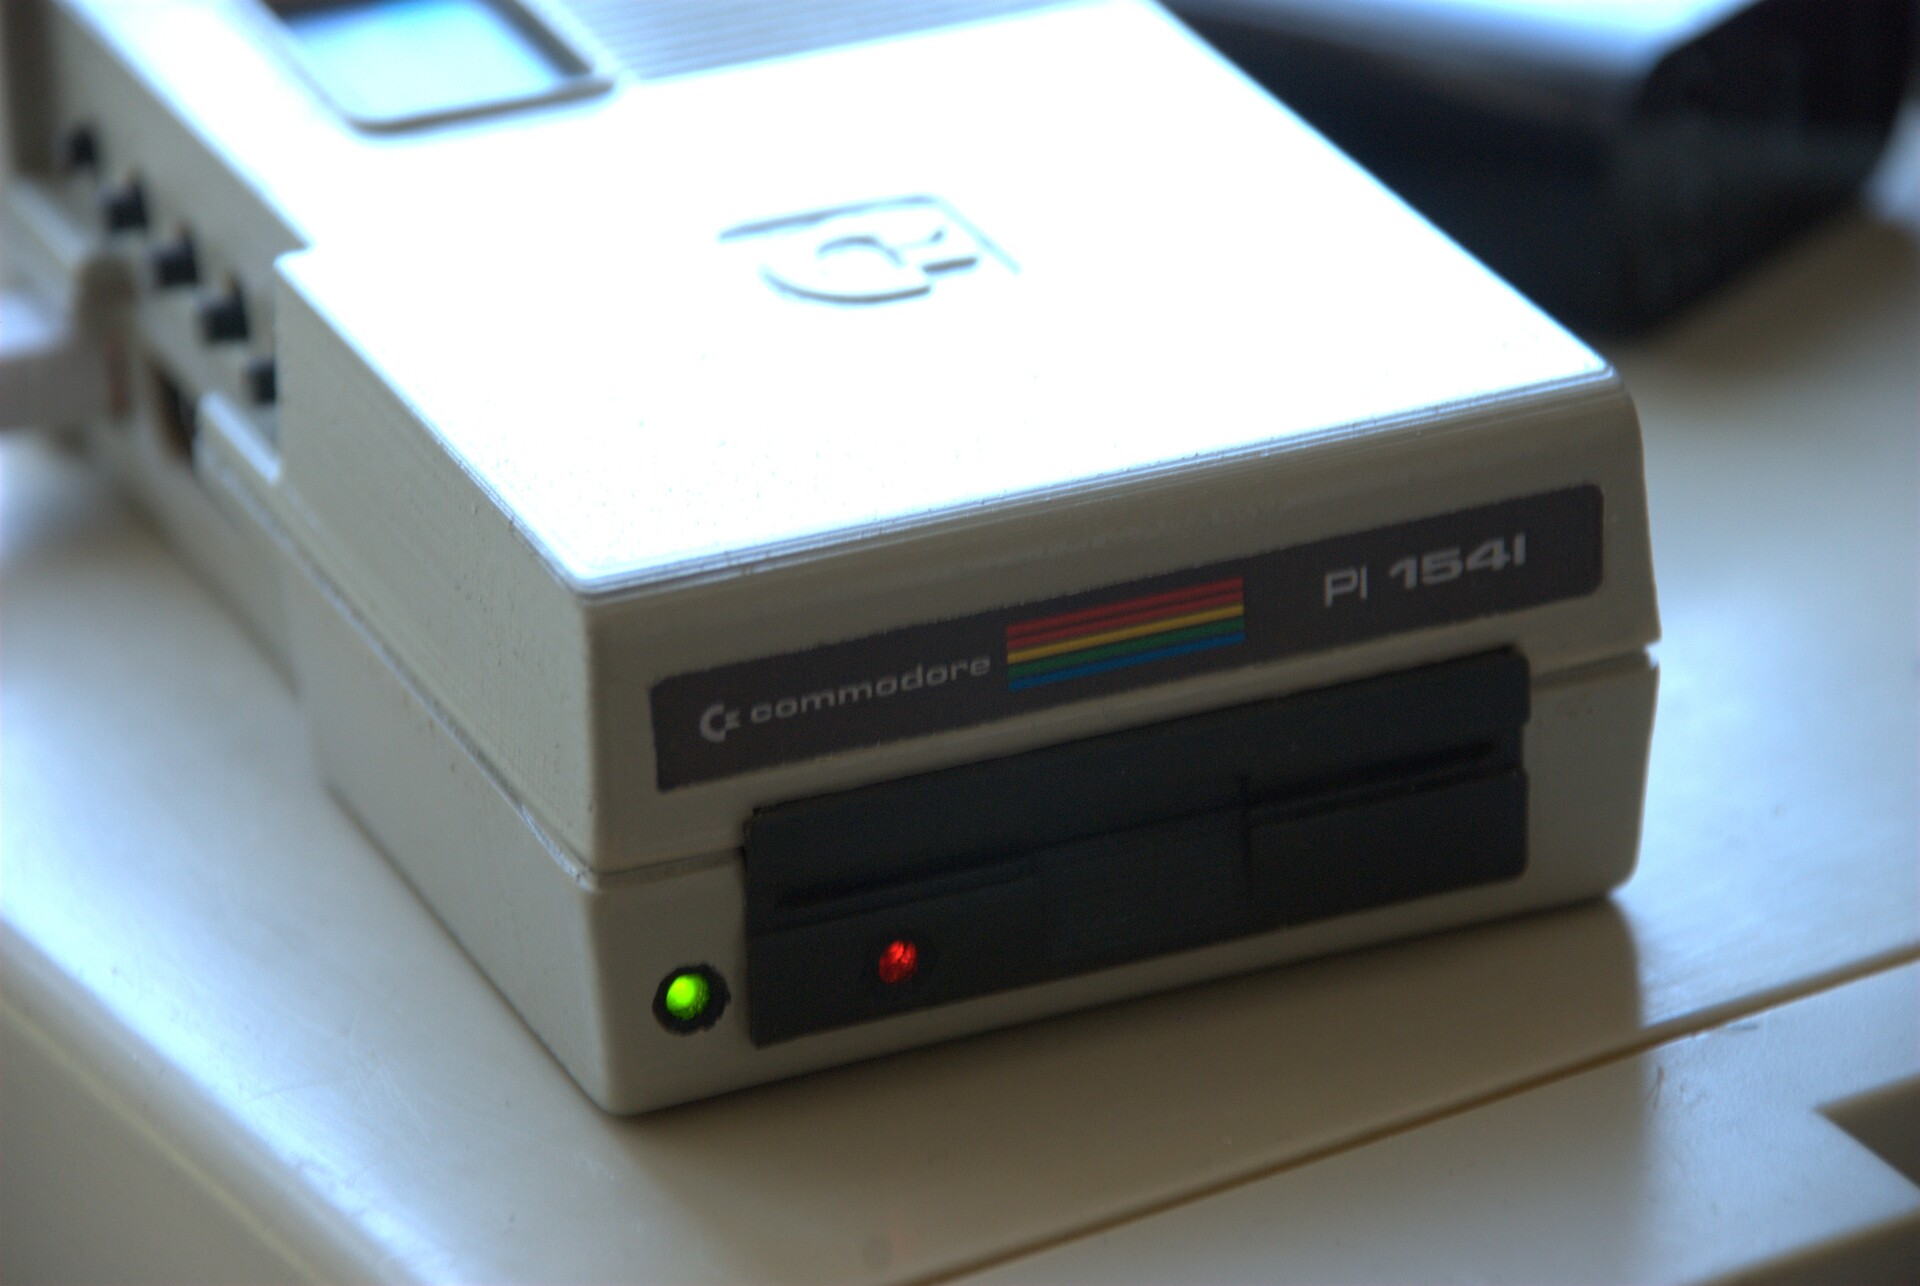
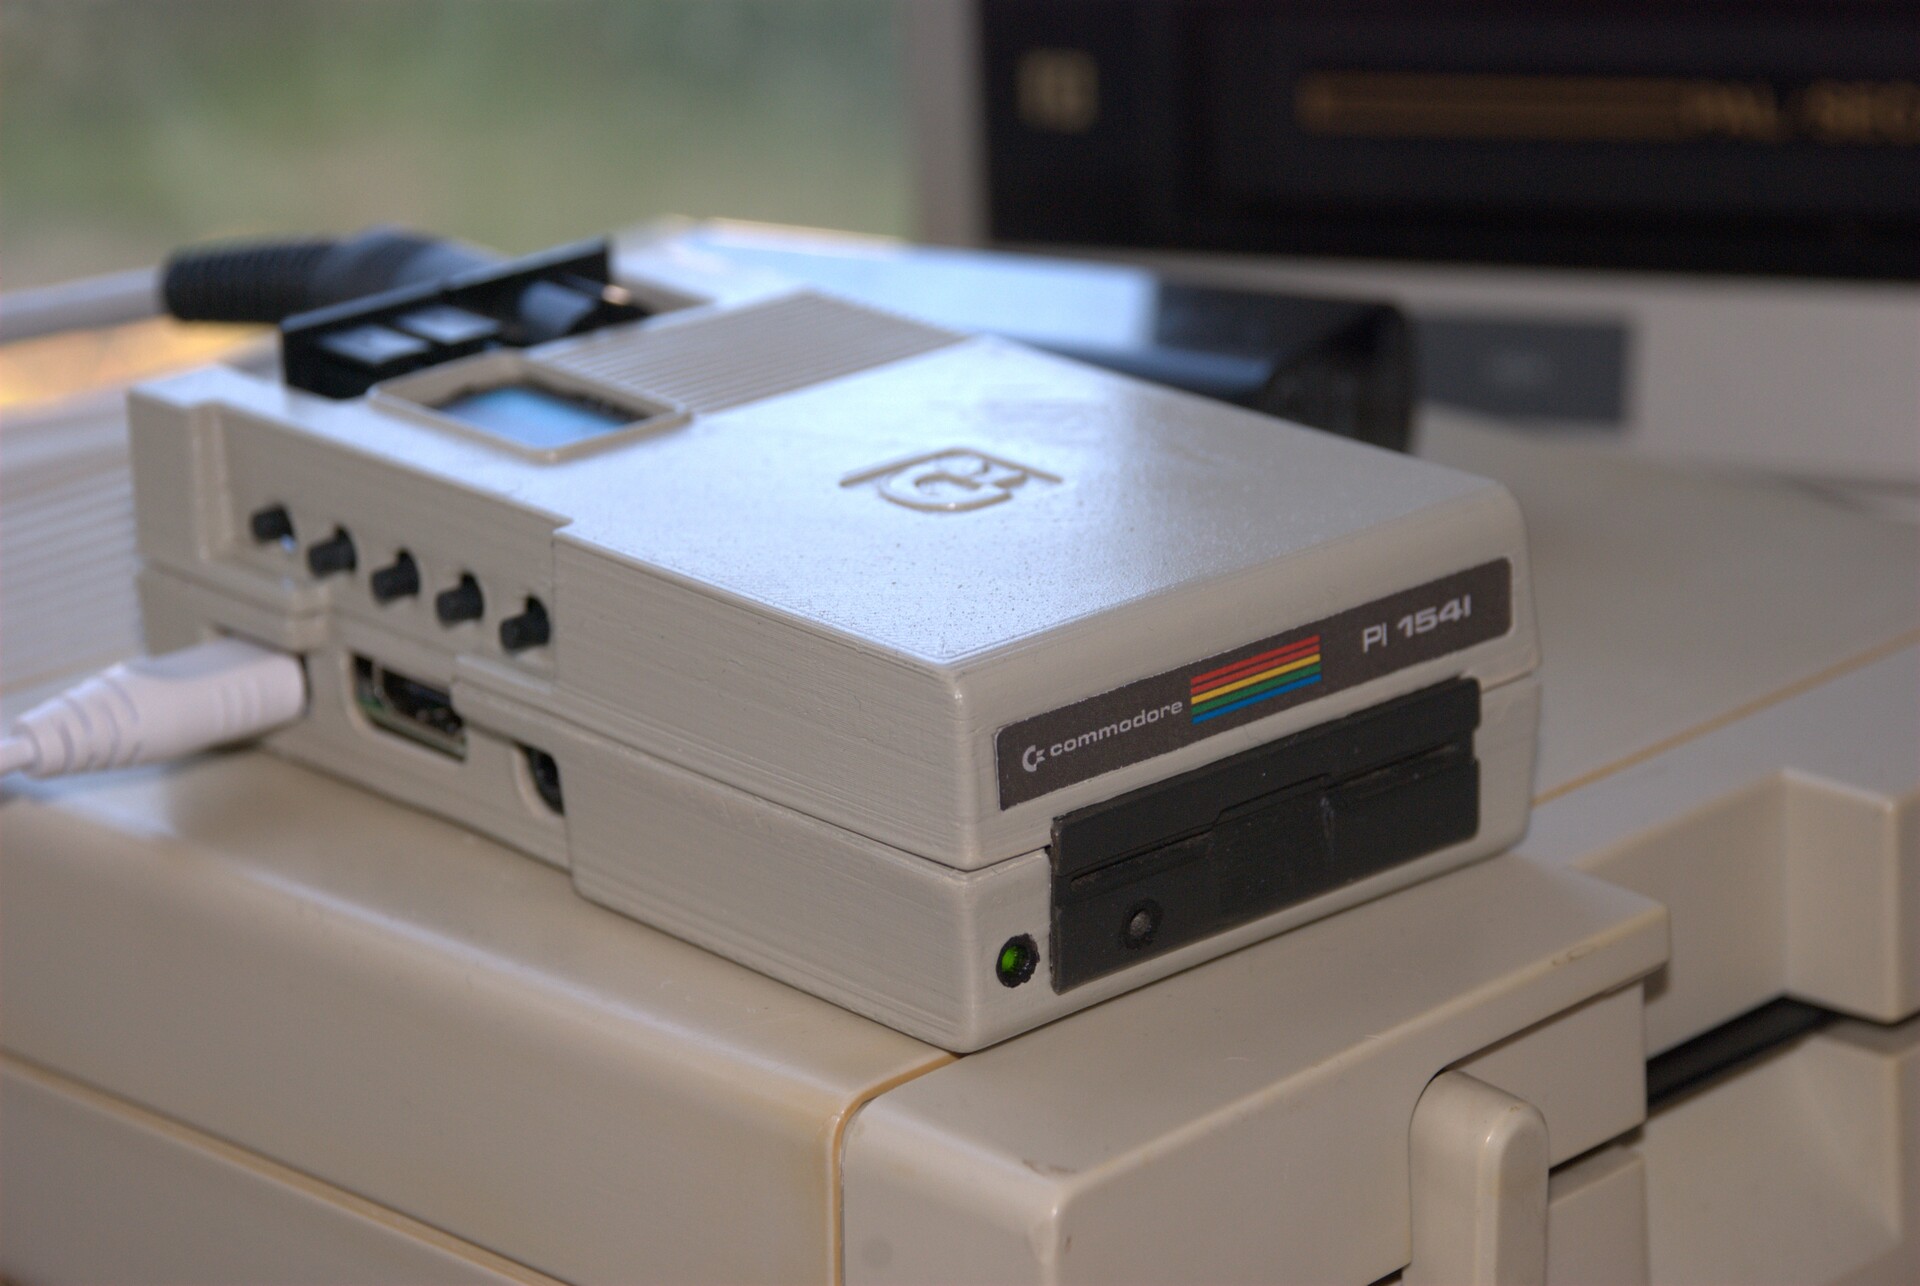
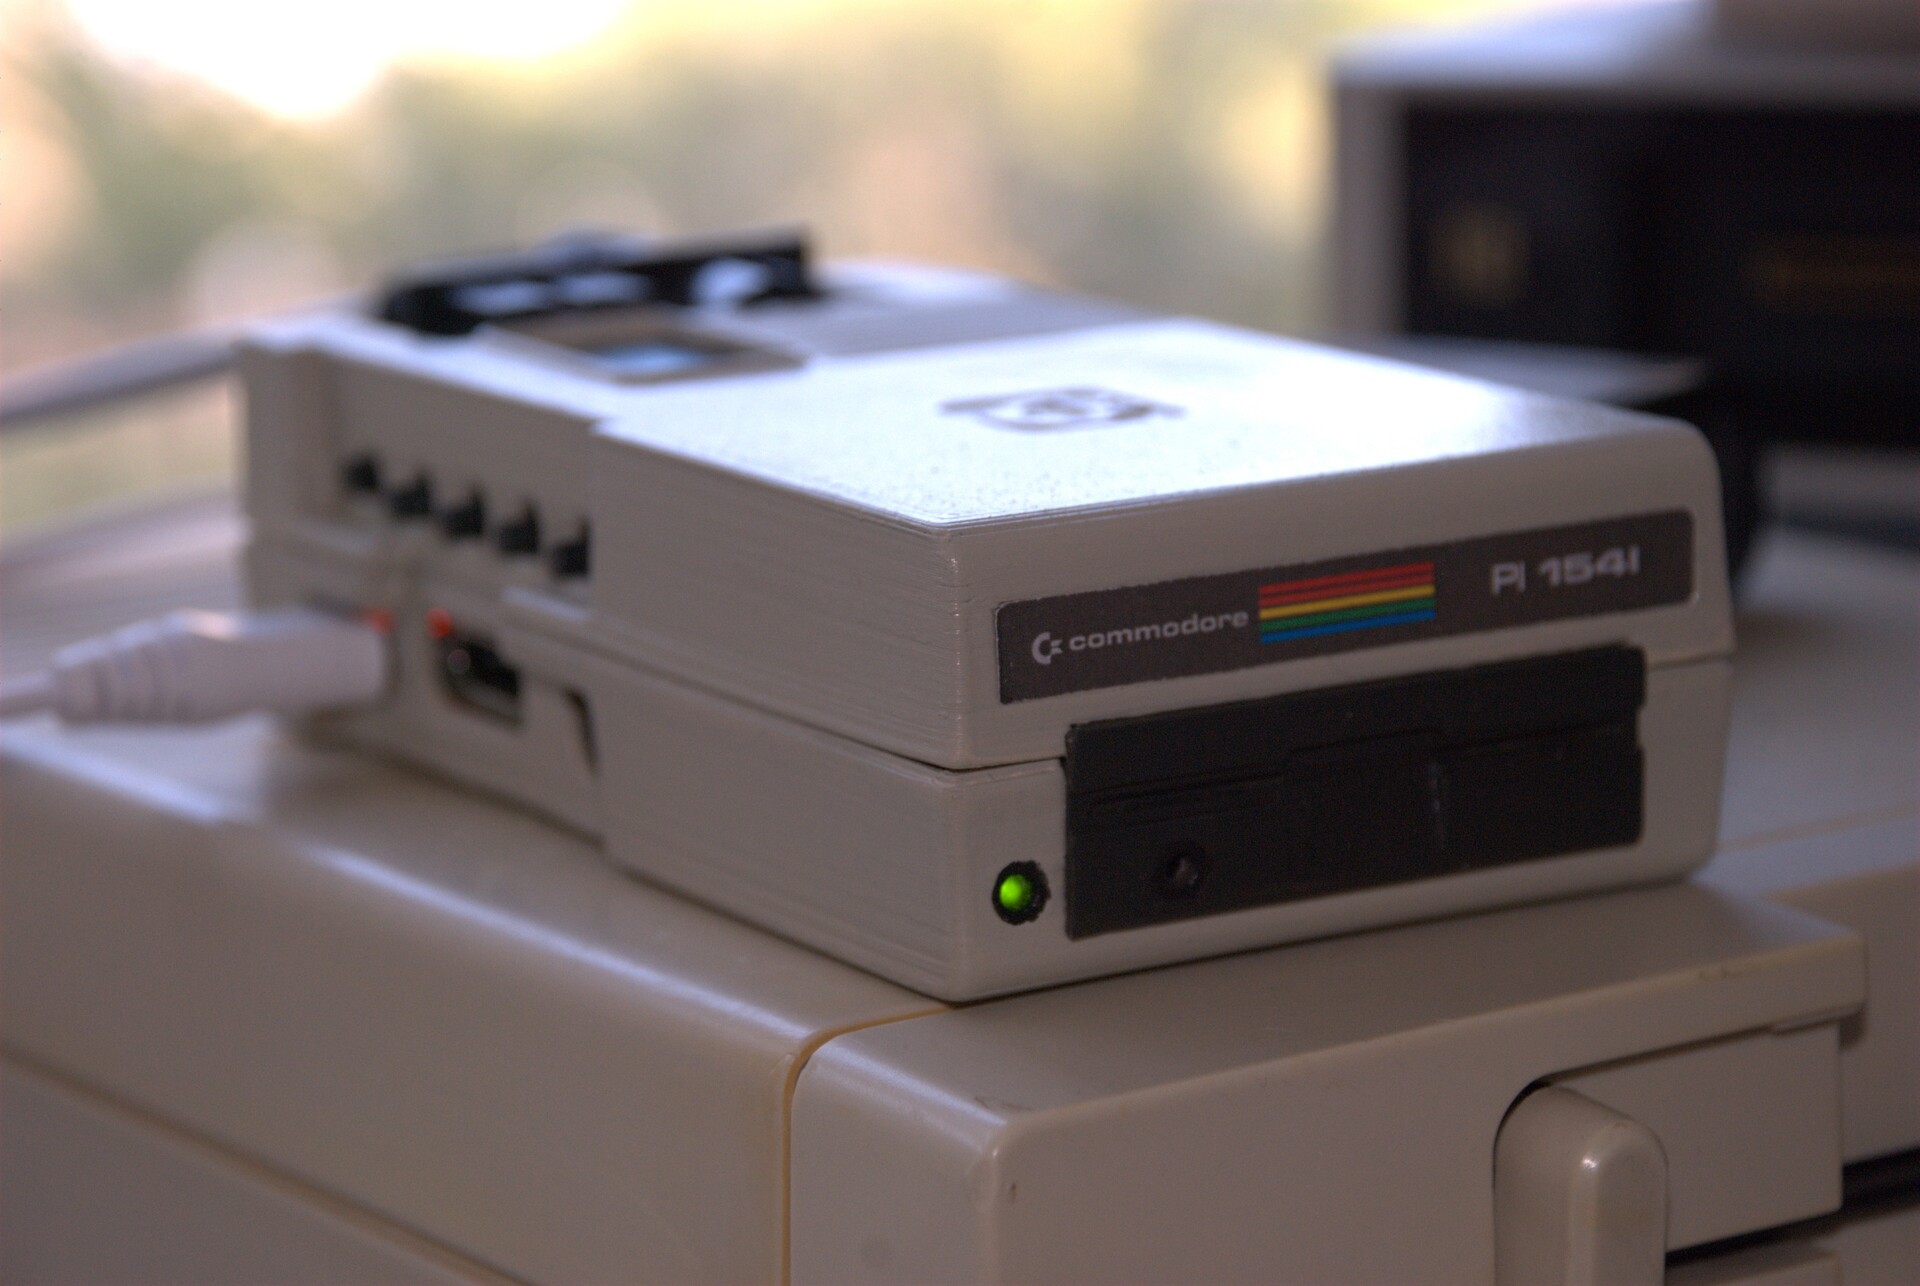
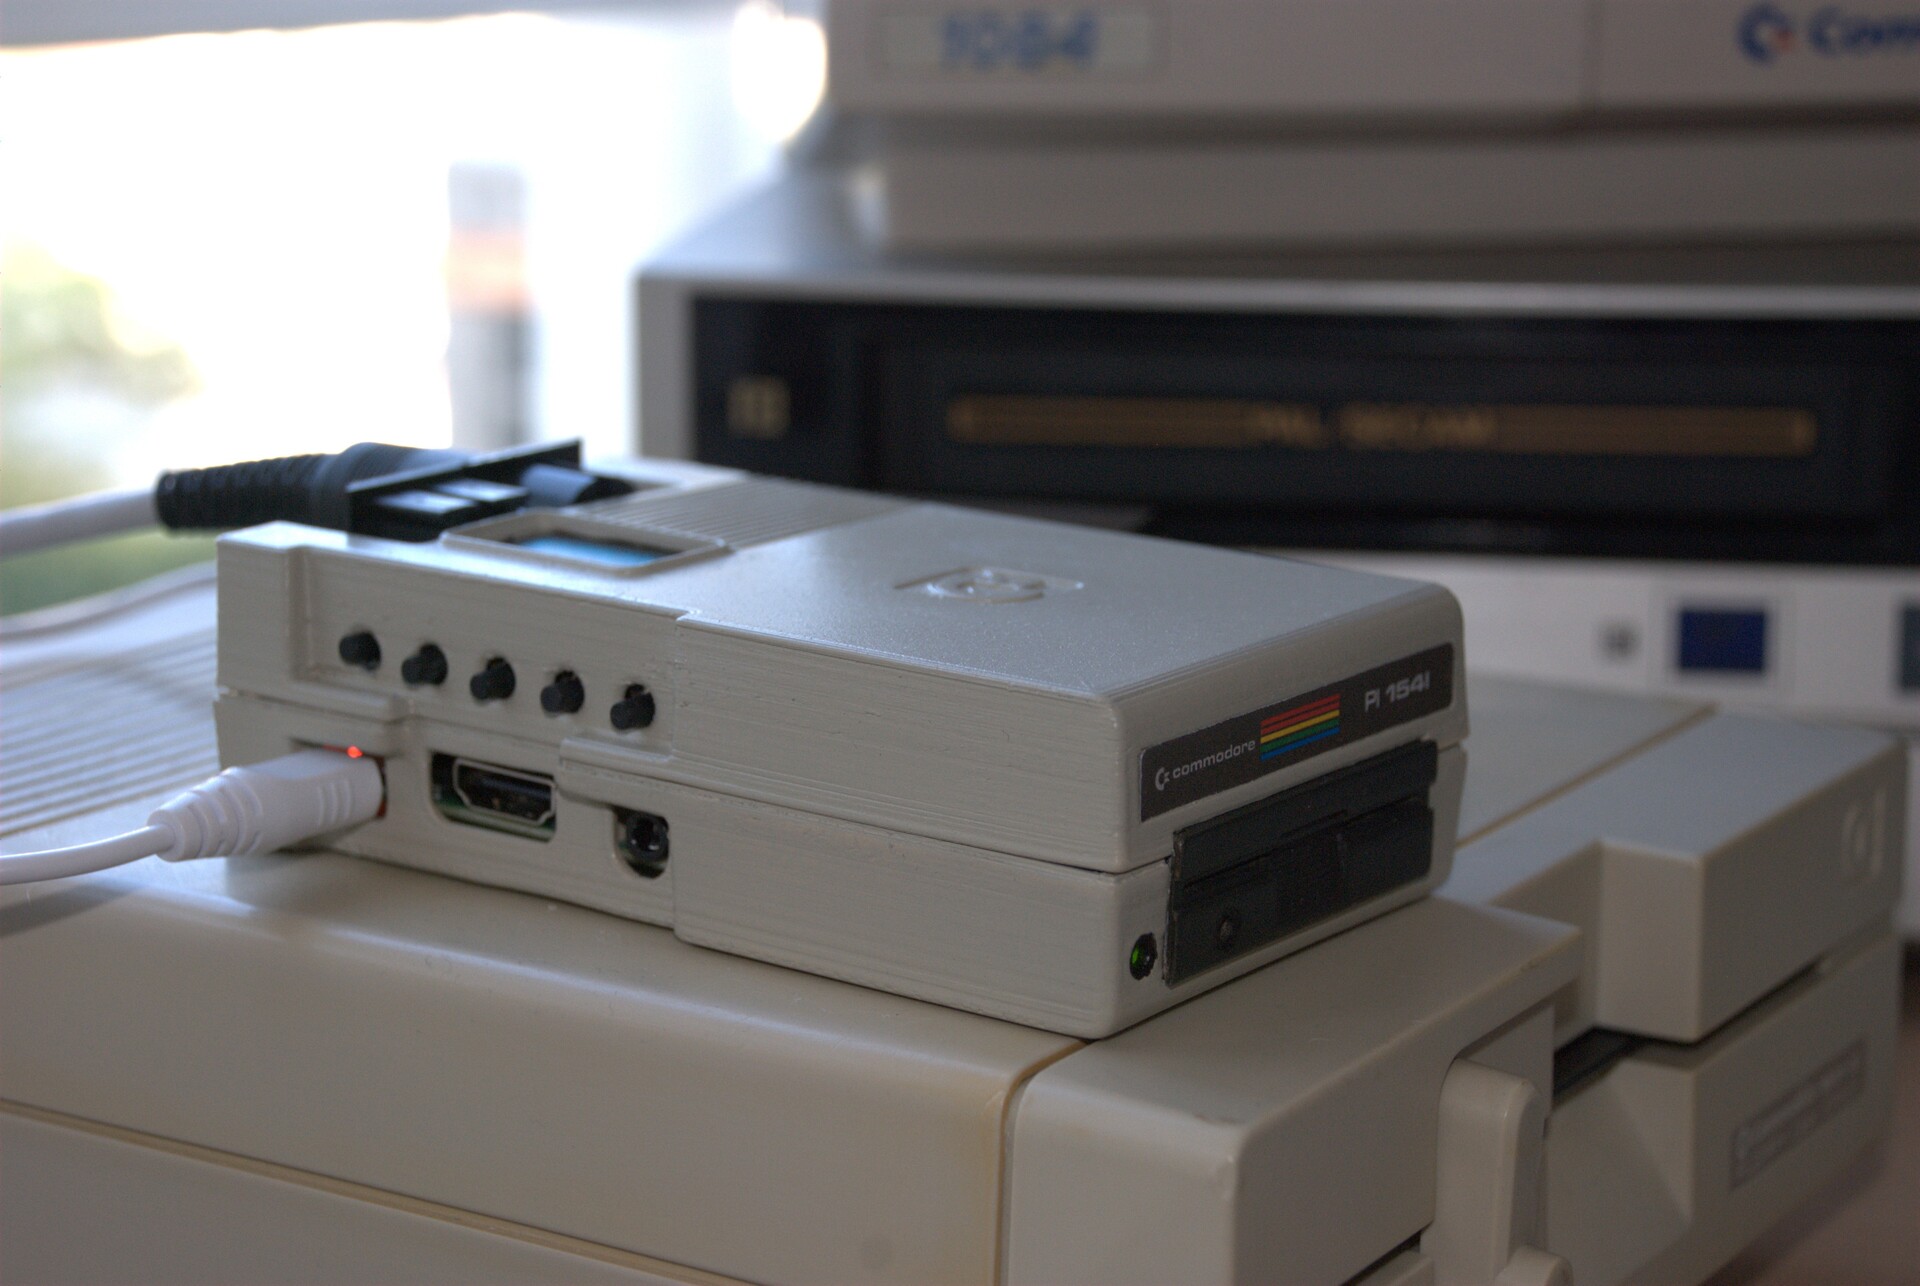
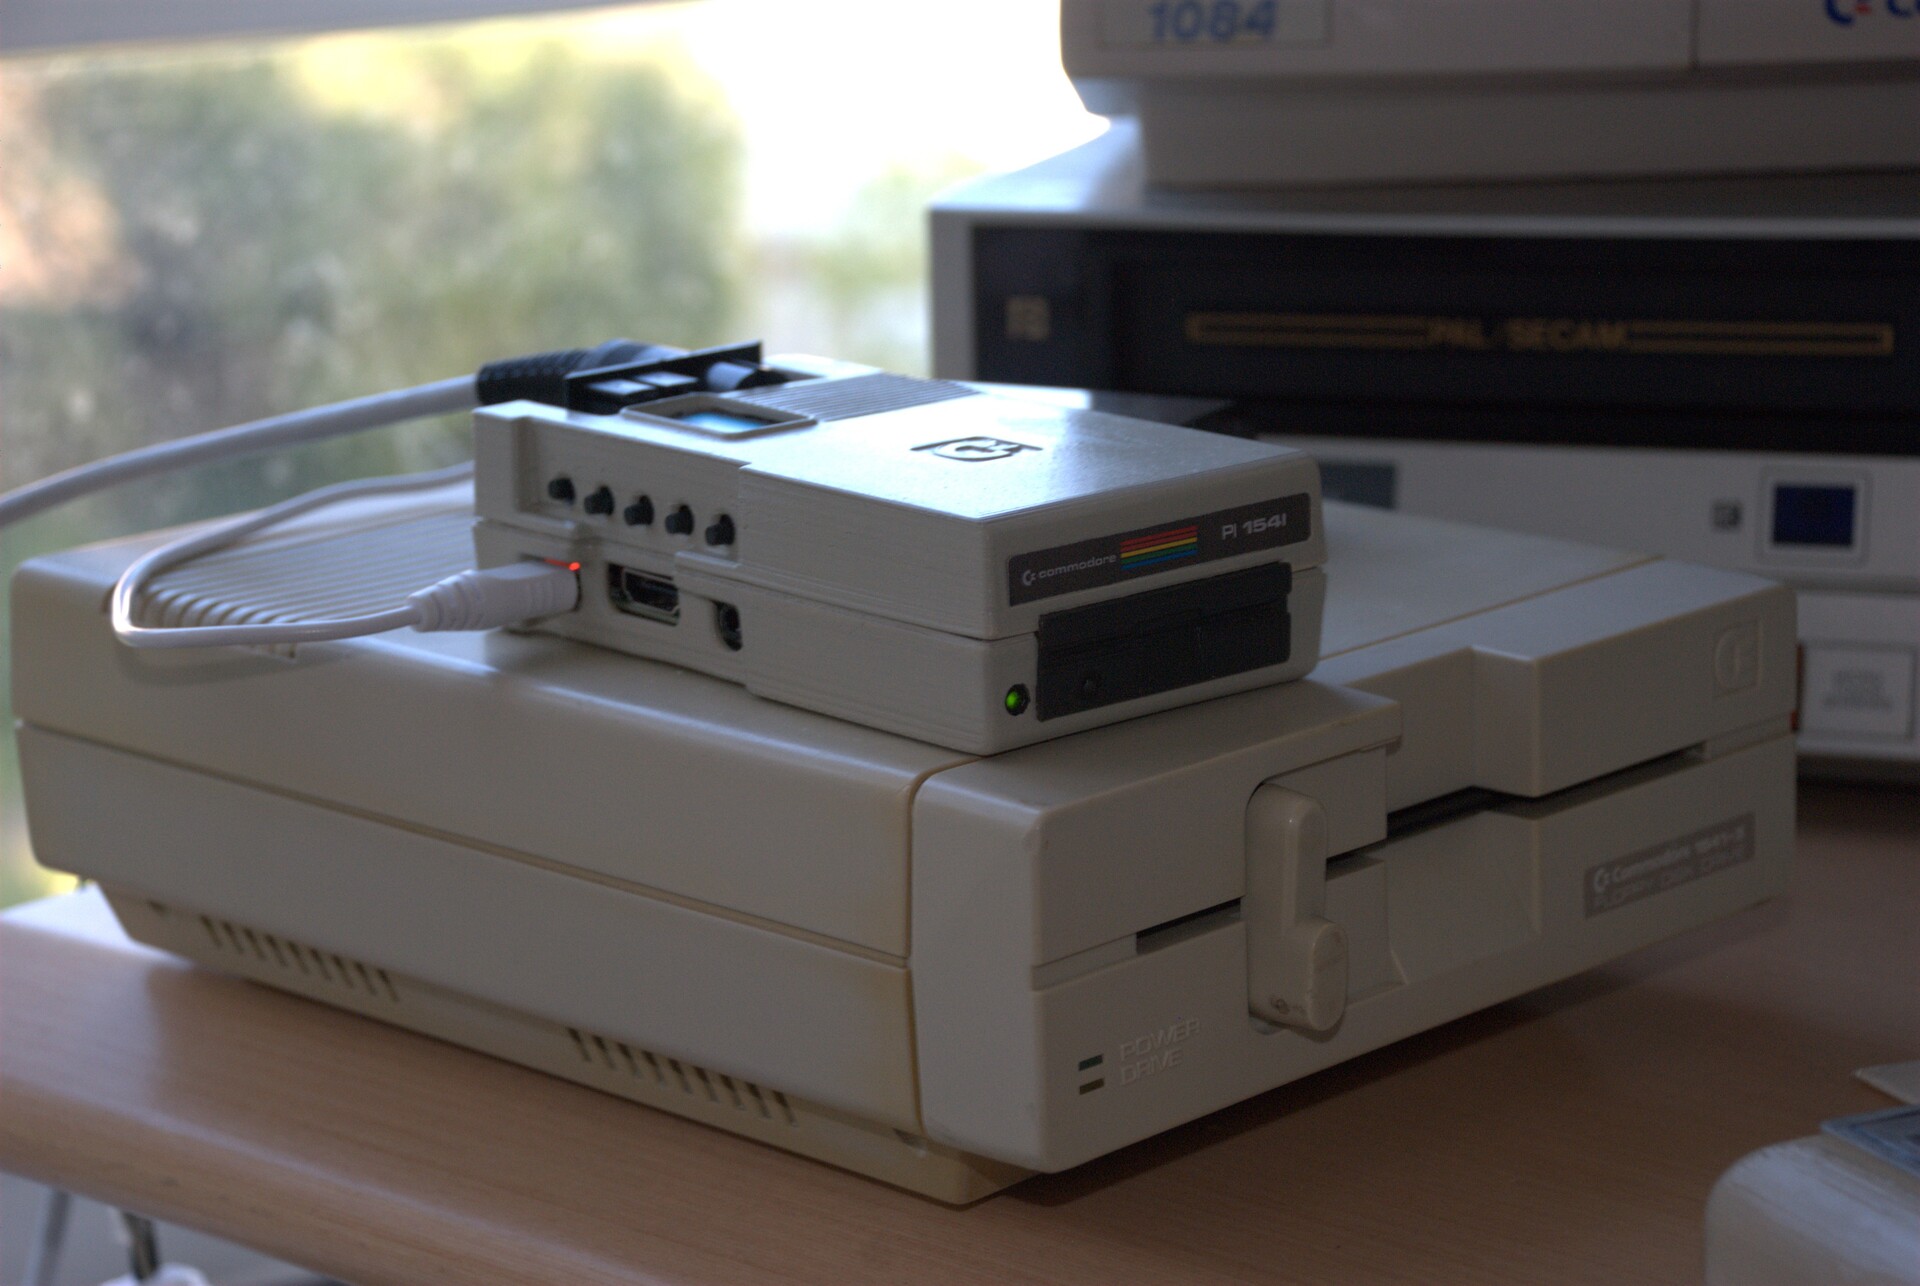
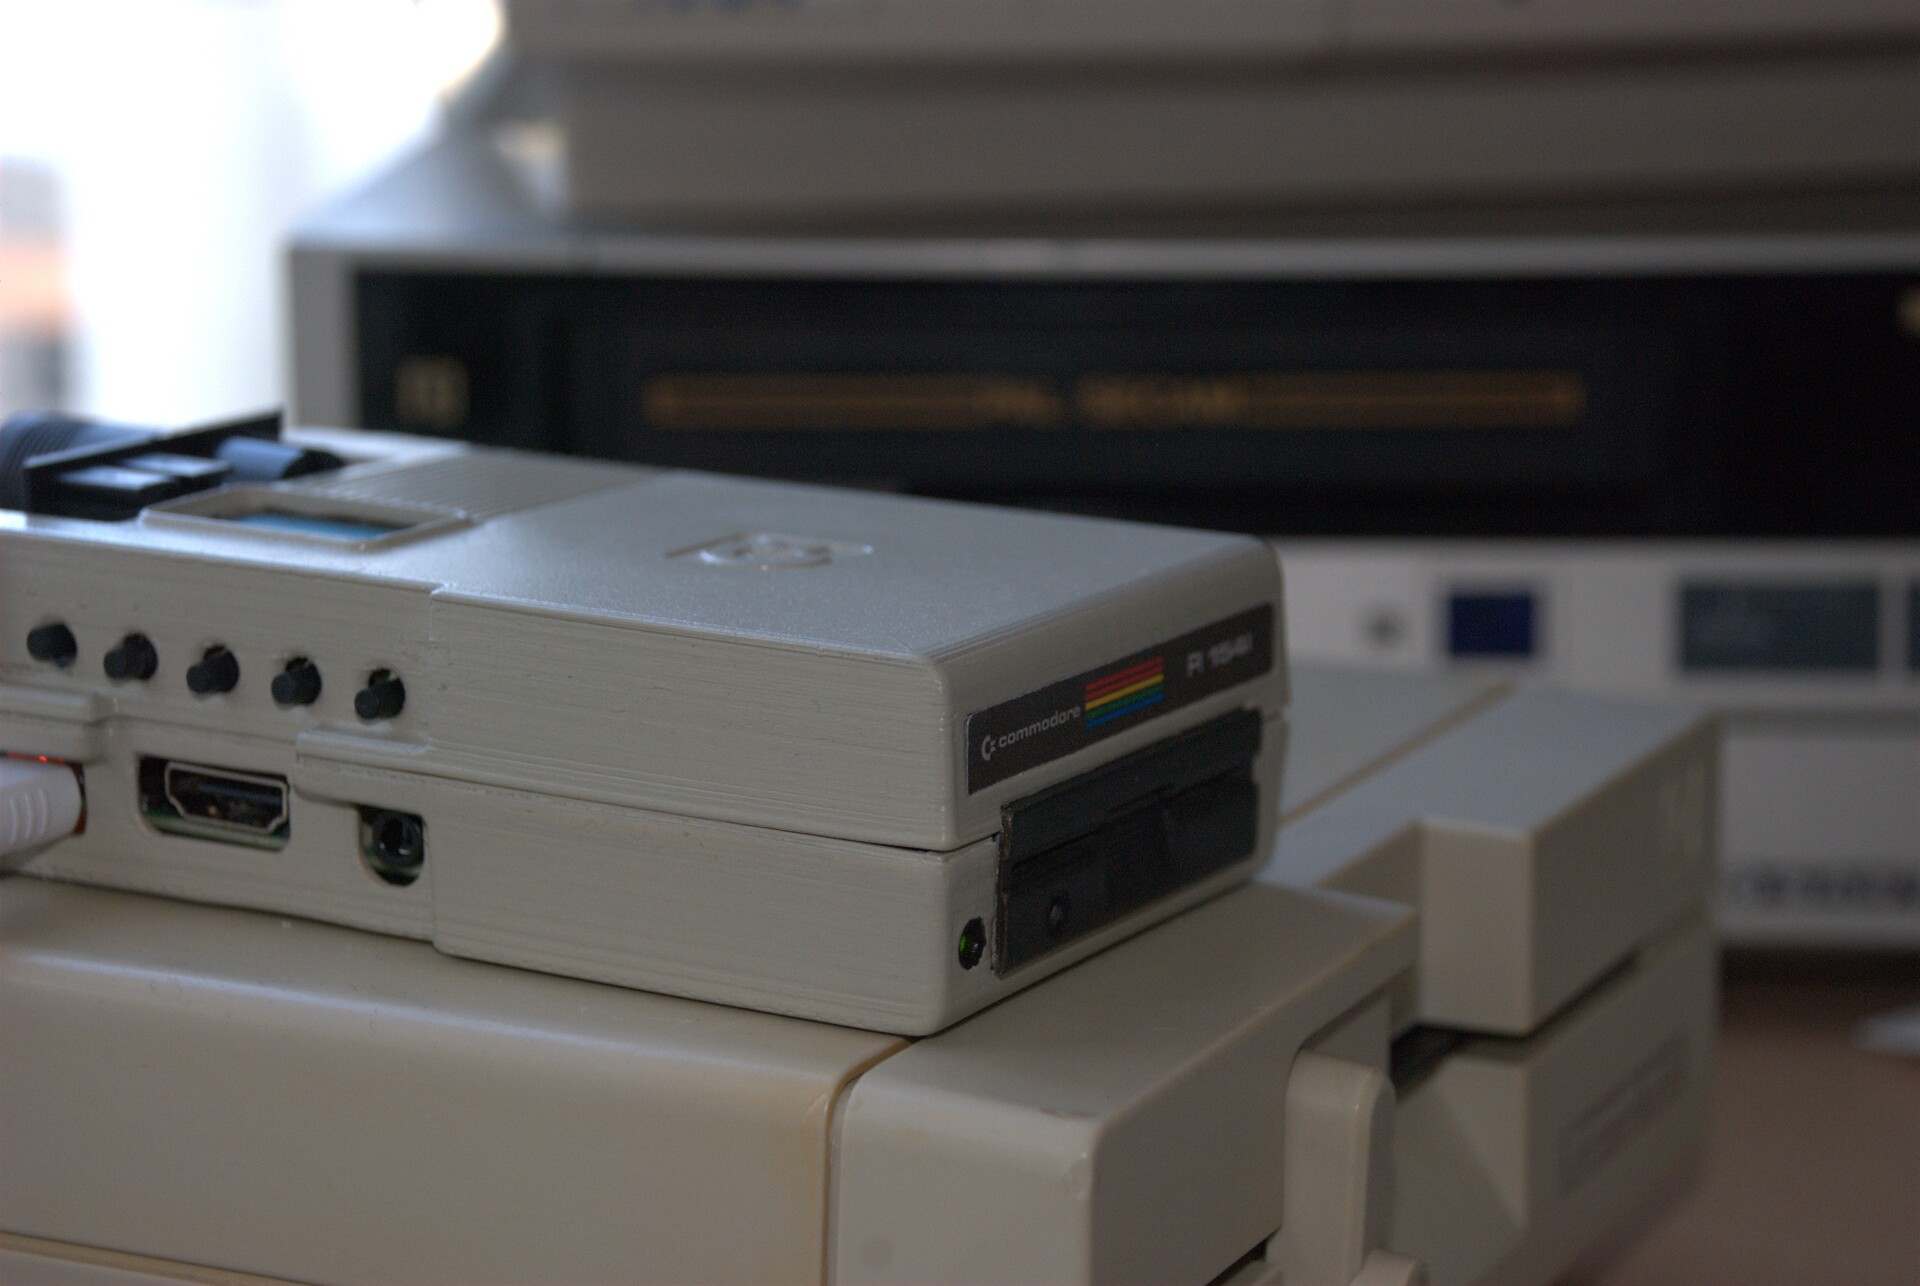
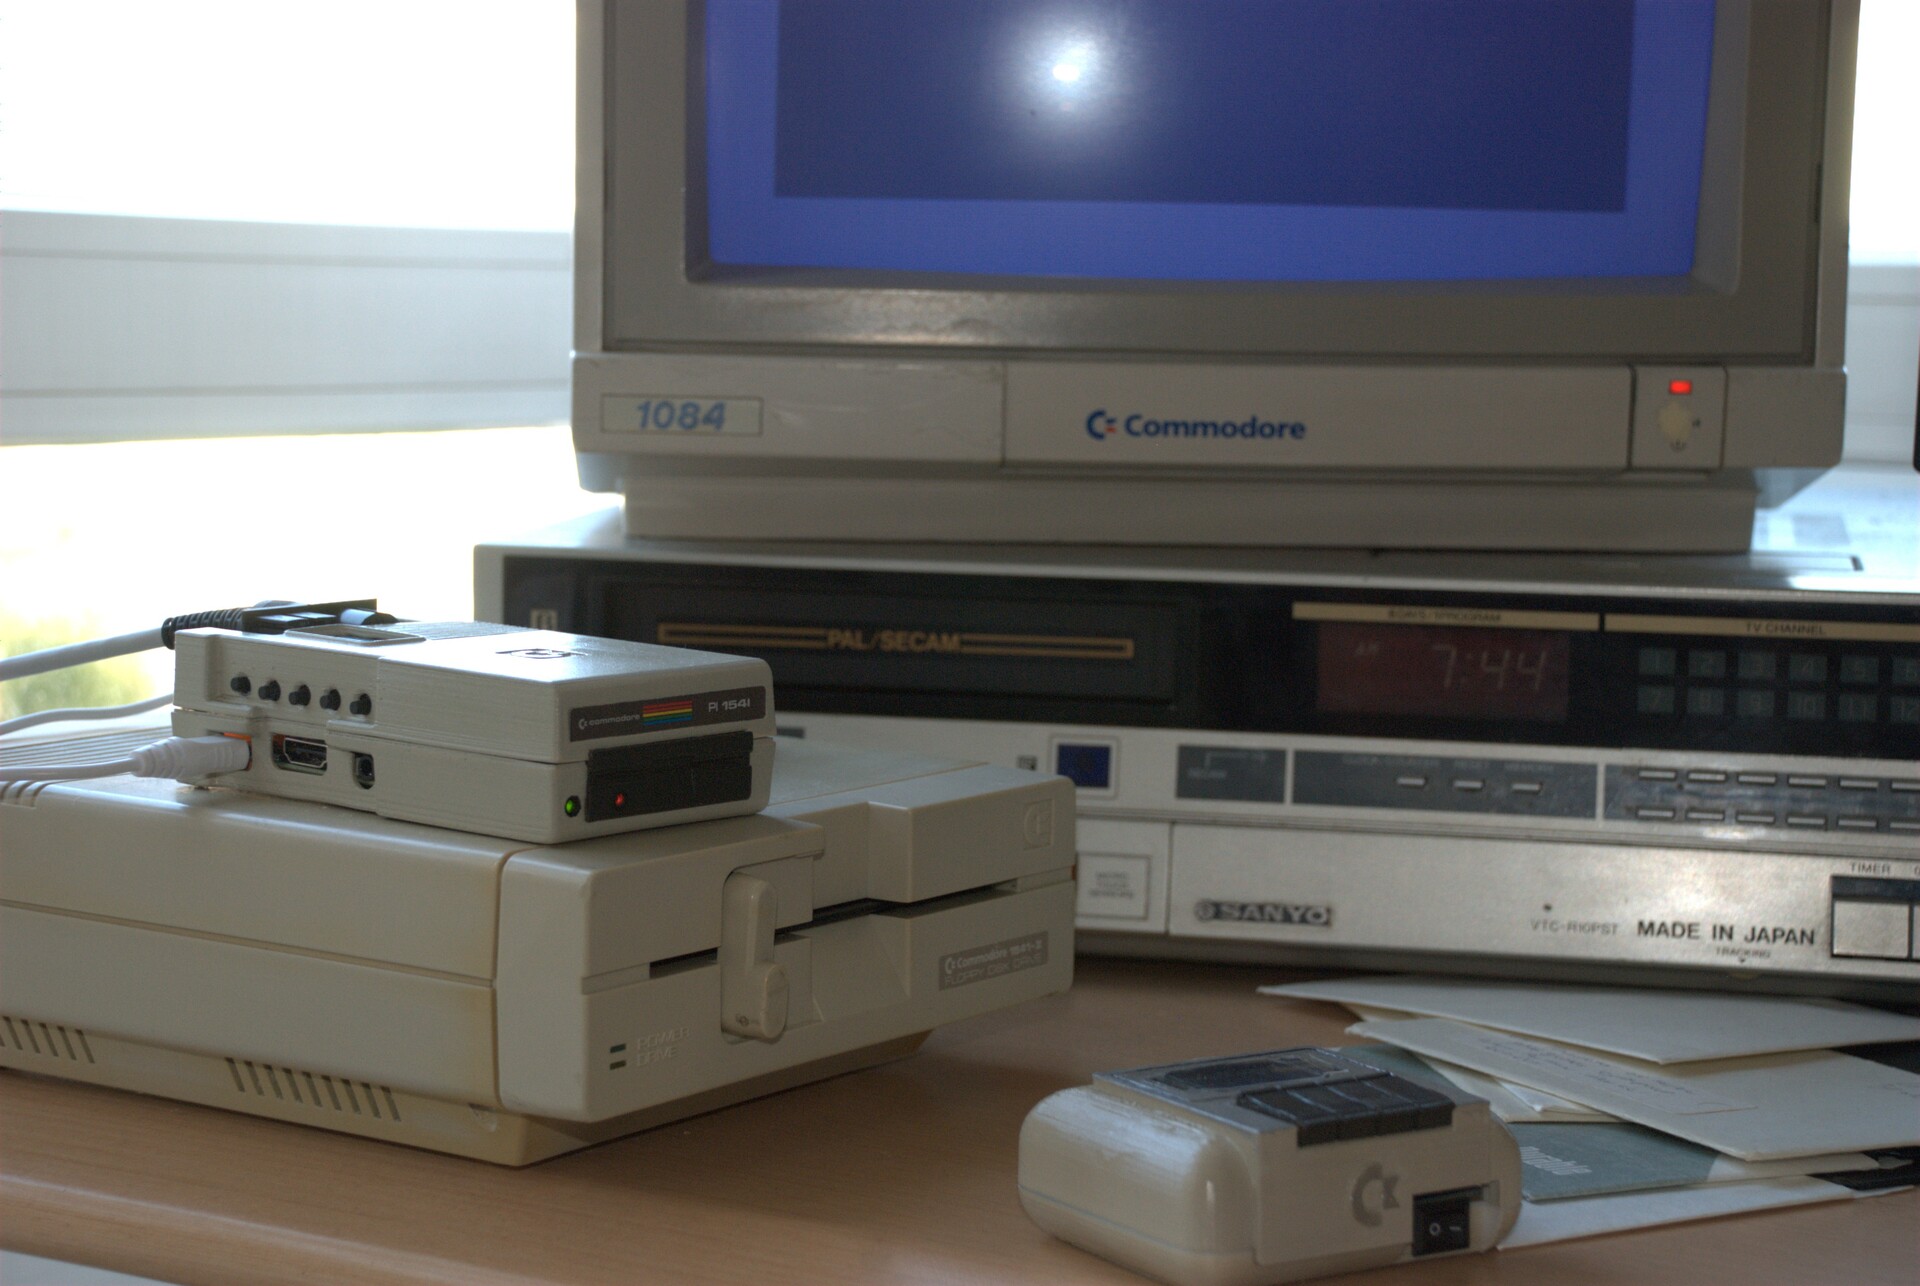
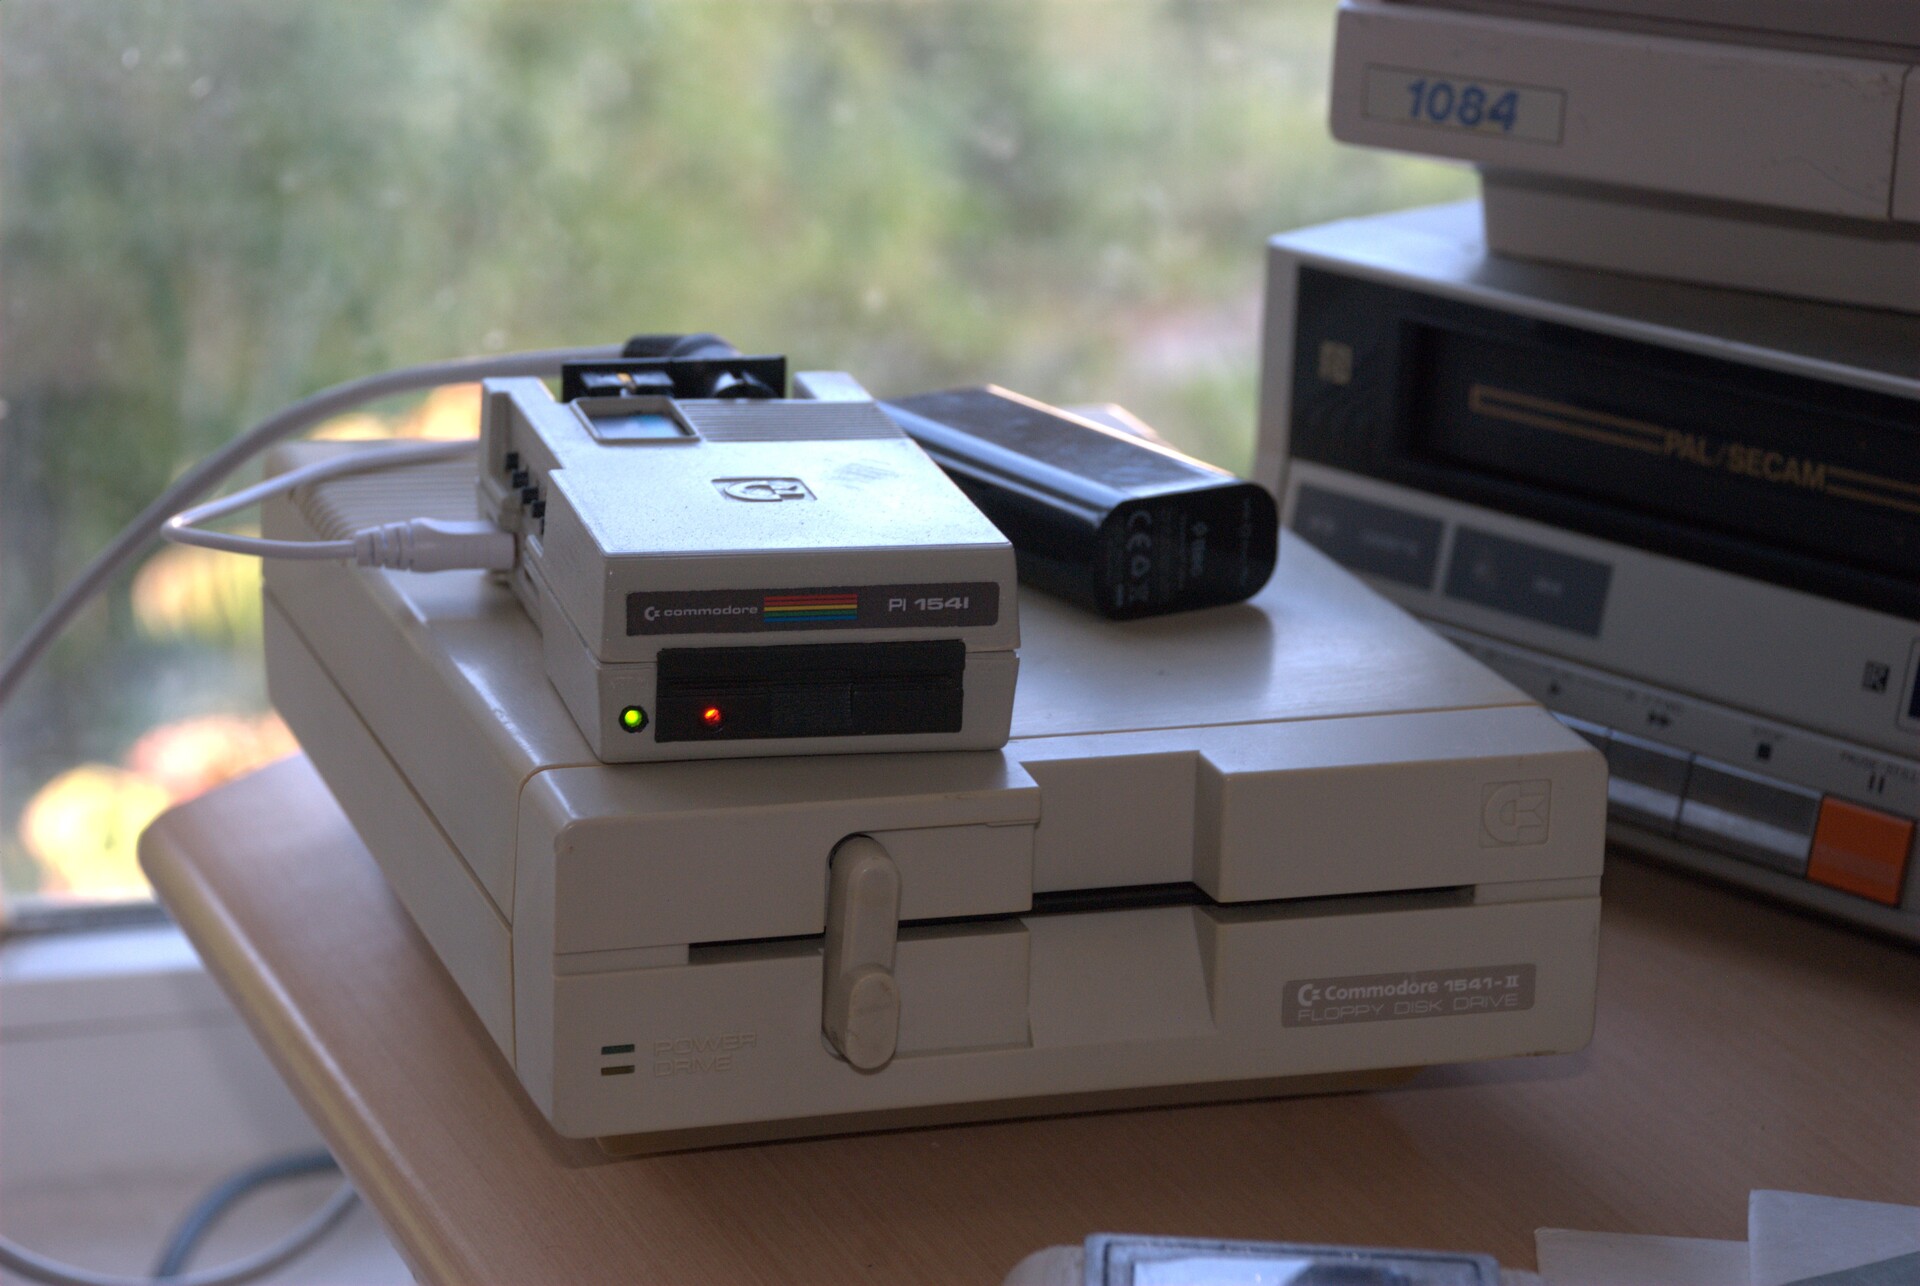
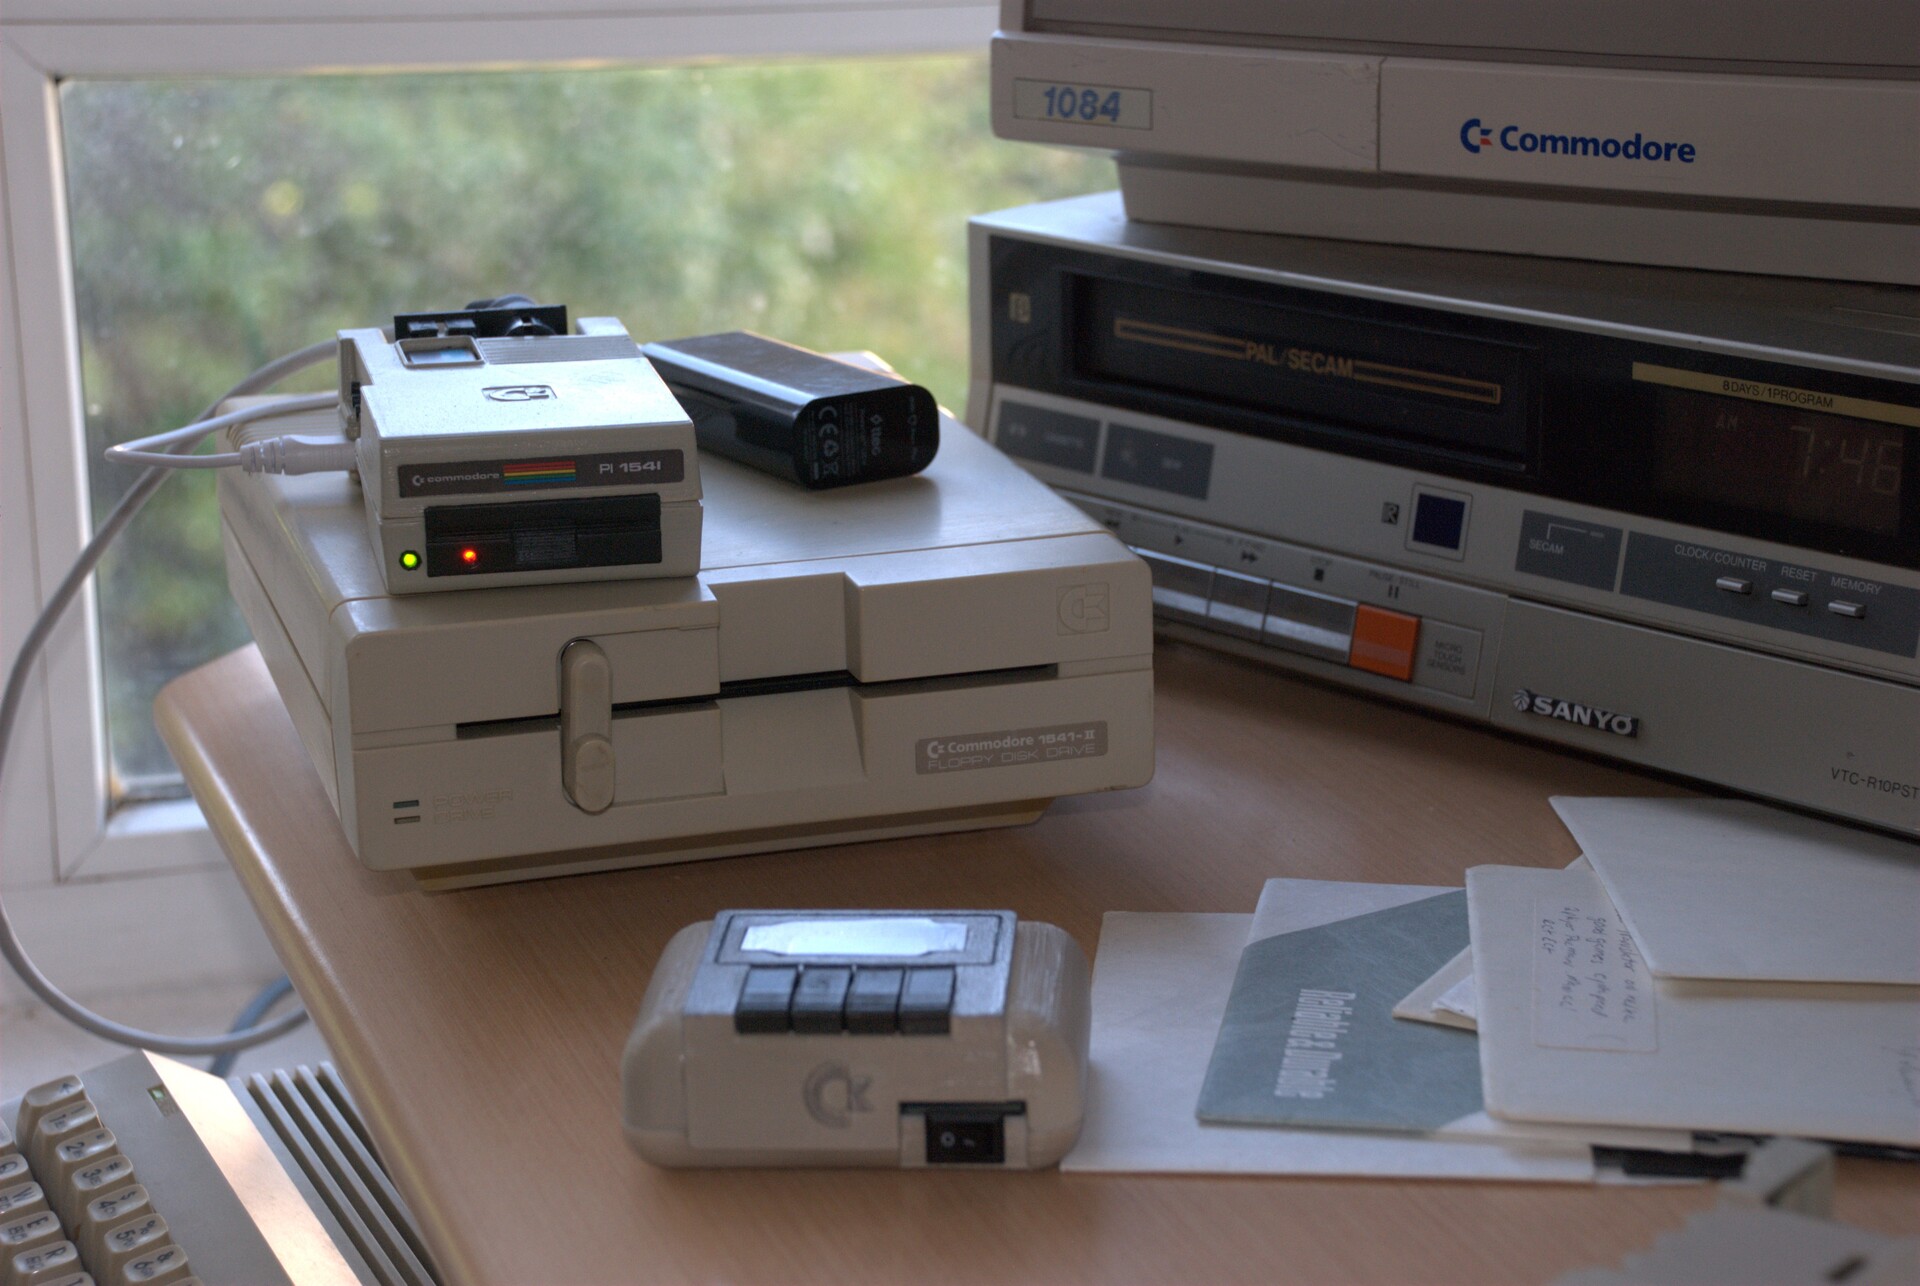
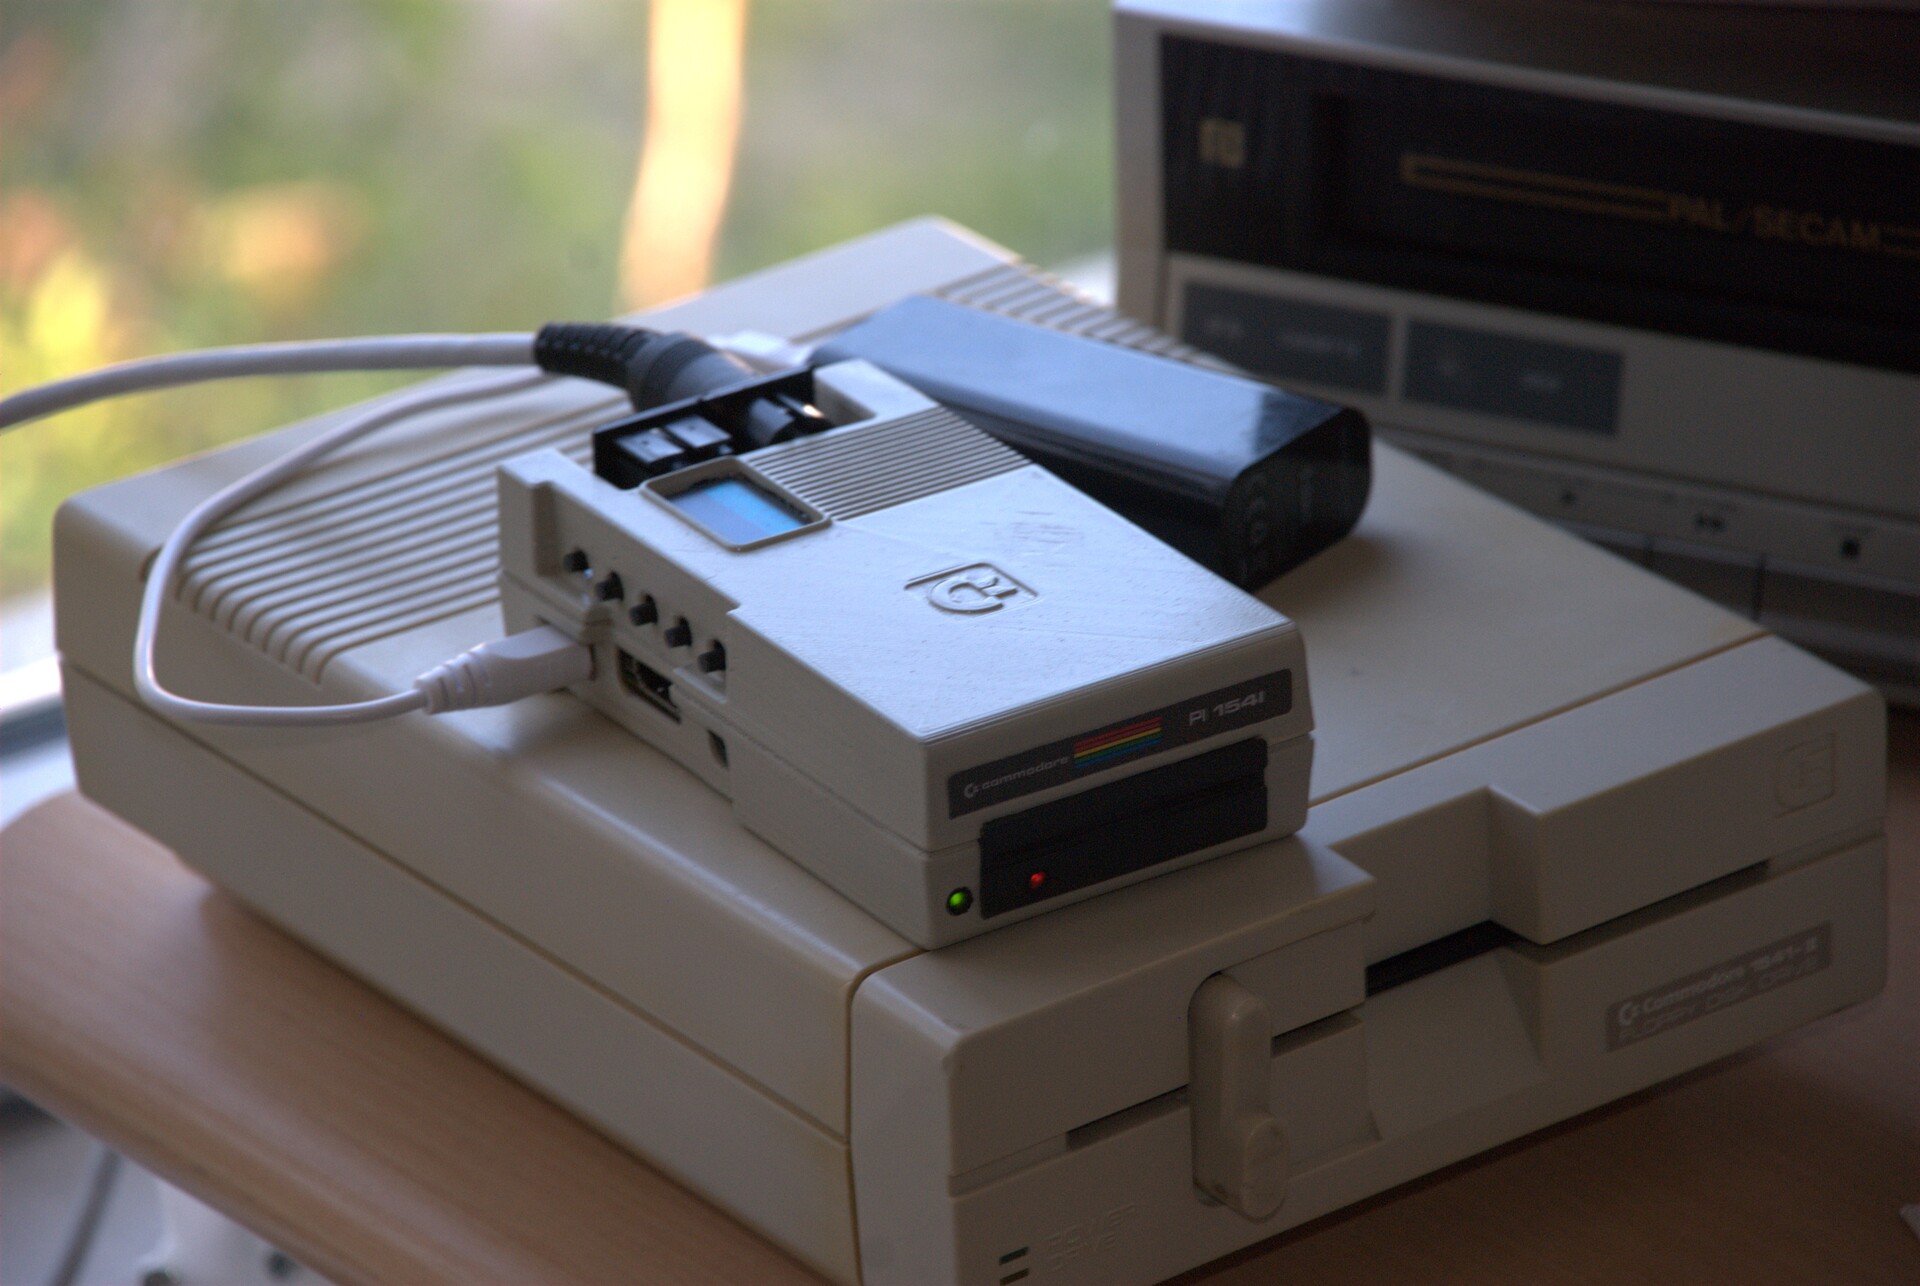
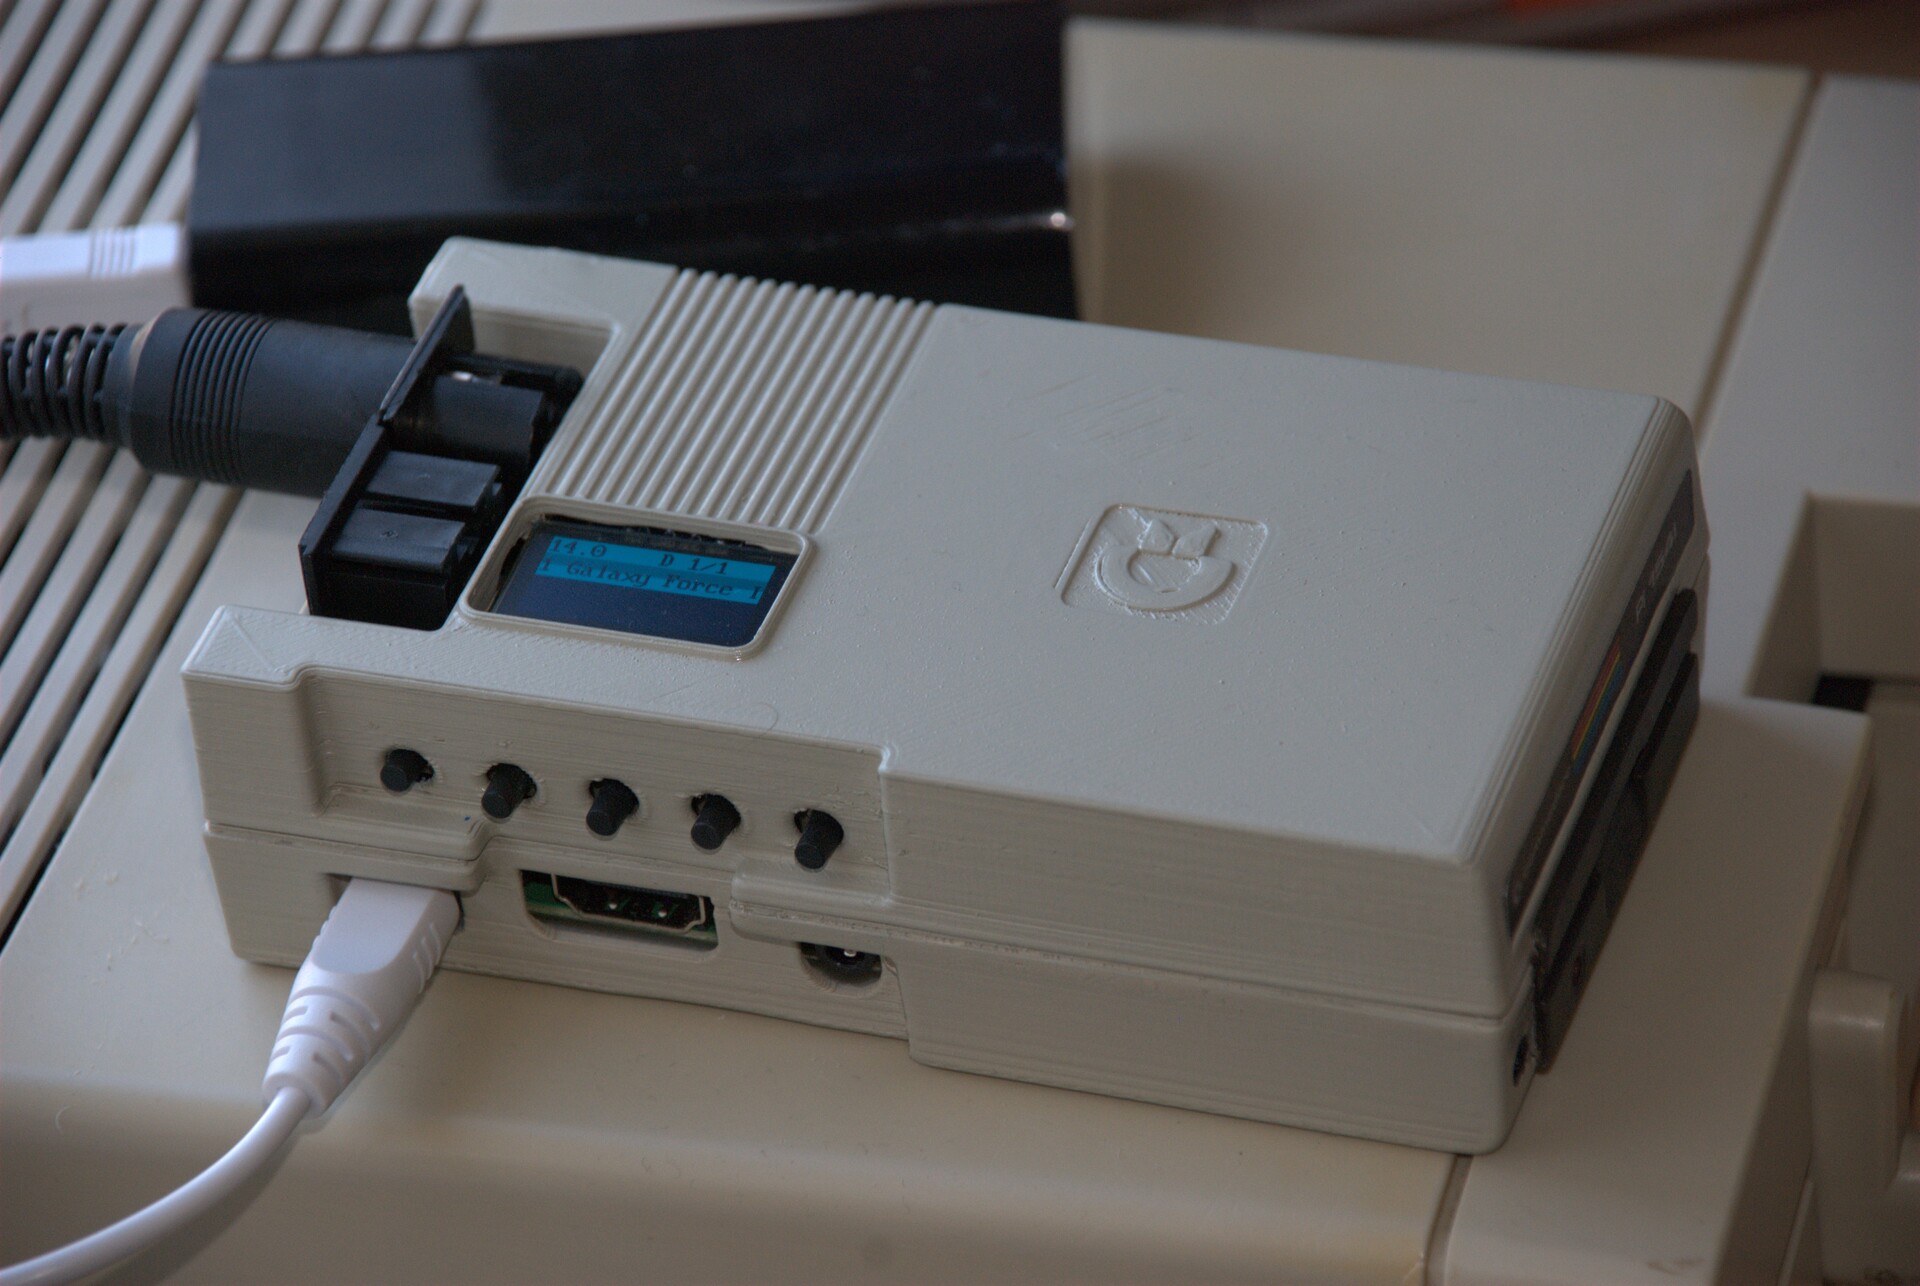
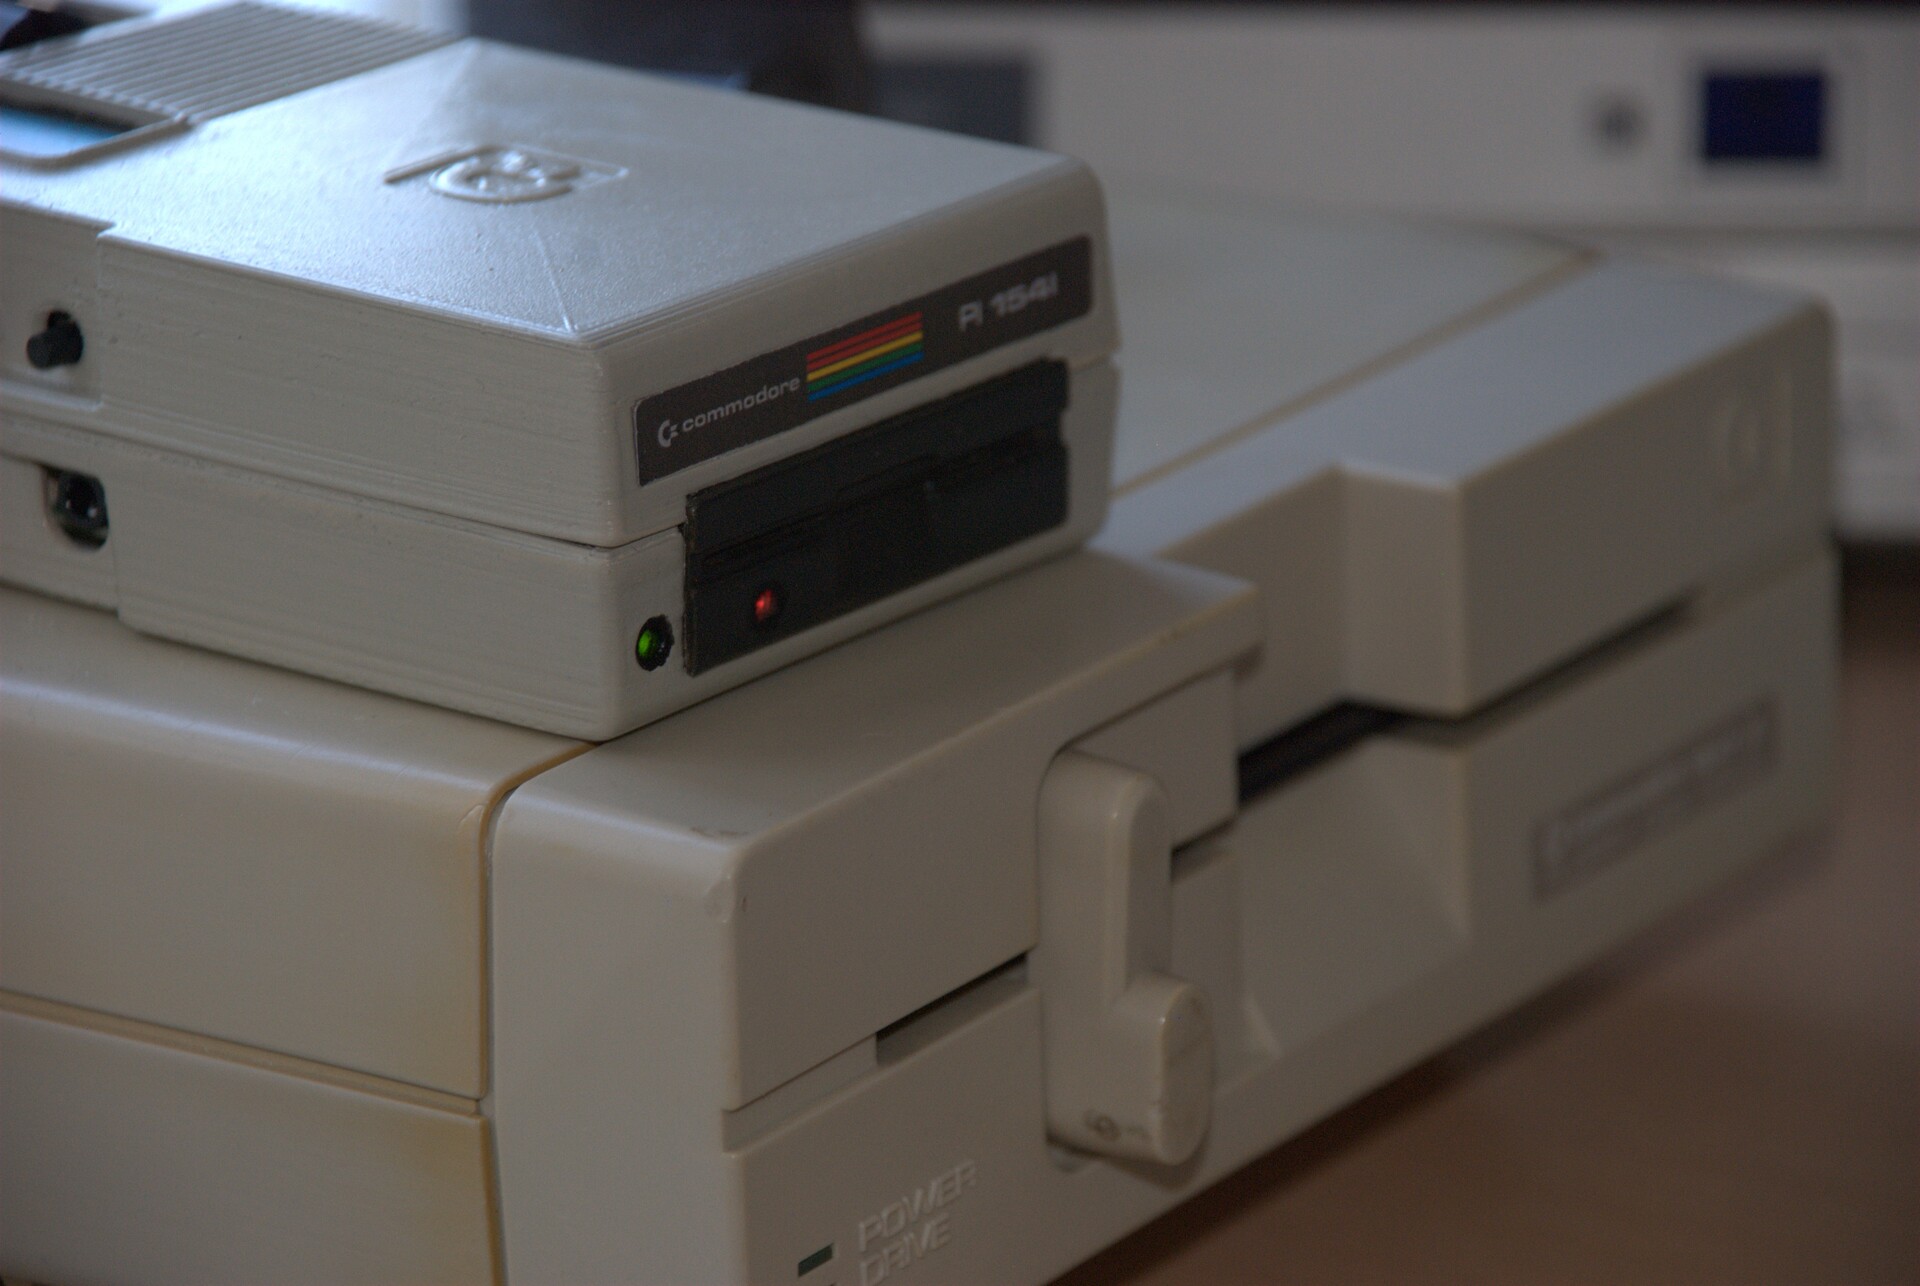
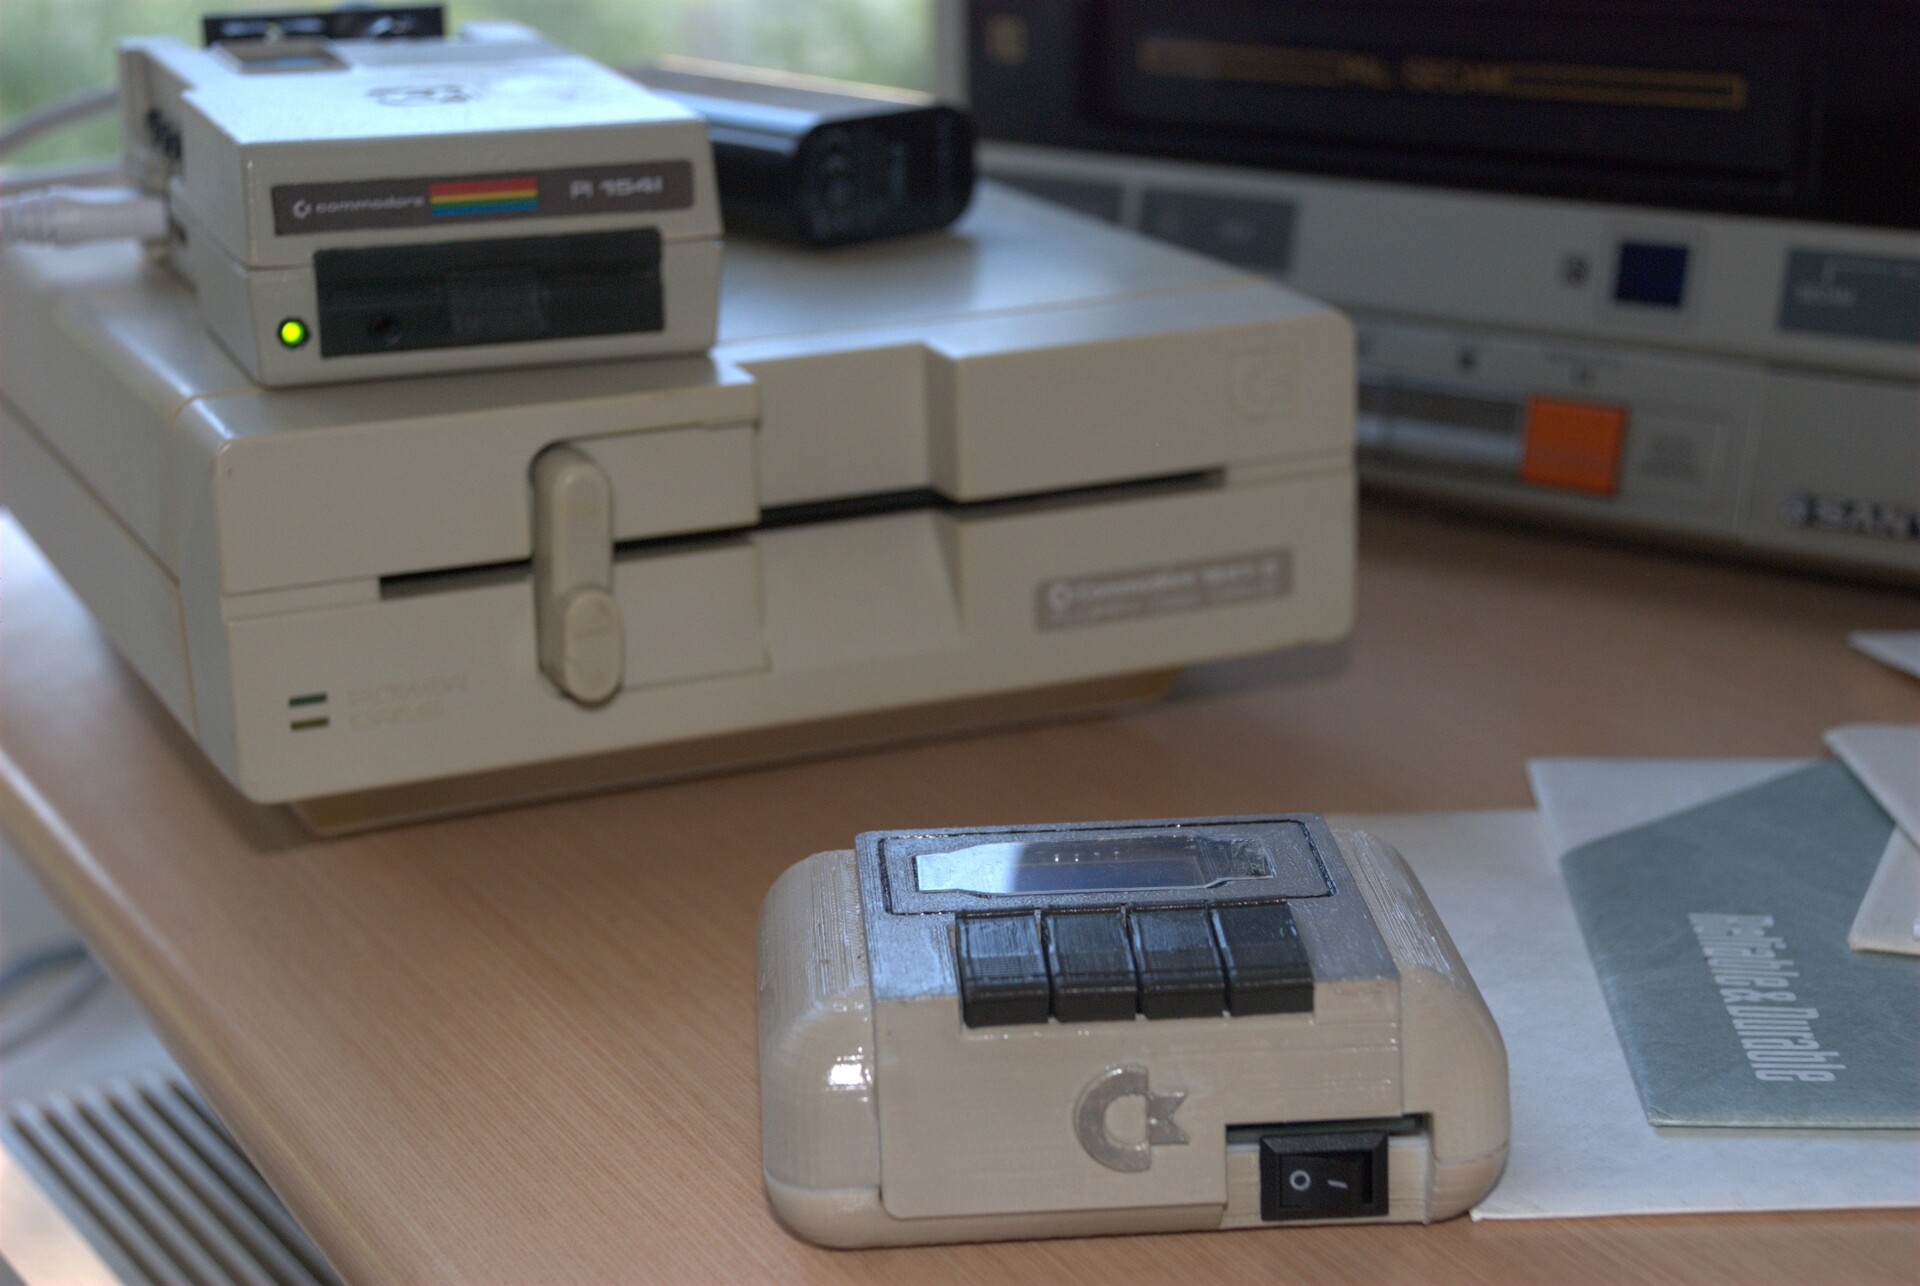
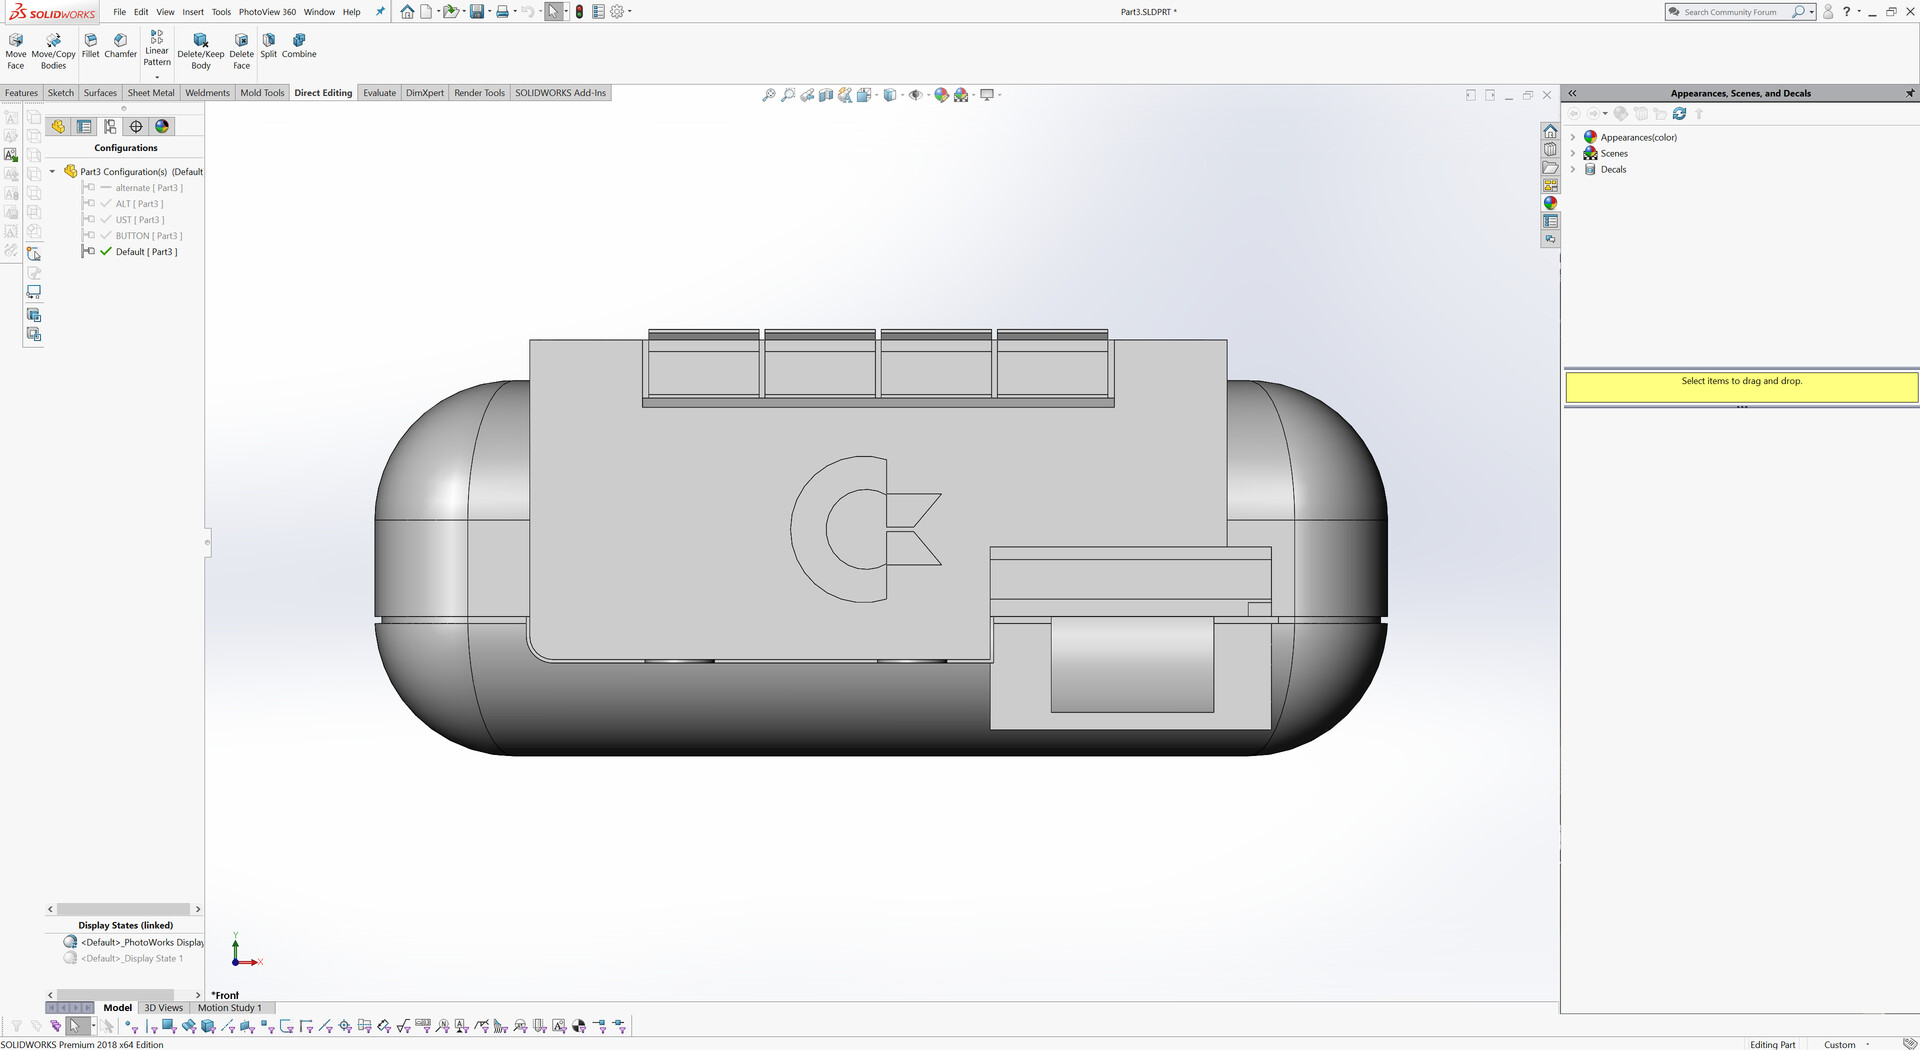
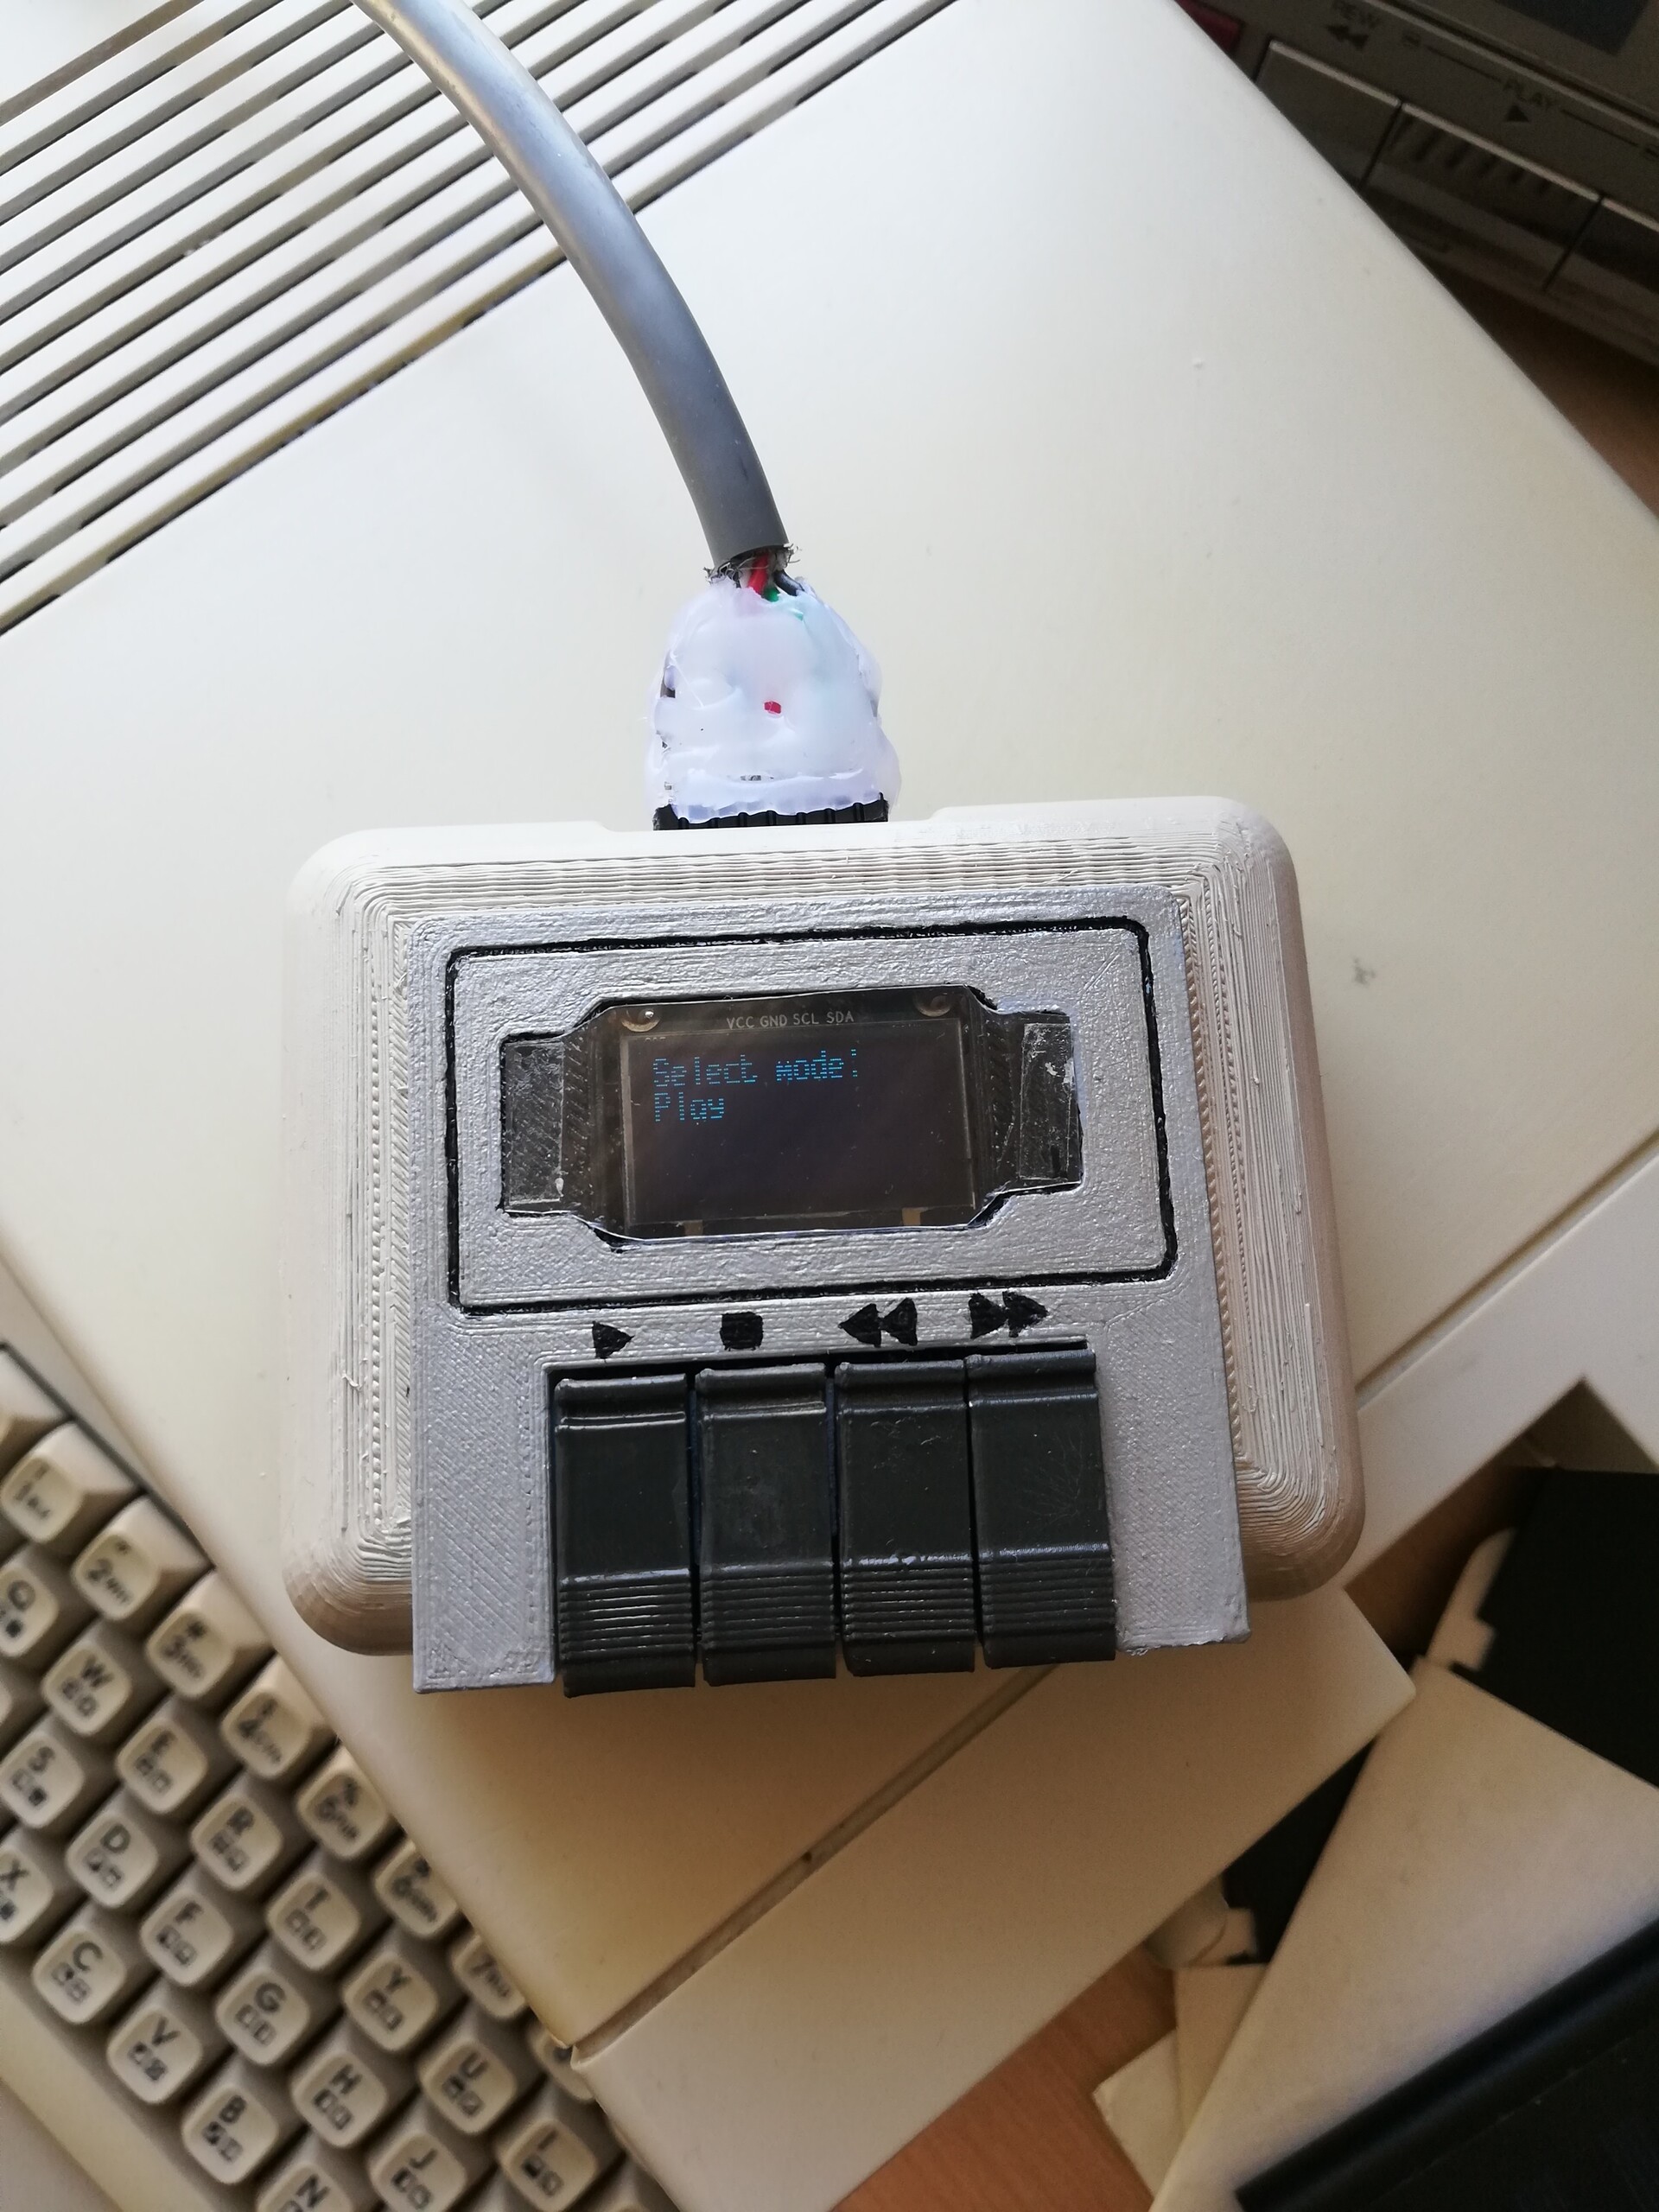
I made a resemblance with the Commodore 64C cases on an hardly recognizable level.

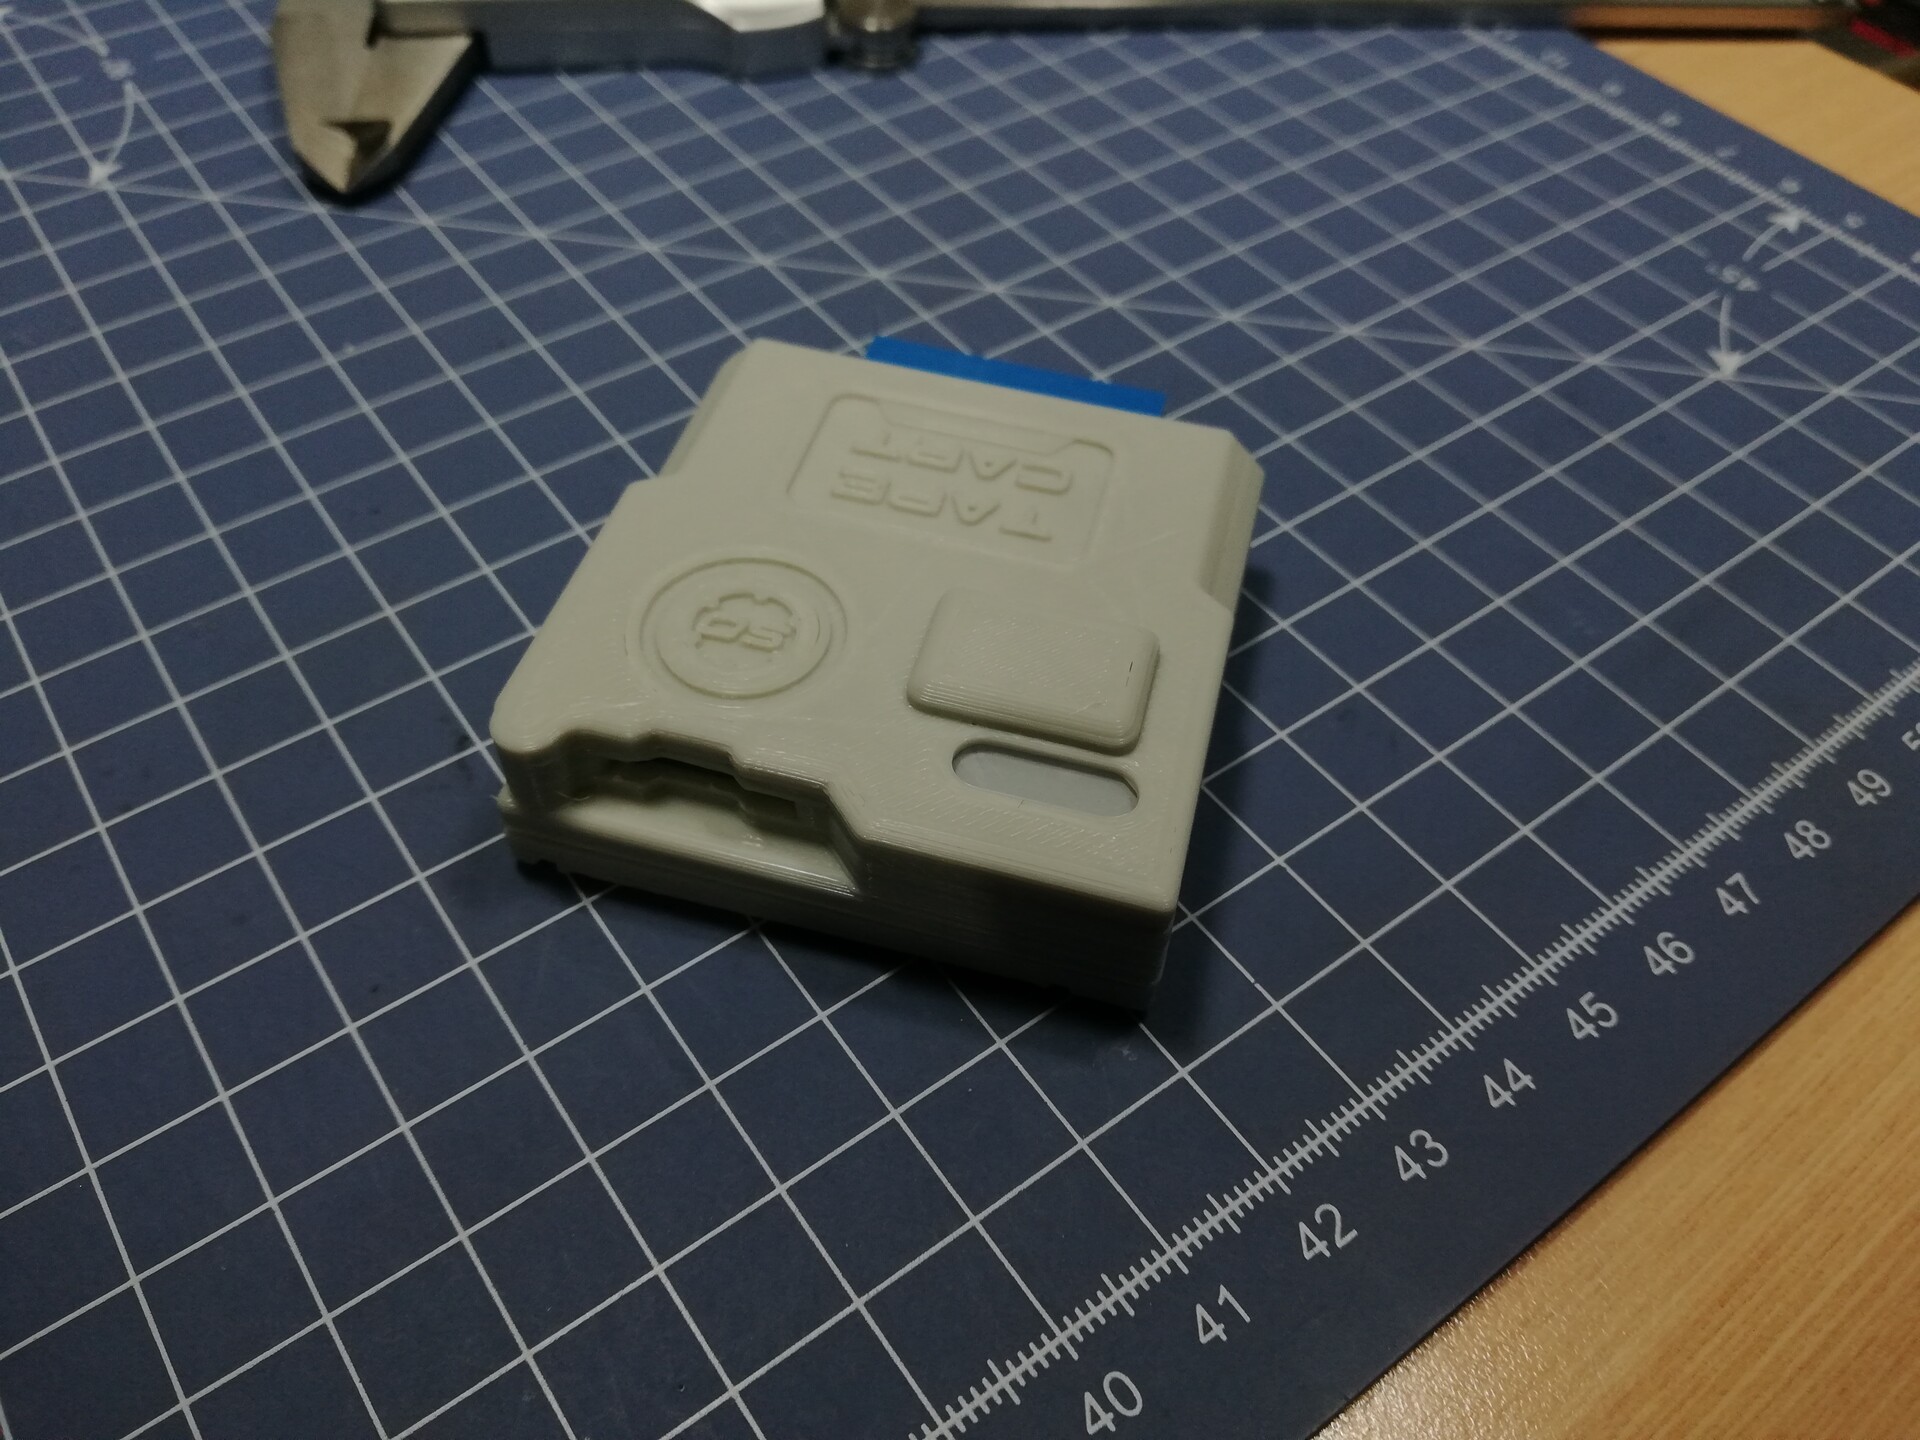
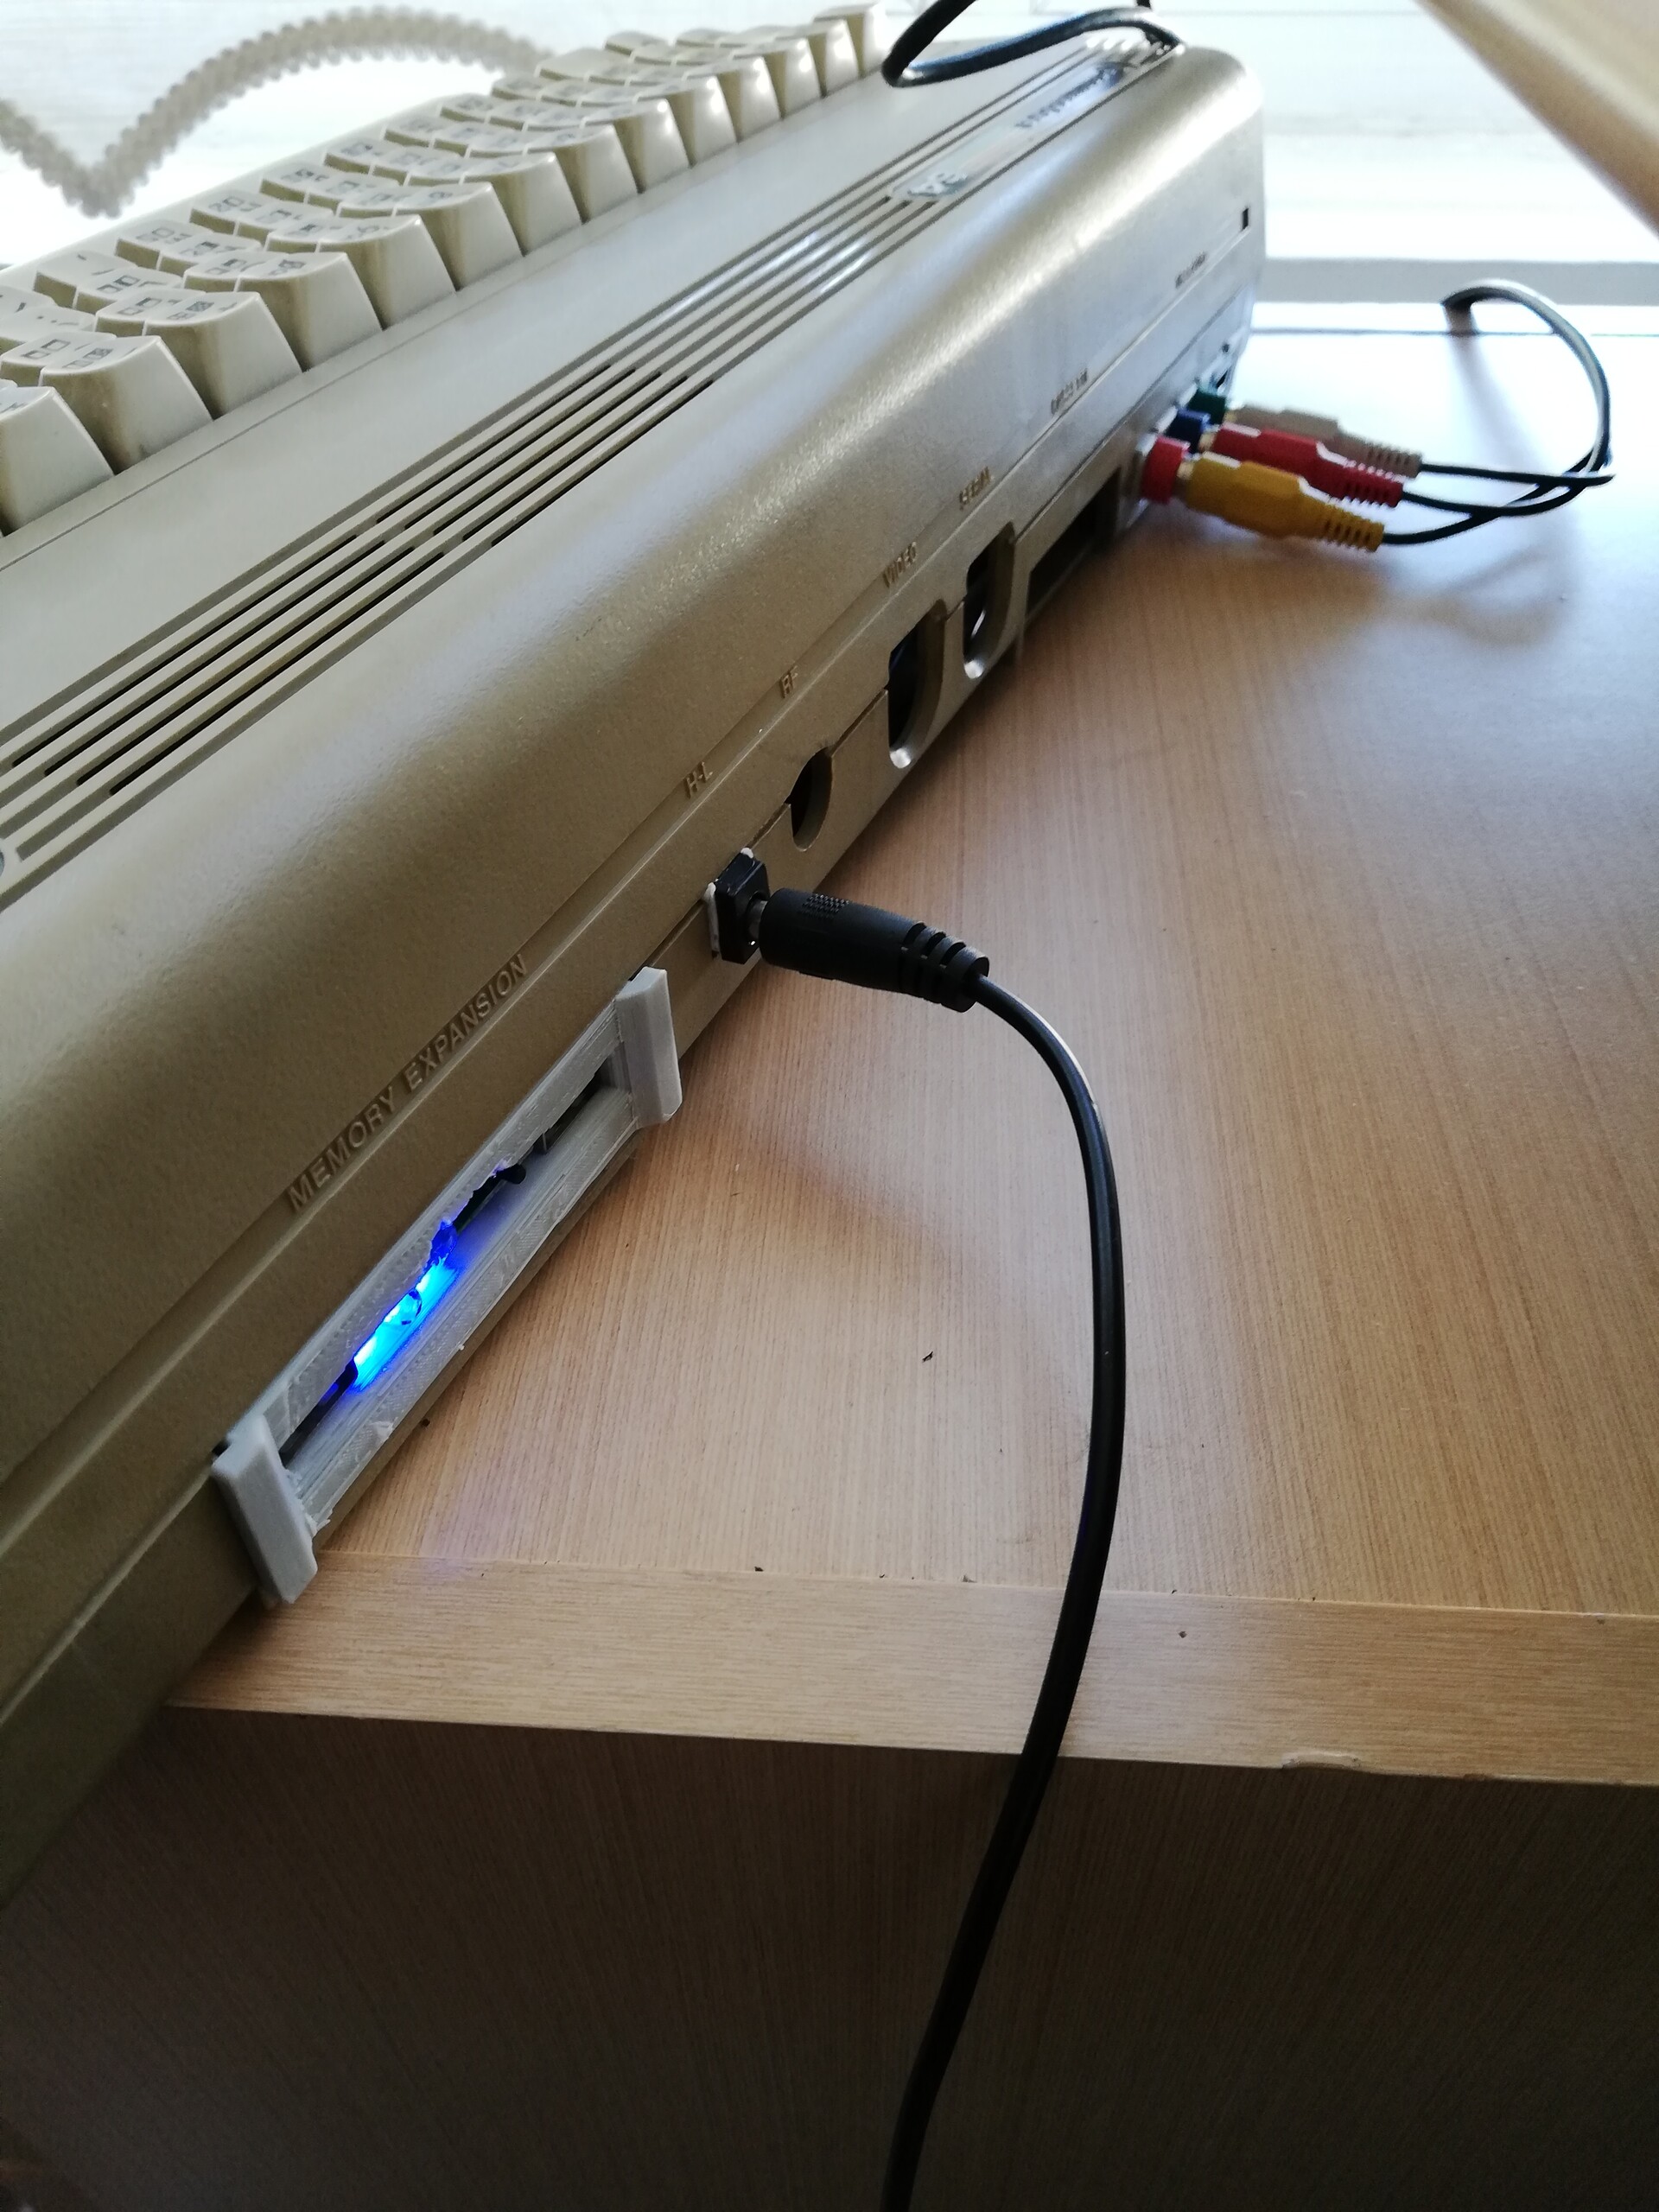
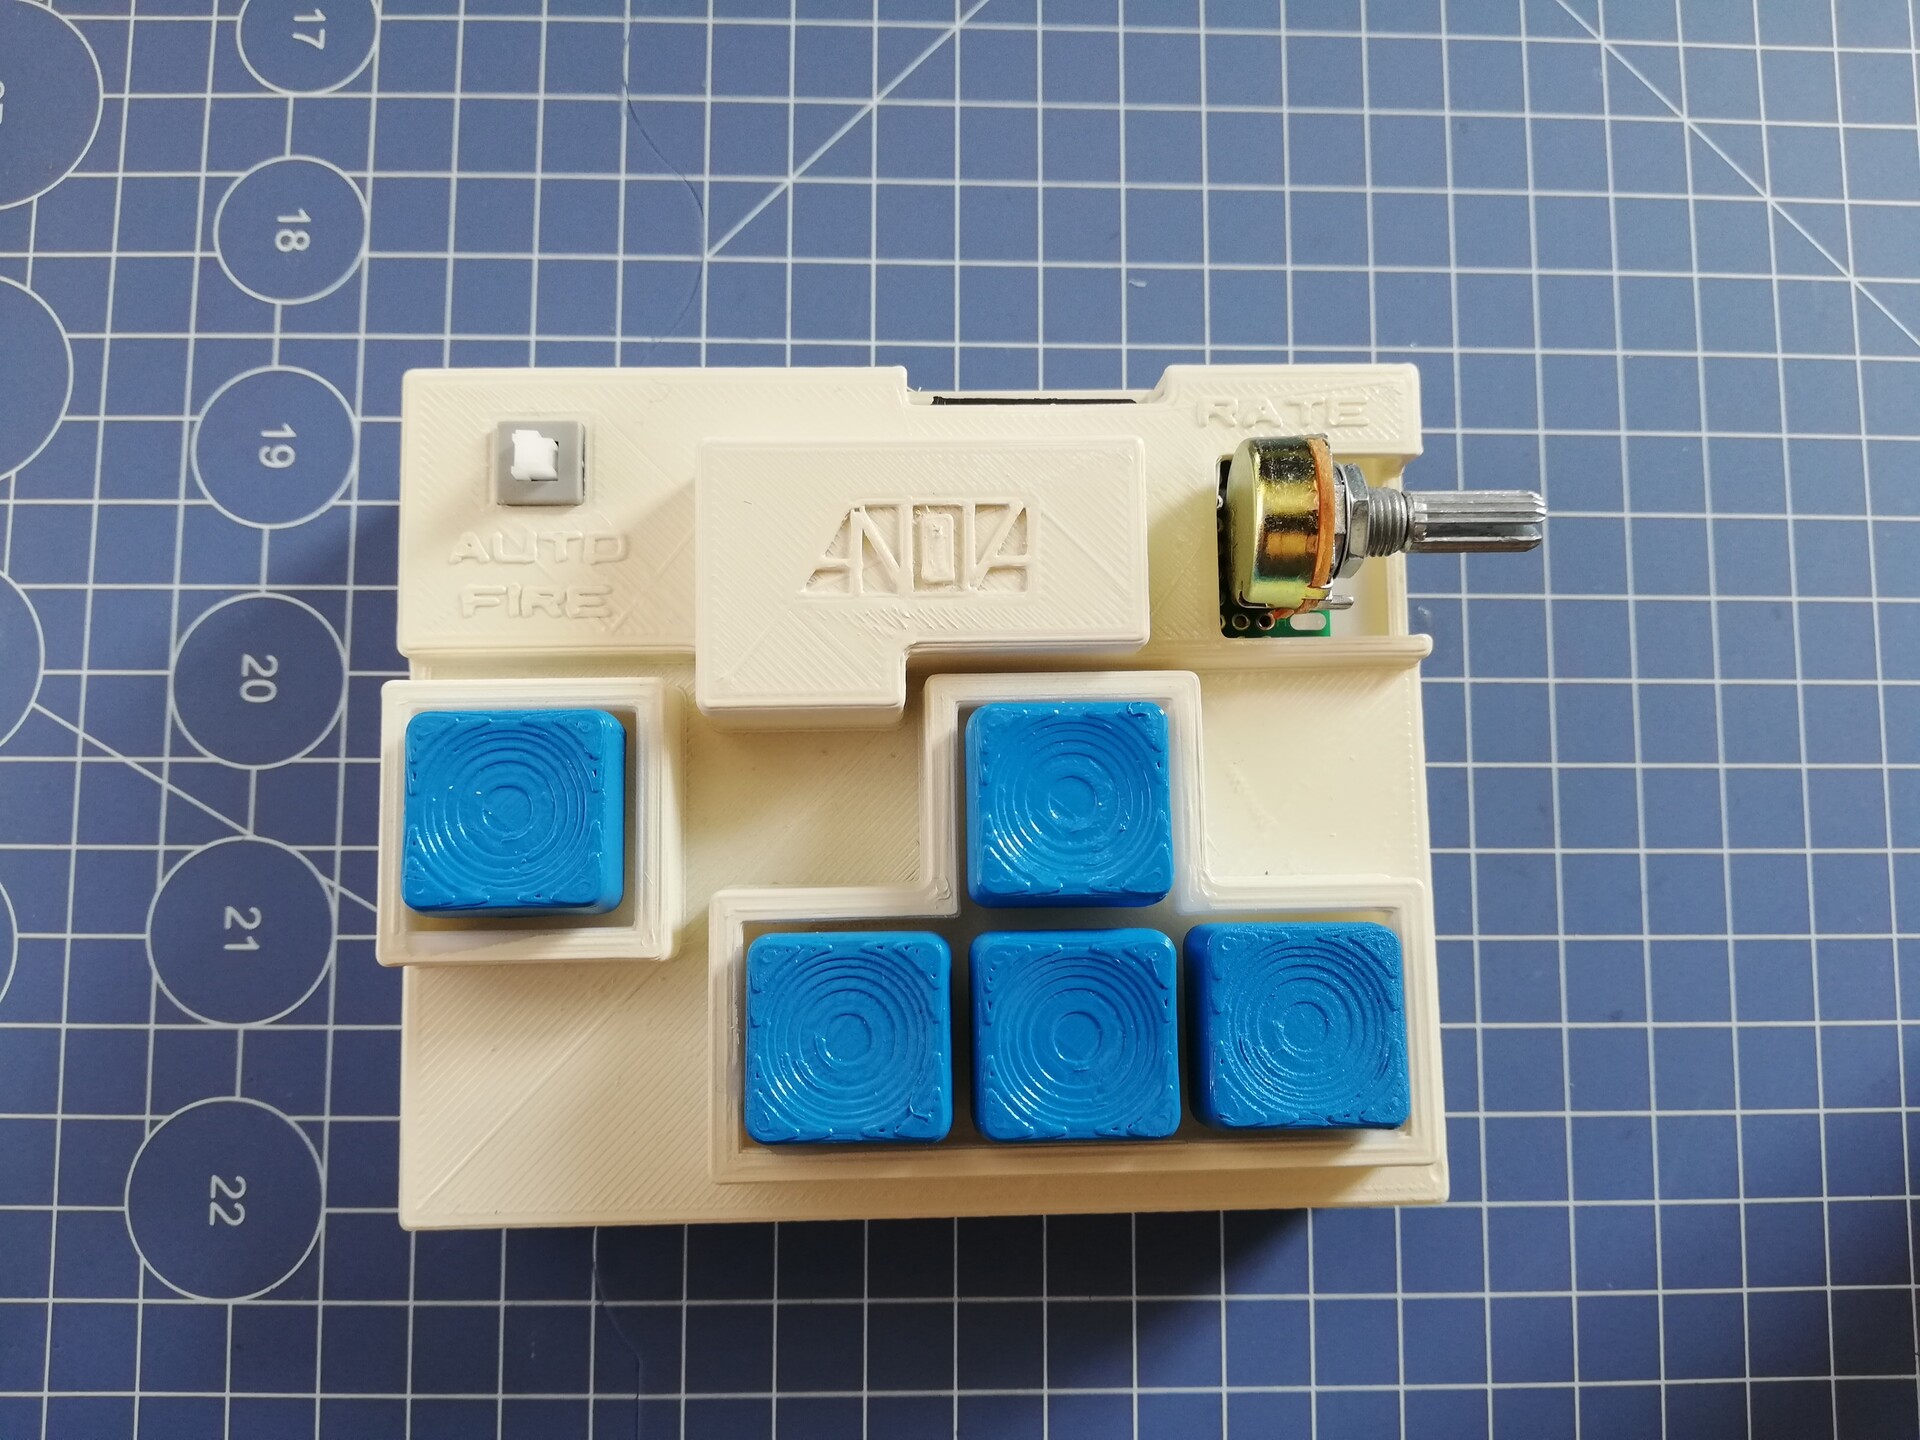
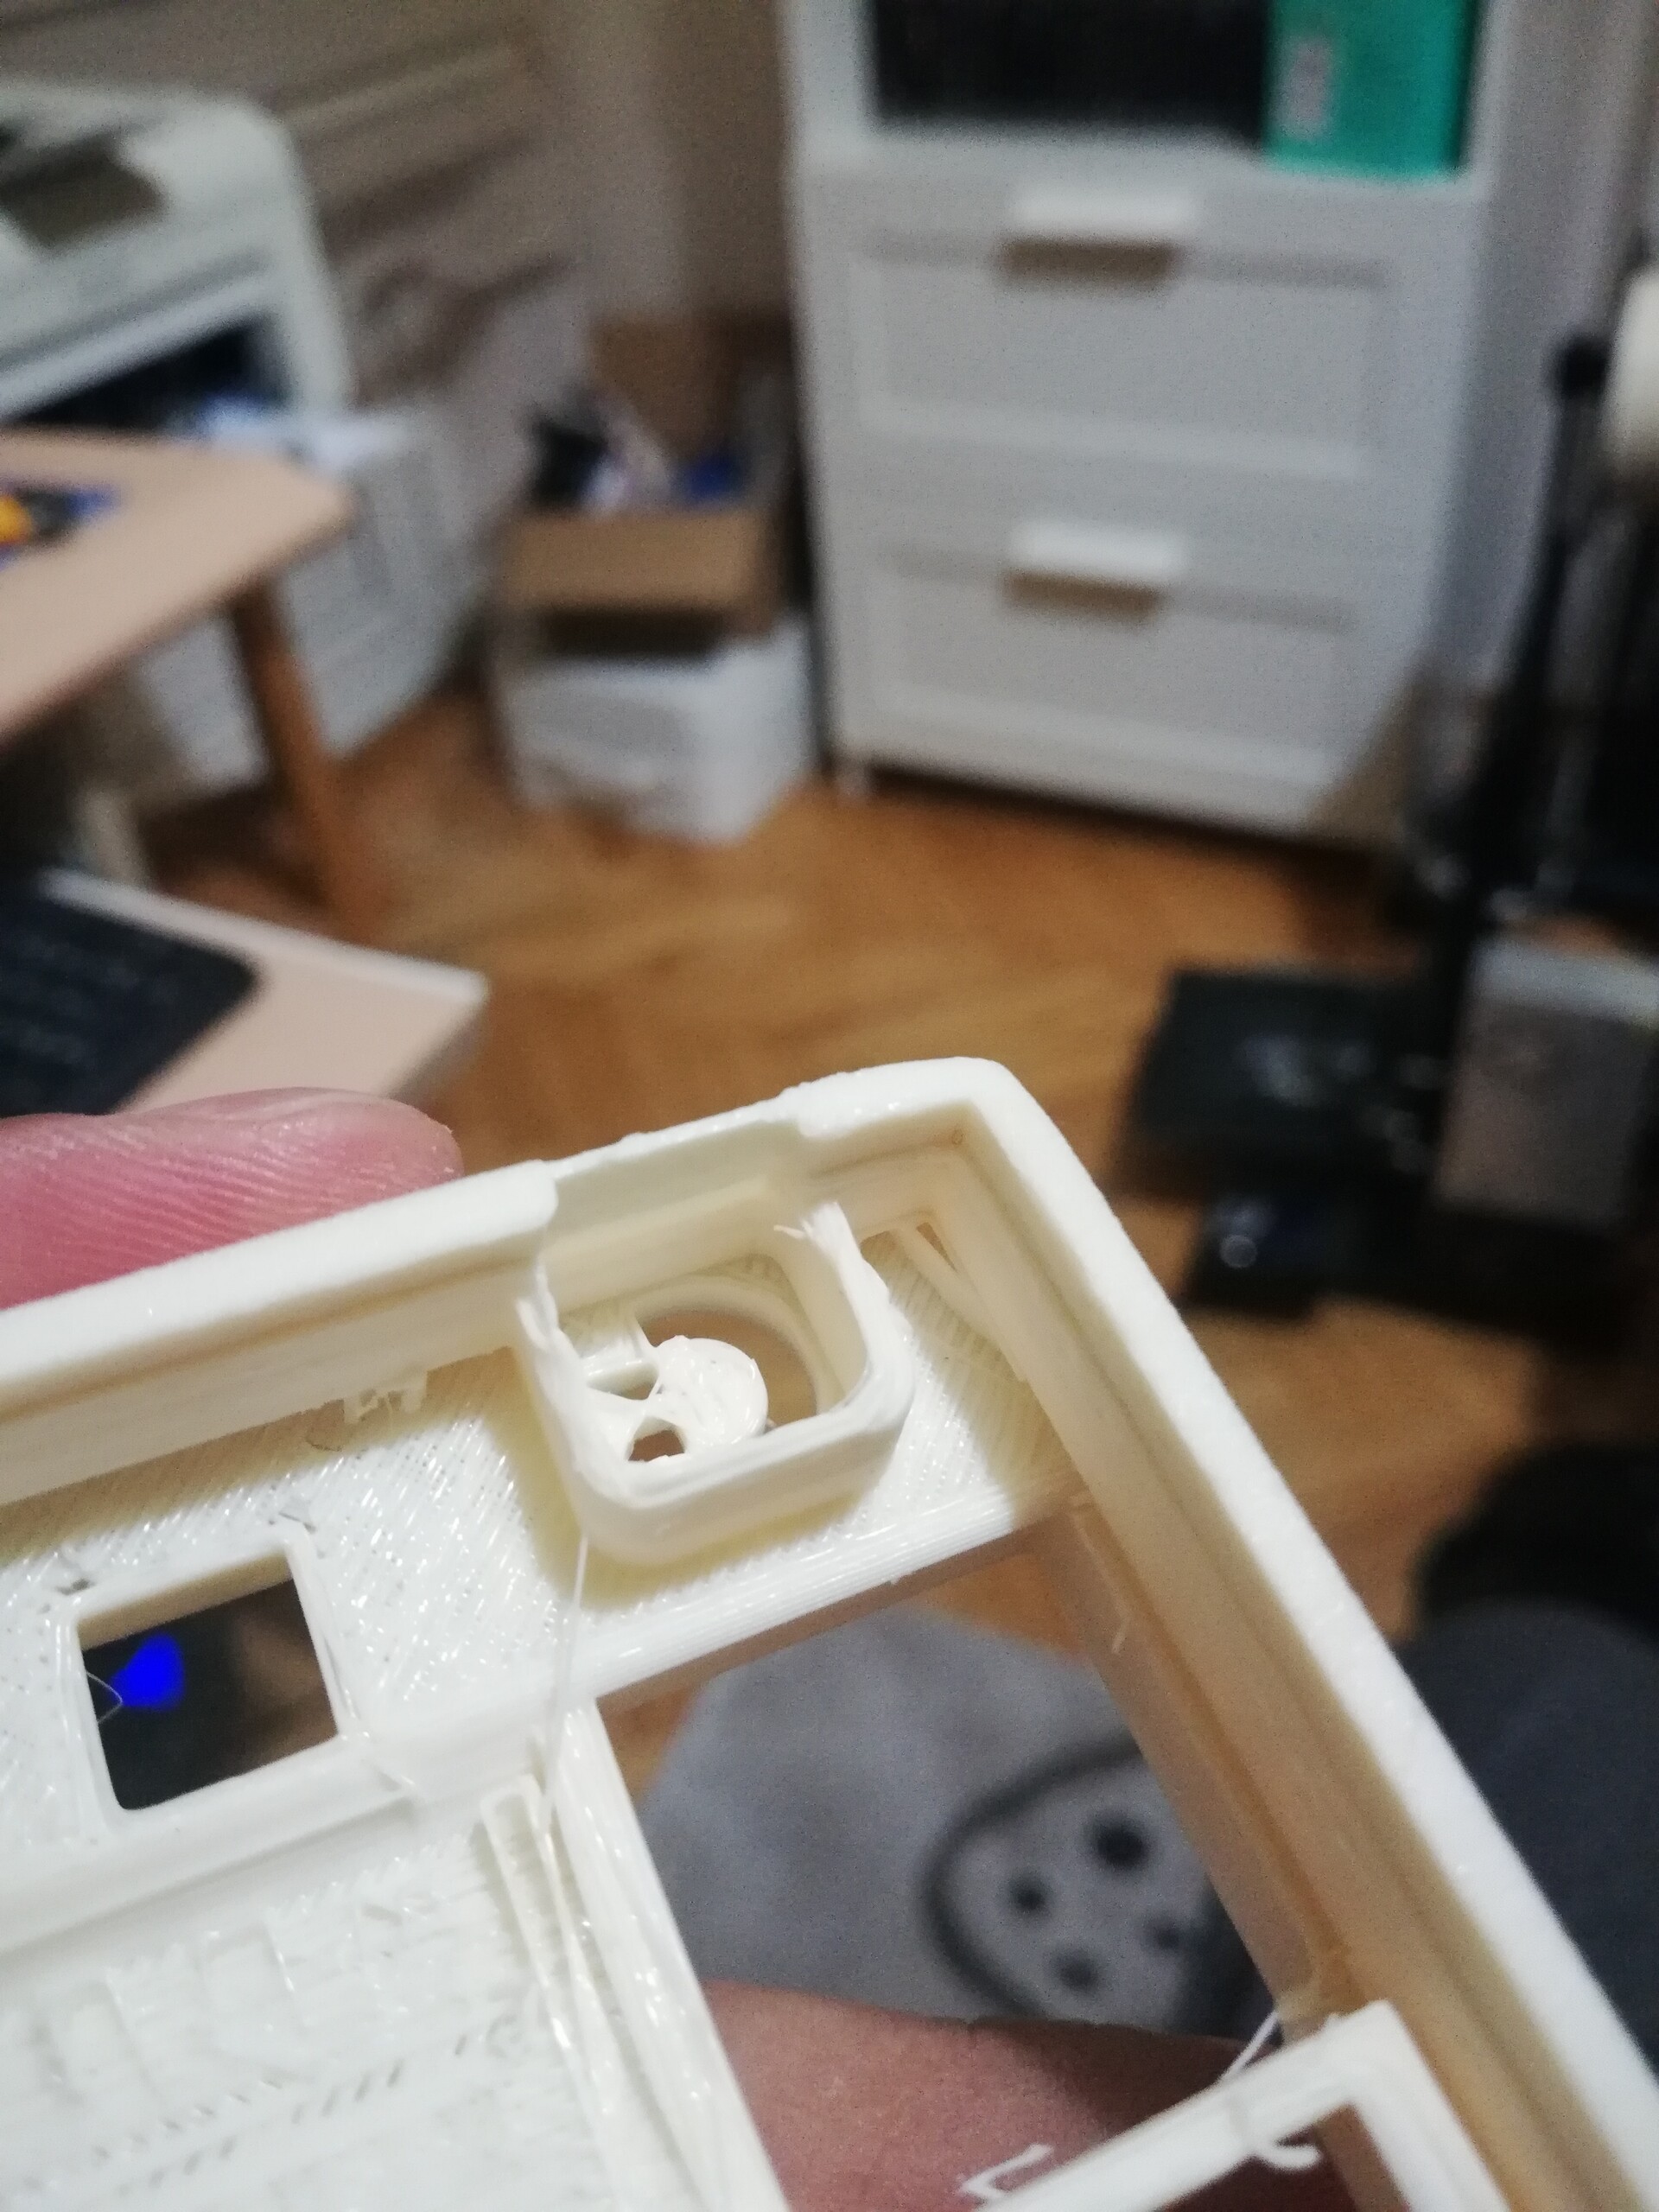
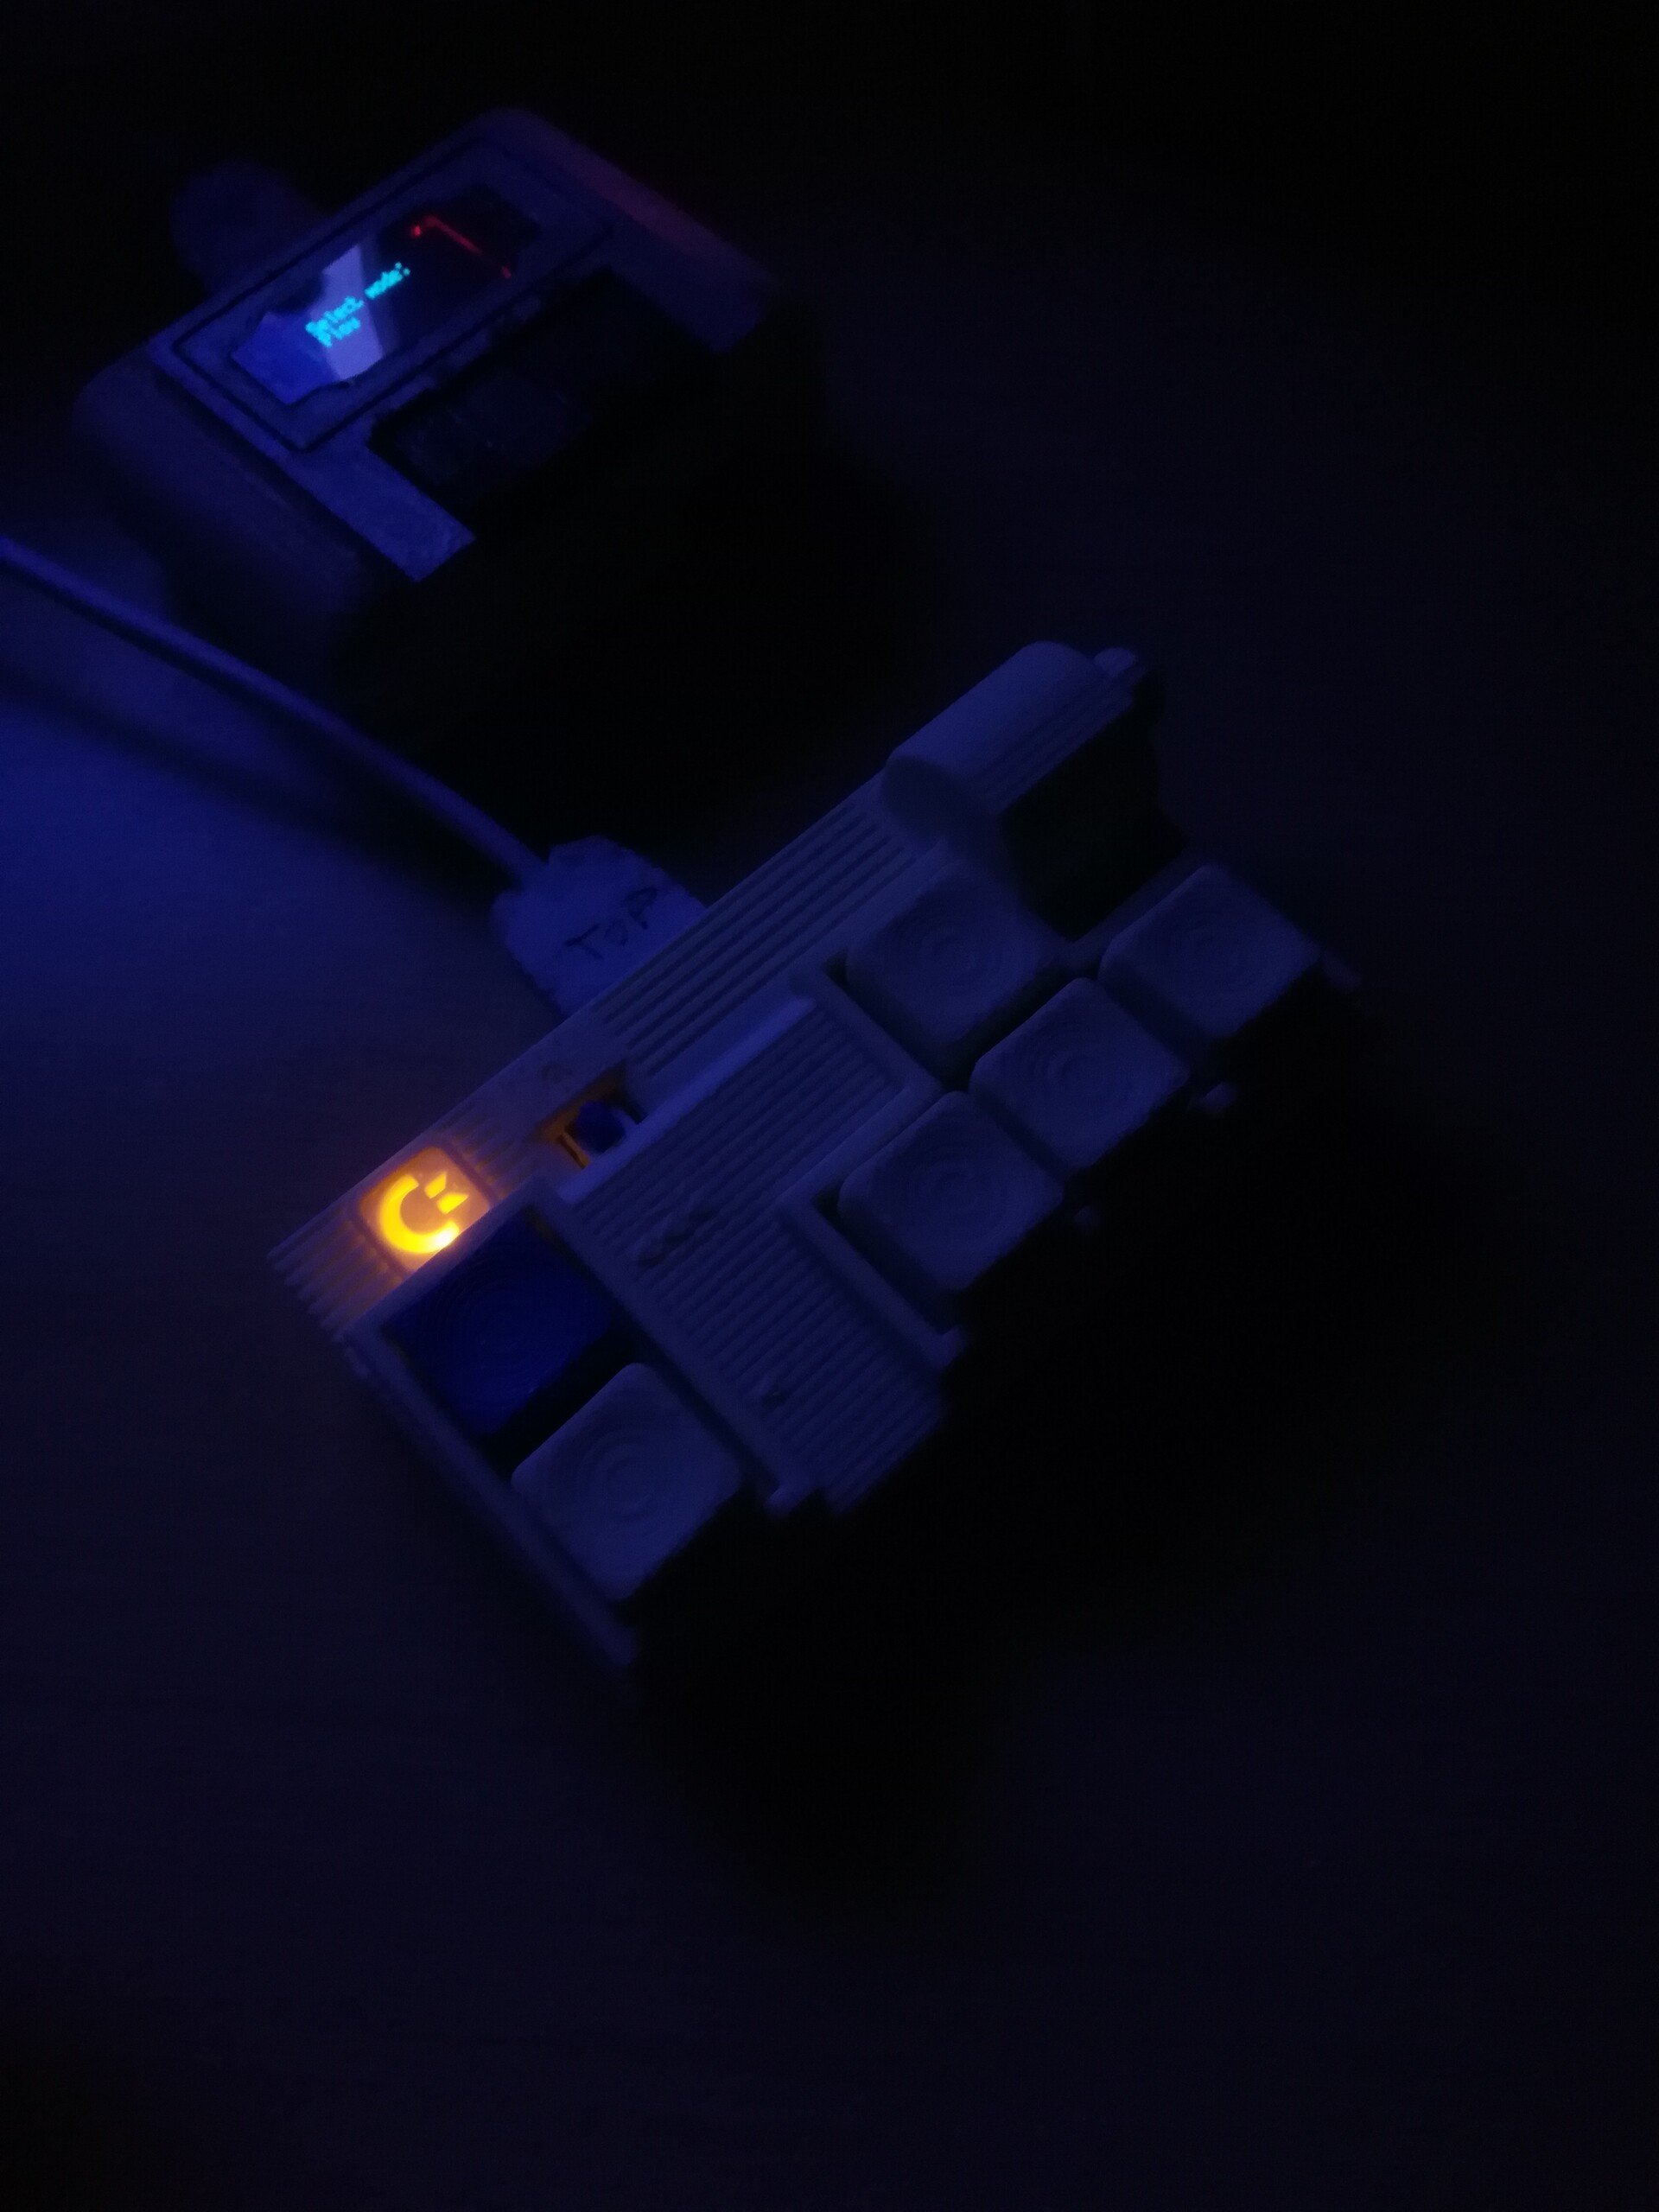
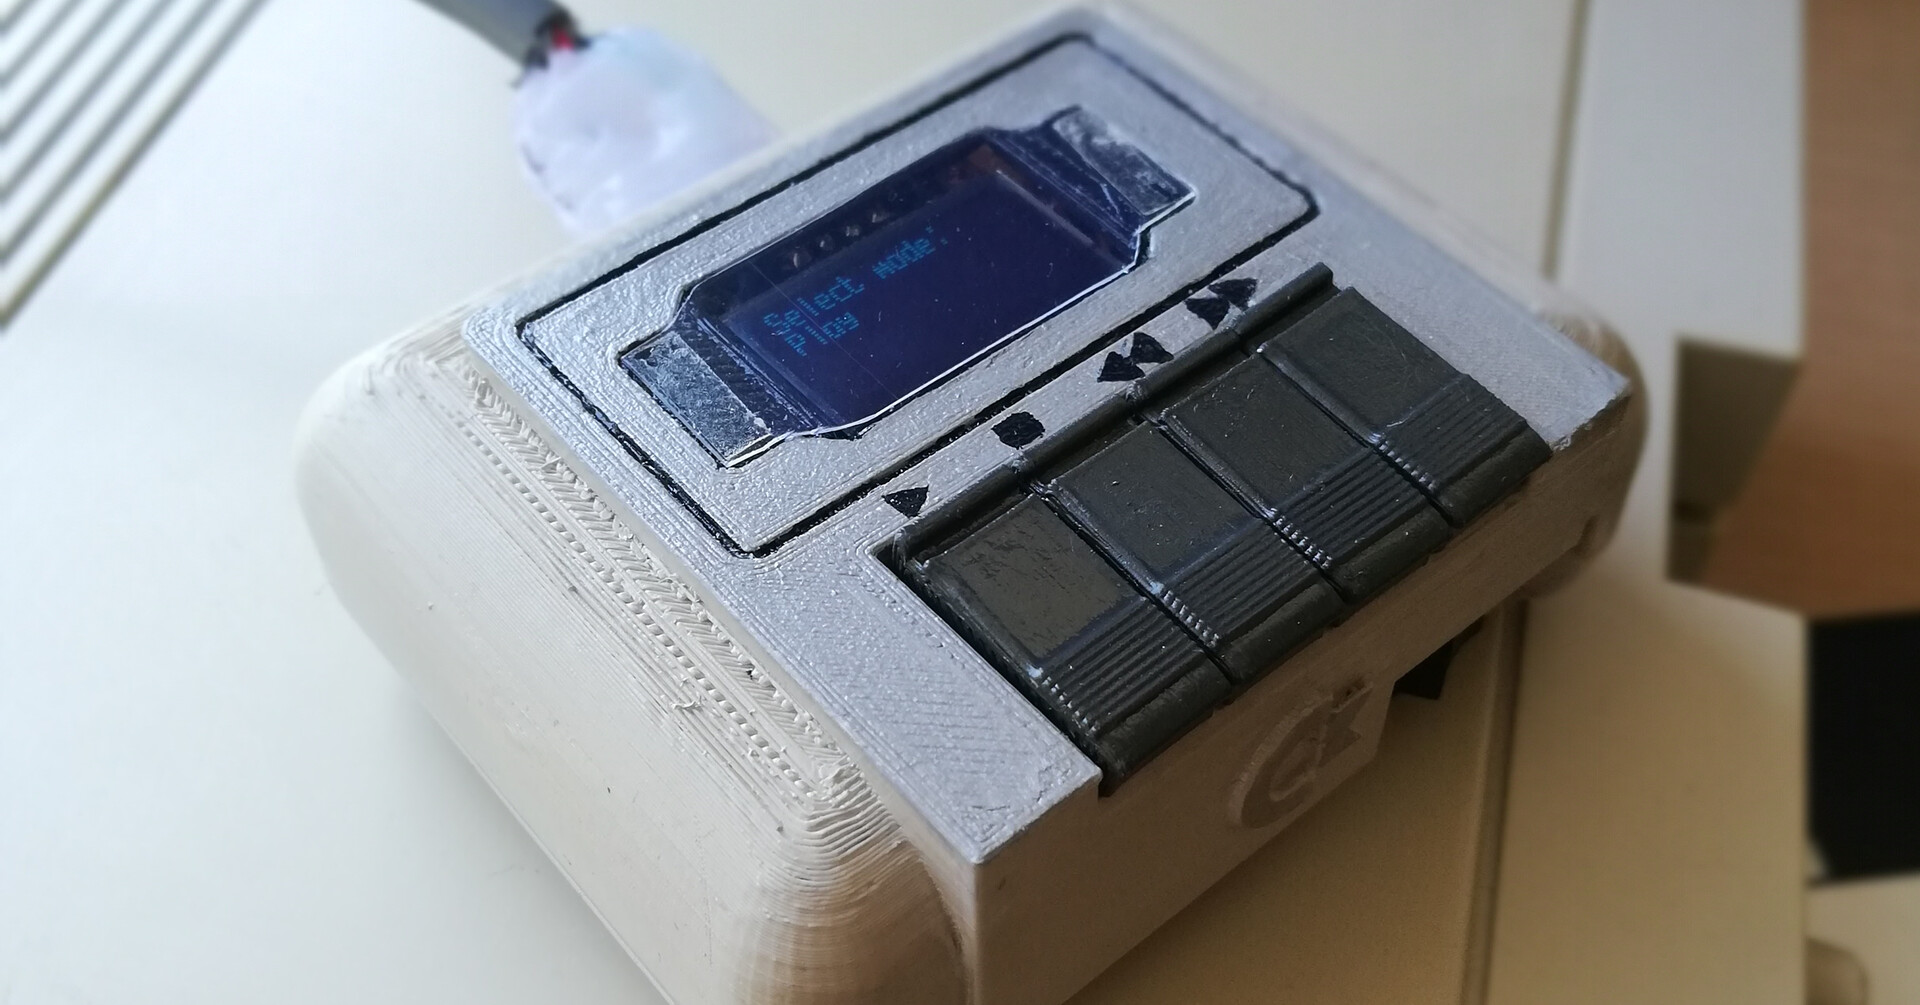
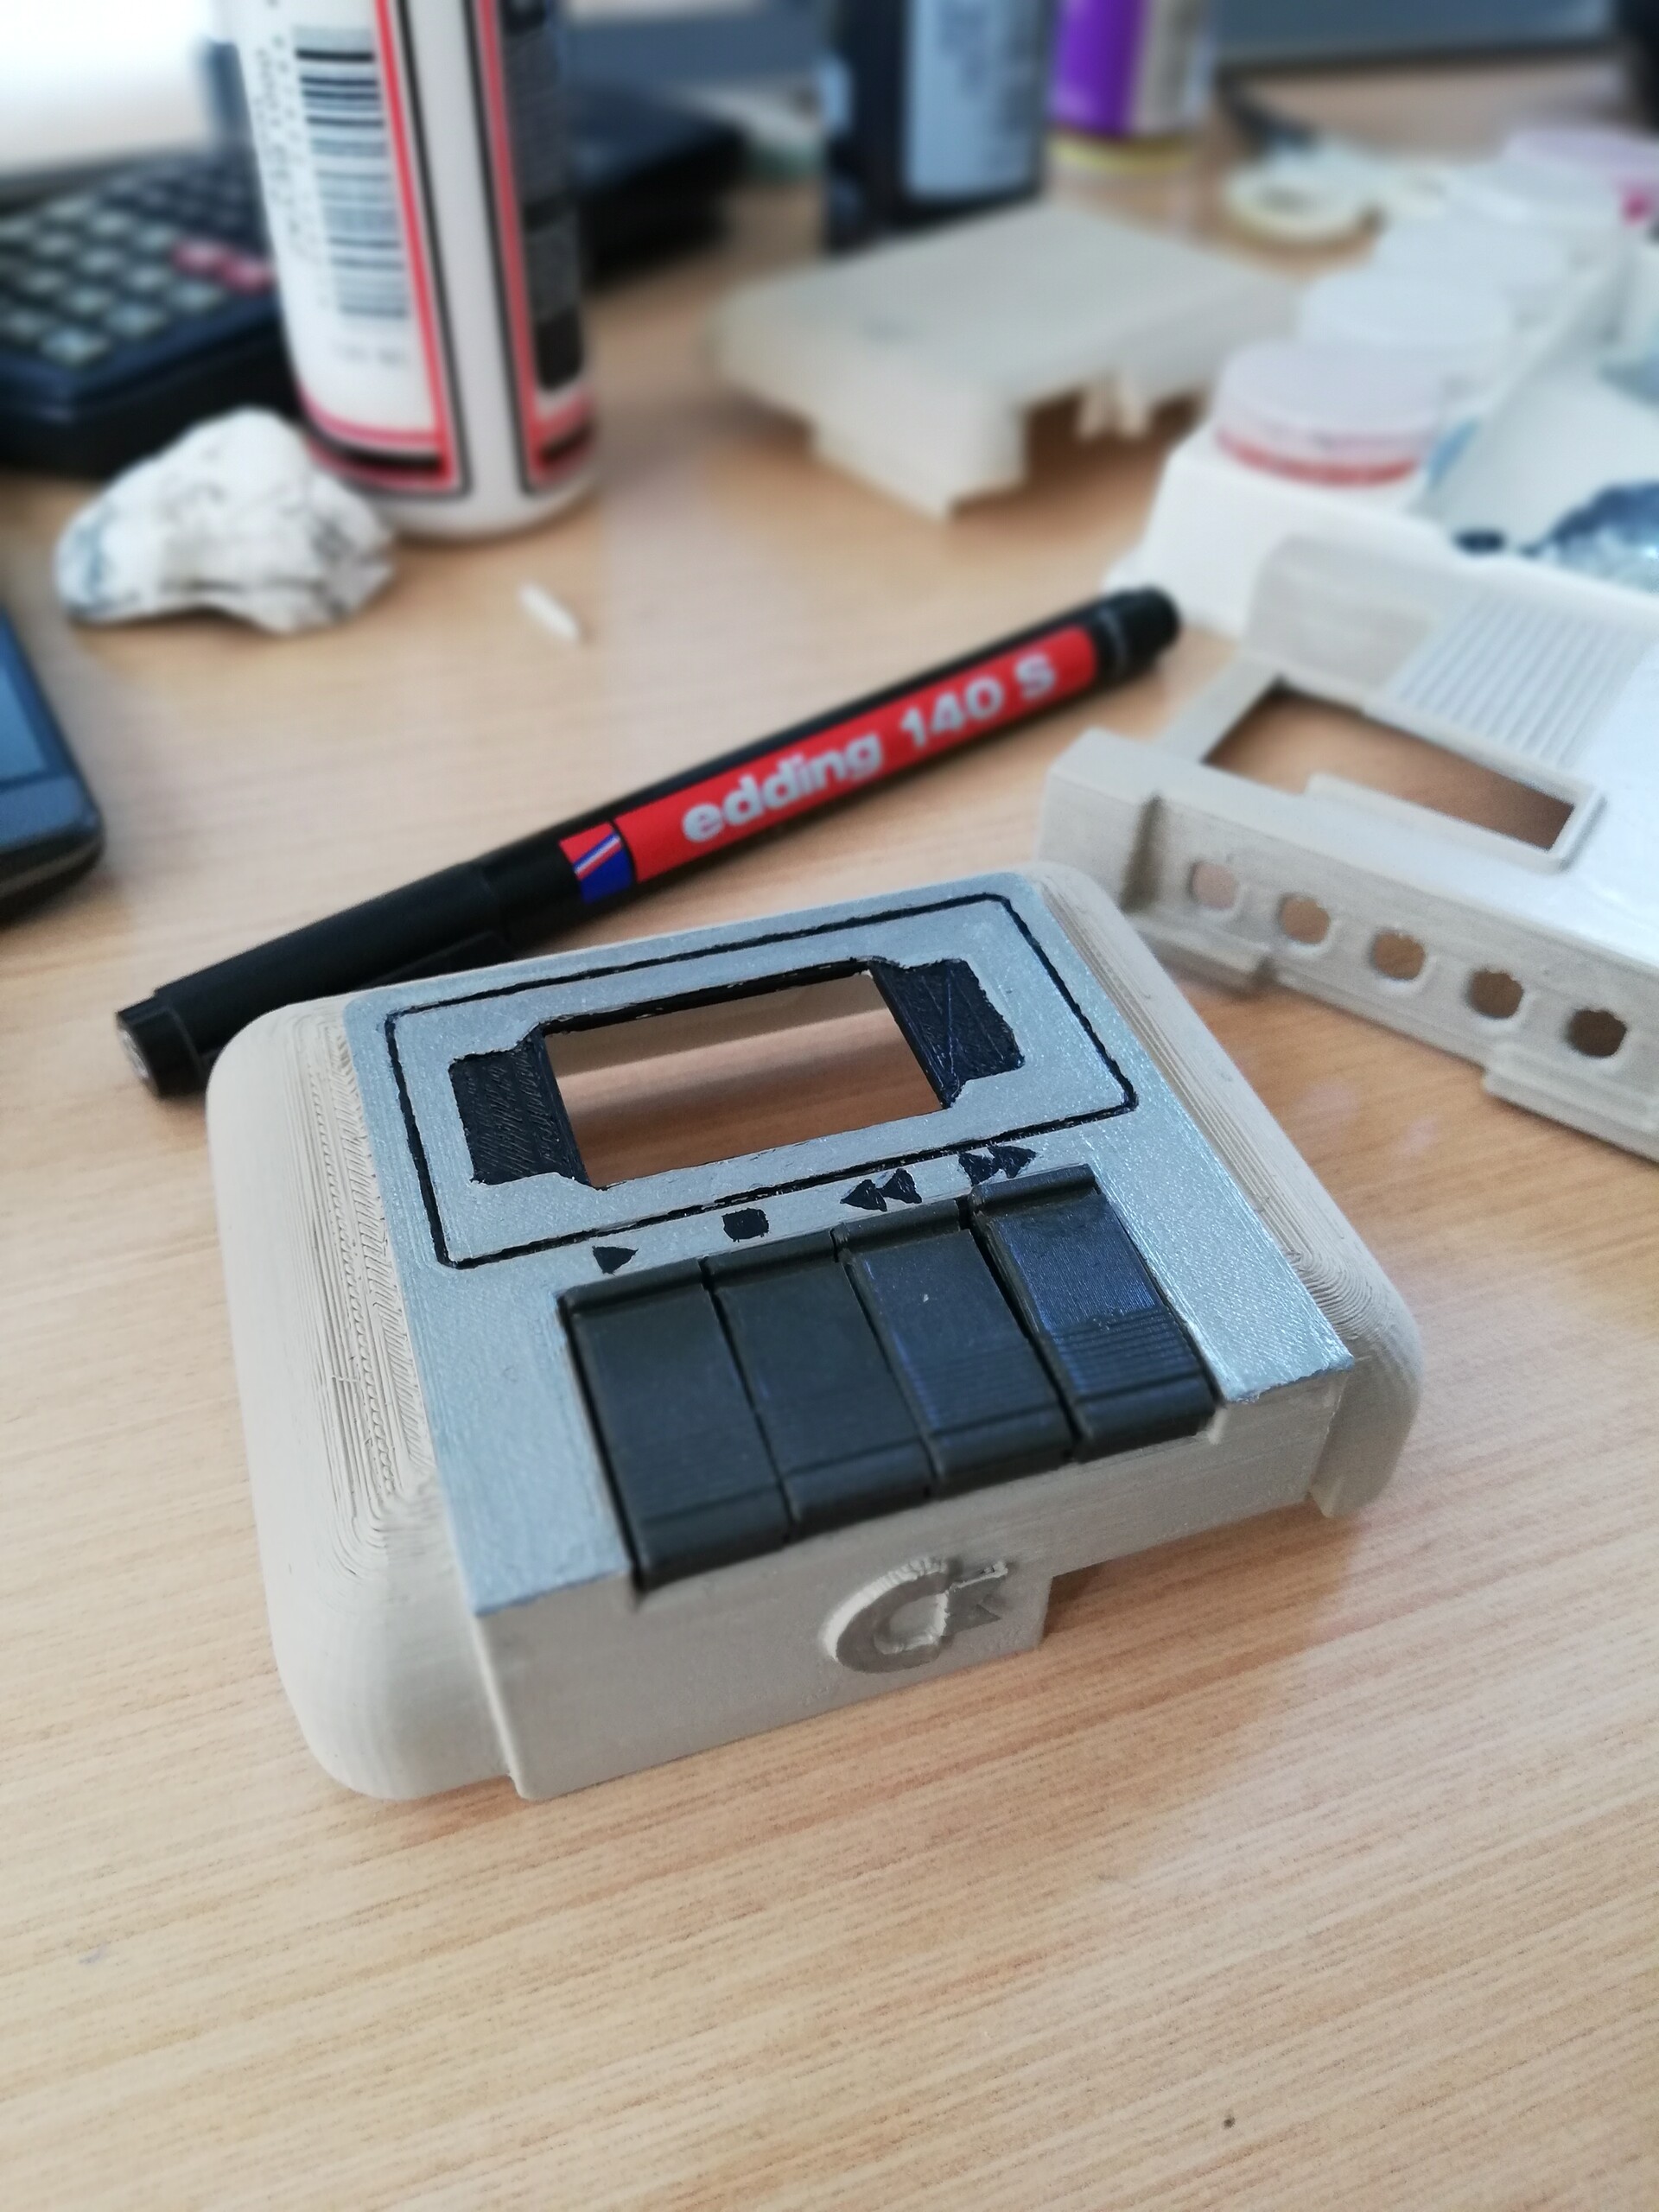
I added an LED to the new case with 3 adjustable modes. First I added this for to make it blink when it's fired on the keypad but many people may not love it so I decided to add a switch to disable the LED. But some friends suggested that to make it fully ON if it's needed. So I added a 3 way switch to the board.

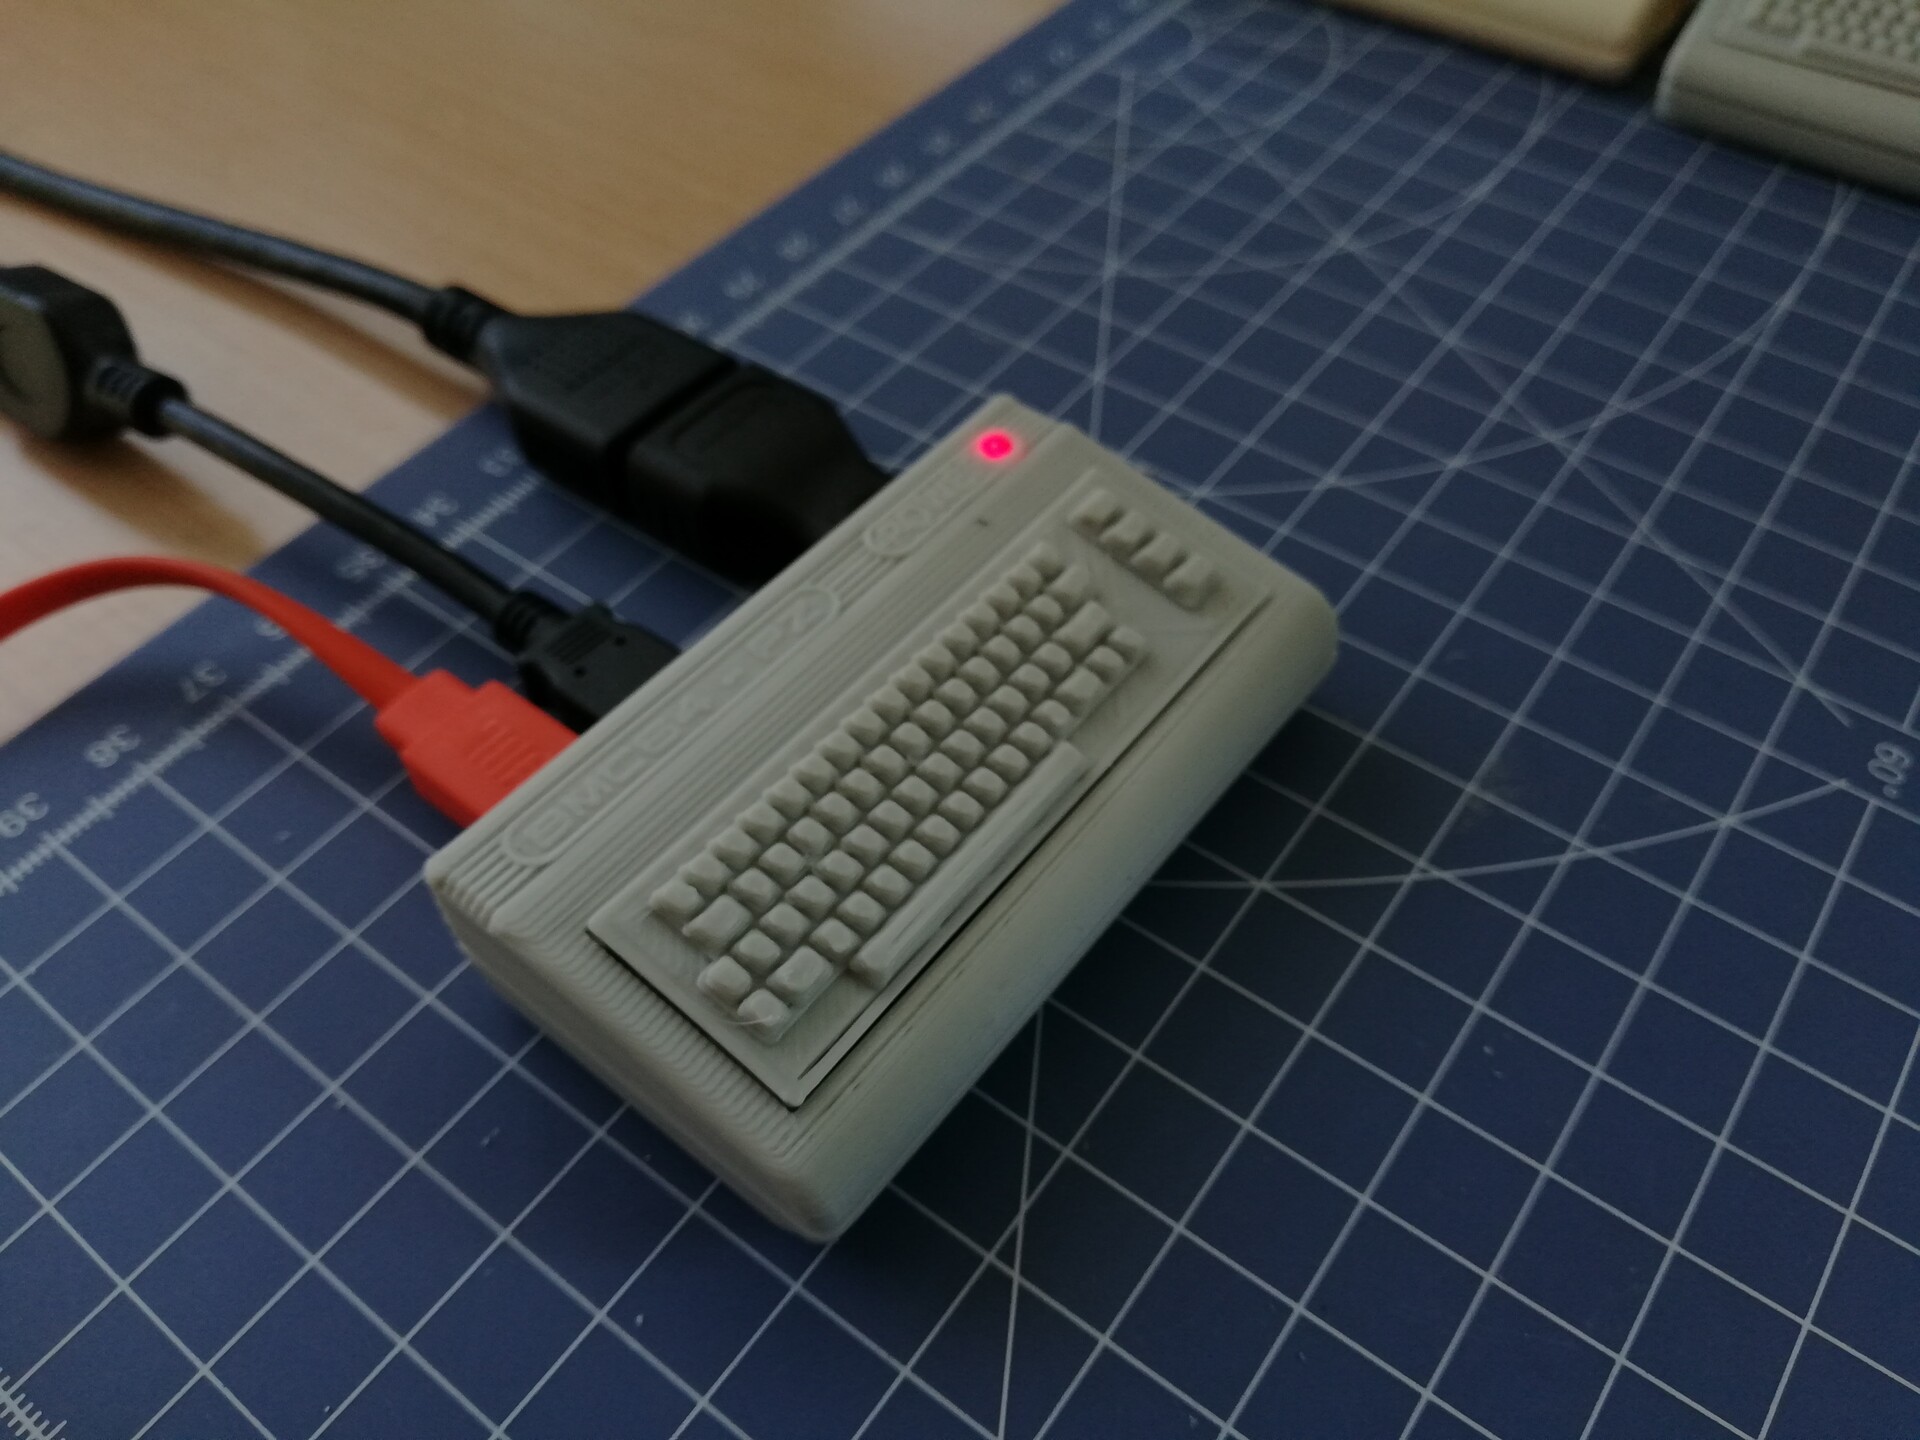
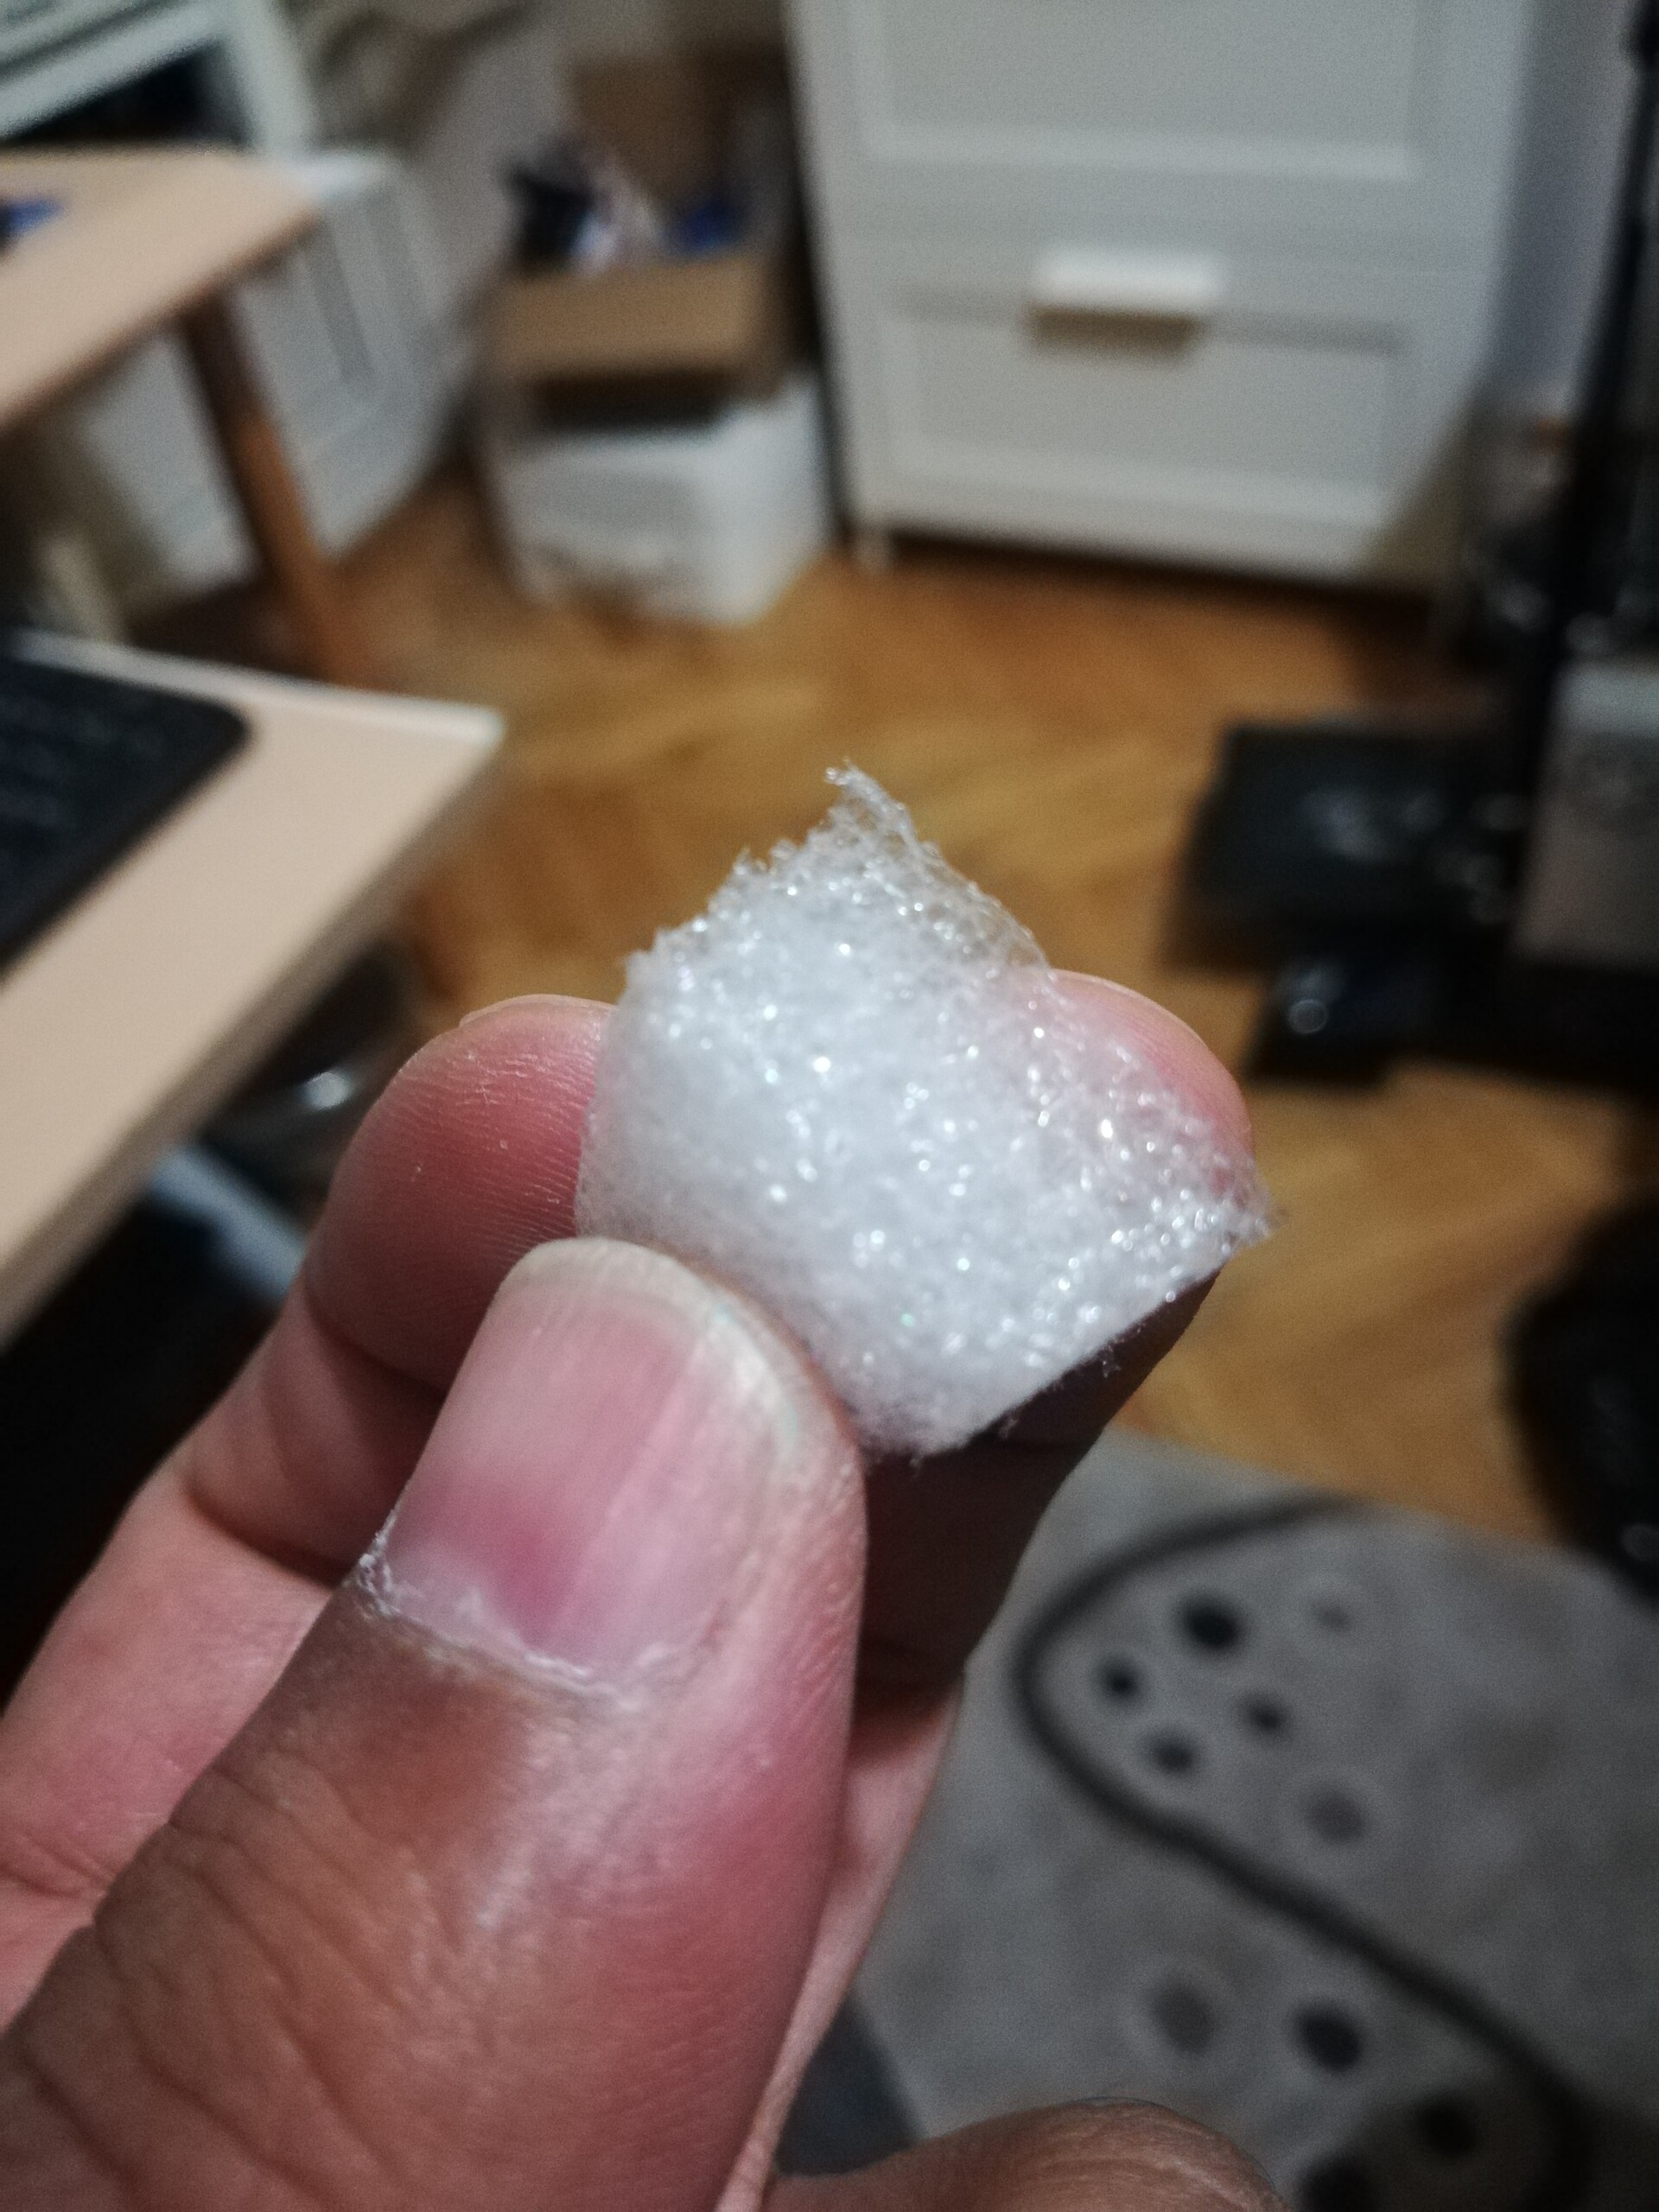
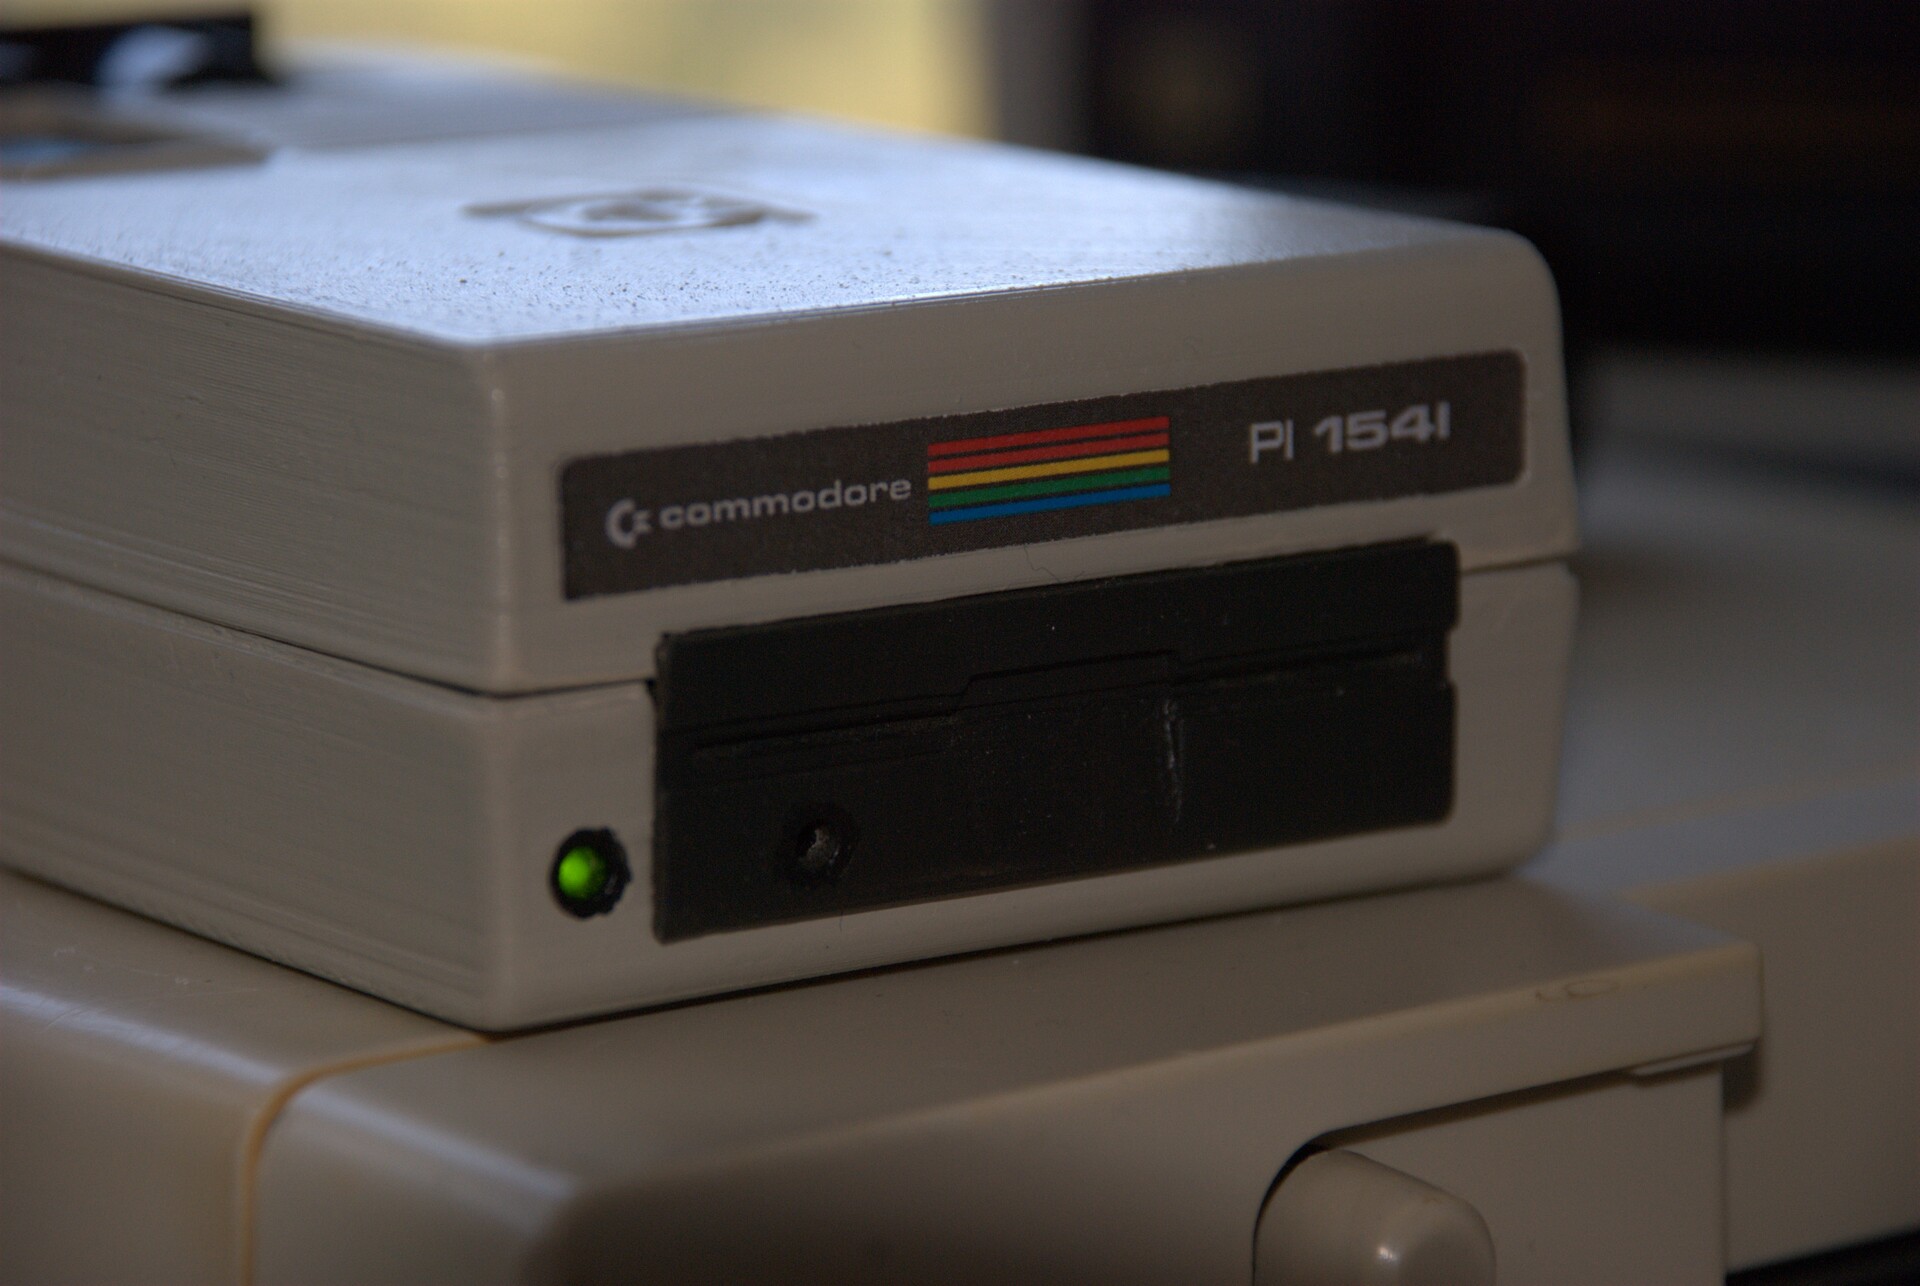
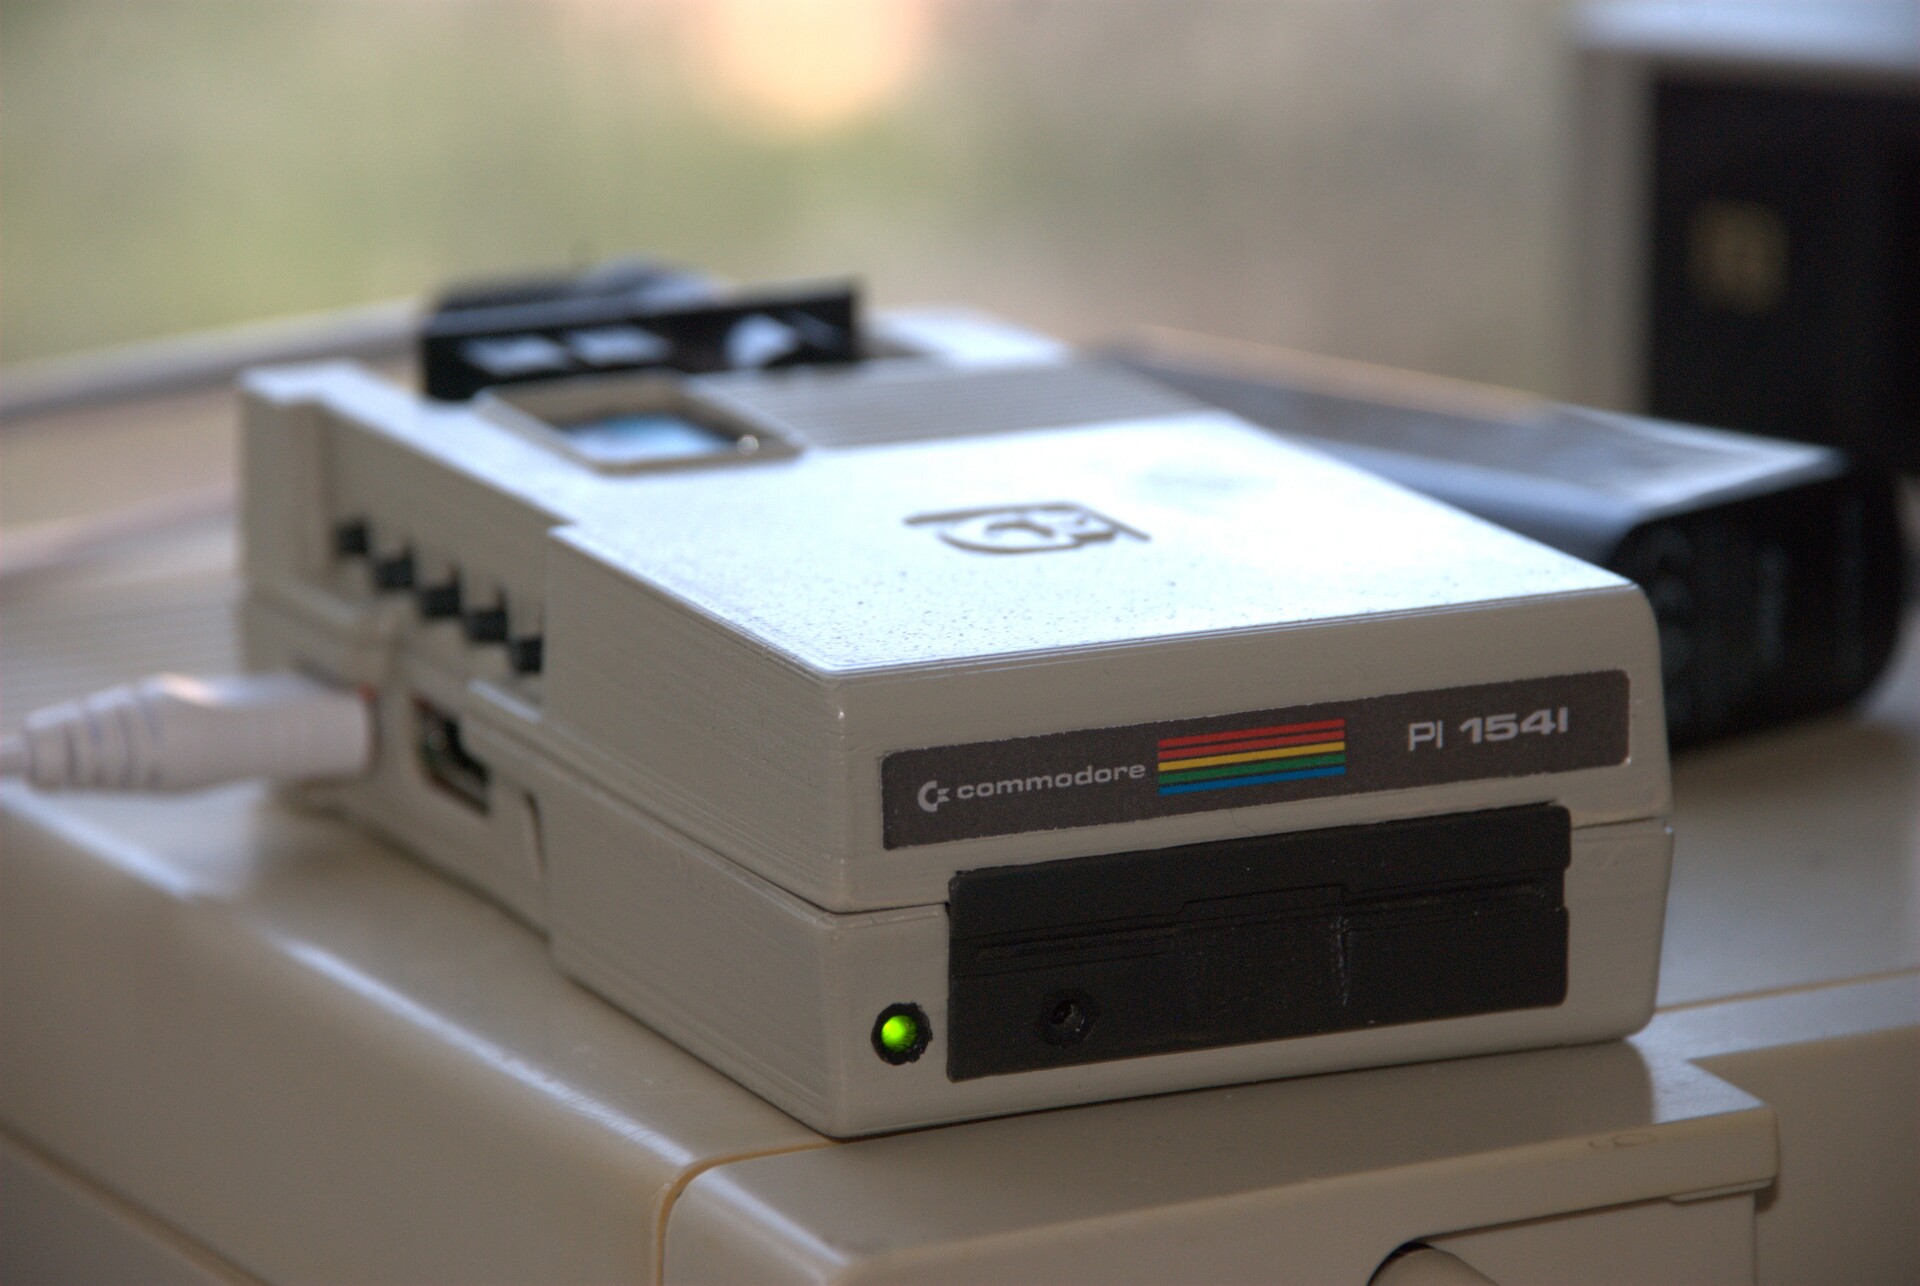
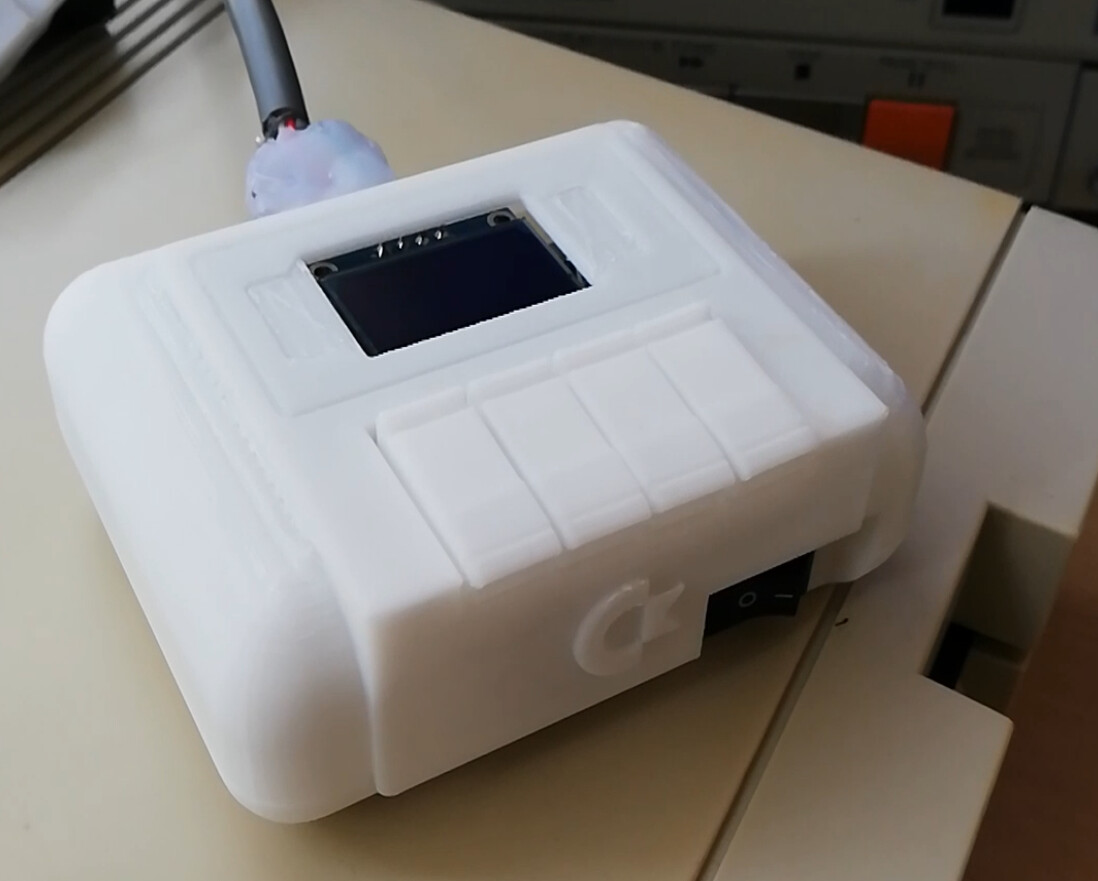
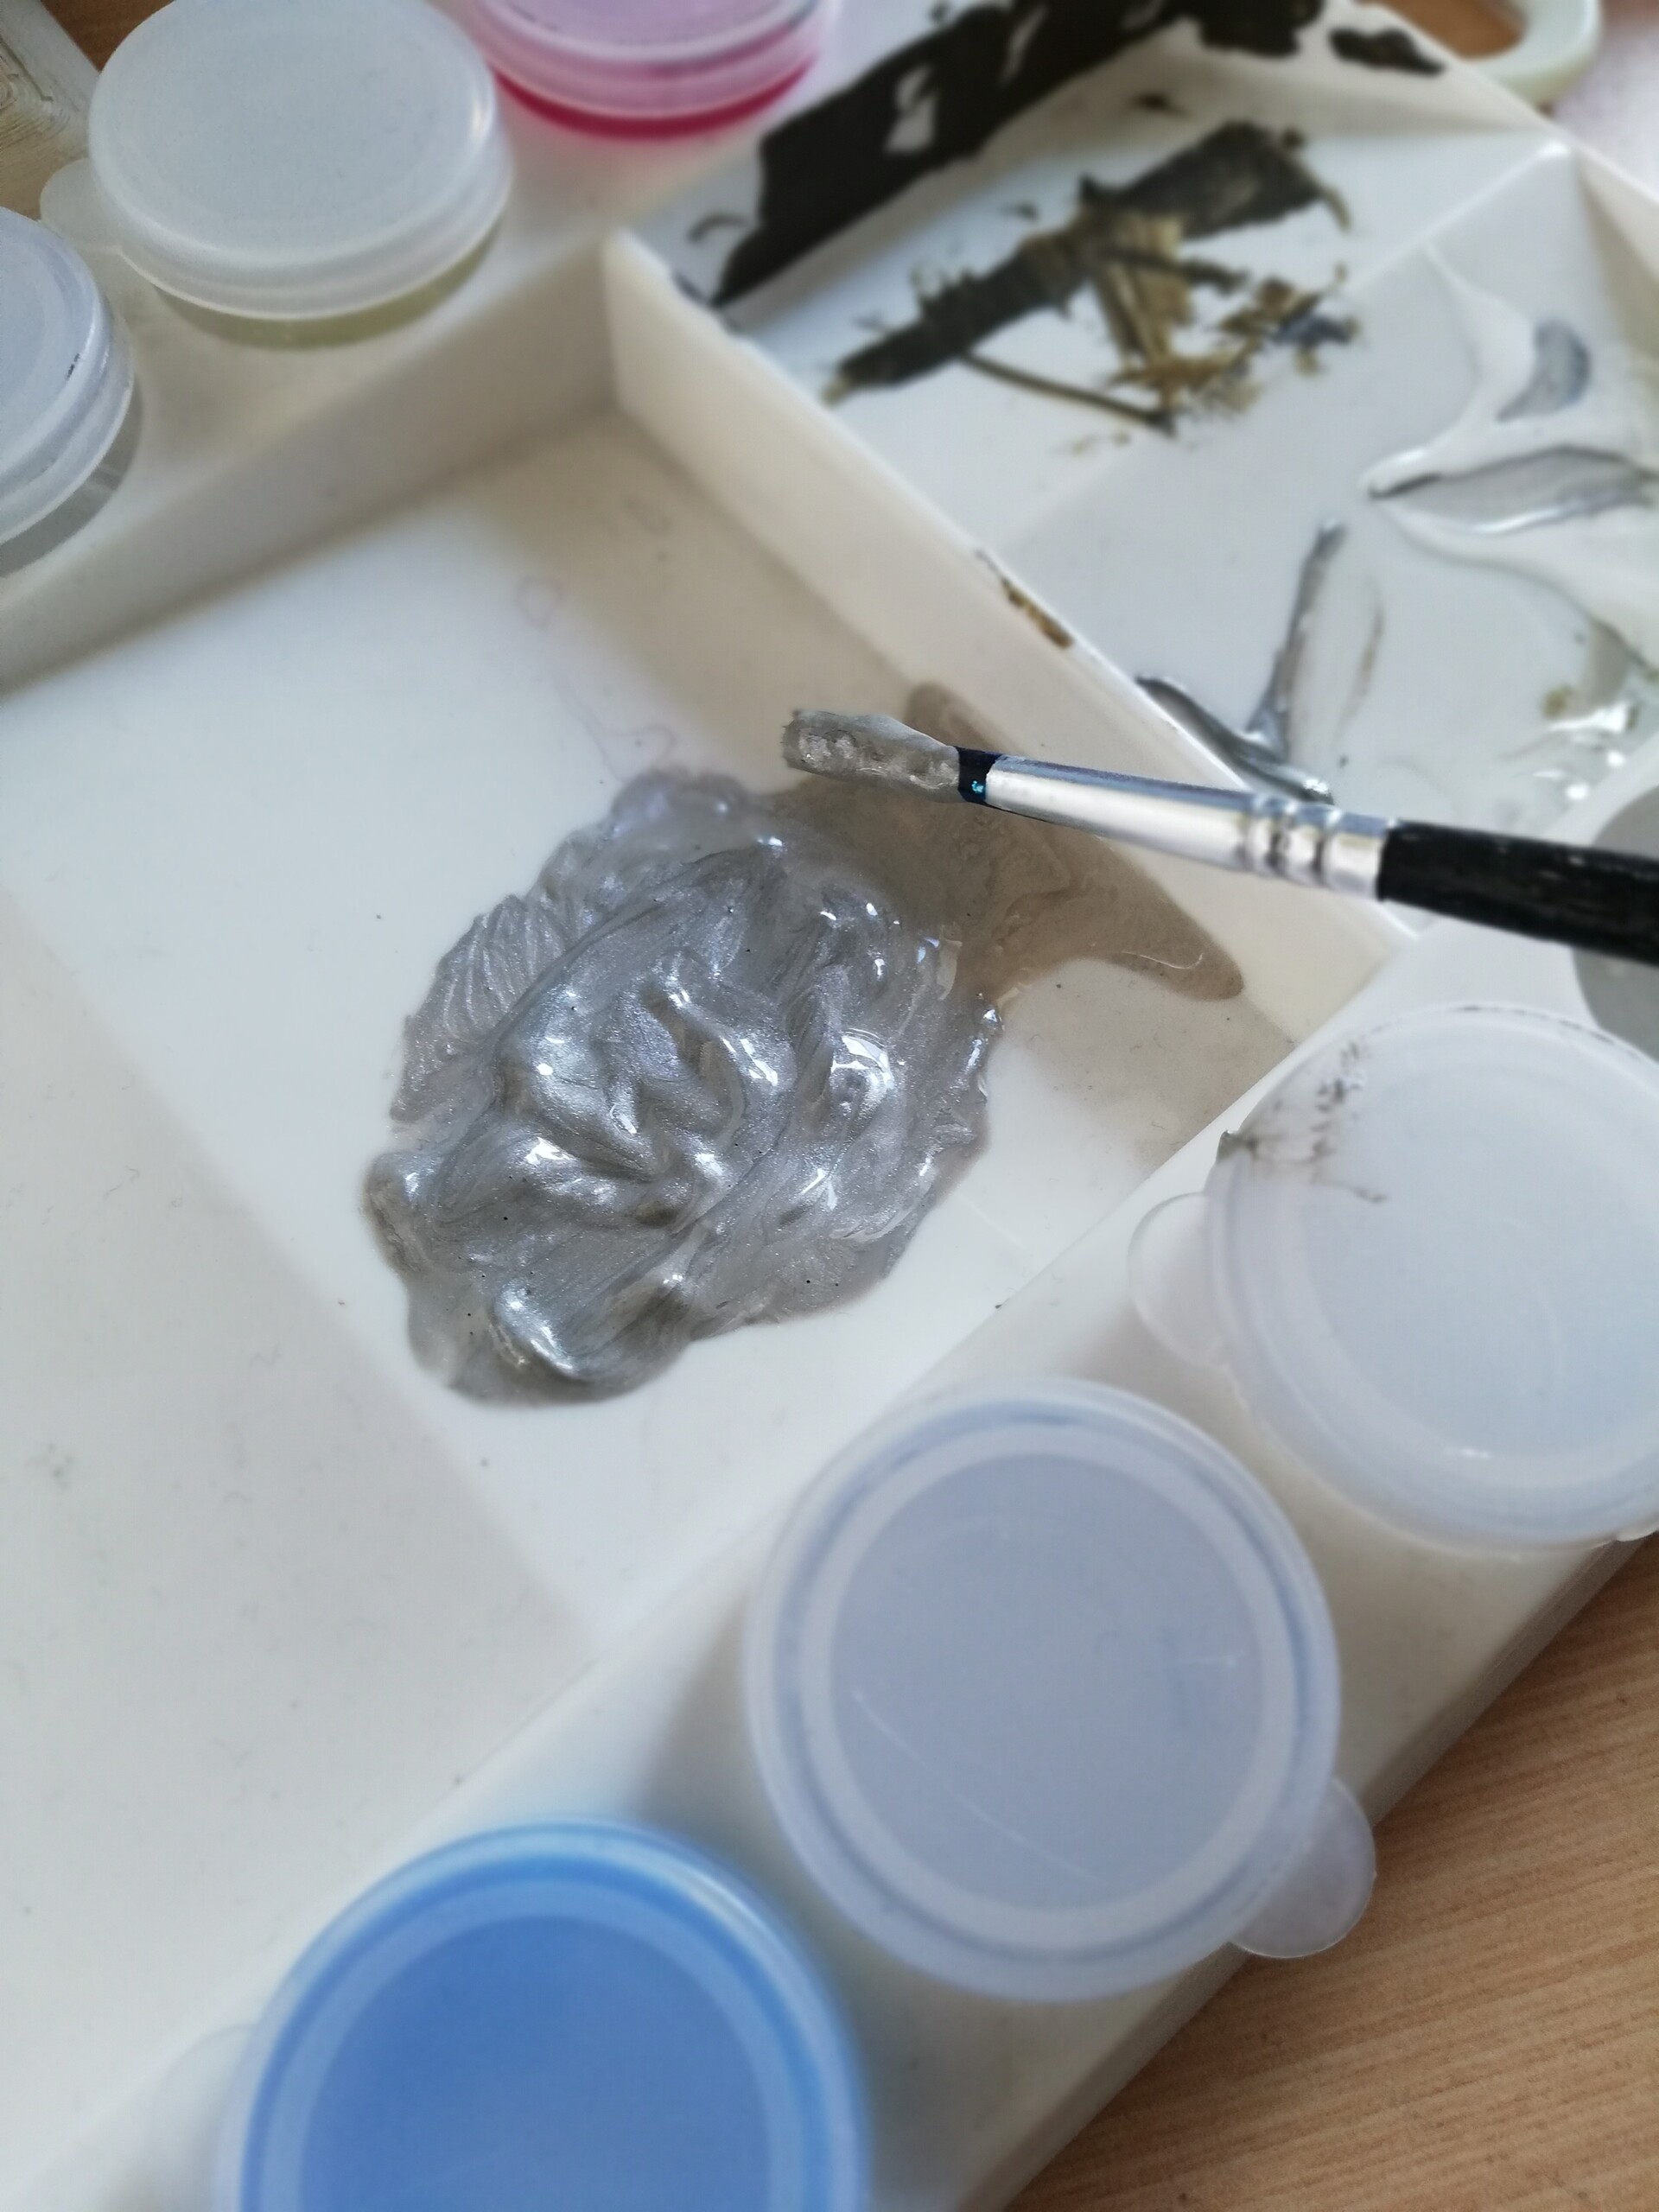
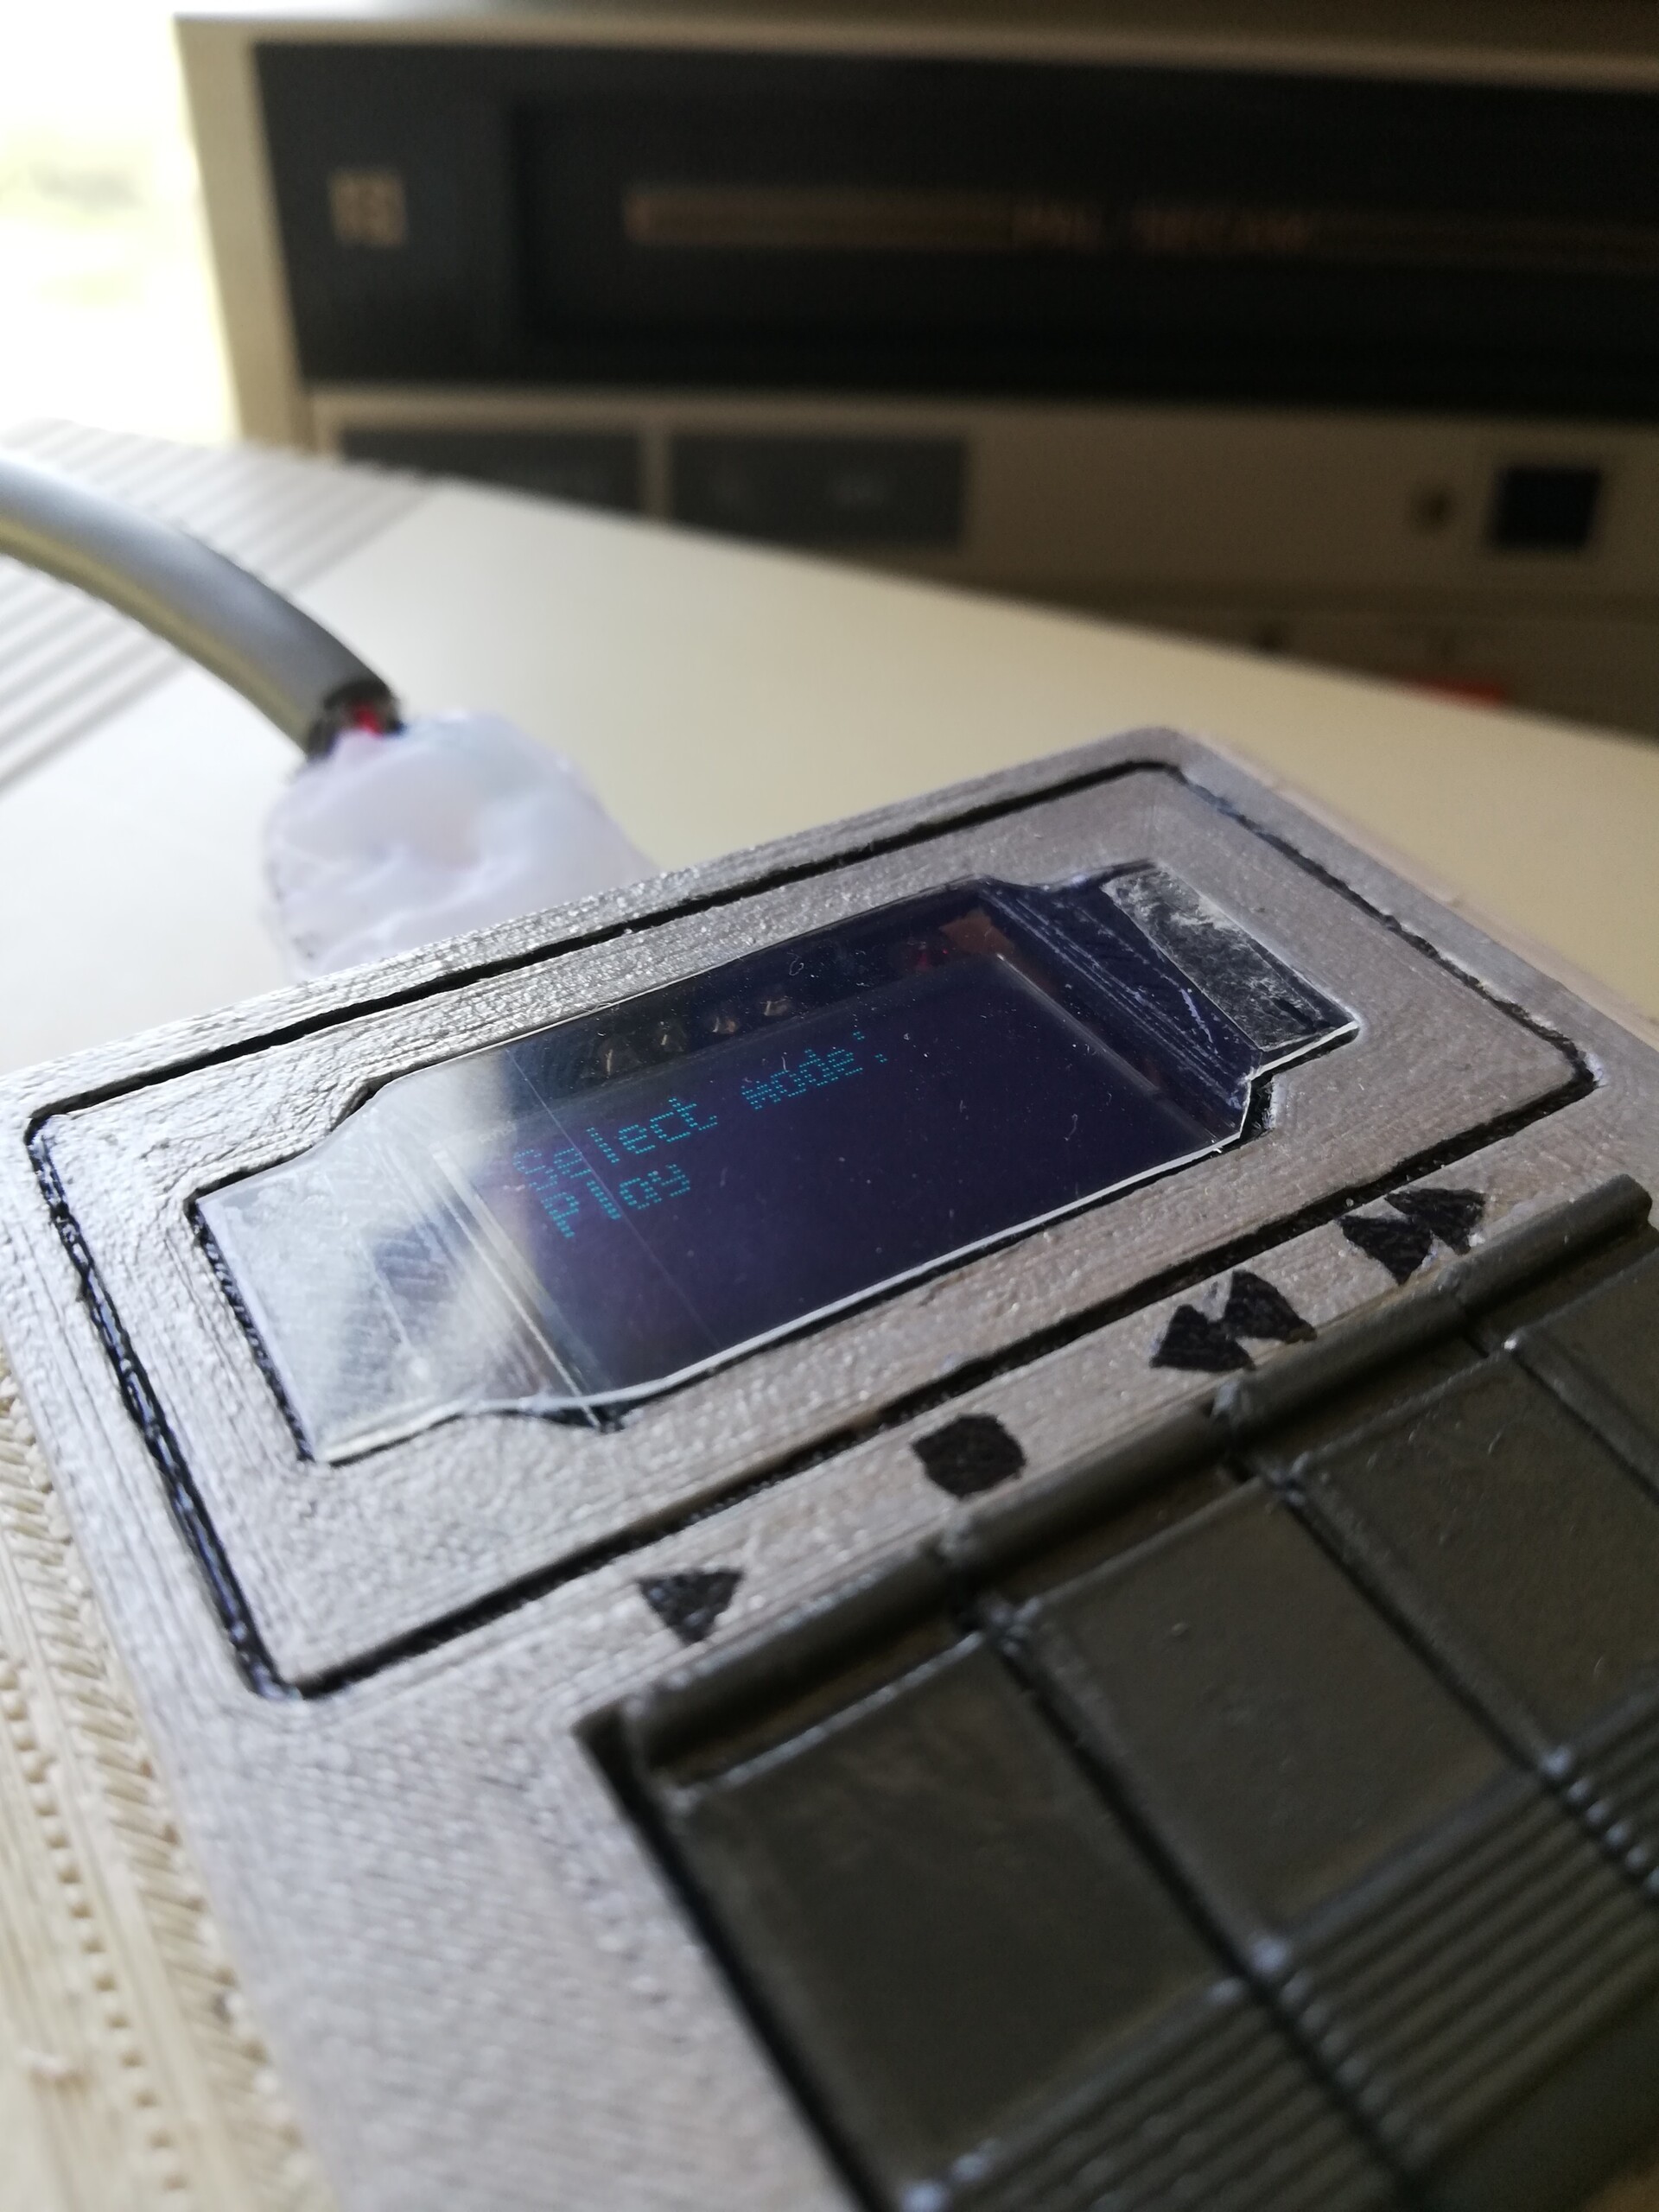
I designed the LED window as a Commodore logo and used some foam behind the window to make the light scatter inside to get soft and well distributed light. 
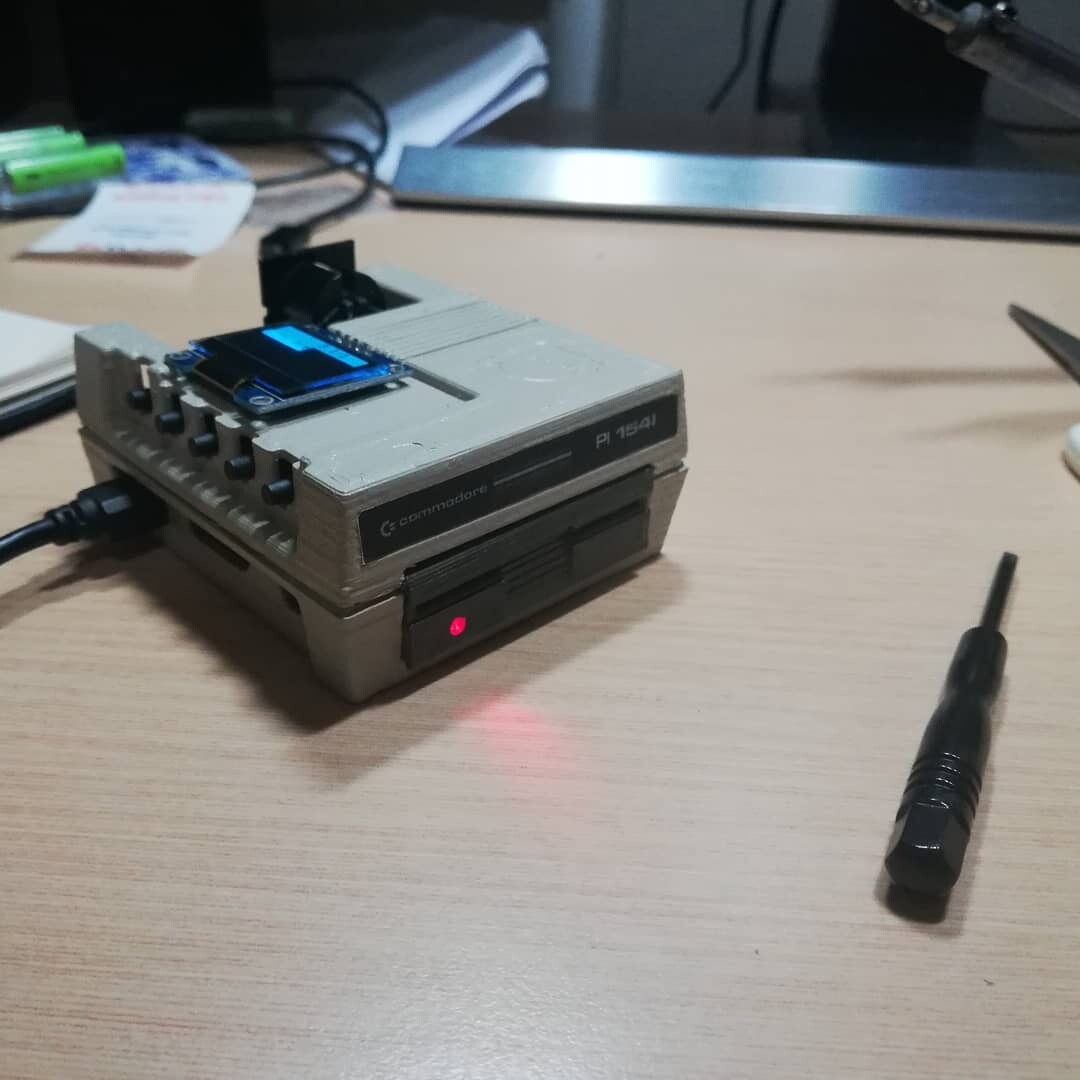
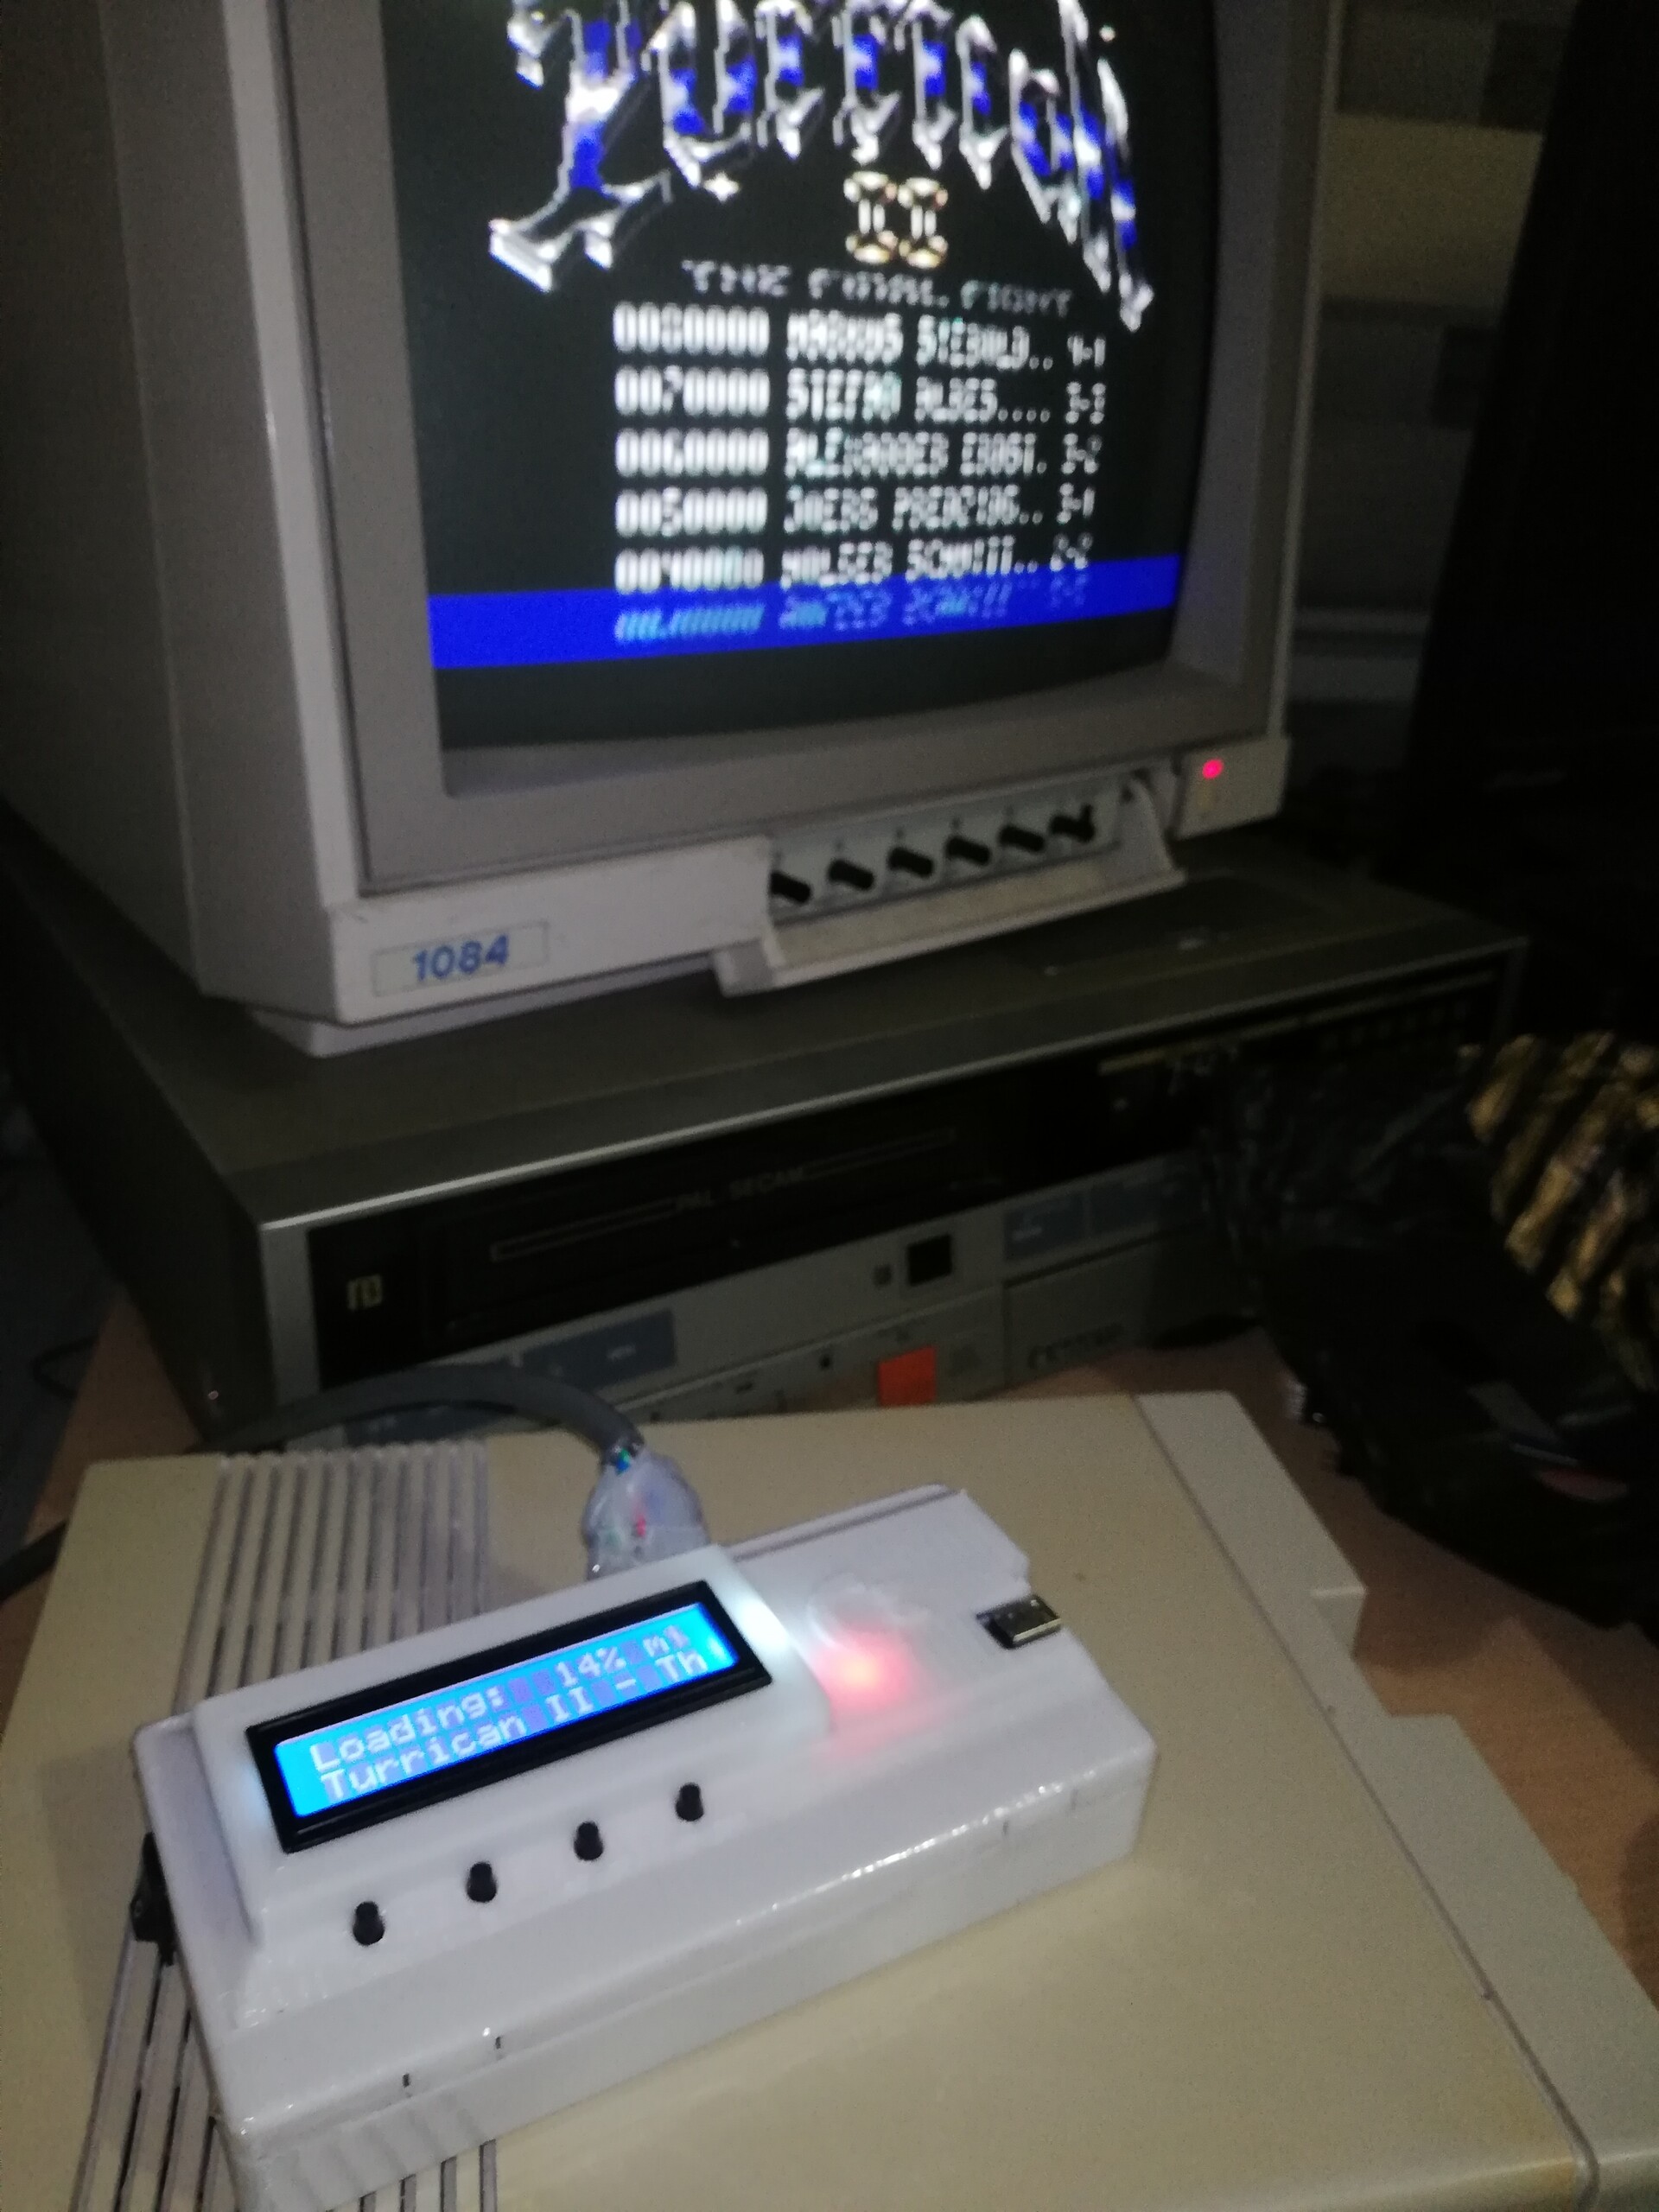
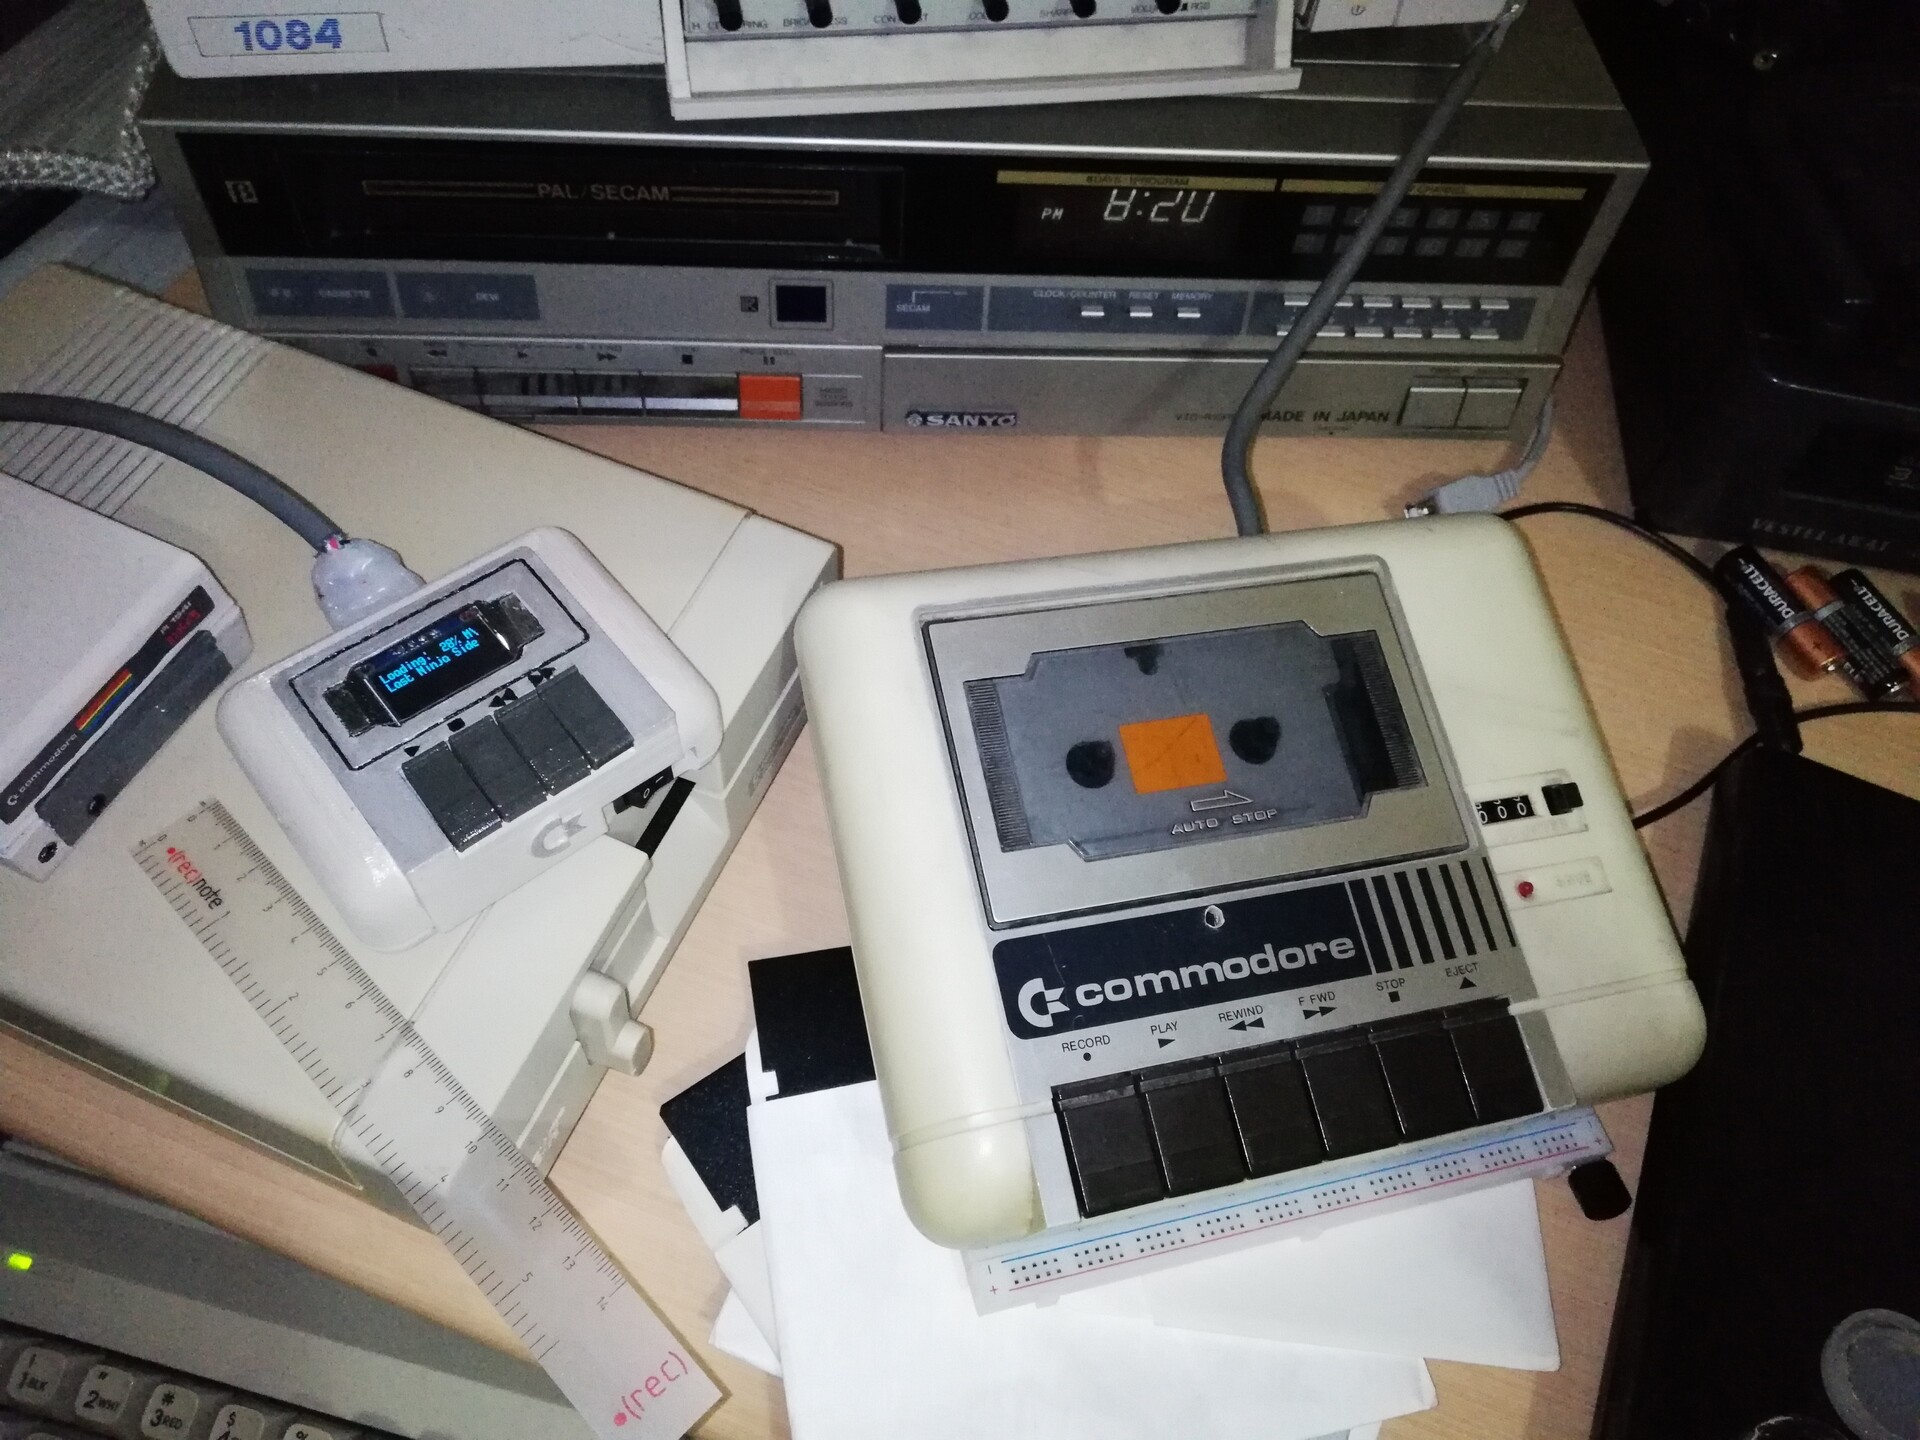


Result is amazing!


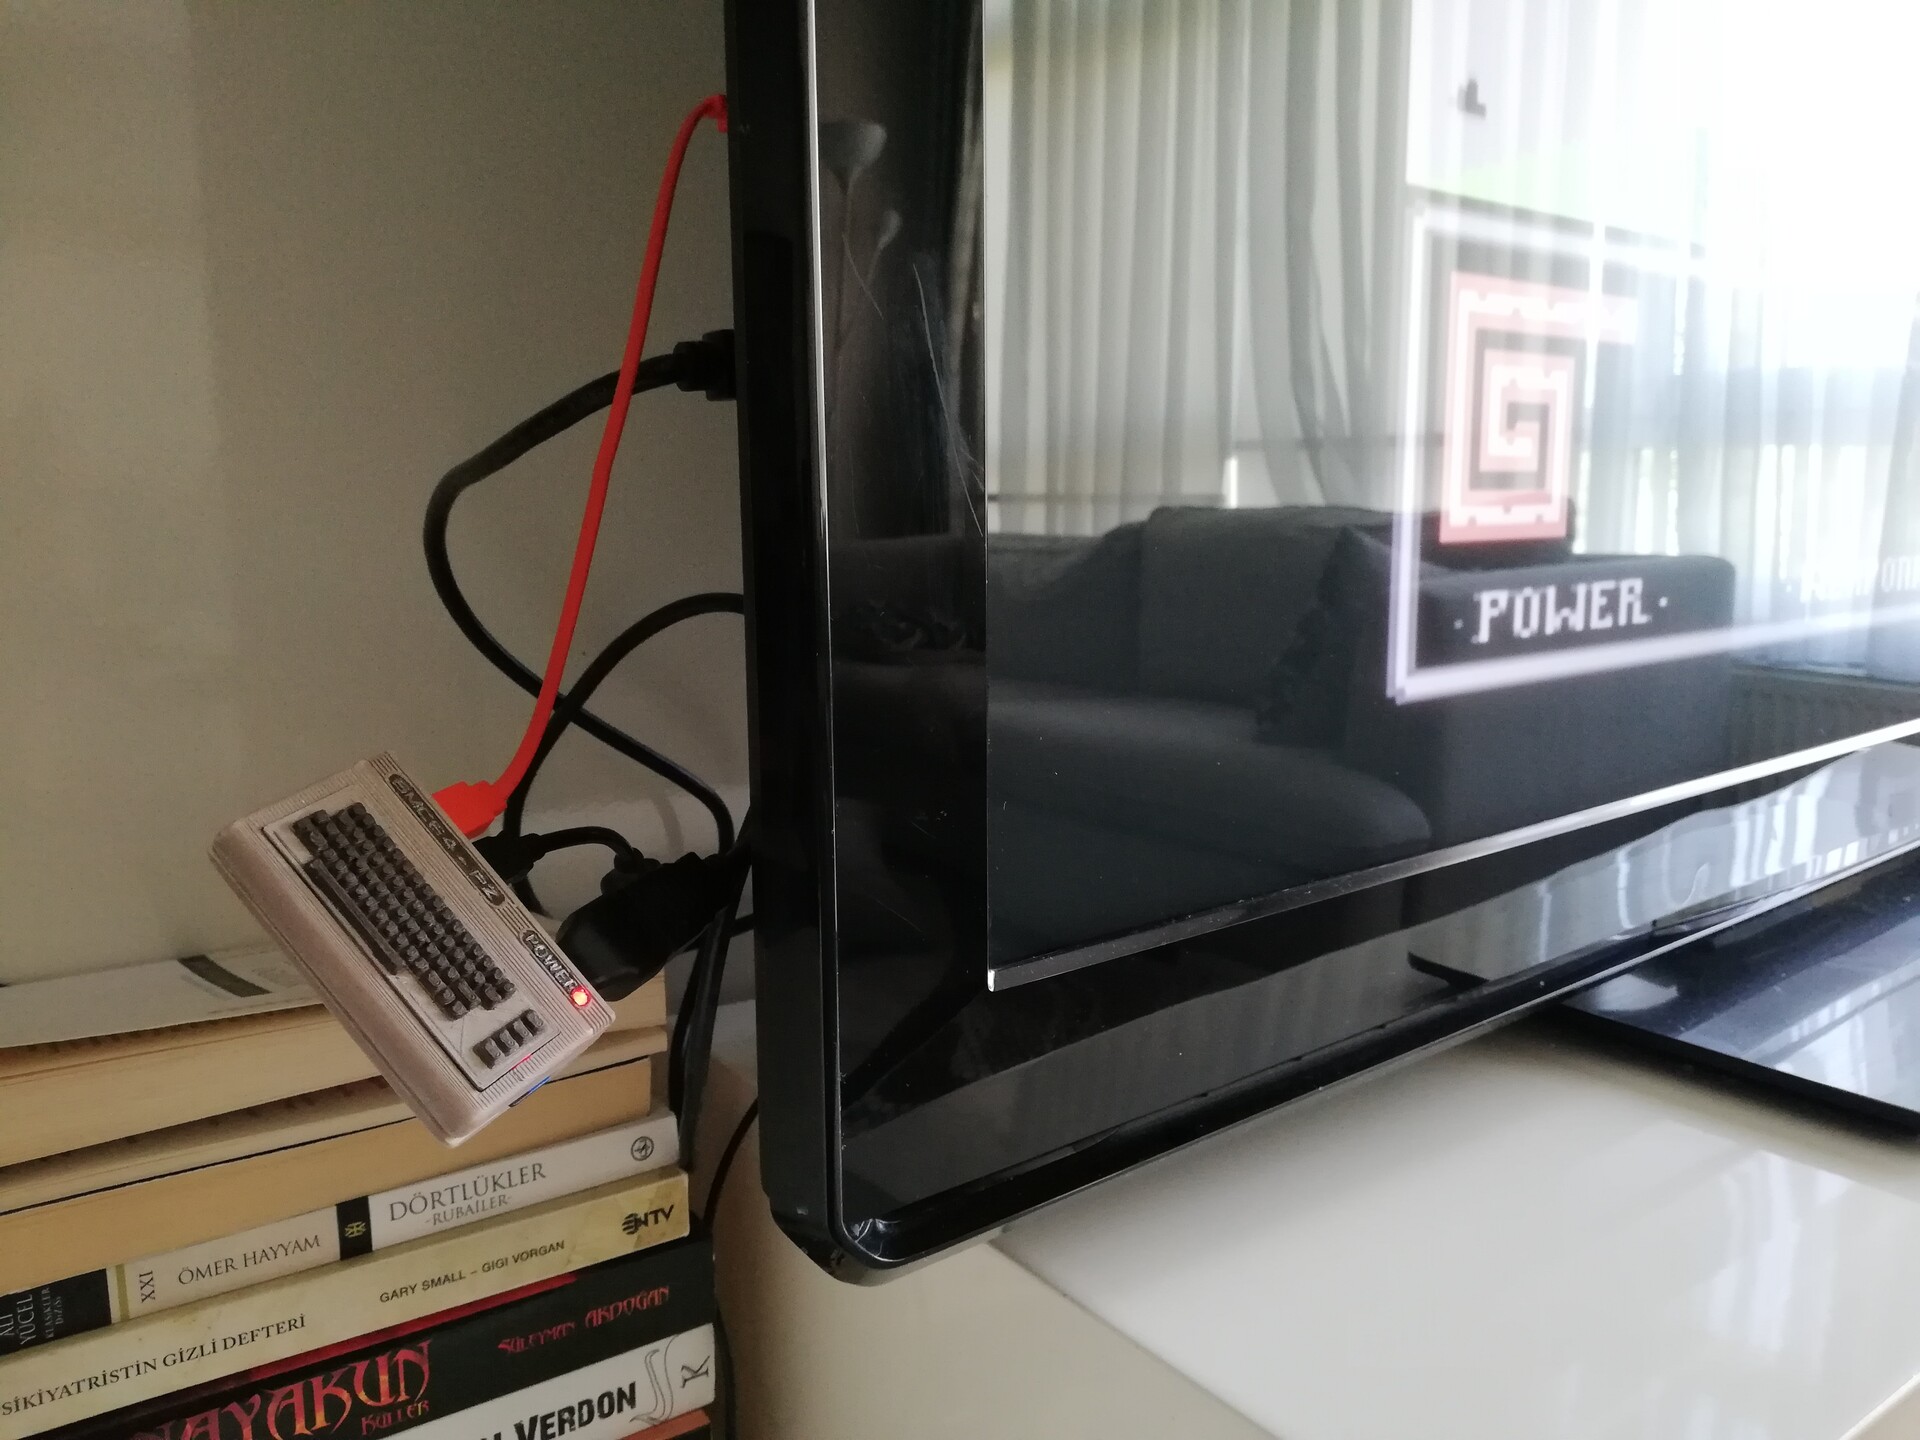
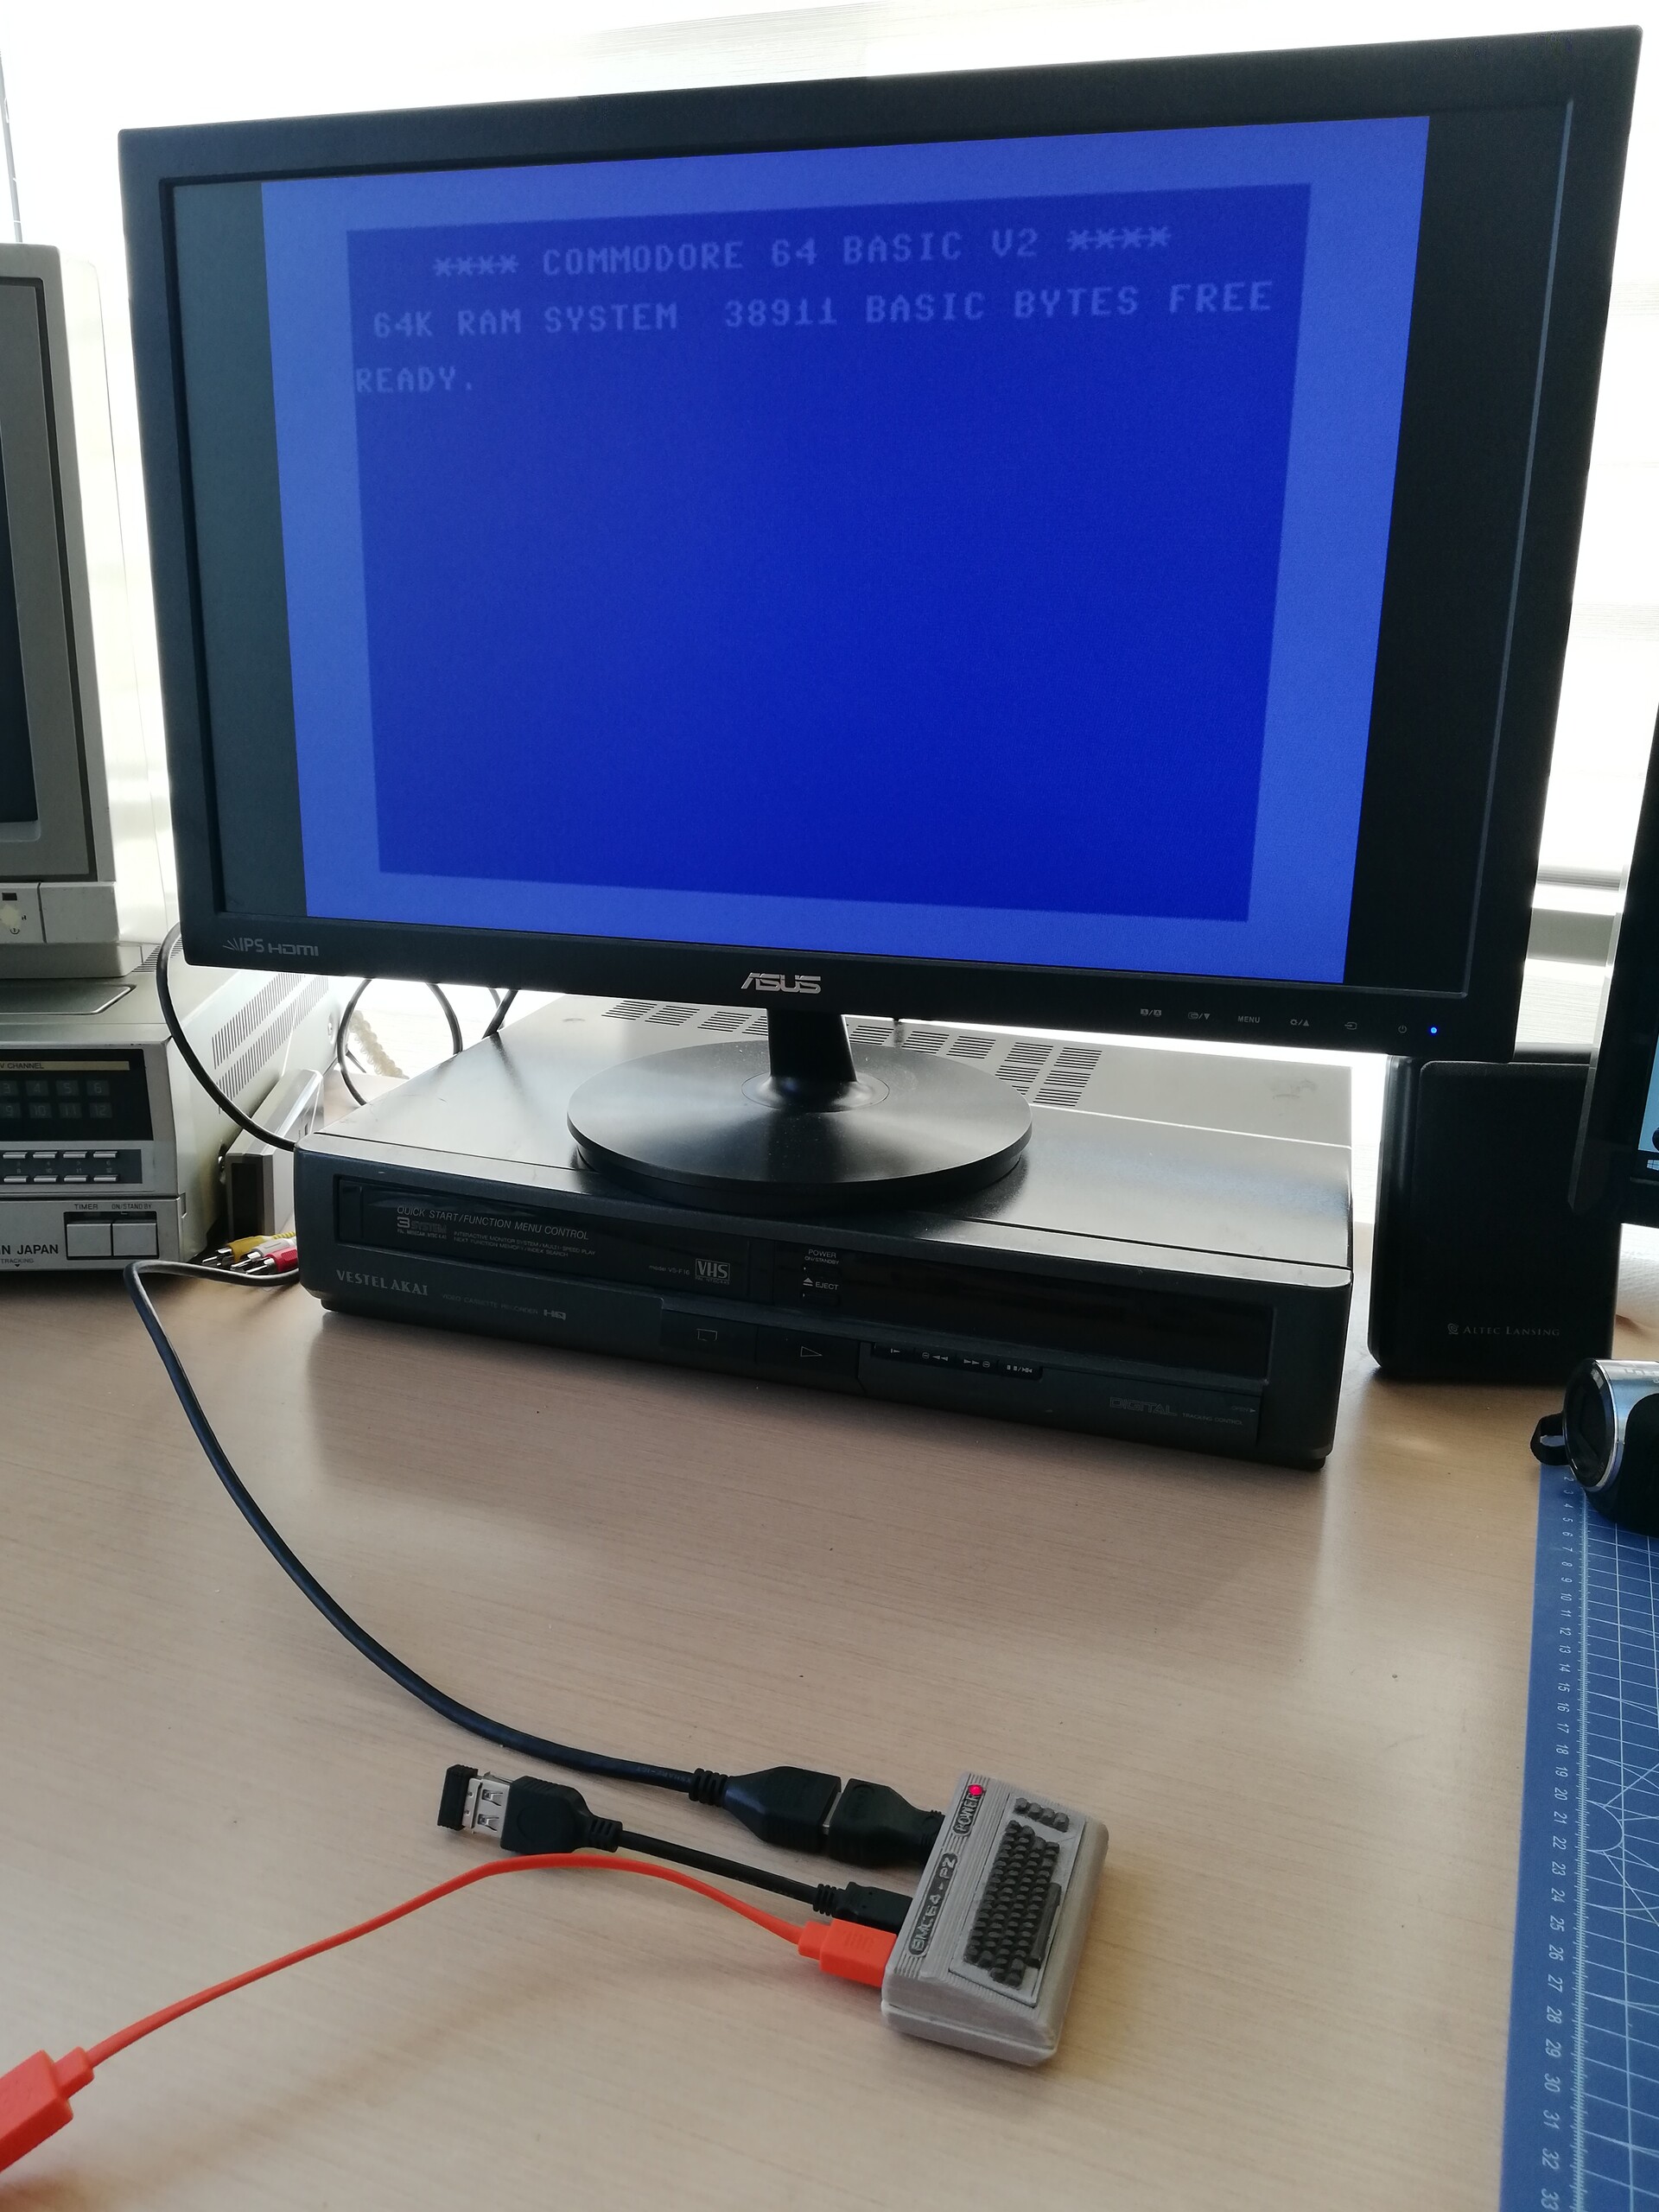
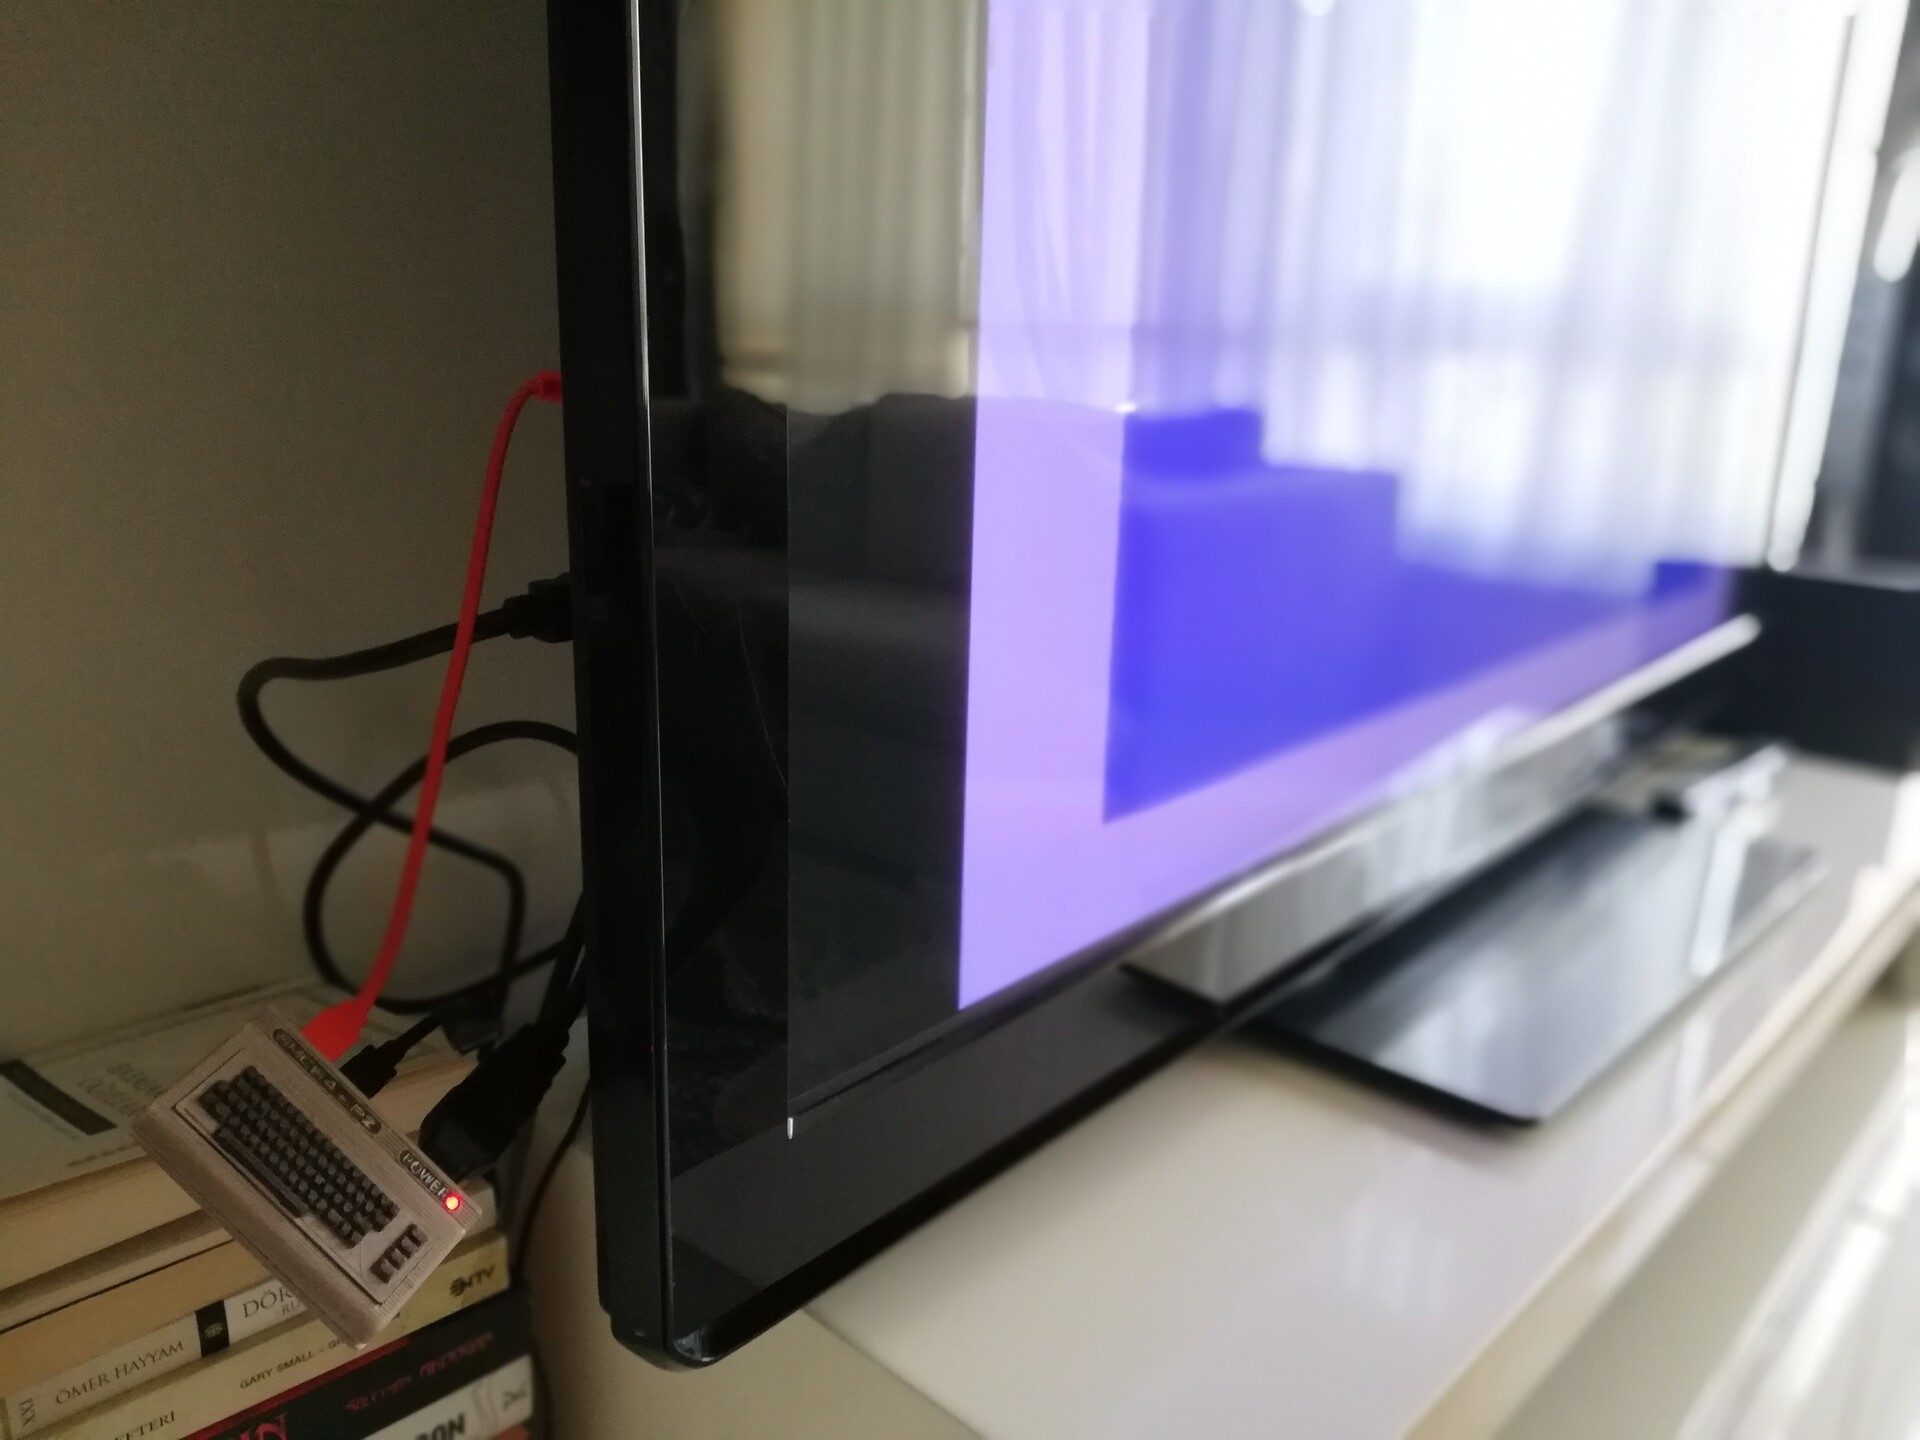
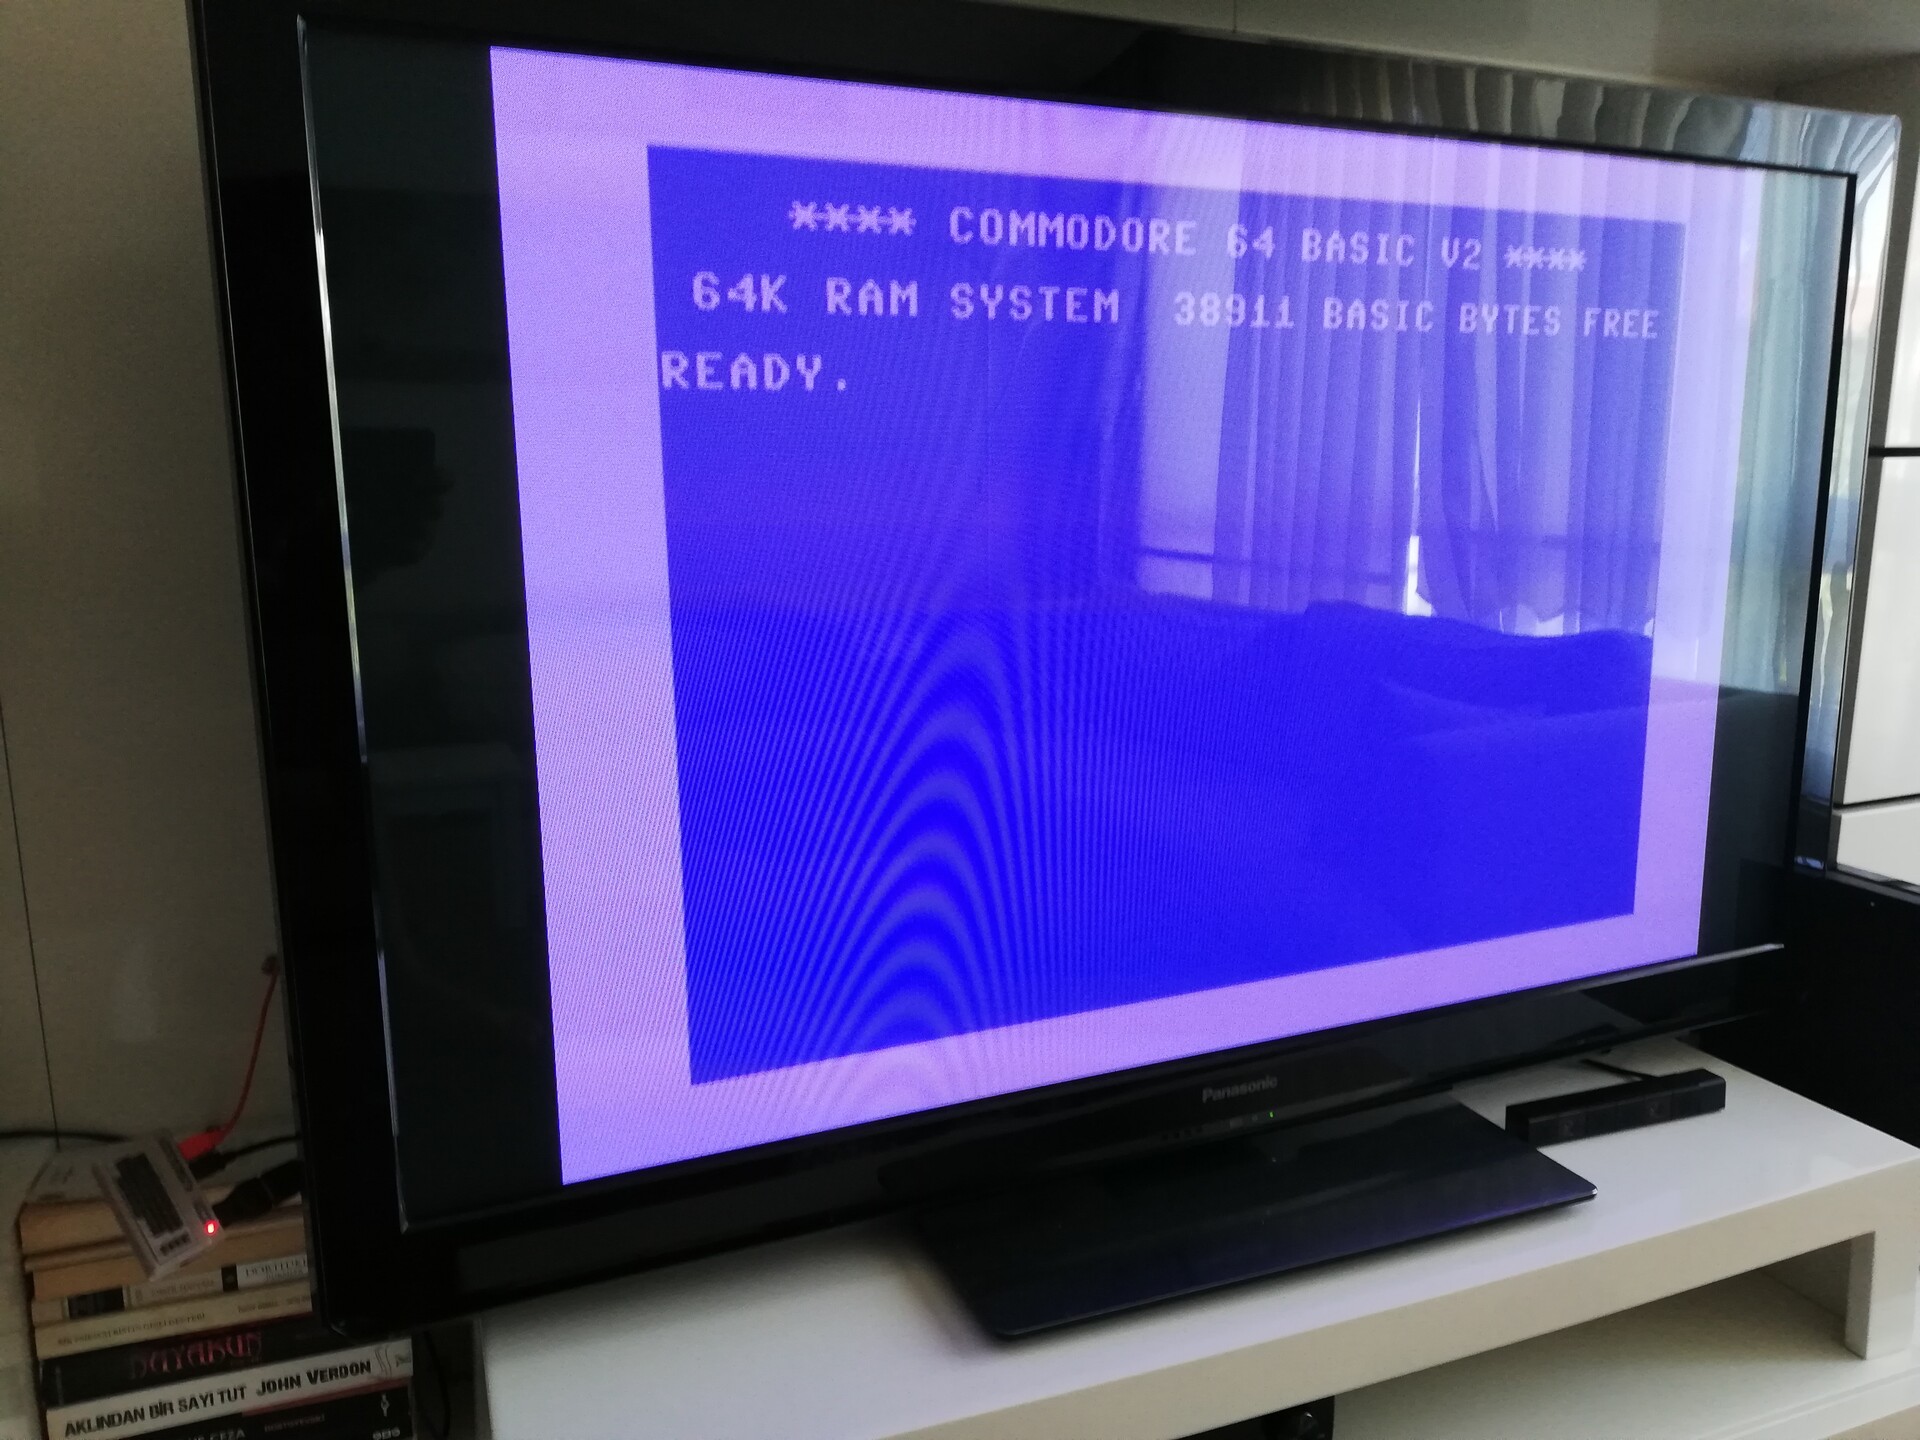
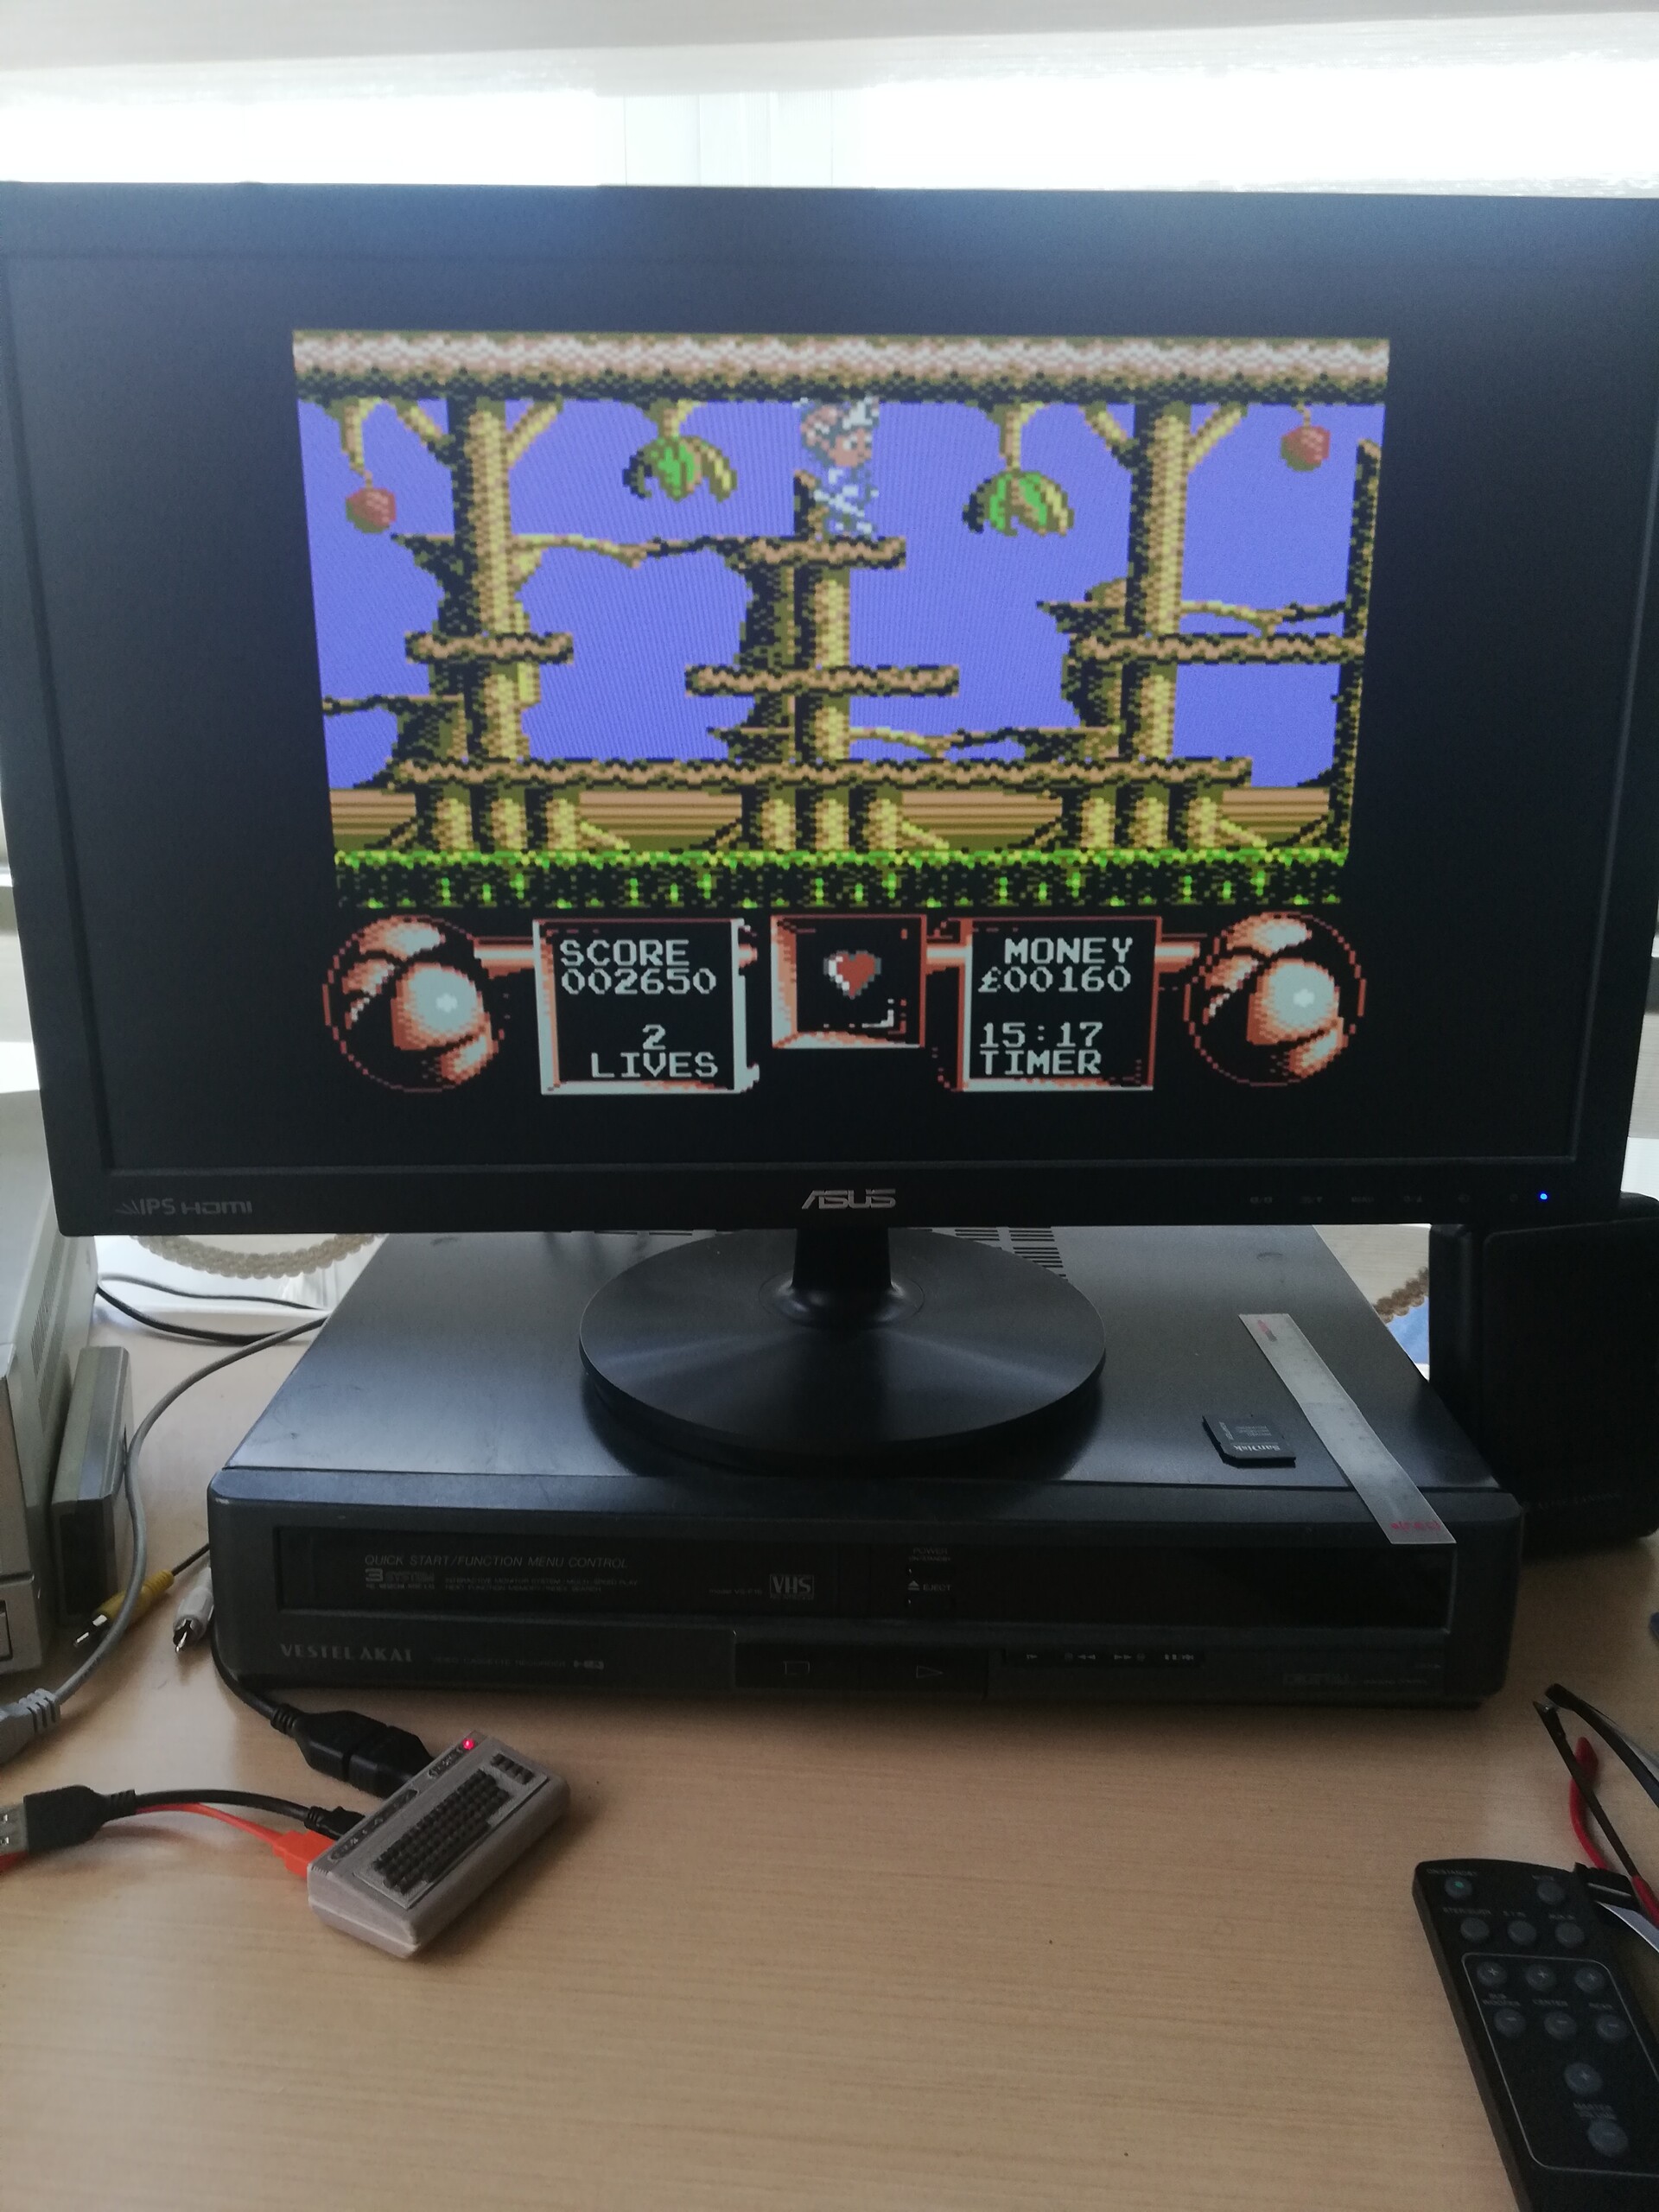
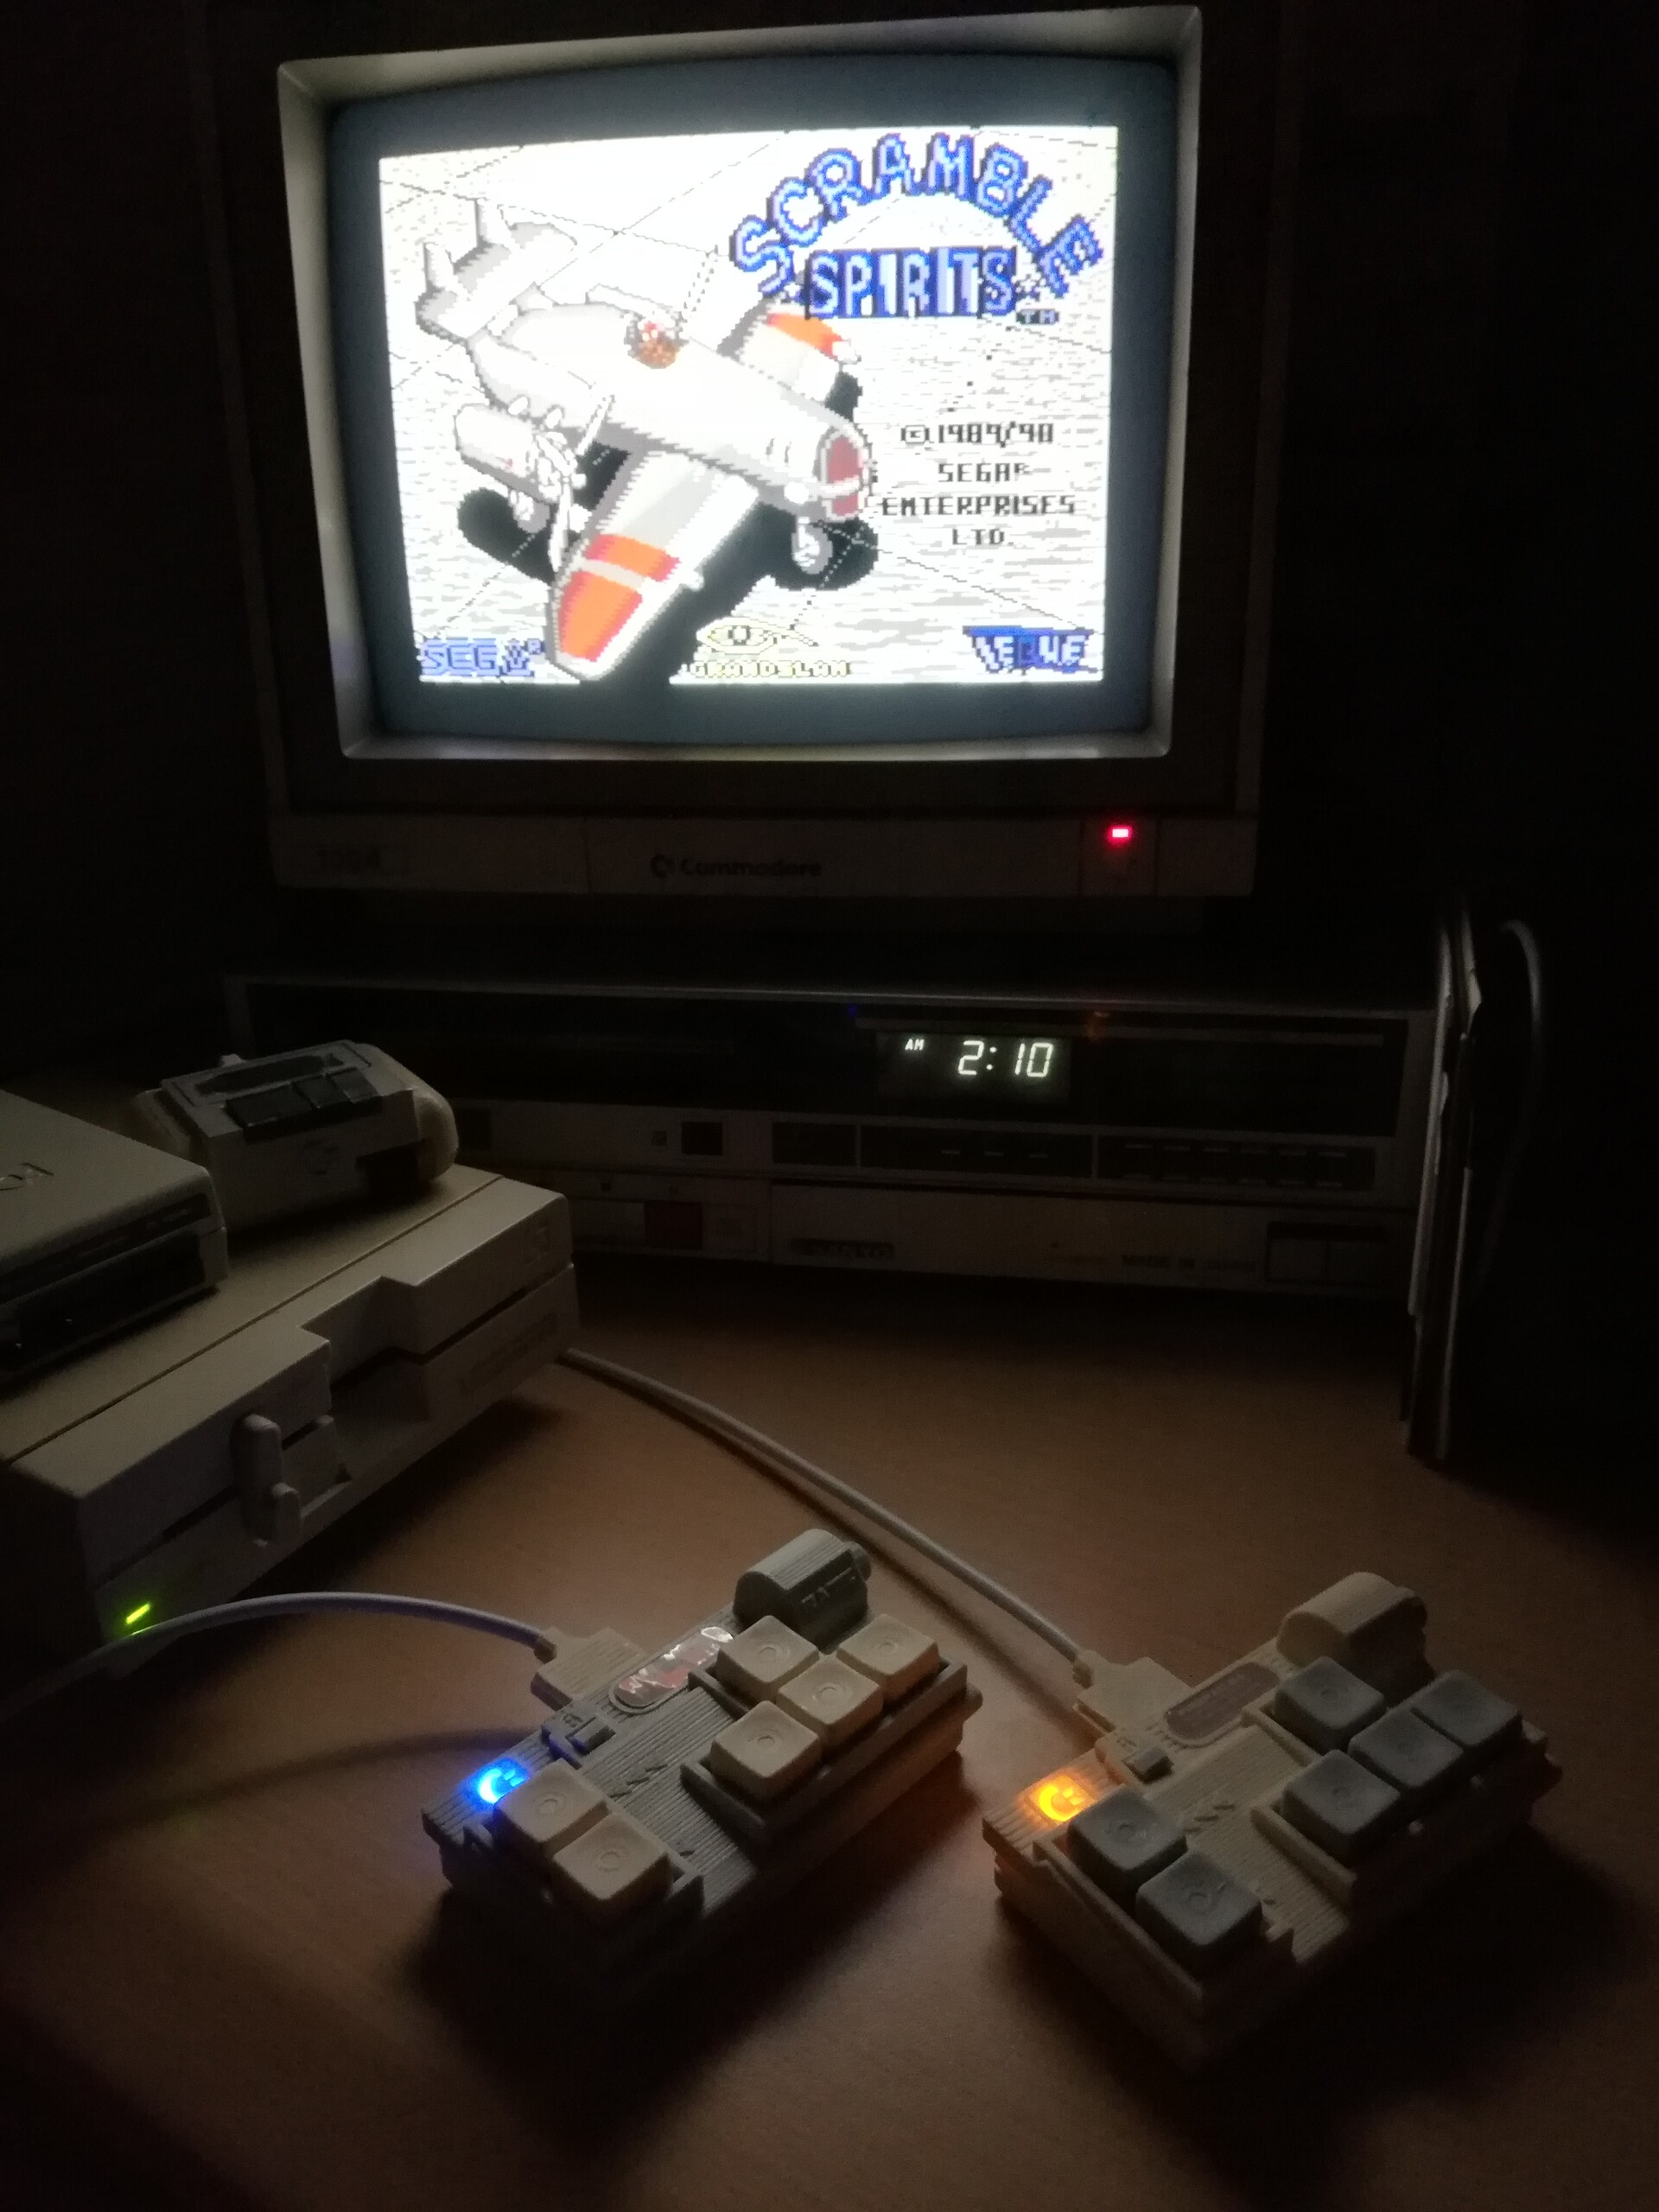
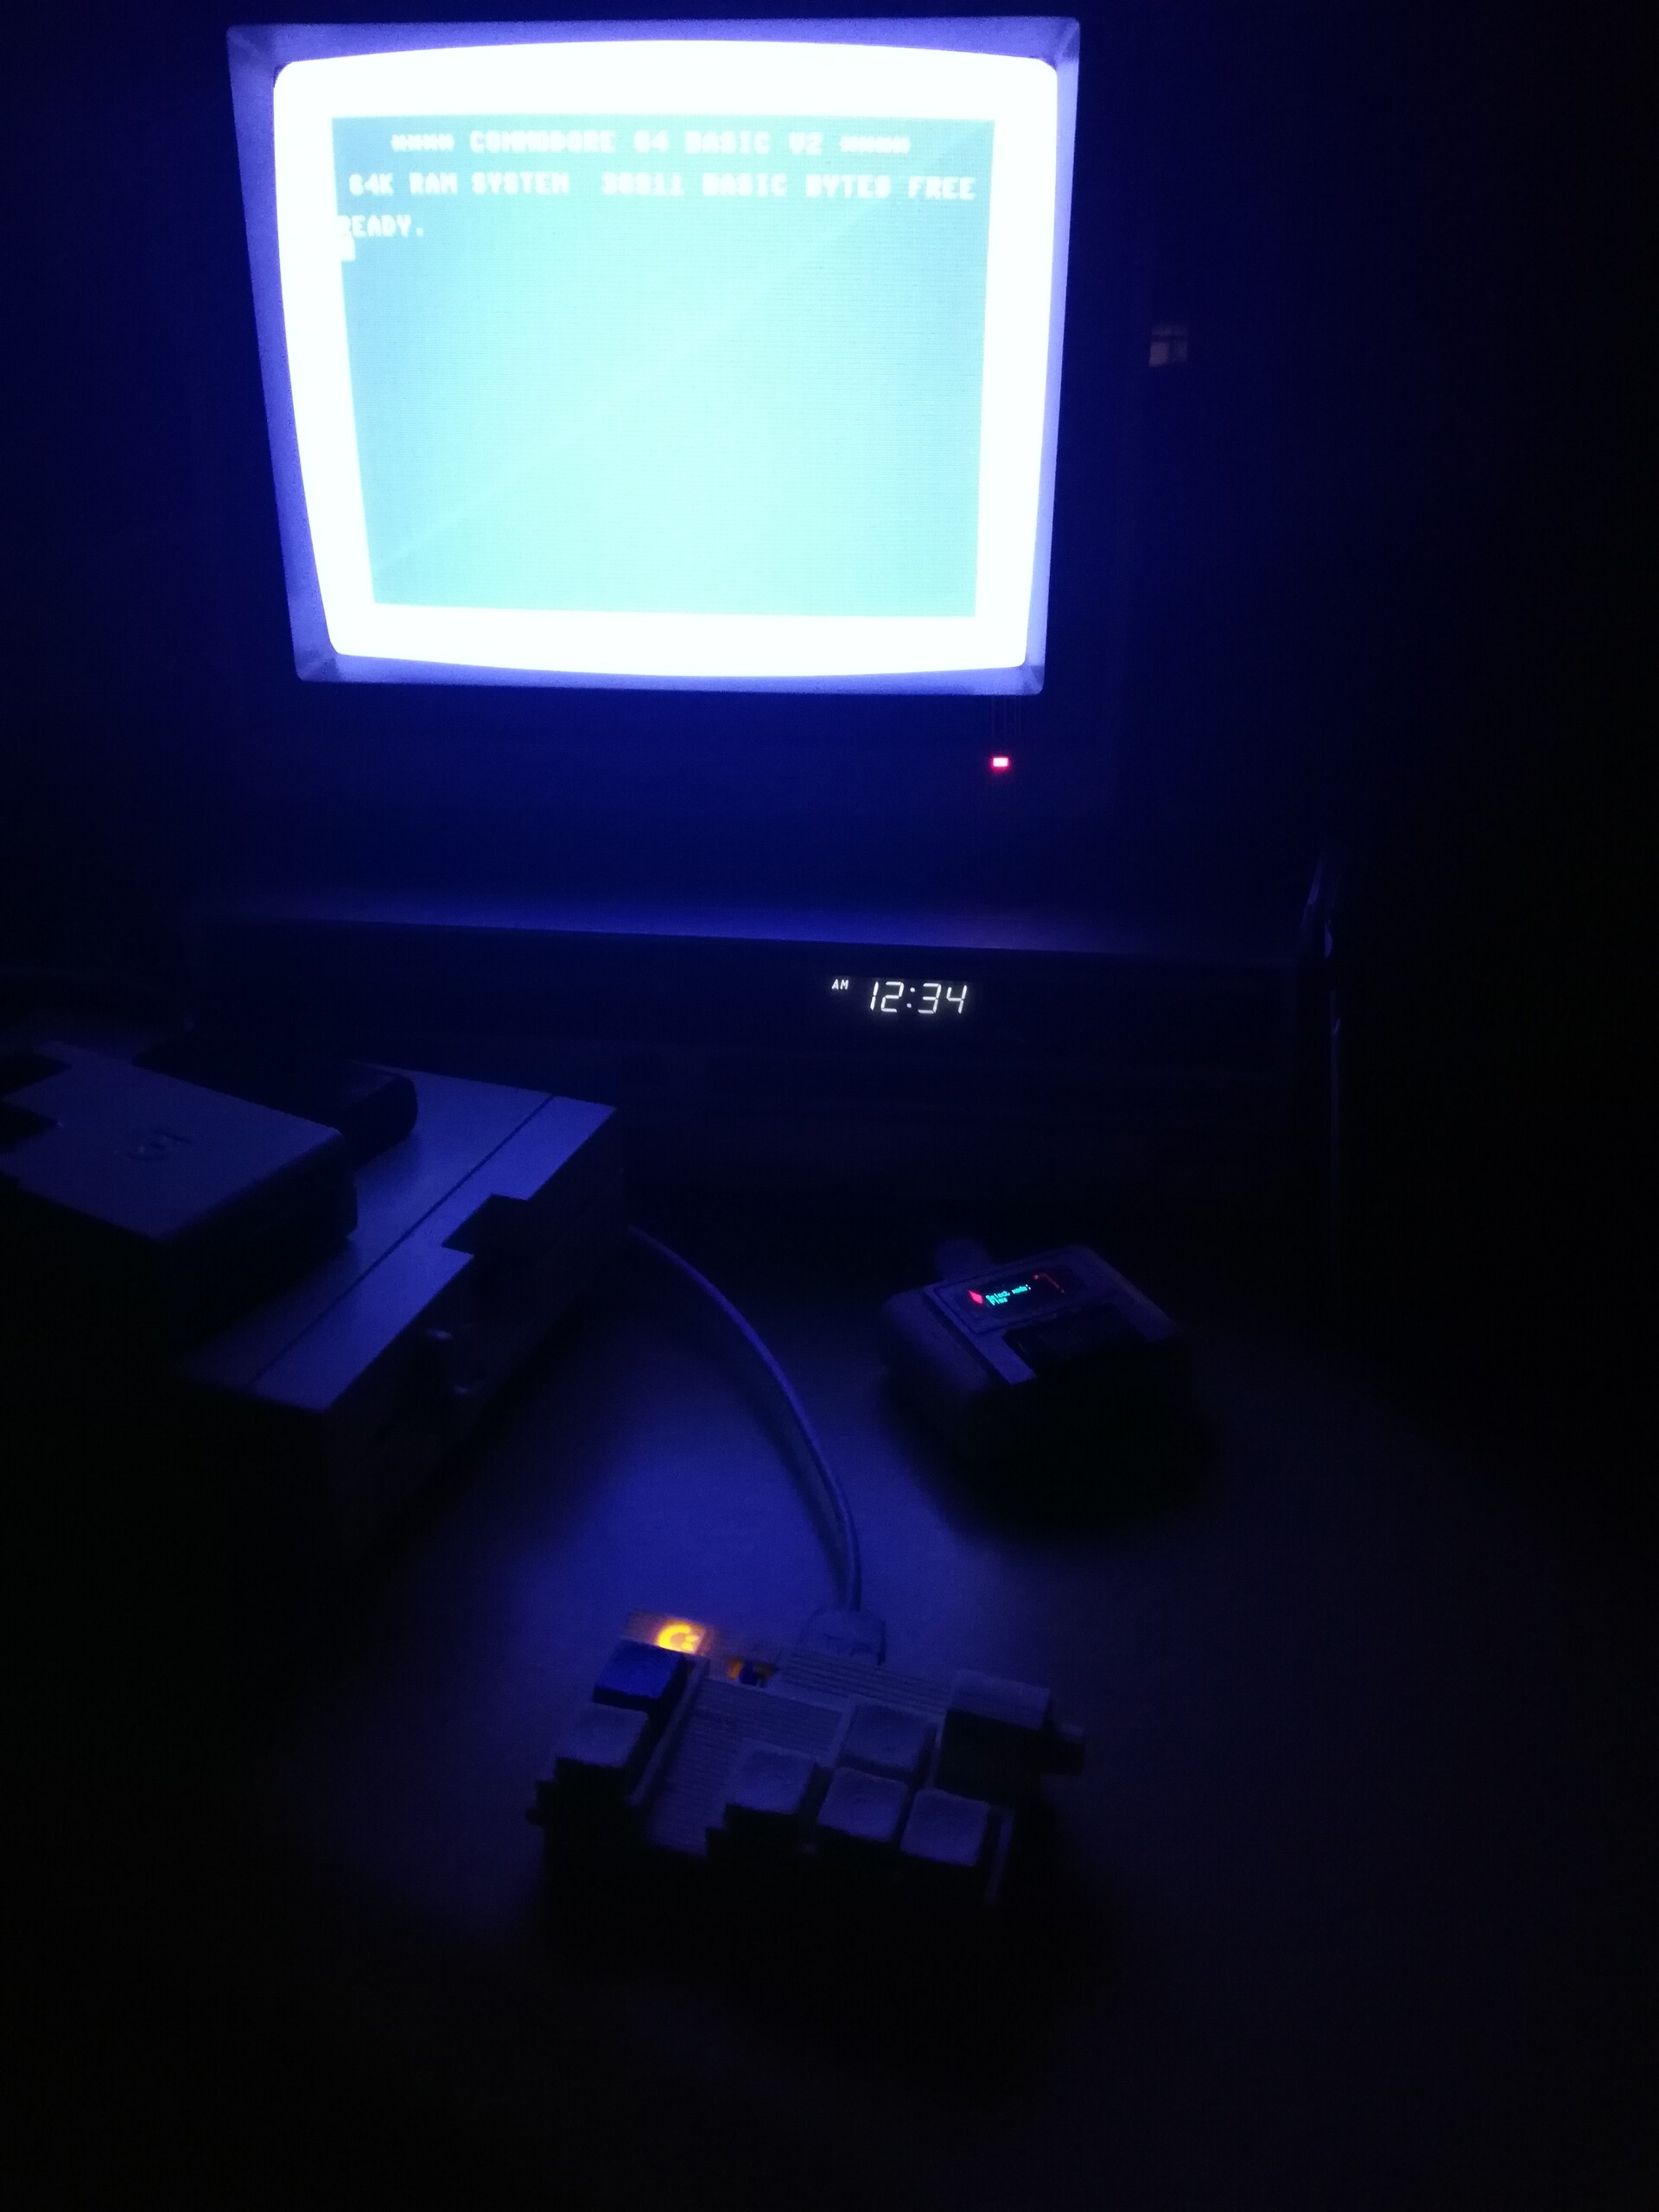
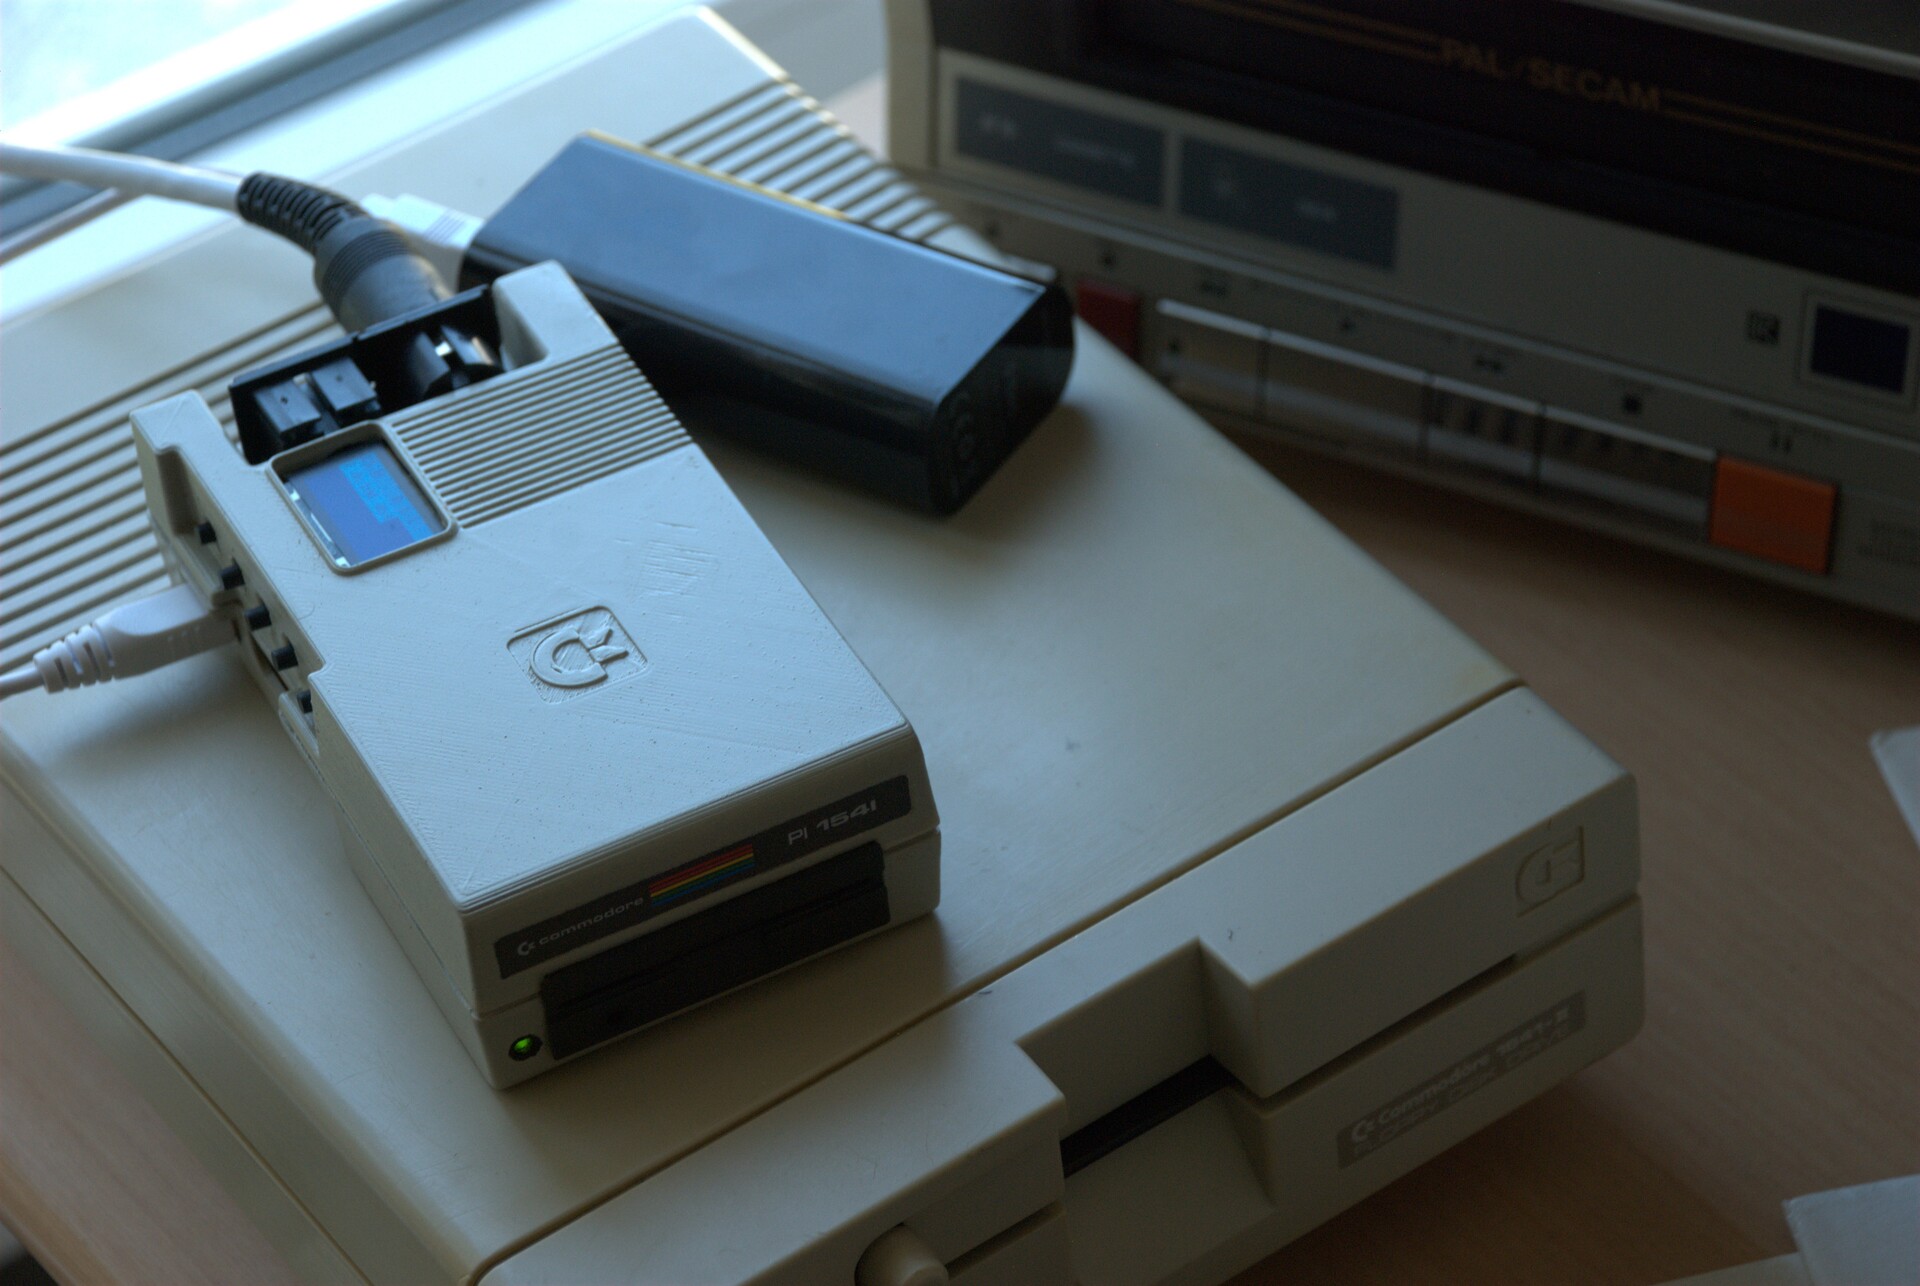
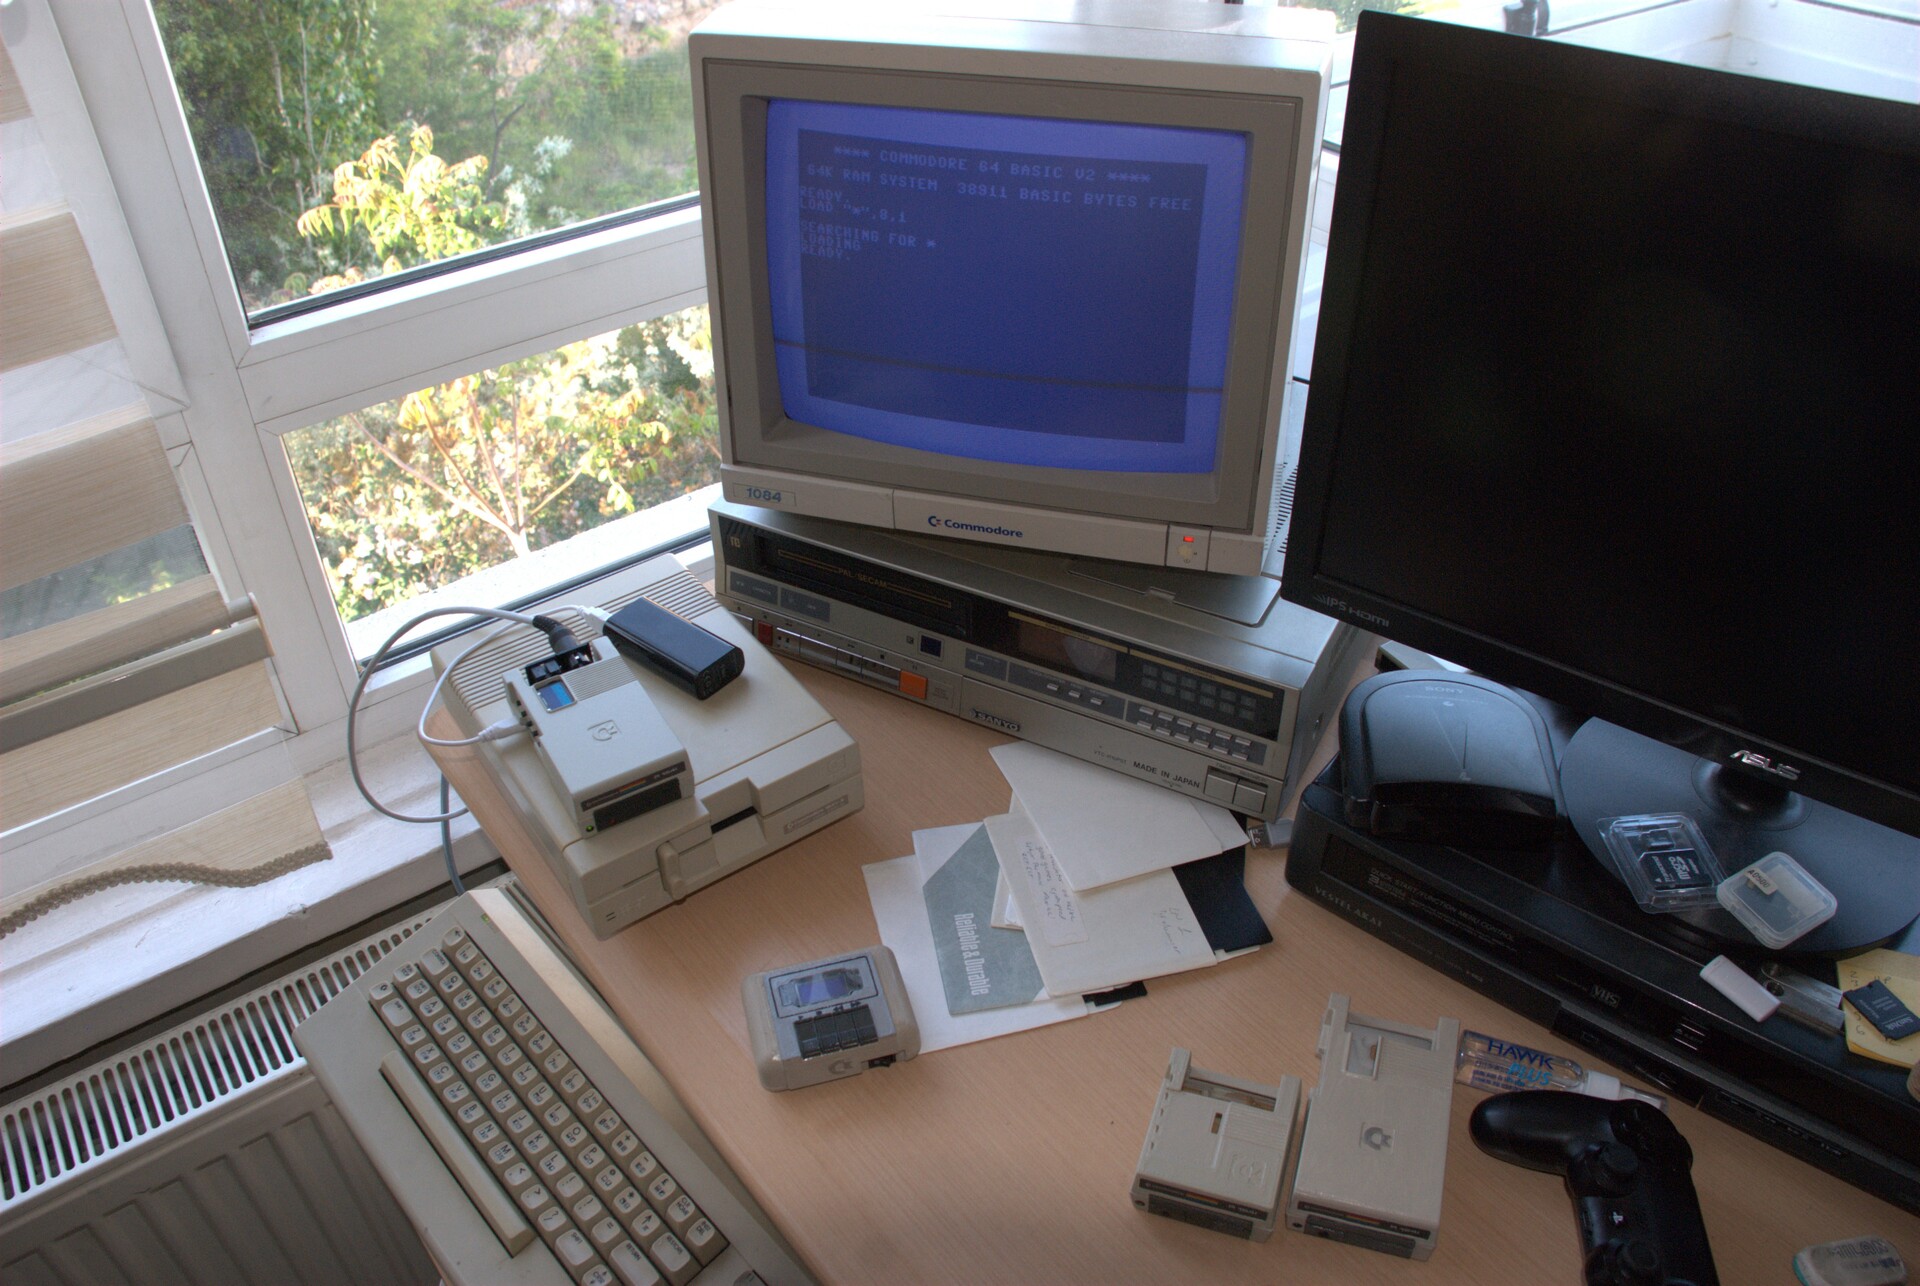
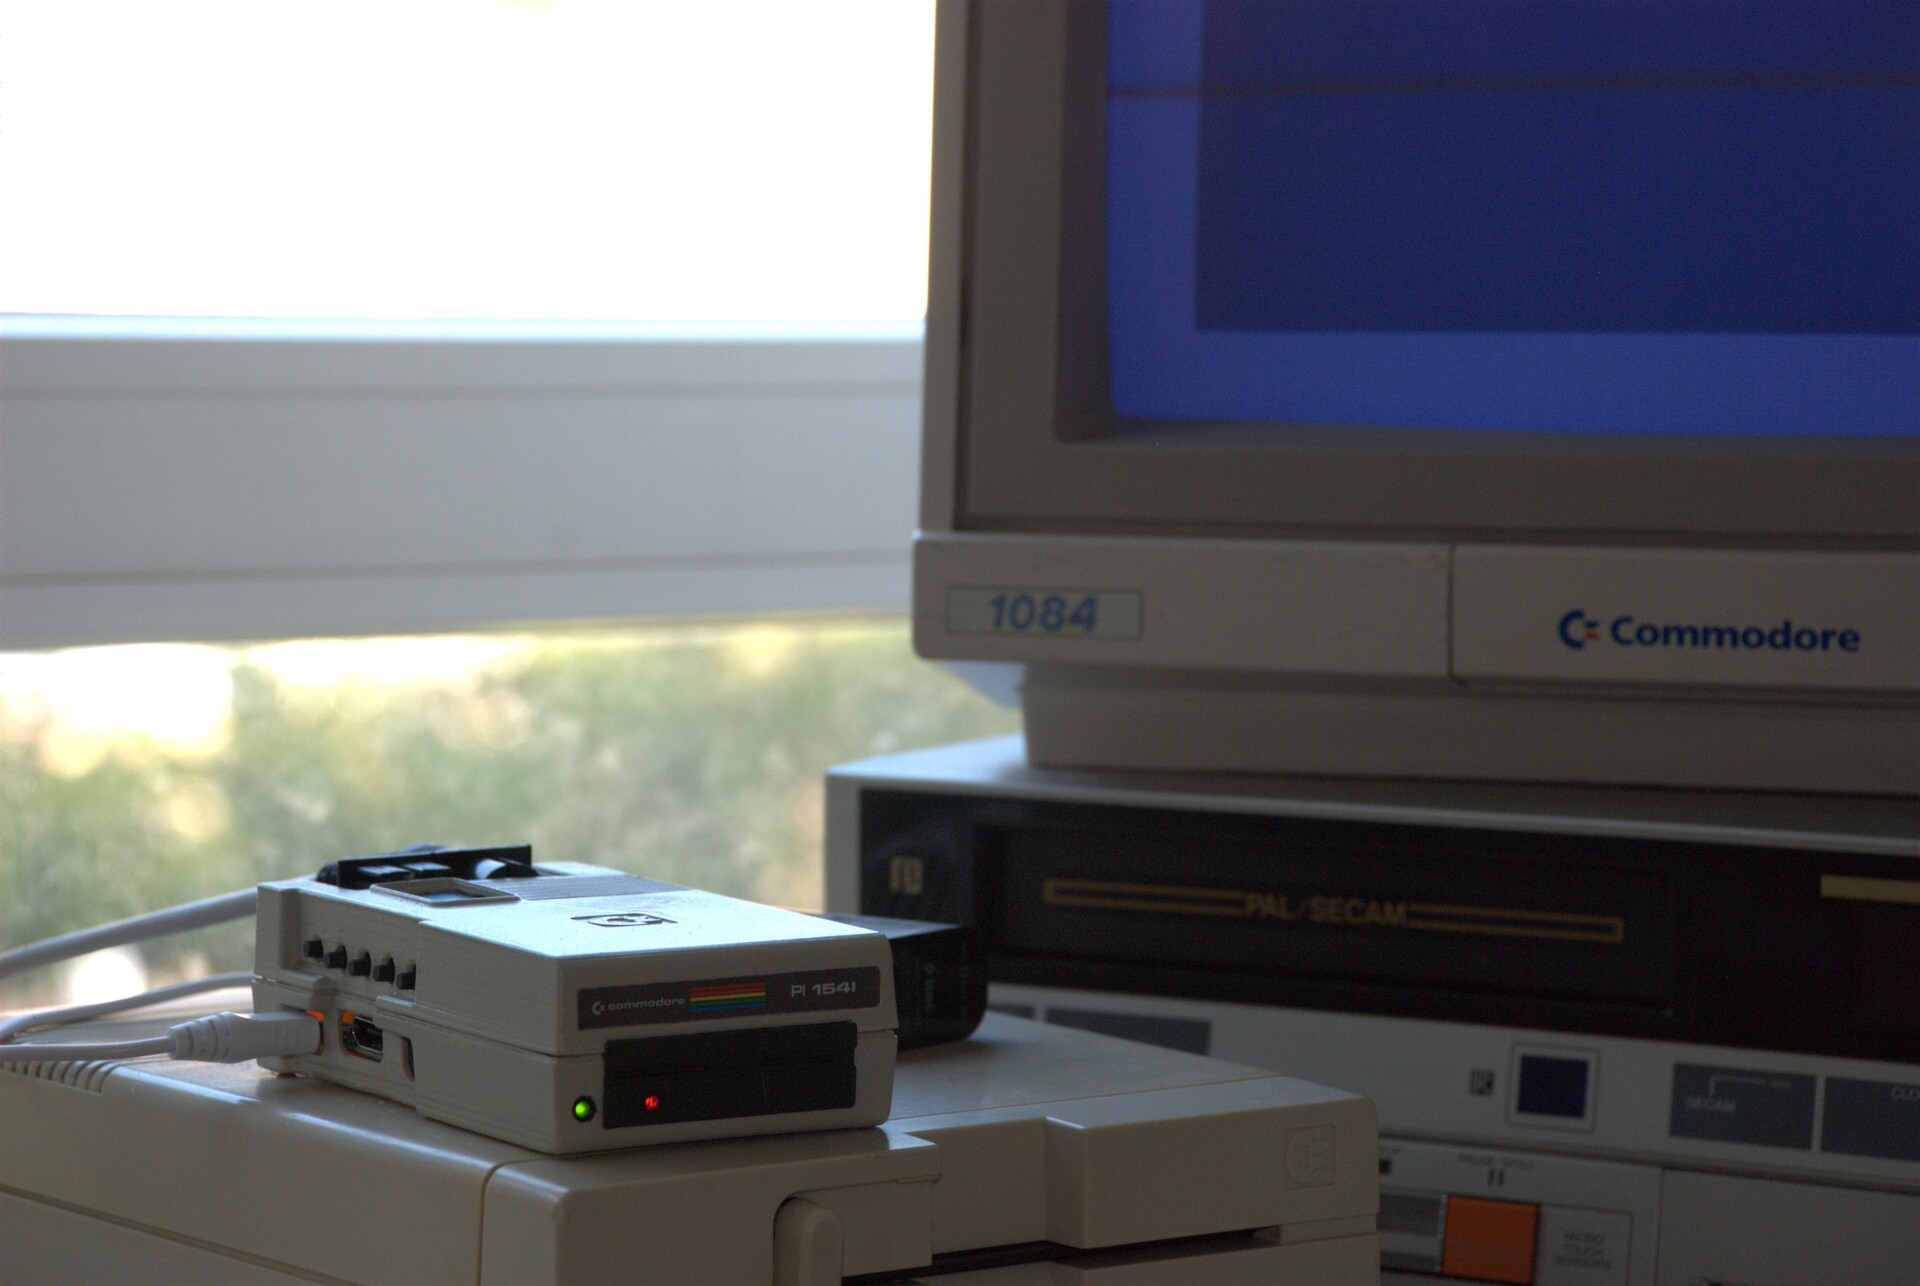
And this is the usage of the device on my Commodore 64.


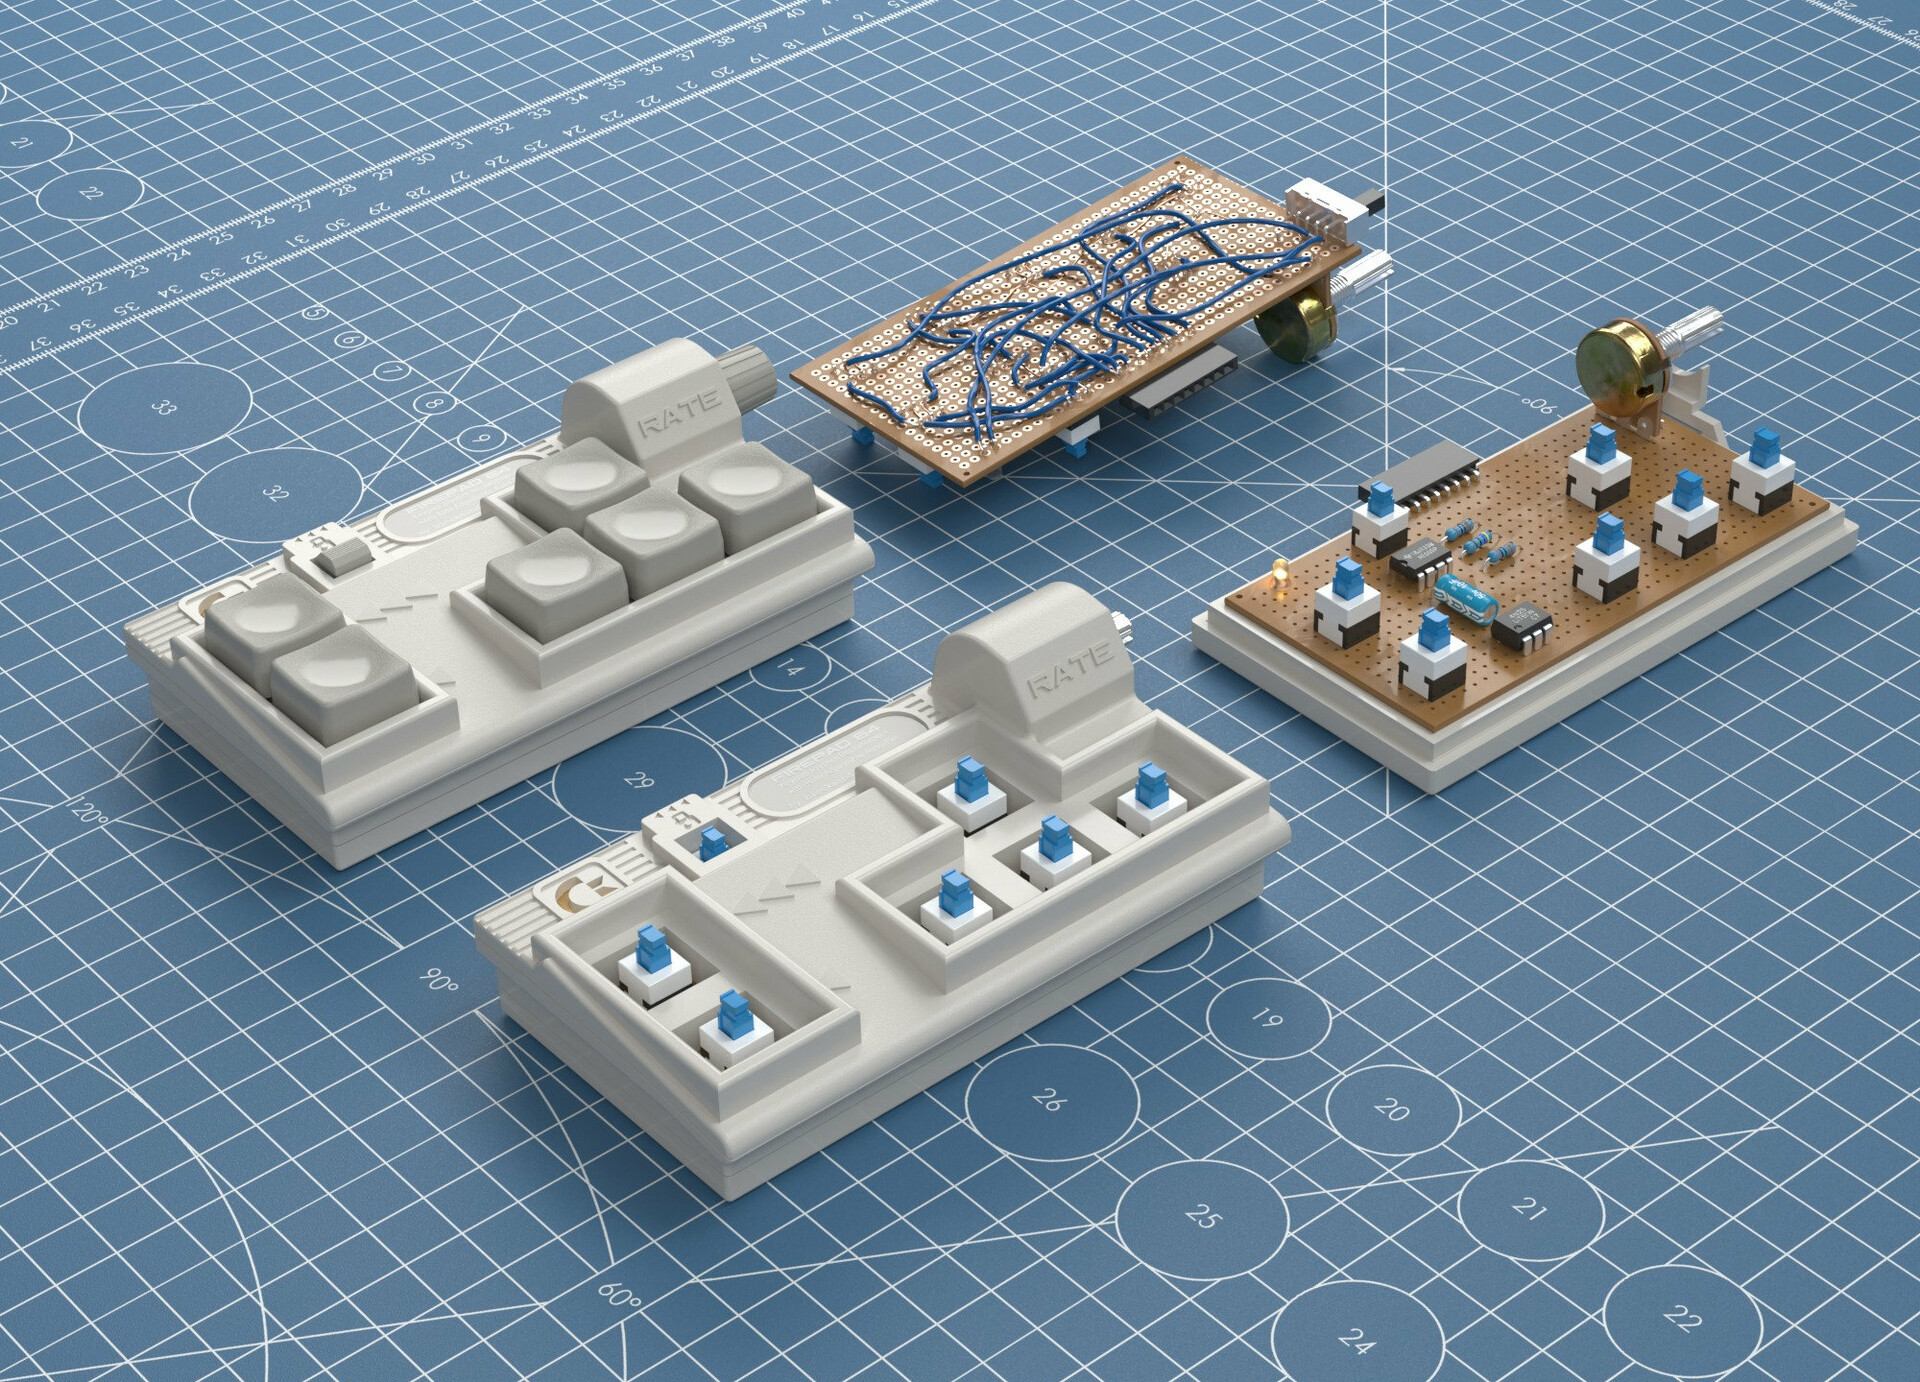
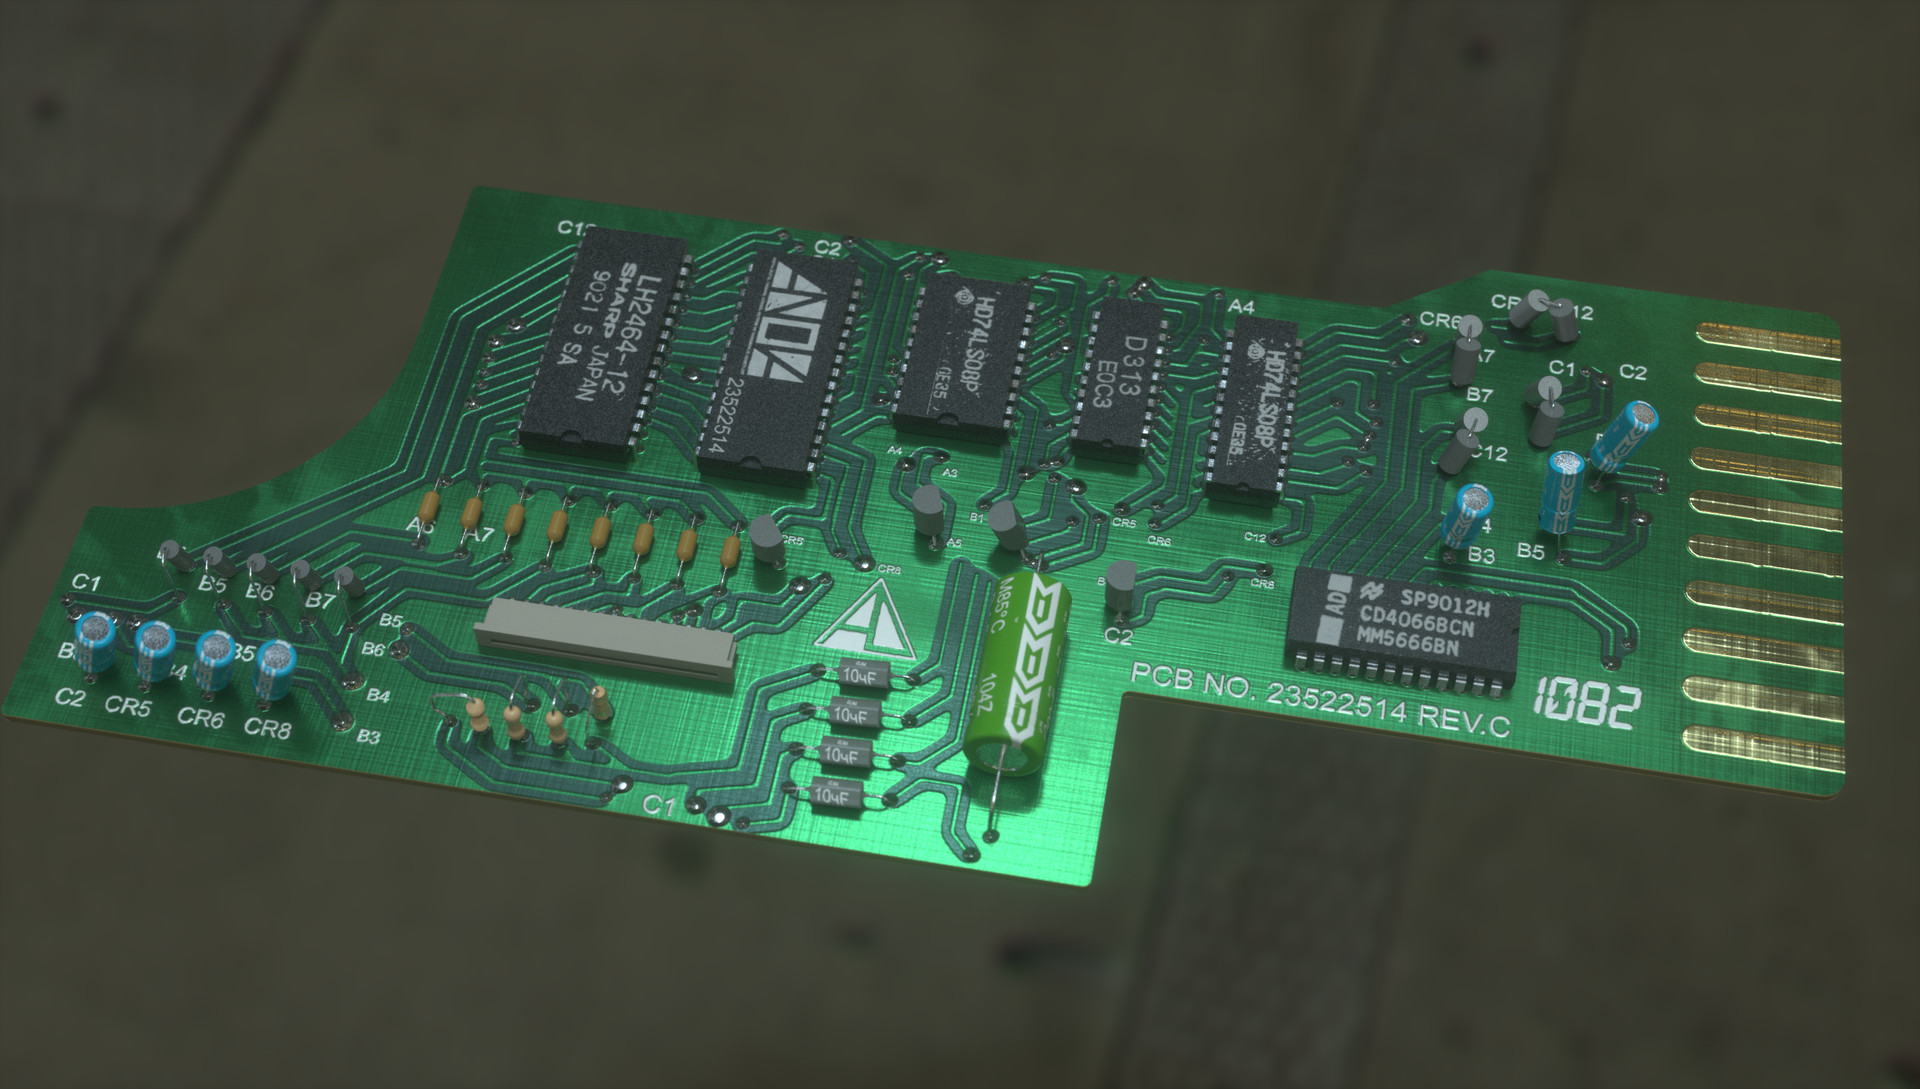
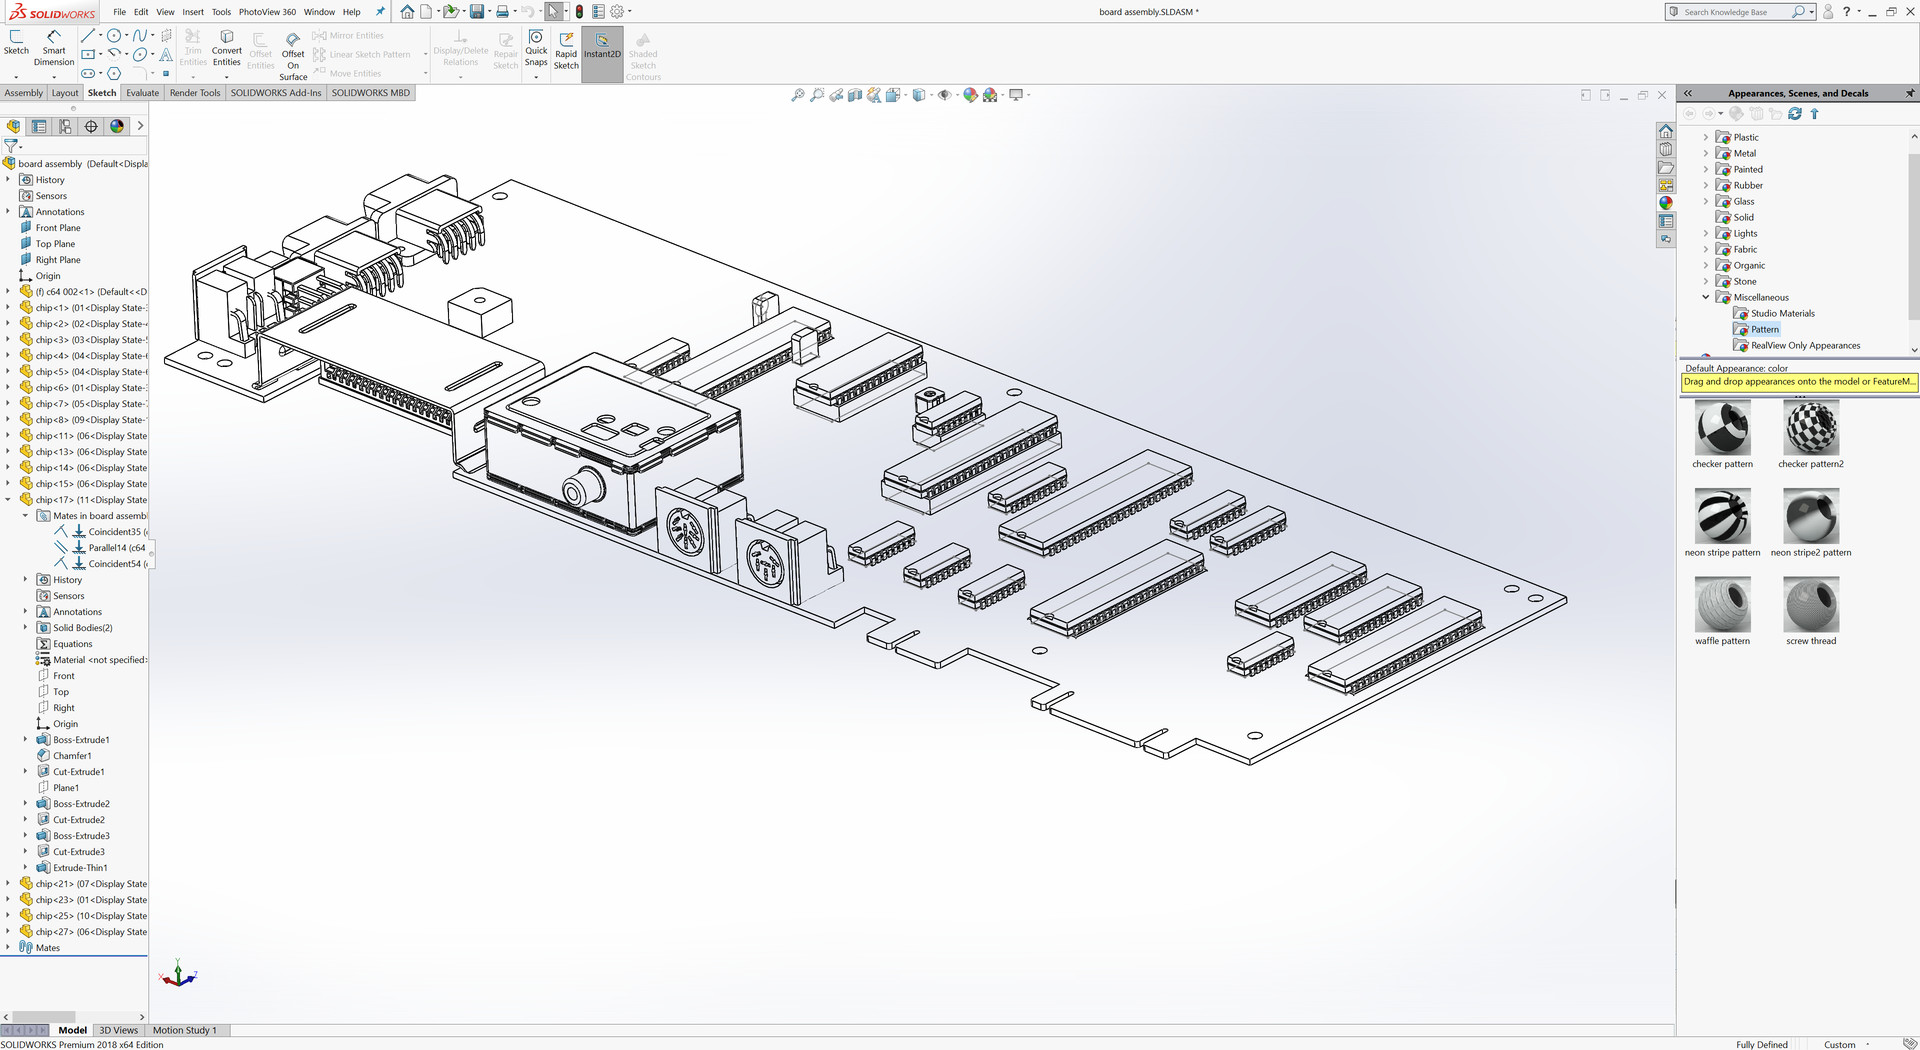
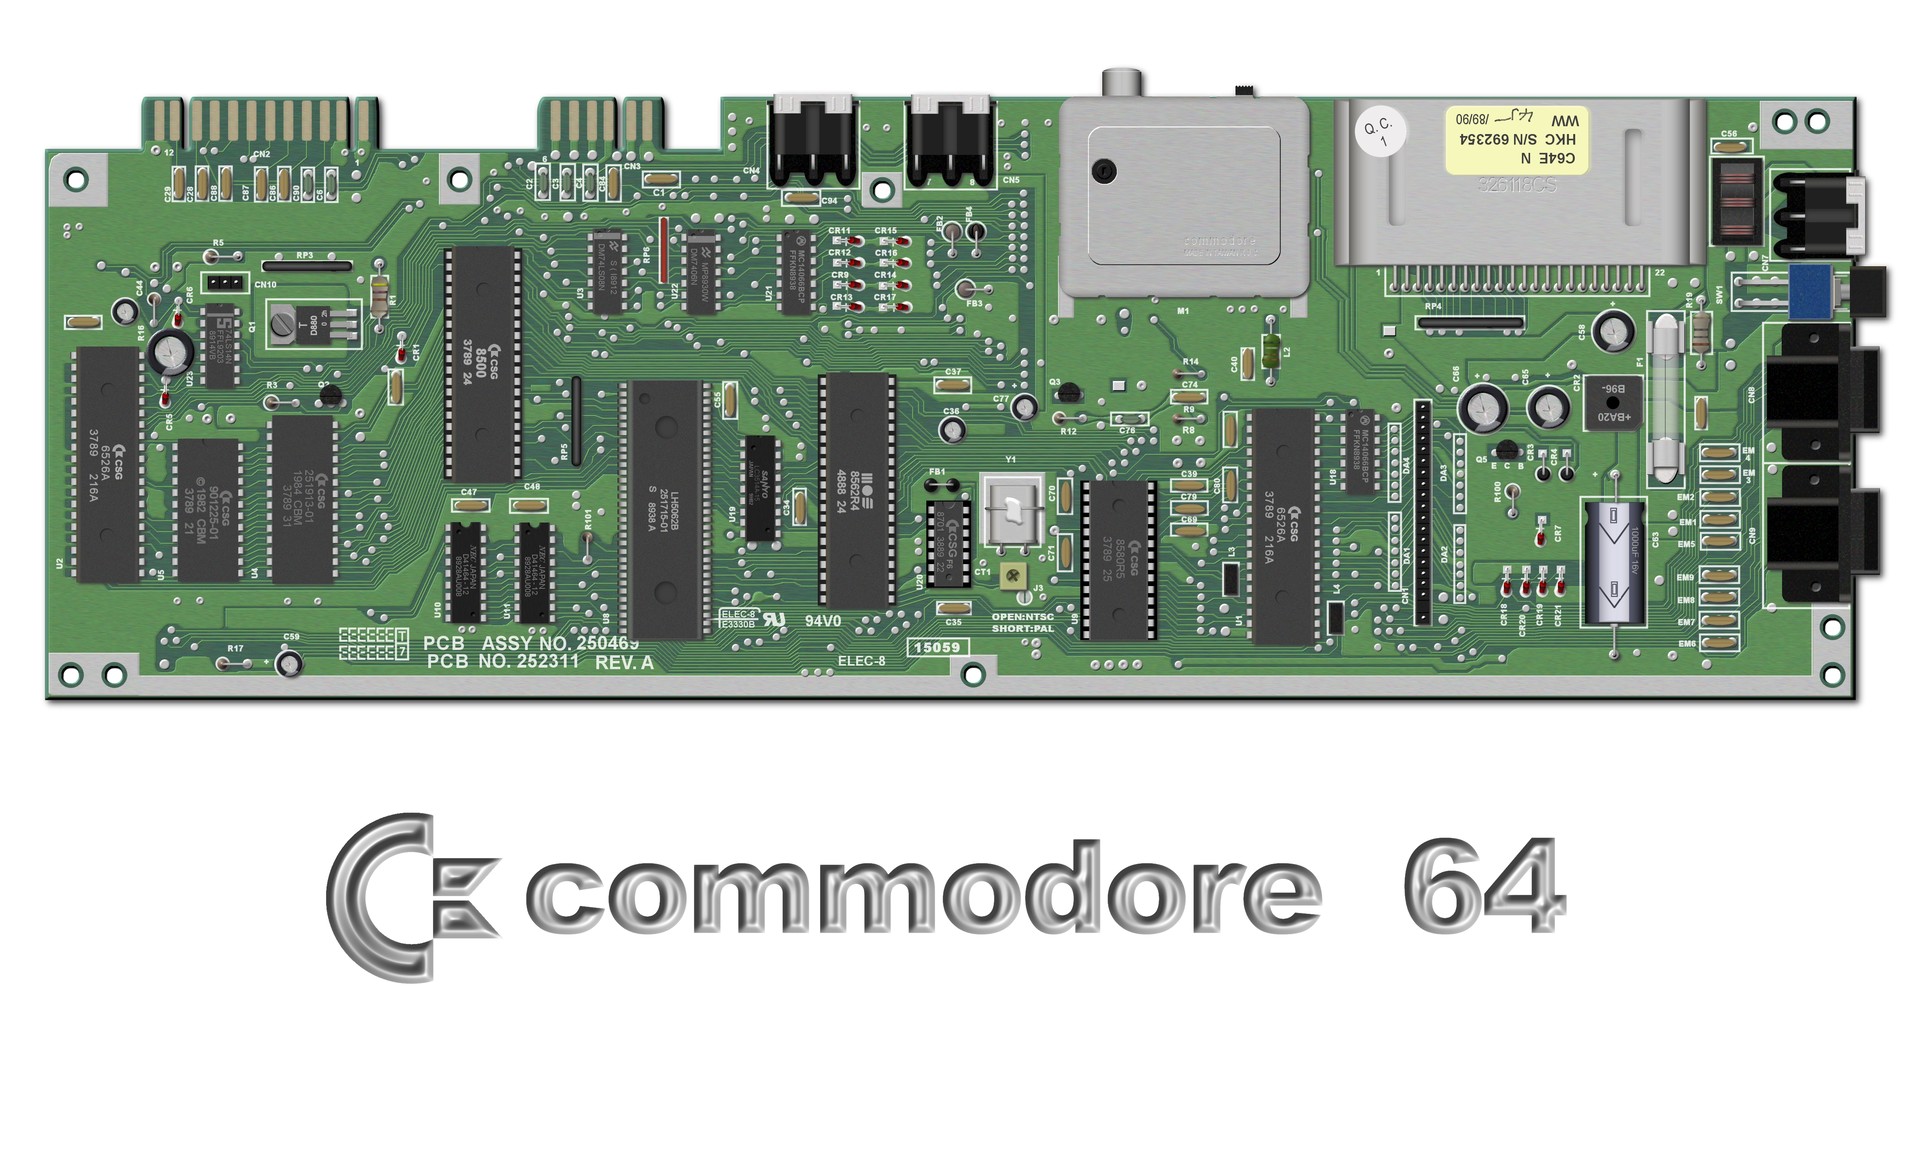
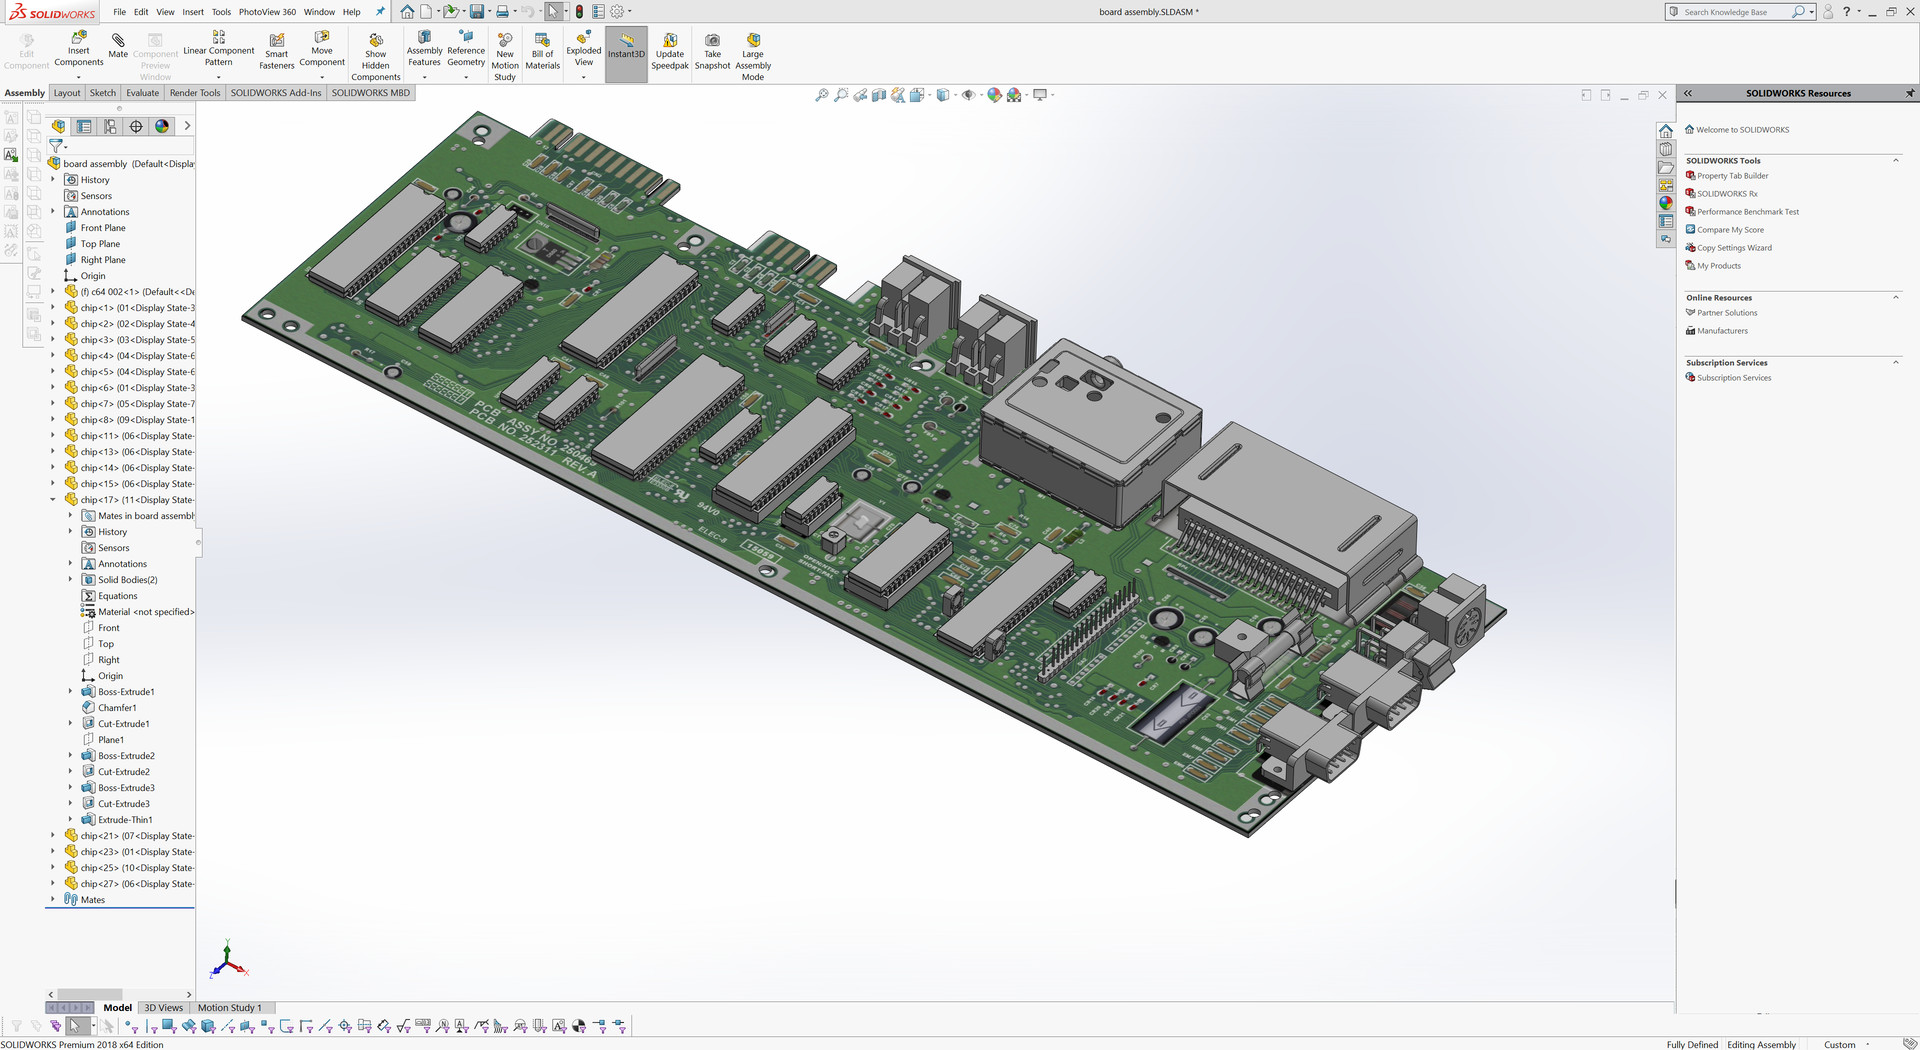
So this was the end of the device creation process. Next, I decided to visualize back all the details I created so far to make some practice of my texturing and modeling skills.

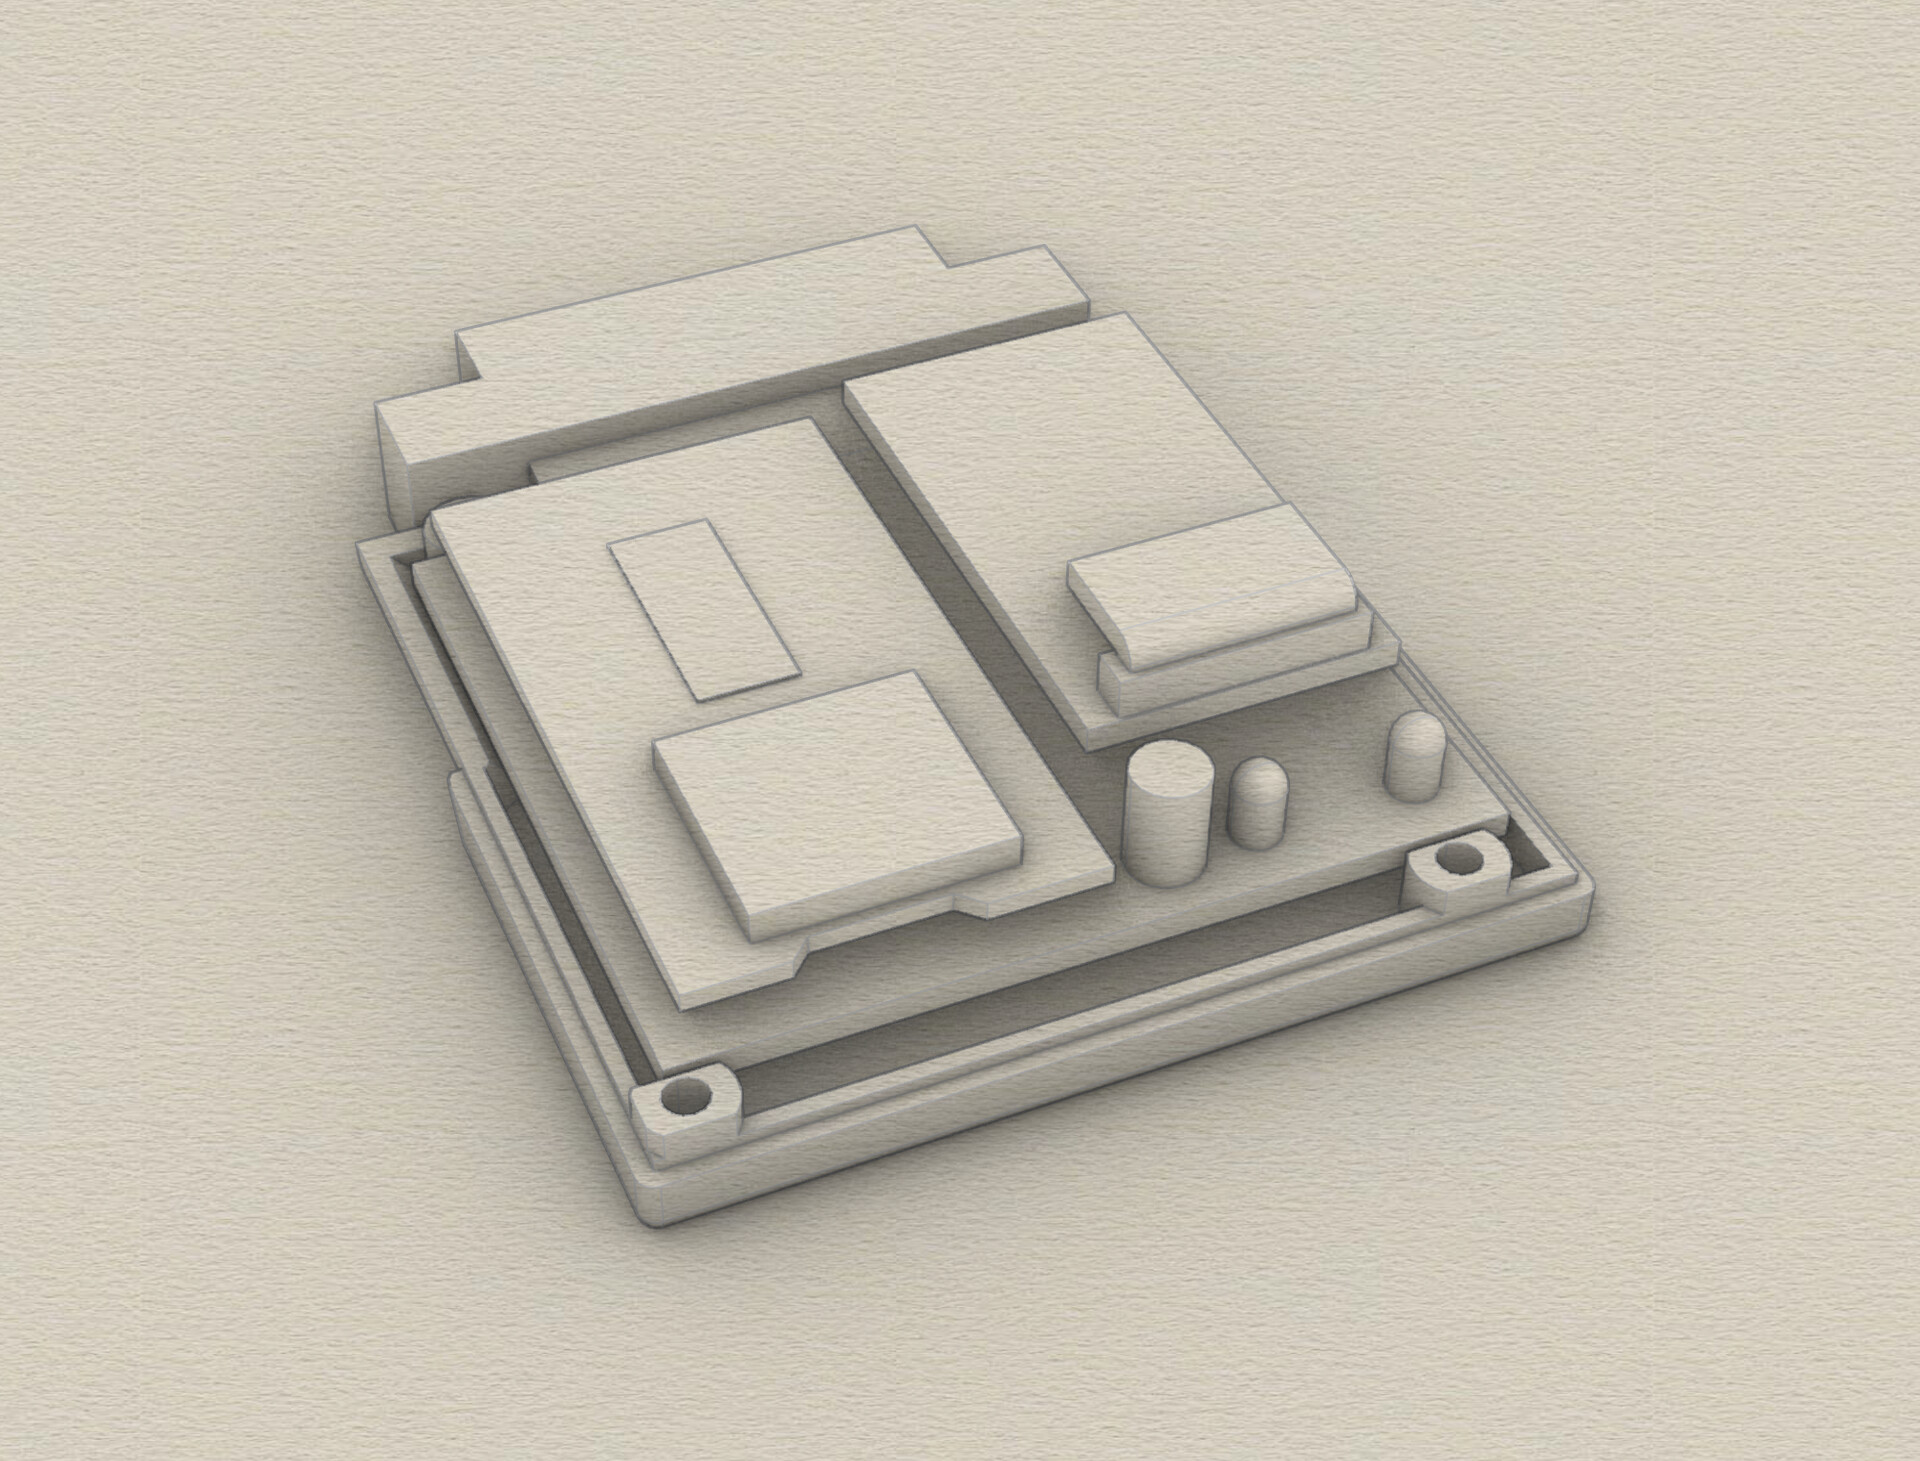
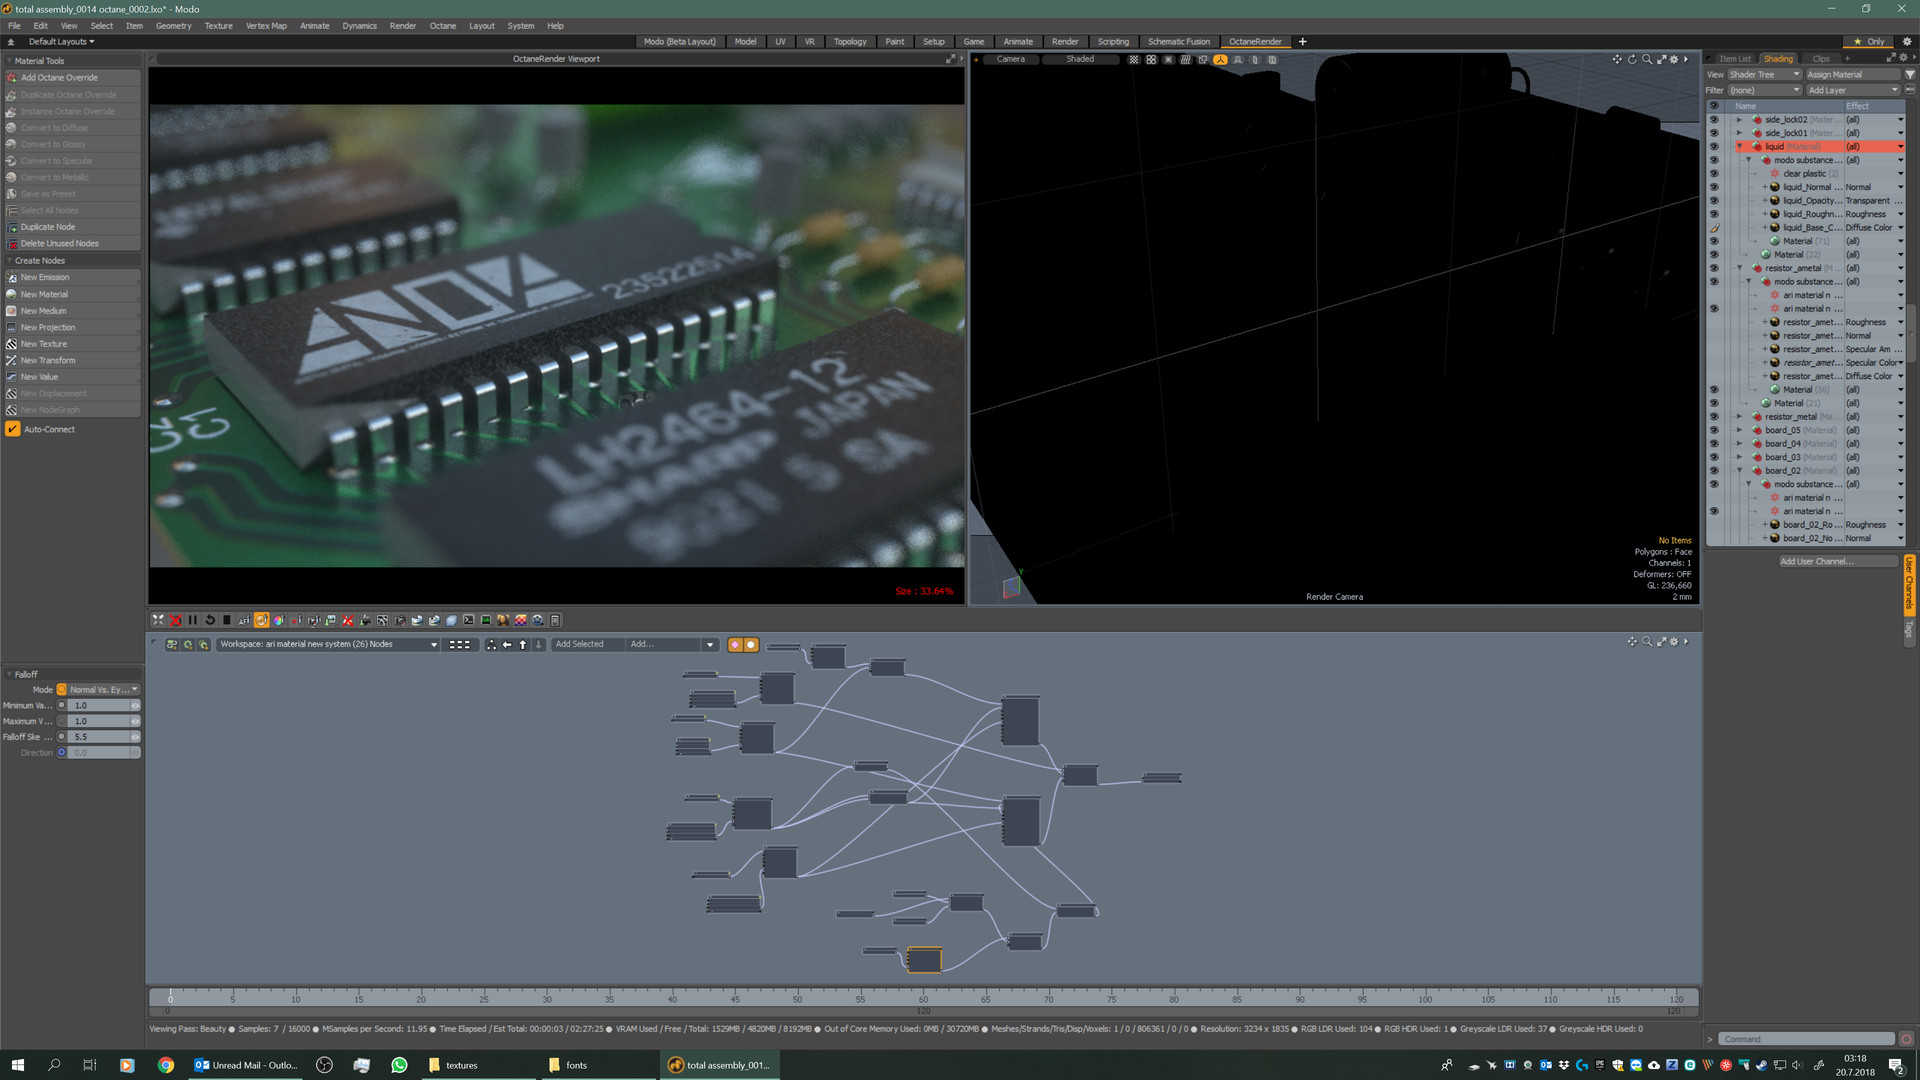
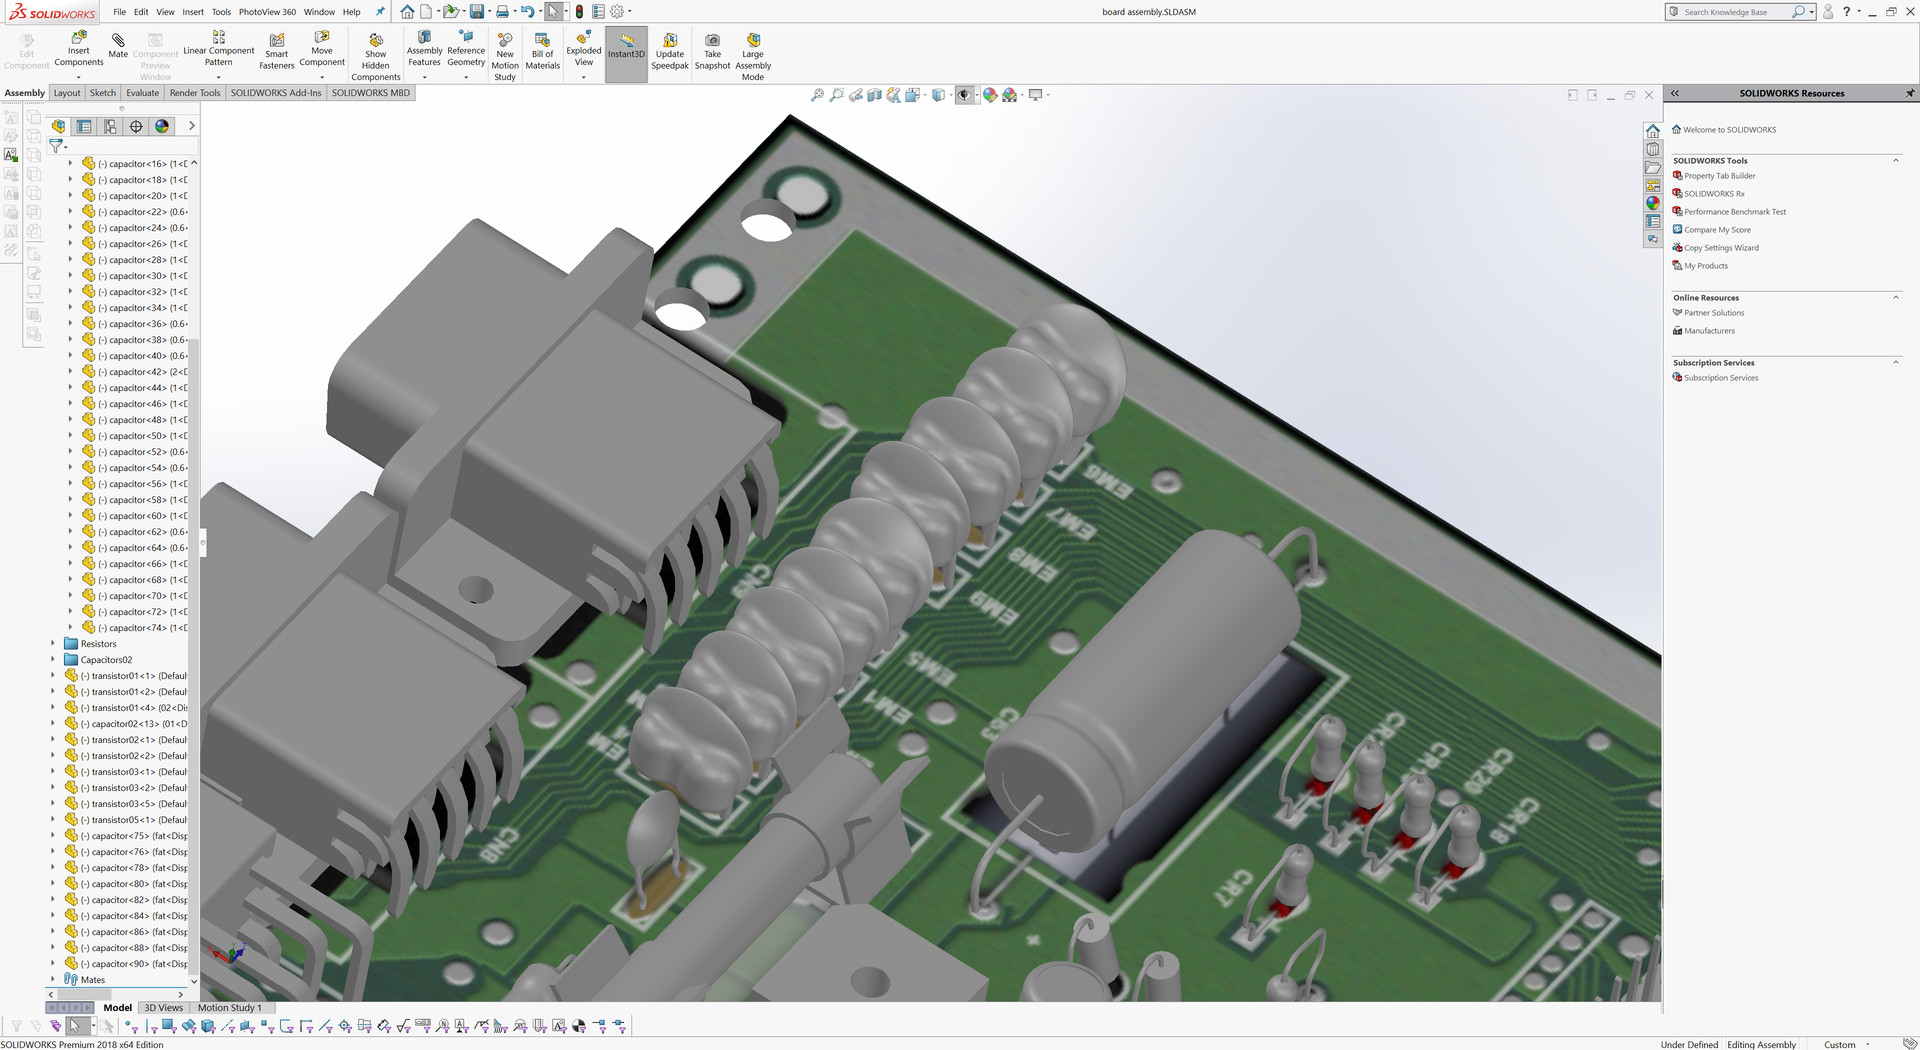
This time I modeled every detail of the electronic board, instead of creating blocks.

I modeled cables and even I made a one click soldering setup to paint over the board to define solder points of the cables.

After all texturing this time I rendered detail shots of the artificial one. Which is better on plastics because I materialized it as a plastic injection molding result instead of a homemade 3d print :)


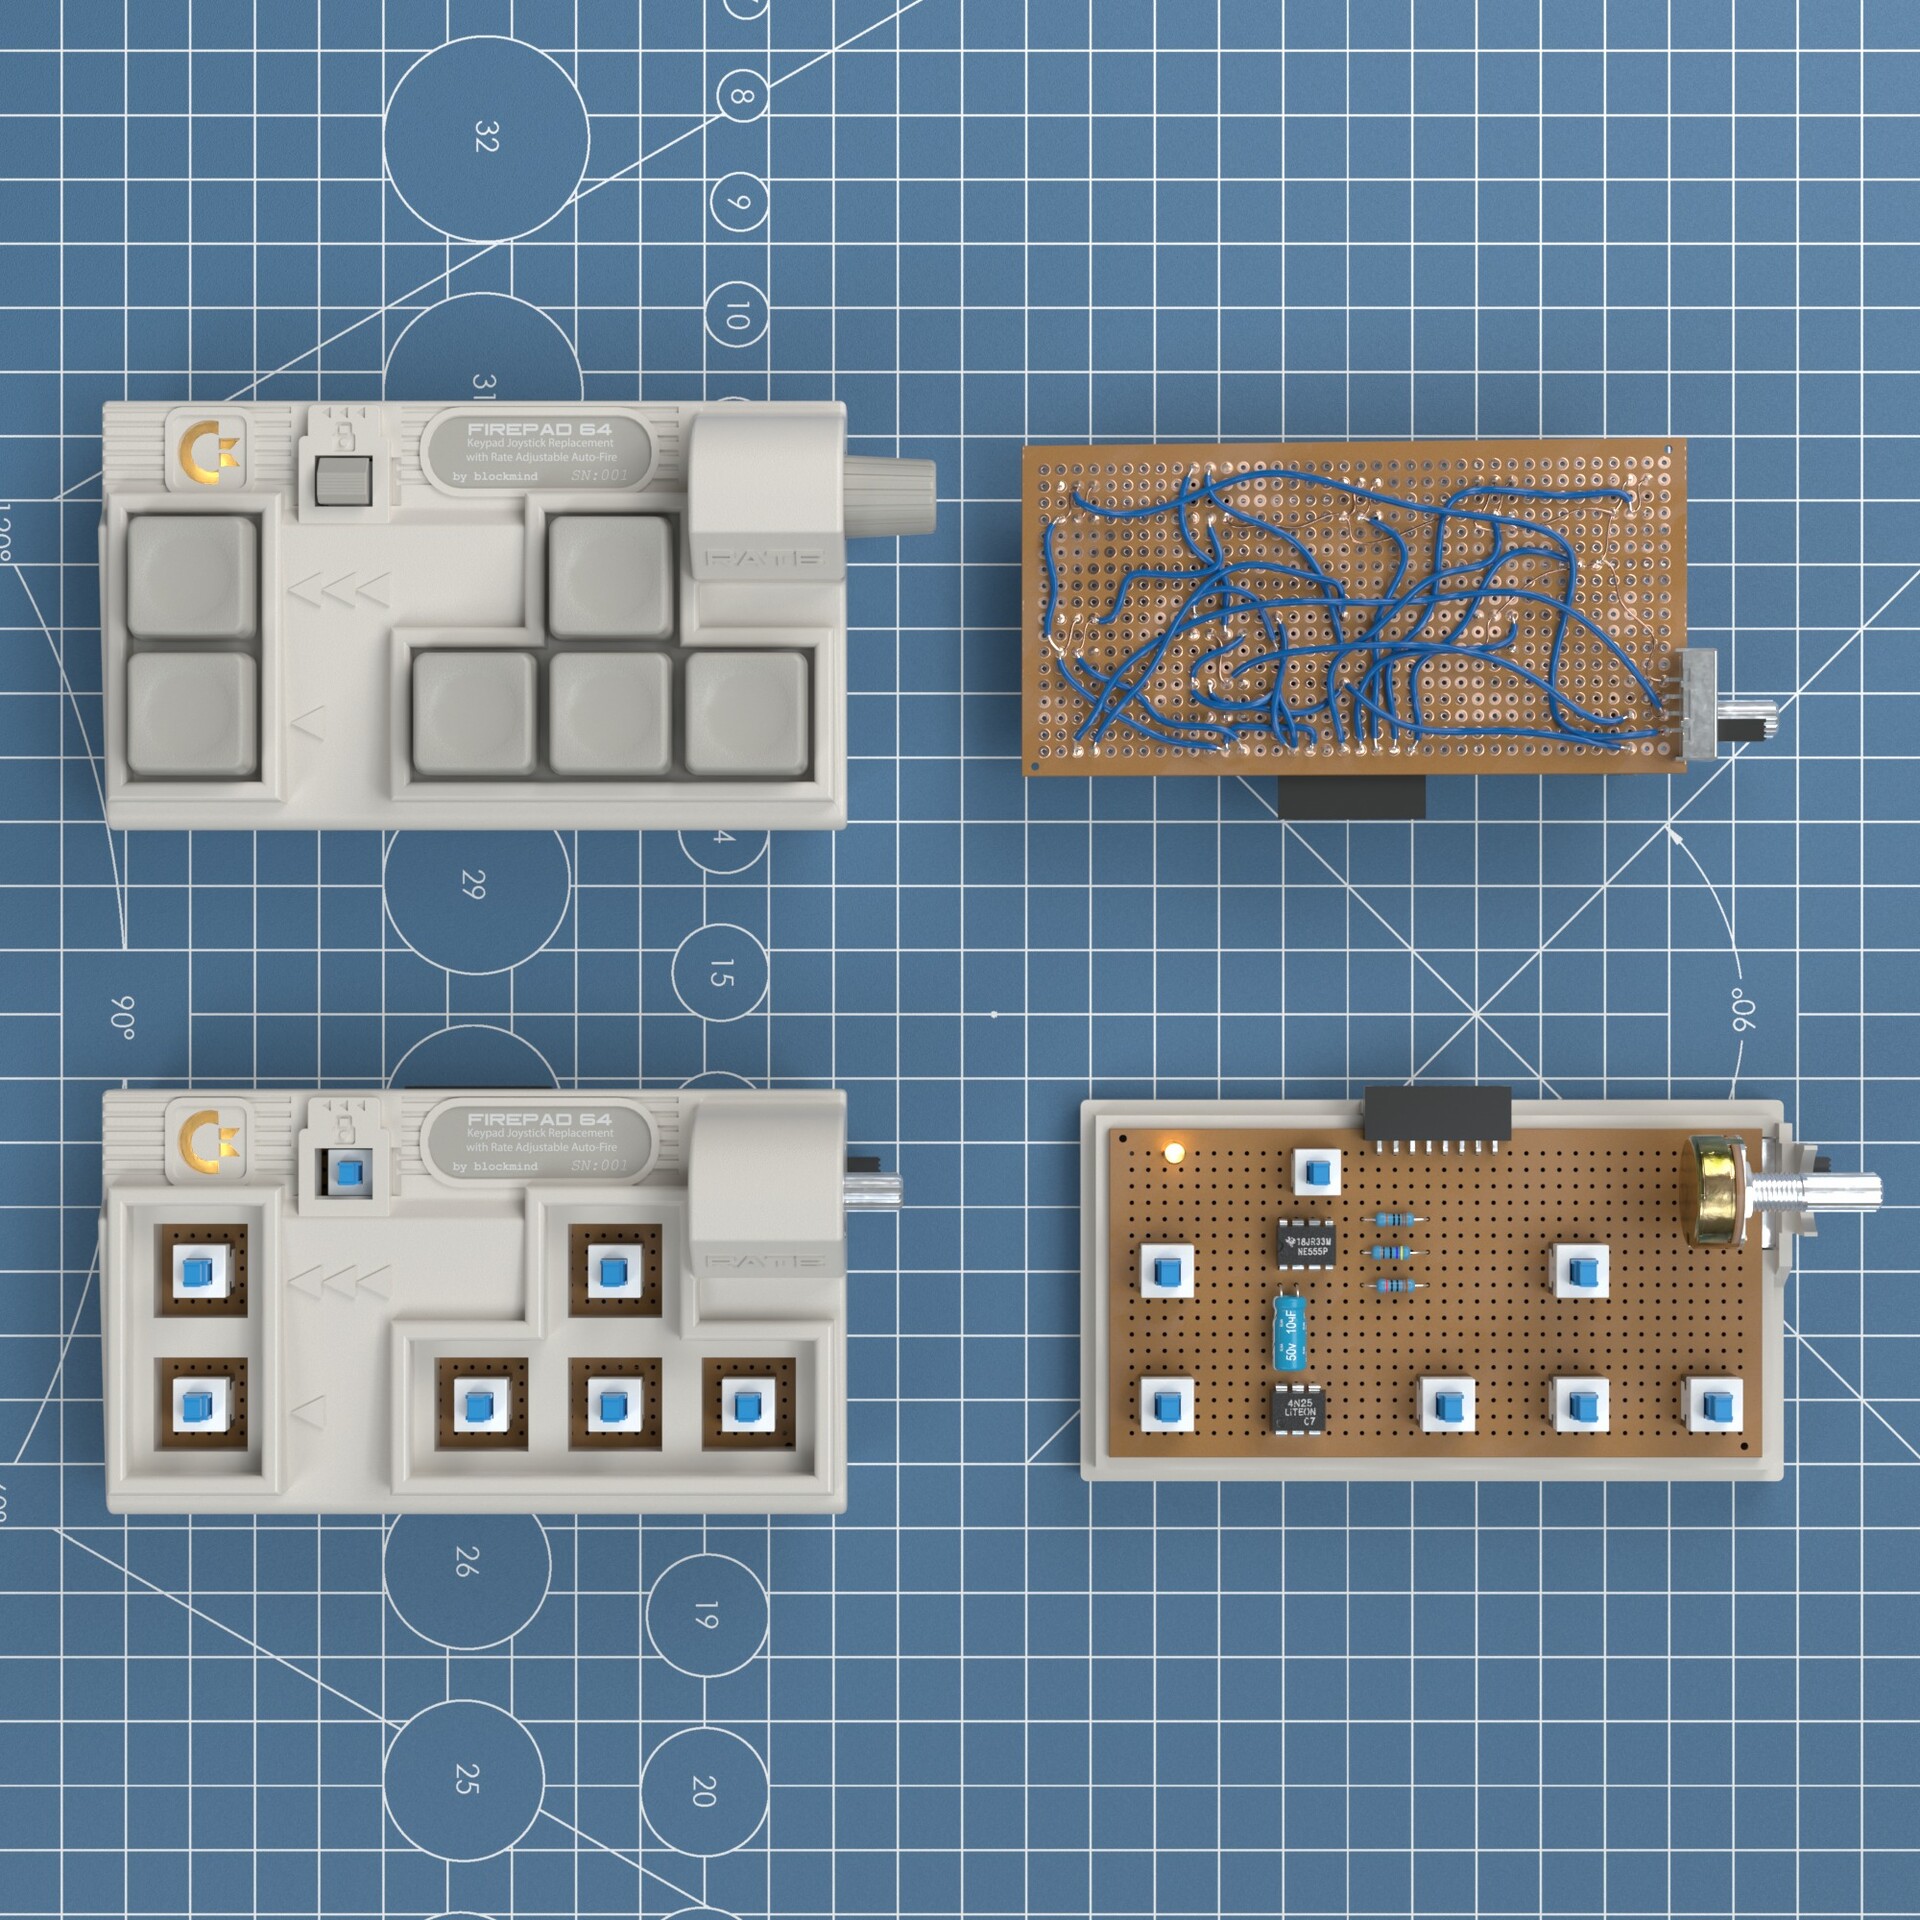
And some comparison with the real product and rendered ones.


Finally I created an animation in marmoset toolbag and applied my Unreal Engine VHS effect to the video get this introduction commercial :)

Also I just placed the 3d models to my Unreal Engine retro scene :)


Pi1541 - Case Design (Hobby Project)

Making Of / 13 May 2019

I created this case design for the open source hardware: Pi 1541.

Before introducing the Pi 1541, I want to introduce you the Commodore 1541 which is a 5.25" floppy disk drive for Commodore computers.

These drives can be connected to Commodore 64 to load games and programs faster than datasette tapes. I already modeled the standard and 1541C version of this drive by looking to the photos of the hardware. As a self-criticism I can say I went hard on the width of the product :)

https://www.artstation.com/artwork/rgVd6 


Pi1541 is the modern replacement of this hardware that created by Stephen White. You can connect the Pi1541 to a Commodore 64 computer and attach any C64 floppy image through an SD card to make the C64 detect there inserted a real floppy disk and make it read the disk file "cycle-exact". By cycle exact, image is loaded to the Commodore 64 in same clock timing with a real 1541 floppy drive. This means amazing compatibility!

Hardware uses Raspberry Pi's various models. Like 3B, 3A+ and 3B+. There is an IO interface for Raspberry Pi that has all magic. 

Here are some links for that product:

https://www.patreon.com/user?u=11191060 

https://github.com/pi1541/Pi1541 

https://cbm-pi1541.firebaseapp.com/ 

https://www.c64-wiki.com/wiki/Pi1541

Pi1541's Electronic part looks like this (images taken from https://www.hackup.net/2018/06/pi1541io-revision-2/)


I have the Rapberry Pi 3A+ version of this product. And I already designed a case for the RAAT #5 meeting in Turkey.

https://www.artstation.com/artwork/Ka3JOR 

My friend Türker Gürevin sent me a 3d printed version of this case and I painted it in similar 1541 colors with acyrillic paint. Also I designed a label for the front face.

Recently, I revised the design and made it compatible for both Raspberry 3A+ and 3B+ versions. 


  This time I 3d printed with my Ender 3 printer. 


I move the power and activity leds to the fron side of the case to make the resemblence with the original product.

After case design and prototype print is OK, then I painted the case with acyrillc paint by creating custom colors.


Here some shots of the final case which I fell in love with <3


Second device on the photo is my tapuino case design:

https://www.artstation.com/blockmind/blog/ObwD/tapuino-my-diy-electronics-and-custom-case-design-attempt 

Update!
3D print files are here: https://www.thingiverse.com/thing:4611954

Tapuino - My DIY Electronics and Custom Case Design Attempt

Making Of / 04 May 2019


As a person who used Commodore 64 computer with only datasette instead of floppy disk driver in 90s, I always loved to tape loading musics and screens.

For the people who don't know what is a datasette, it is a tape player that transfers data from tape cassettes to the computer by sending analog waves. Here is some technical info.

Tape loading times are huge by the way. It may take 10 - 30 minutes to load a game depending on the size of the software.

Here is a datasette image I created by measuring my own Noris datasette:

(project page: https://www.cemtezcan.com/projects/GB6qz)


Let's talk about Tapuino Project. This is a DIY project that created by Peter Edwards. Actually it is an Arduino project with a few components. 

Tapuino is an hardware emulator which connected to a real Commodore 64 and acts like a Datasette. It has an SD card reader, so you can load any .Tap files through this device to a C64. Tap files are tape images of the C64 games and softwares.

All details of the device and components can be found on following links:

Sweetlimre's Blog

Amibay

Github

My first attempt with this device is to create a large version with my limited electronics knowledge. It was real fun to make soldering first time and ordering interesting electronic components, cables, screens etc :)


I just followed the steps of the Peter's blog and created a board of the device. Next thing was to create a case for this one. I used Solidworks to make the model of the electronic part and created a shell over it by considering the clearences.


Then I 3d print it and complete this first trial of "homemade" electronics and case printing.


It worked like a charm!

My next mission was to make the compact version of this device and make a real datasette looking case for it.

I started to assemble the components on a smaller (5cm x 7cm) prototyping PCB. I designed the placement on the Microsoft Excel, and painted some cable routes on Paint Shop. I suggest you to follow the Peter's directions on cabling. My version may not be the final diagram of the connections.


Next as usual I modeled the device fisrt and modeled a shell for it. For the shell design, I tried to achieve the resemblence with the Commodore 1530 datasette design. Which is as follows:


I 3d printed the model and voila! It fits!


I painted a base with a gray spray paint. Since the material is translucent a bit, opaque paint shows all the details (and ofcourse the printing flaws) of the case.


Next painted the main color with acyrlic paint by an air brush and painted other details by brush.


Of course my daughter makes everything easier by climbing over me when I'm painting the frame 10th time.


Finally it is ready for varnishing!


After varnishing 2 layers with airbush and cut a plastic for the front frame I completed the work. 


And finally  this video shows the operation of the final device. 

I know the final result is not clear and smooth, I may gave more attention to polishing  the 3d print but it's just a prototyping. And more important than that, it's prototyping that made in "home". Which is a cyberpunk scenerio for me :) Cheers! 

Old School PCB Board Painting with Substance Painter

Making Of / 20 July 2018

I'm creating a Sci-Fi electronic equipment with some retro electronic board which I painted with Substance Painter.

Here is a quick timelapse and a render in Octane. More is coming soon friends!


Modeling Commodore 64C Inside Out - Update 3

Making Of / 09 June 2018

Final modeling timelapse which concludes CAD modeling phase. I'm going to complete the project after painting and rendering the product.

Hope to see you soon!


Modeling Commodore 64C Inside Out - Update 2

Making Of / 06 June 2018


Modeling Commodore 64C - Update 1

Making Of / 04 June 2018

Disassembly of my Commodore 64 computer.

Board map I grabbed from an FTP by google image search.


Simple parametric chip design to use on main board:

Modeling Timelapse 02:

Current modeling status:


Bonus: Strange capacitors!


Modeling Commodore 64C

General / 02 June 2018

I'm modeling my old Commdore 64C product wih all inner details. Here is the first part of modeling.

I completed 2 main plastic covers and buttons. I started to the board and 15 percent is done.


Modeling QuickJoy II Turbo (SV-124) Joystick - Update 1

Making Of / 23 May 2018

This video shows some plastic details of the model created so far. Hope you like it.


Modeling QuickJoy II Turbo (SV-124) Joystick

Making Of / 21 May 2018

This is my first and favorite joystick back old Commodore 64 days.

I'm going to measure, model and render this product by all details inside and out, like plastic molding-wise details and assemblying, electronic boards, cables and mechanical micro switches. 

Photo of the product:

Progress...