As a person who used Commodore 64 computer with only datasette instead of floppy disk driver in 90s, I always loved to tape loading musics and screens.
For the people who don't know what is a datasette, it is a tape player that transfers data from tape cassettes to the computer by sending analog waves. Here is some technical info.
Tape loading times are huge by the way. It may take 10 - 30 minutes to load a game depending on the size of the software.
Here is a datasette image I created by measuring my own Noris datasette:
(project page: https://www.cemtezcan.com/projects/GB6qz)

Let's talk about Tapuino Project. This is a DIY project that created by Peter Edwards. Actually it is an Arduino project with a few components.
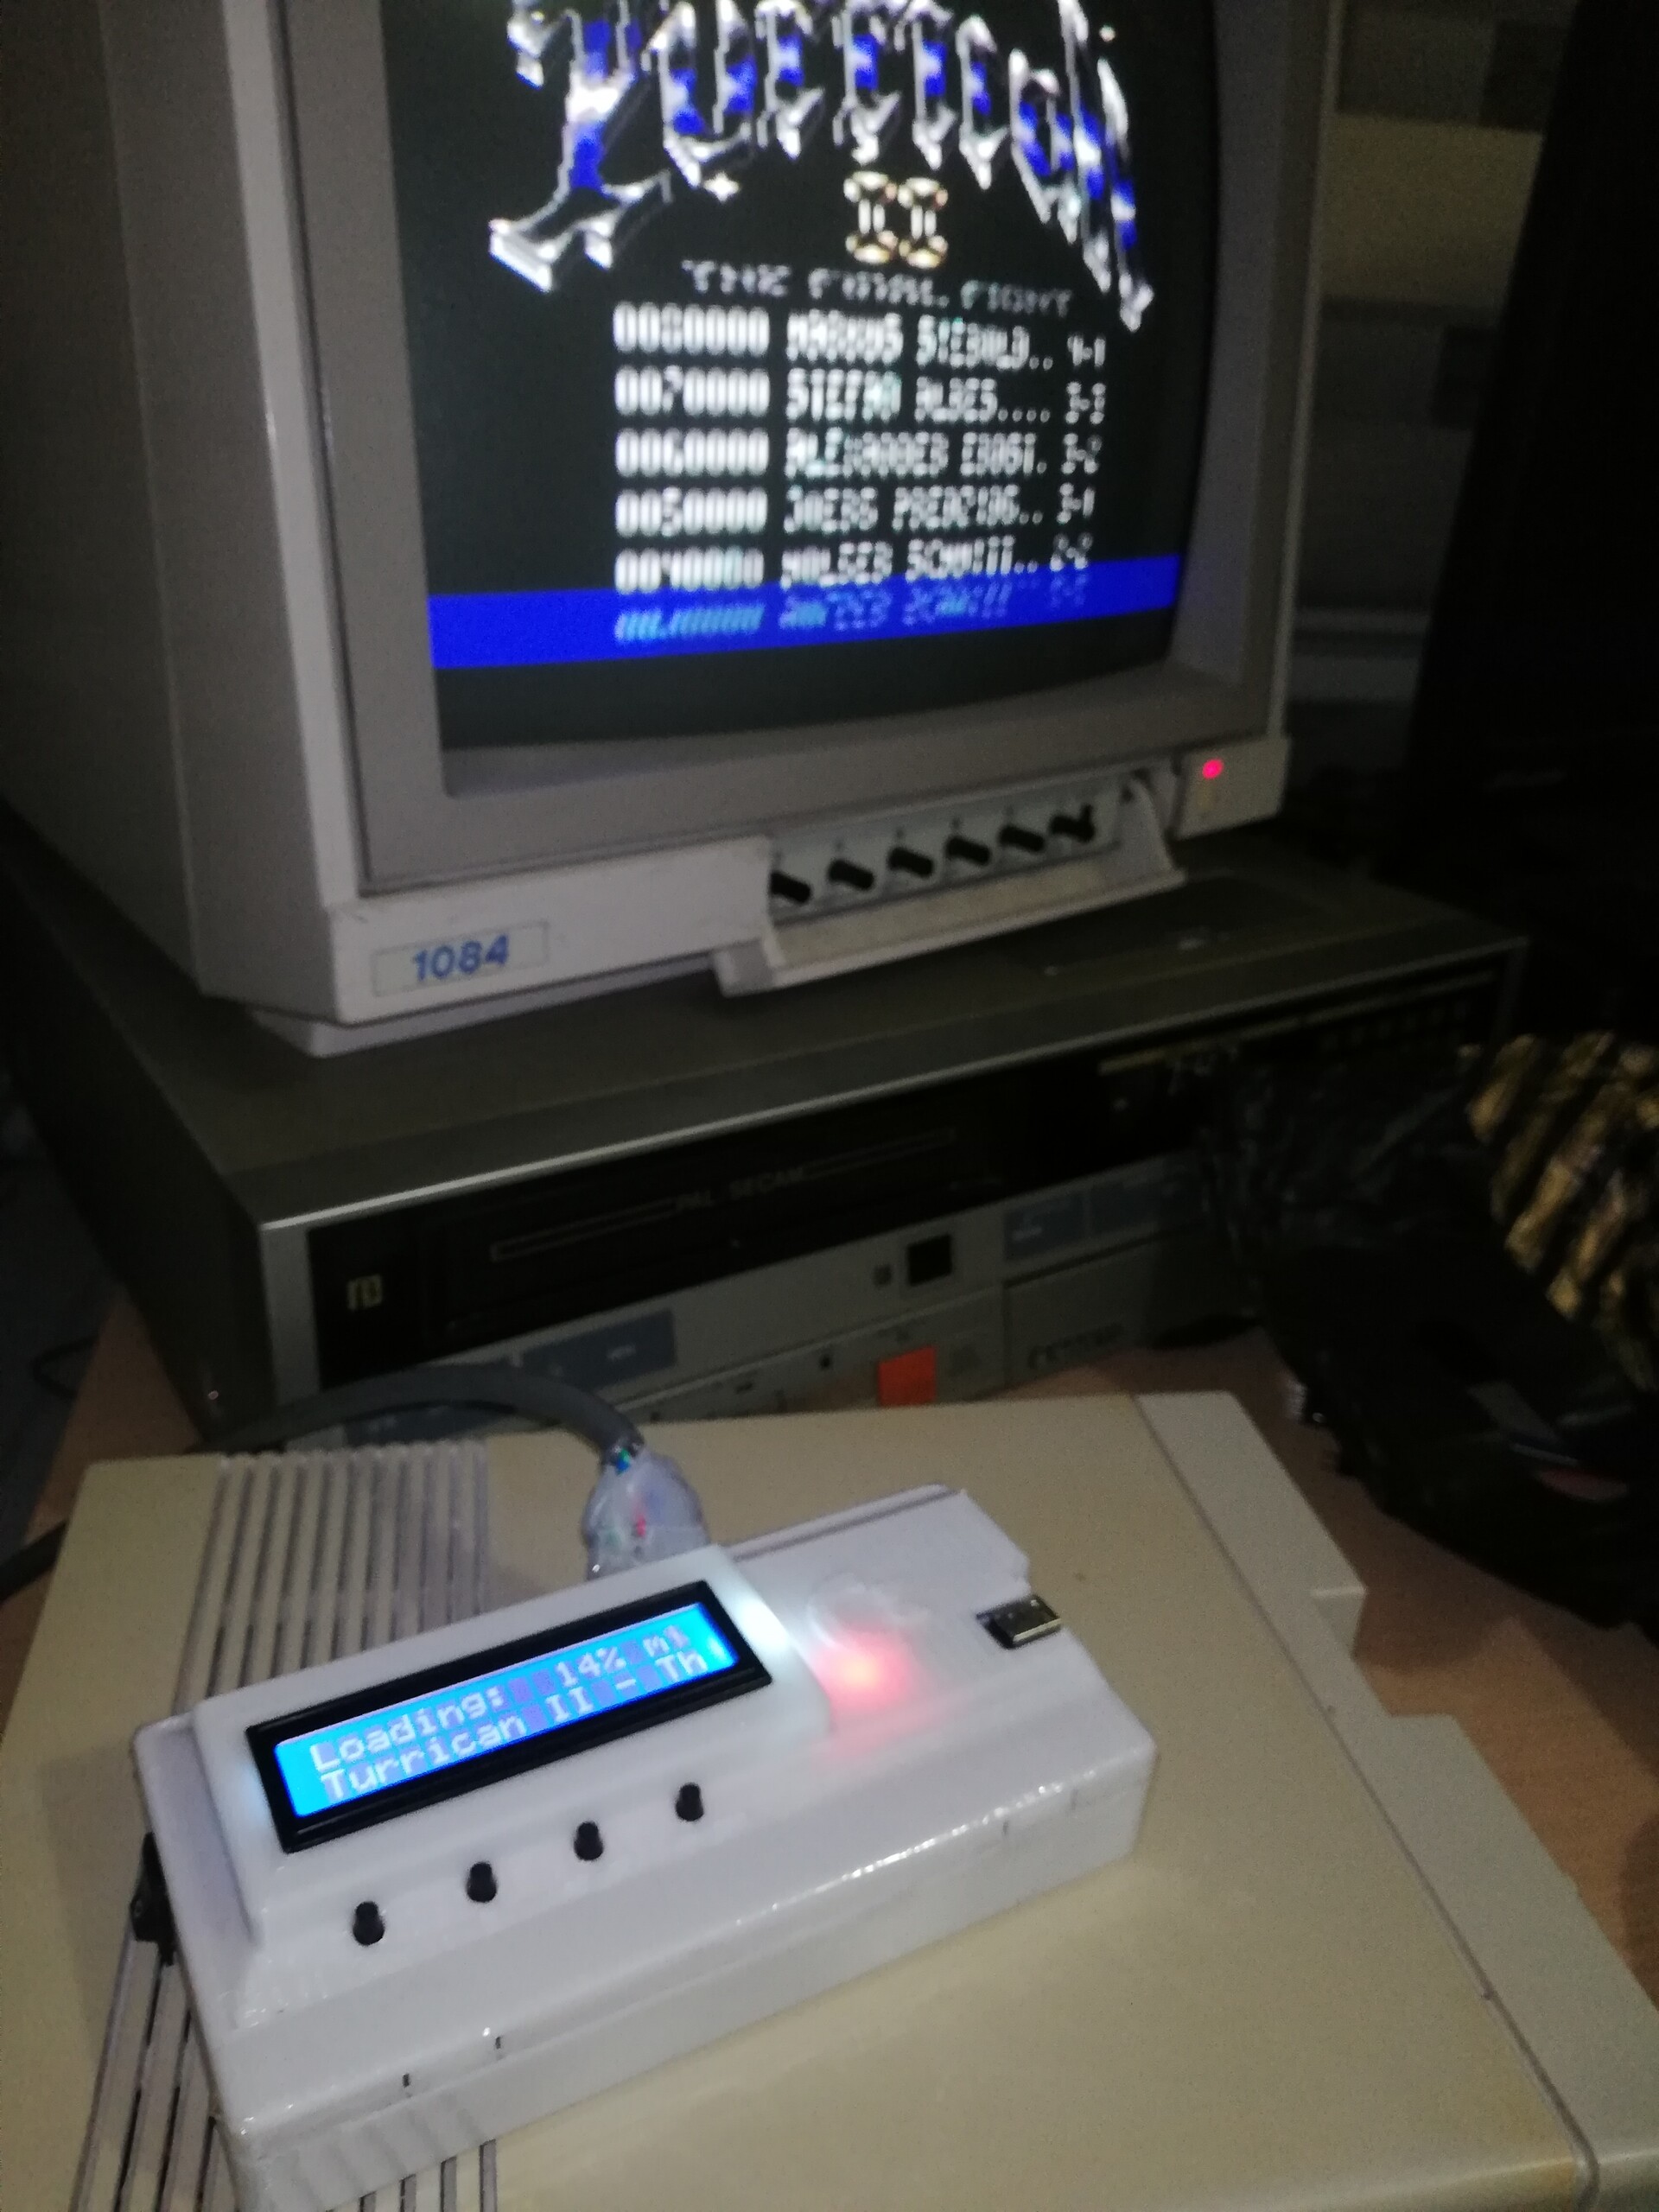
Tapuino is an hardware emulator which connected to a real Commodore 64 and acts like a Datasette. It has an SD card reader, so you can load any .Tap files through this device to a C64. Tap files are tape images of the C64 games and softwares.
All details of the device and components can be found on following links:
My first attempt with this device is to create a large version with my limited electronics knowledge. It was real fun to make soldering first time and ordering interesting electronic components, cables, screens etc :)

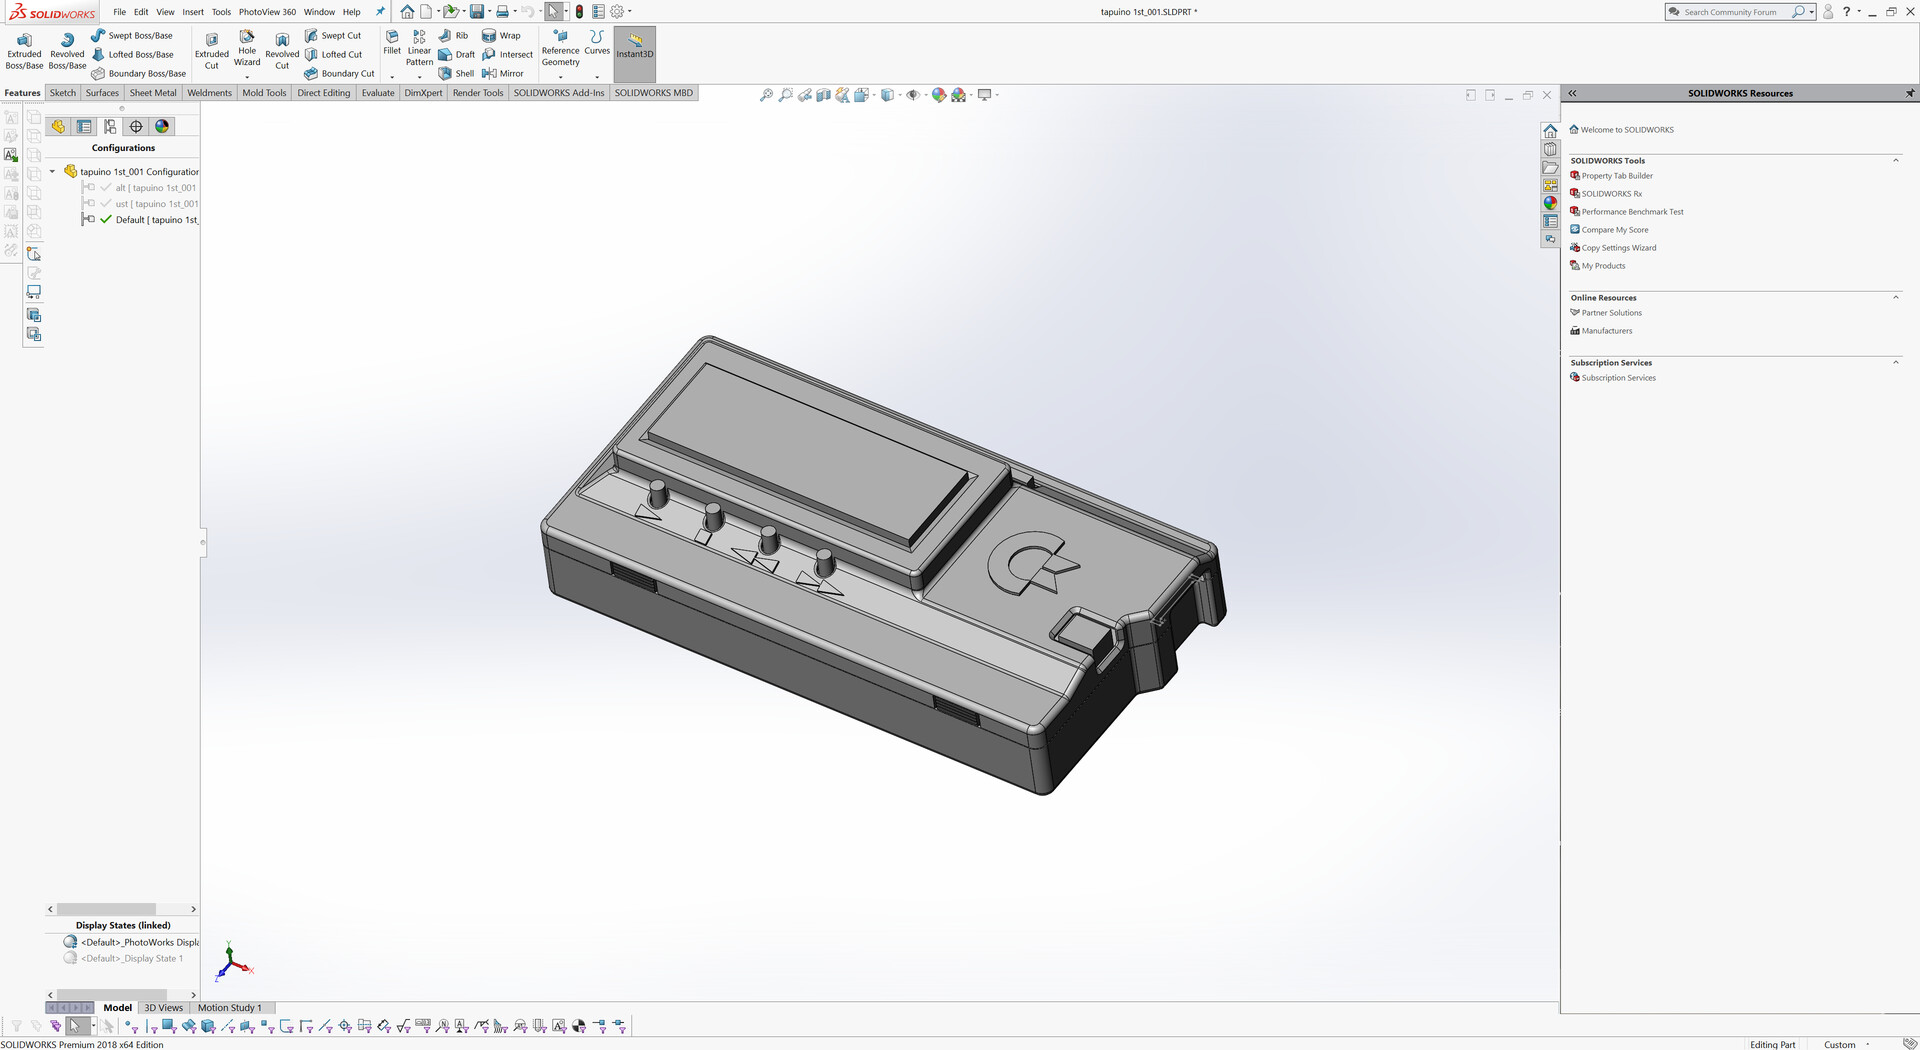
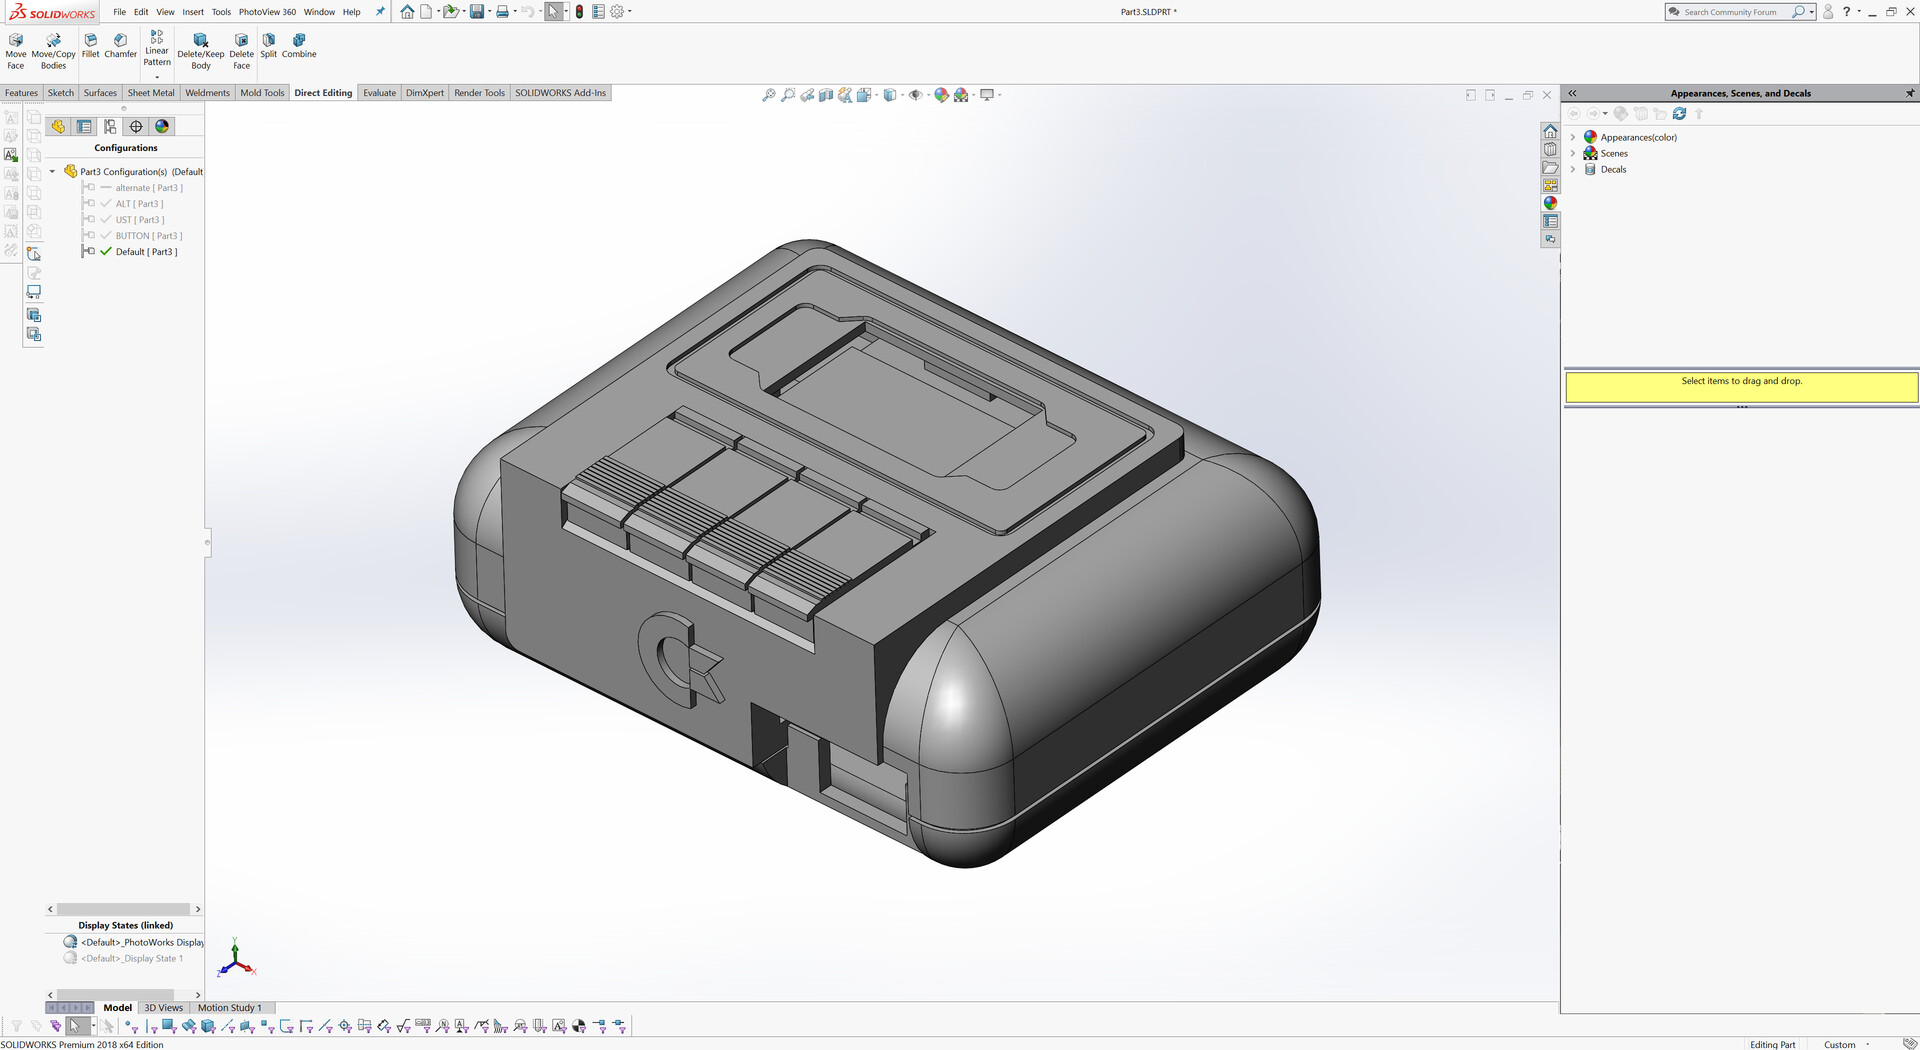
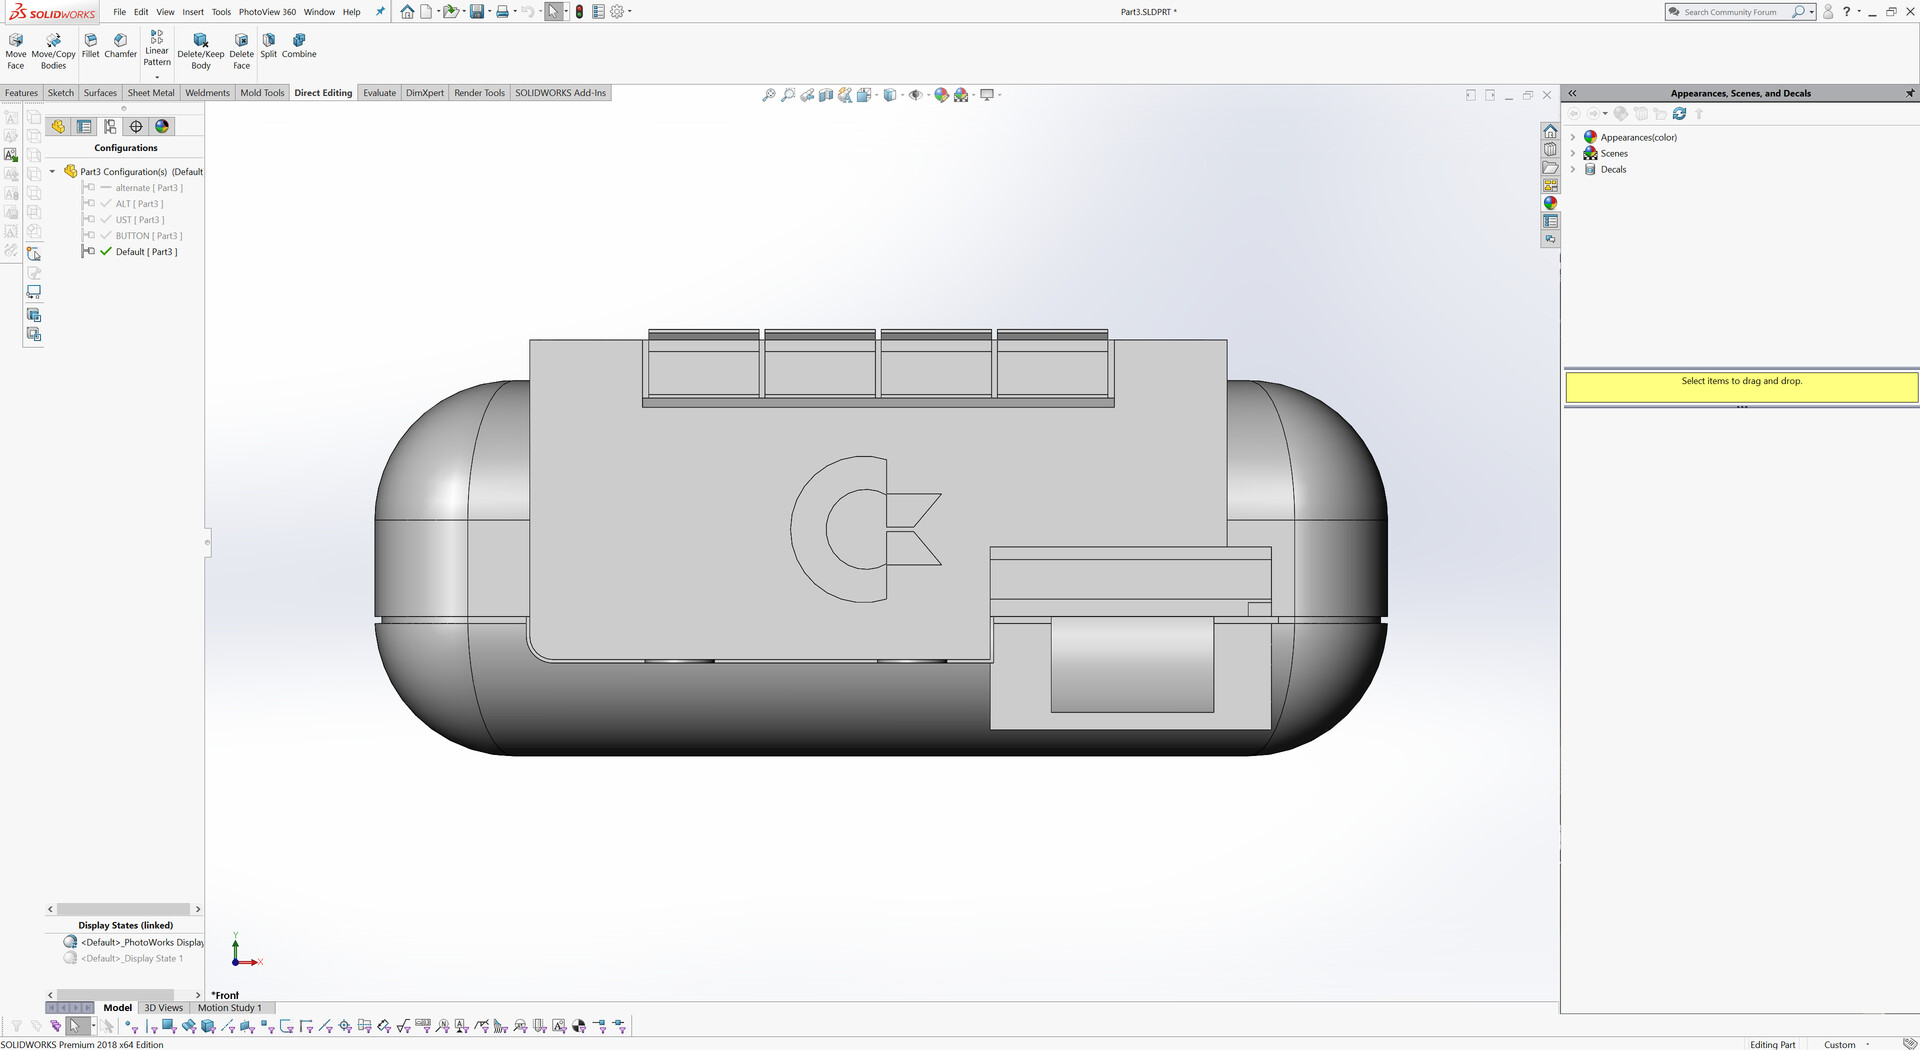
I just followed the steps of the Peter's blog and created a board of the device. Next thing was to create a case for this one. I used Solidworks to make the model of the electronic part and created a shell over it by considering the clearences.

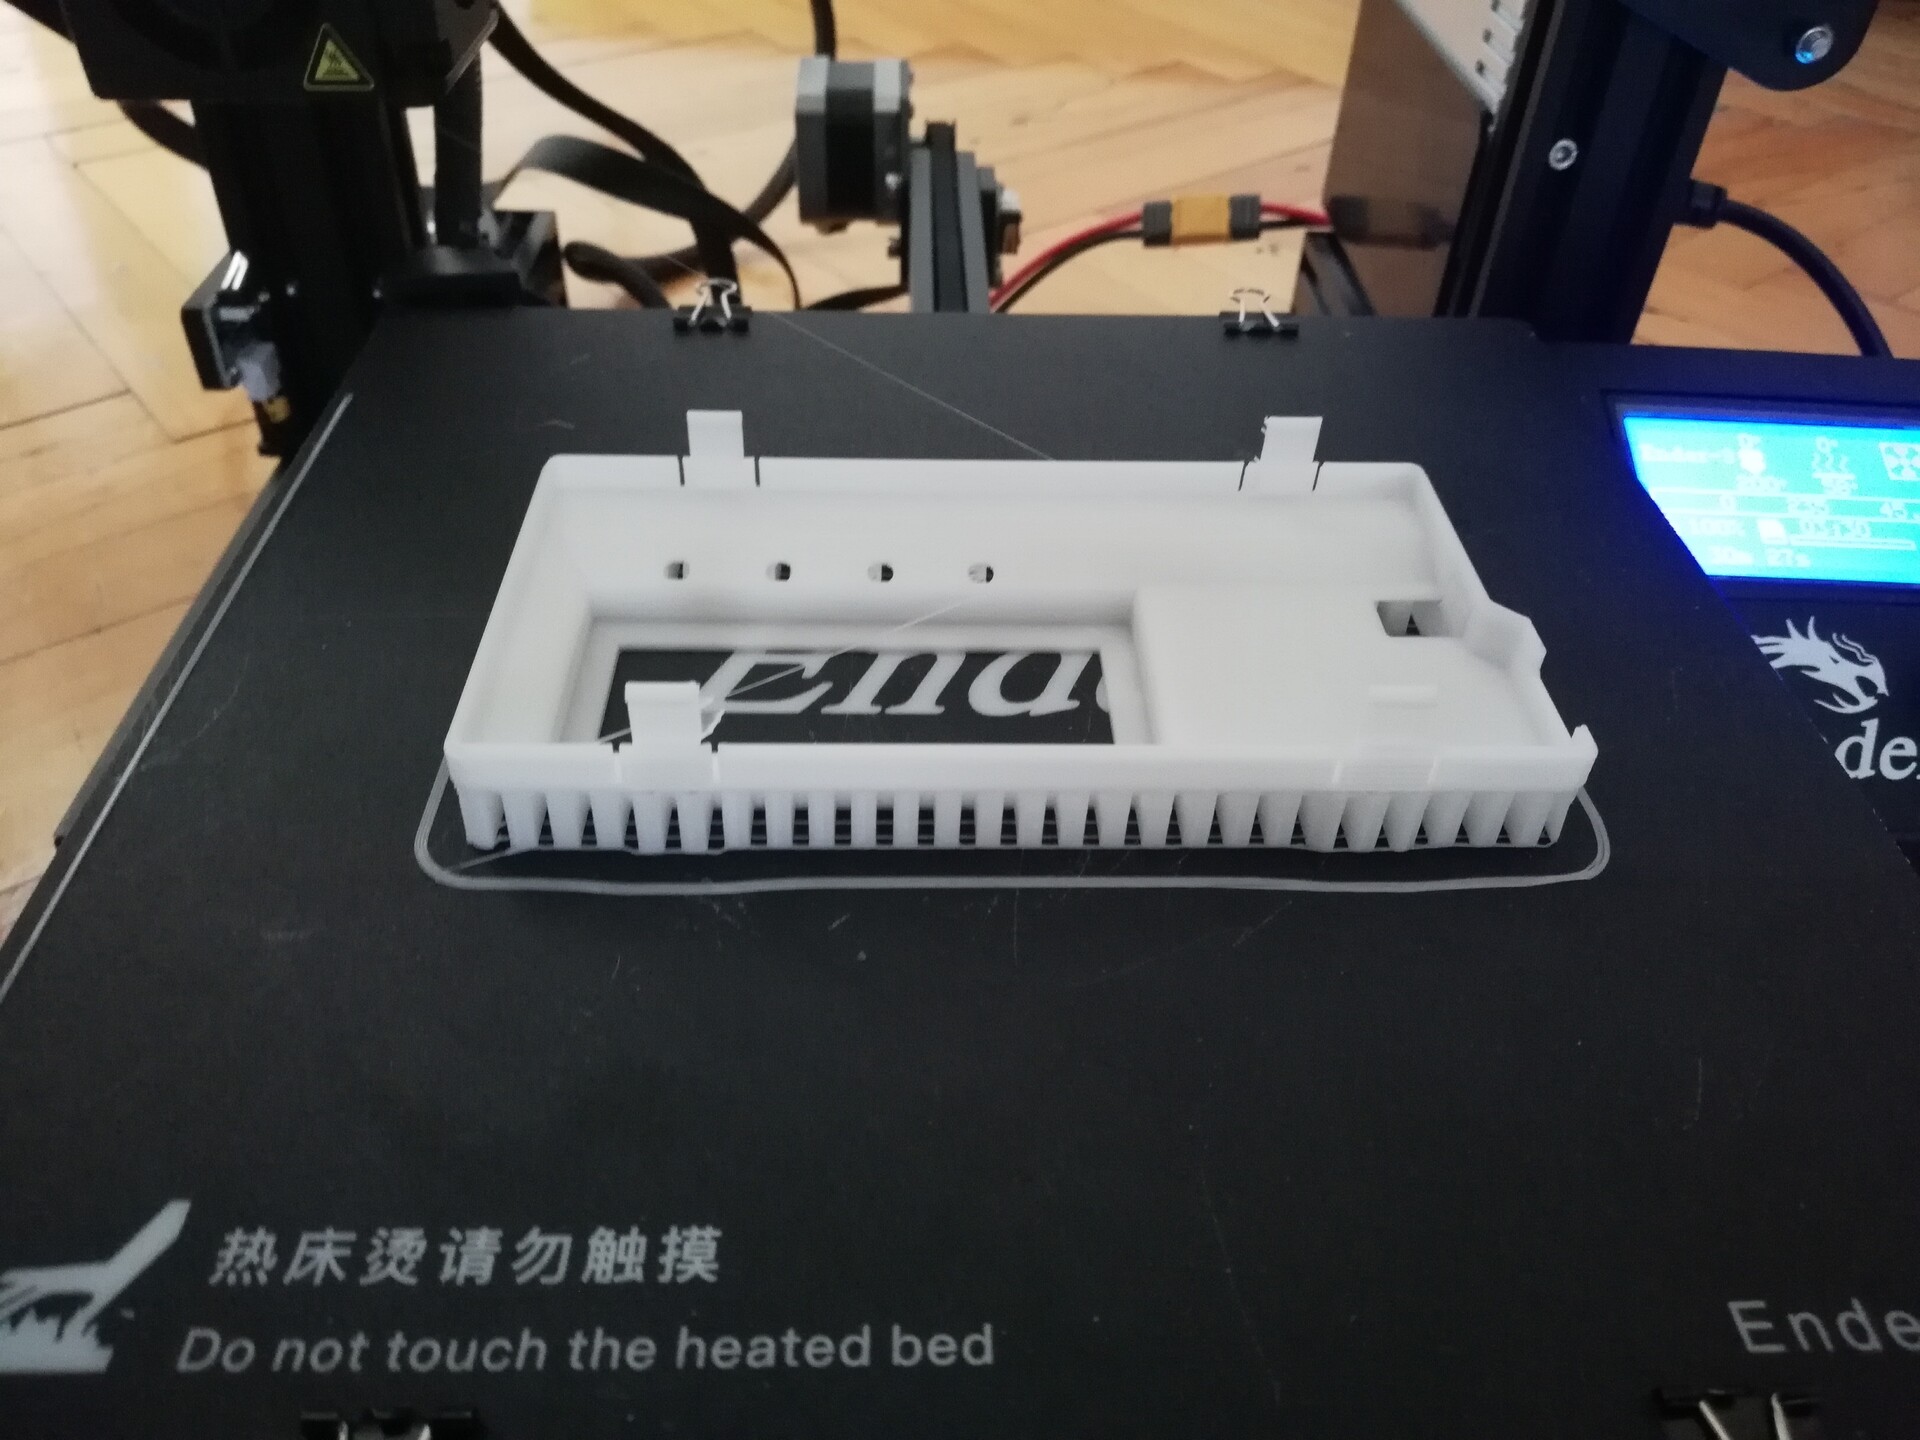
Then I 3d print it and complete this first trial of "homemade" electronics and case printing.
It worked like a charm!
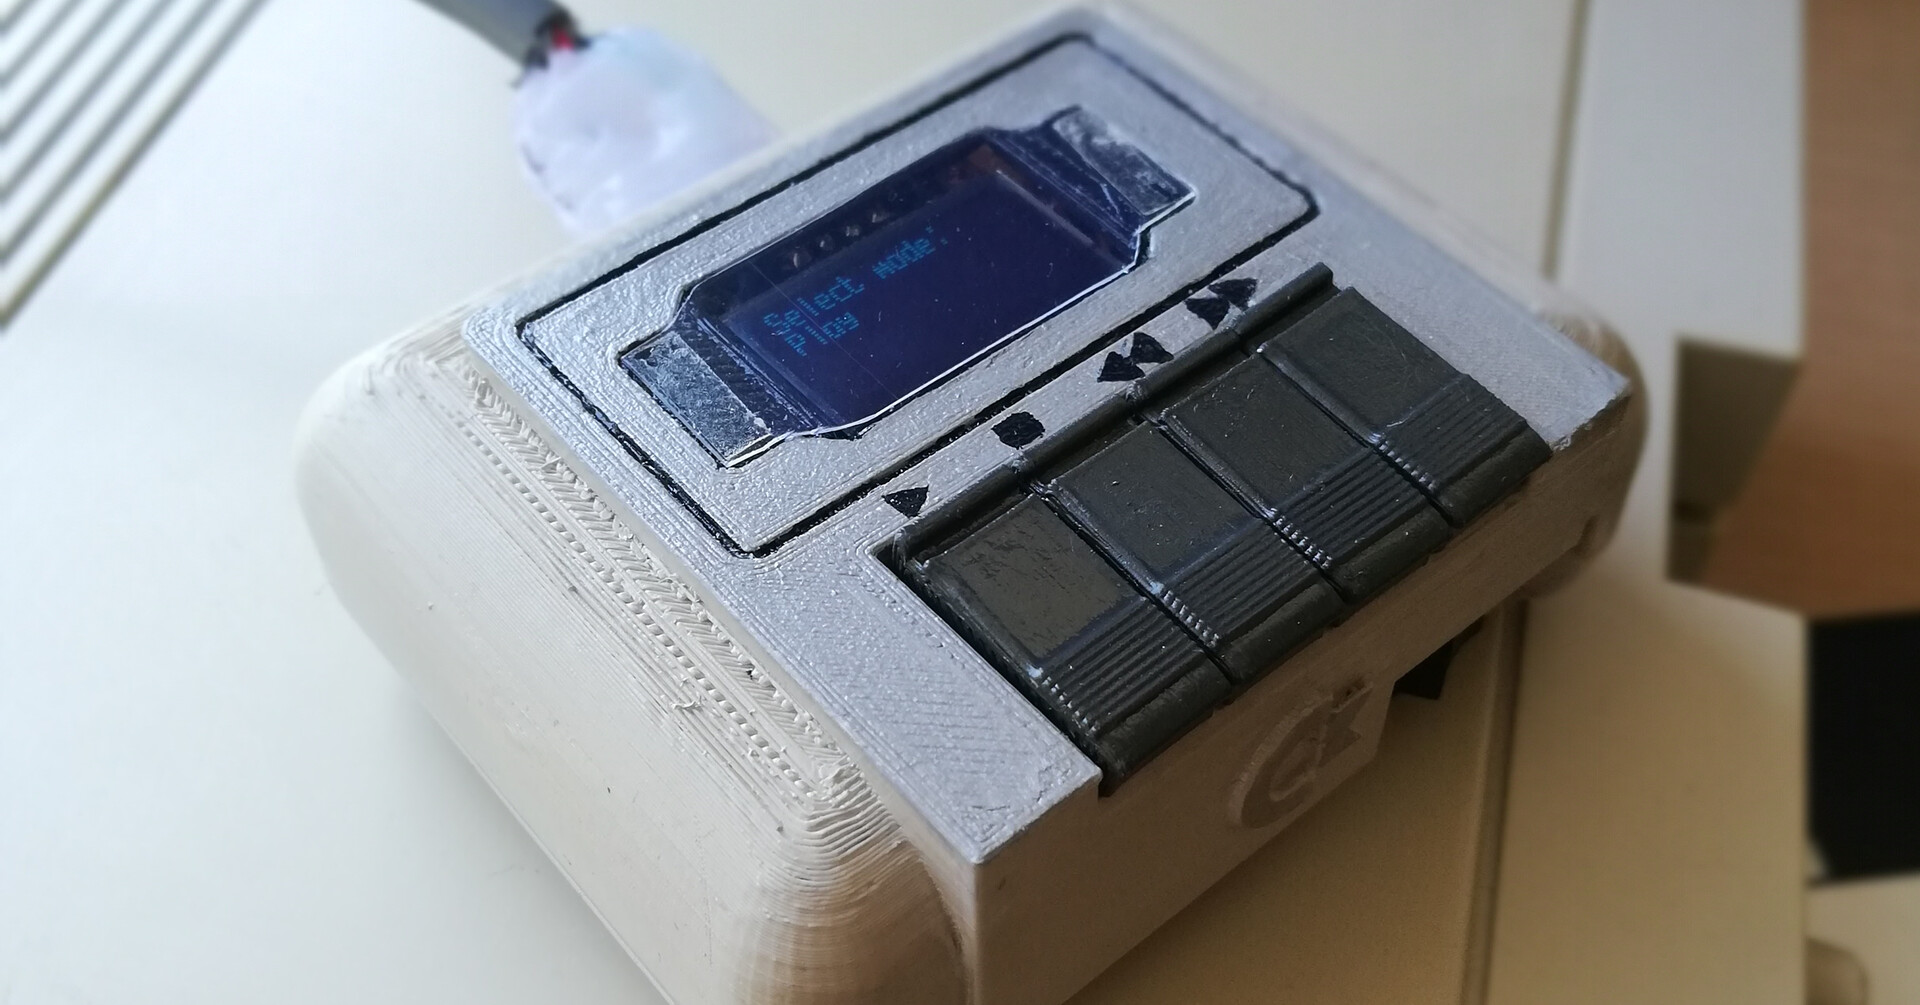
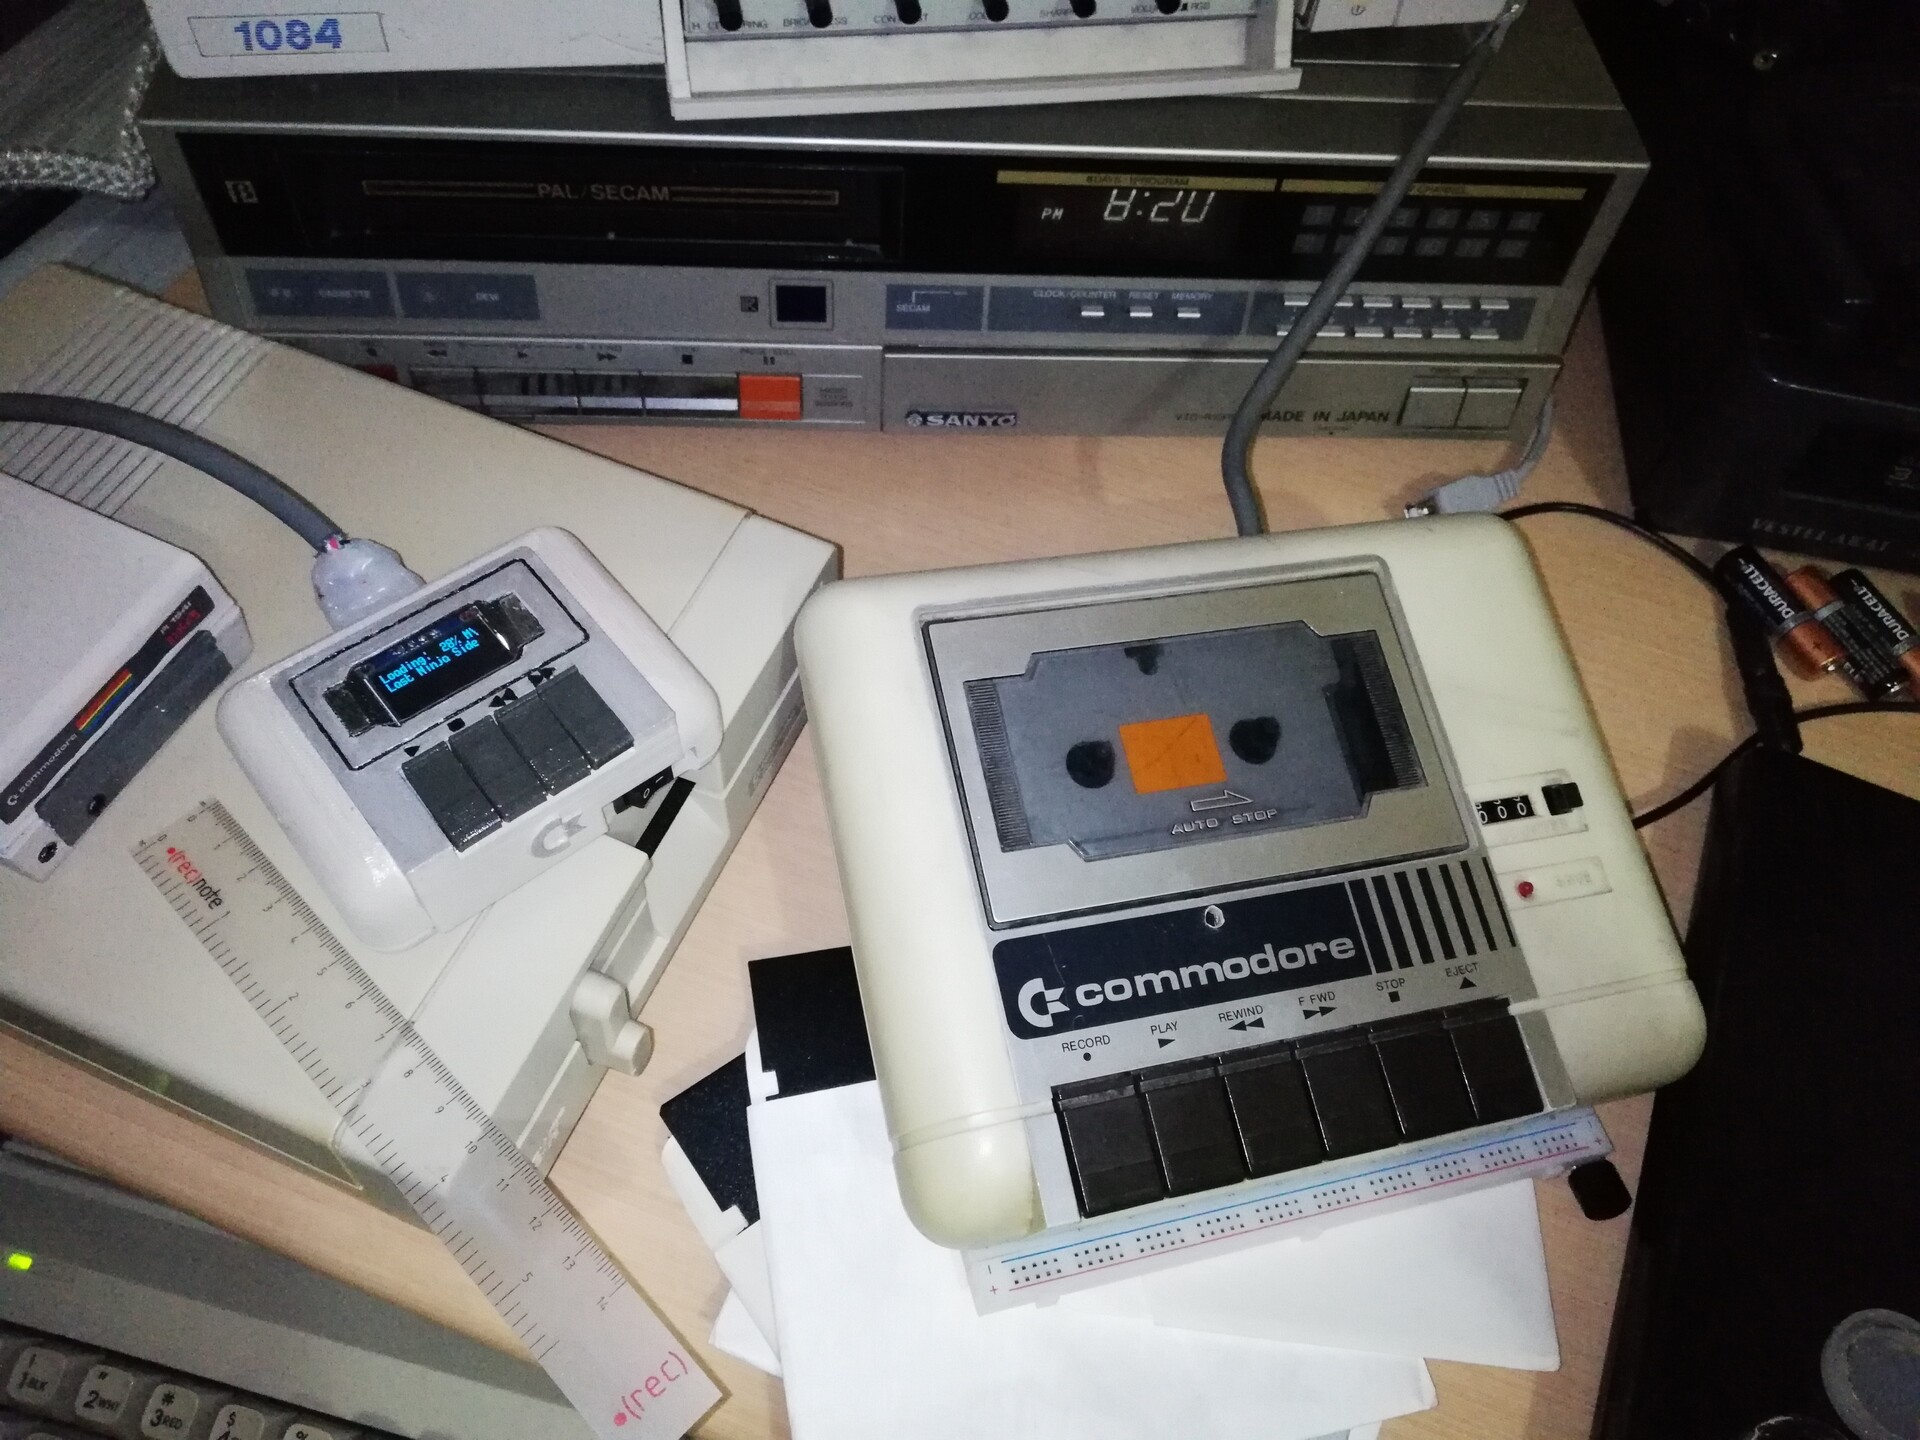
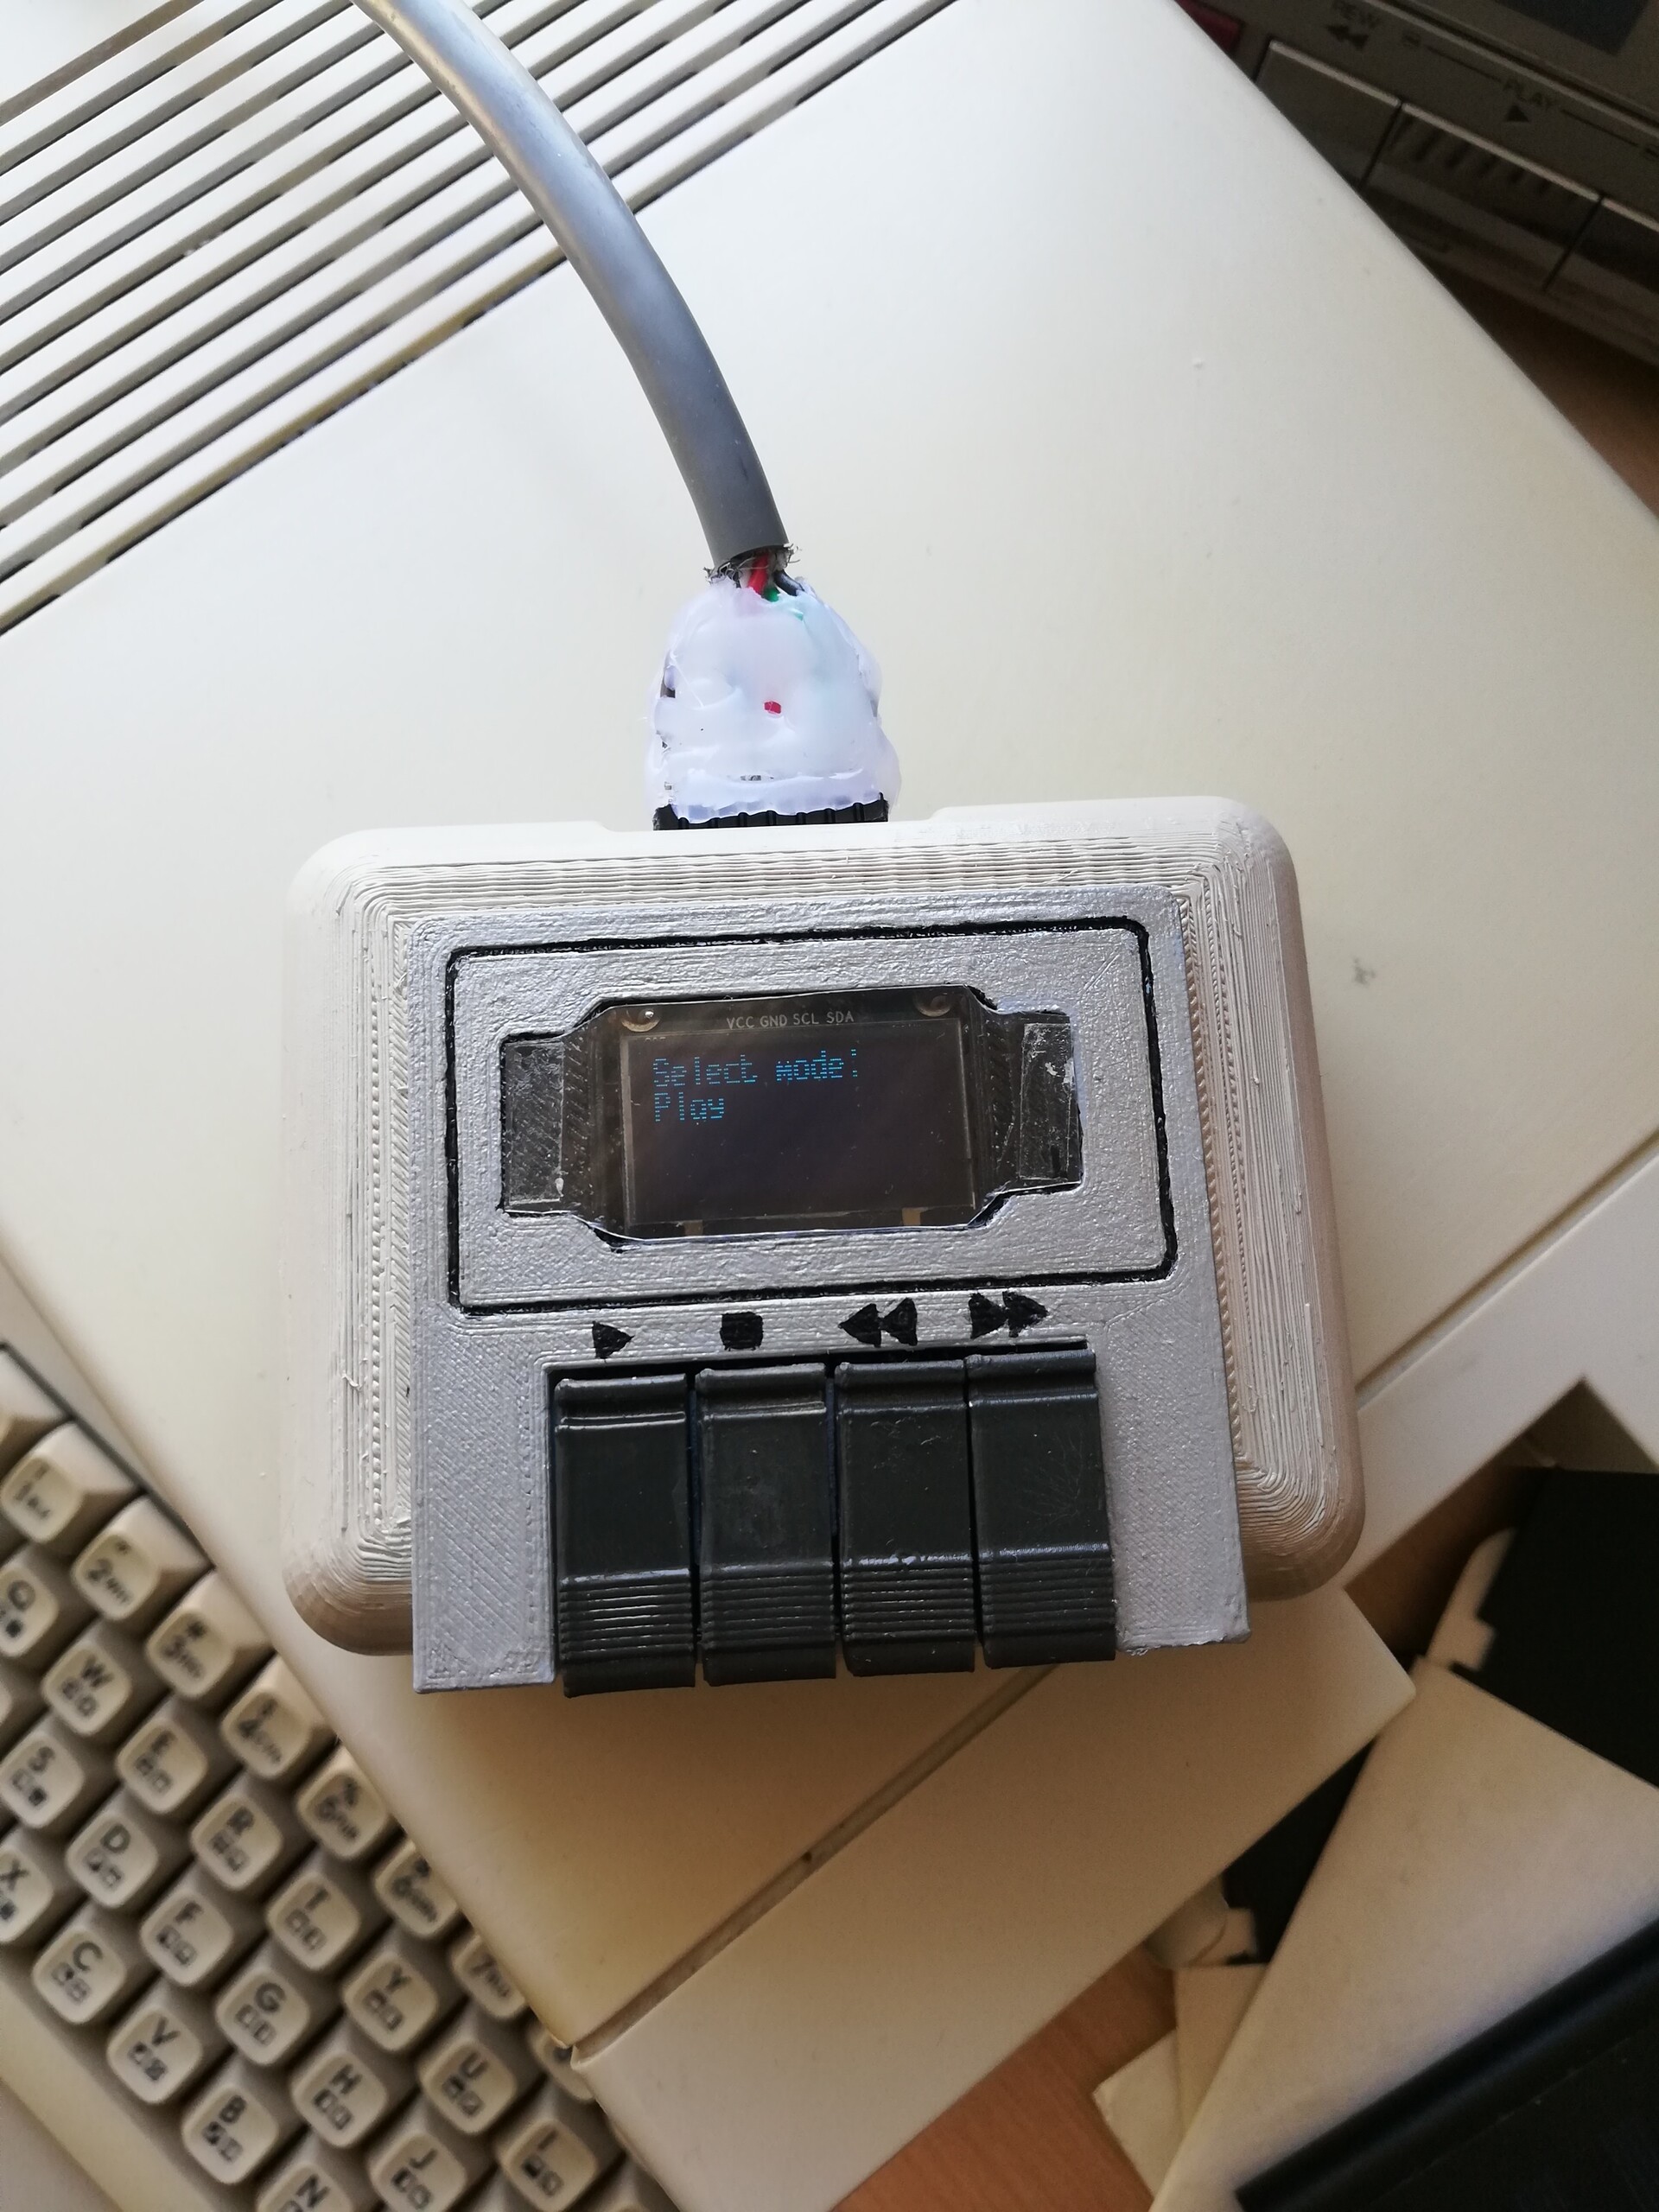
My next mission was to make the compact version of this device and make a real datasette looking case for it.
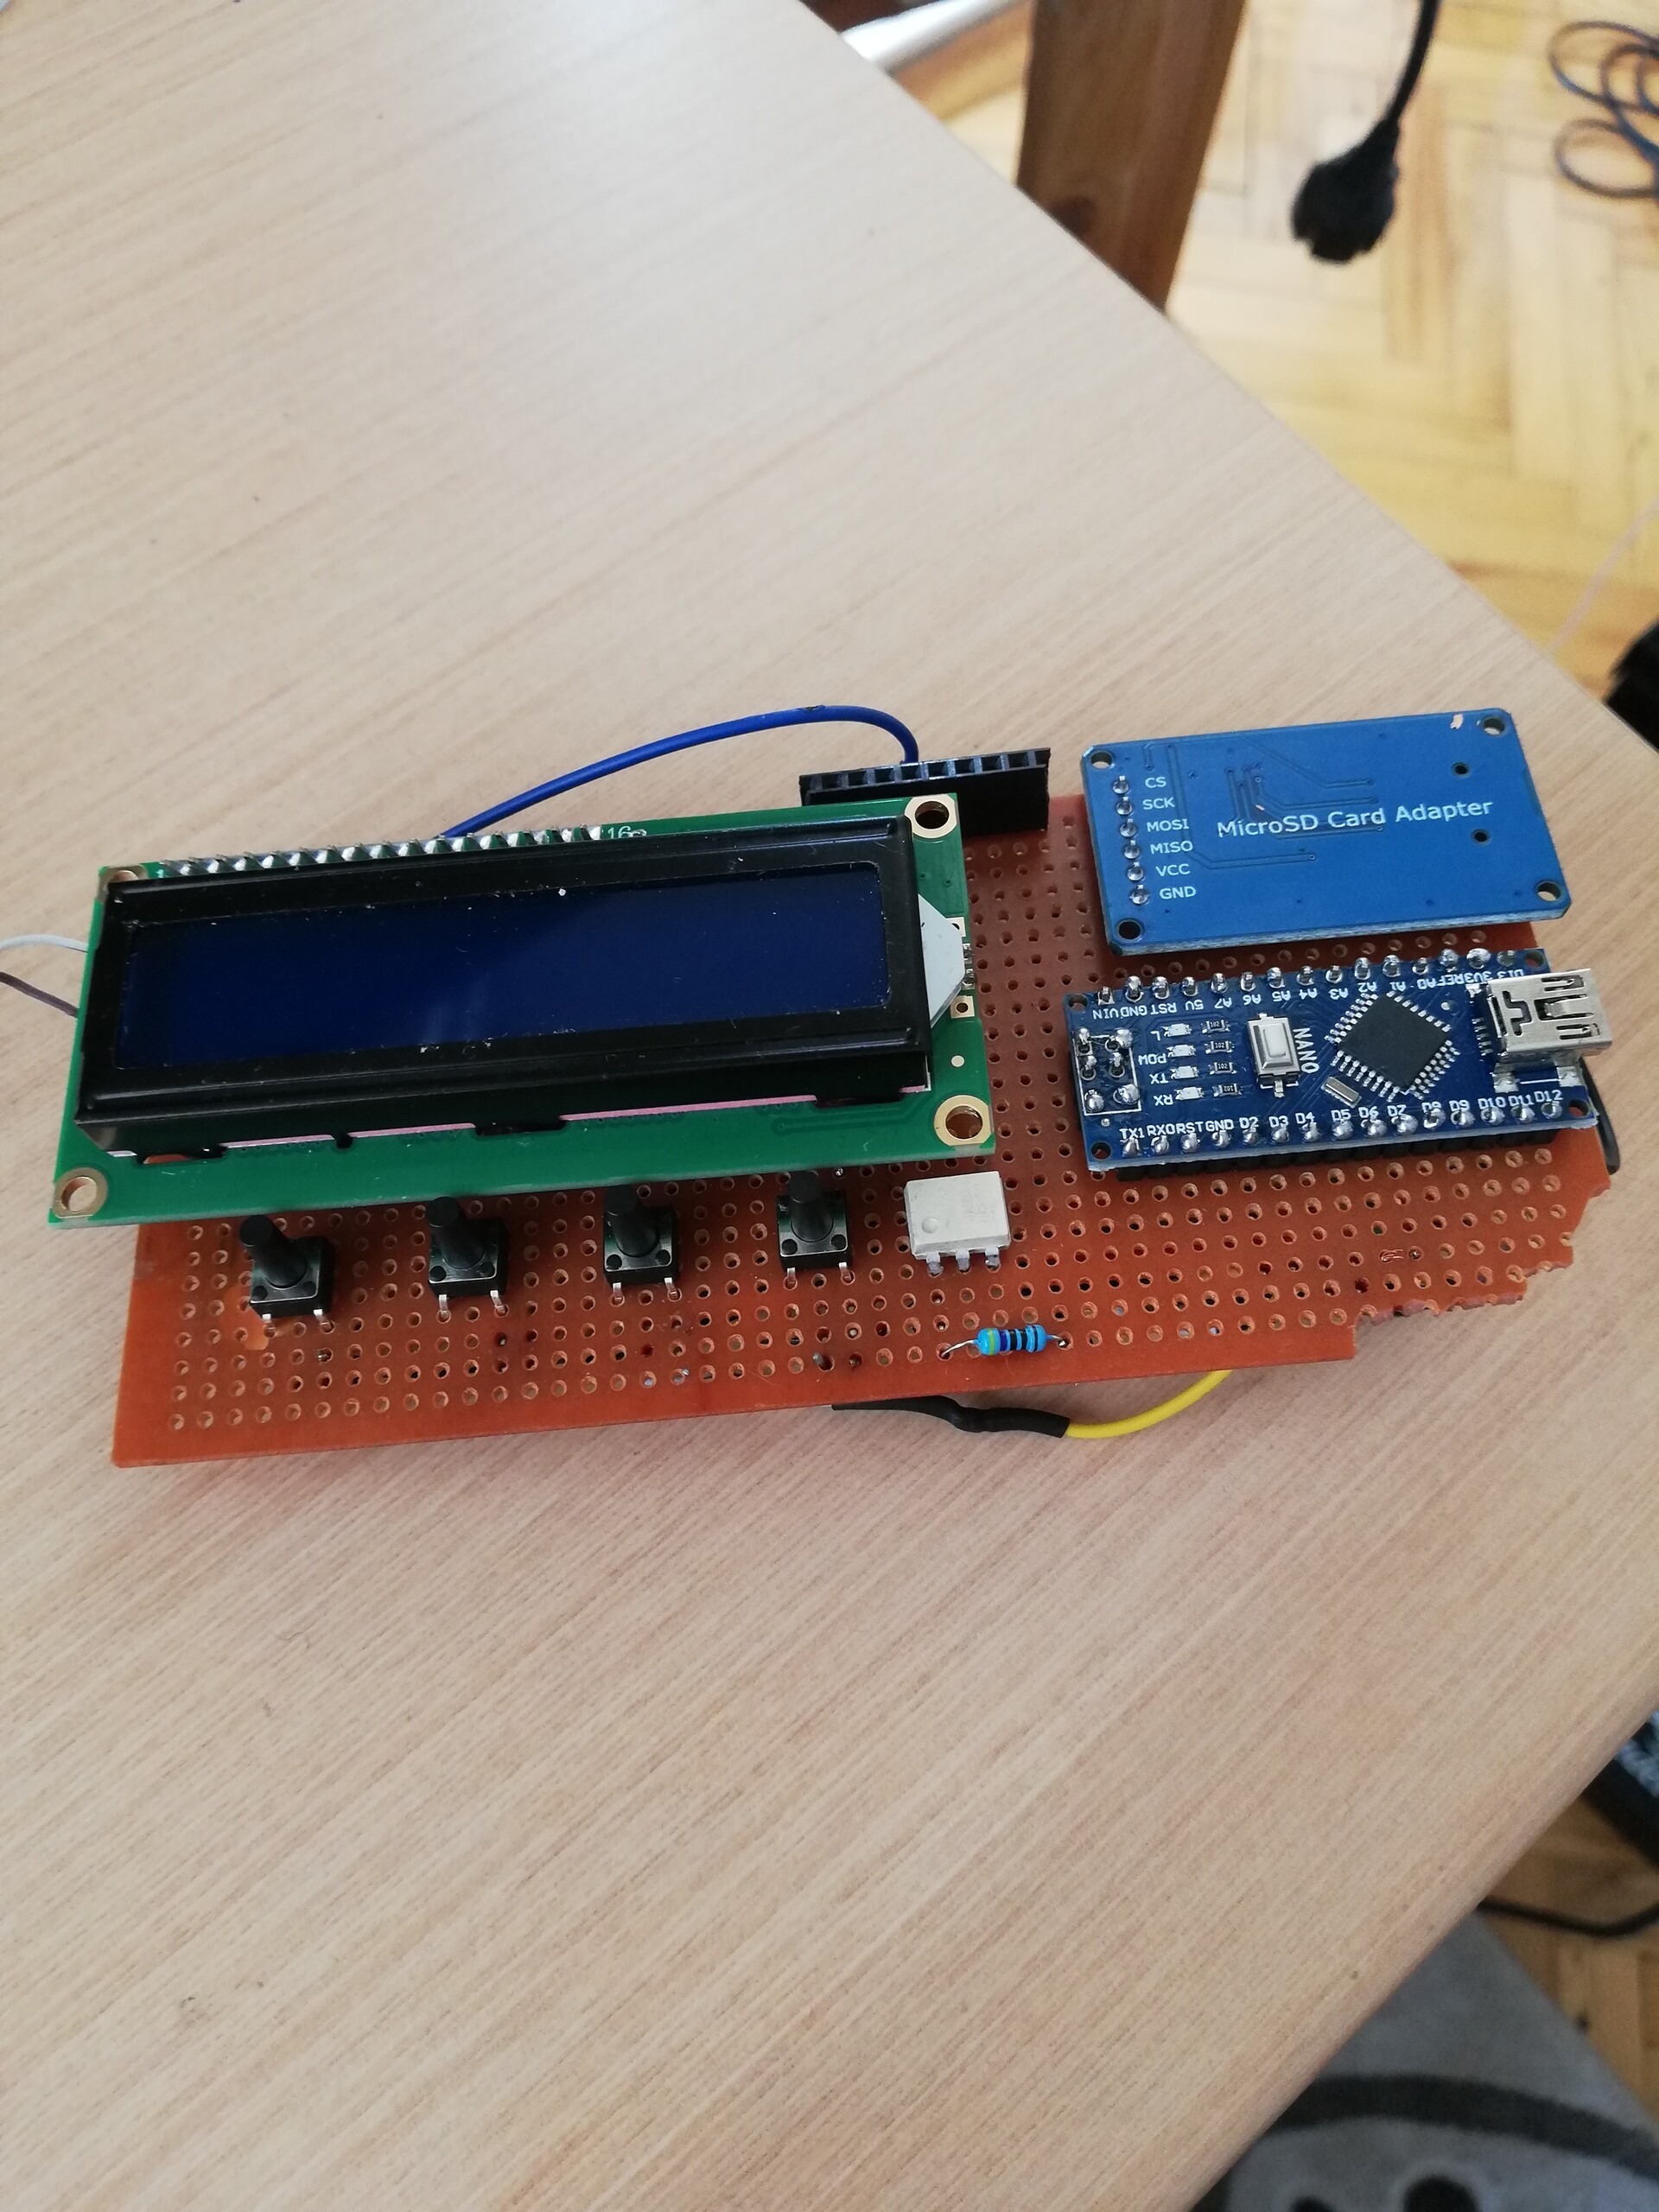
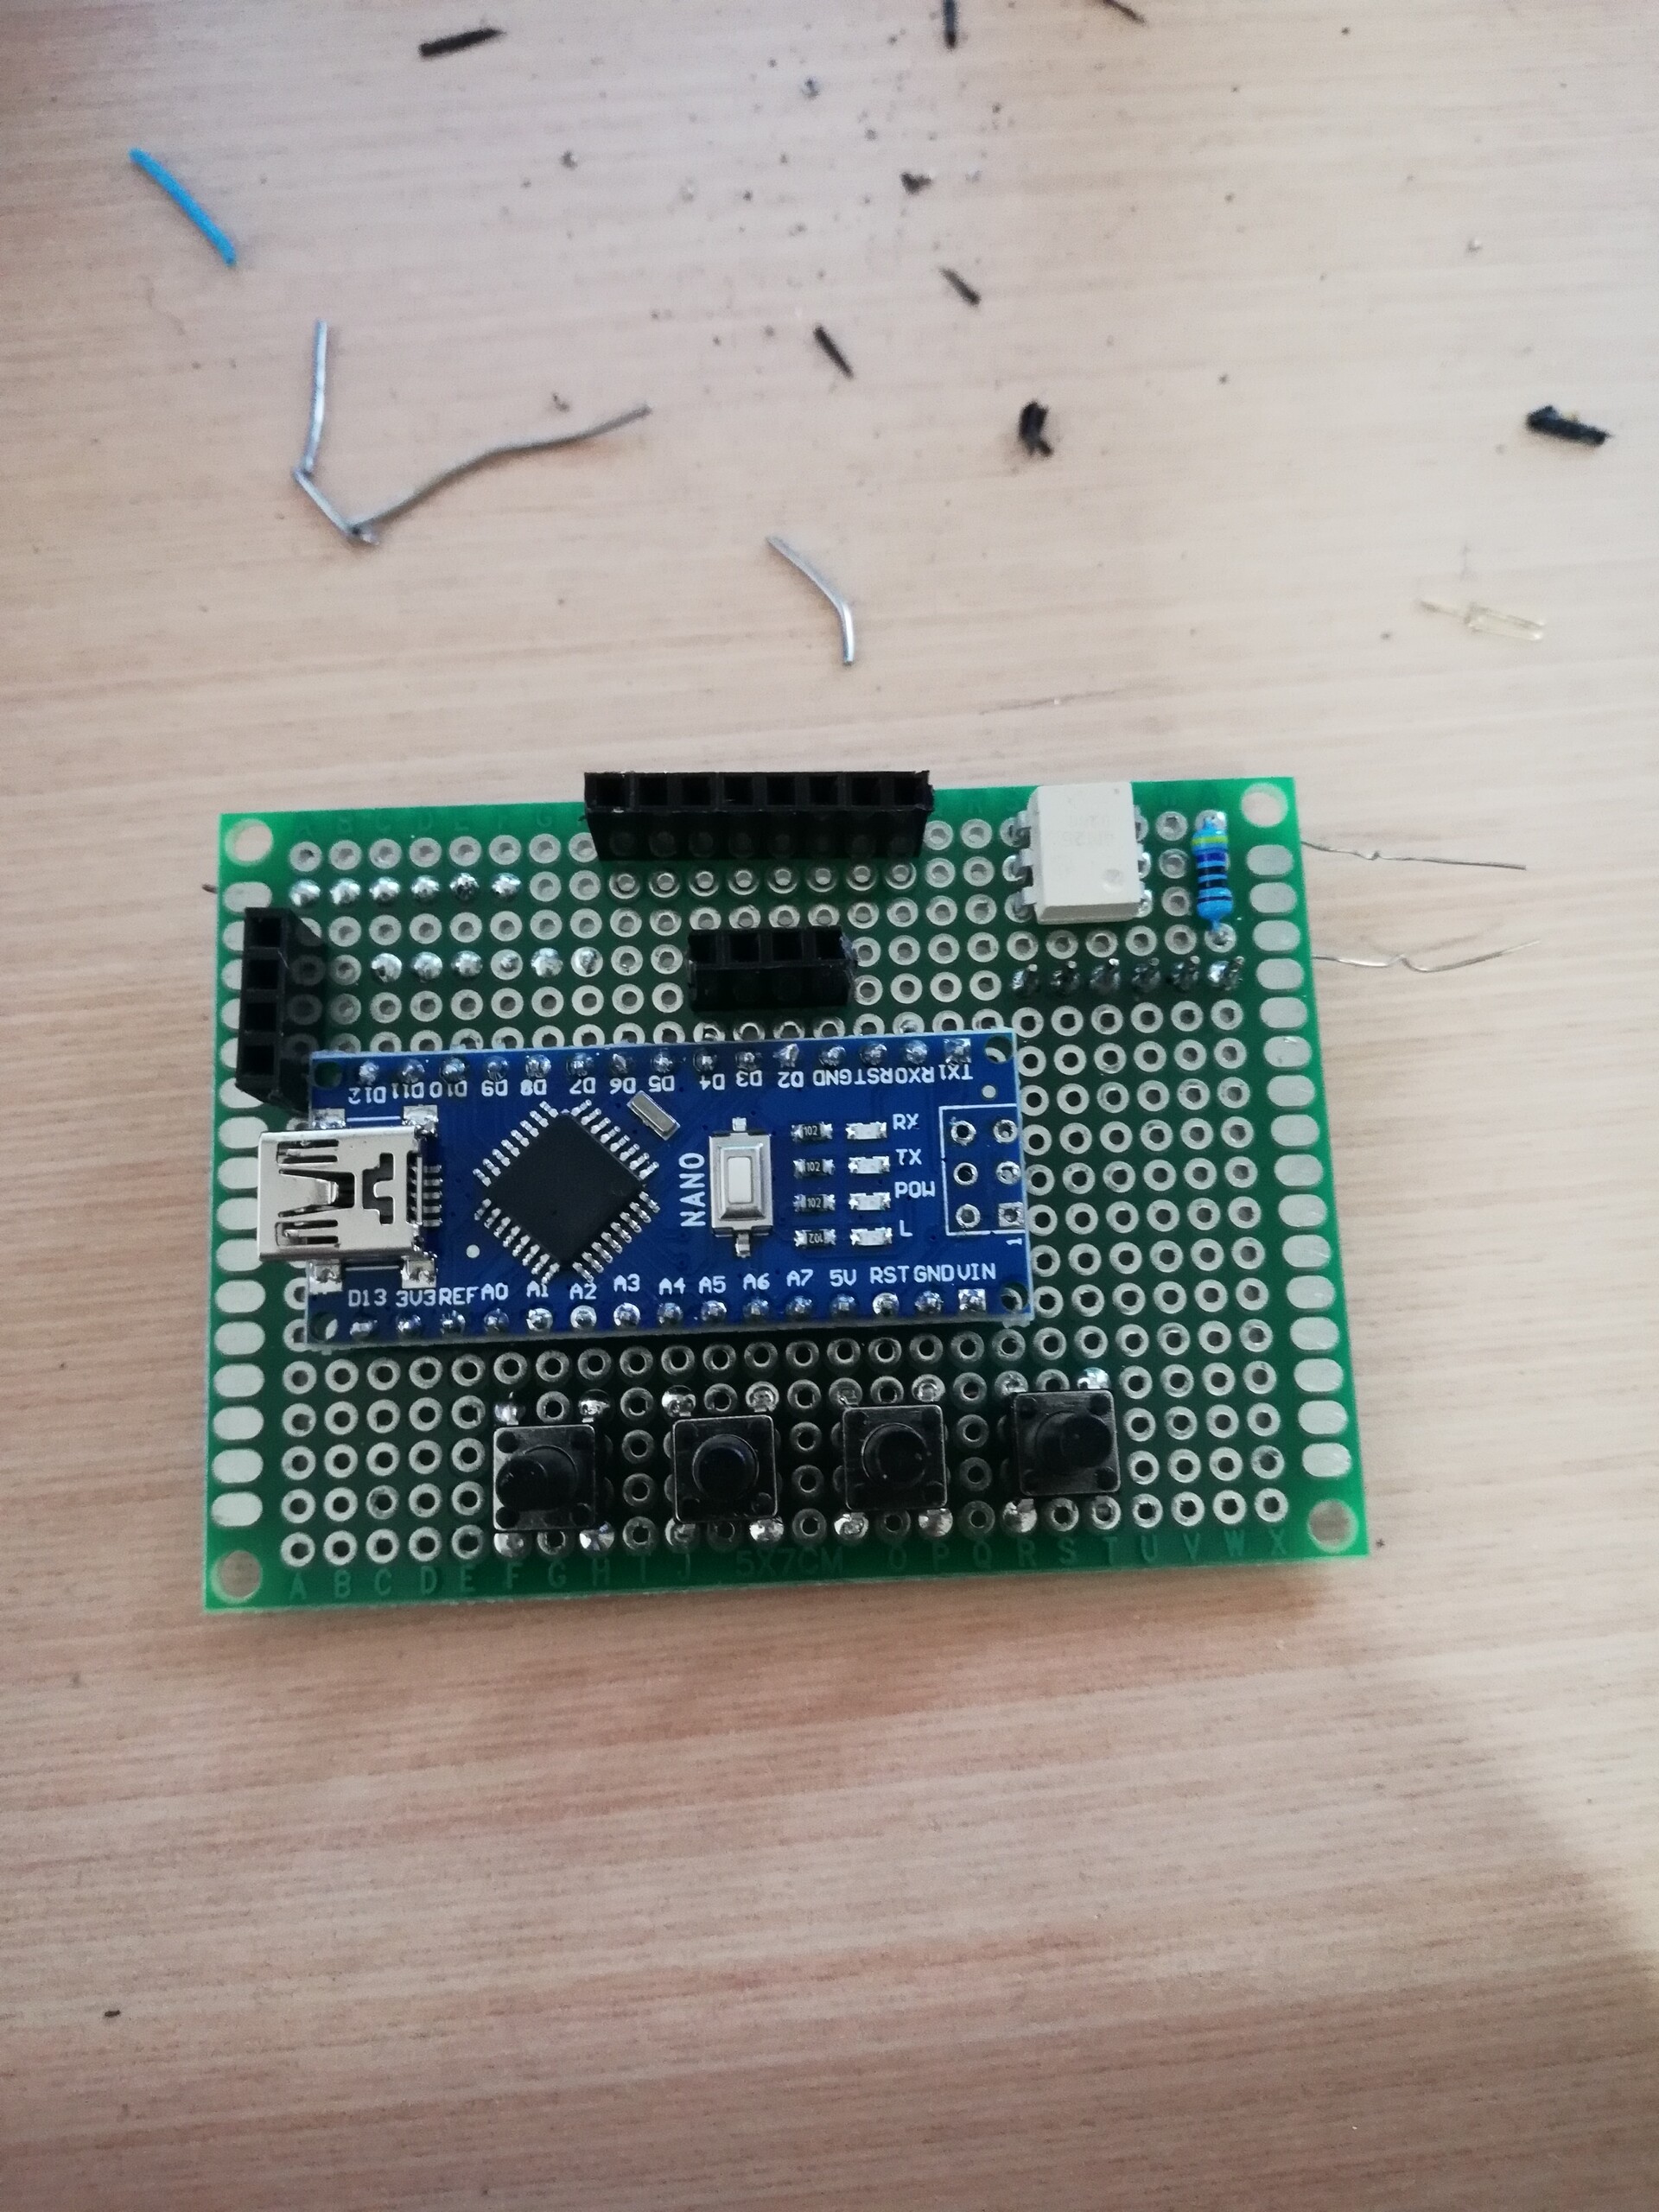
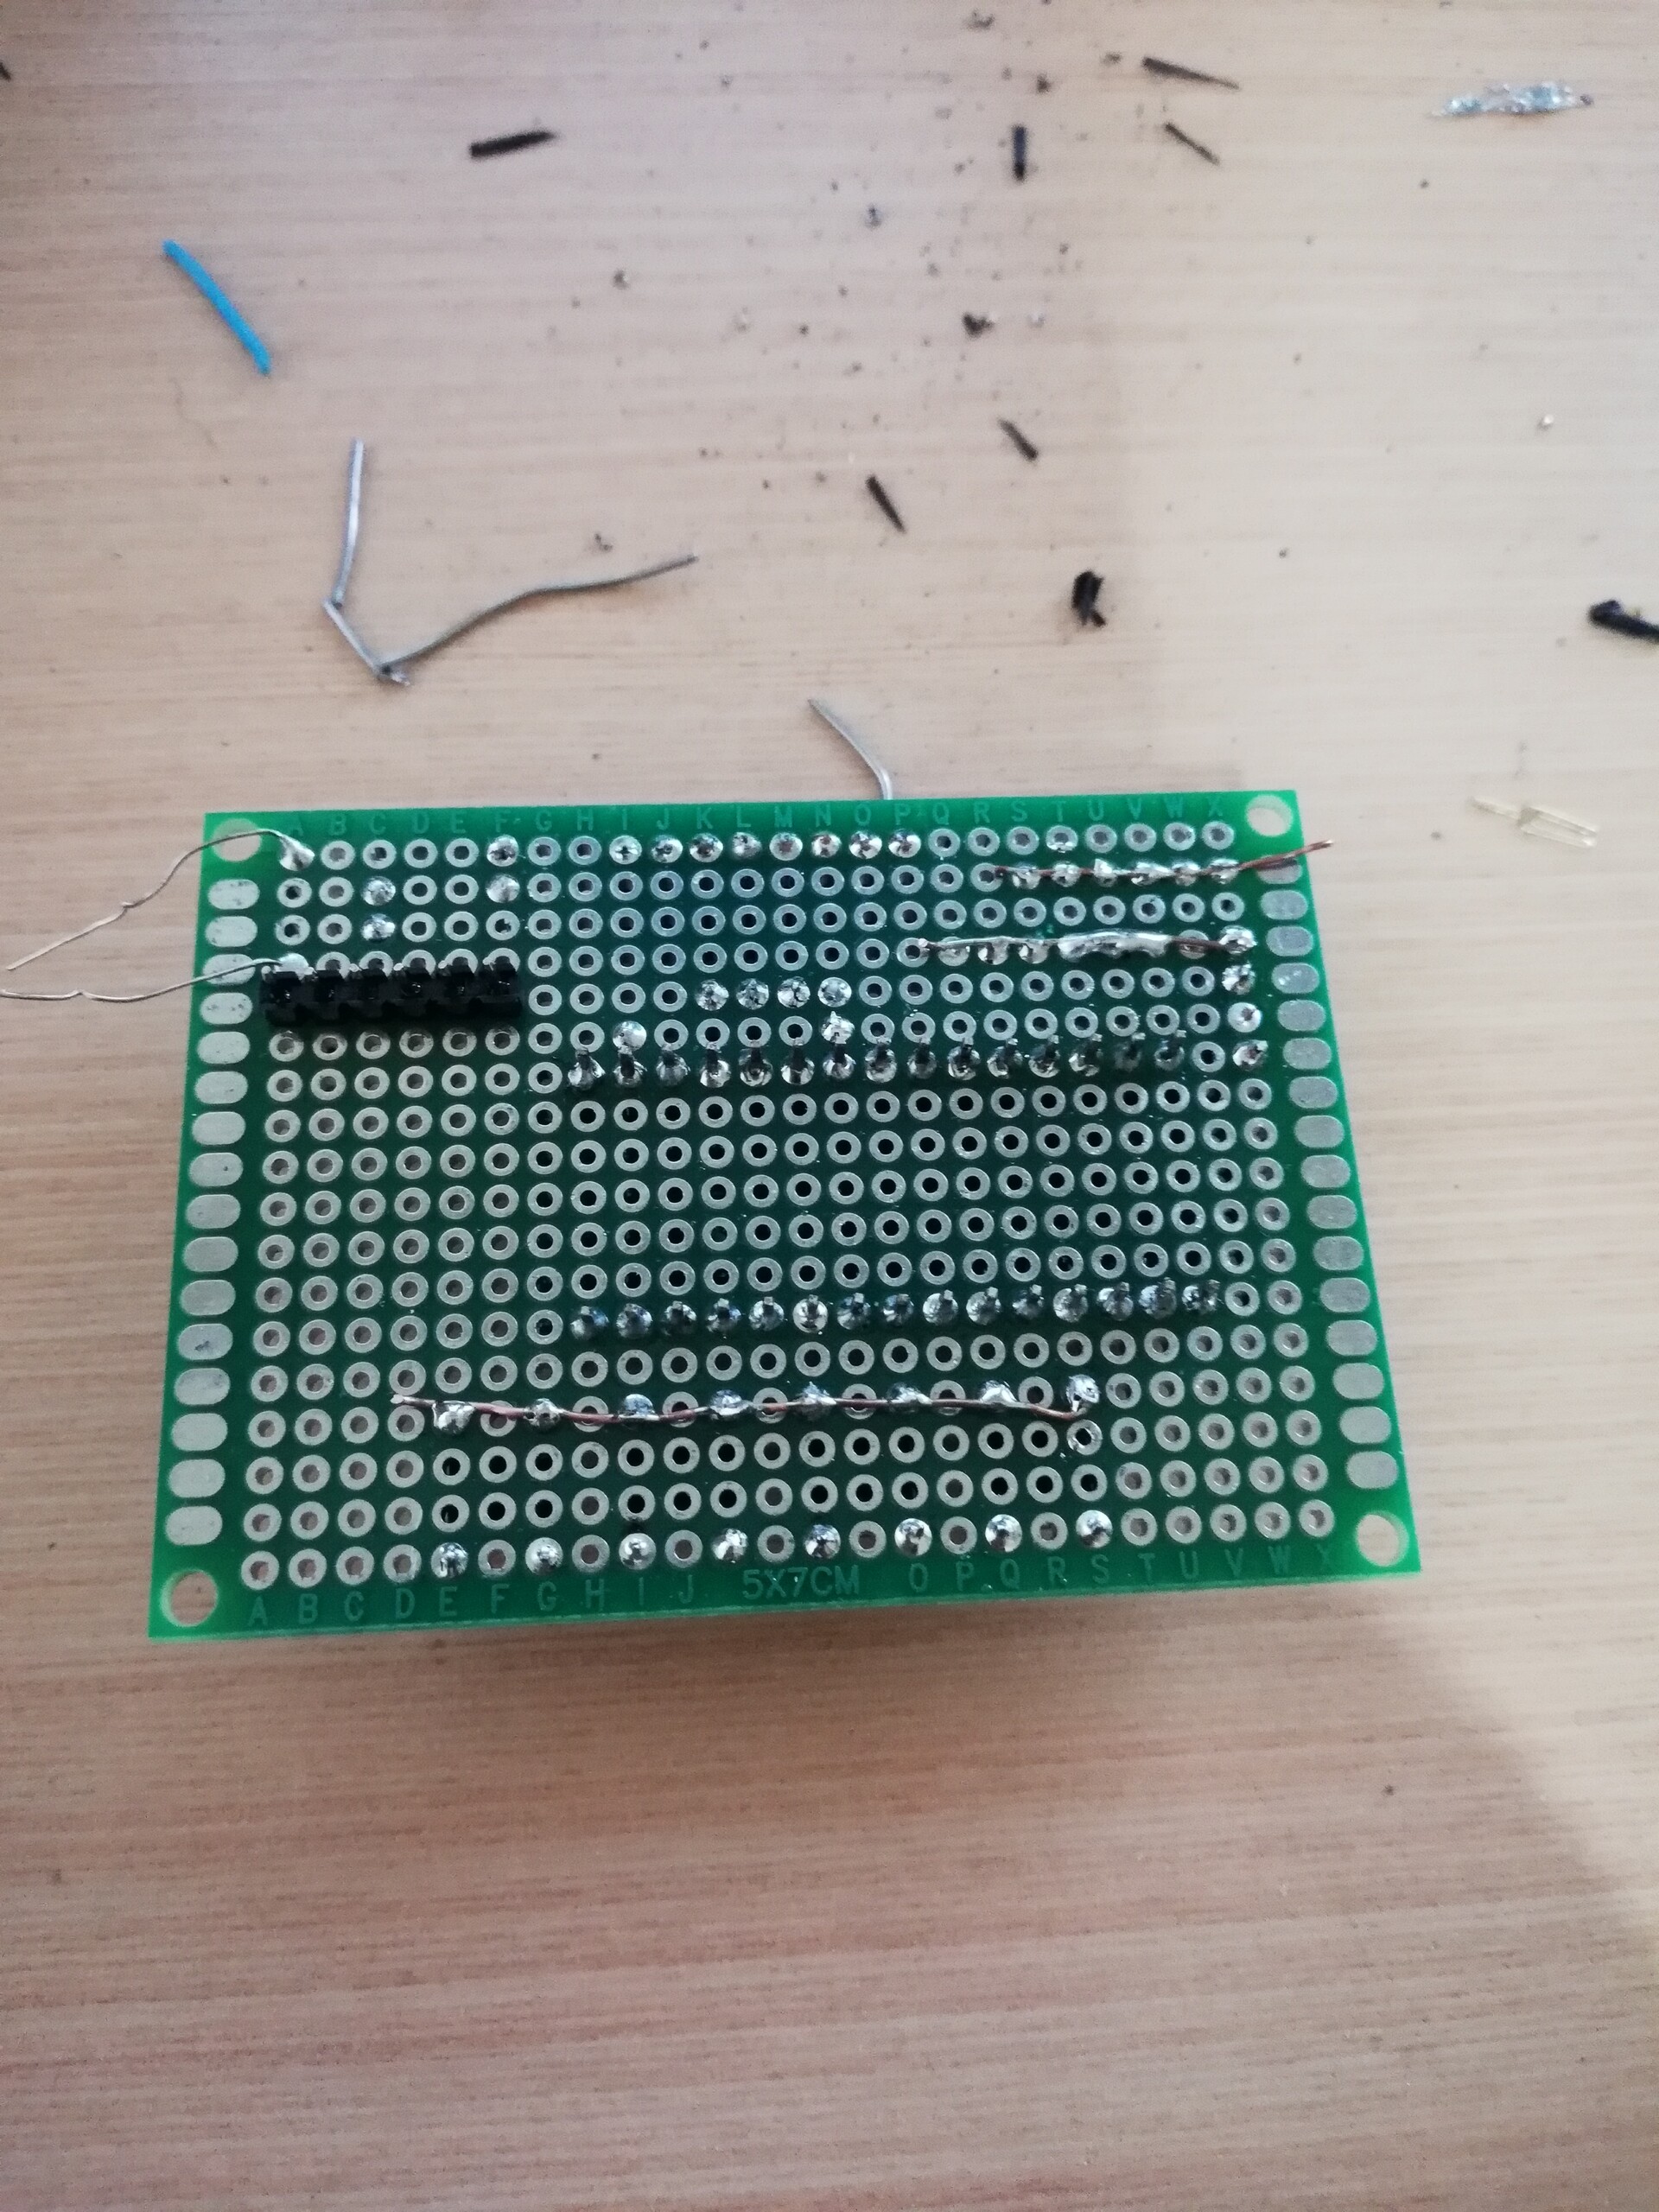
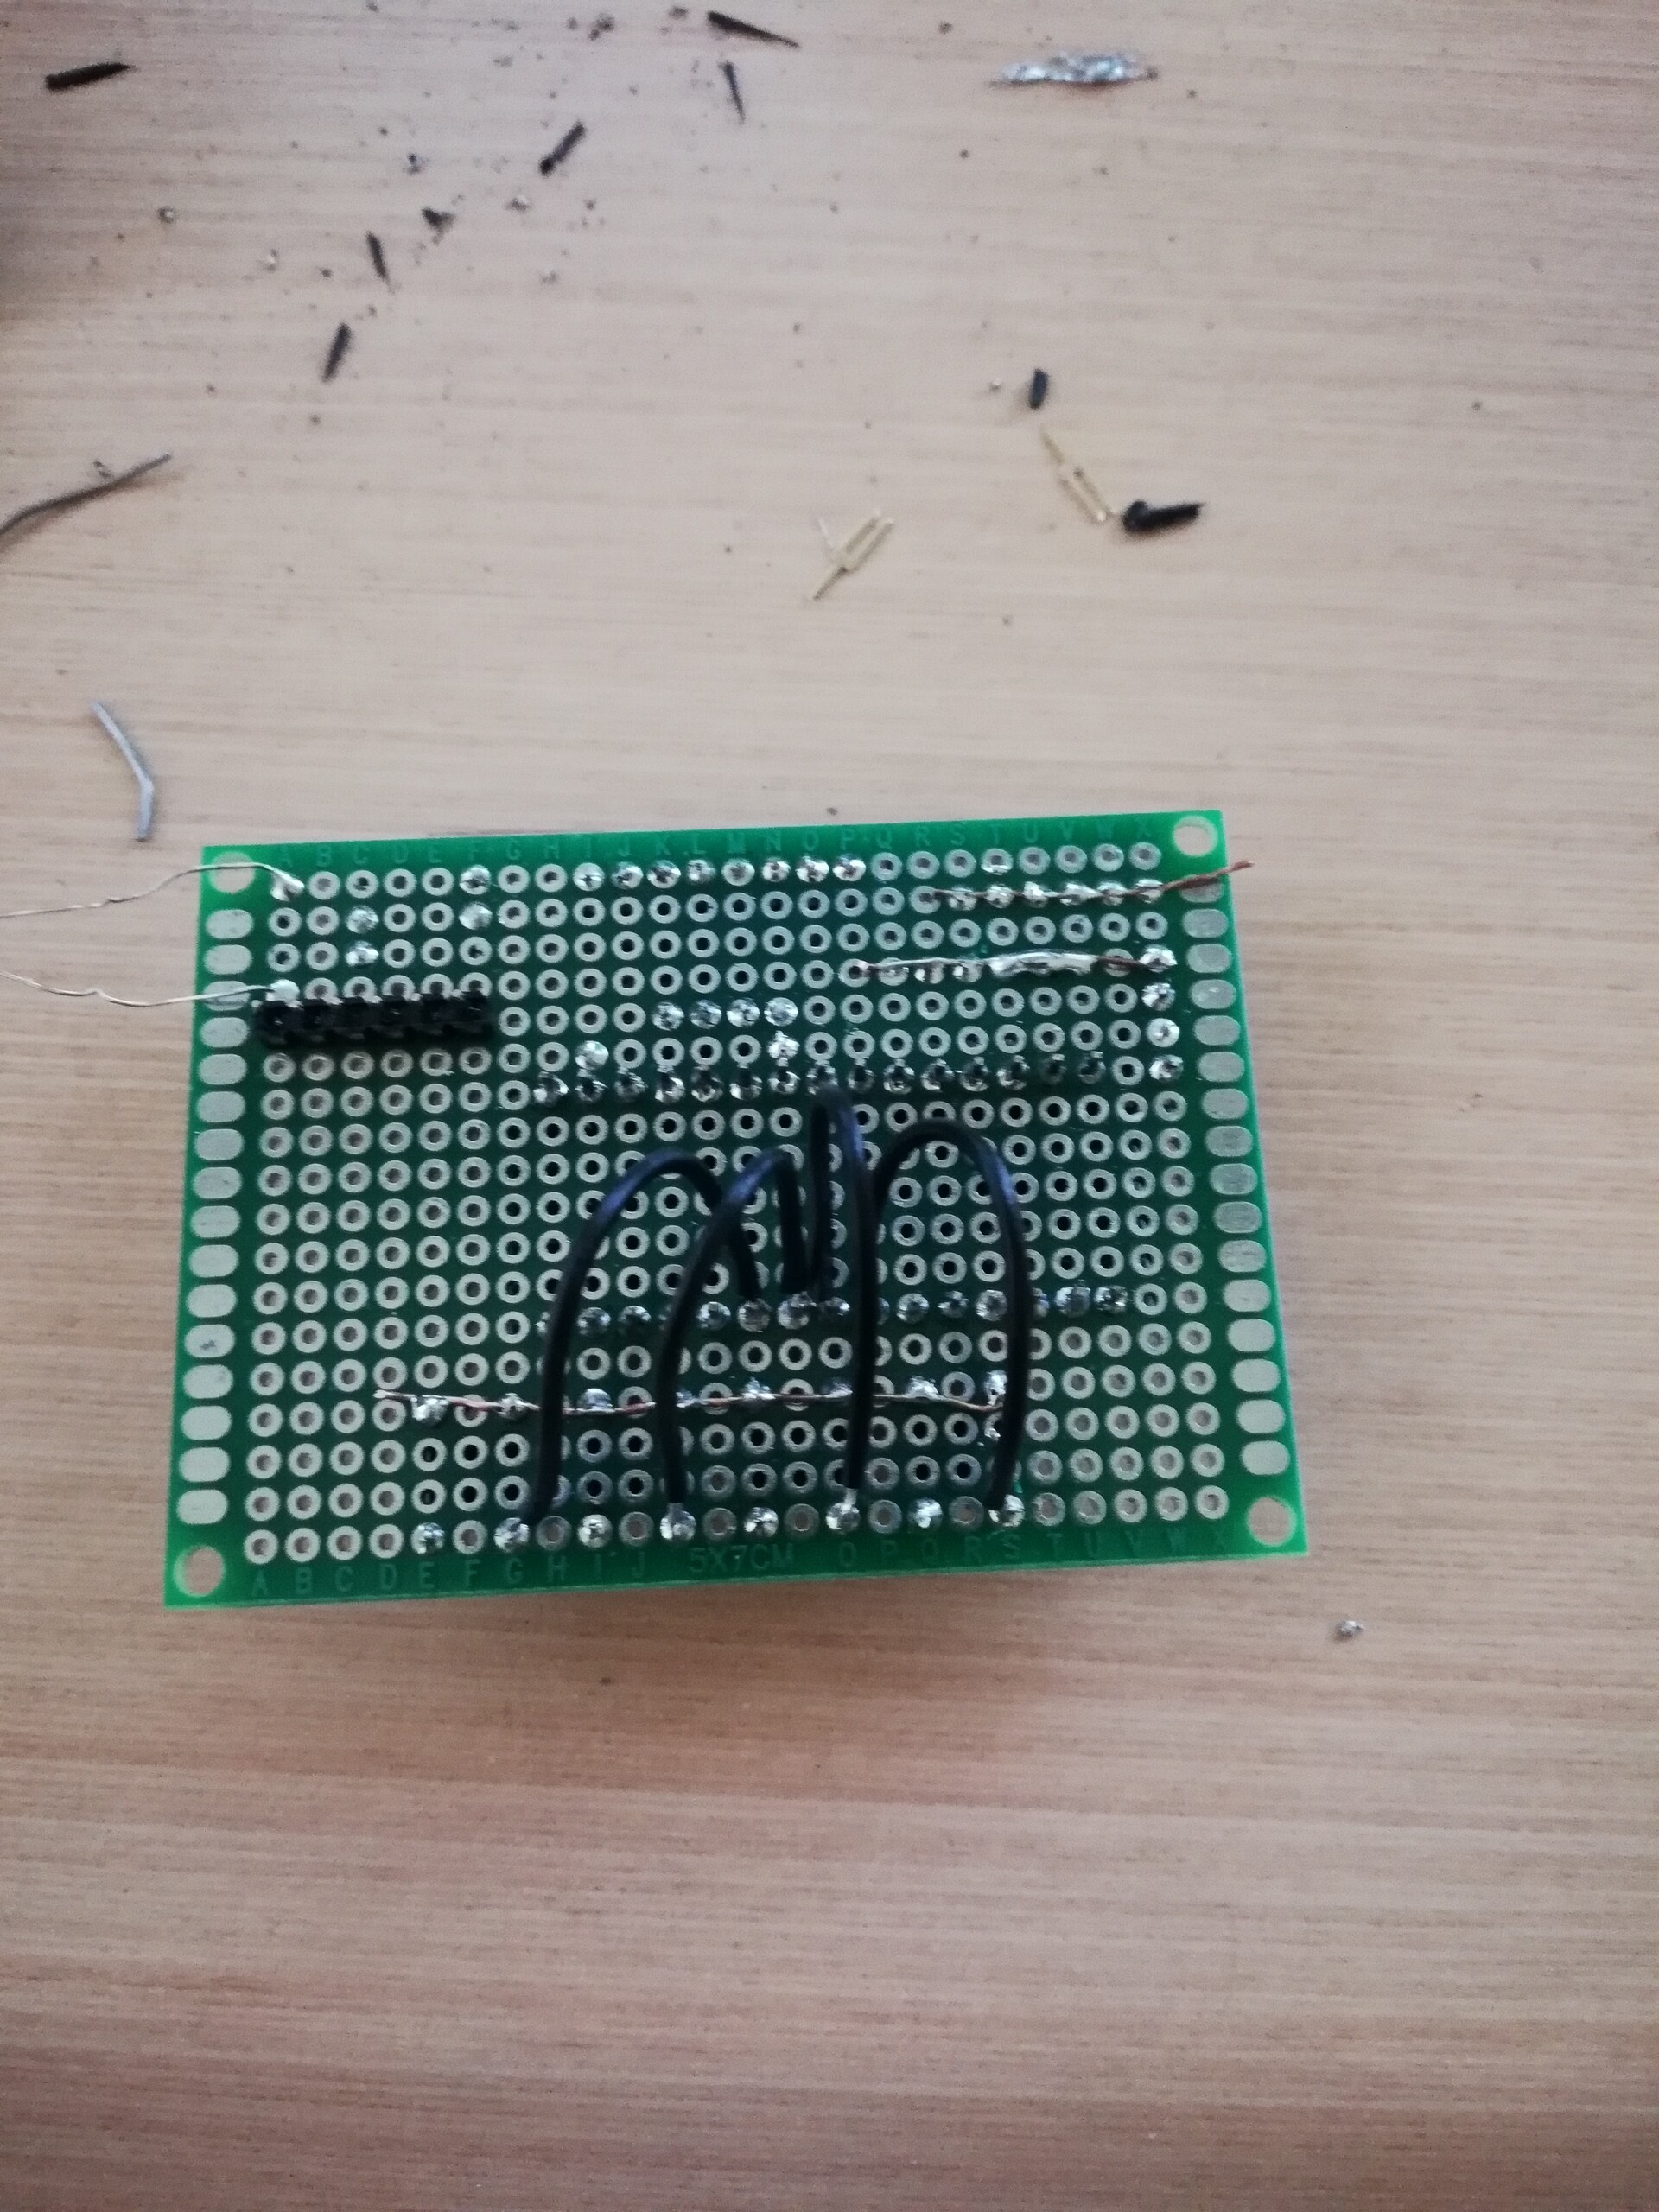
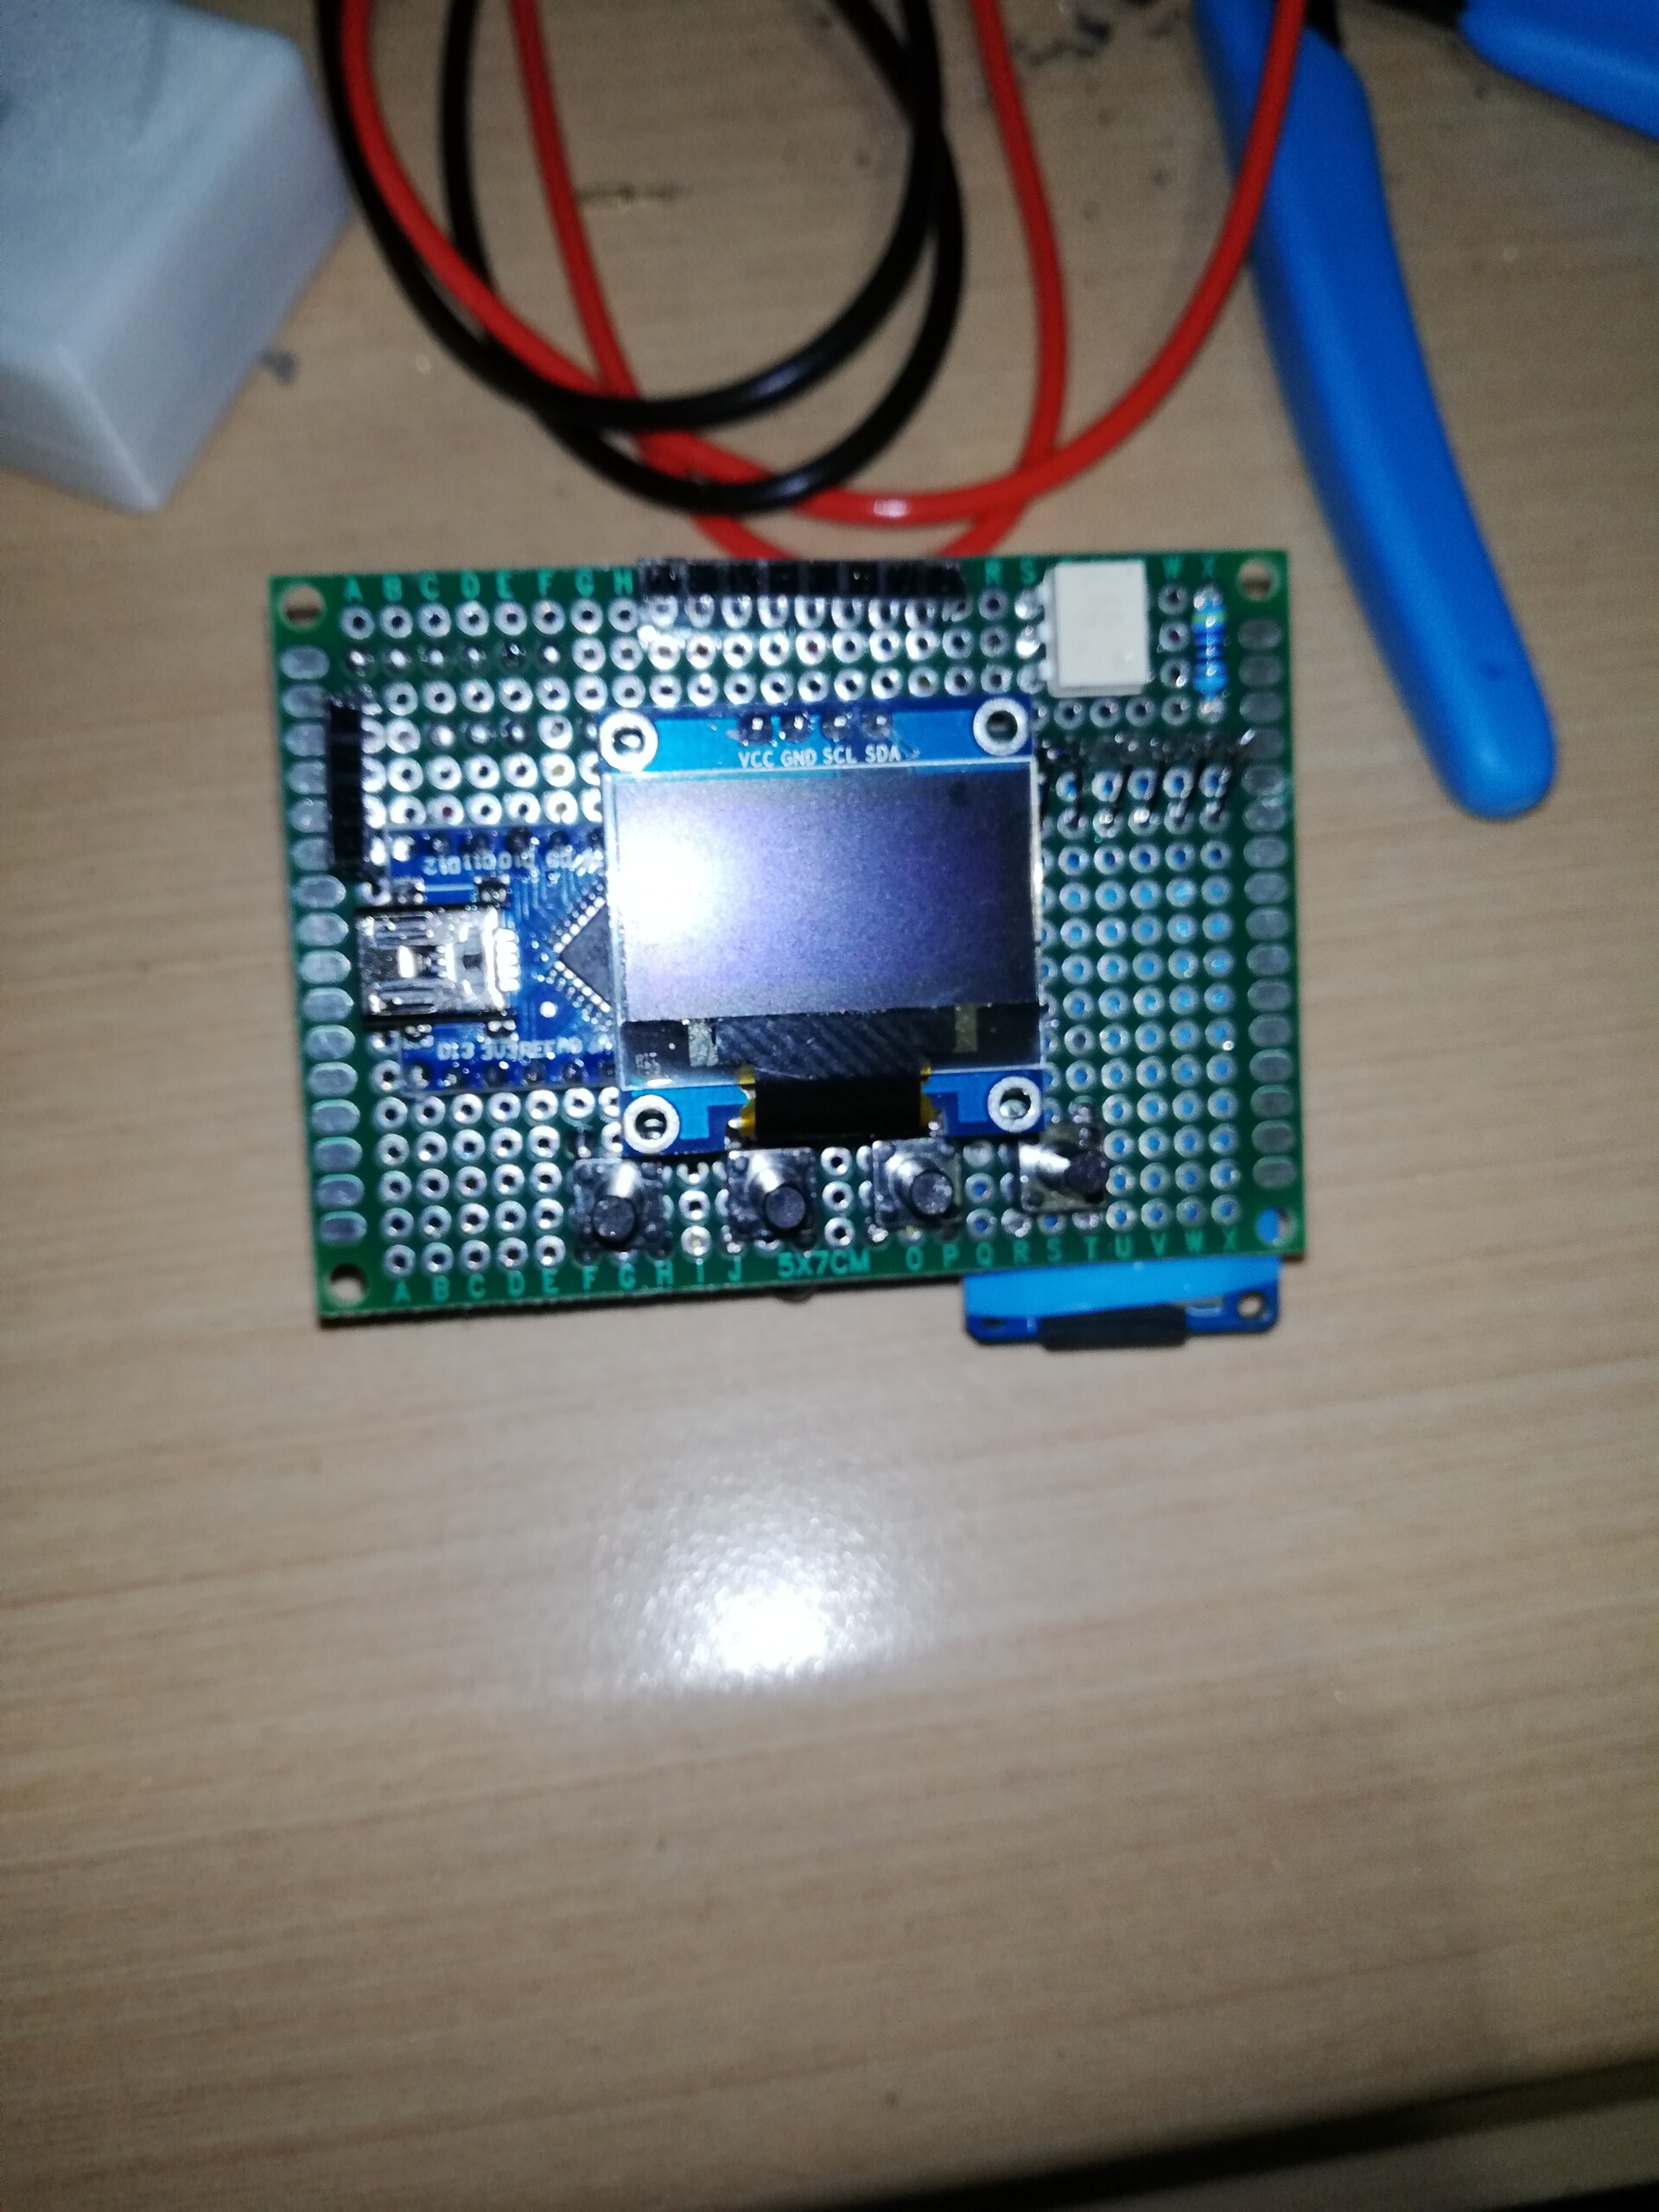
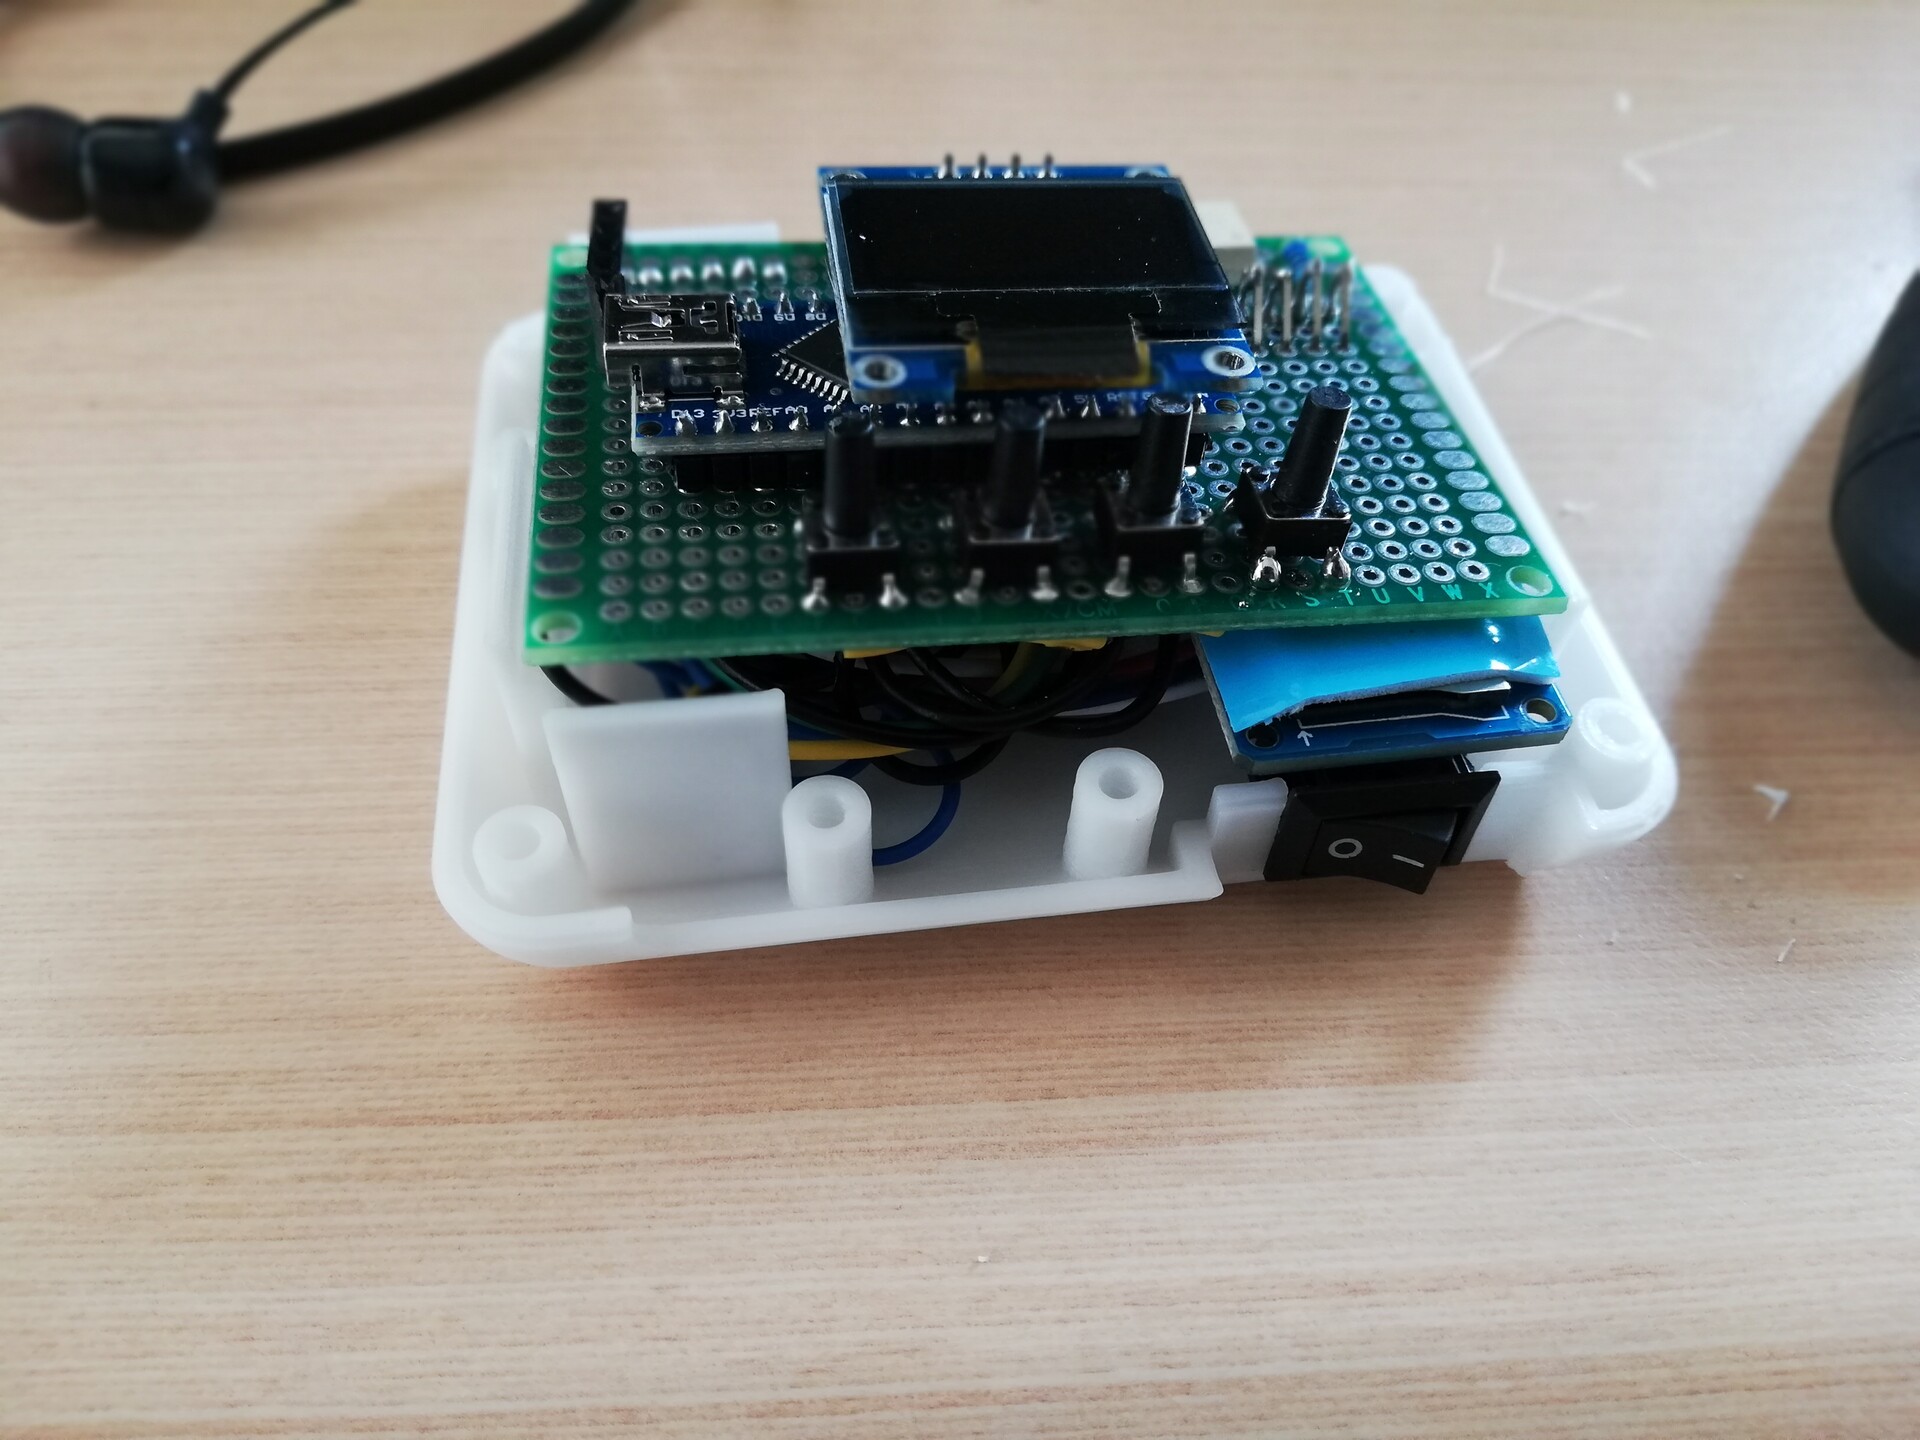
I started to assemble the components on a smaller (5cm x 7cm) prototyping PCB. I designed the placement on the Microsoft Excel, and painted some cable routes on Paint Shop. I suggest you to follow the Peter's directions on cabling. My version may not be the final diagram of the connections.


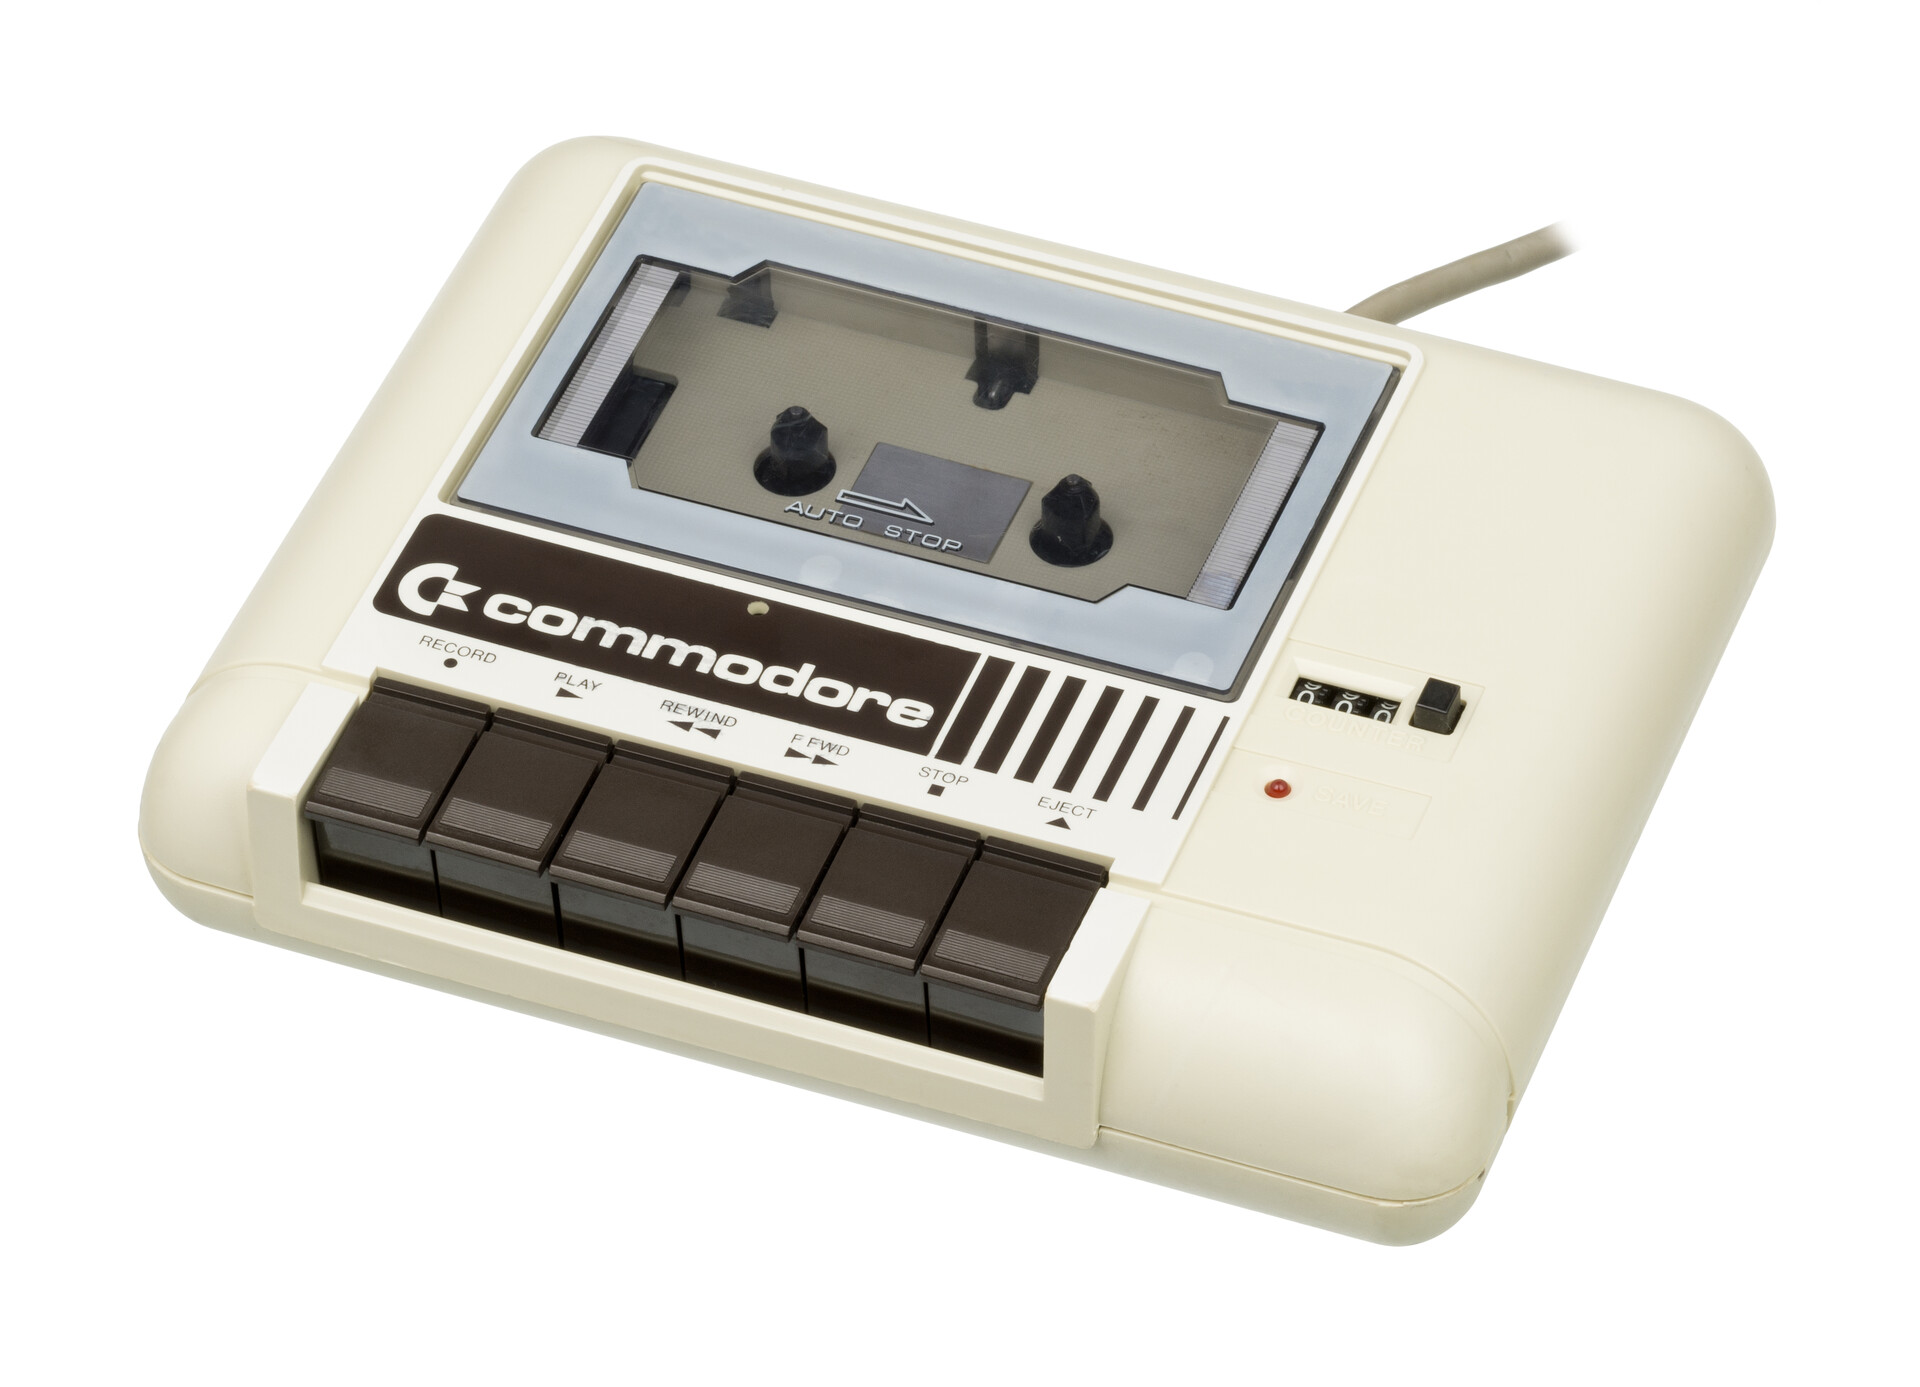
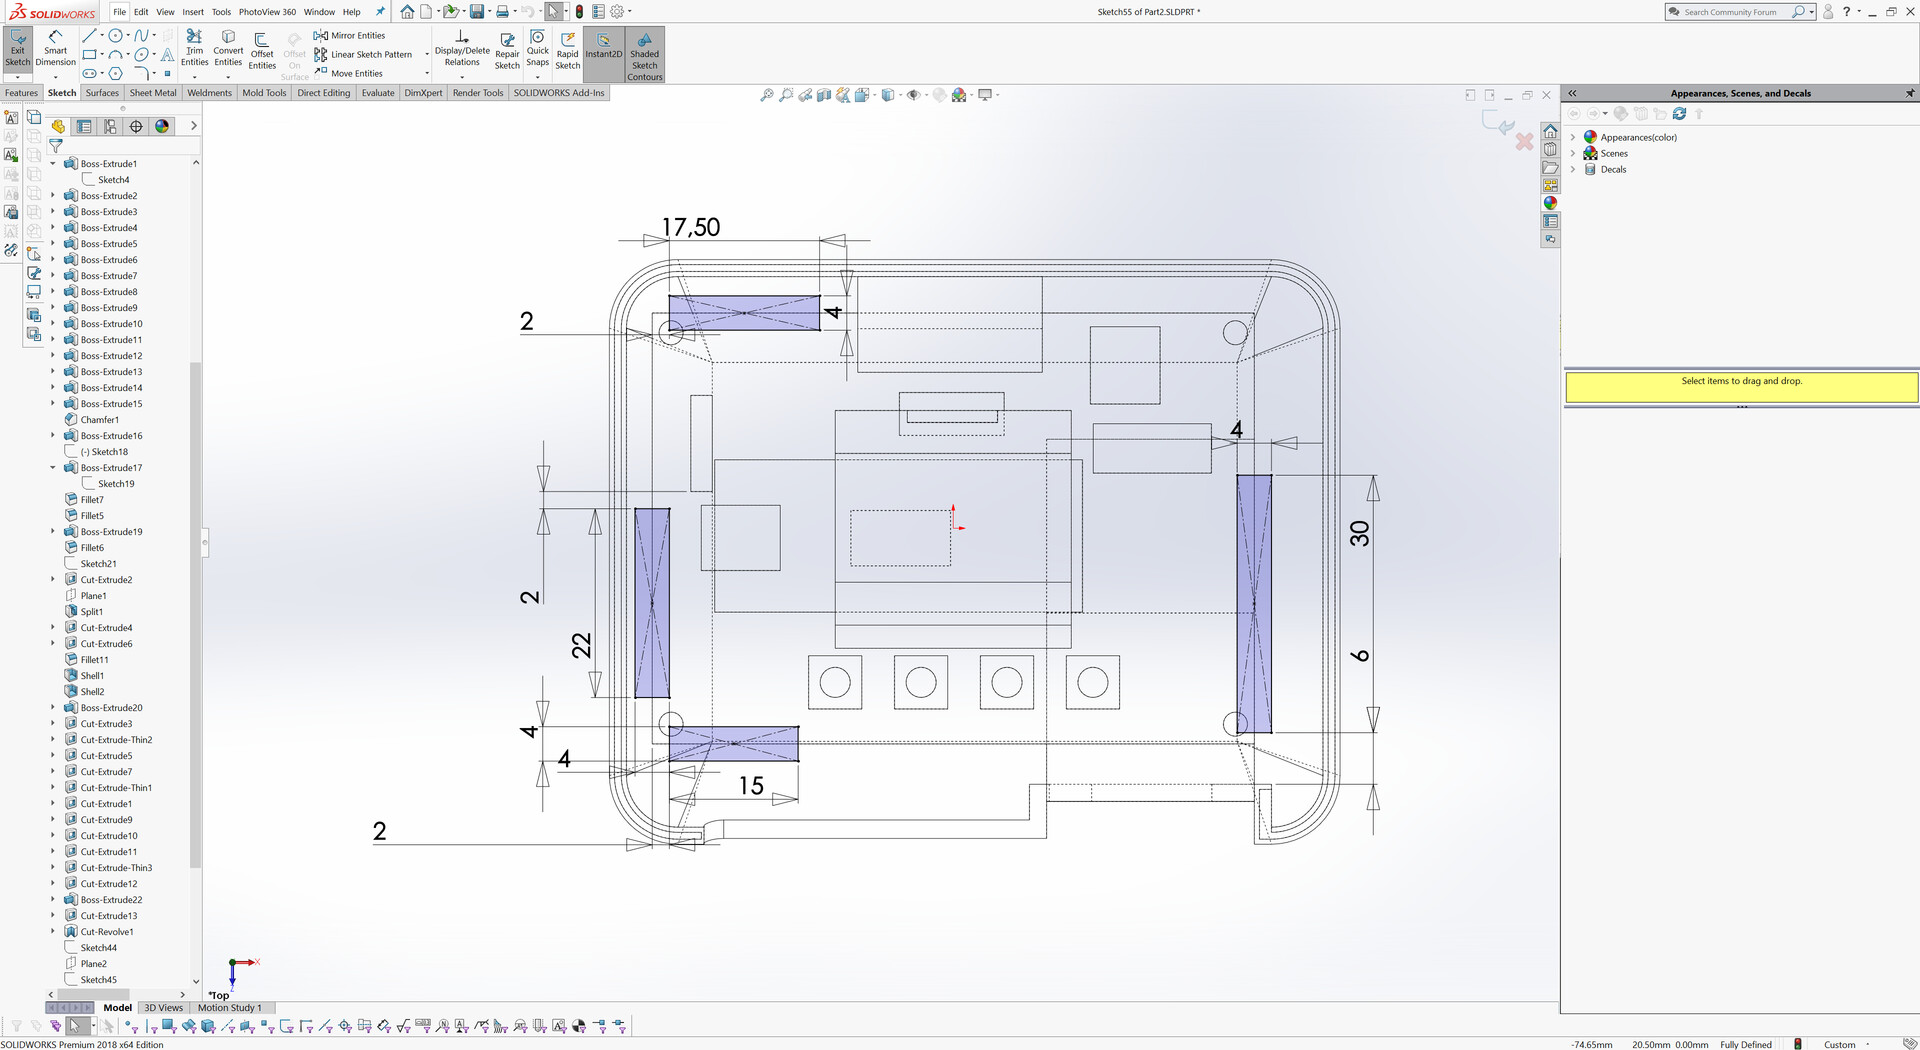
Next as usual I modeled the device fisrt and modeled a shell for it. For the shell design, I tried to achieve the resemblence with the Commodore 1530 datasette design. Which is as follows:


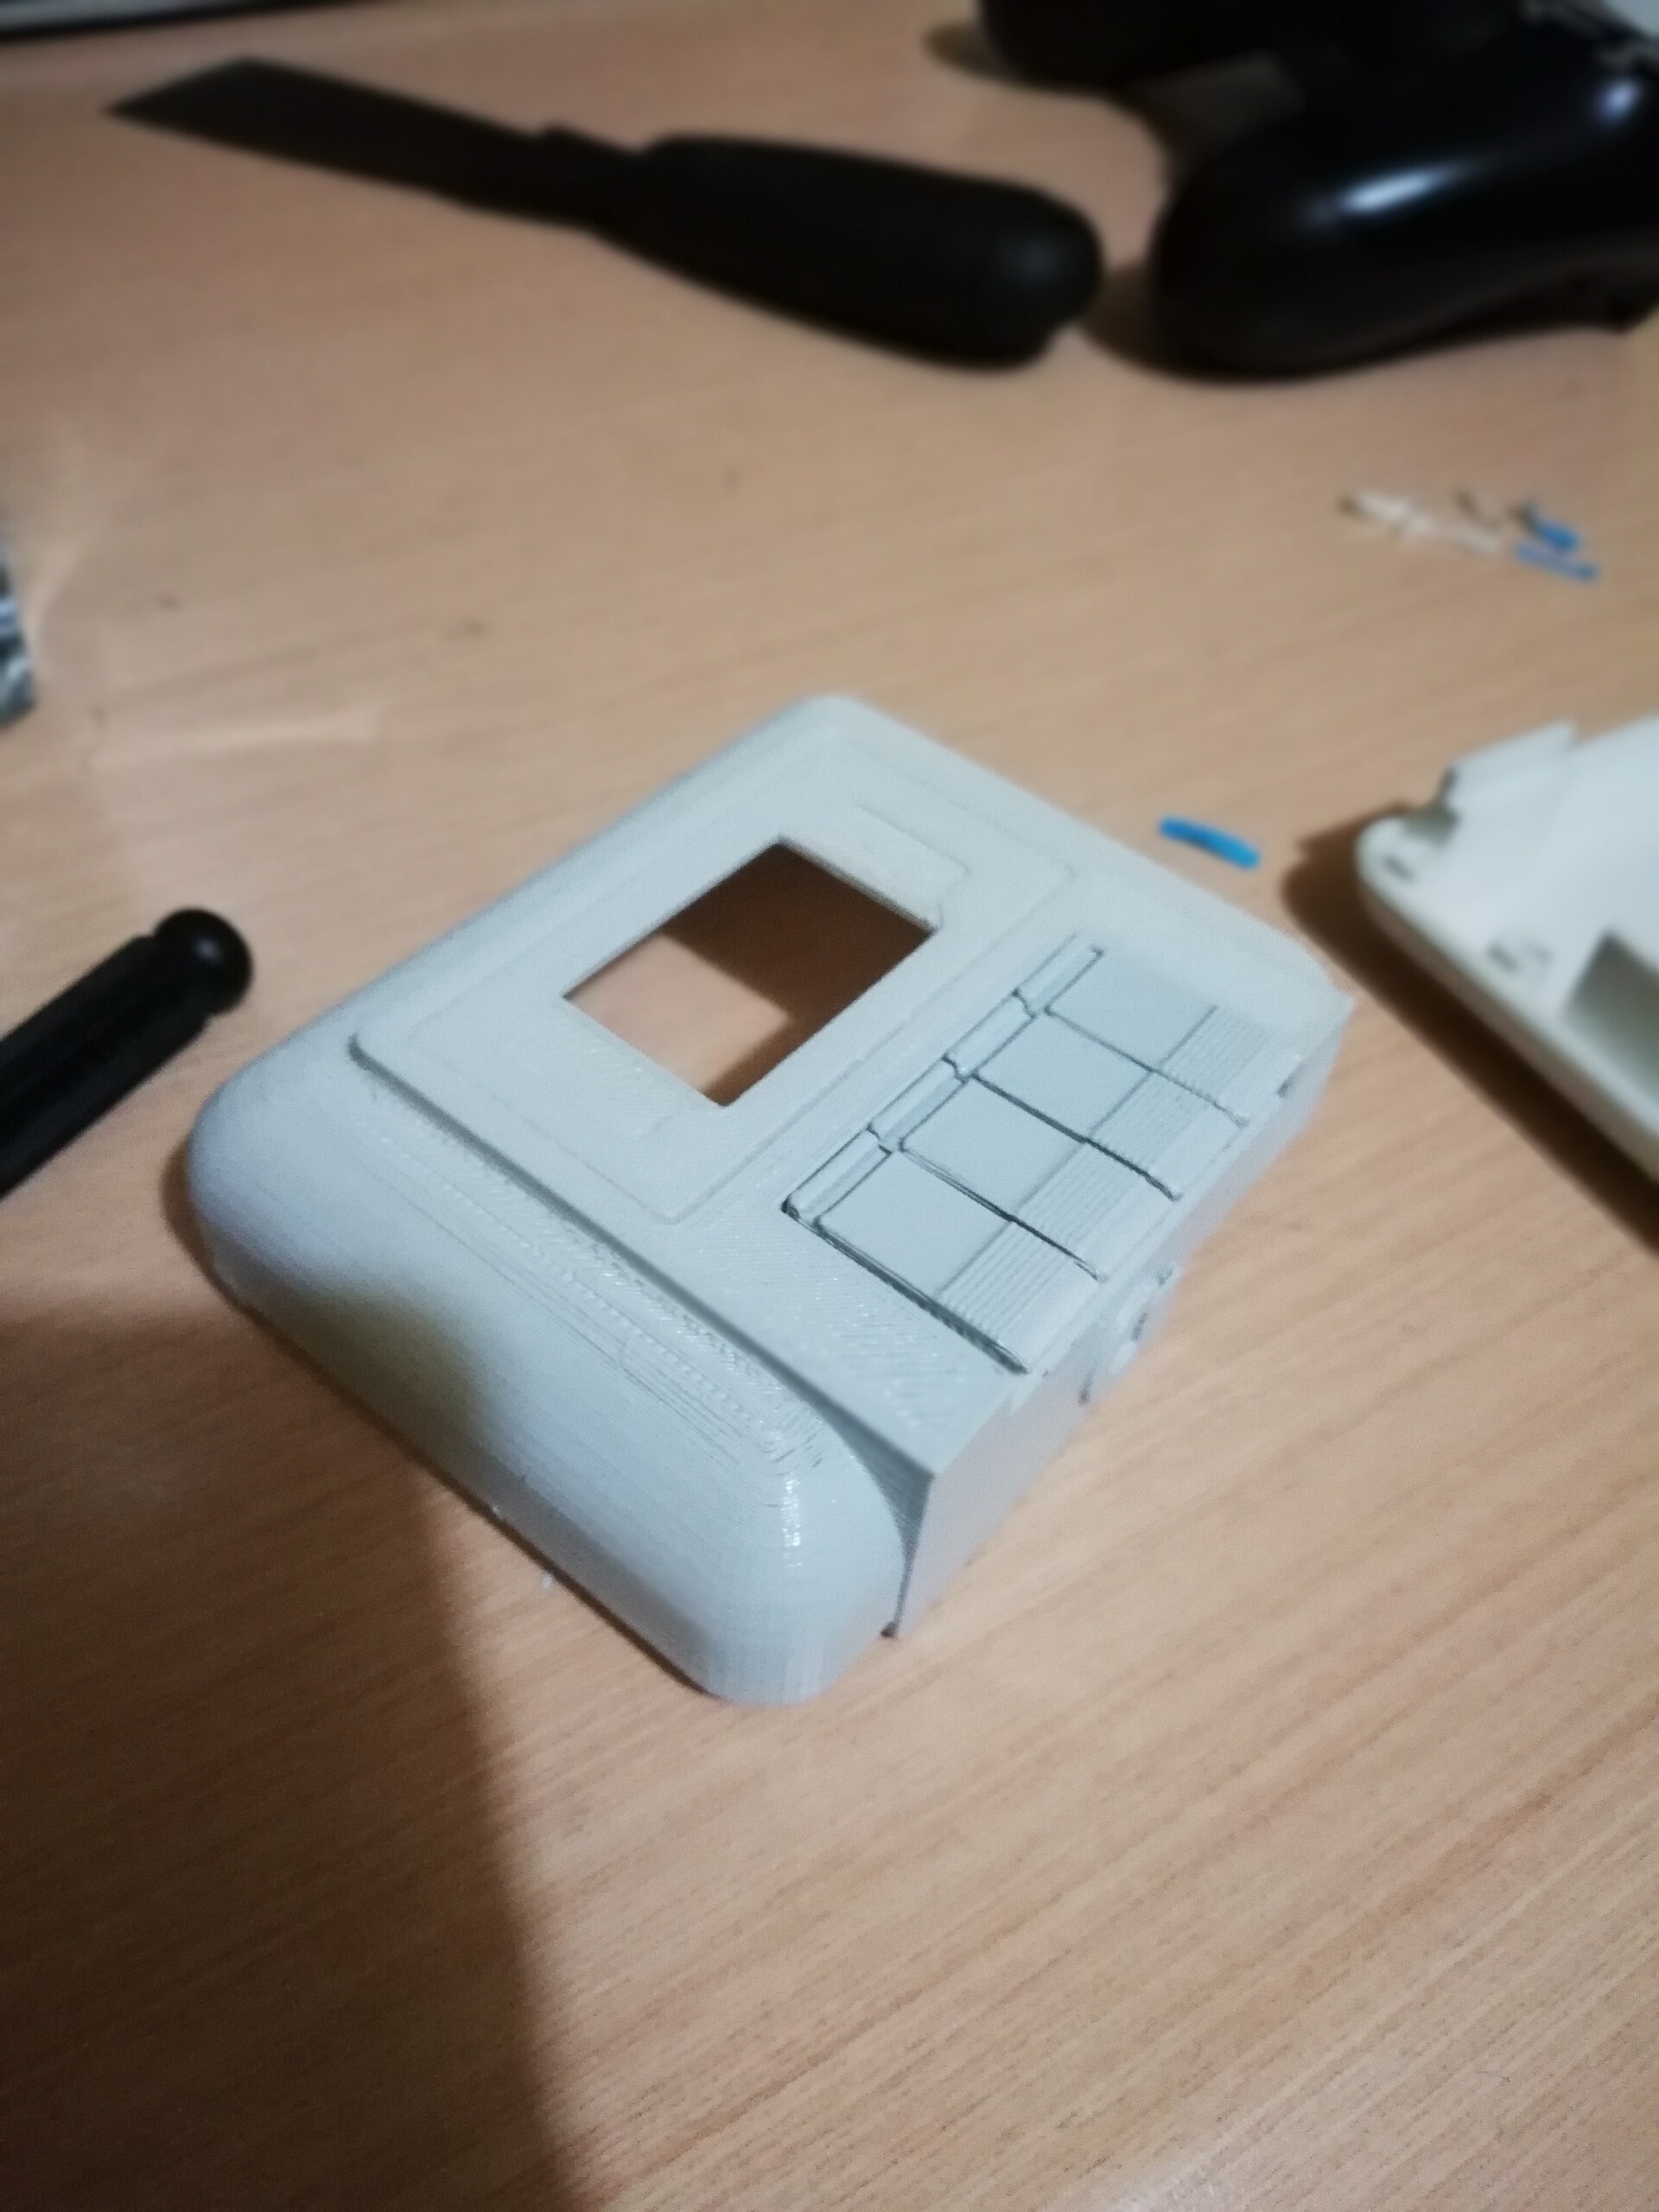
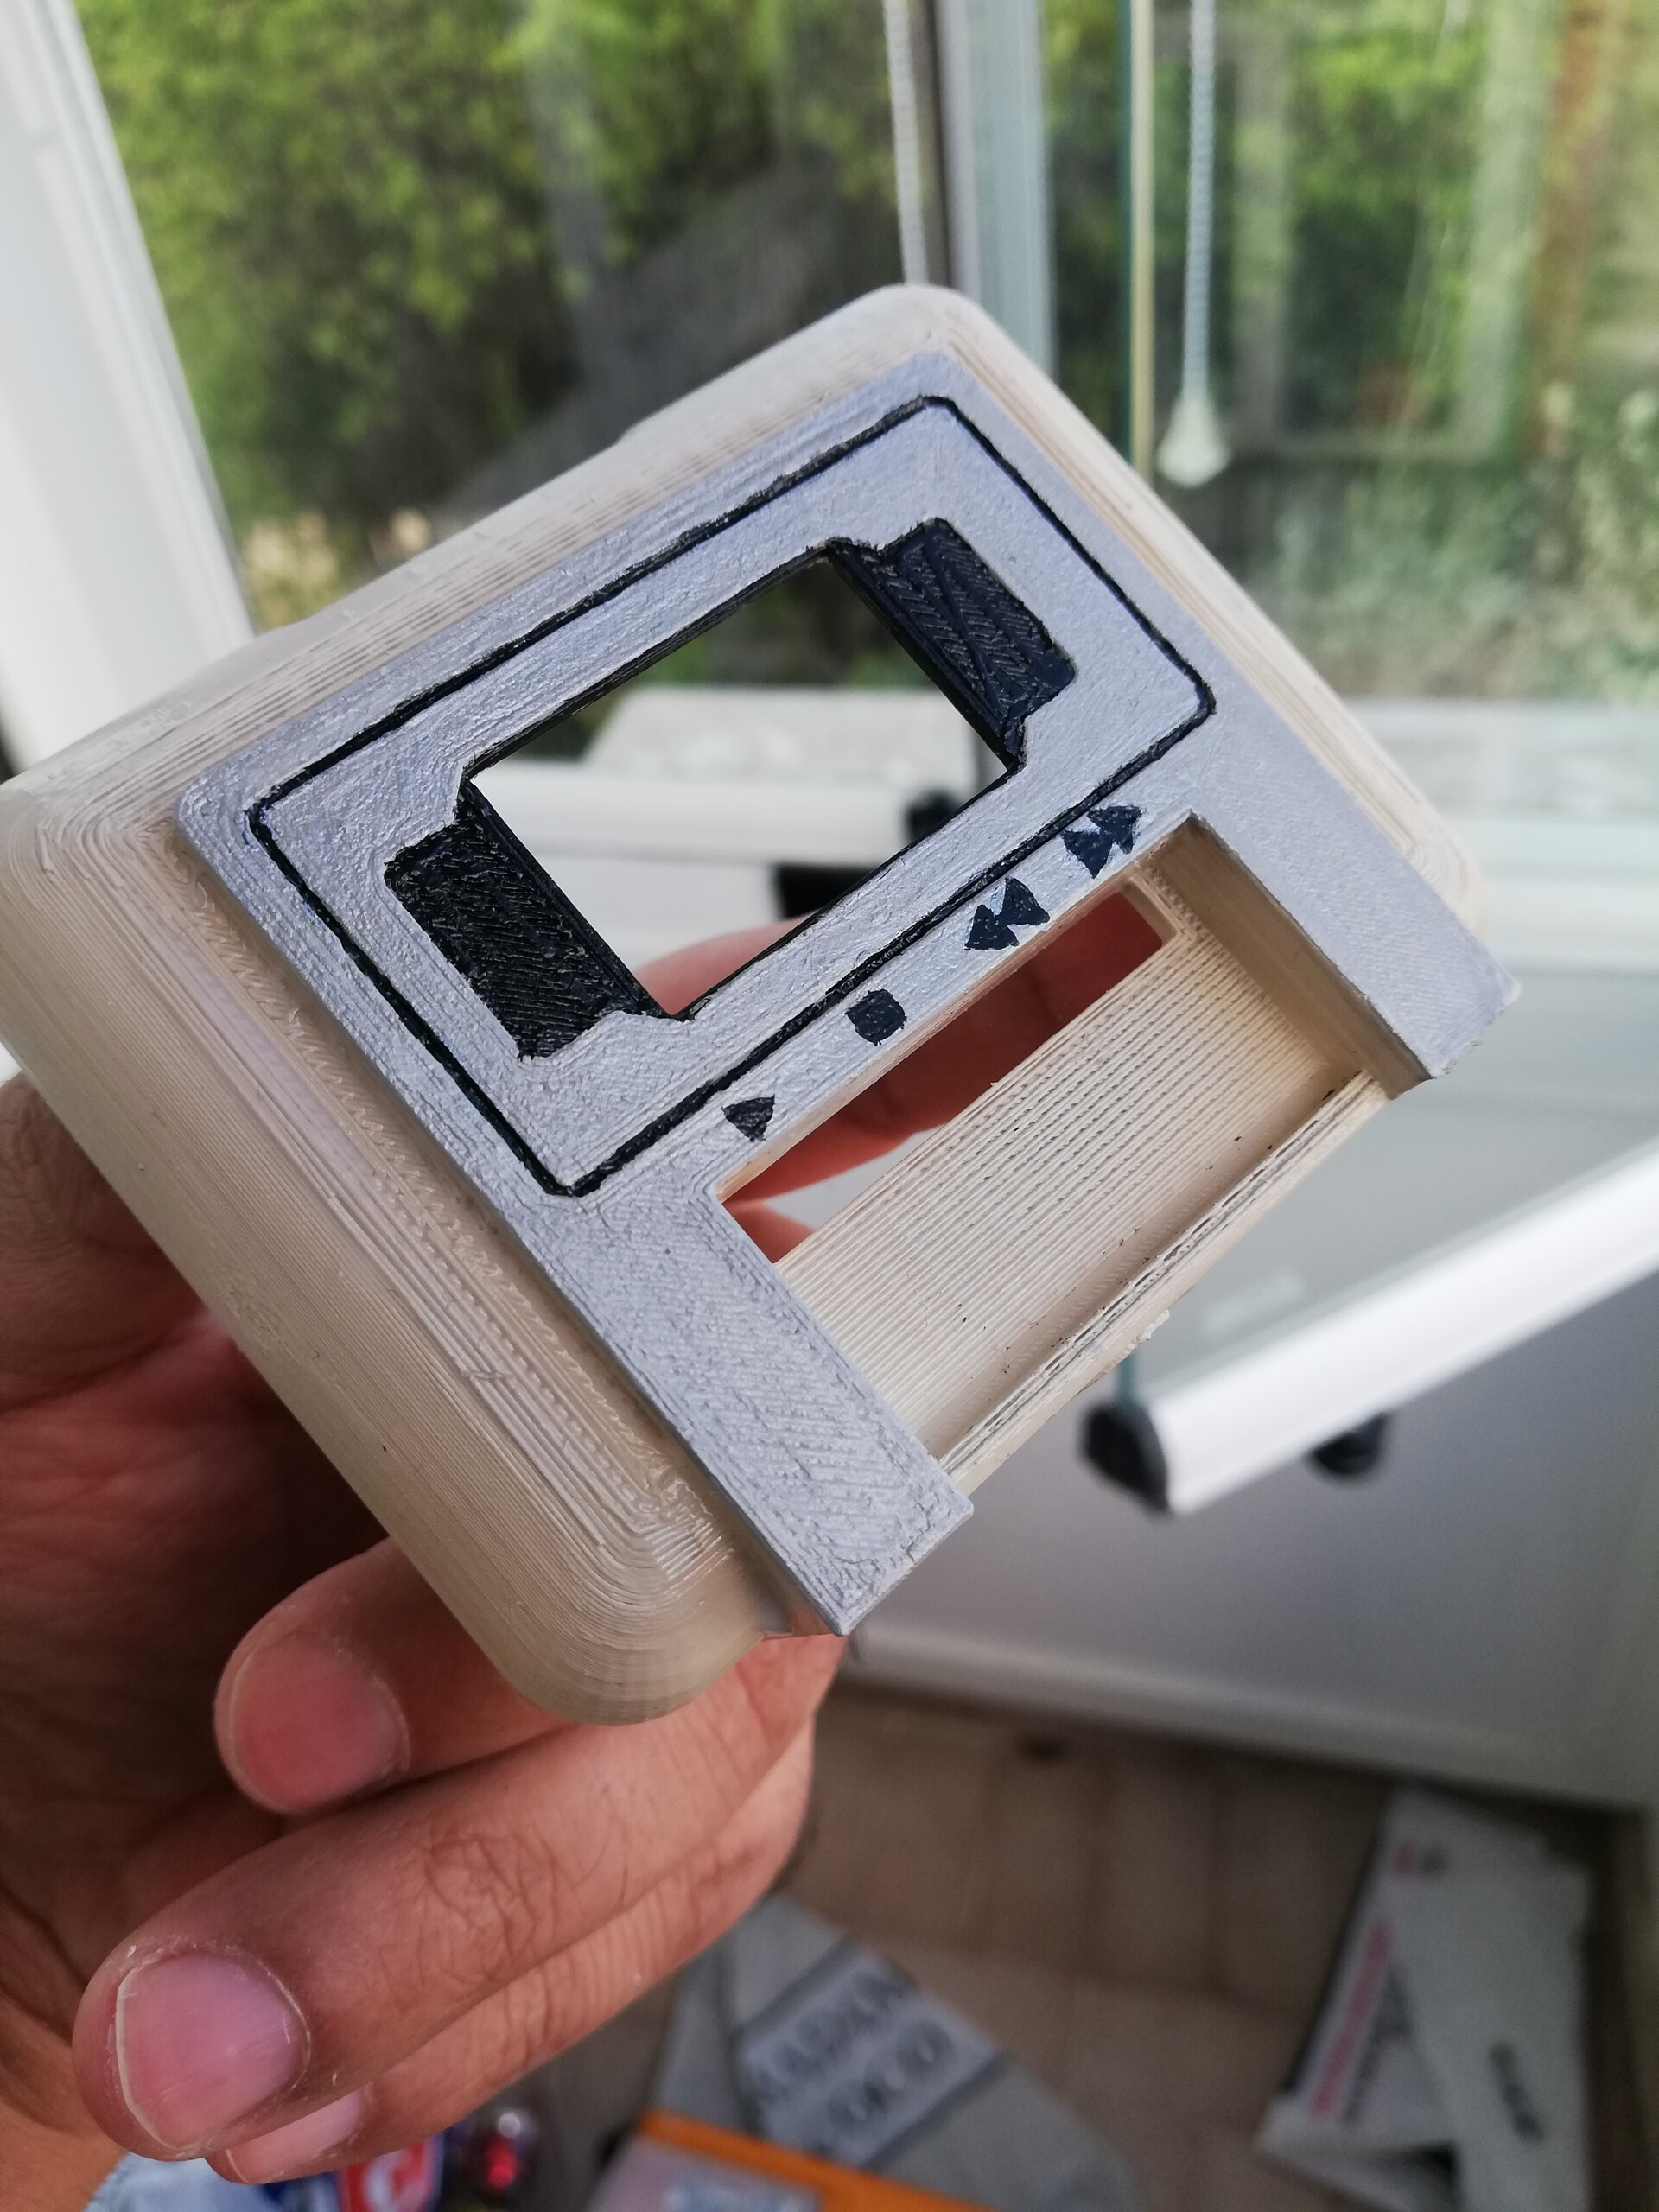
I 3d printed the model and voila! It fits!
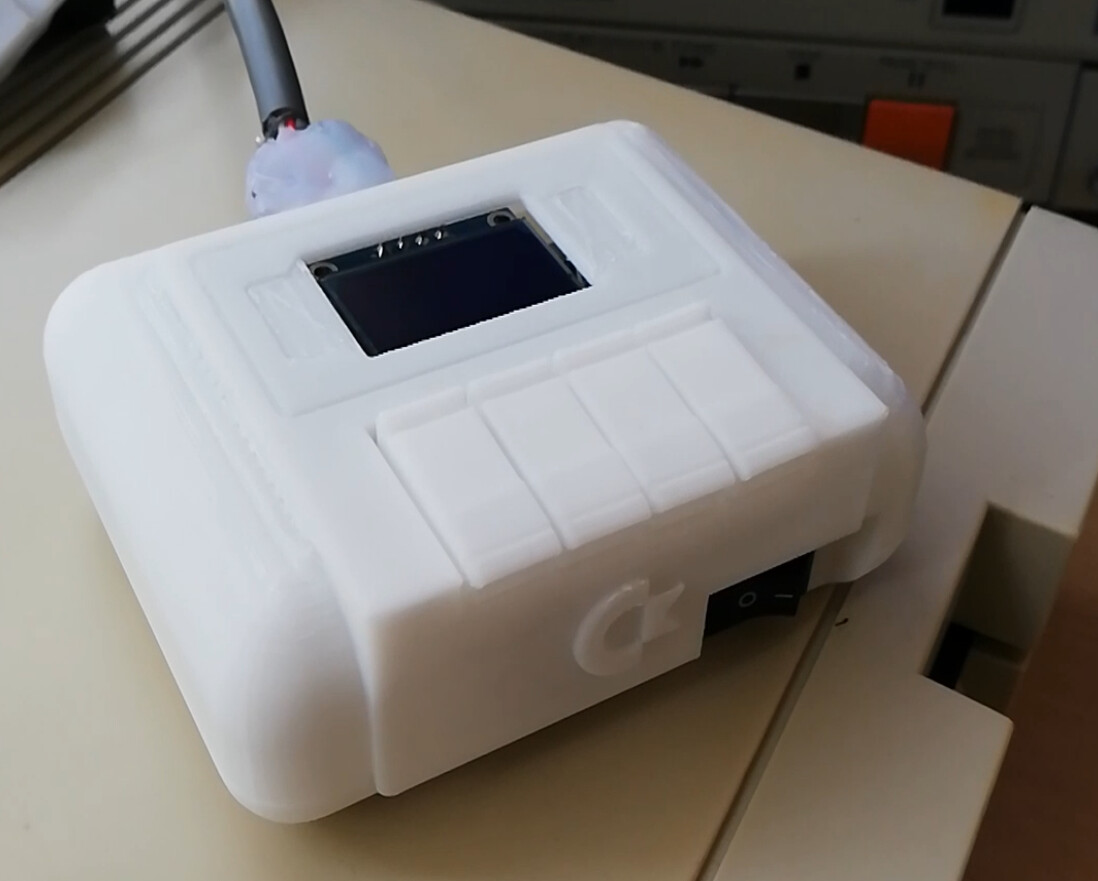
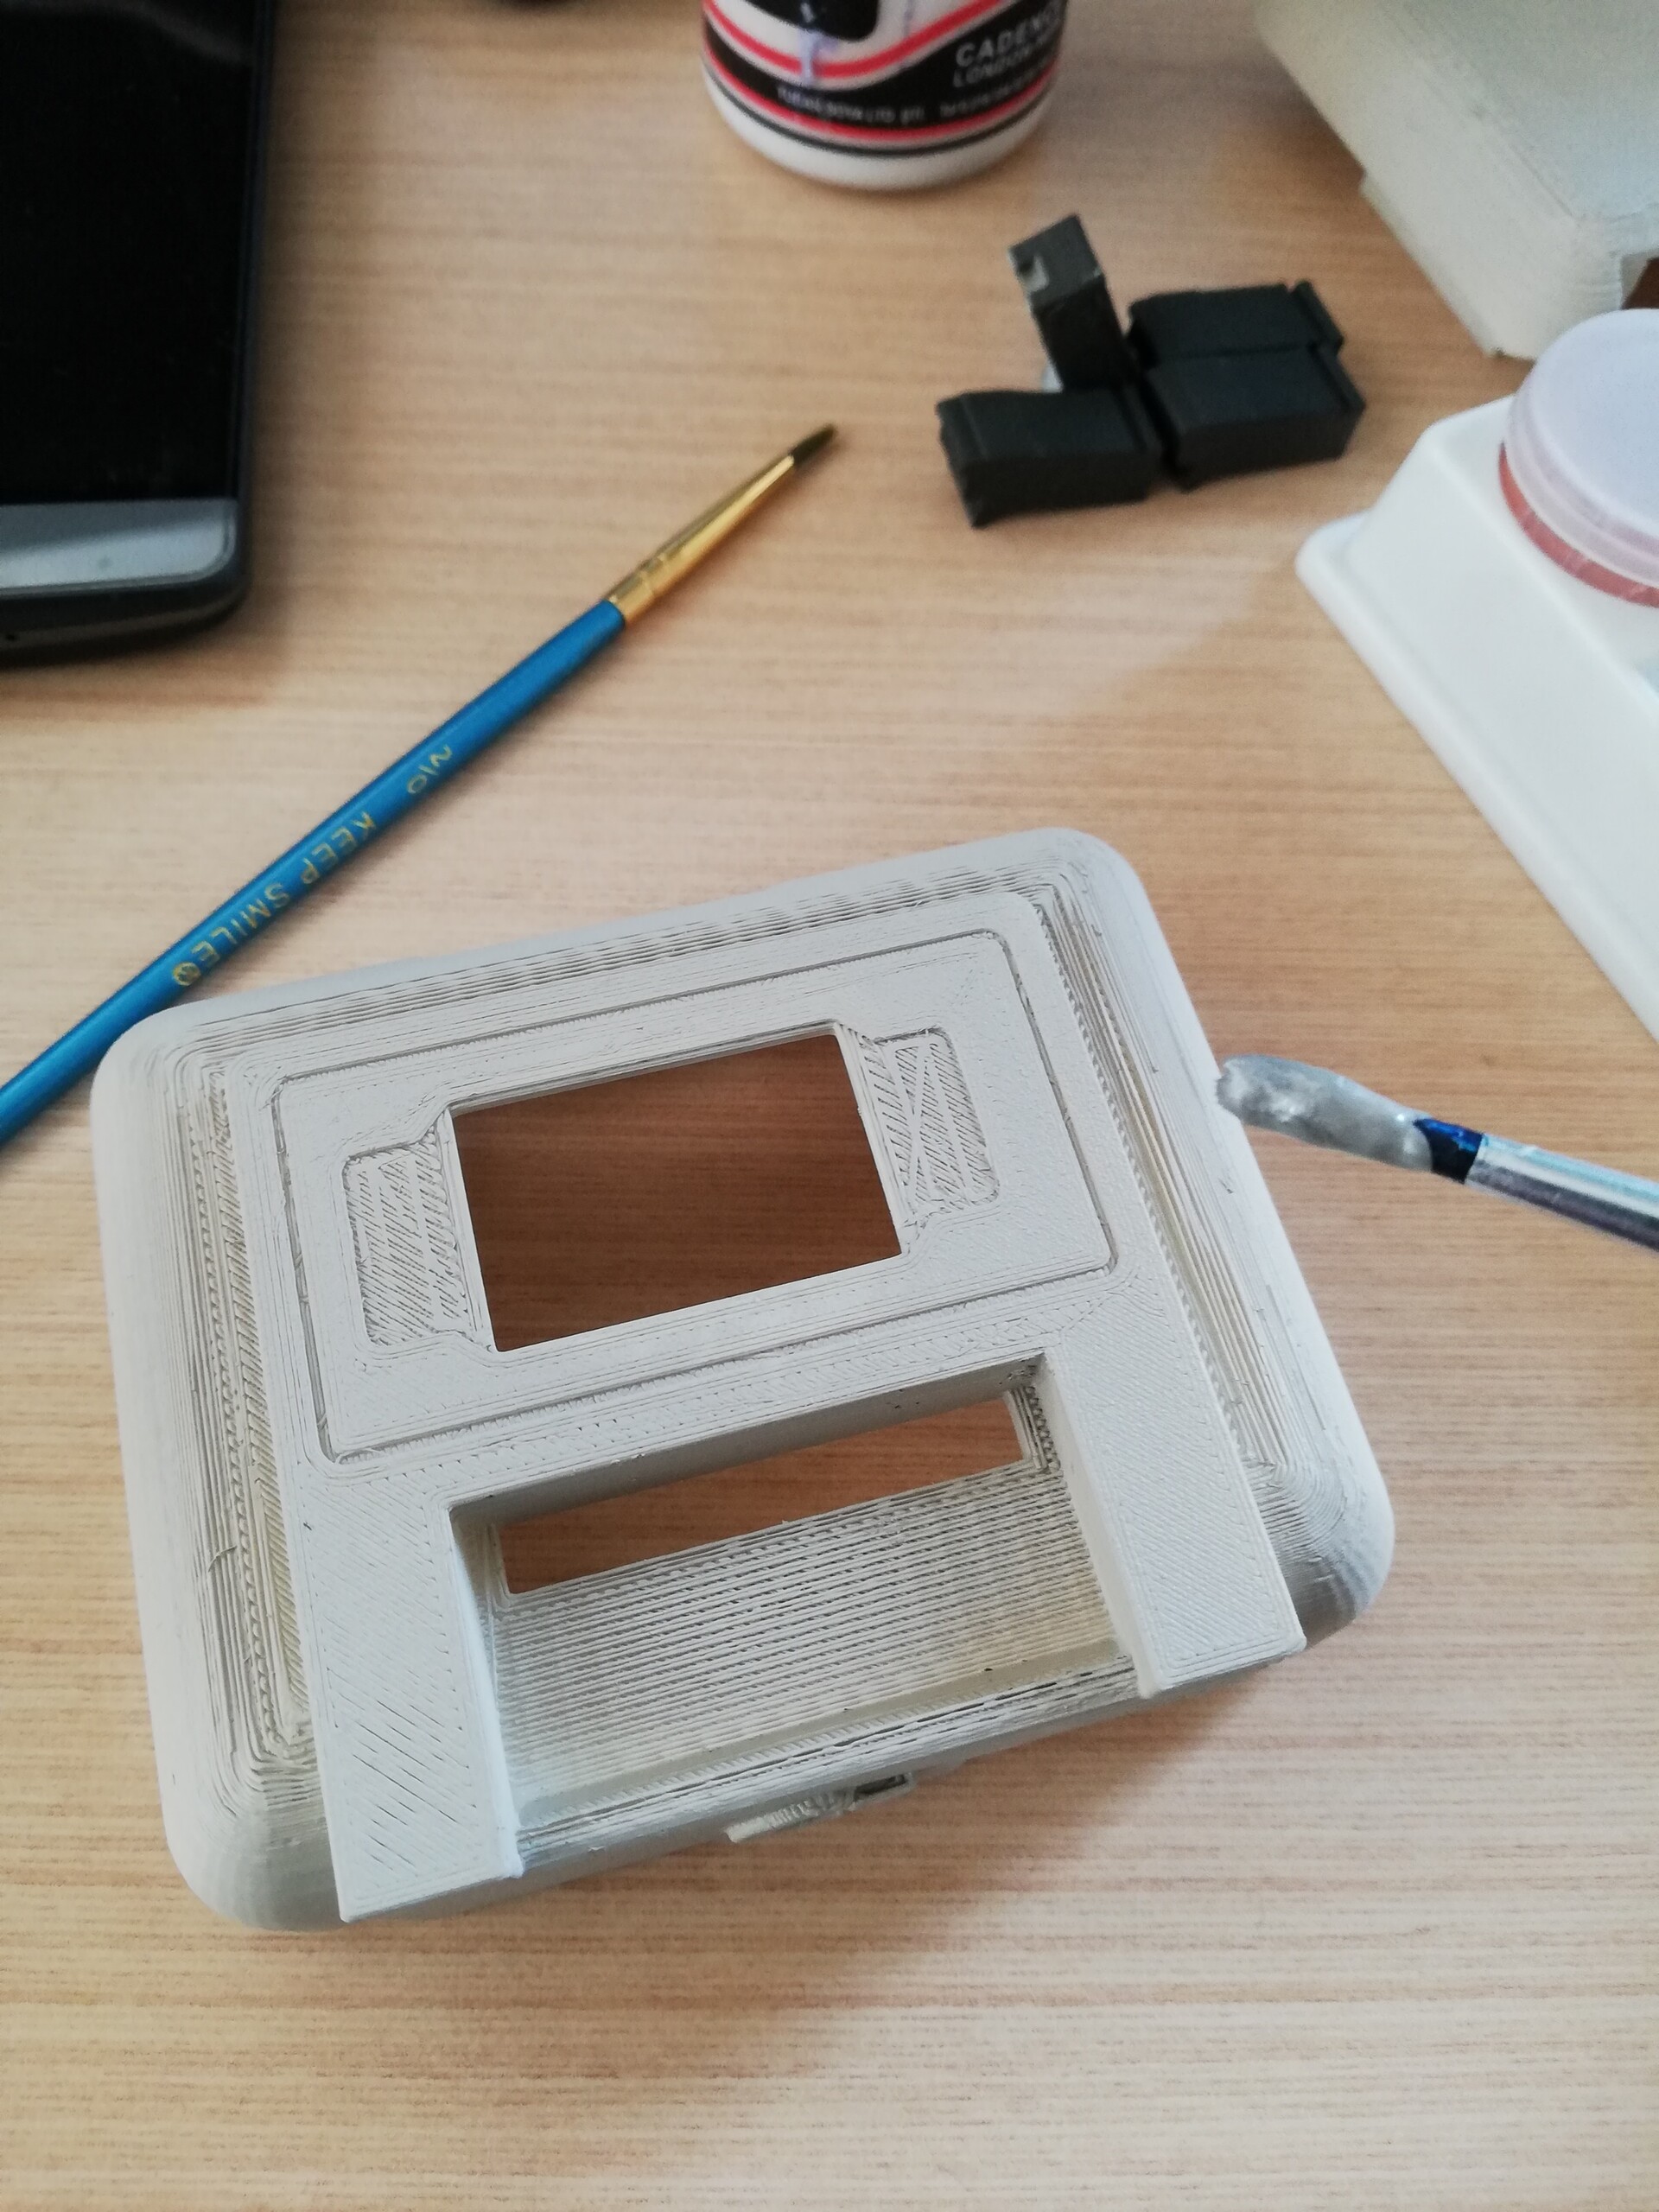
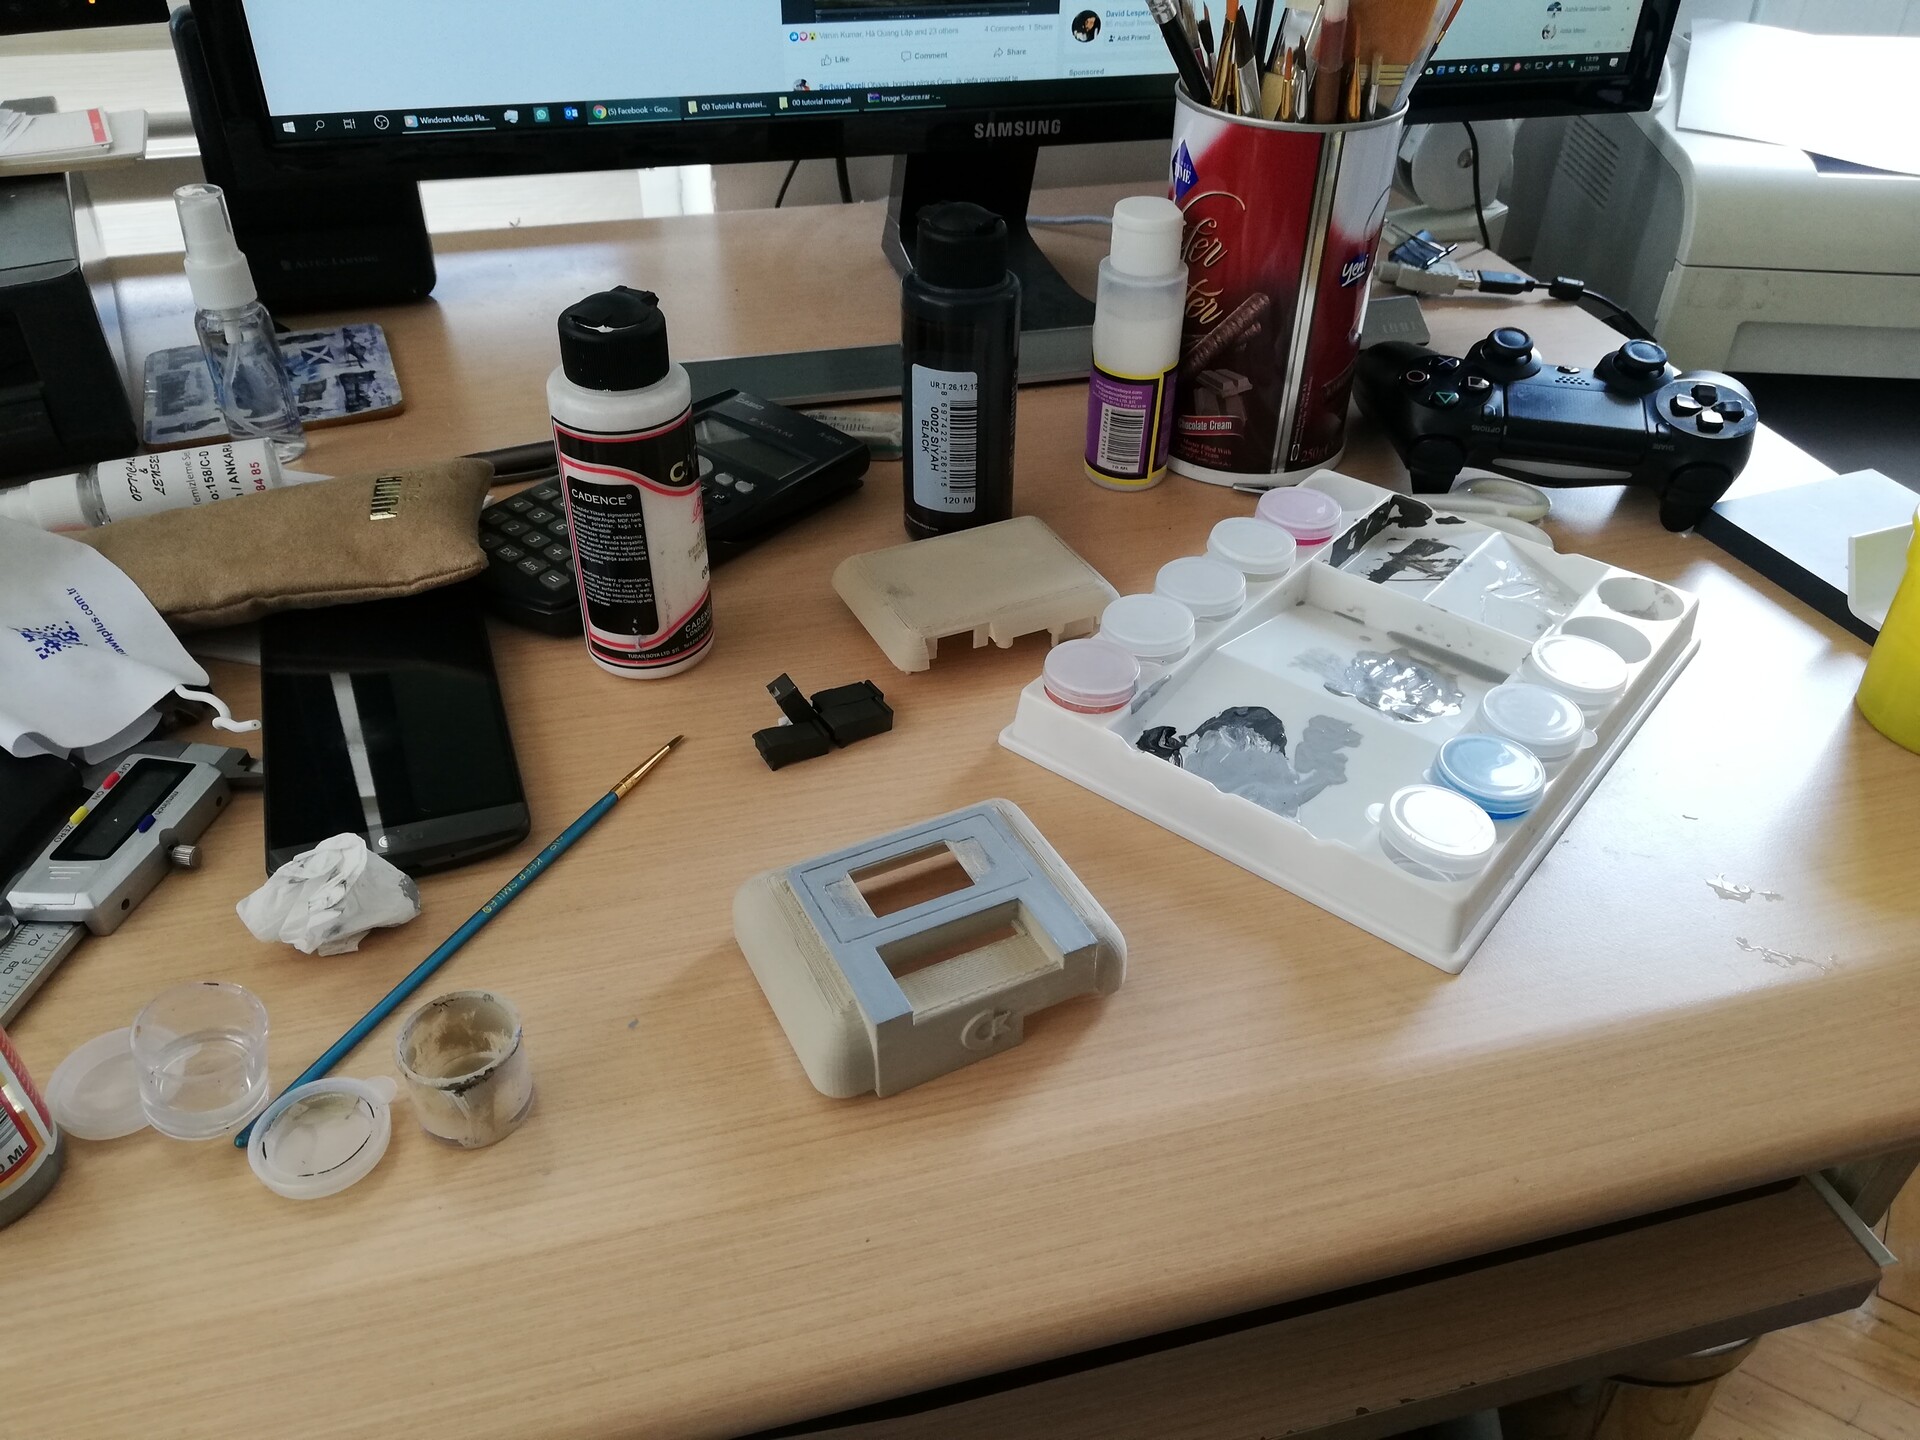
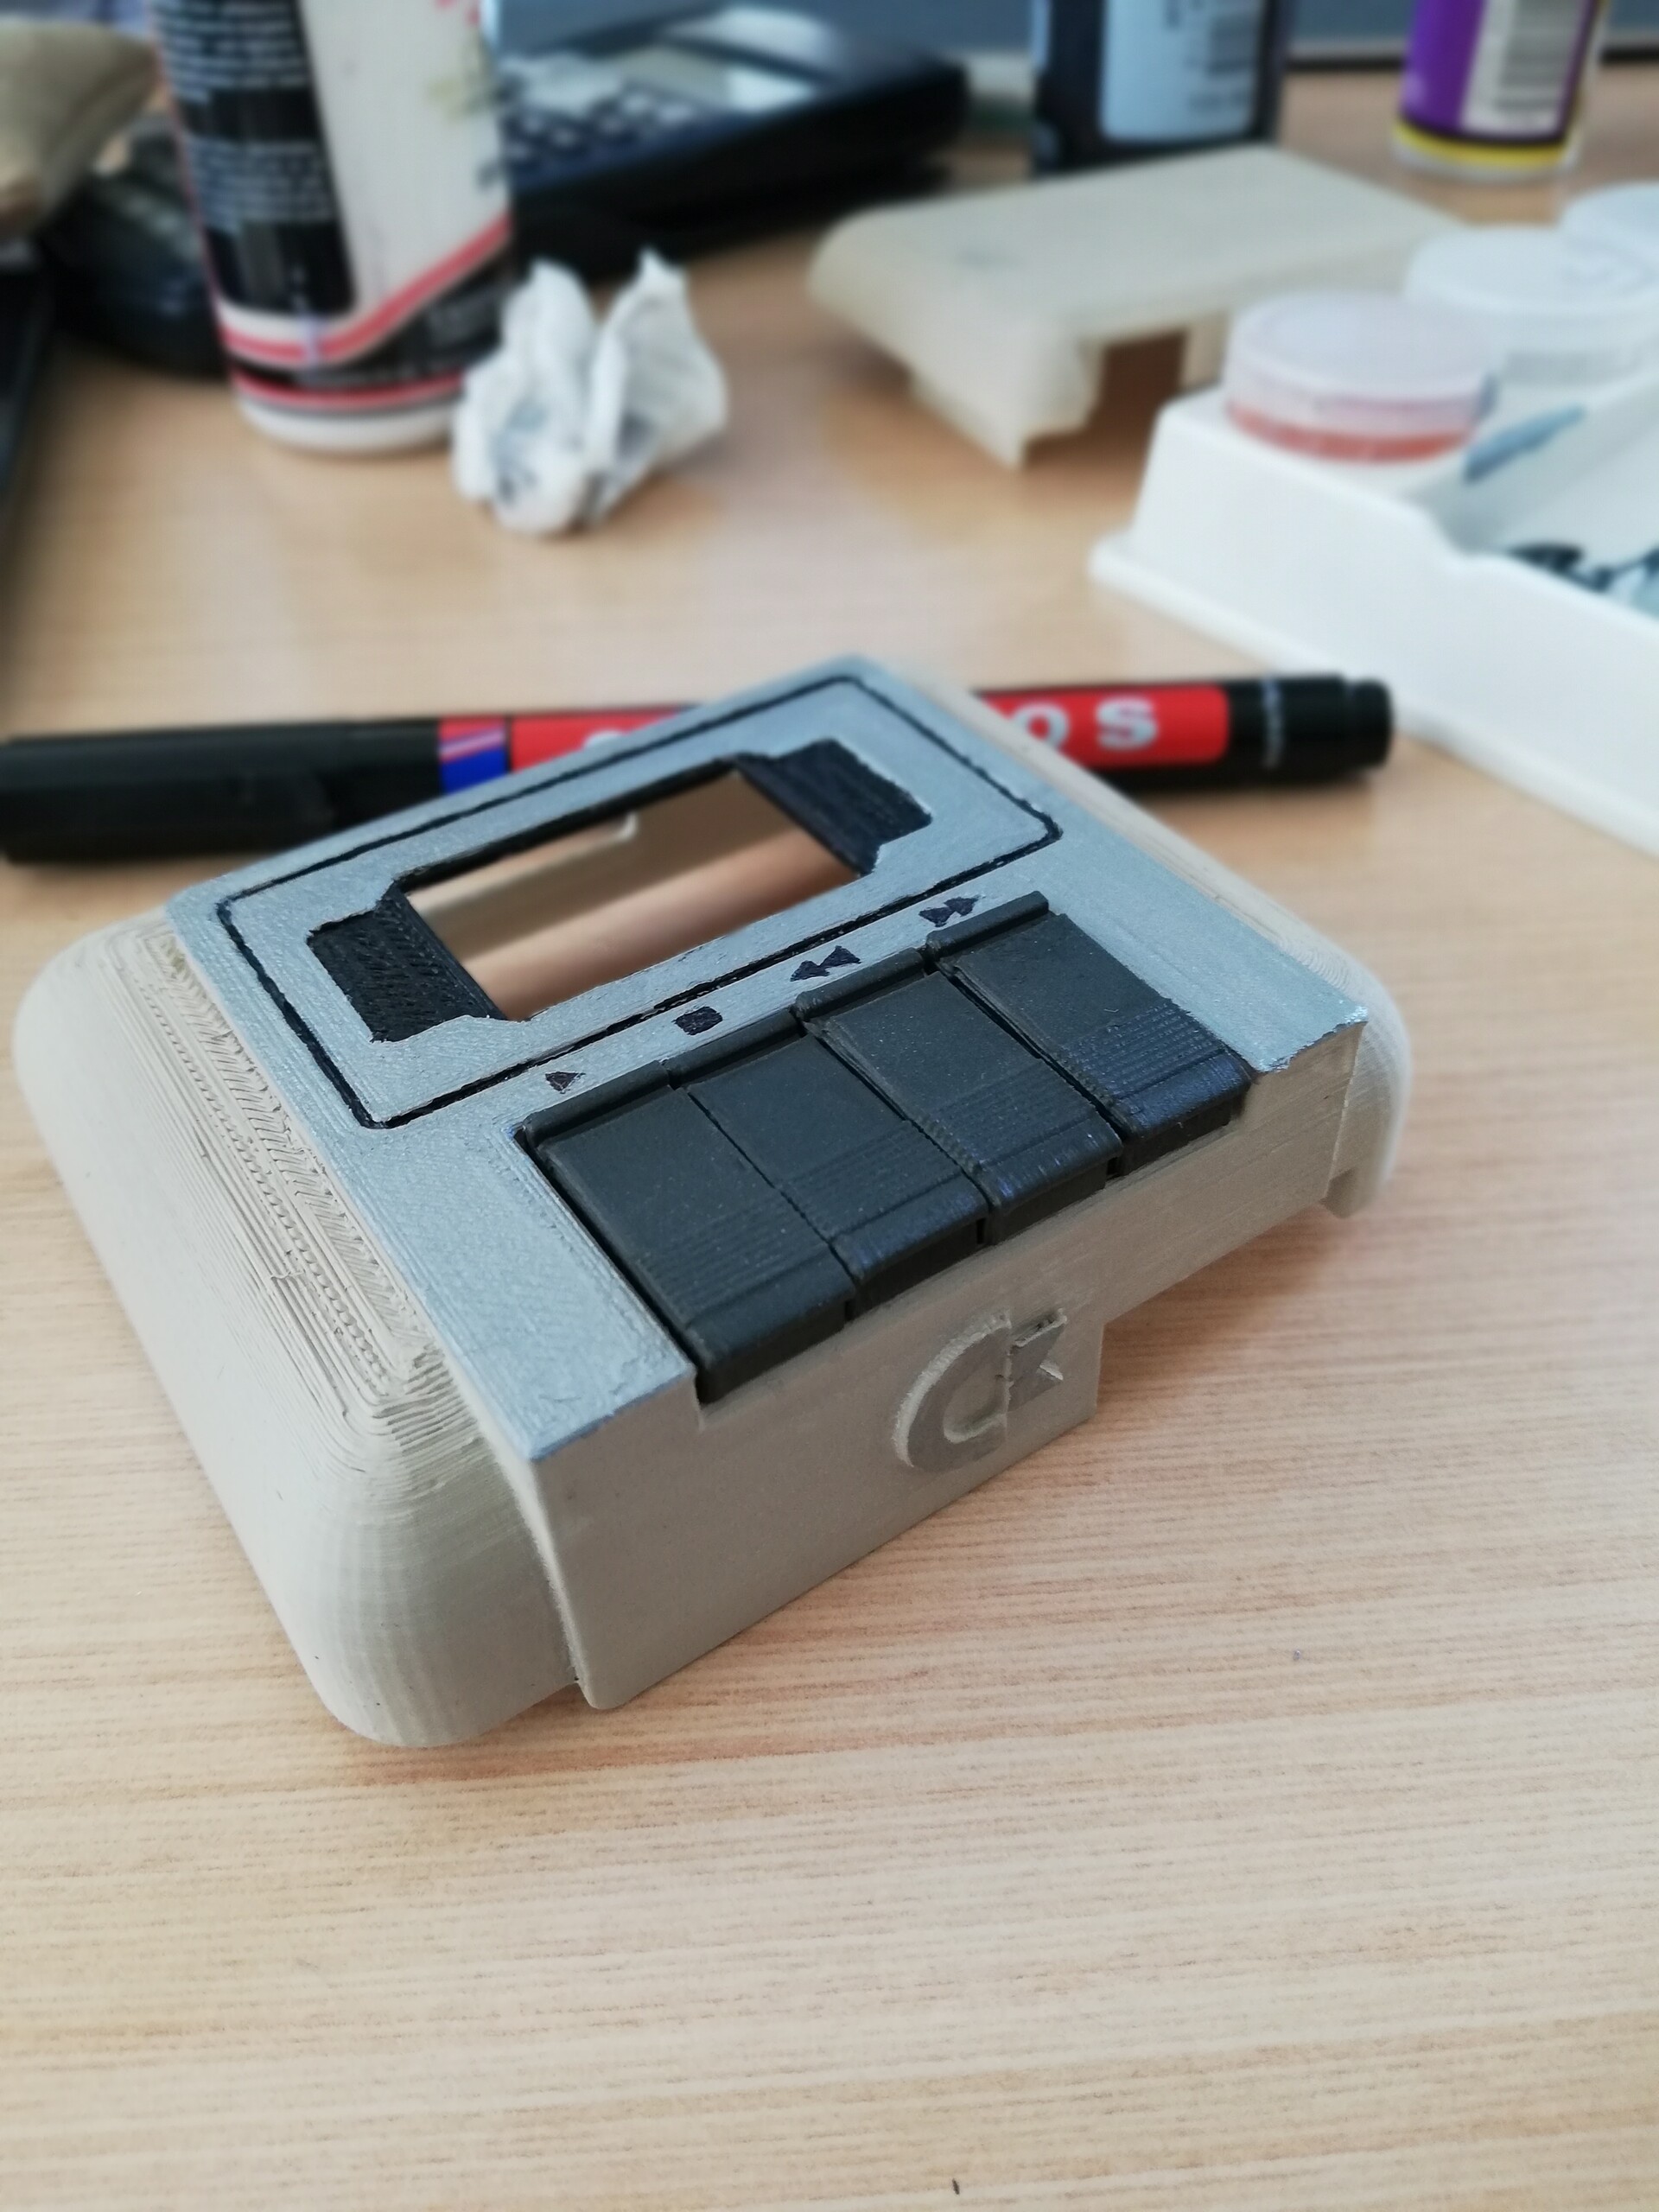
I painted a base with a gray spray paint. Since the material is translucent a bit, opaque paint shows all the details (and ofcourse the printing flaws) of the case.
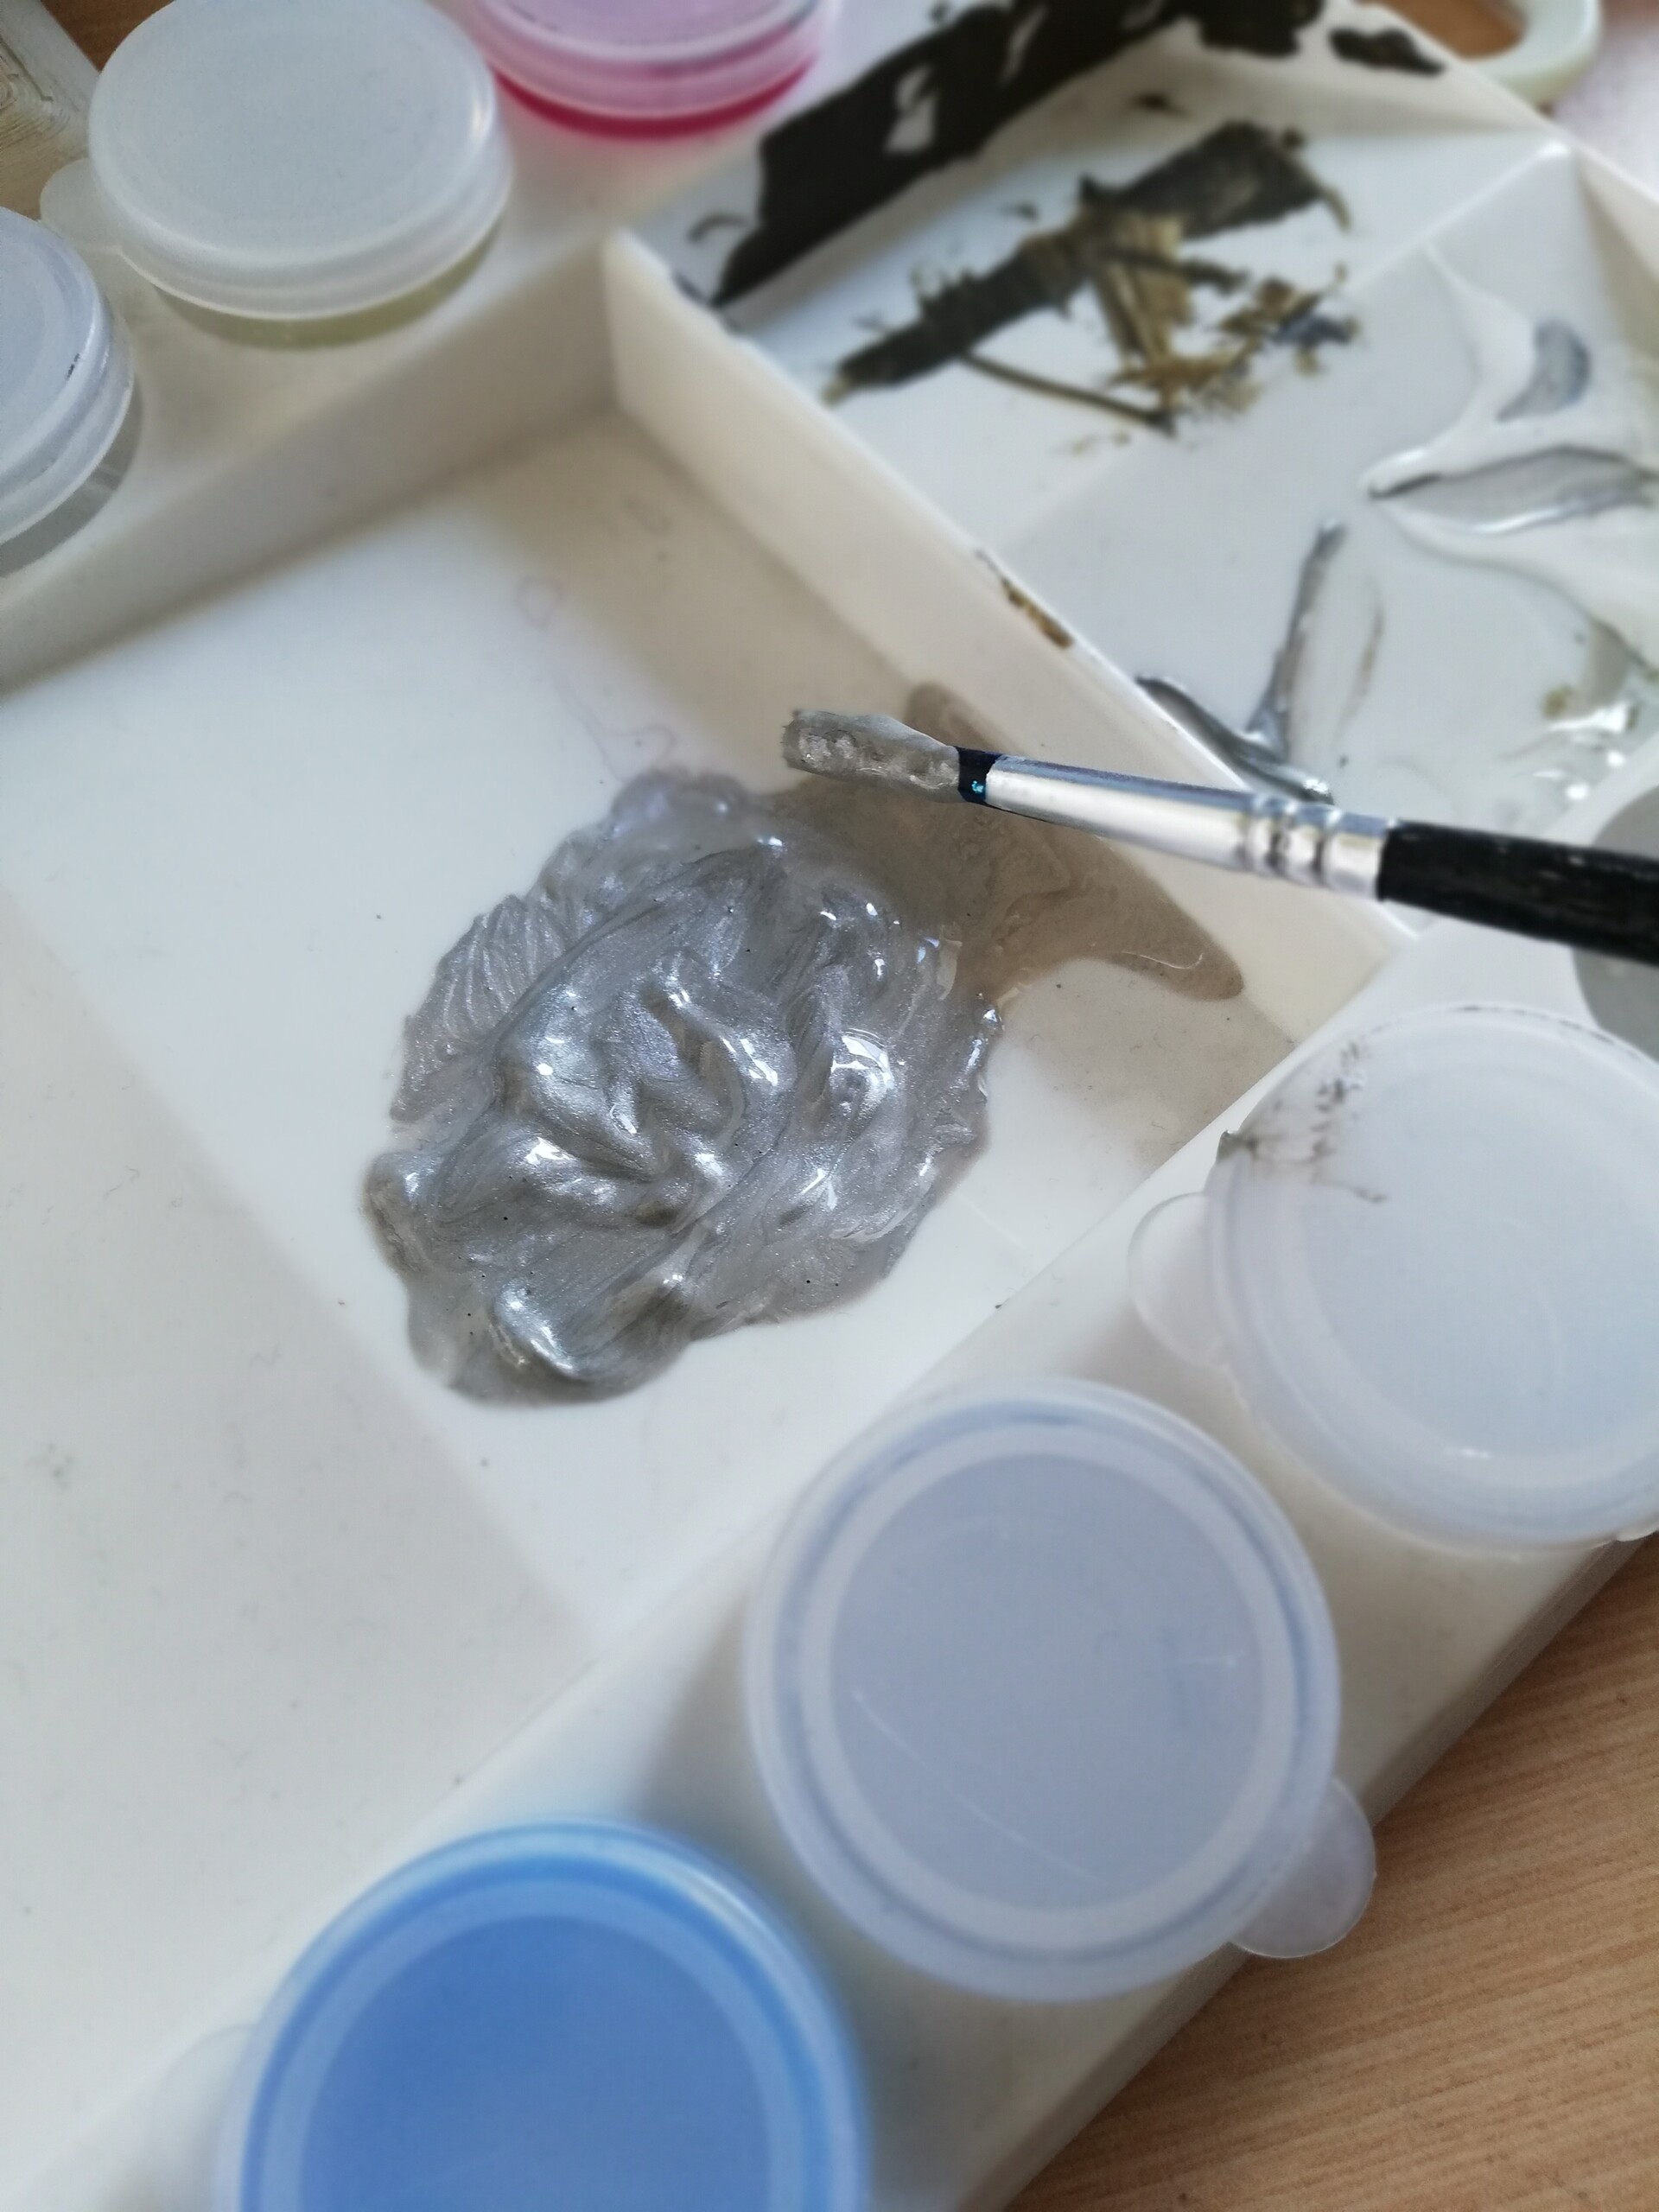
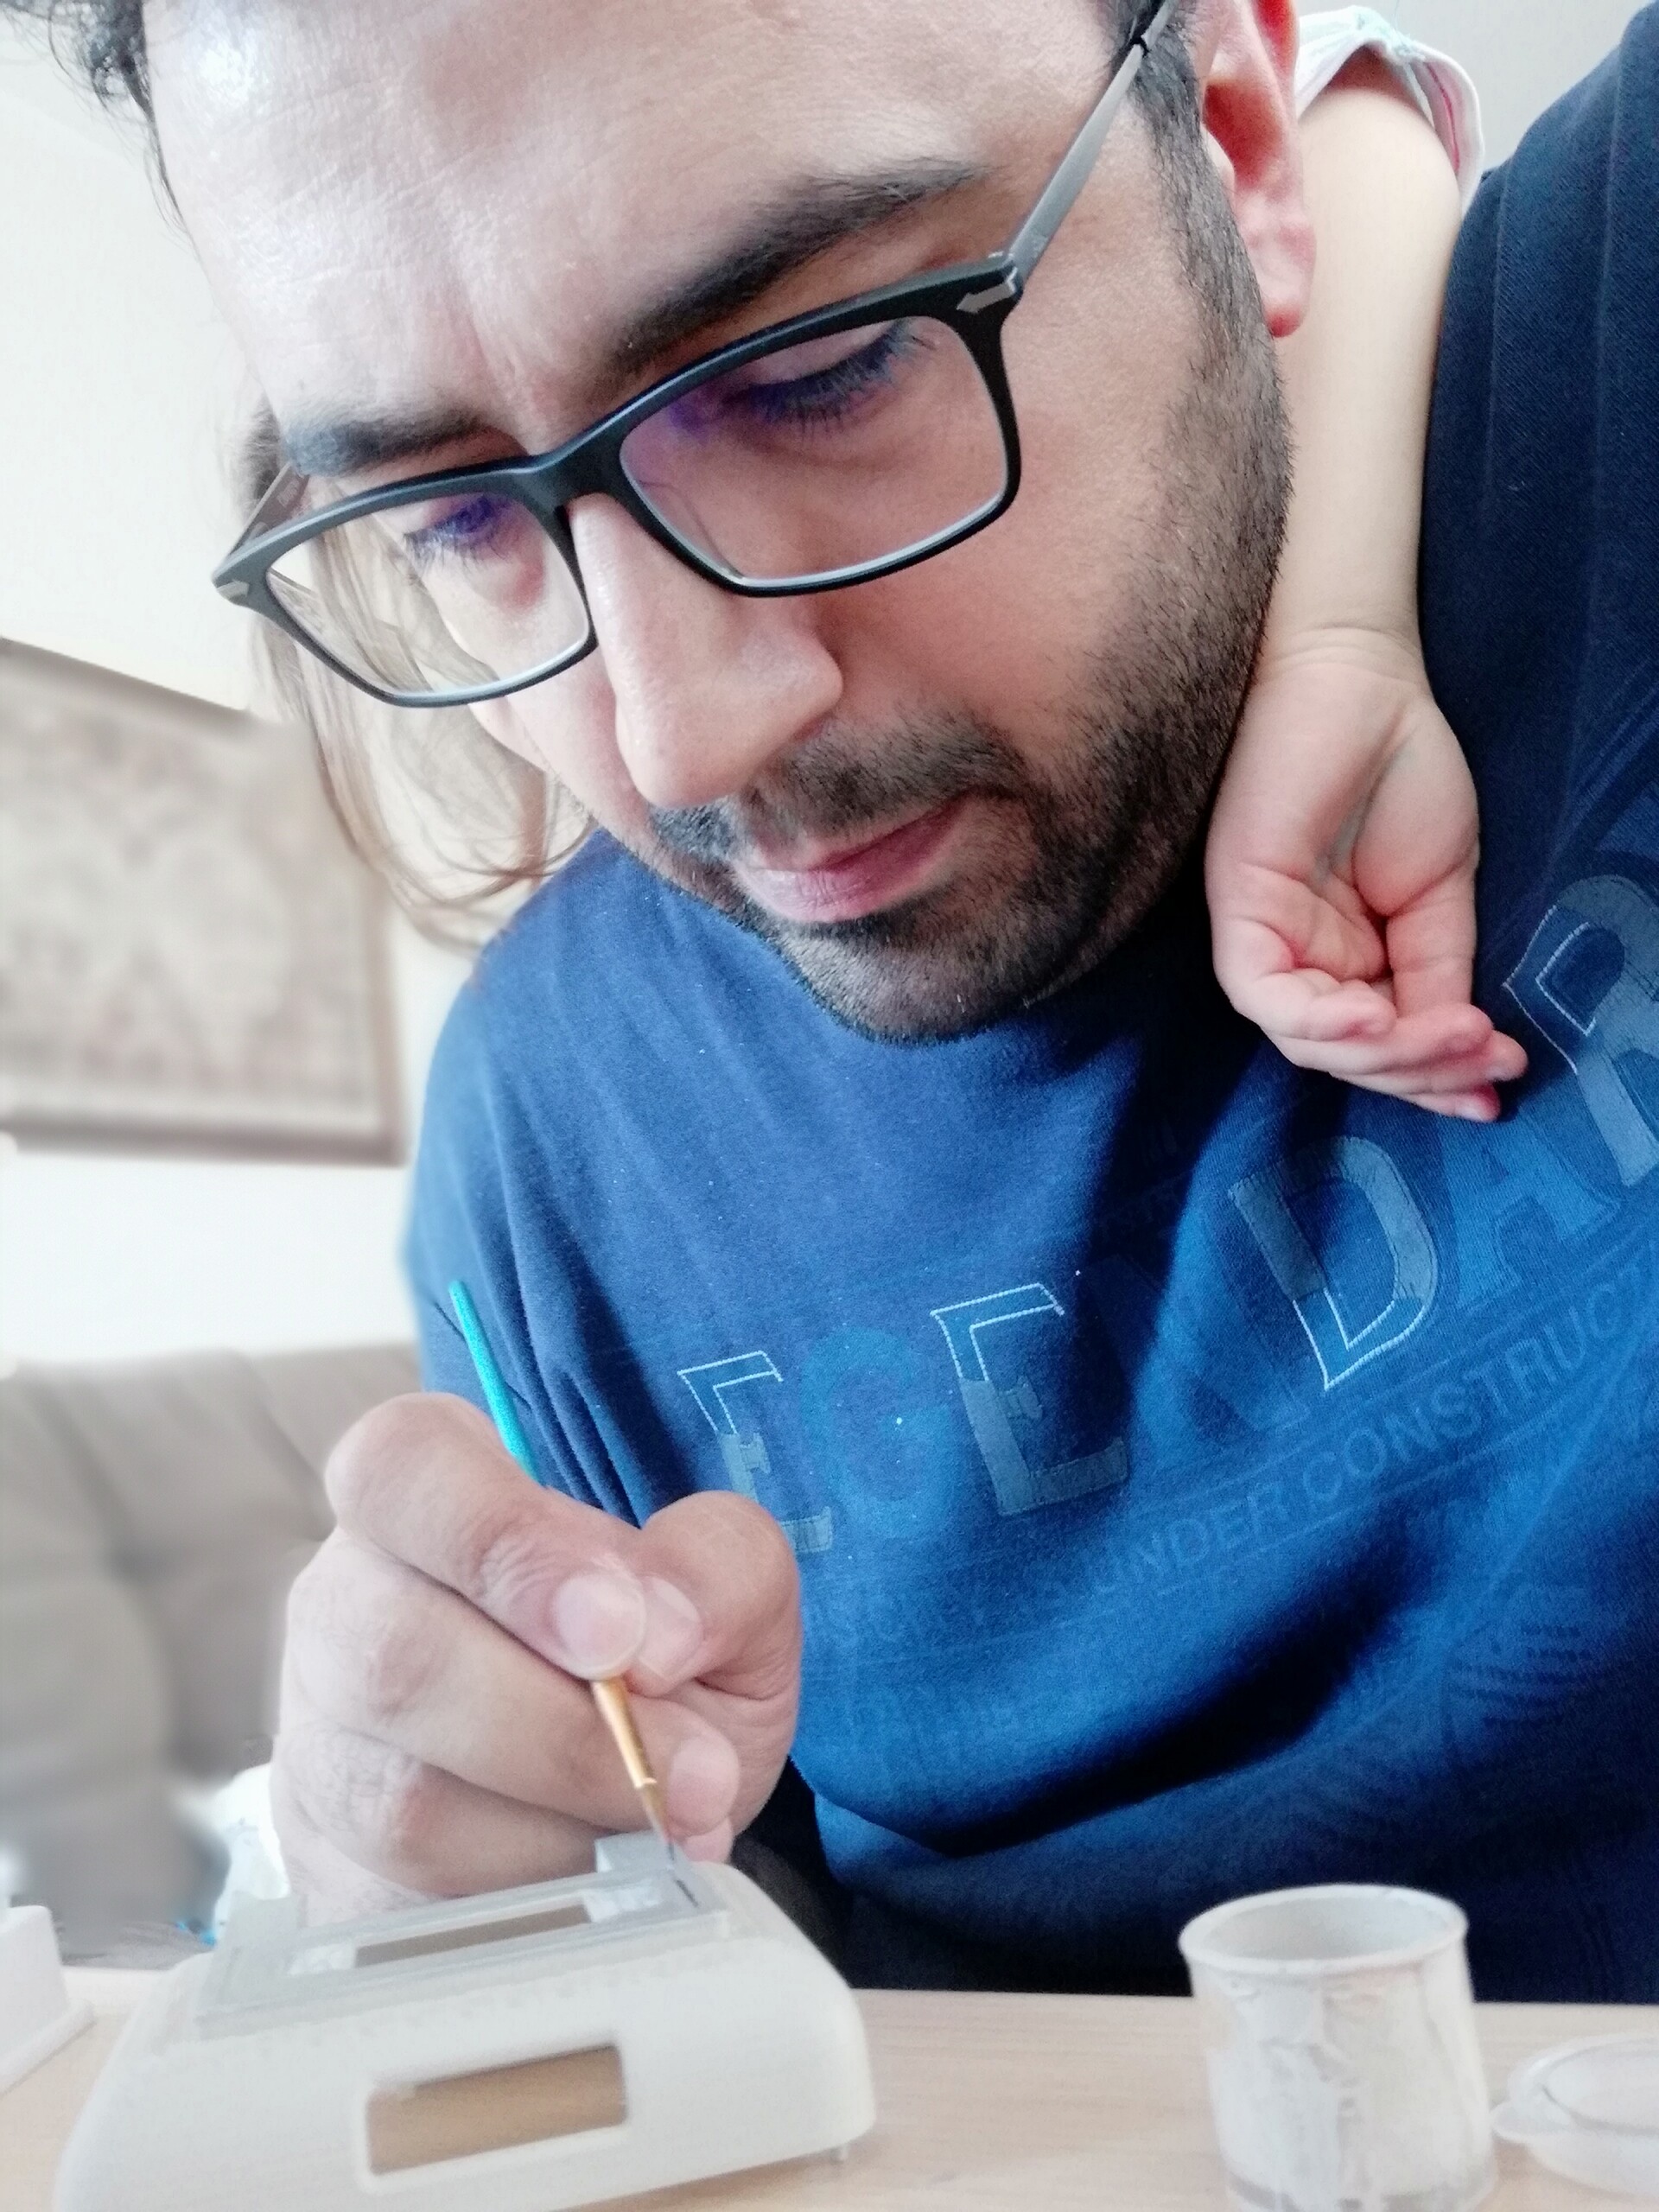
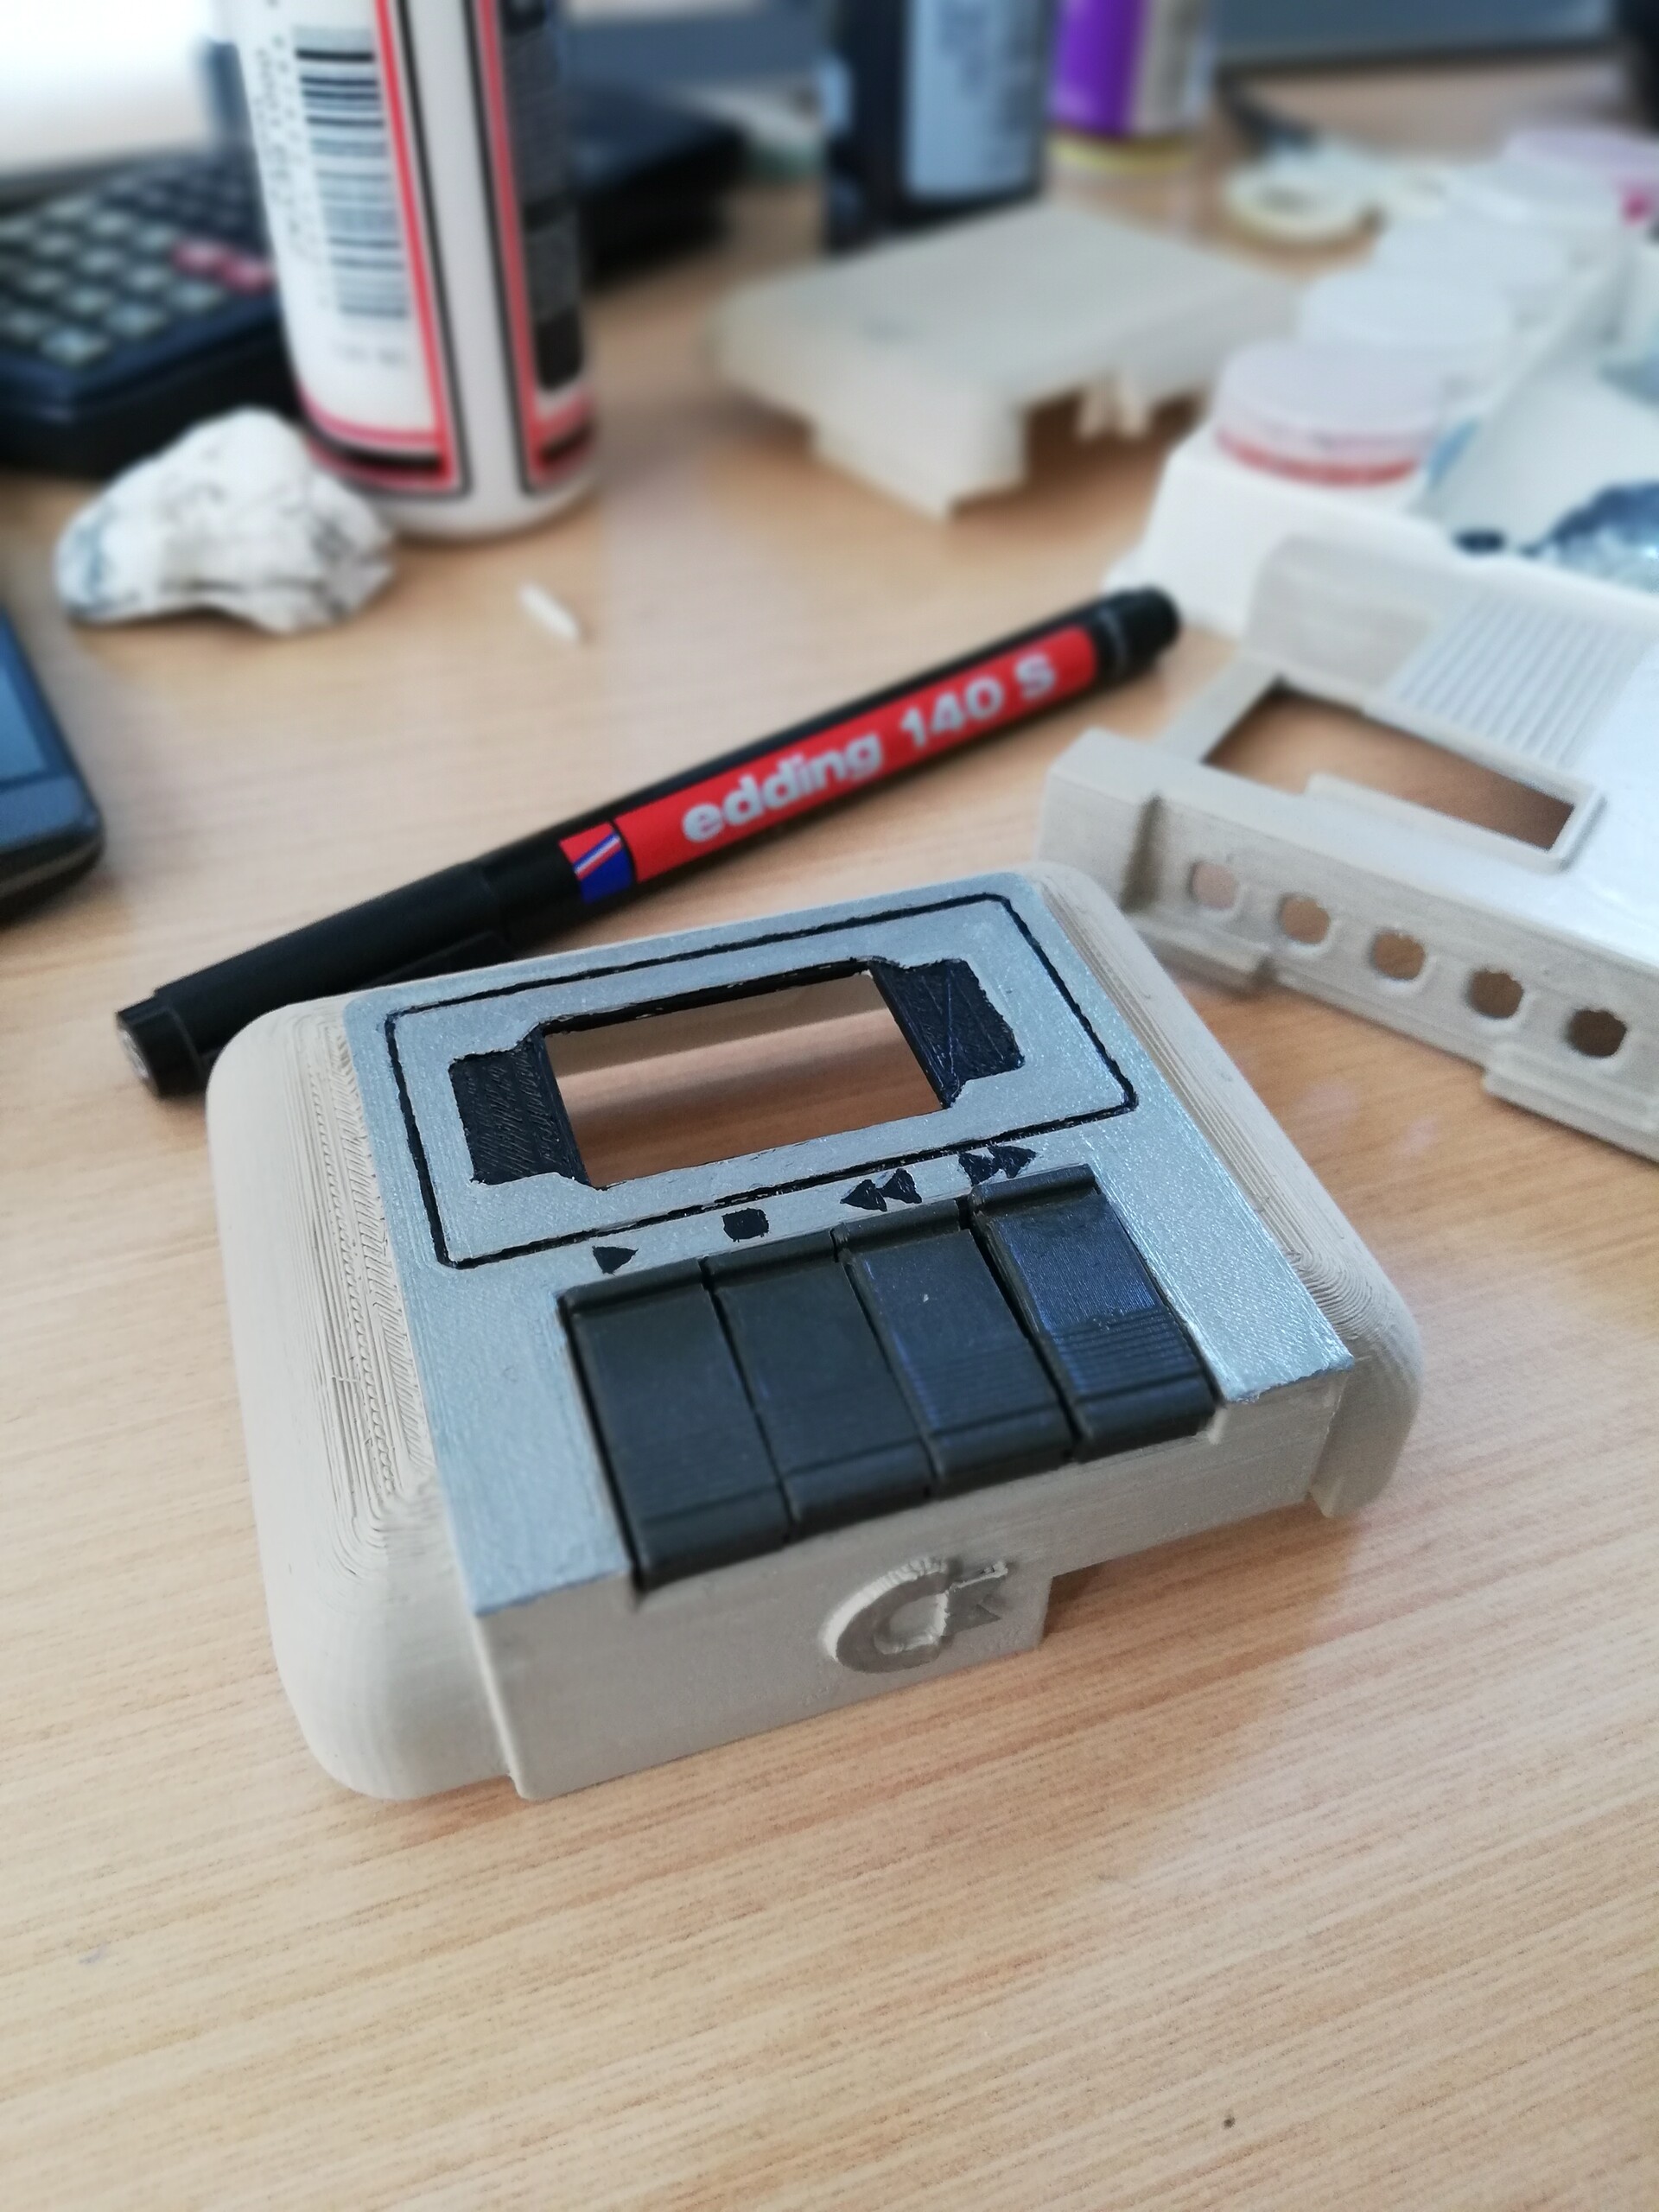
Next painted the main color with acyrlic paint by an air brush and painted other details by brush.
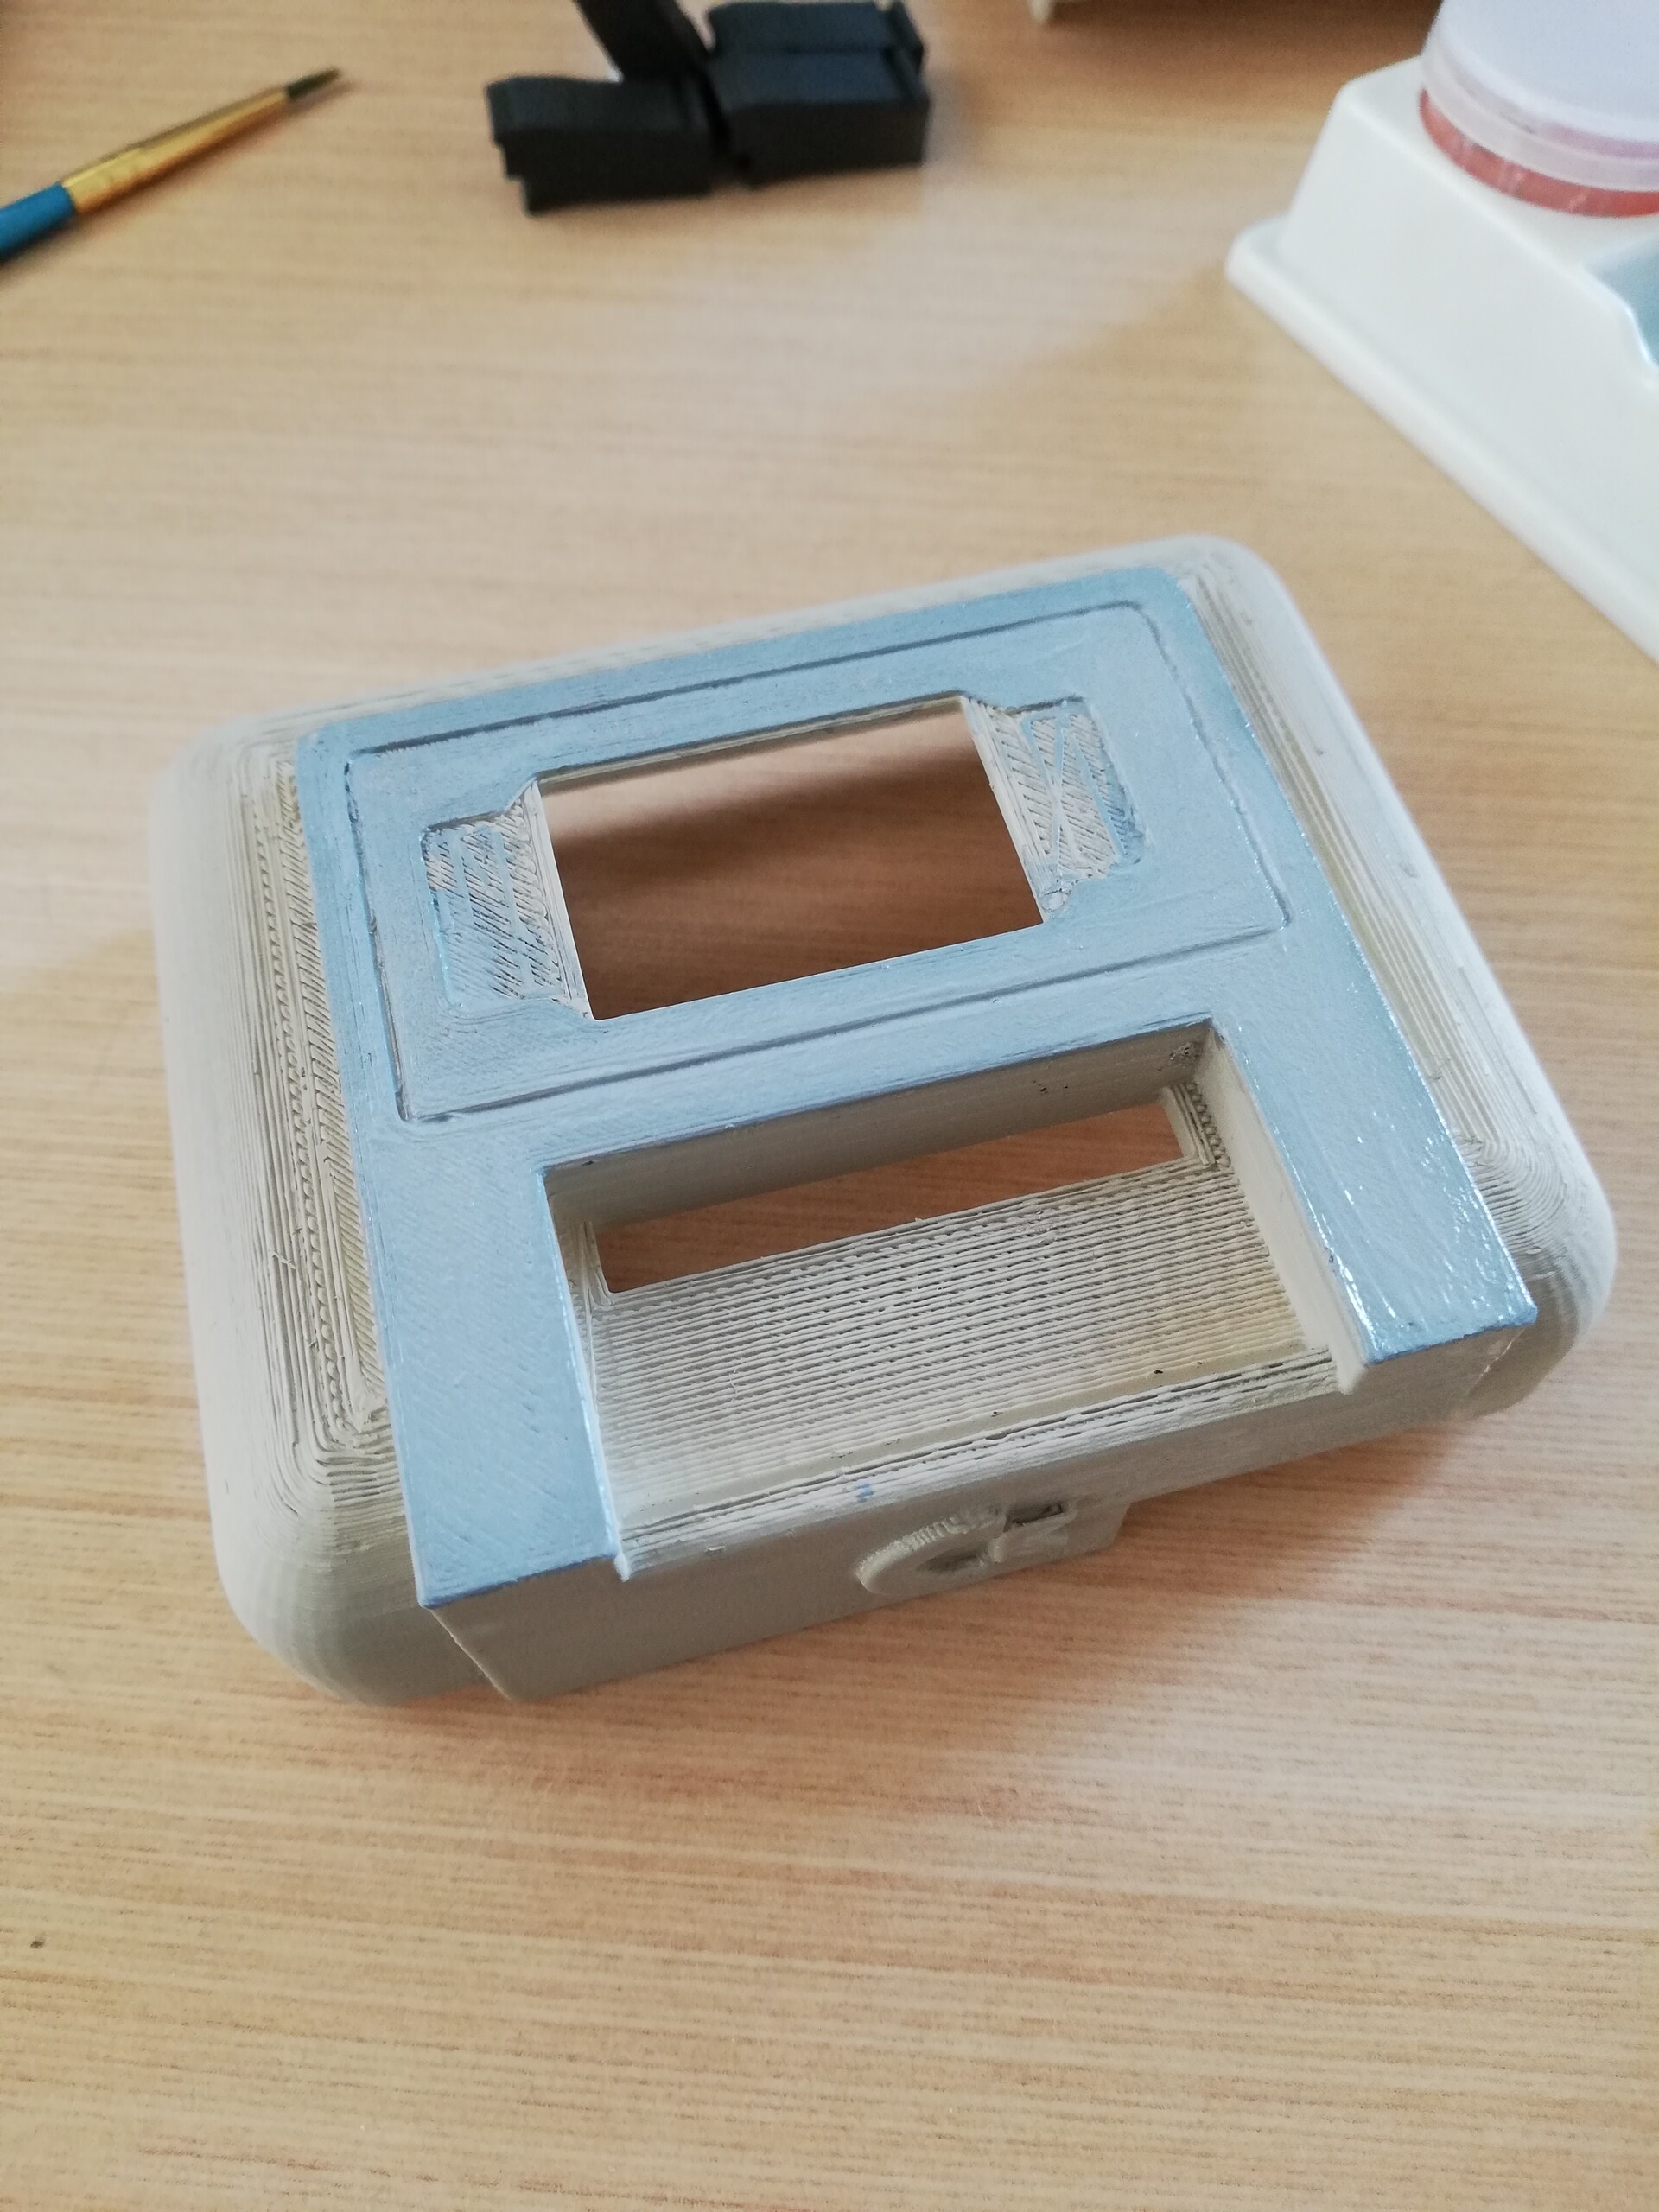
Of course my daughter makes everything easier by climbing over me when I'm painting the frame 10th time.

Finally it is ready for varnishing!
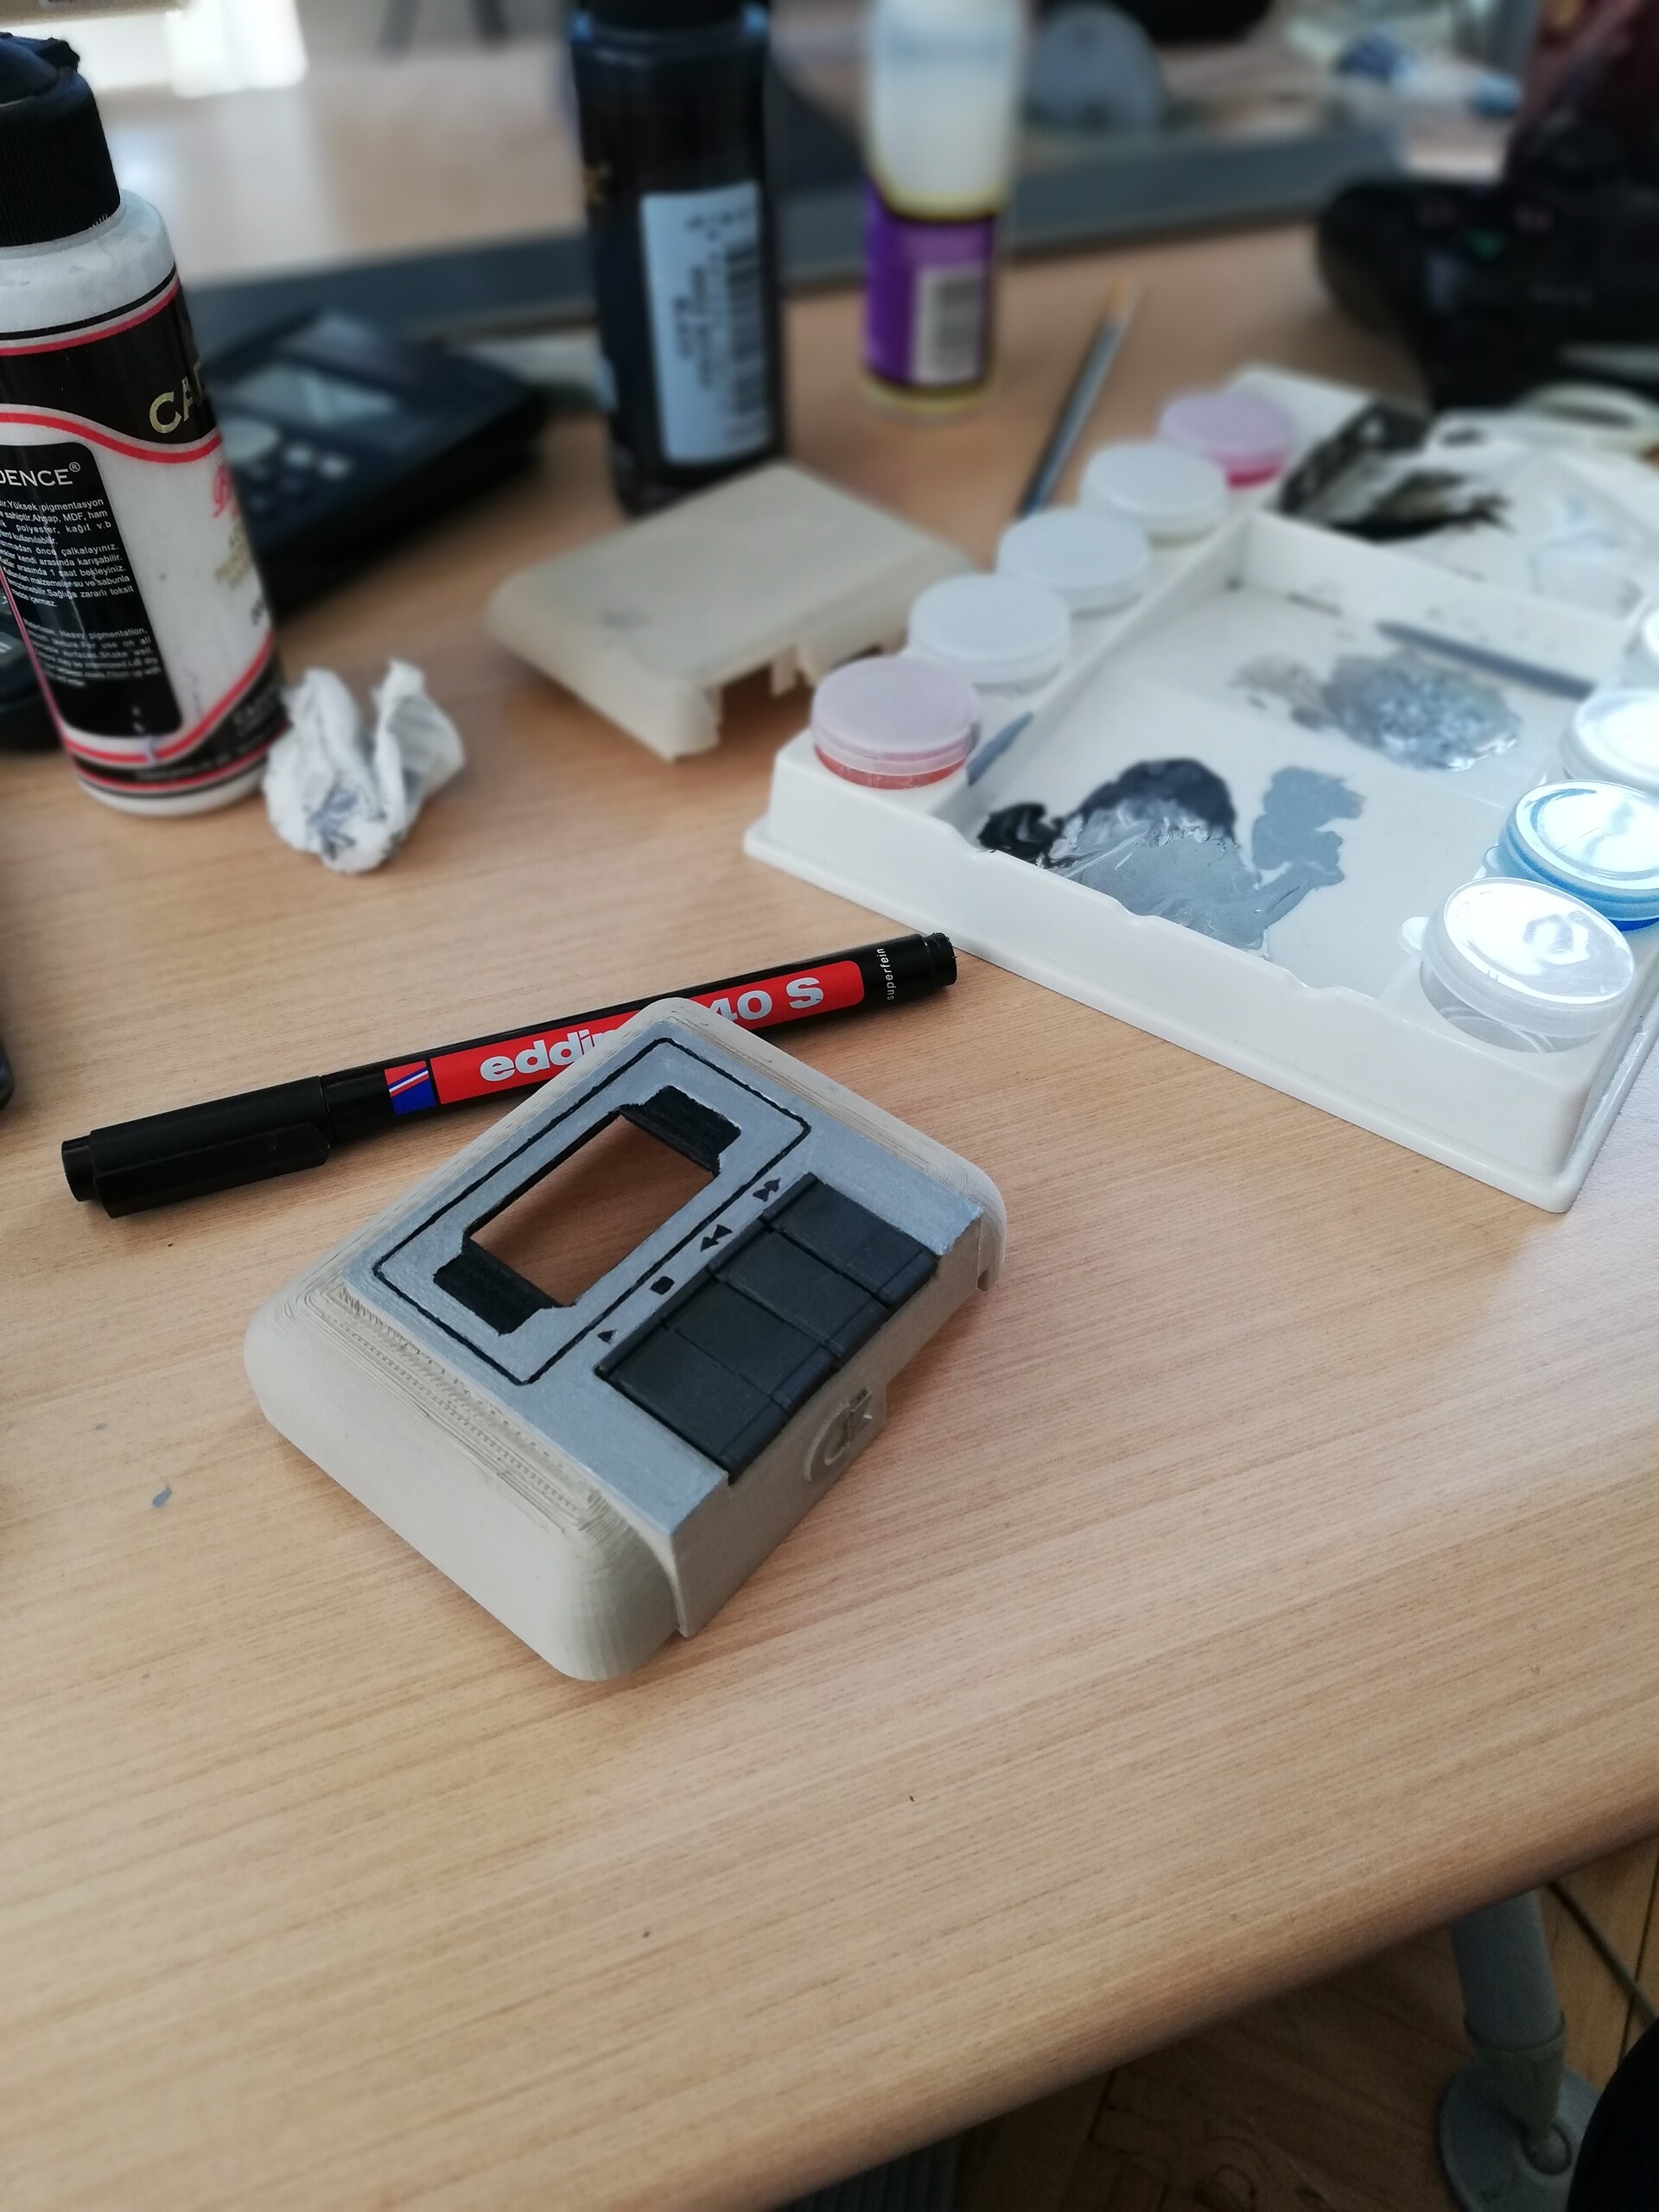
After varnishing 2 layers with airbush and cut a plastic for the front frame I completed the work.

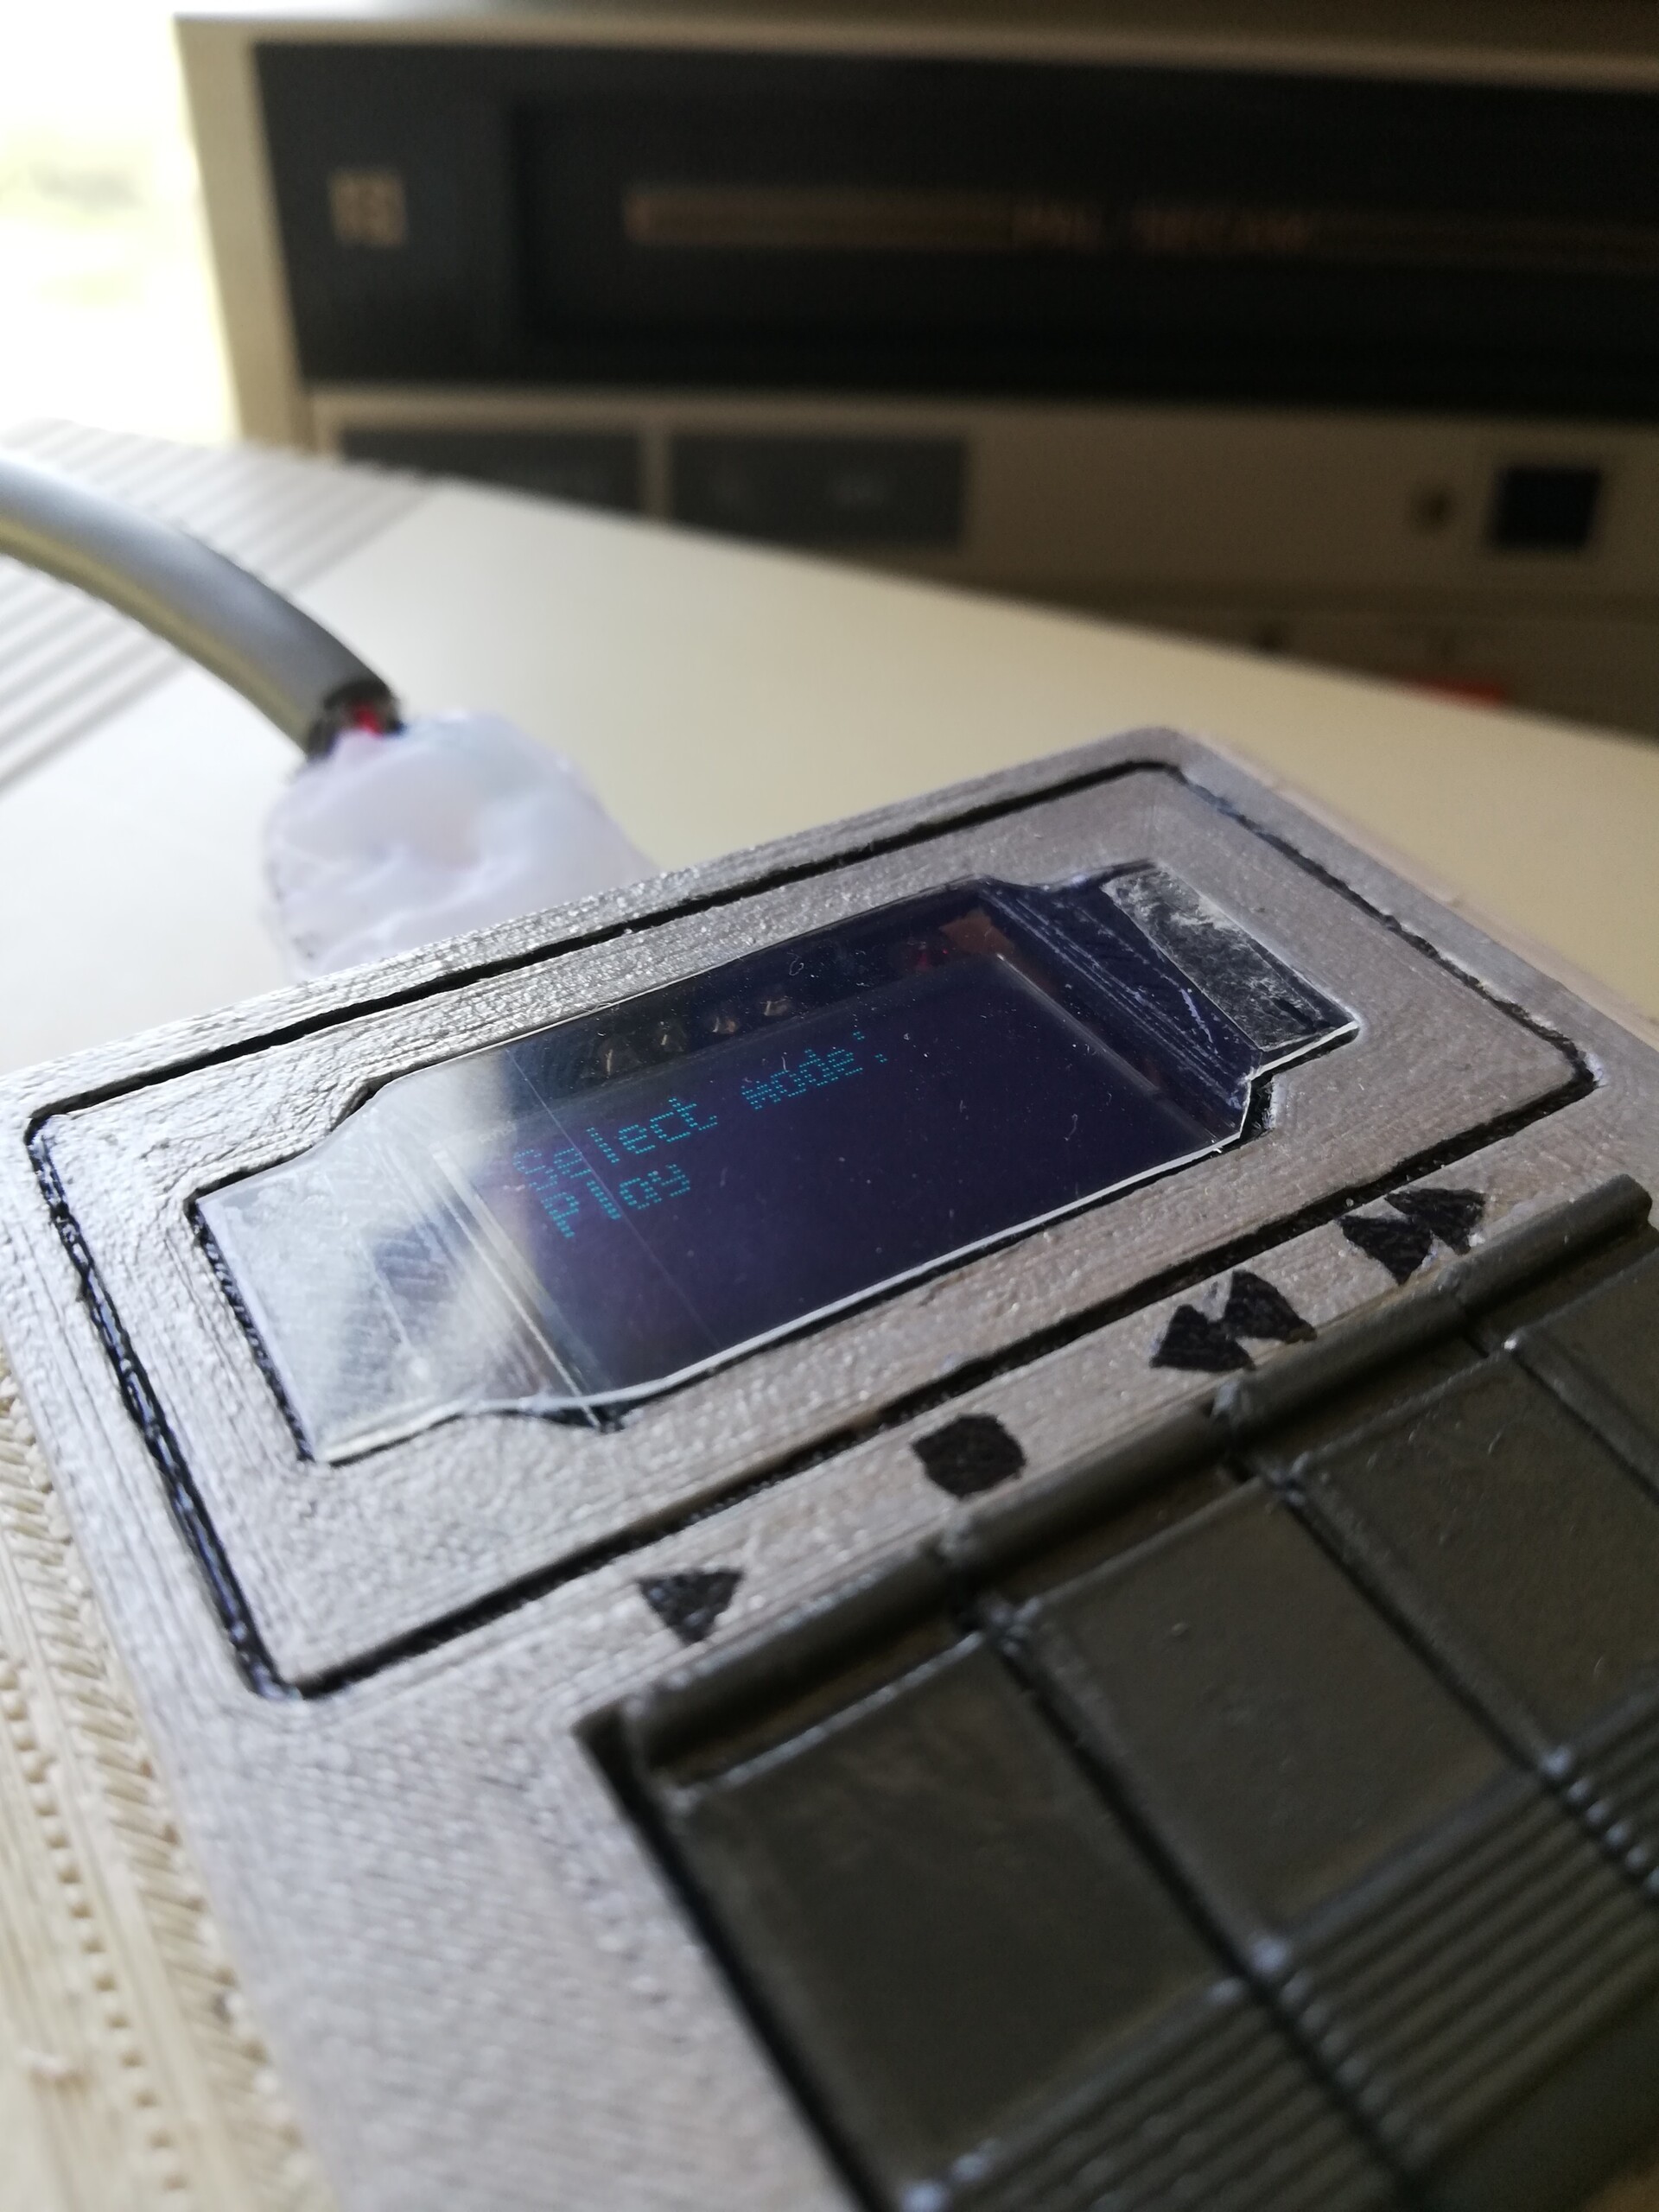
And finally this video shows the operation of the final device.
I know the final result is not clear and smooth, I may gave more attention to polishing the 3d print but it's just a prototyping. And more important than that, it's prototyping that made in "home". Which is a cyberpunk scenerio for me :) Cheers!