One of my childhood dream around 1990s or so was having an arcade cabinet at home! It was nearly impossible since they were more like industrial products which are
- (possibly) too expensive,
- hard to maintain as an end-user,
- and big!
But the games on them were impressive. I was just a child who has an 8-bit Computer which is a Commodore 64 with tape deck. Most of the C64 games had limited number of sprites and low res graphics. When I go to "Atari Saloons" (that is how the arcade galleries were called in Turkey), I was seeing the same titles I had on my C64 with a huge difference.
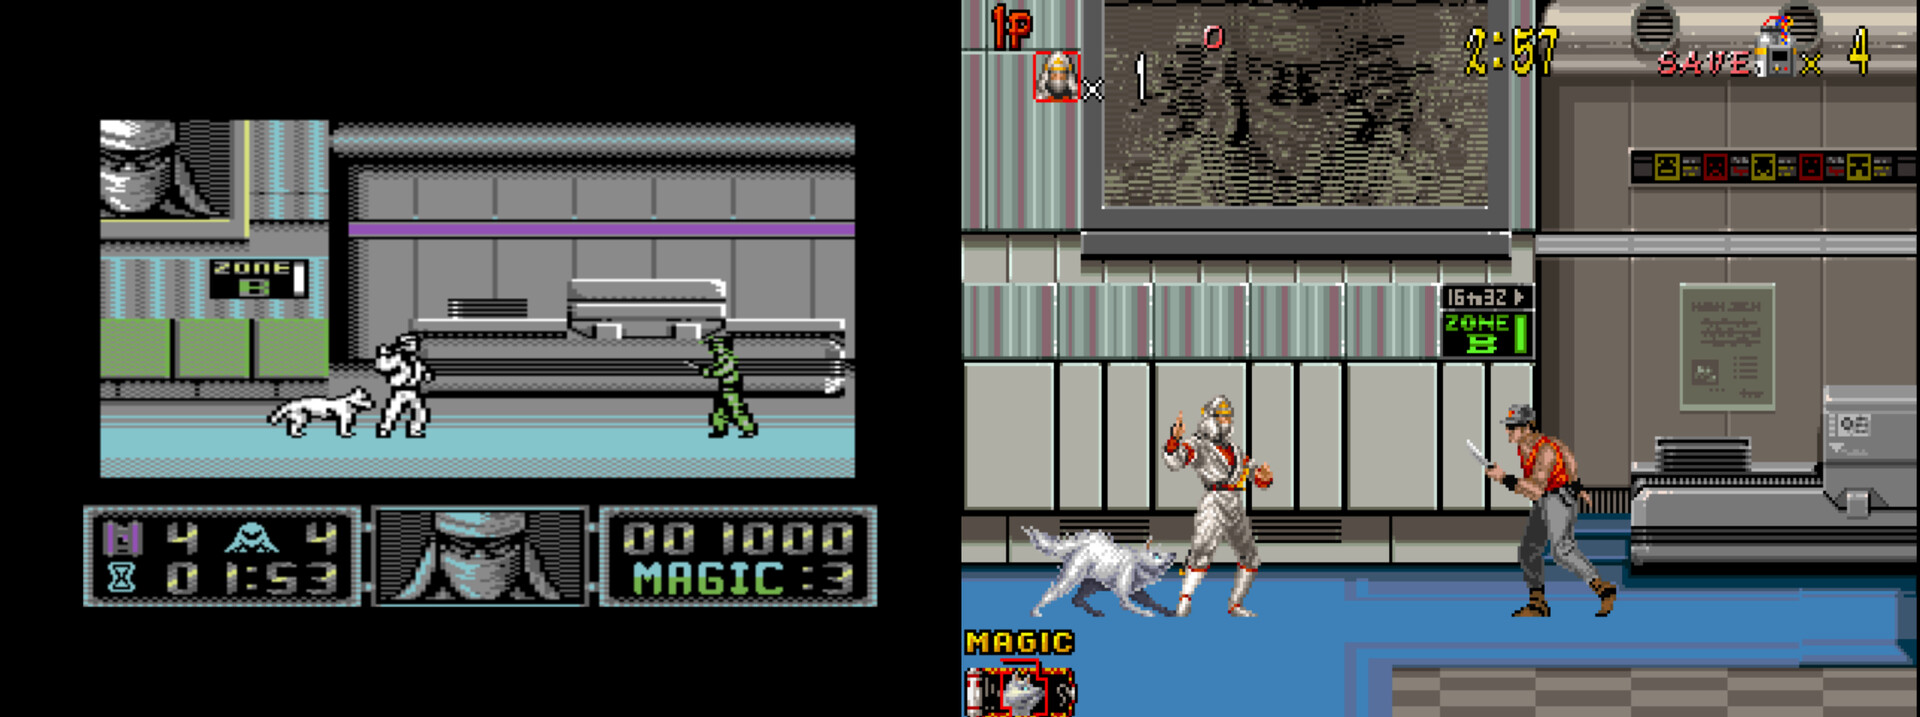
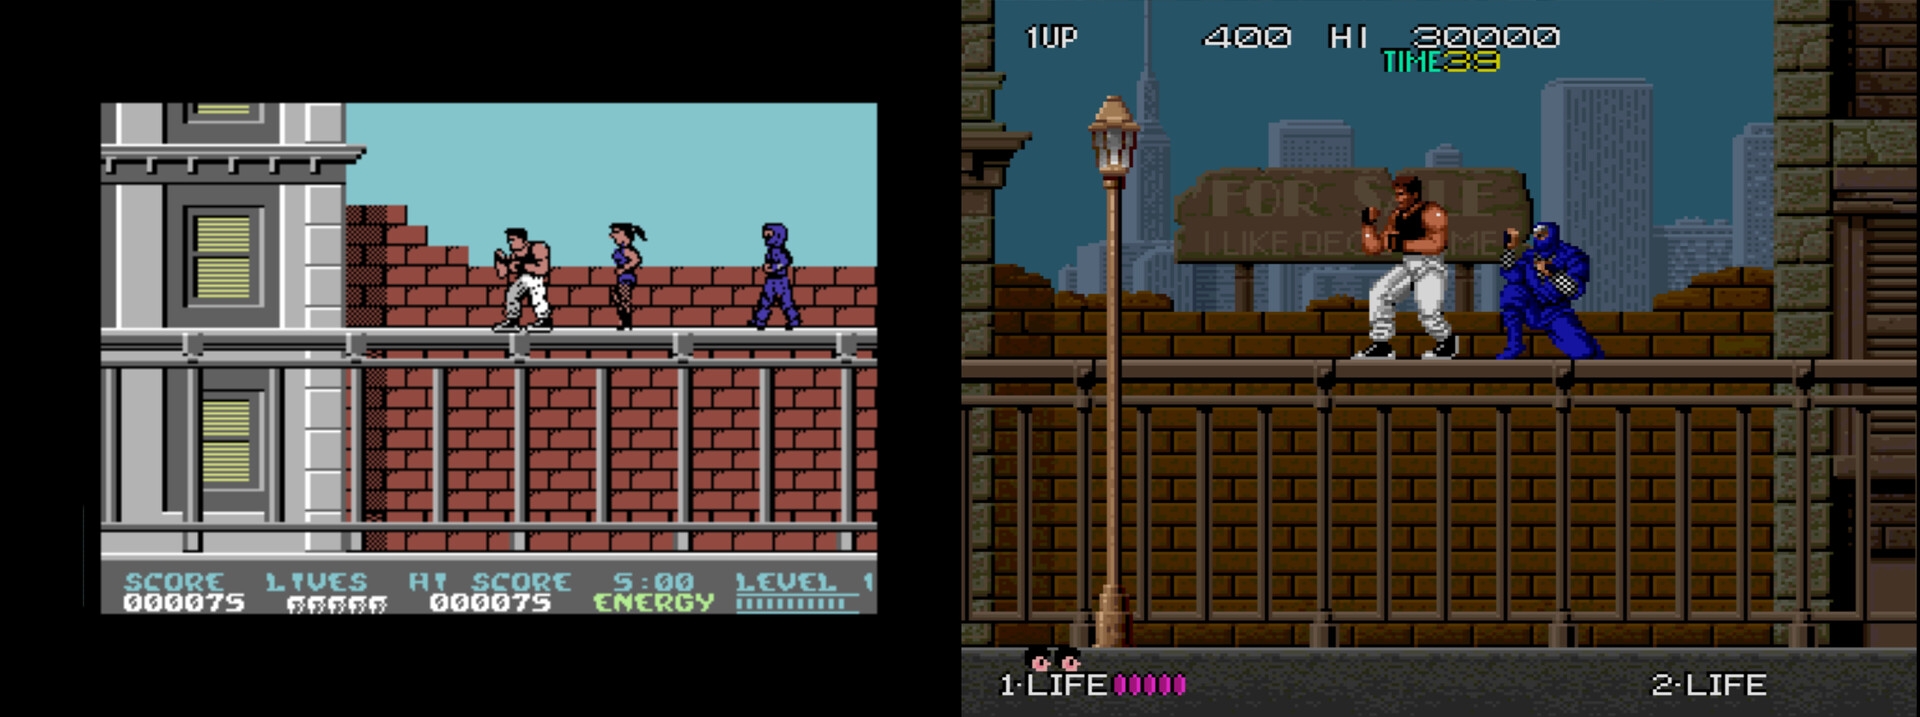
You can compare the following images to see what I mean, or how I dissappointed with the games a had :)
Shadow Dancer (1991 - C64 ver. release year)
Bad Dudes vs. Dragon Ninja (1989 - C64 ver. release year)
Also there were incredible arcade specific titles! Street Fighter 2 and Art of Fighting were my favorites. And there were too many titles that added to my list in years.
A quick introduction about Arcade Cabinets
First of all a CRT monitor is attached to the system. There are LCD alternatives nowadays but CRT is a must for me.
Because of this: https://twitter.com/cem_tezcan/status/1260602028016967680
Besides the monitor, there is speaker(s) on the system, controller sticks and buttons, and most important thing: the coin slot. These are coin based machines that designed for making money. So they work by inserting coins to the system until you lose.
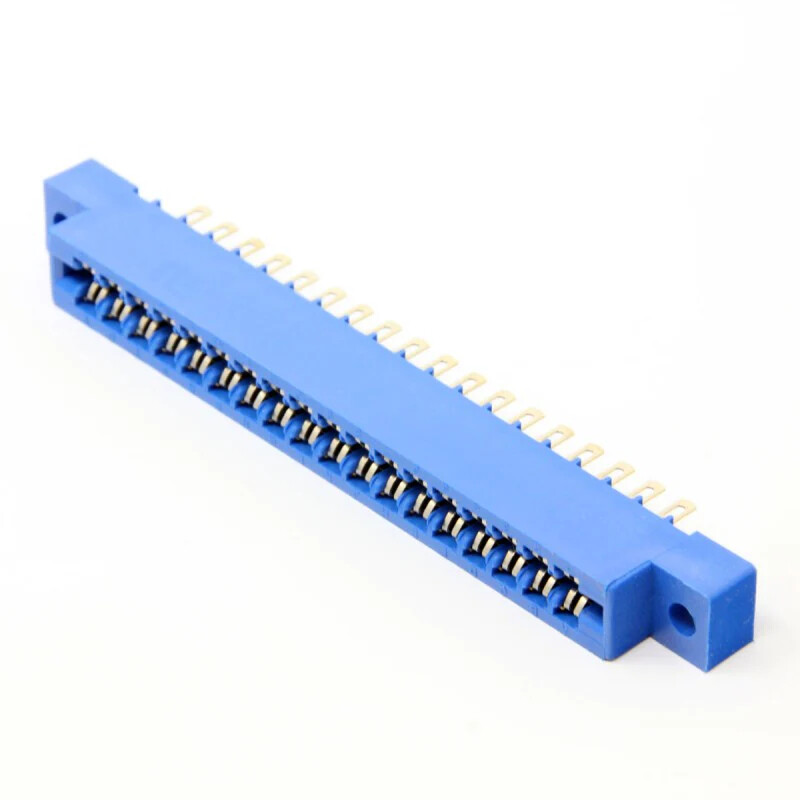
So coin mechanism, speakers, monitor, controller sticks, and the buttons were all connected to a 36 pin female edge connector that named JAMMA (Japanese Amusement Machine Manufacturers Association).
And finally all those interface elements were connected to the game system. Game system is a PCB that has the operating environment and the game roms. These machines were booting in 1-3 seconds. nothing like today's PC/Console operating systems. There were no controller driver interfaces, so latency was zero for the controller inputs.
Screen refresh rate and the FPS were fixed to 60. There were no overload on the system since the games were hardcoded in the roms and running fully in the memory.
These motherboards of the game systems has the same edge connector (male one) on the PCB. So you just unplug the JAMMA connector from the game system and plug it to another to make that arcade cabinet run different system or game.

So, making a dream come true...
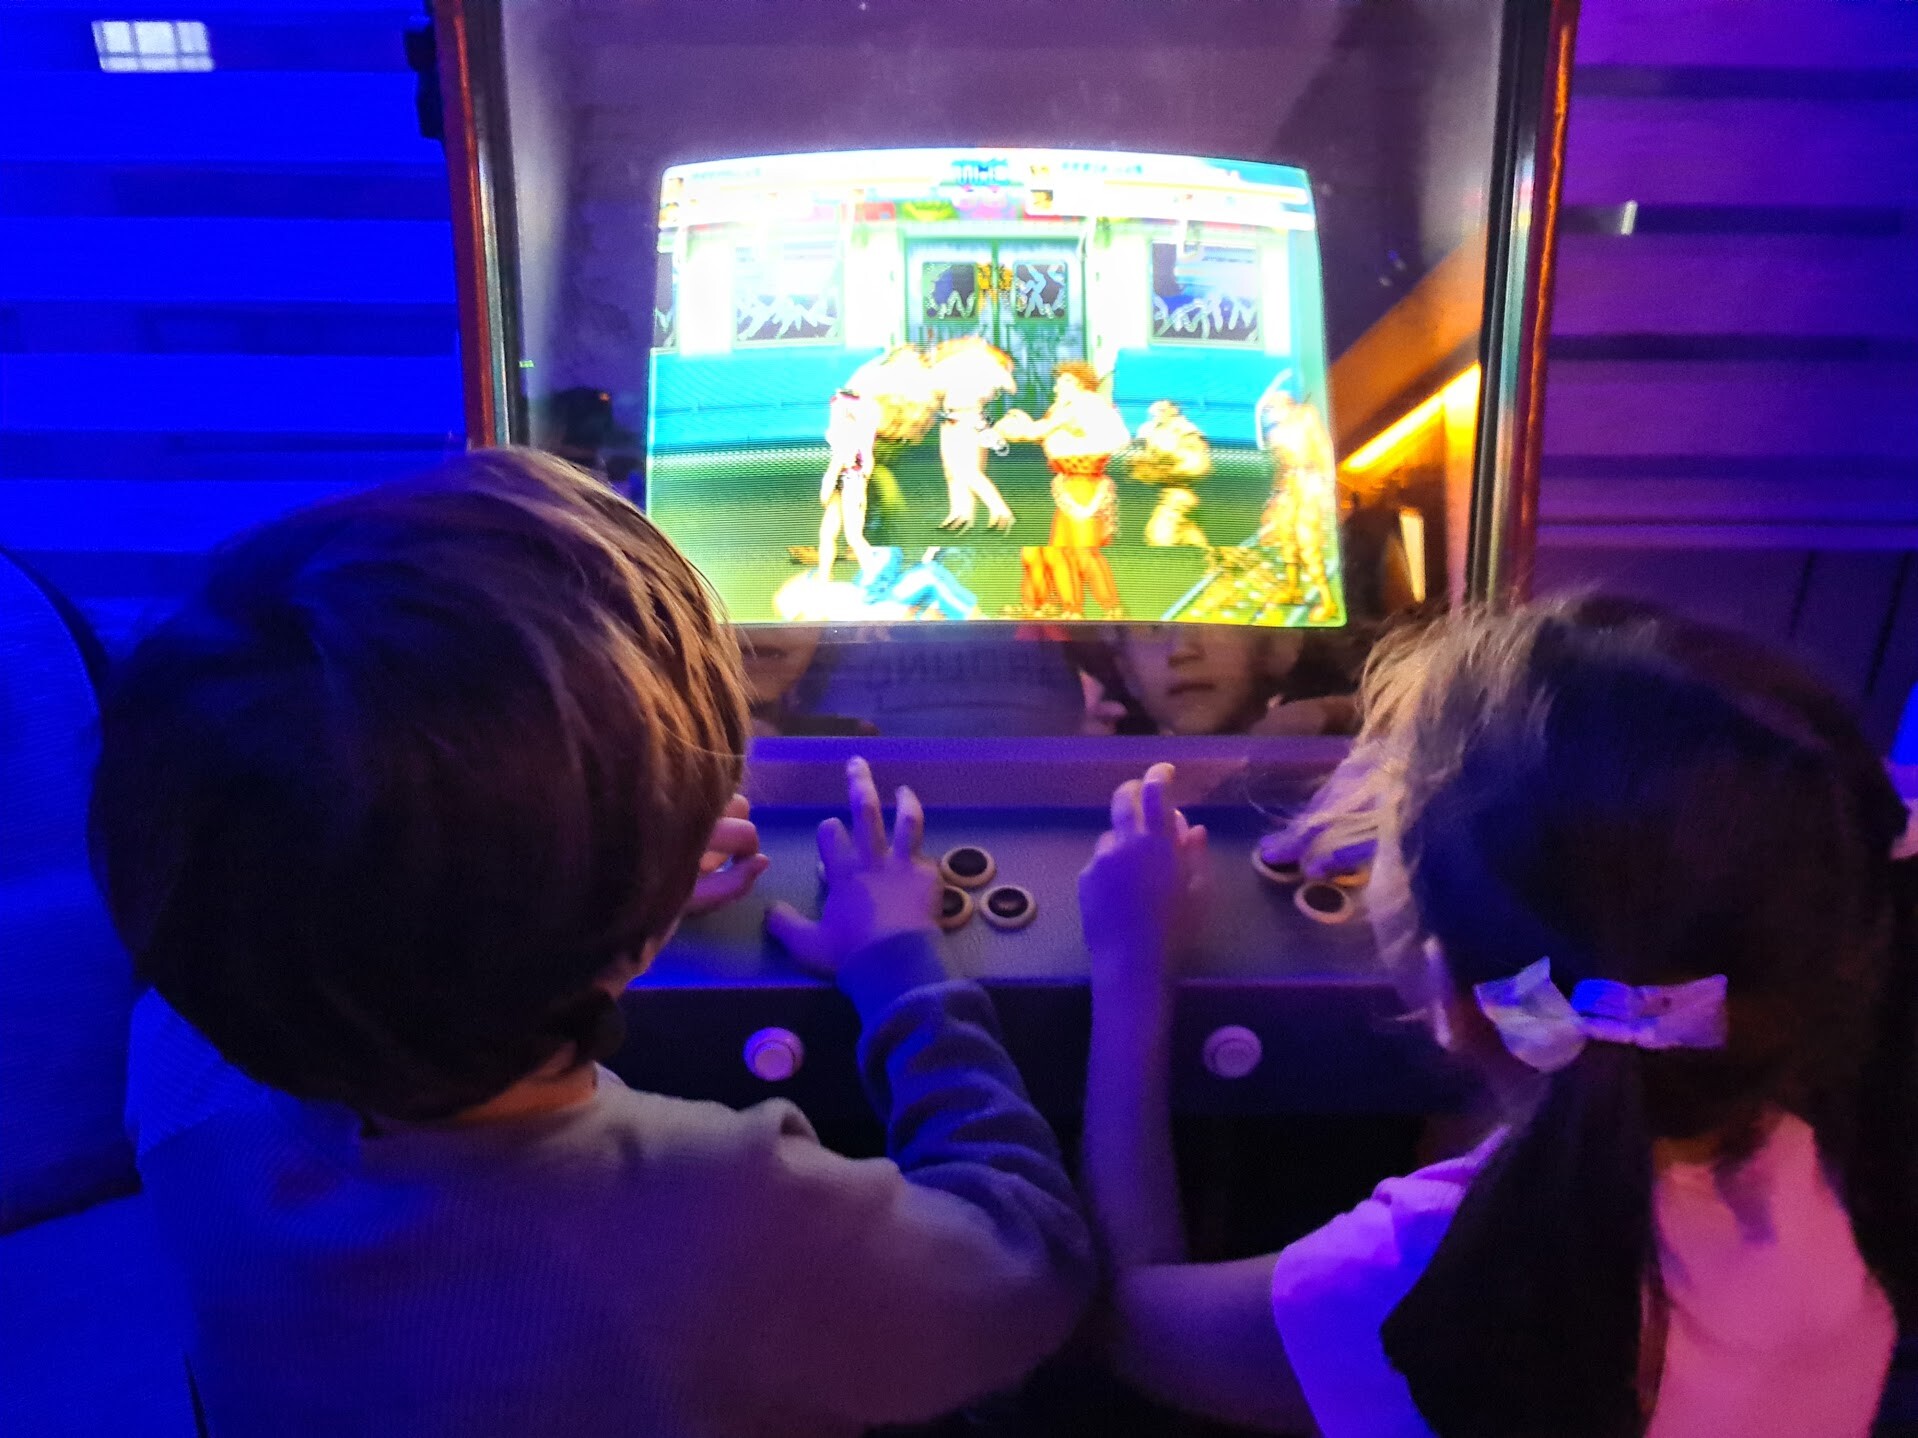
After all this introduction let's cut to the chase :) A month ago I bought an Arcade Cabinet to make this childhood dream of mine come true. I bought it from a local guy that has 50-100 cabinets from 90s in this storage area. That means the cabinet I bought was a production of 80s or 90s. It was a generic type that called Delta II. I don't know if there was a Delta I :)
I especially choose the model because this model was the most remembered model I played in my childhood. I even 3d modeled one a few years ago which is very similar.
Project page: https://www.artstation.com/artwork/4Xoq0L
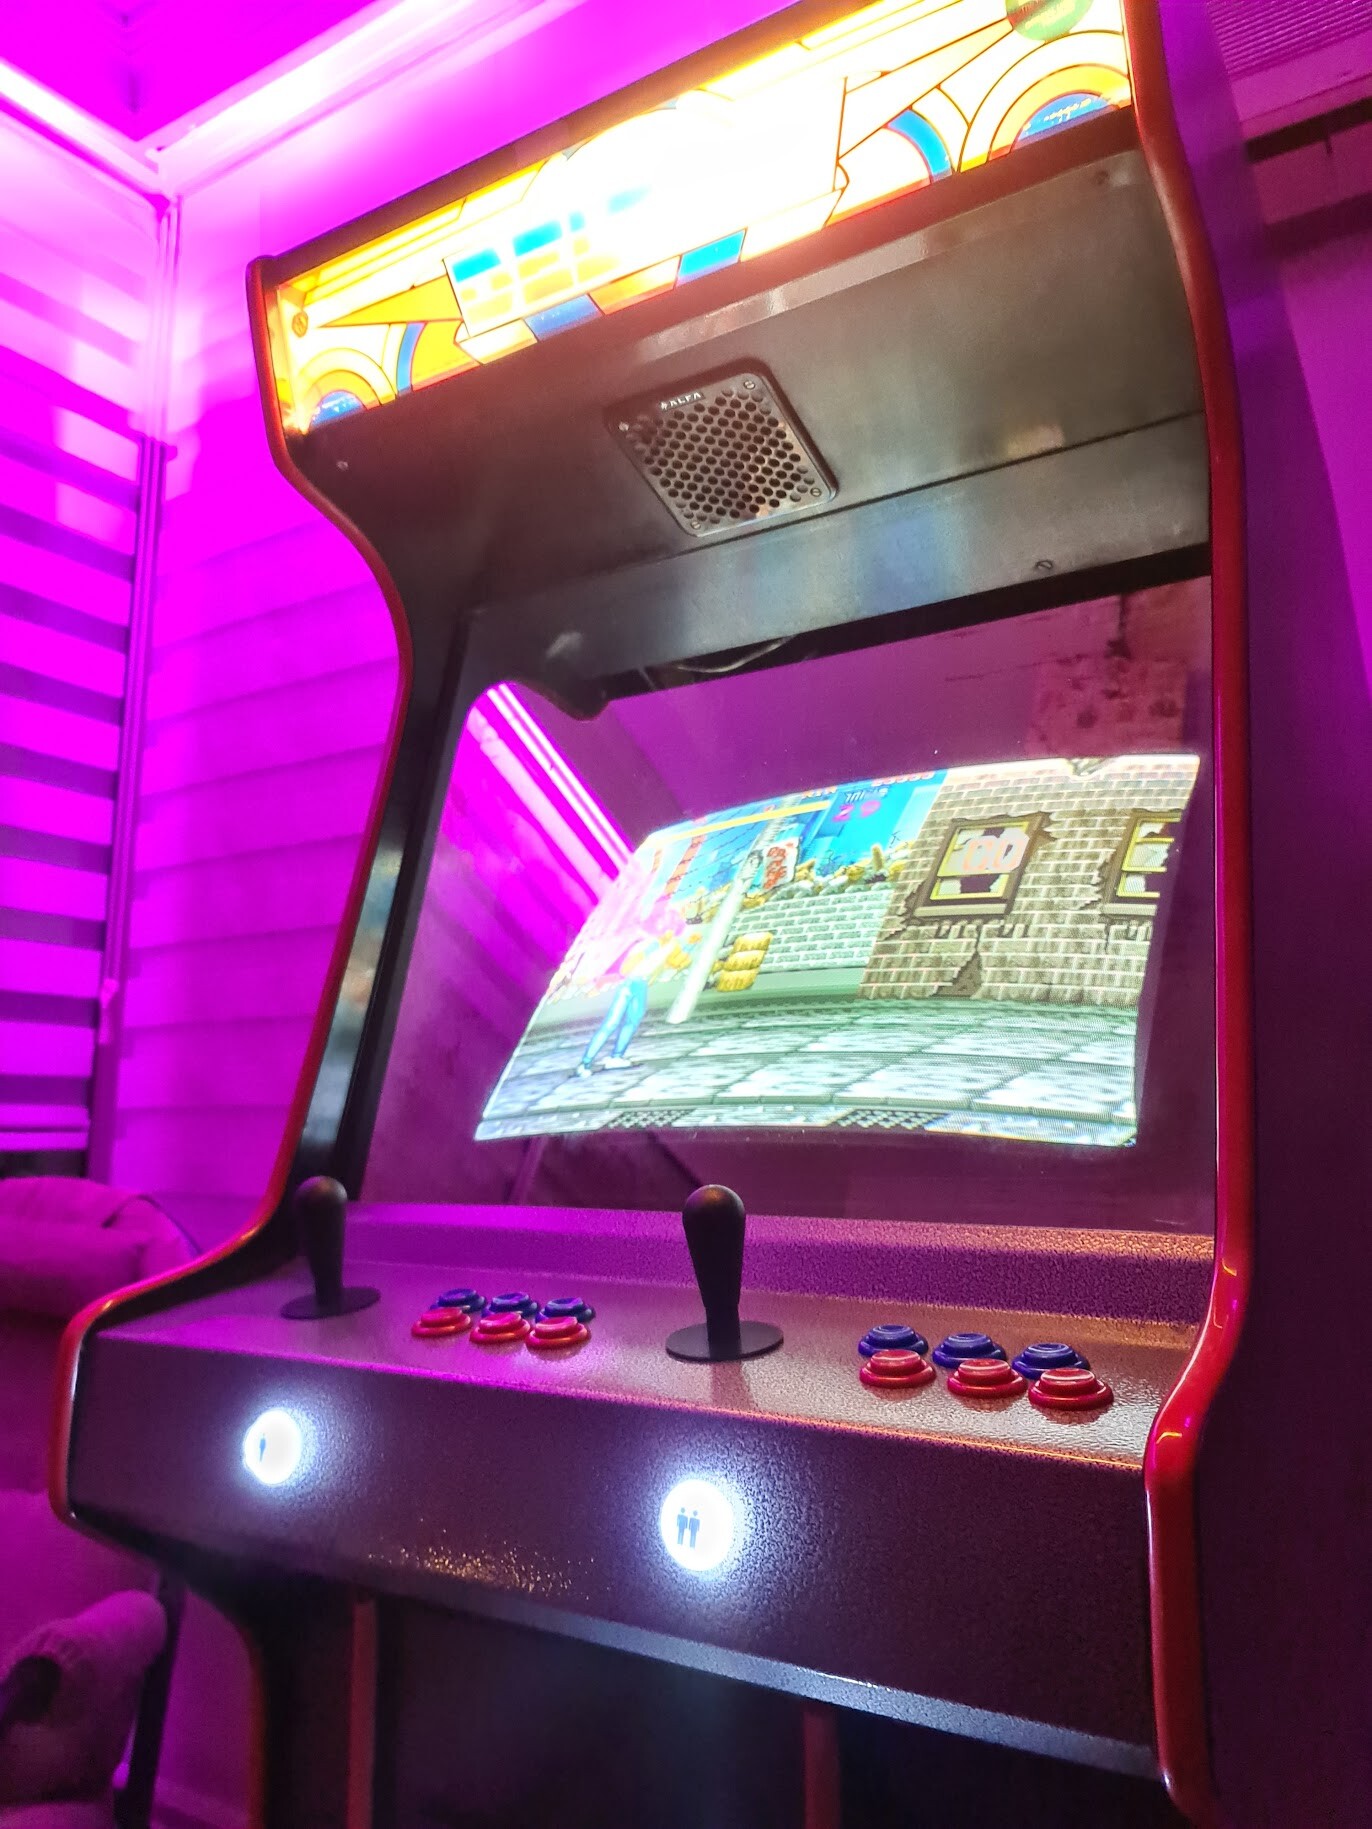
Here is a photo of the cabinet I bought.
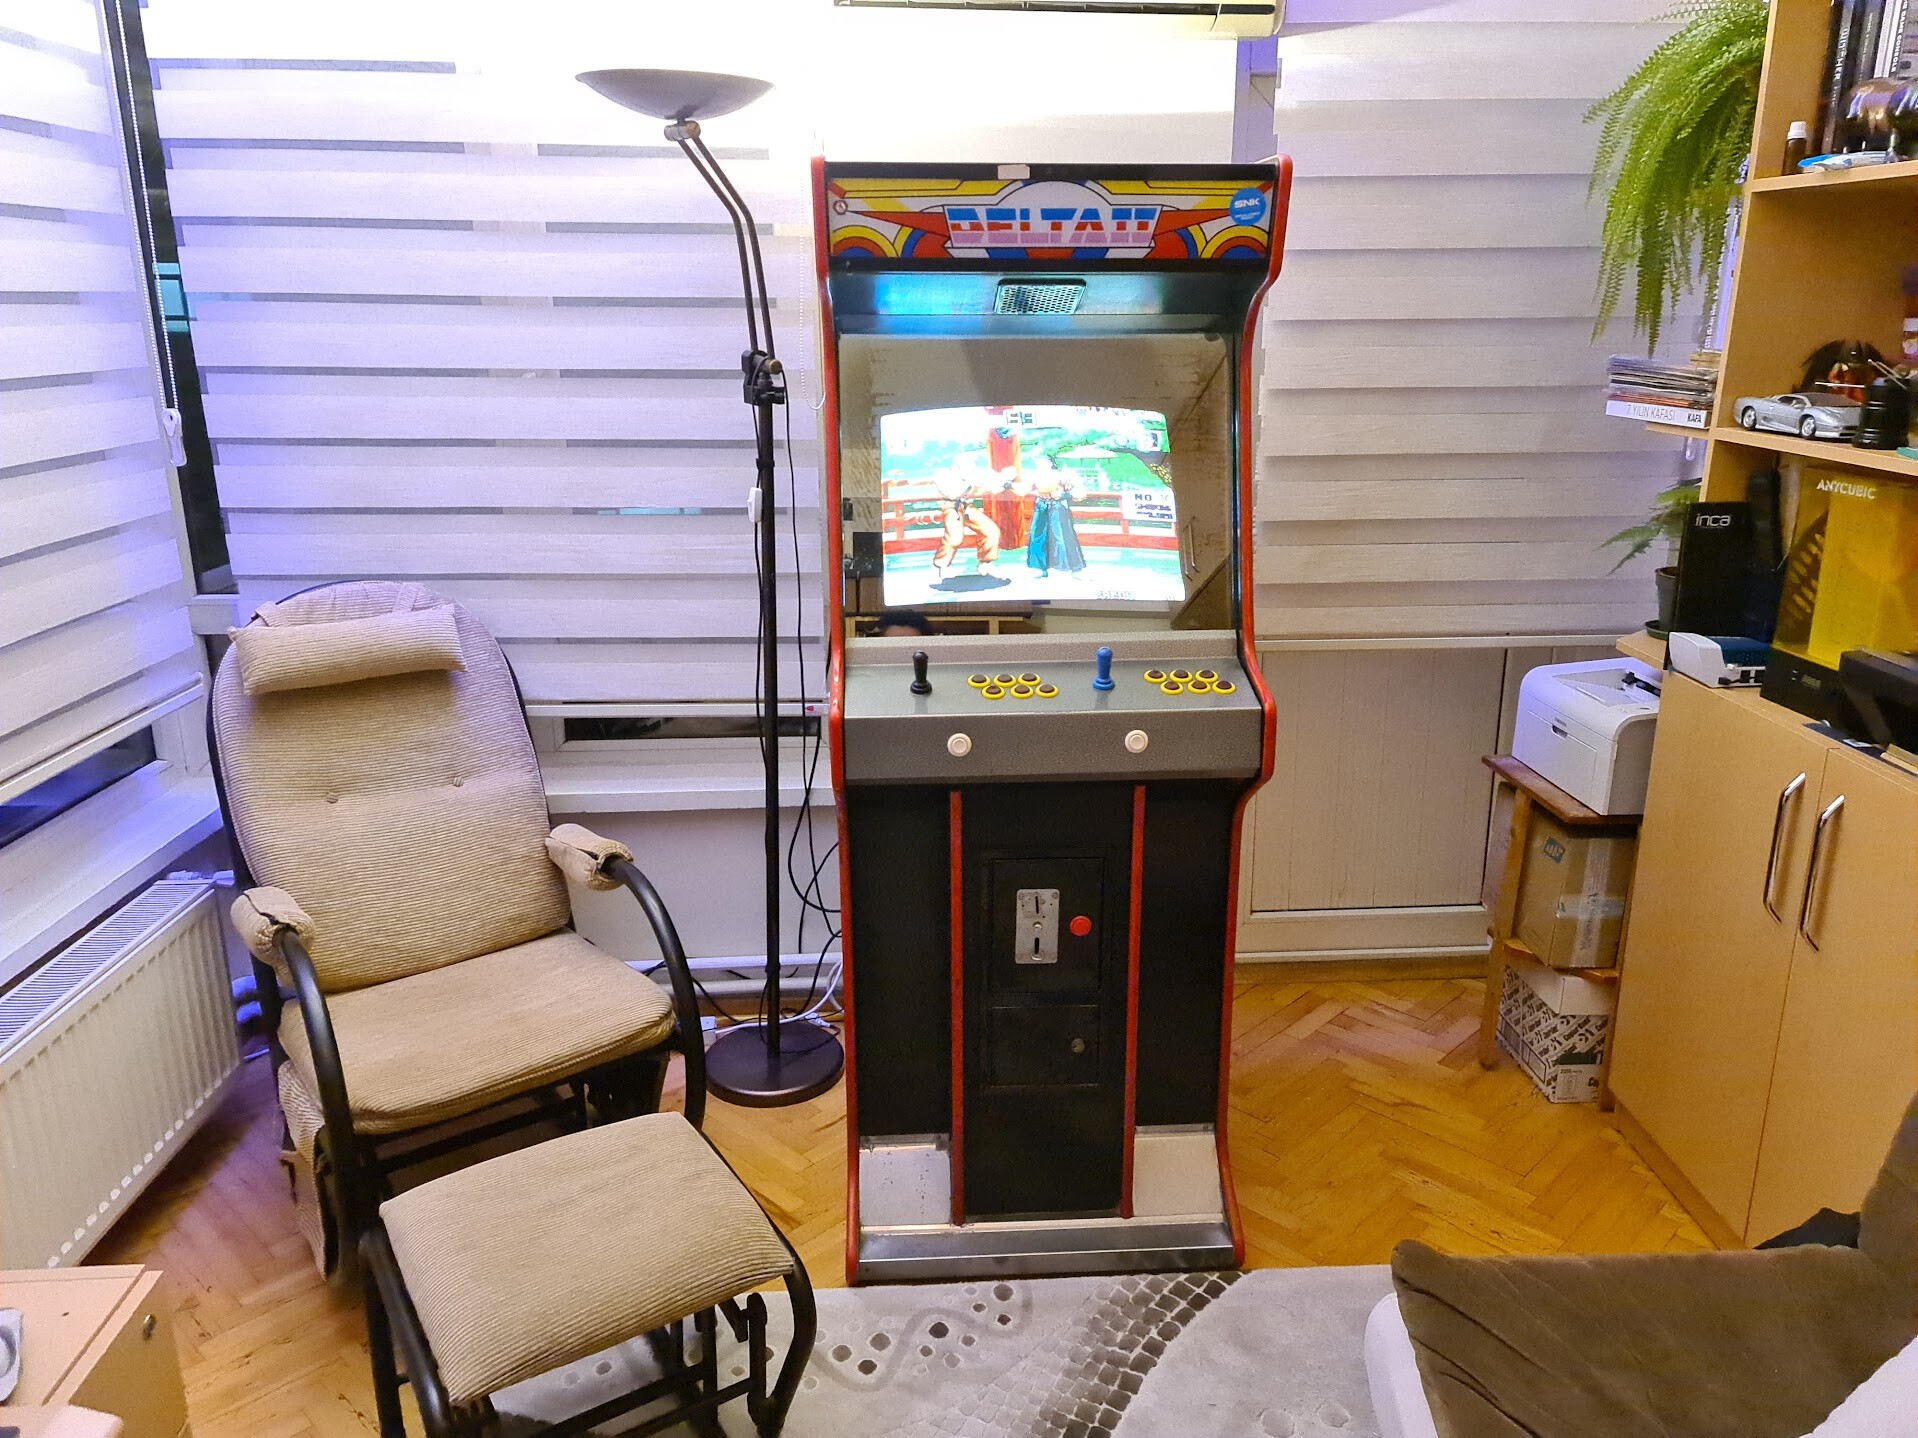
It has a CRT screen in good condition which is the most important part. But as the game system it had a Pandora's Saga CX. In a generic way Pandora Box devices are emulator loaded linux devices that runs different arcade game systems but most importantly they uses JAMMA connectors. So they report in 15Khz analog video output even it's an emulation. So it's loaded with 2600 games and you can expand it by attaching USB stick or edit the SD card on the device.
Pandora Box solution for the arcade machines is the cool and modern way to play arcade games nowadays, but since there is emulation involved, it means glitches on the smooth-scrolling, and input latency. The latter is not much recognizable, but non-existance of the smooth-scrolling is not good for the scrolling-obsessed people like me. It's not much recognizable on many games so I could live with that, but I didn't :D
Modifications and Fixes
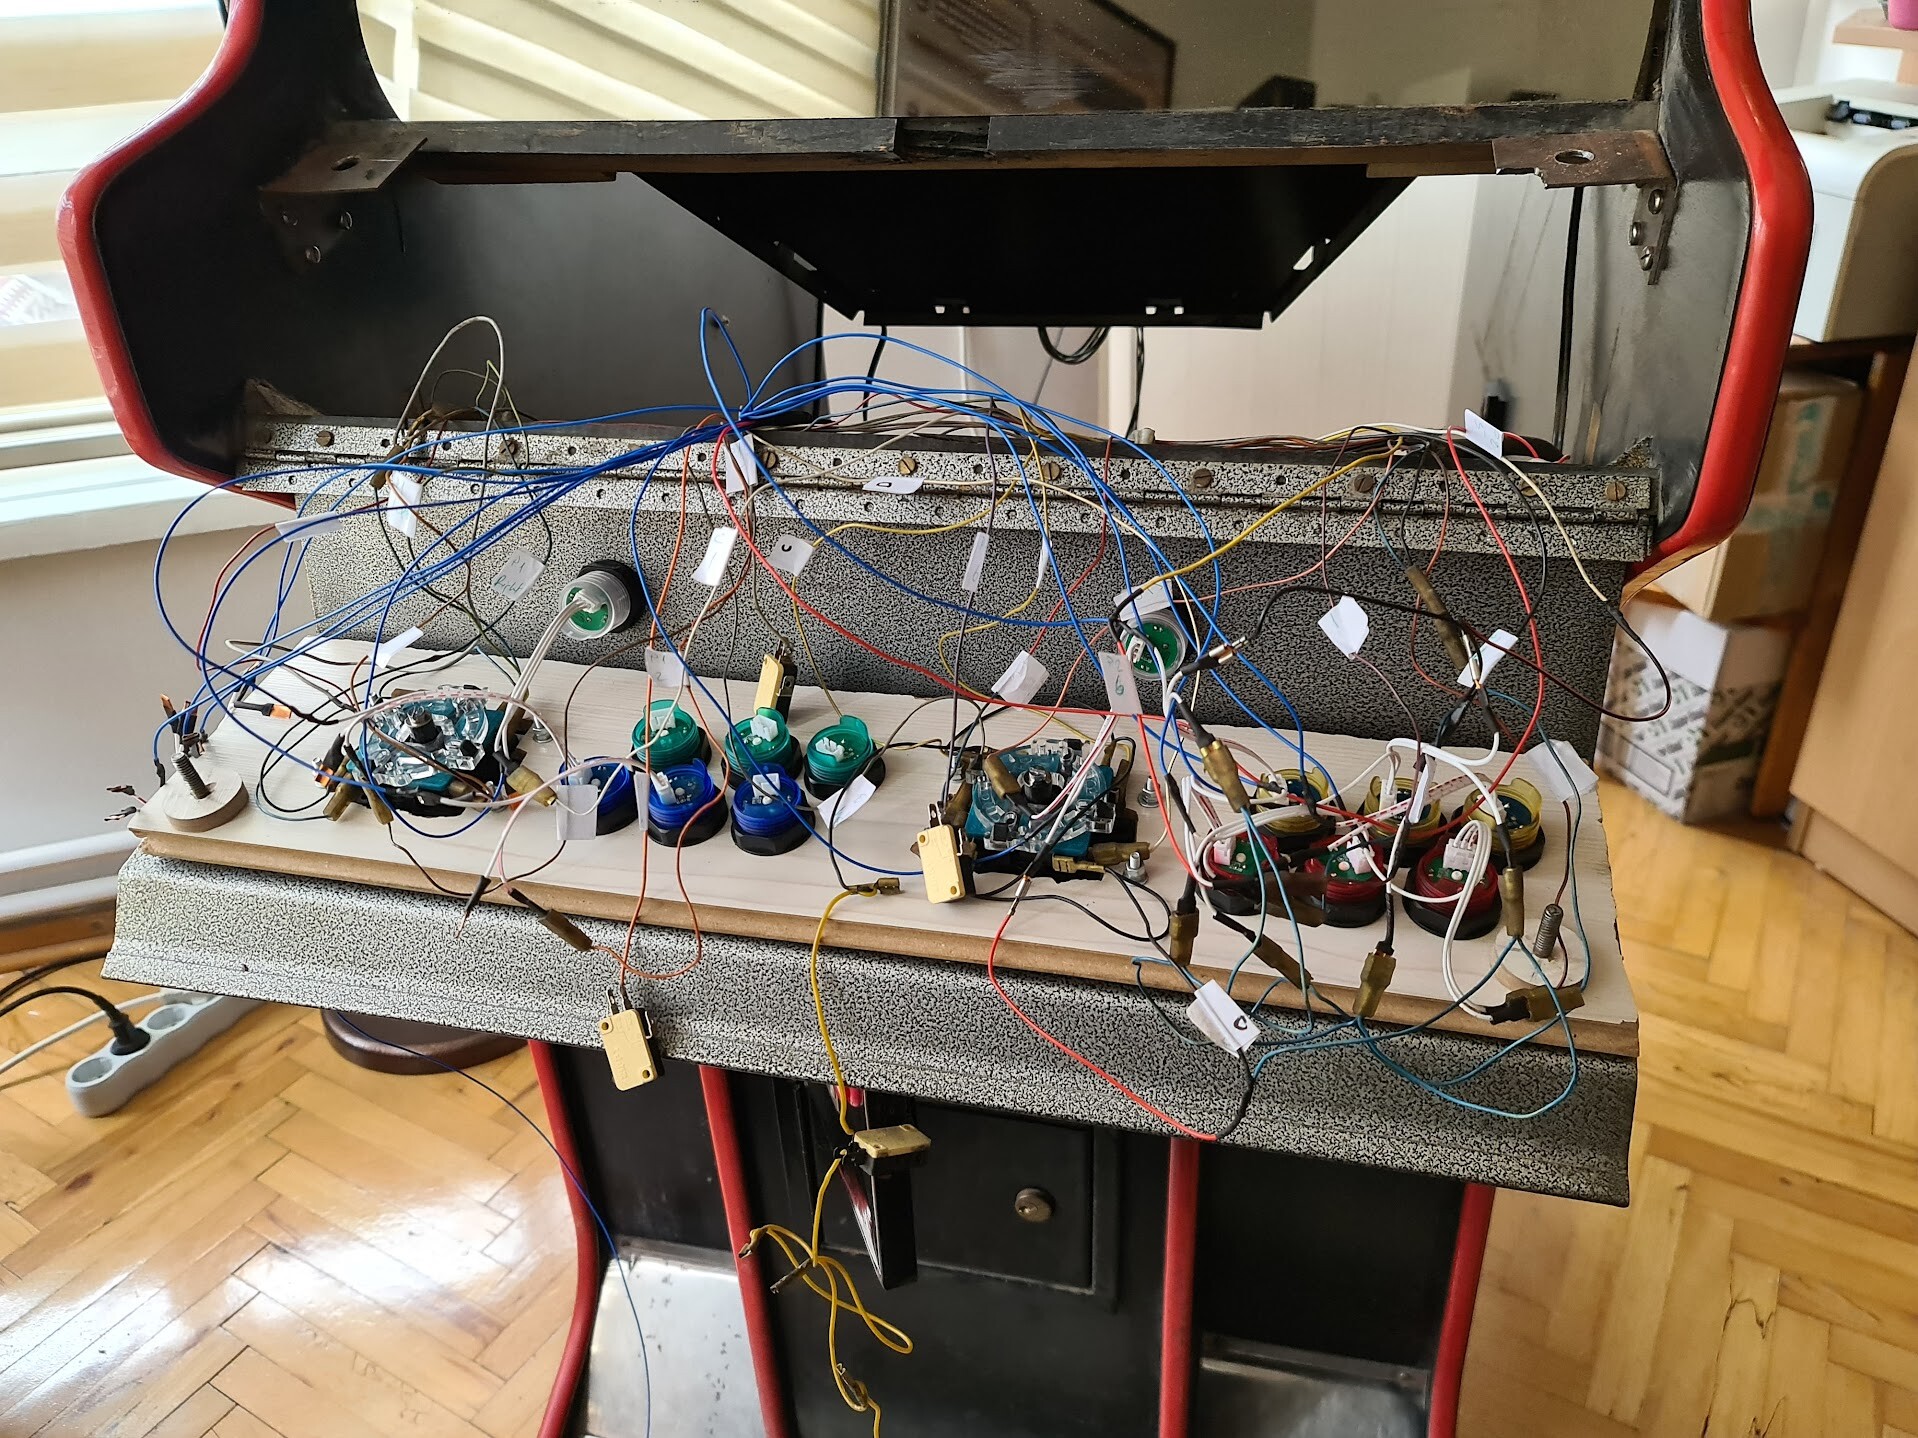
My Arcade Machine was dirty as hell. This was how it looked:
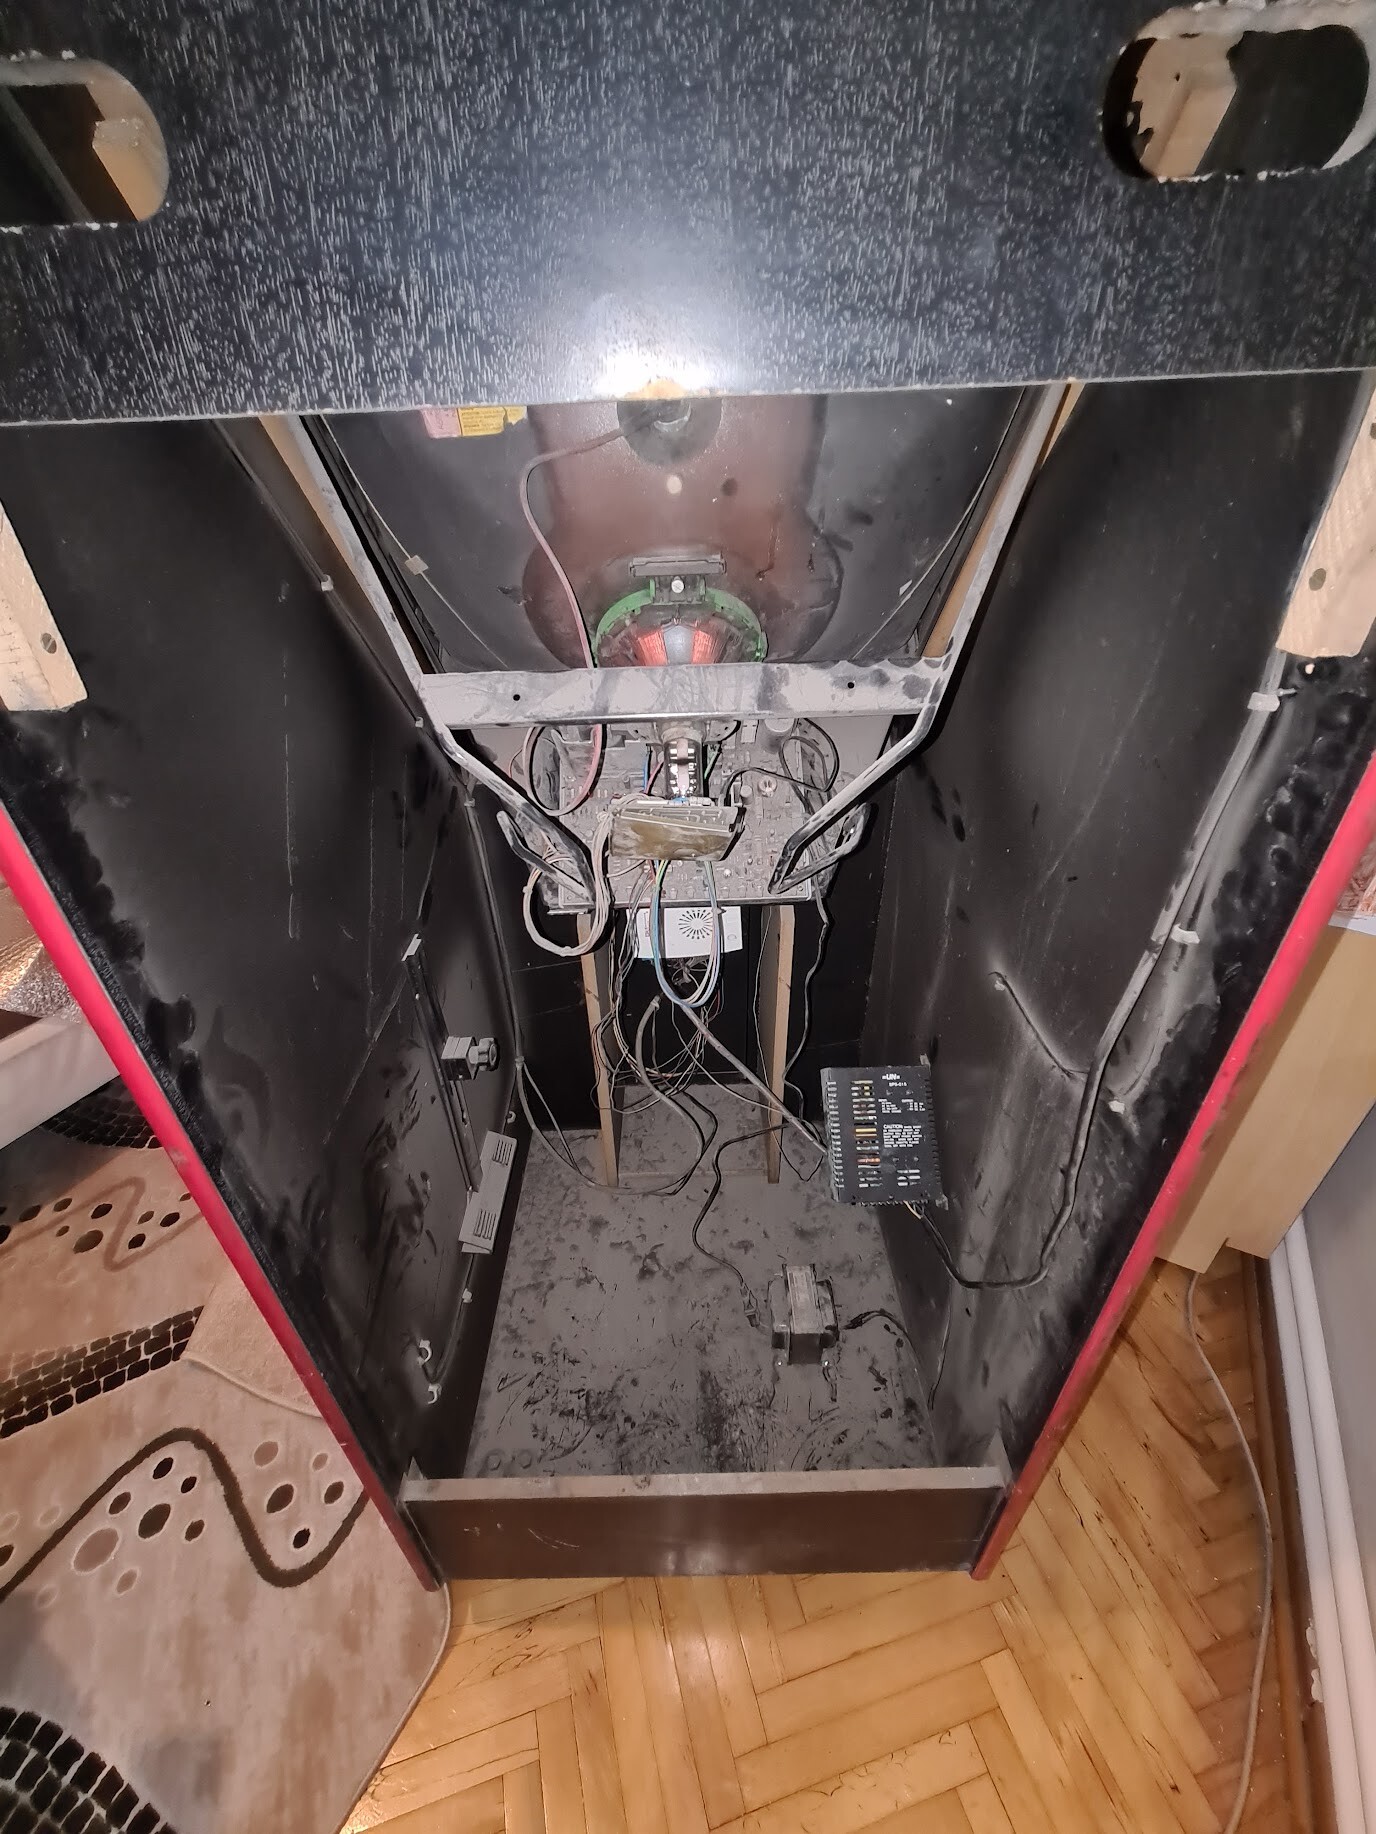
I cleaned it up of course. Except the monitor circuit, because there are tens of thousands of voltages stored on the back of the CRT monitors, without discharging it's pretty lethal to touch any contacts by accident. Let's say I left the dust as a protection layer for the circuit :)
1. Coin system / Disabling Freeplay
My arcade machine was set to "freeplay mode" which means you don't need to insert coins. But freeplay mode on Pandora Boxes prevents demos of the games. What I mean is when you select a game from the menu, it loads the game as a coin is already inserted. So you see the started game, that way you can't watch the game's demo, story, or the loop that you're familiar by watching them in the Arcade Galleries when you're out of money :D
Free play mode should be terminated but that means I needed to find a way to insert coins.
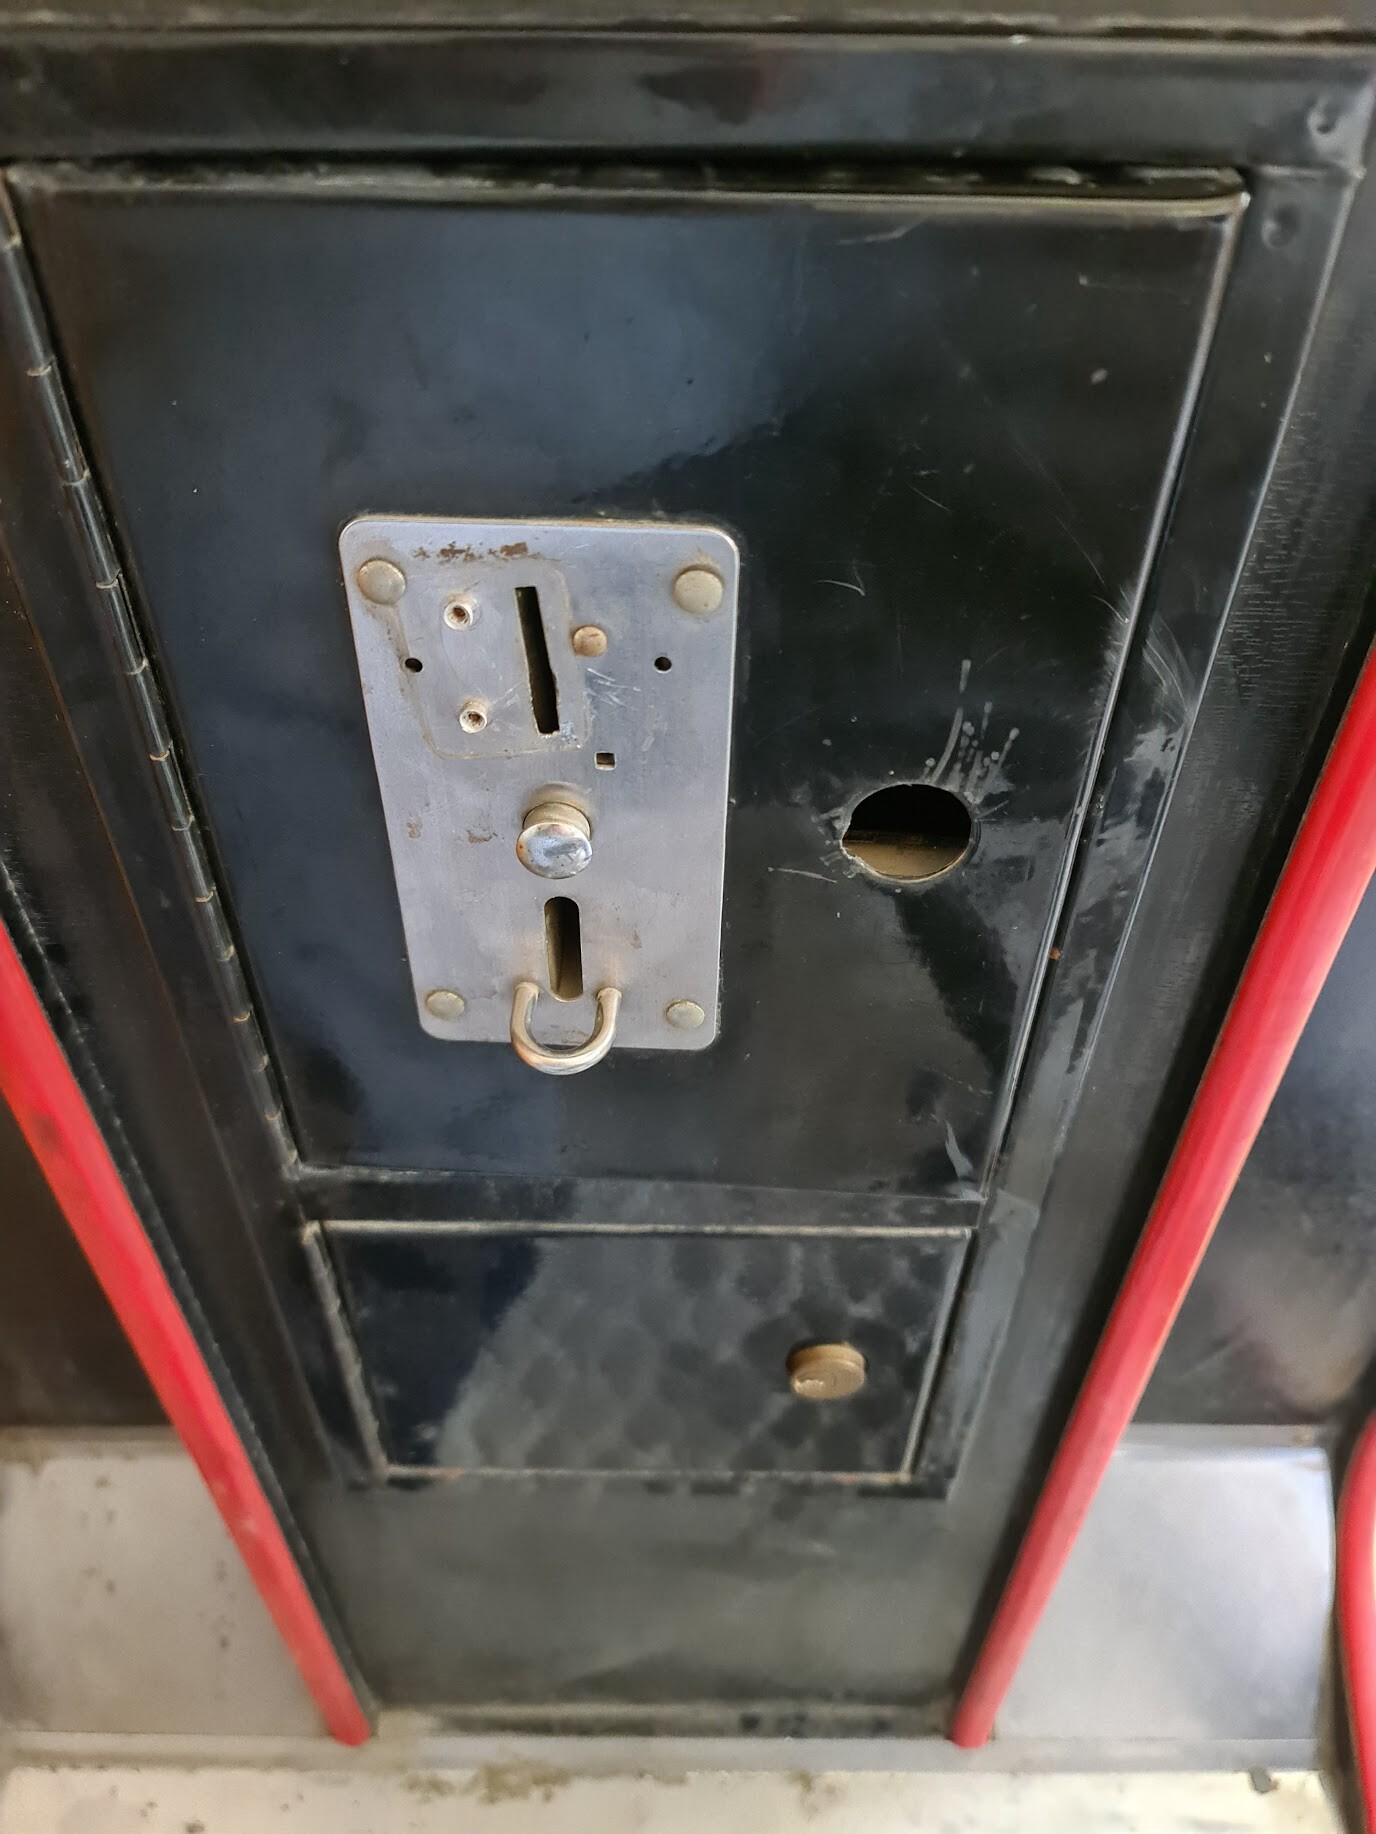
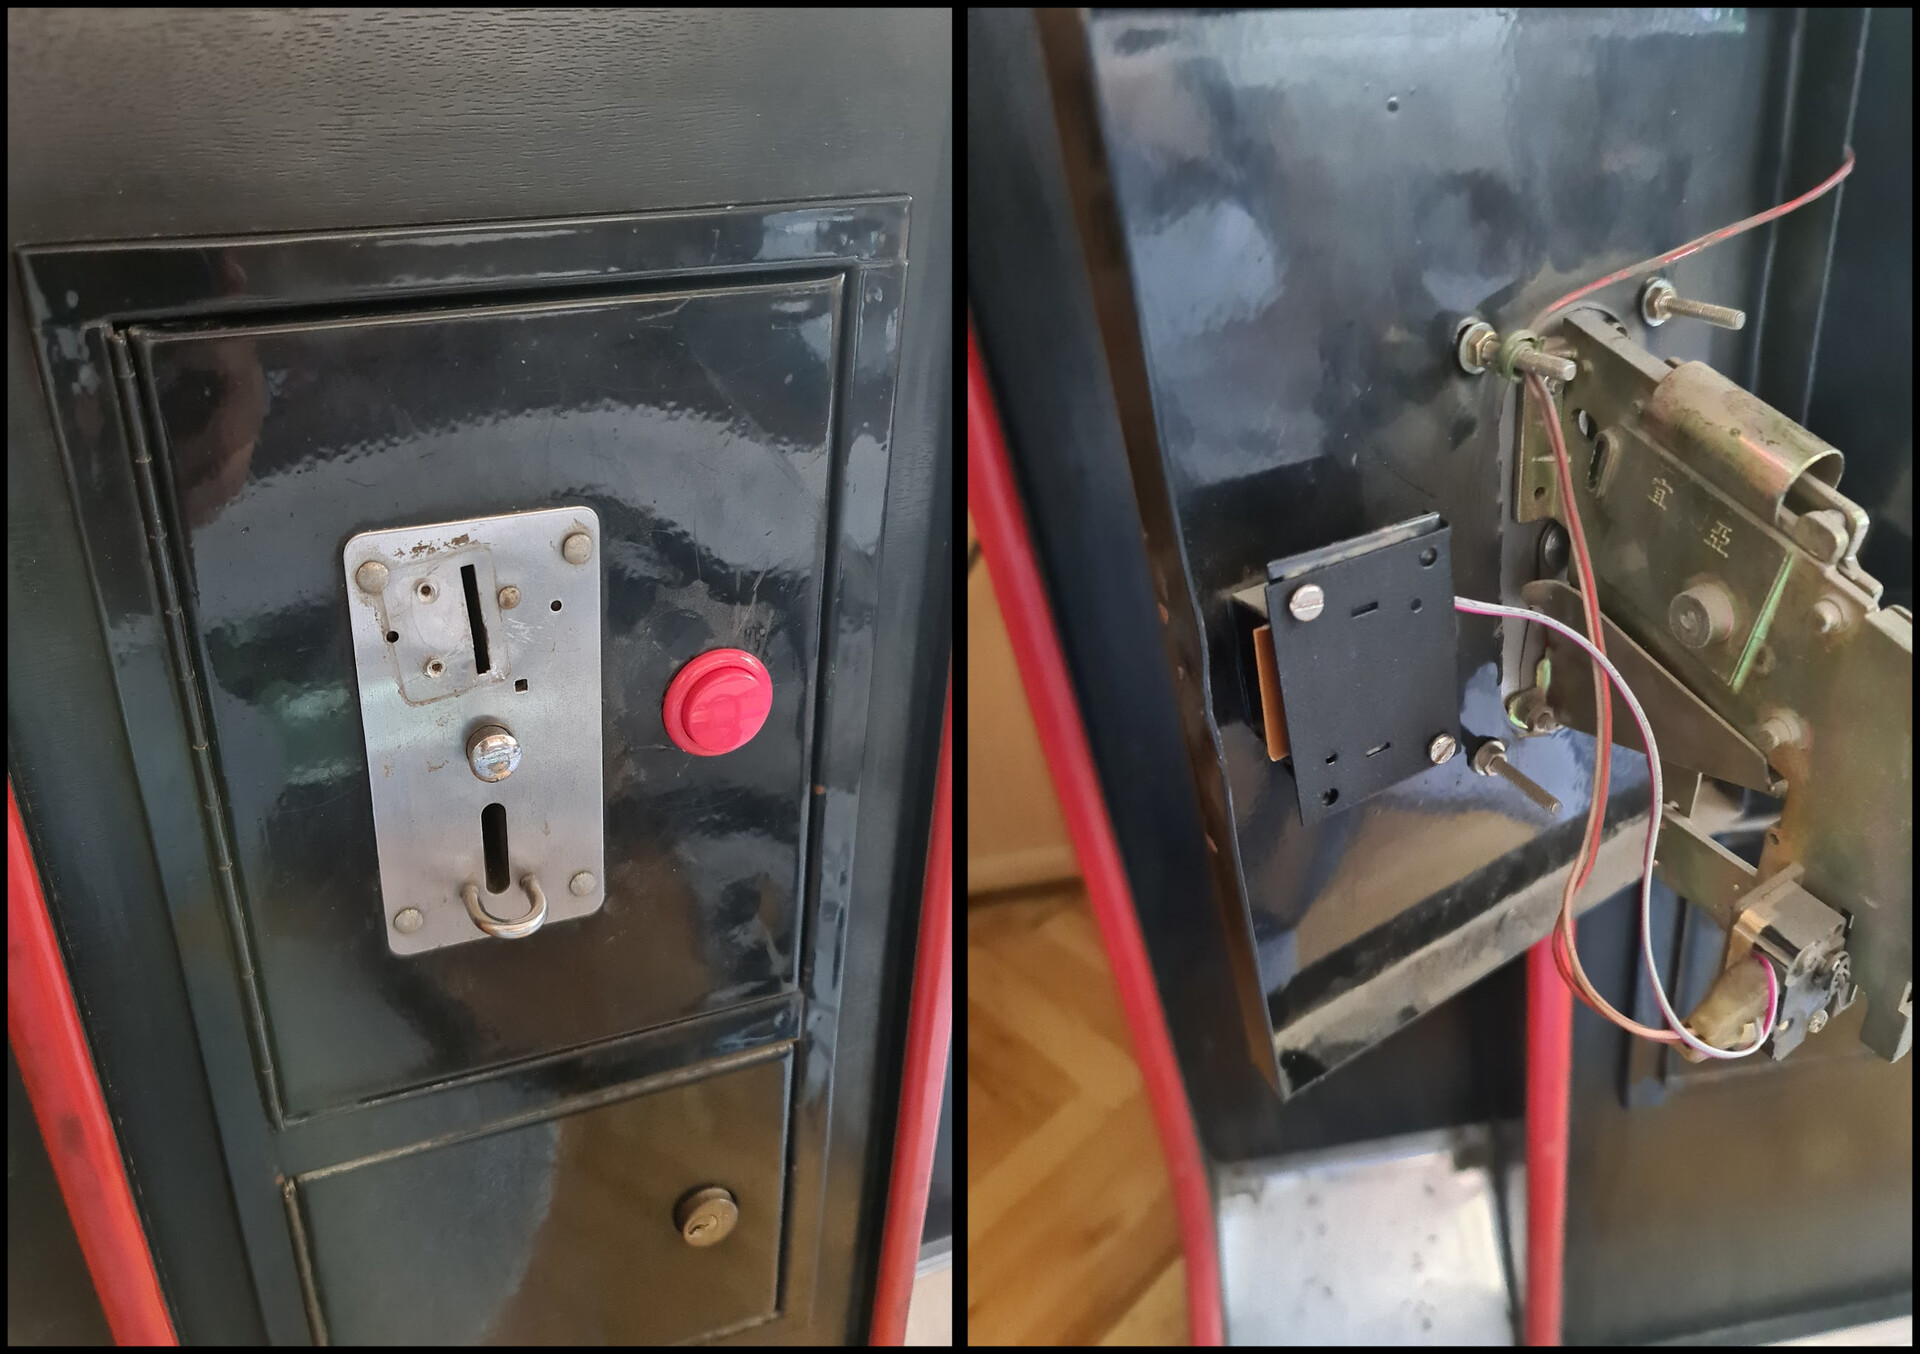
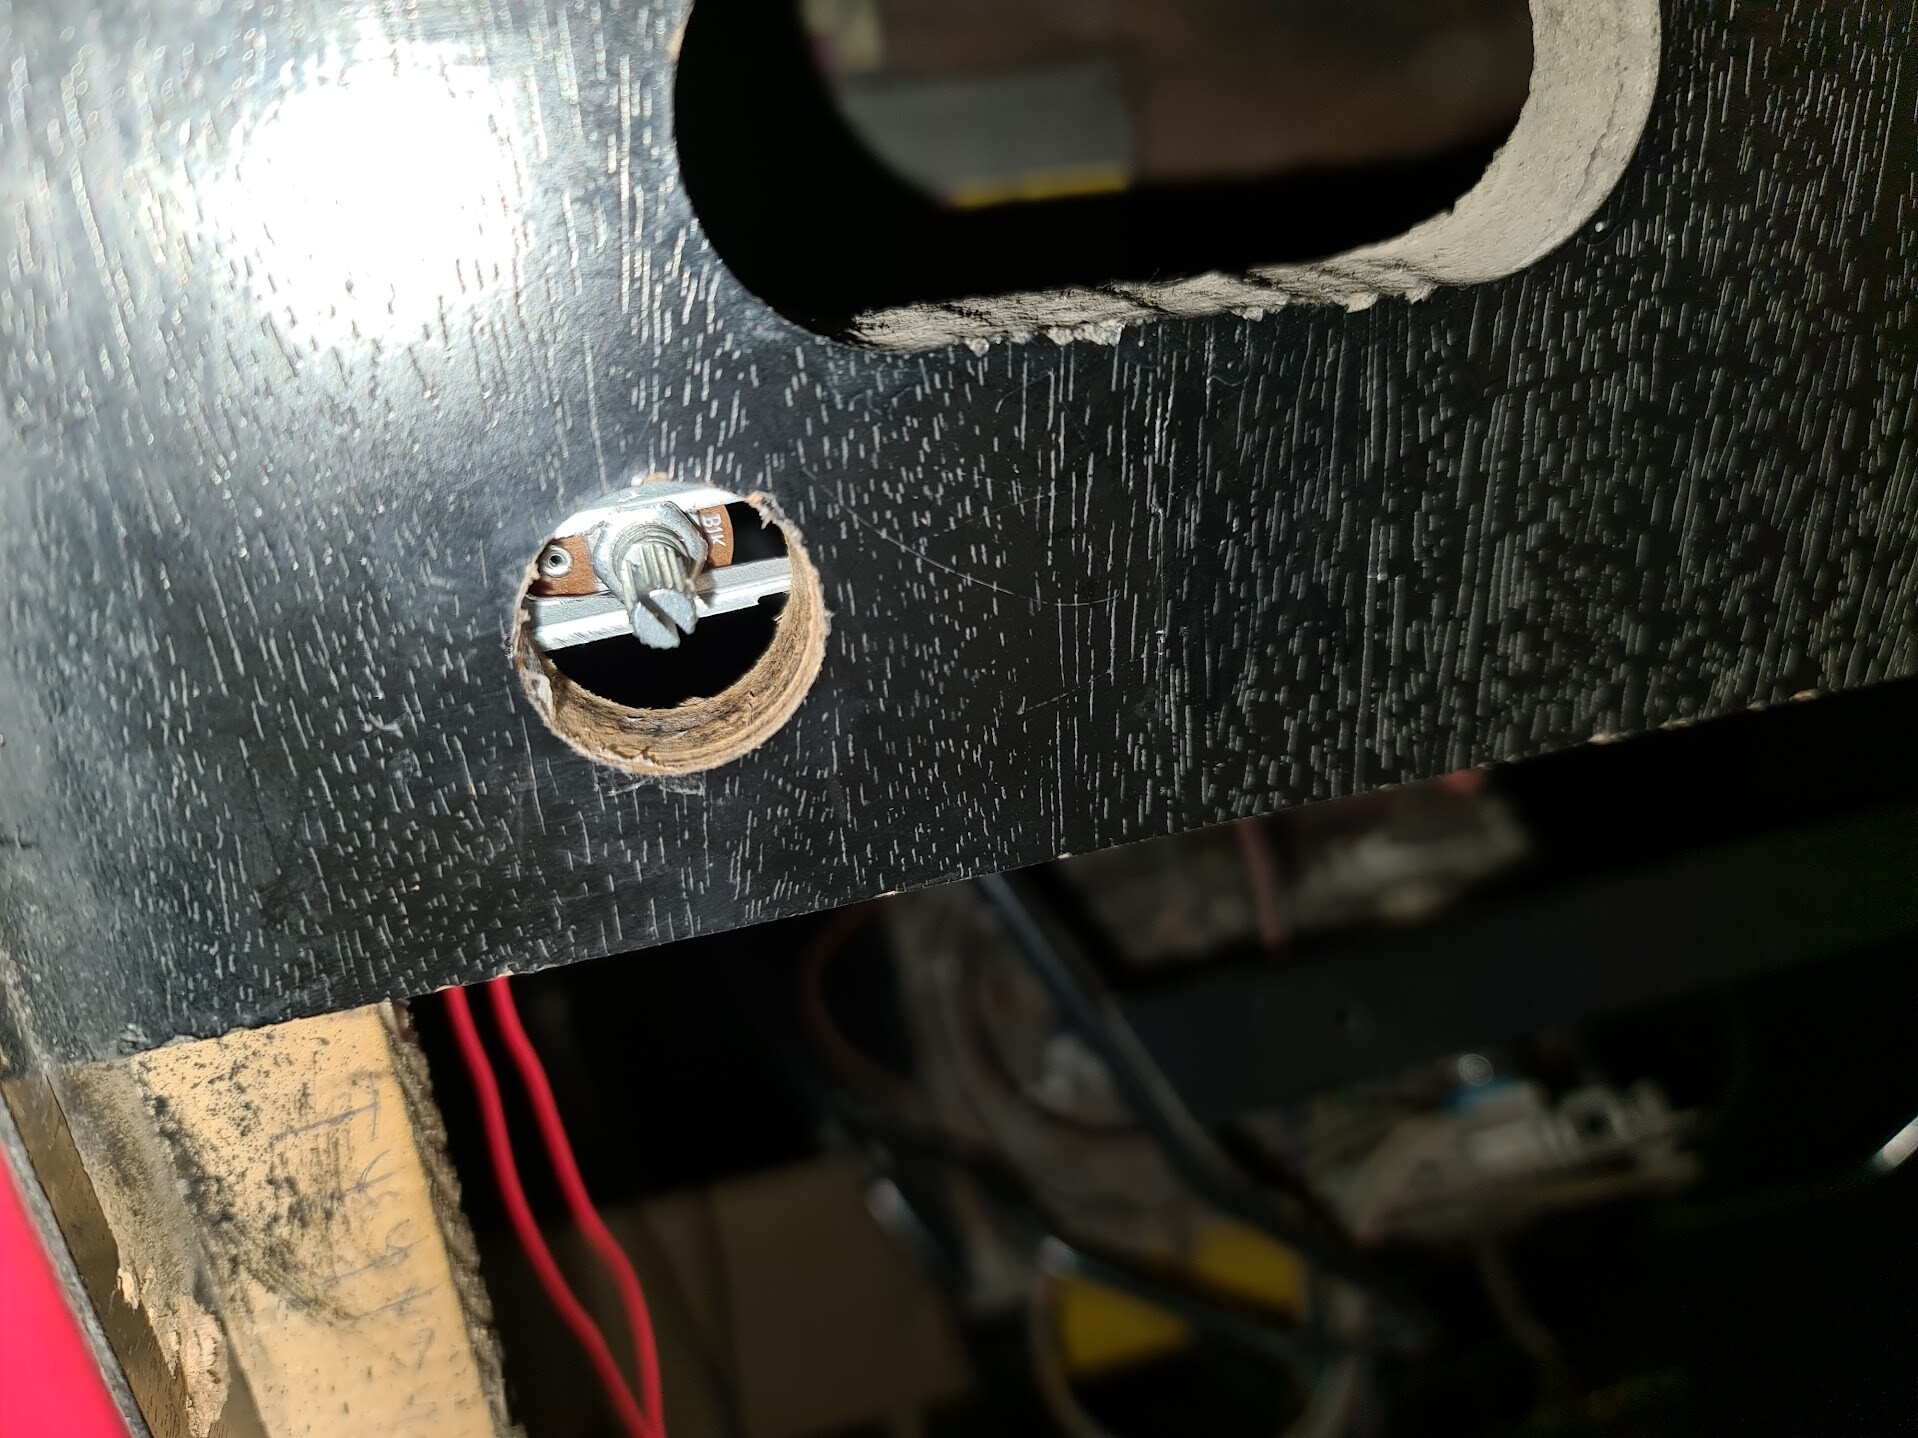
This is the harch door of the coin mechanism. I removed the lock from it so I was going to add a button to that hole.
I had a spare circuit with buttons, so I cut the conductive parts for the buttons of that PCB to use on the back of the hole.
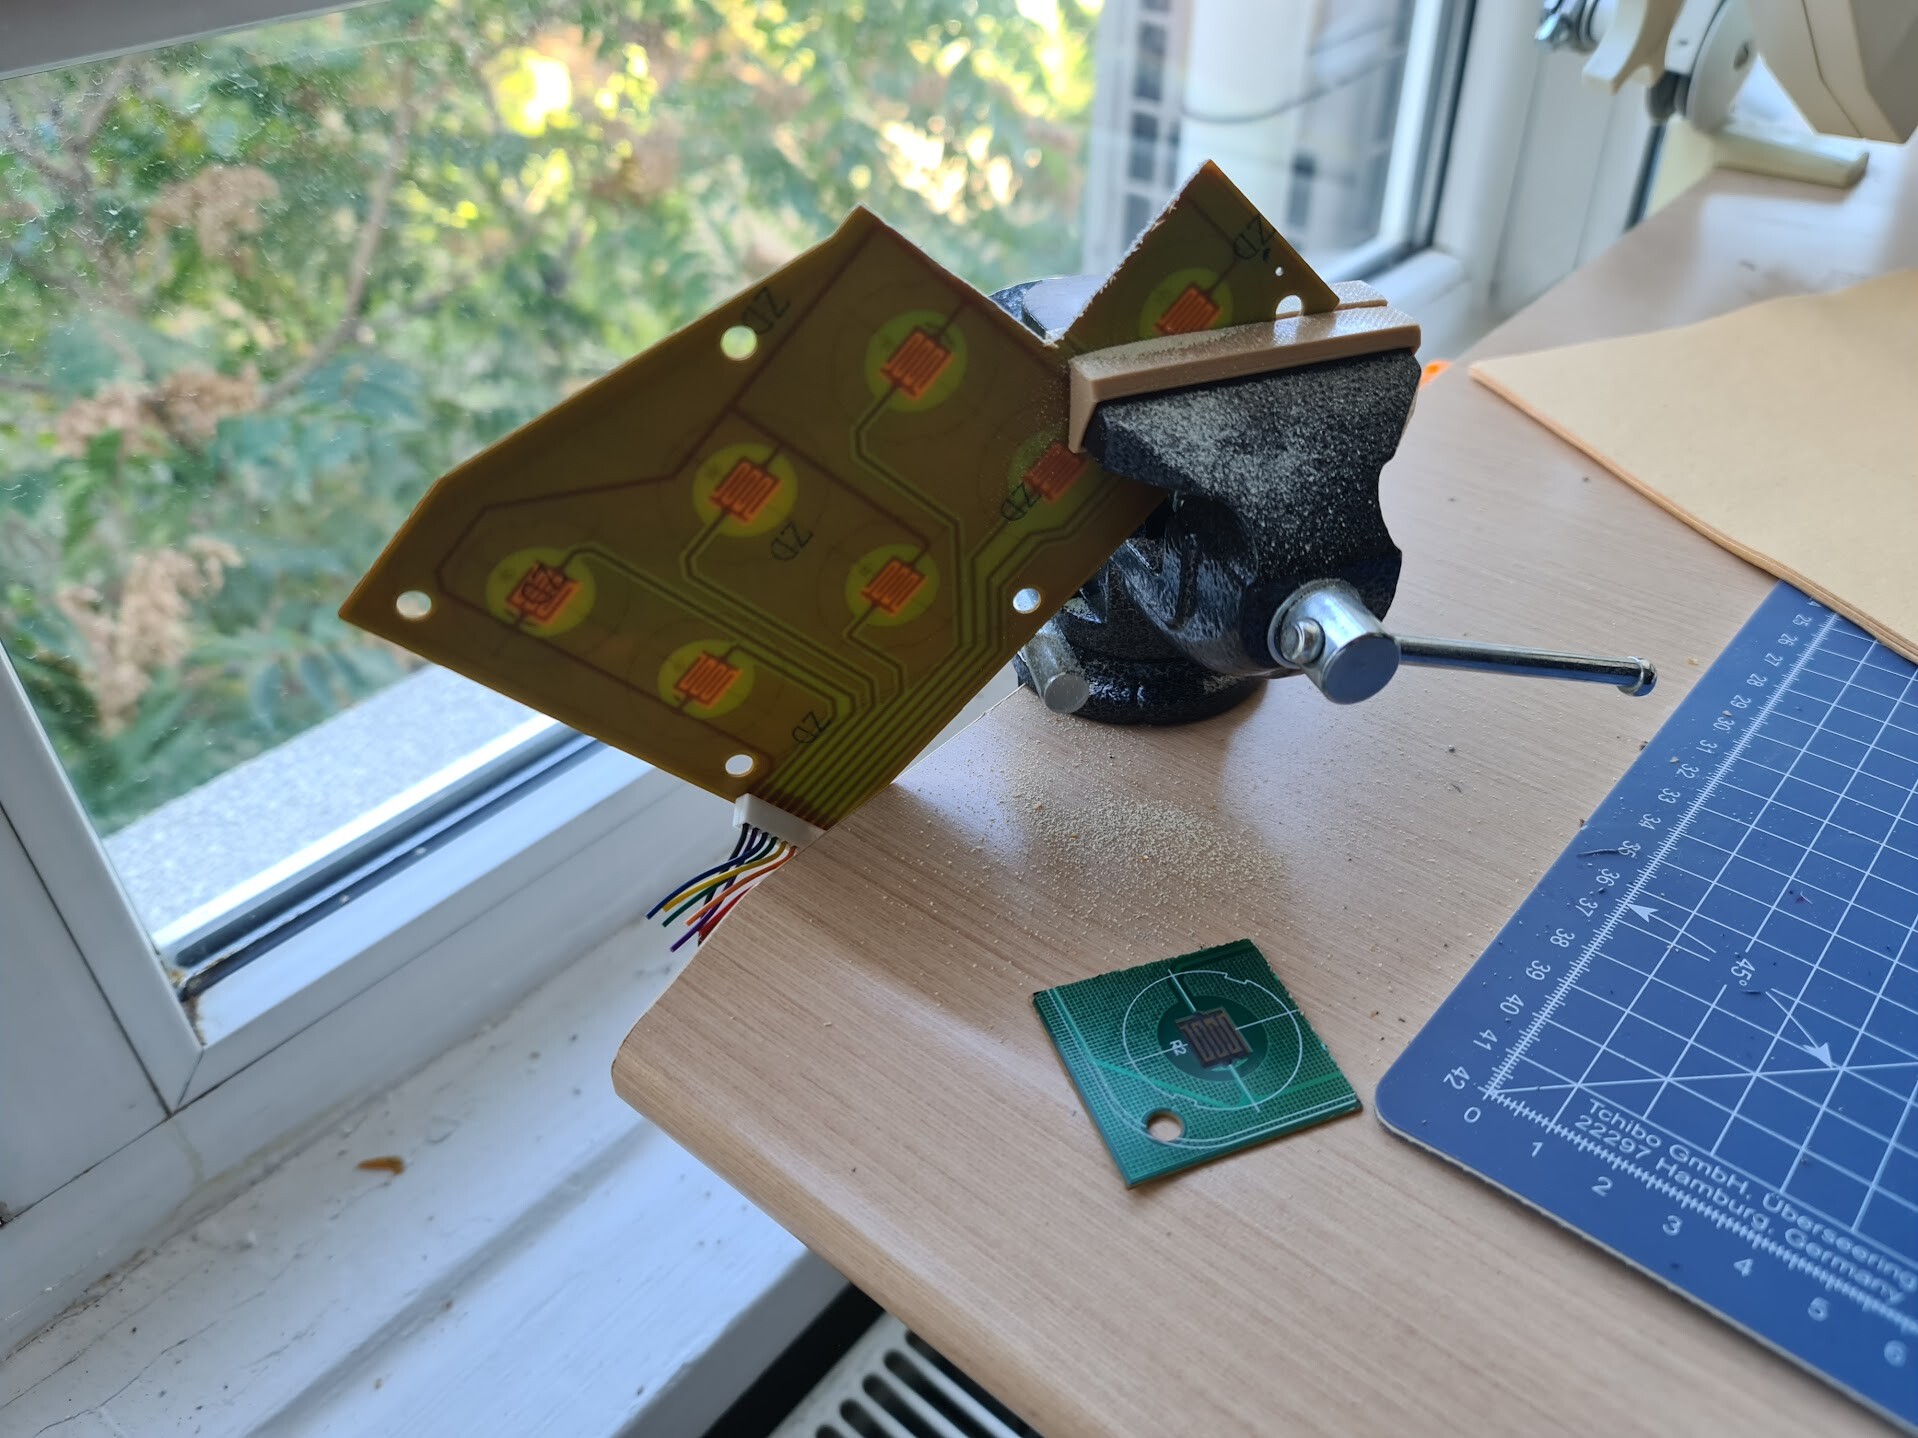
I scratched the soldermask of the PCB, and soldered cables to the contacts.
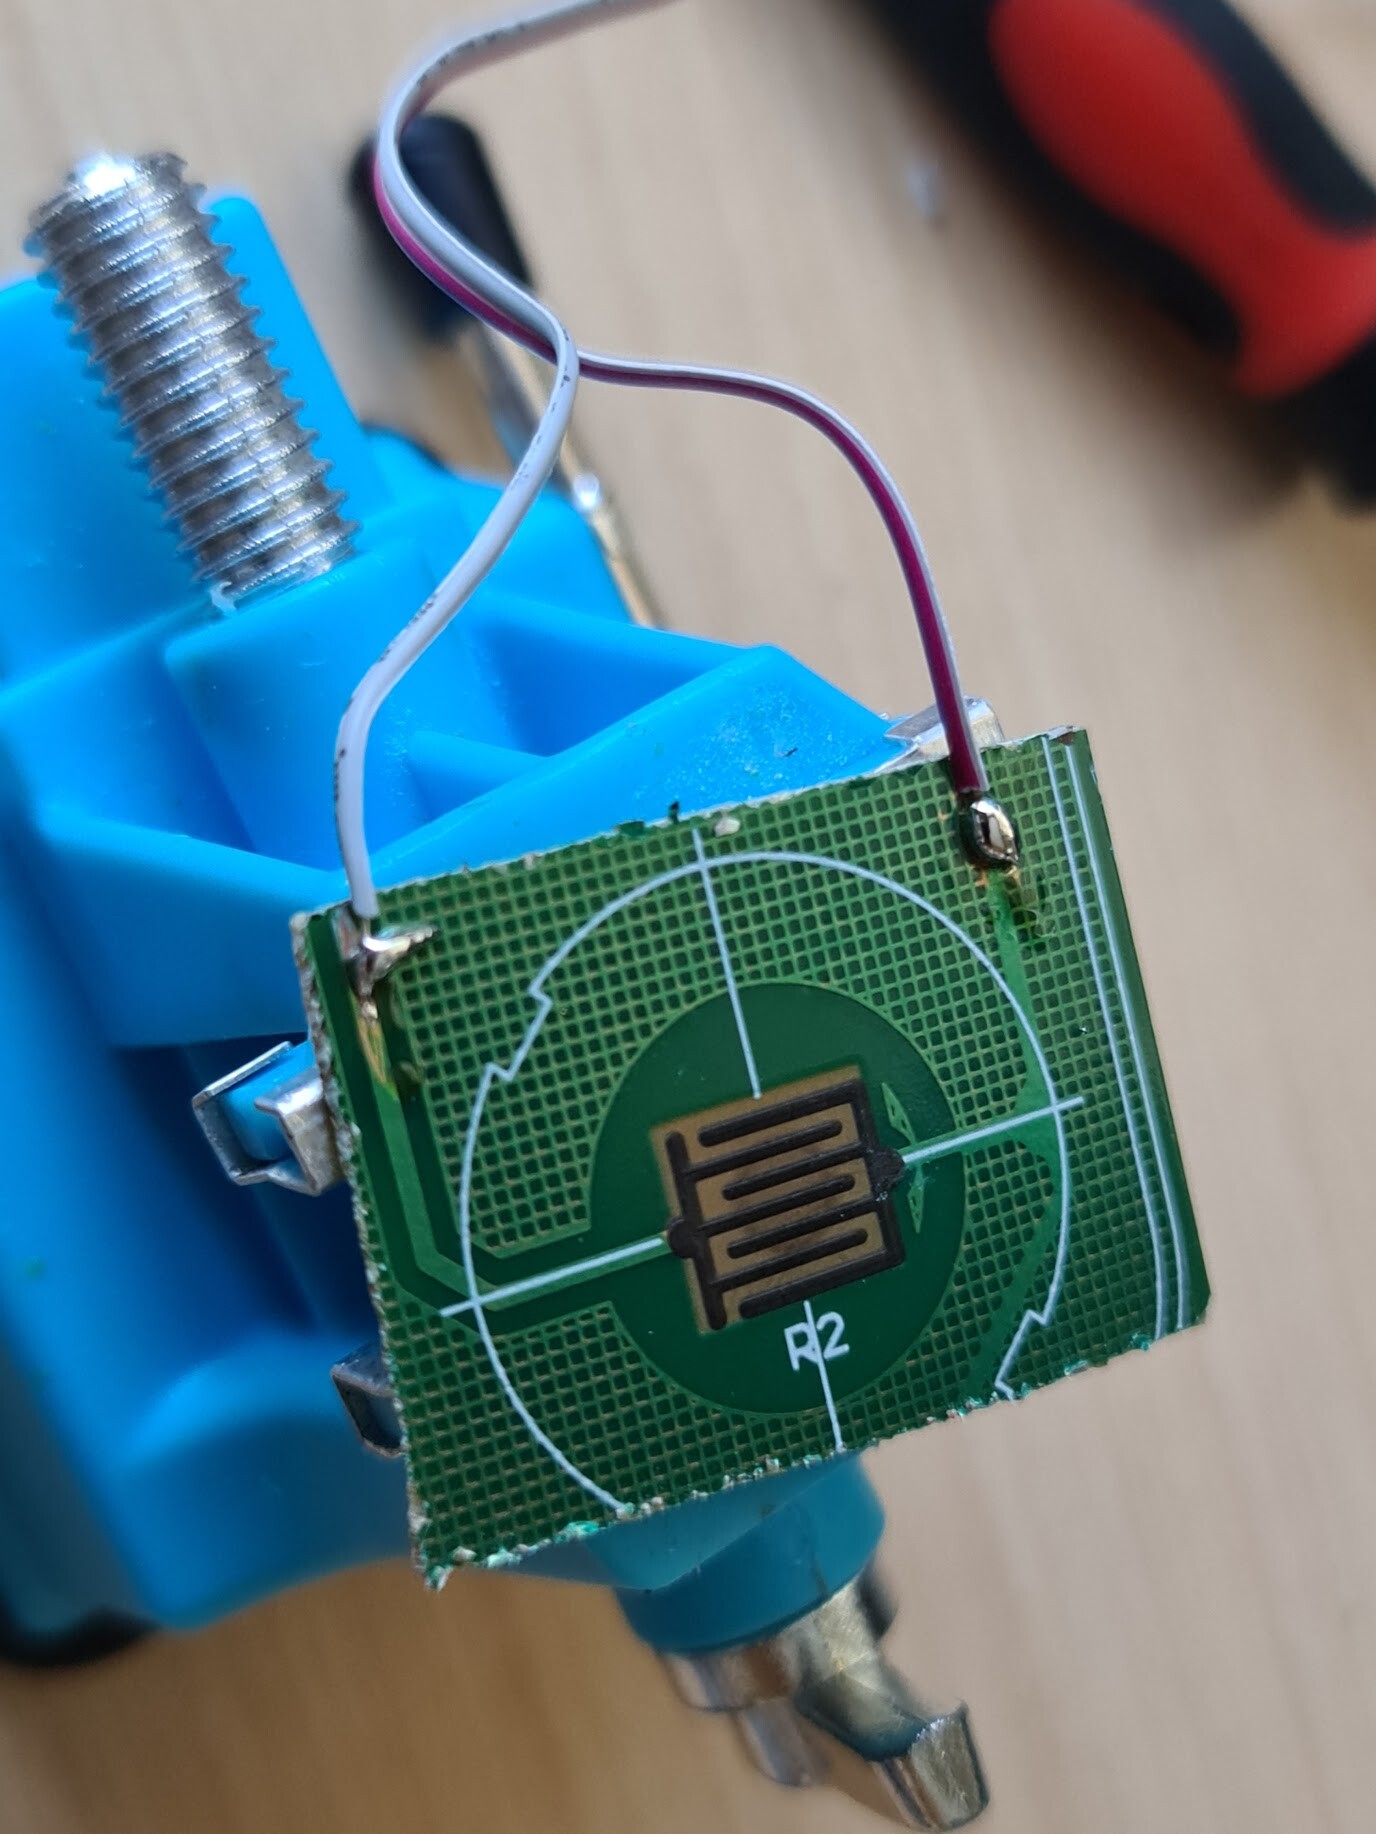
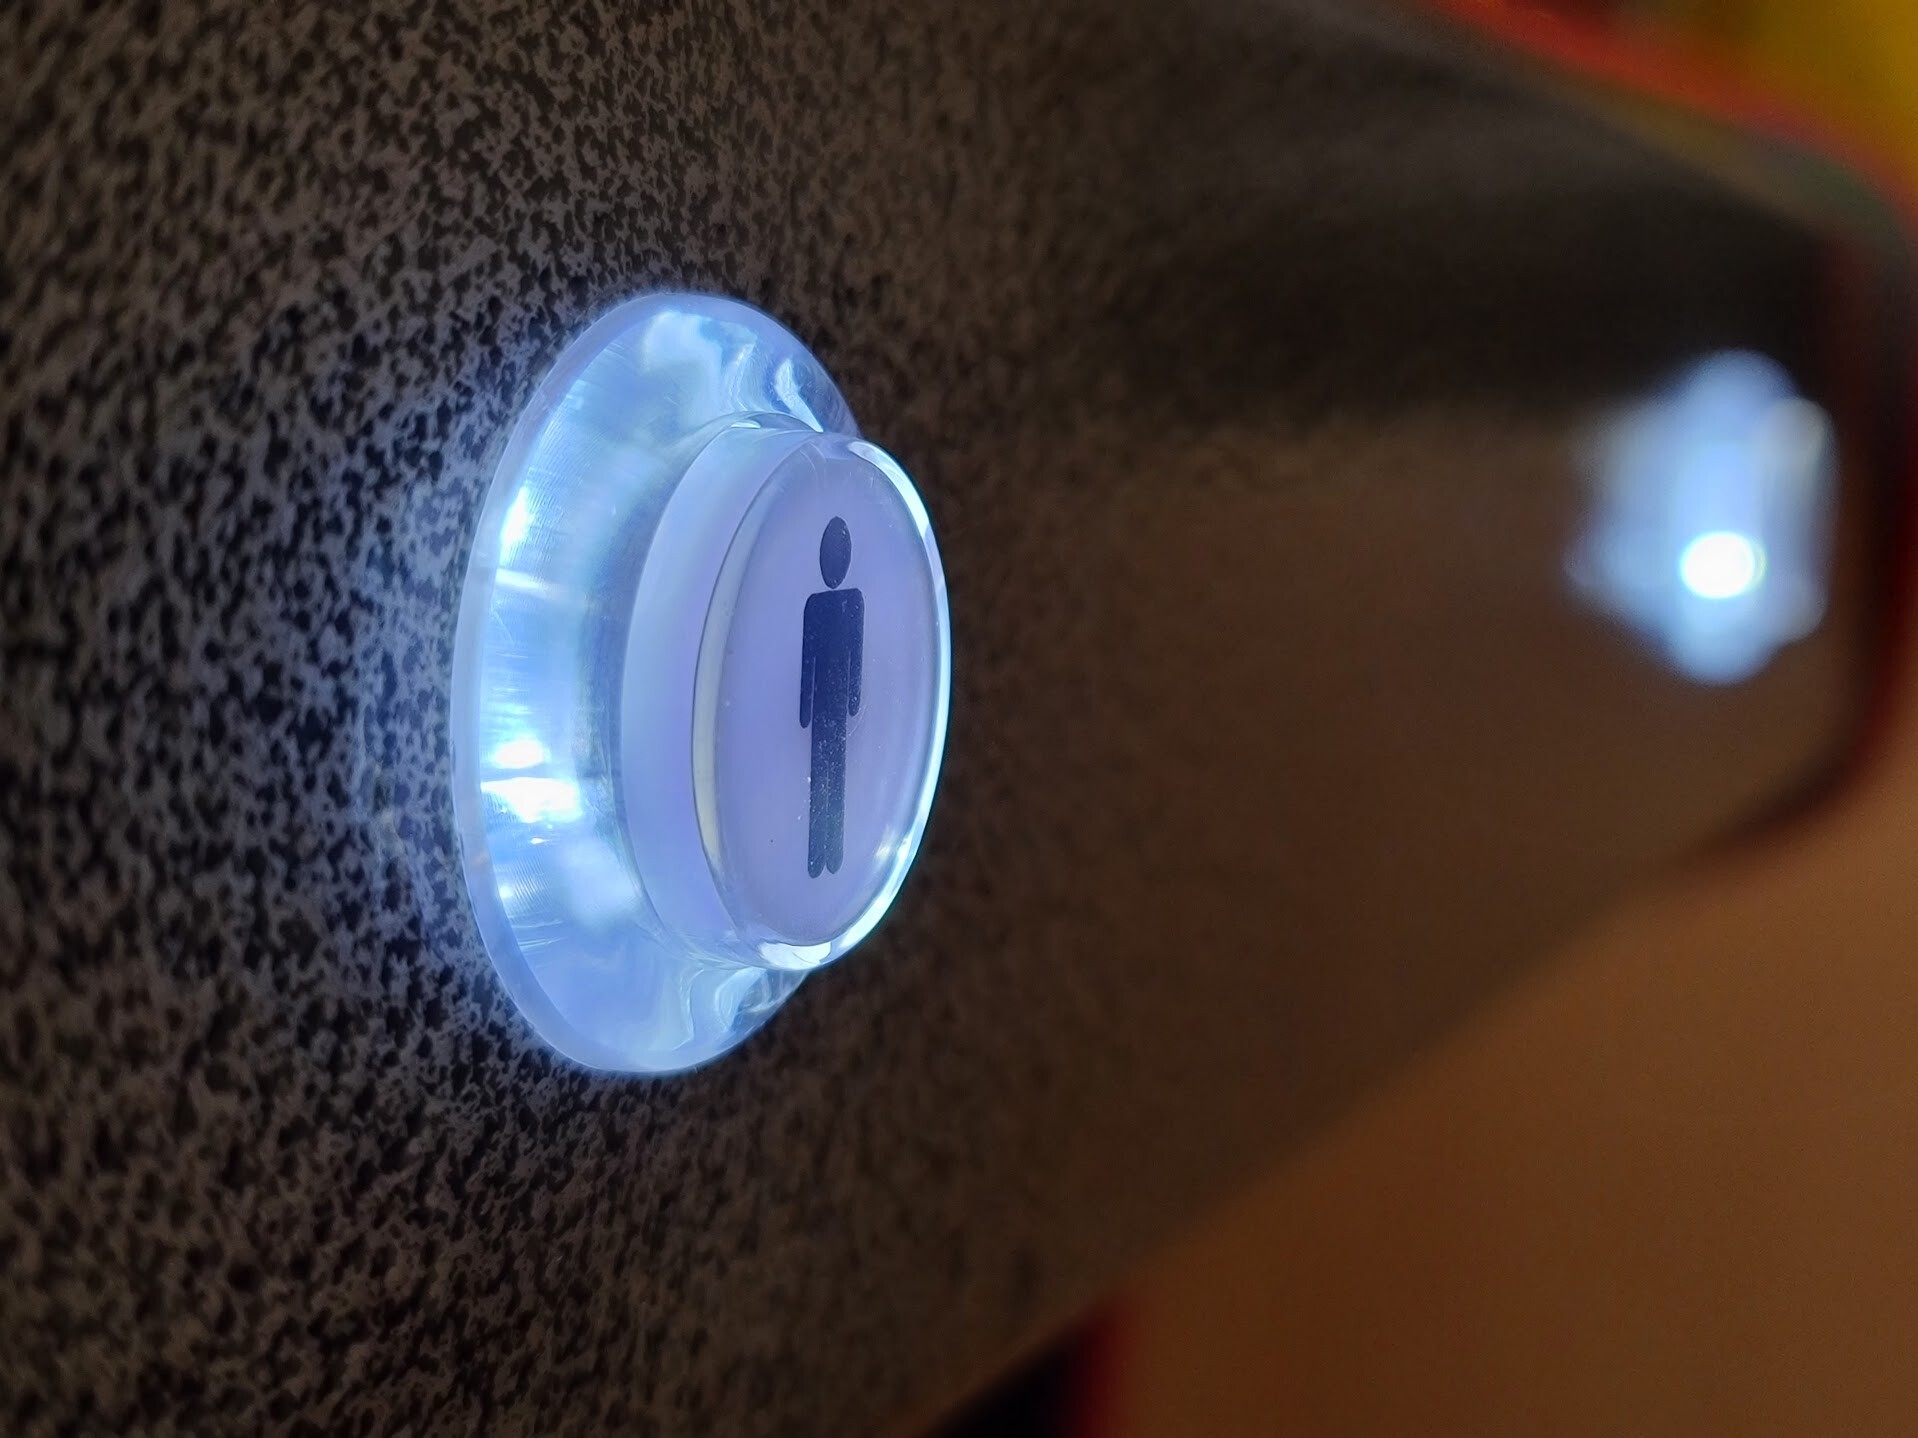
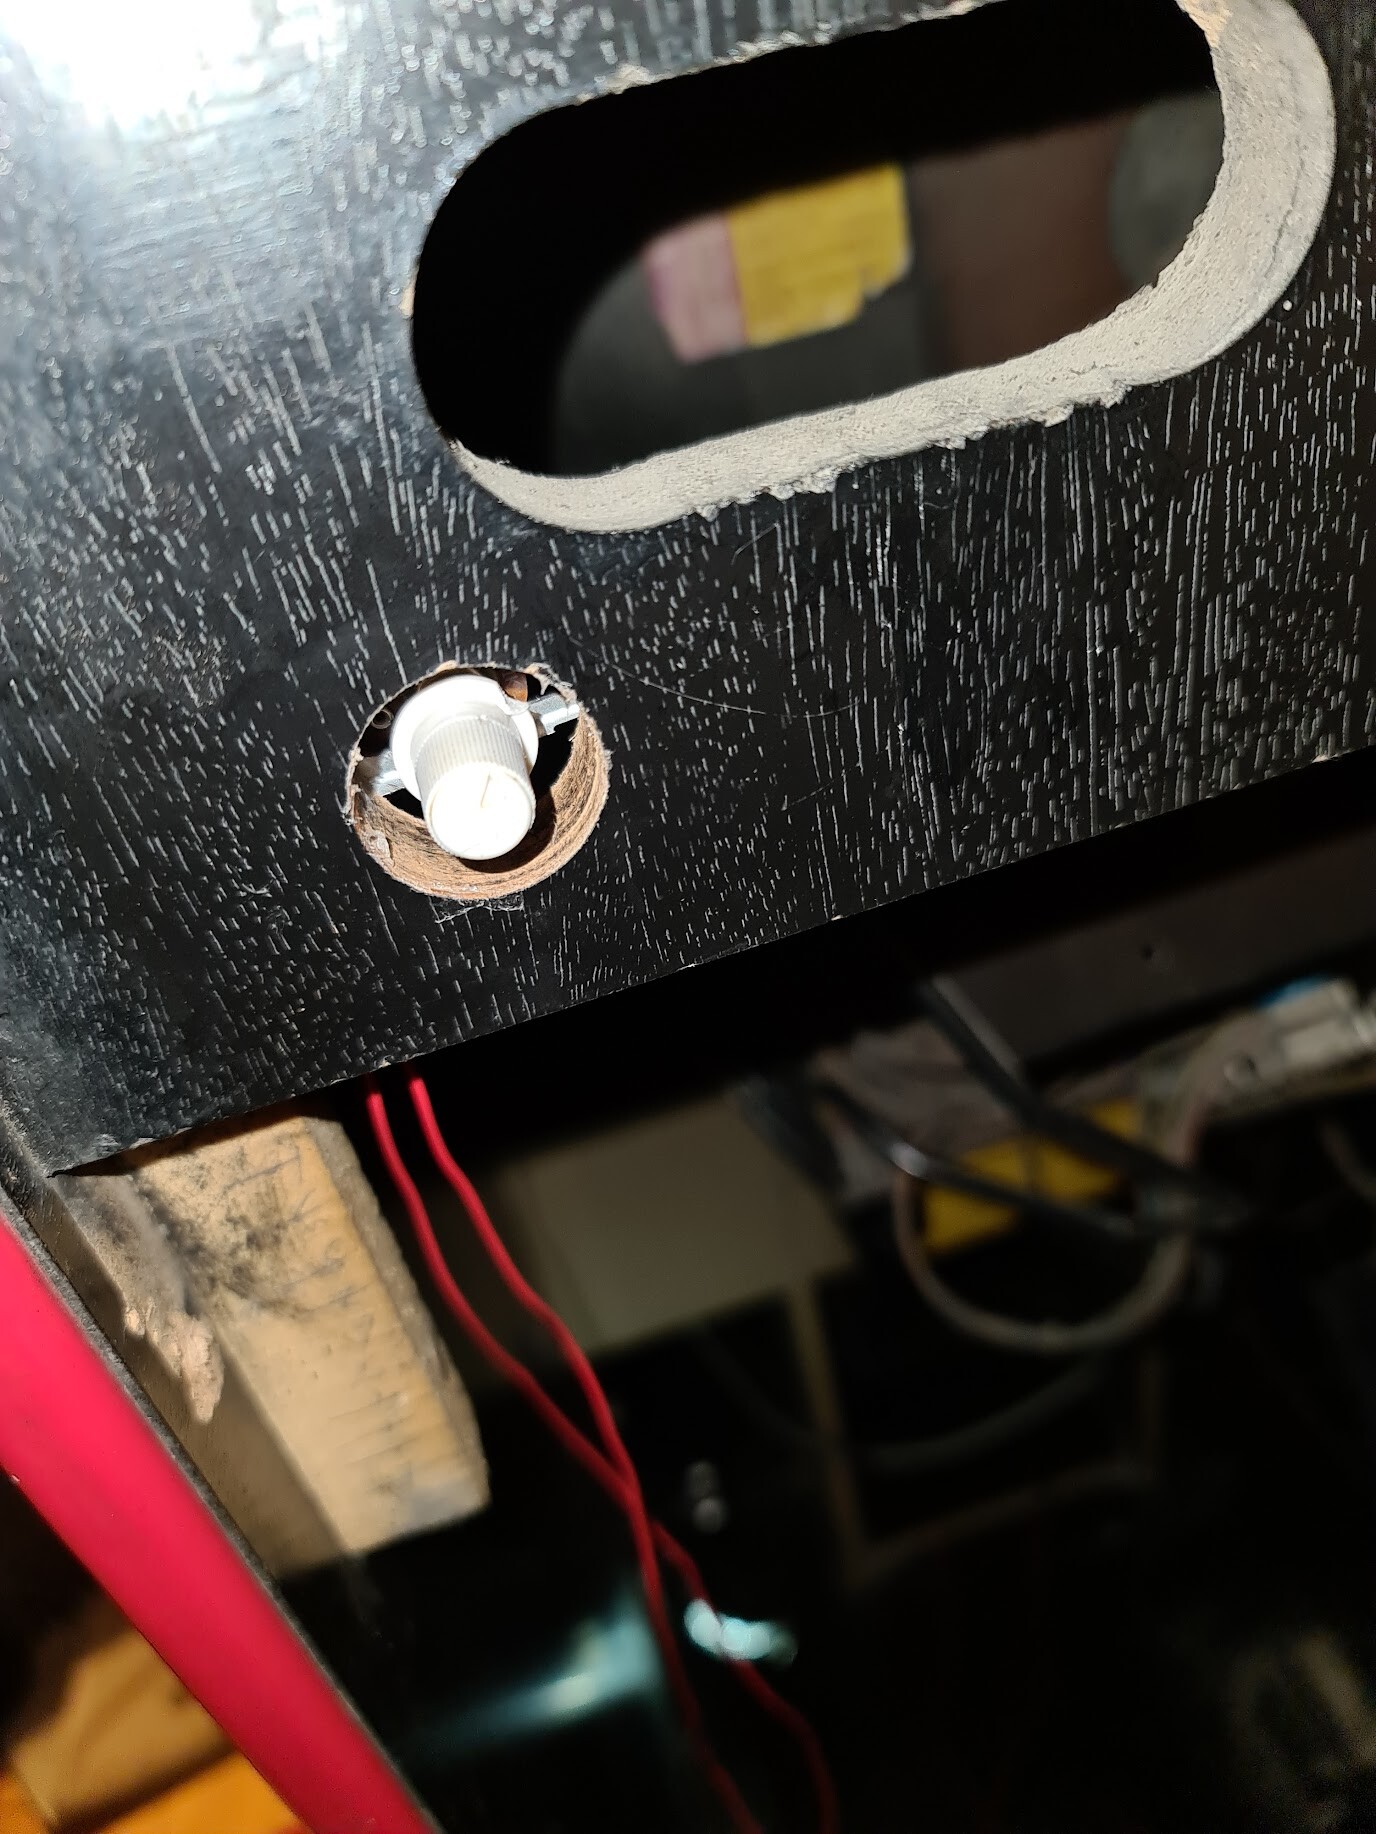
I placed the button that belongs to that spare PCB. There were several colors and my daughter picked this one <3
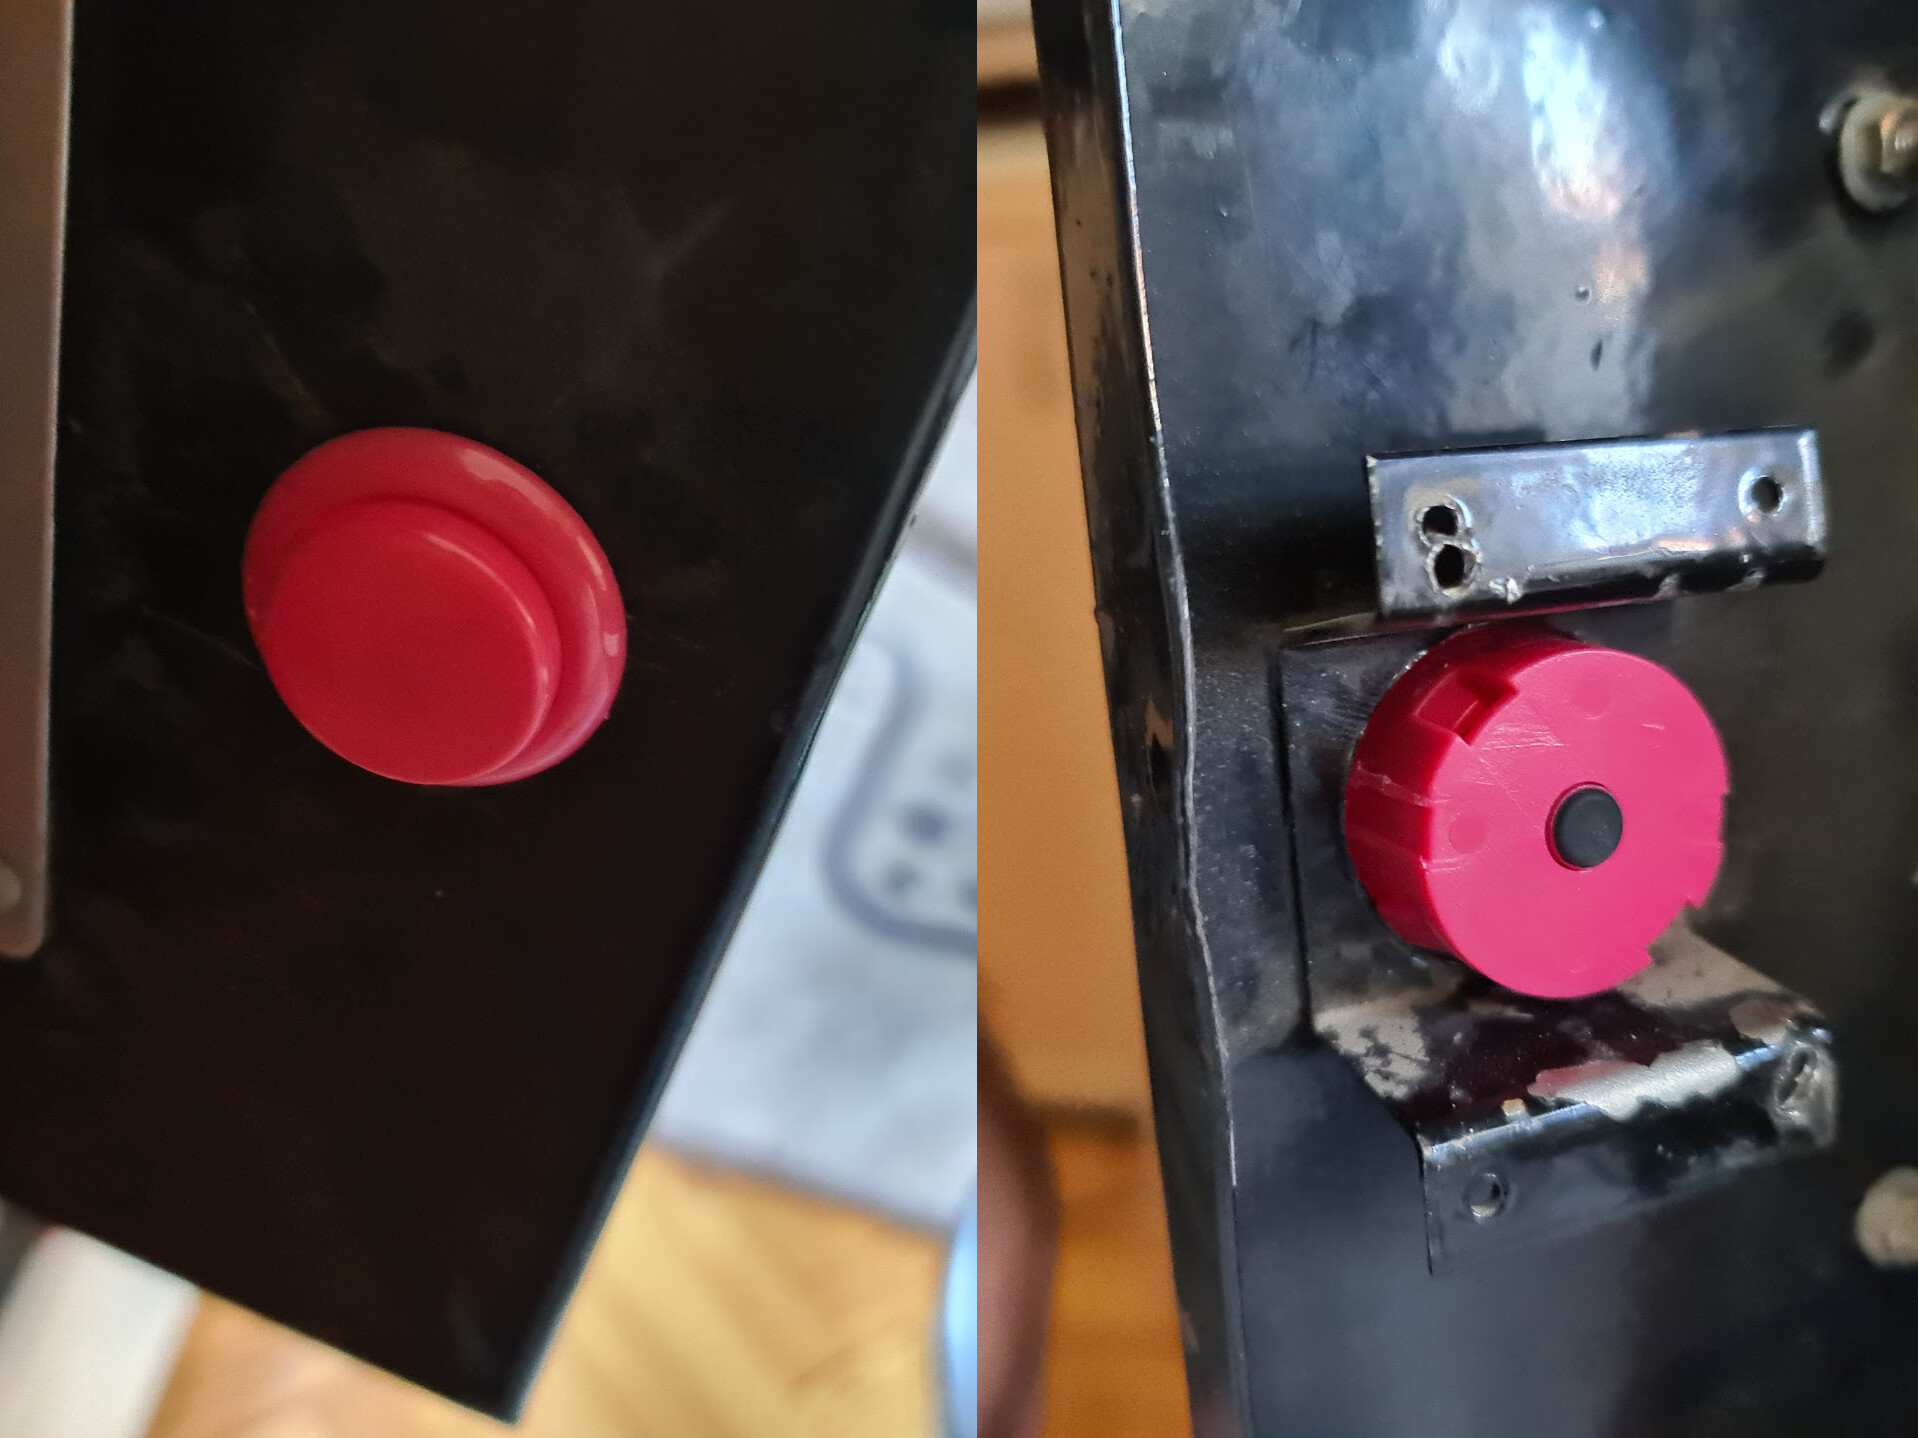
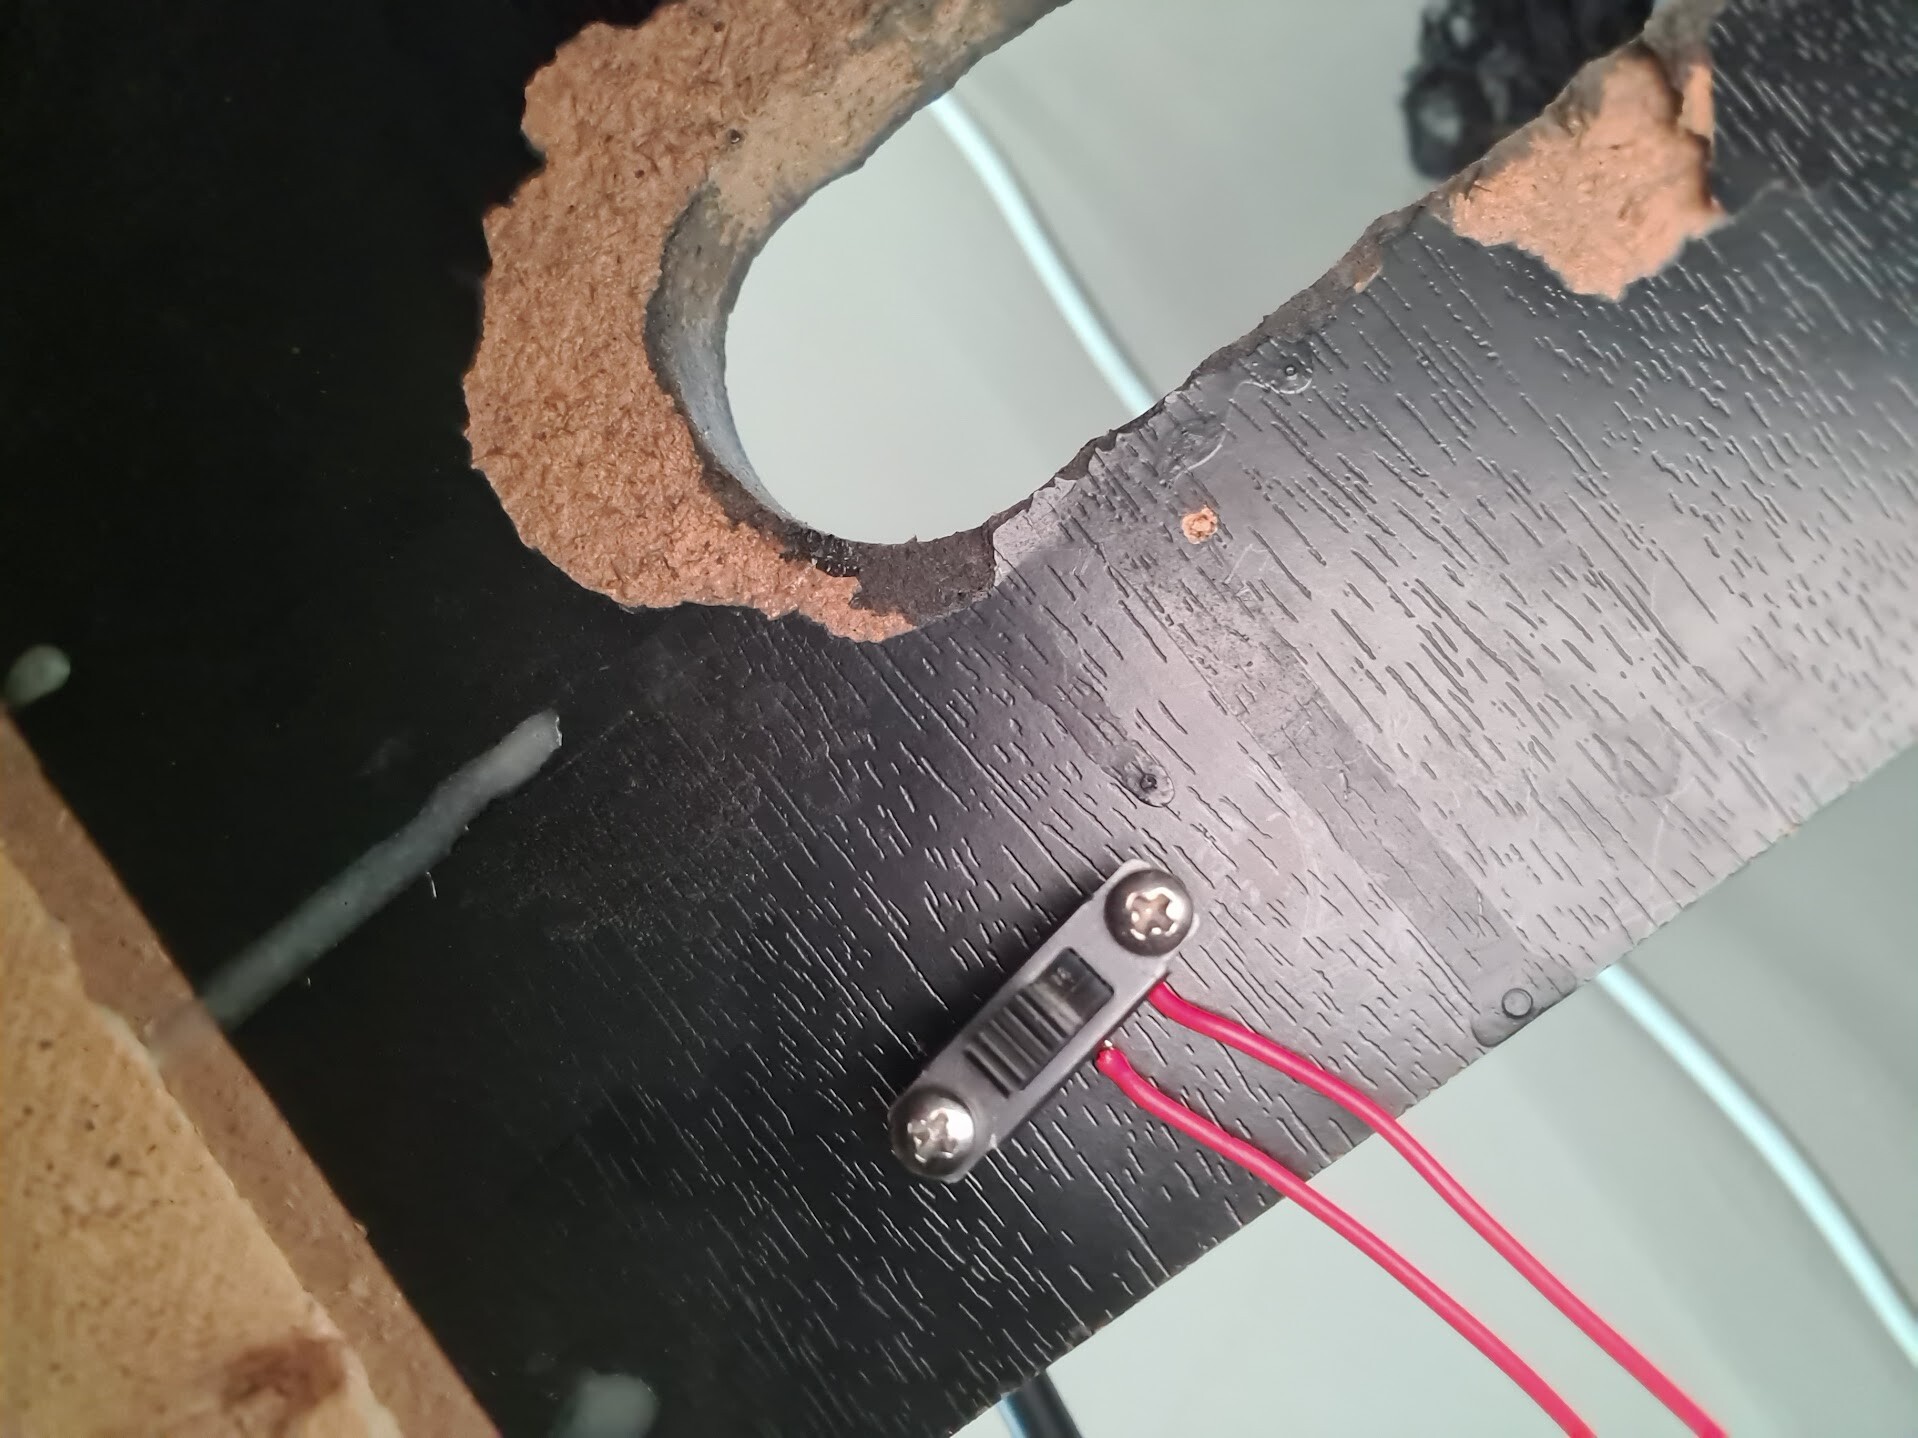
And finally I connected the cables to the switch that operates with the coin mechanism. This way coin system was remained functional as well.
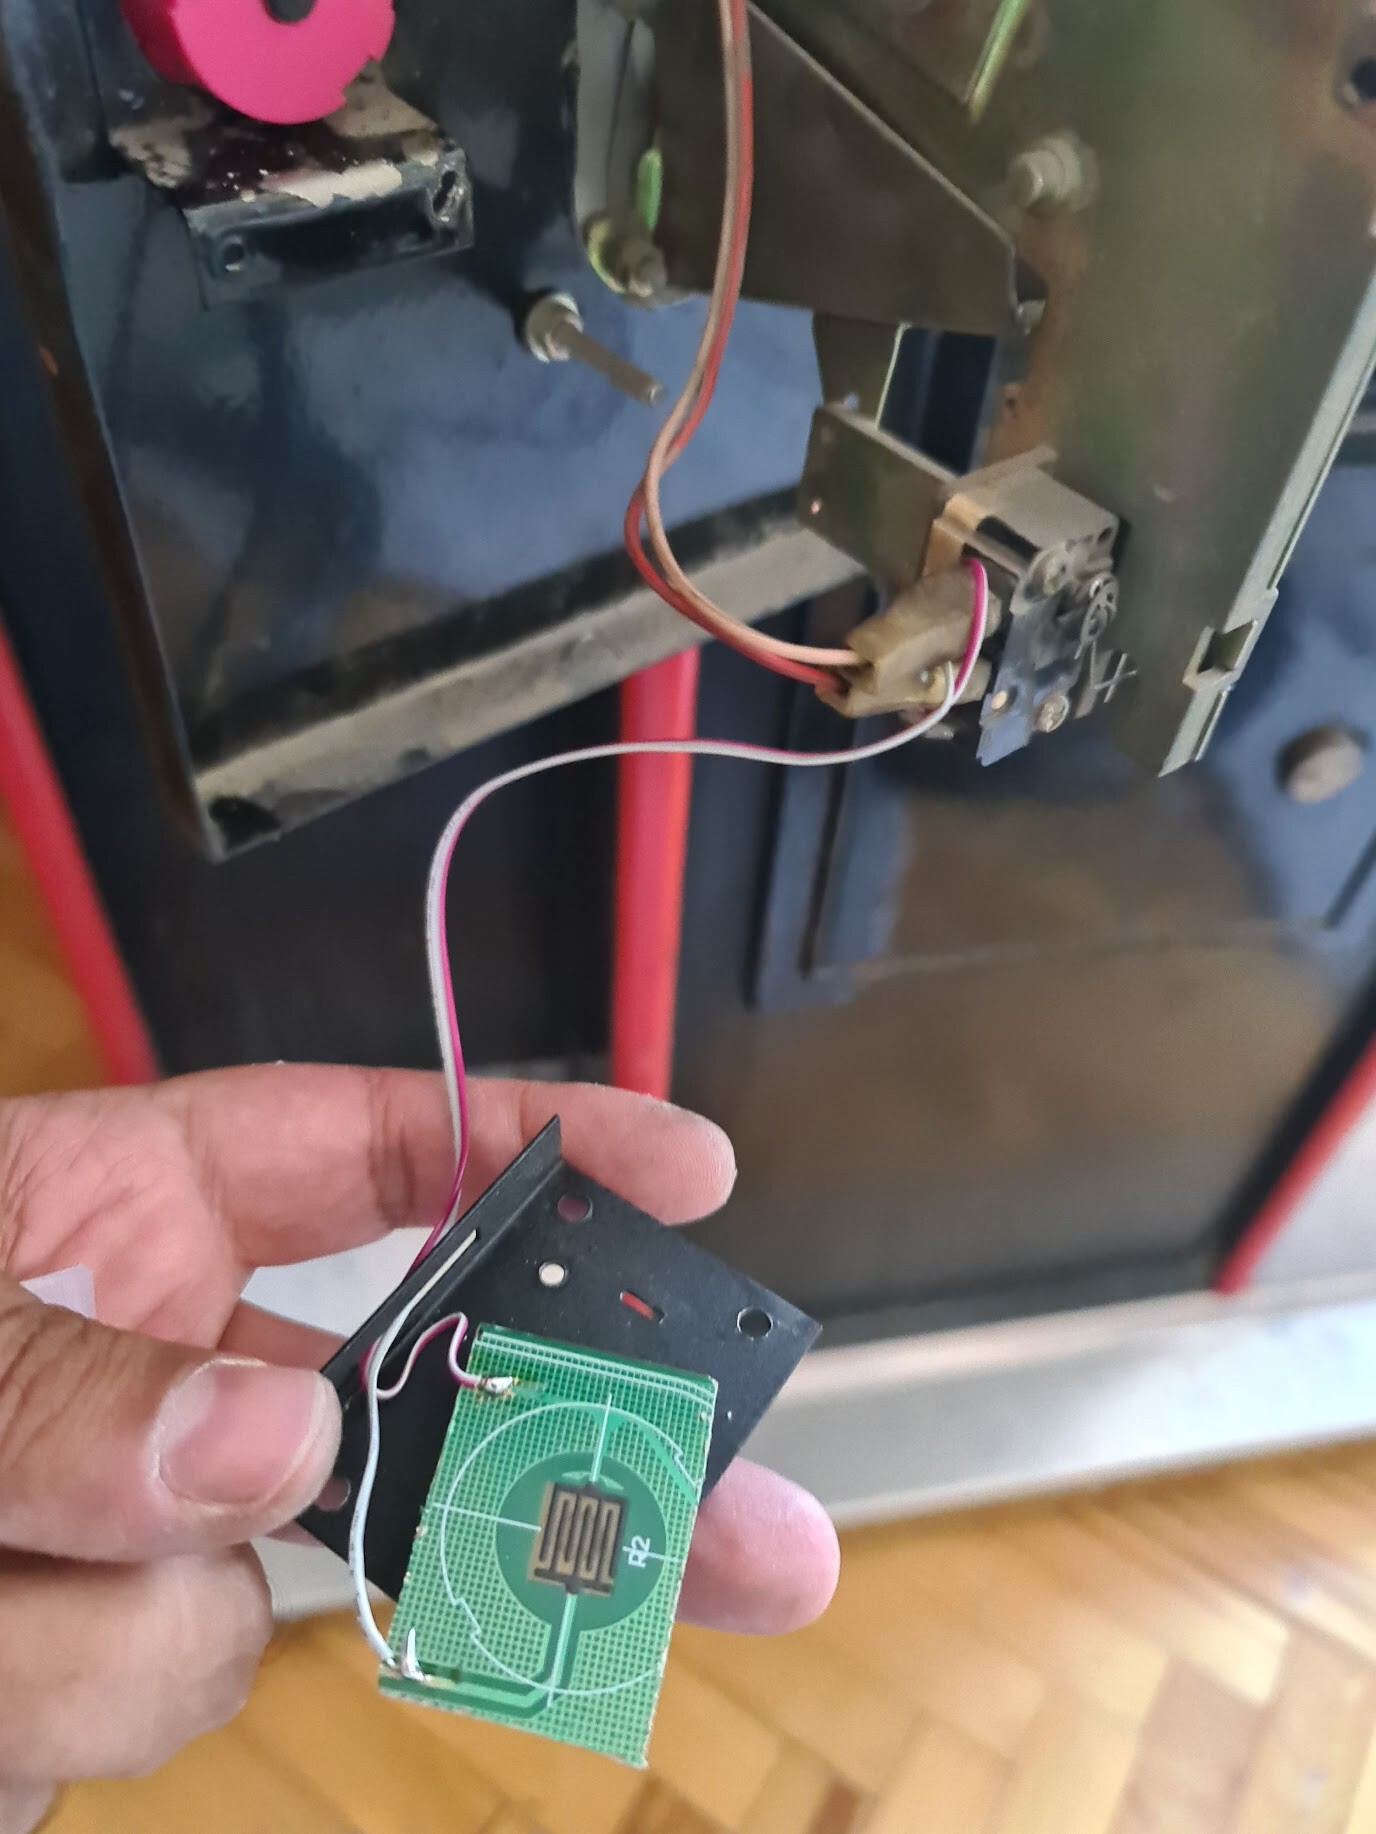
This is the final look of the coin button.
And this is how it works.
2. Changing the Sticks
Existing sticks were in bad condition. Left stick (player 1) was fixed in a slightly rotated position, so sometimes when you thought you're pressing right, but it was recognizing it as up-right. Also wsometimes it was biting my hand once it's stuck between the gap when I move the stick to a direction.
I had the same spare parts from the old/cheap USB arcade stick that has a click-type stick.
Existing sticks and the buttons were mounted to a thick MDF. The holes of the buttons adn the sticks were drilled through the metal sheet plate and this MDF. Since I can't change the holes on the metal sheet of the cabinet, I decided to make my own board for the new sticks. Because I needed a thinner board to mount the stick. otherwise it will be too short over the thick MDF board. I started by de-mounting everything.

This is the back side of the sheet metal of the cabinet after removing the MDF.

I found a laminated flooring plate on my balcony, I don't know where I got that from the thickness of it was perfect to mount the new sticks to.

So I fixed the thick one to this one by packaging tape and draw the holes with a pen to create a template.
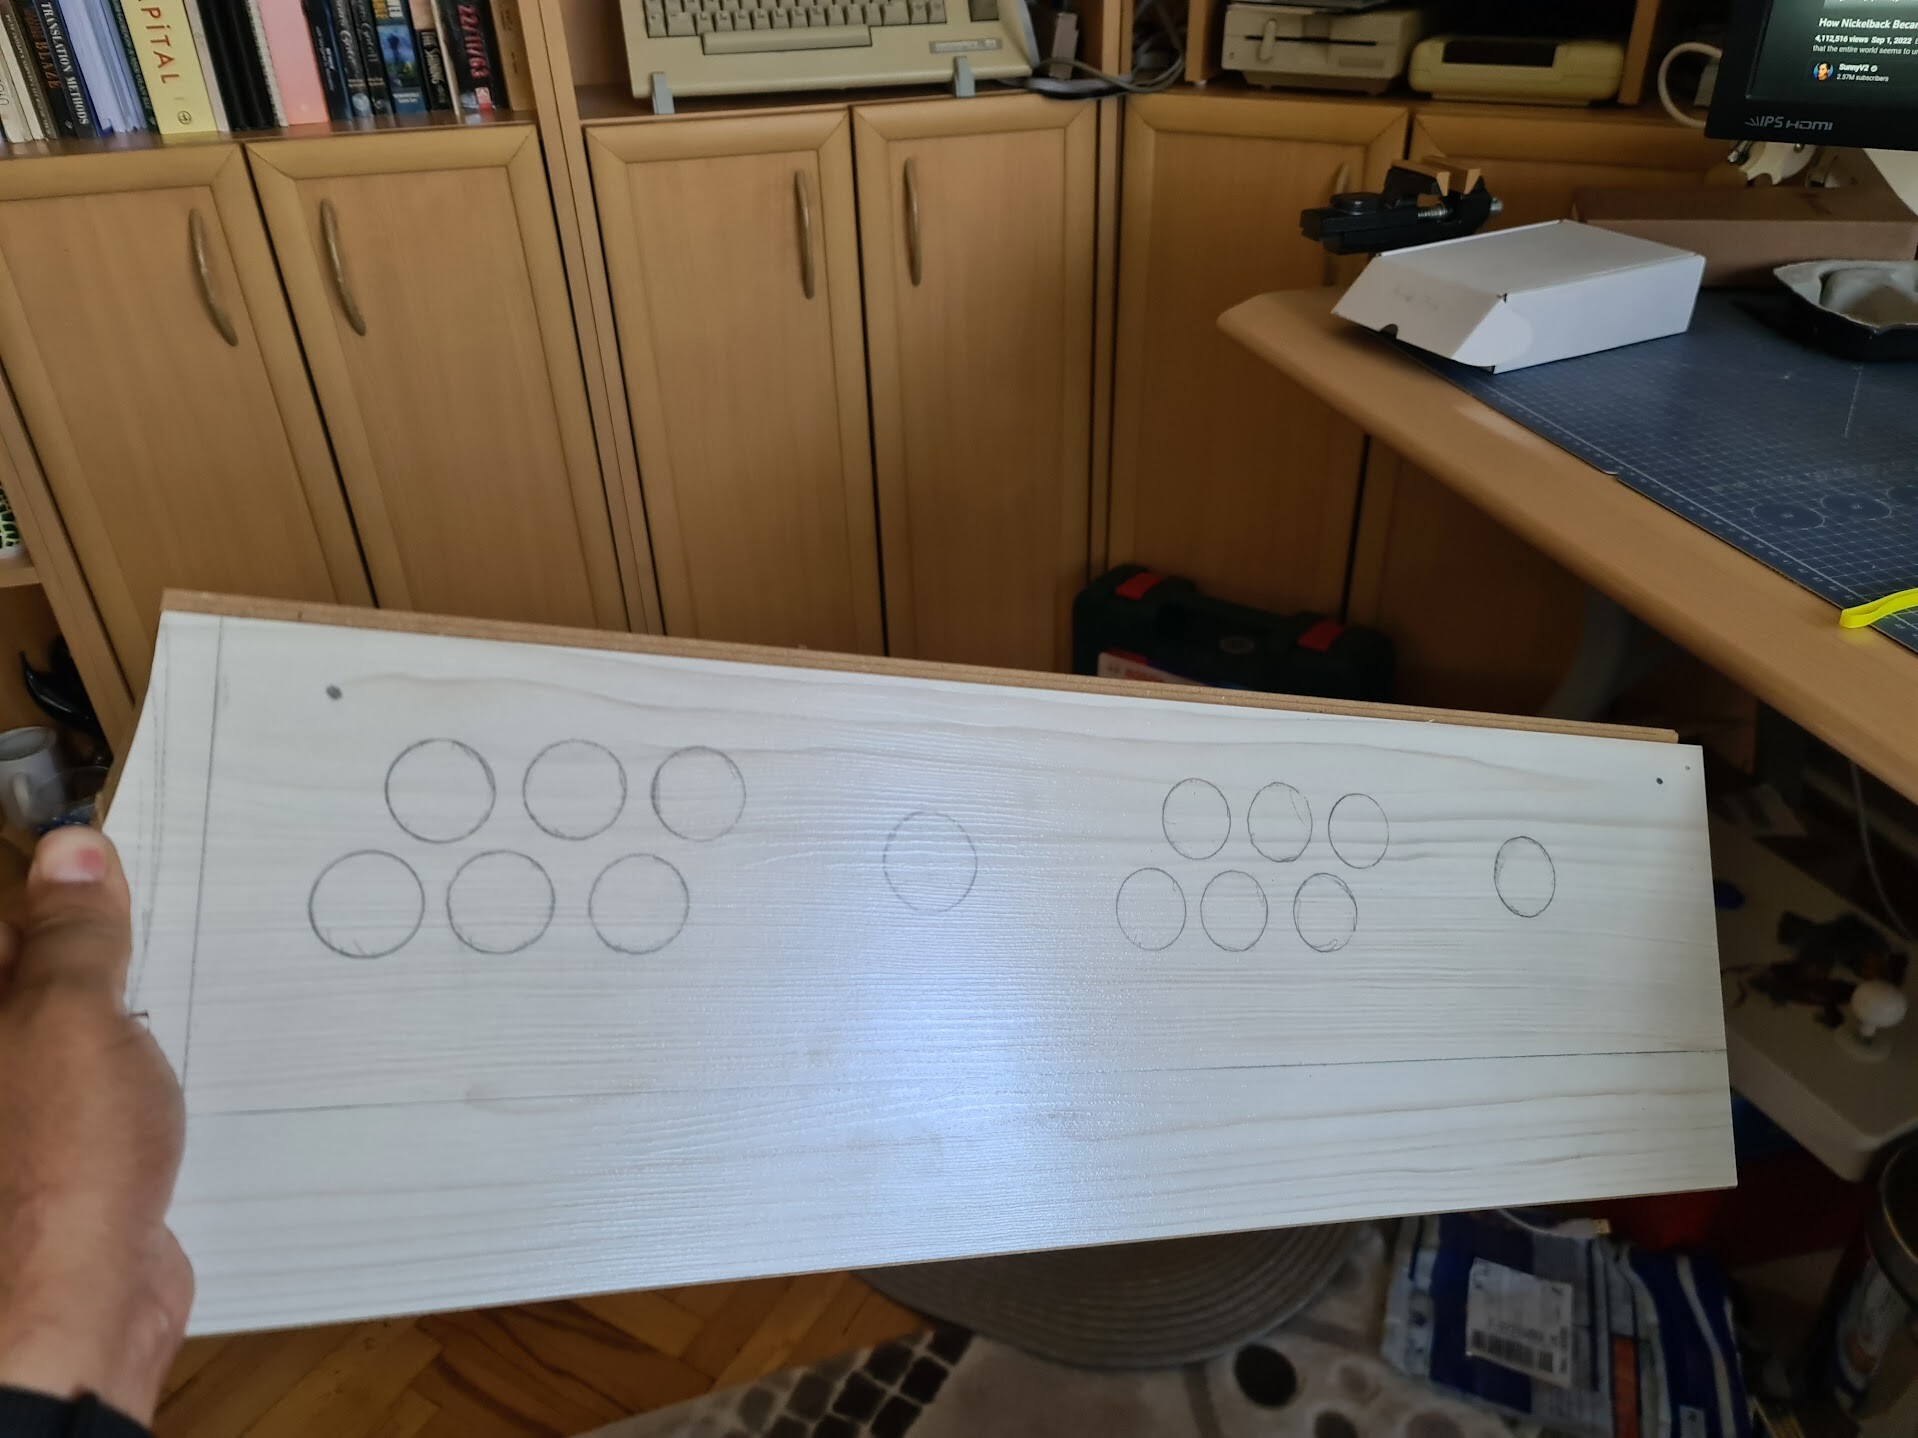
I traced the same drawing over 3 pieces of A4 papers to scan them and re-draw that holes on my CAD software. This way I will be able to order a plate with that cut by a router in future. But I was planning to drill the holes on this one by myself.
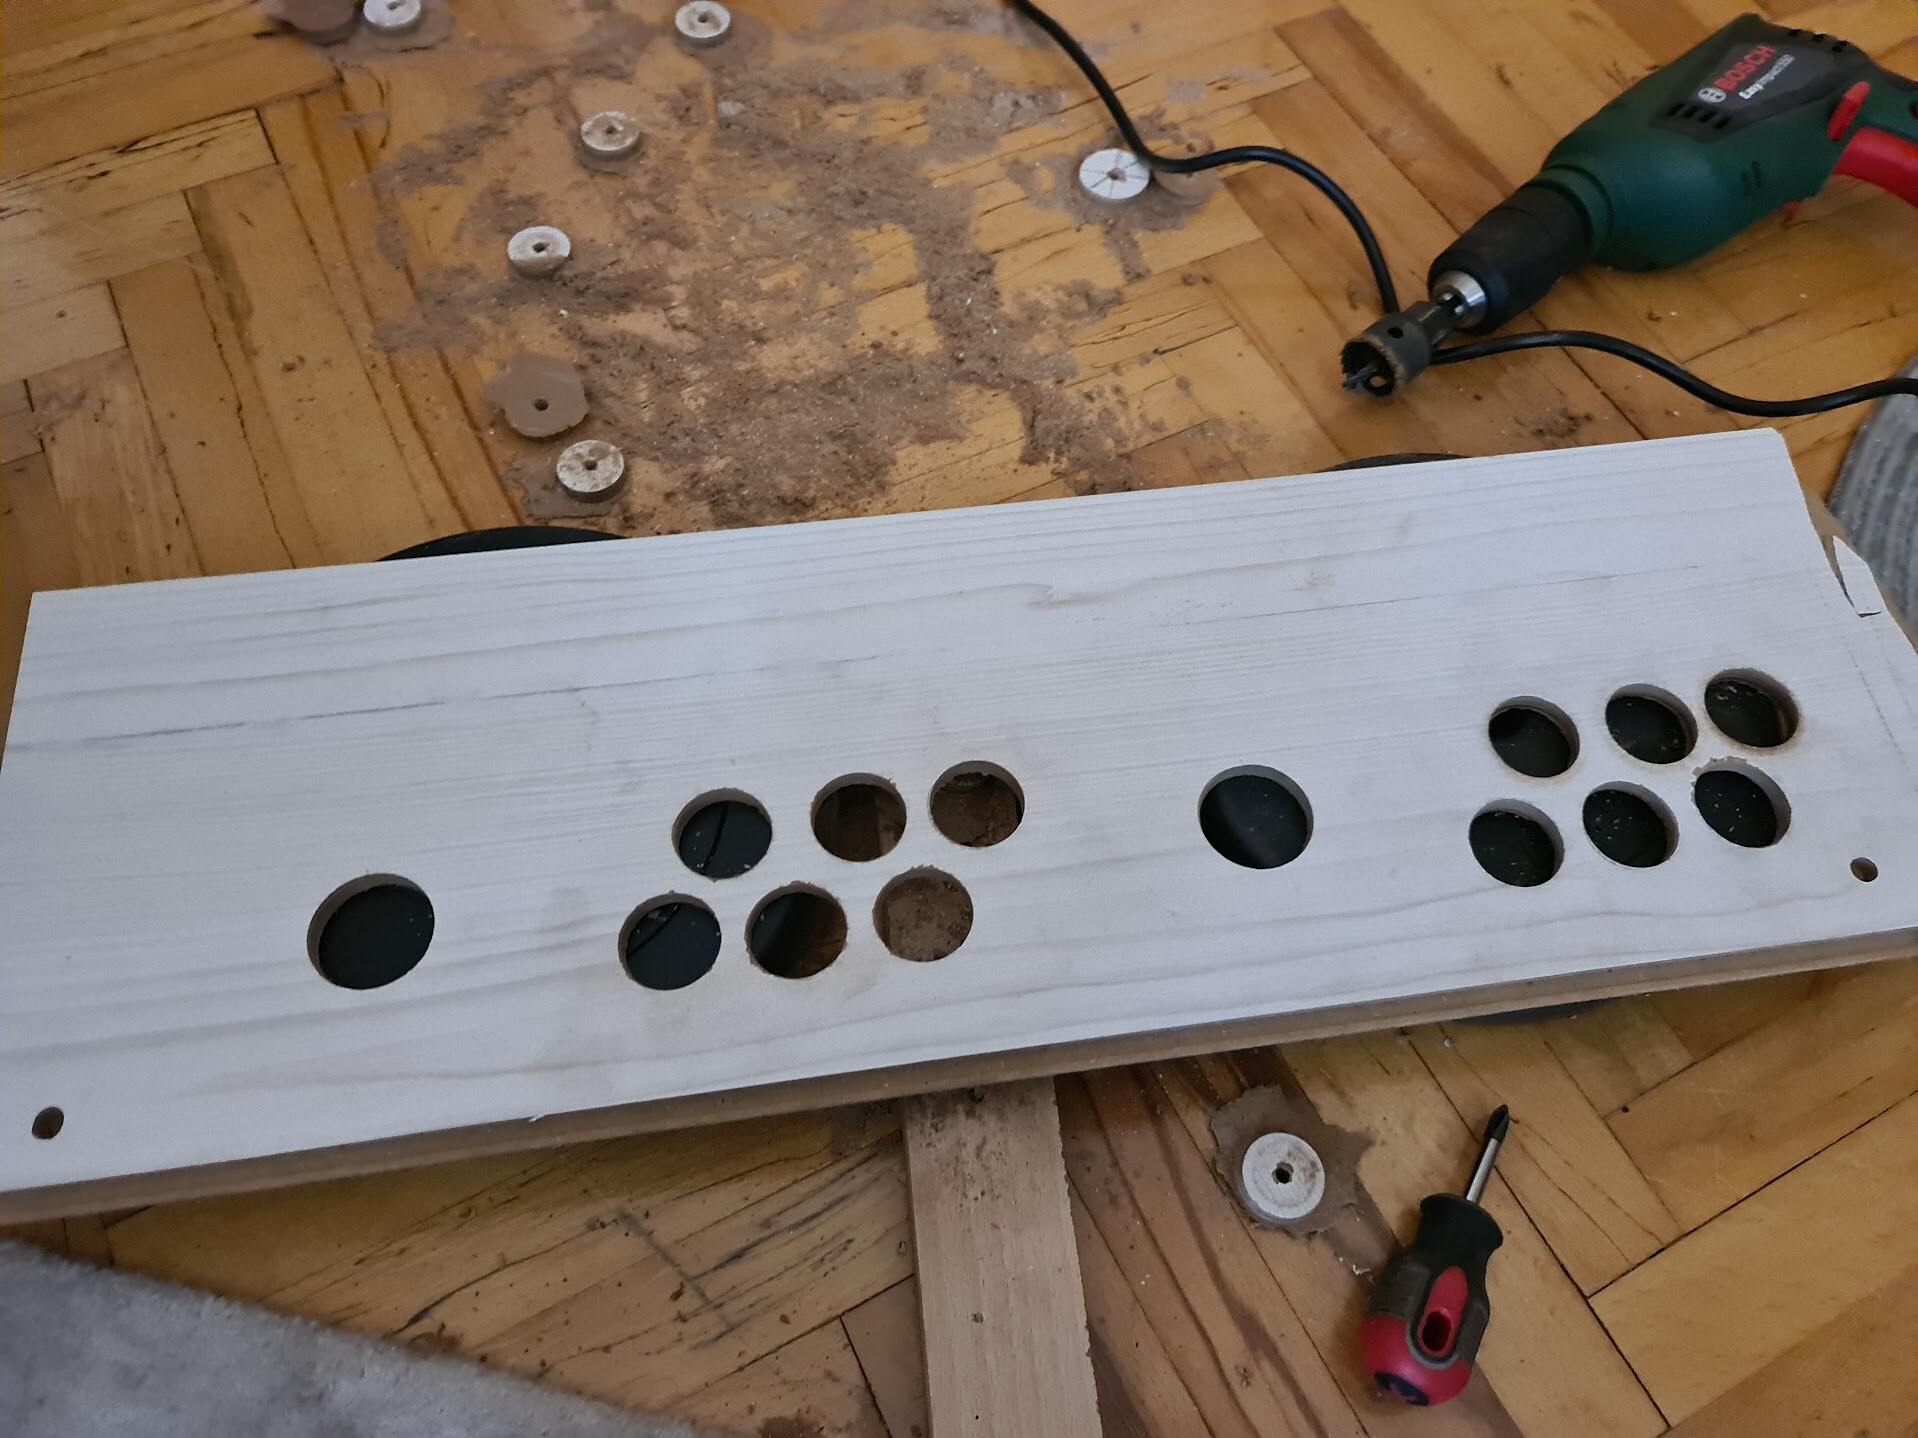
I purchased a hole drilling set for my drill. So first I pointed the centers of the each hole by a screw, than drilled all the holes.
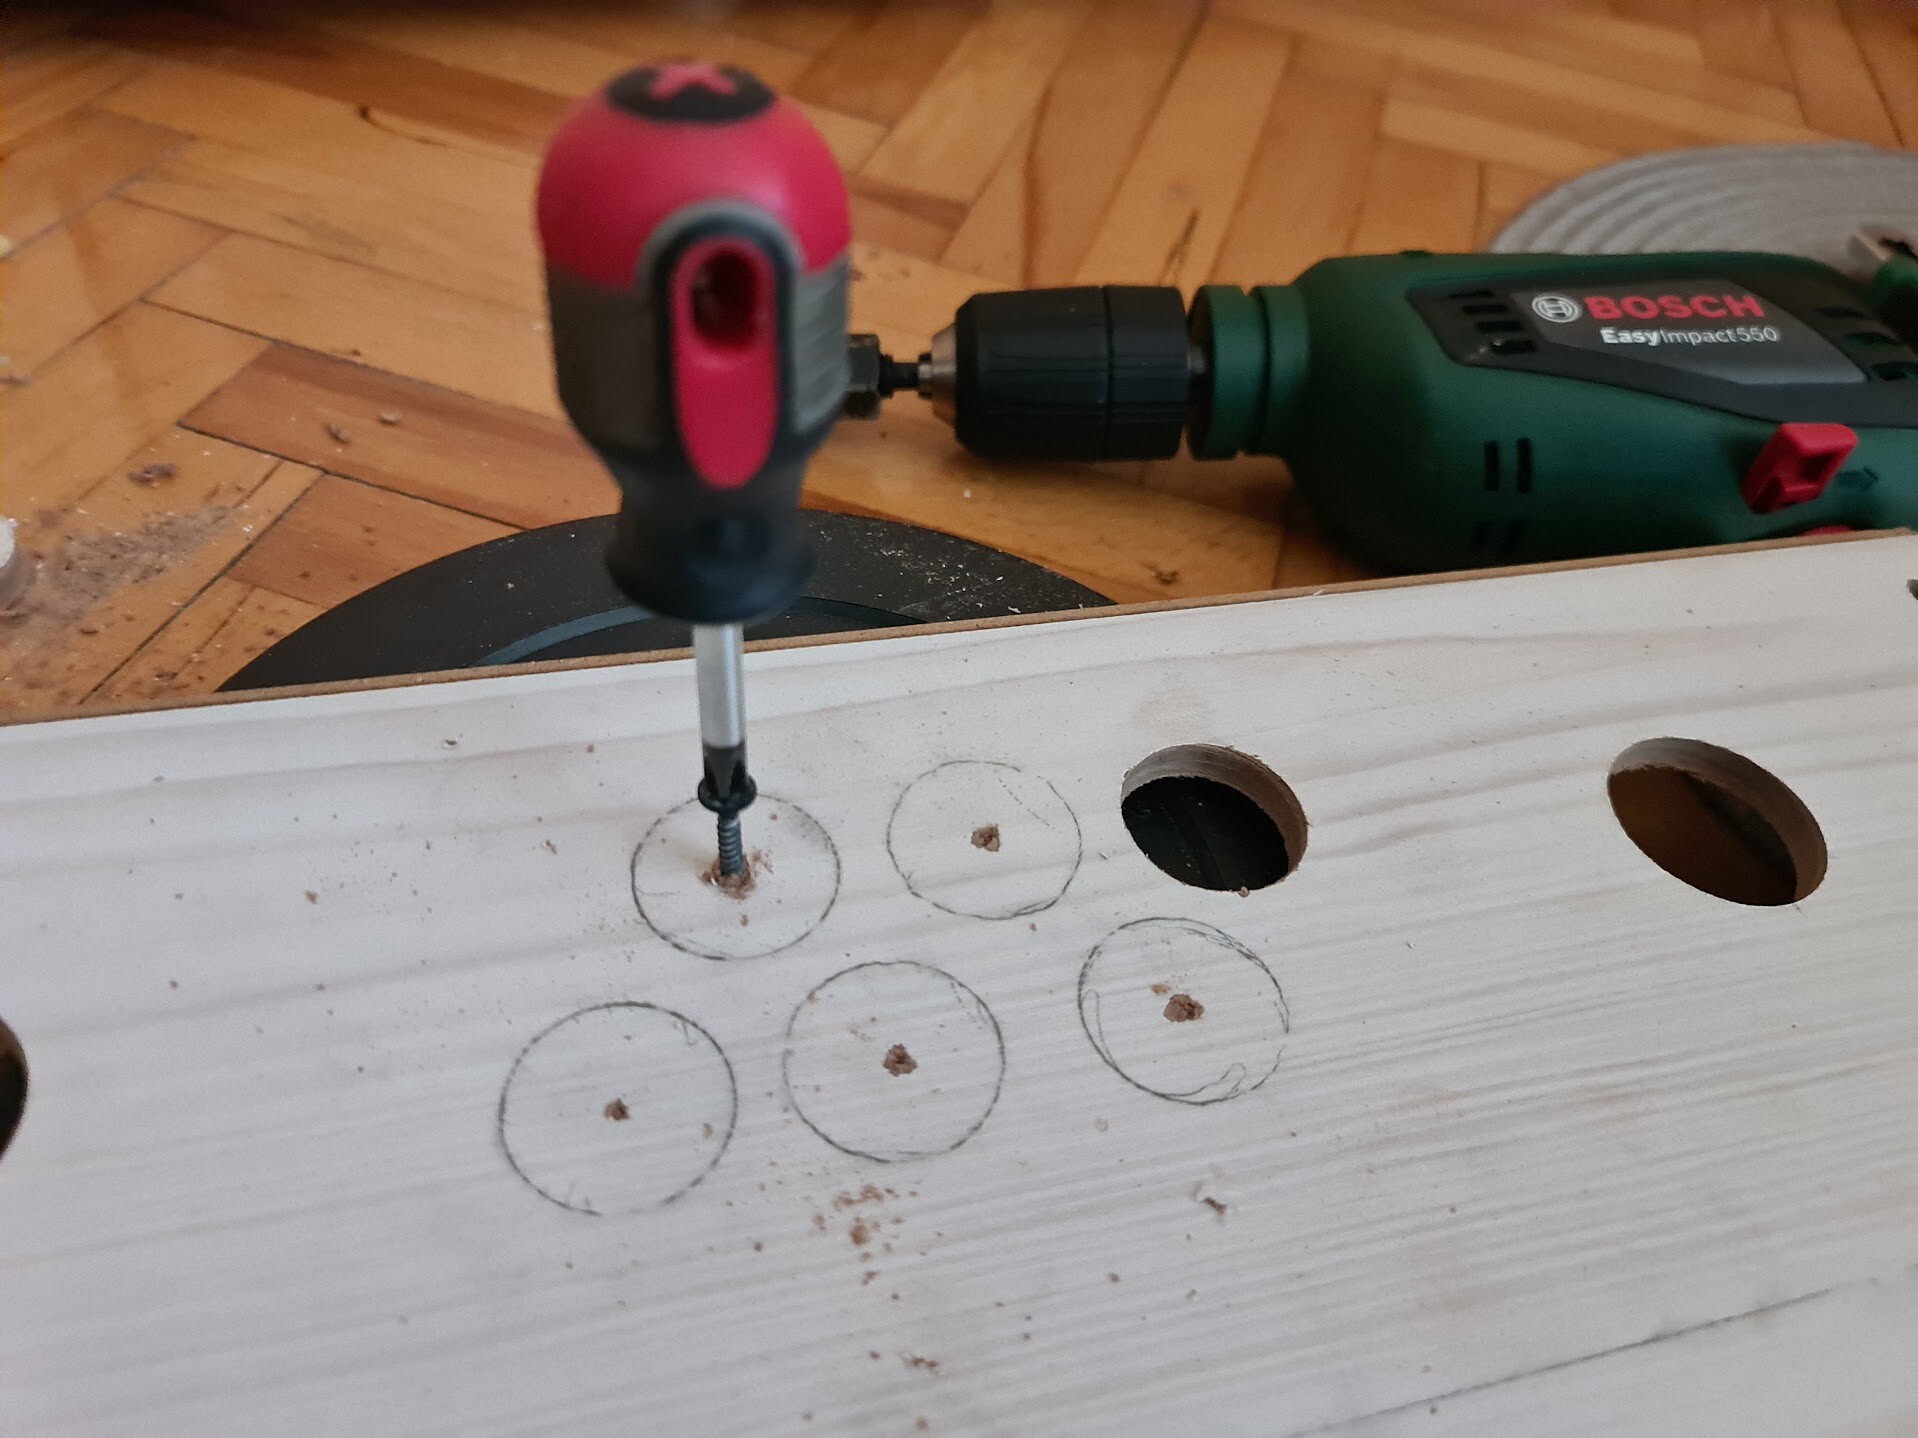
...and all the holes are drilled. I vacuumed and mopped the ground with soapy water before my wife sees this mess. So I didn't kicked out from the house.
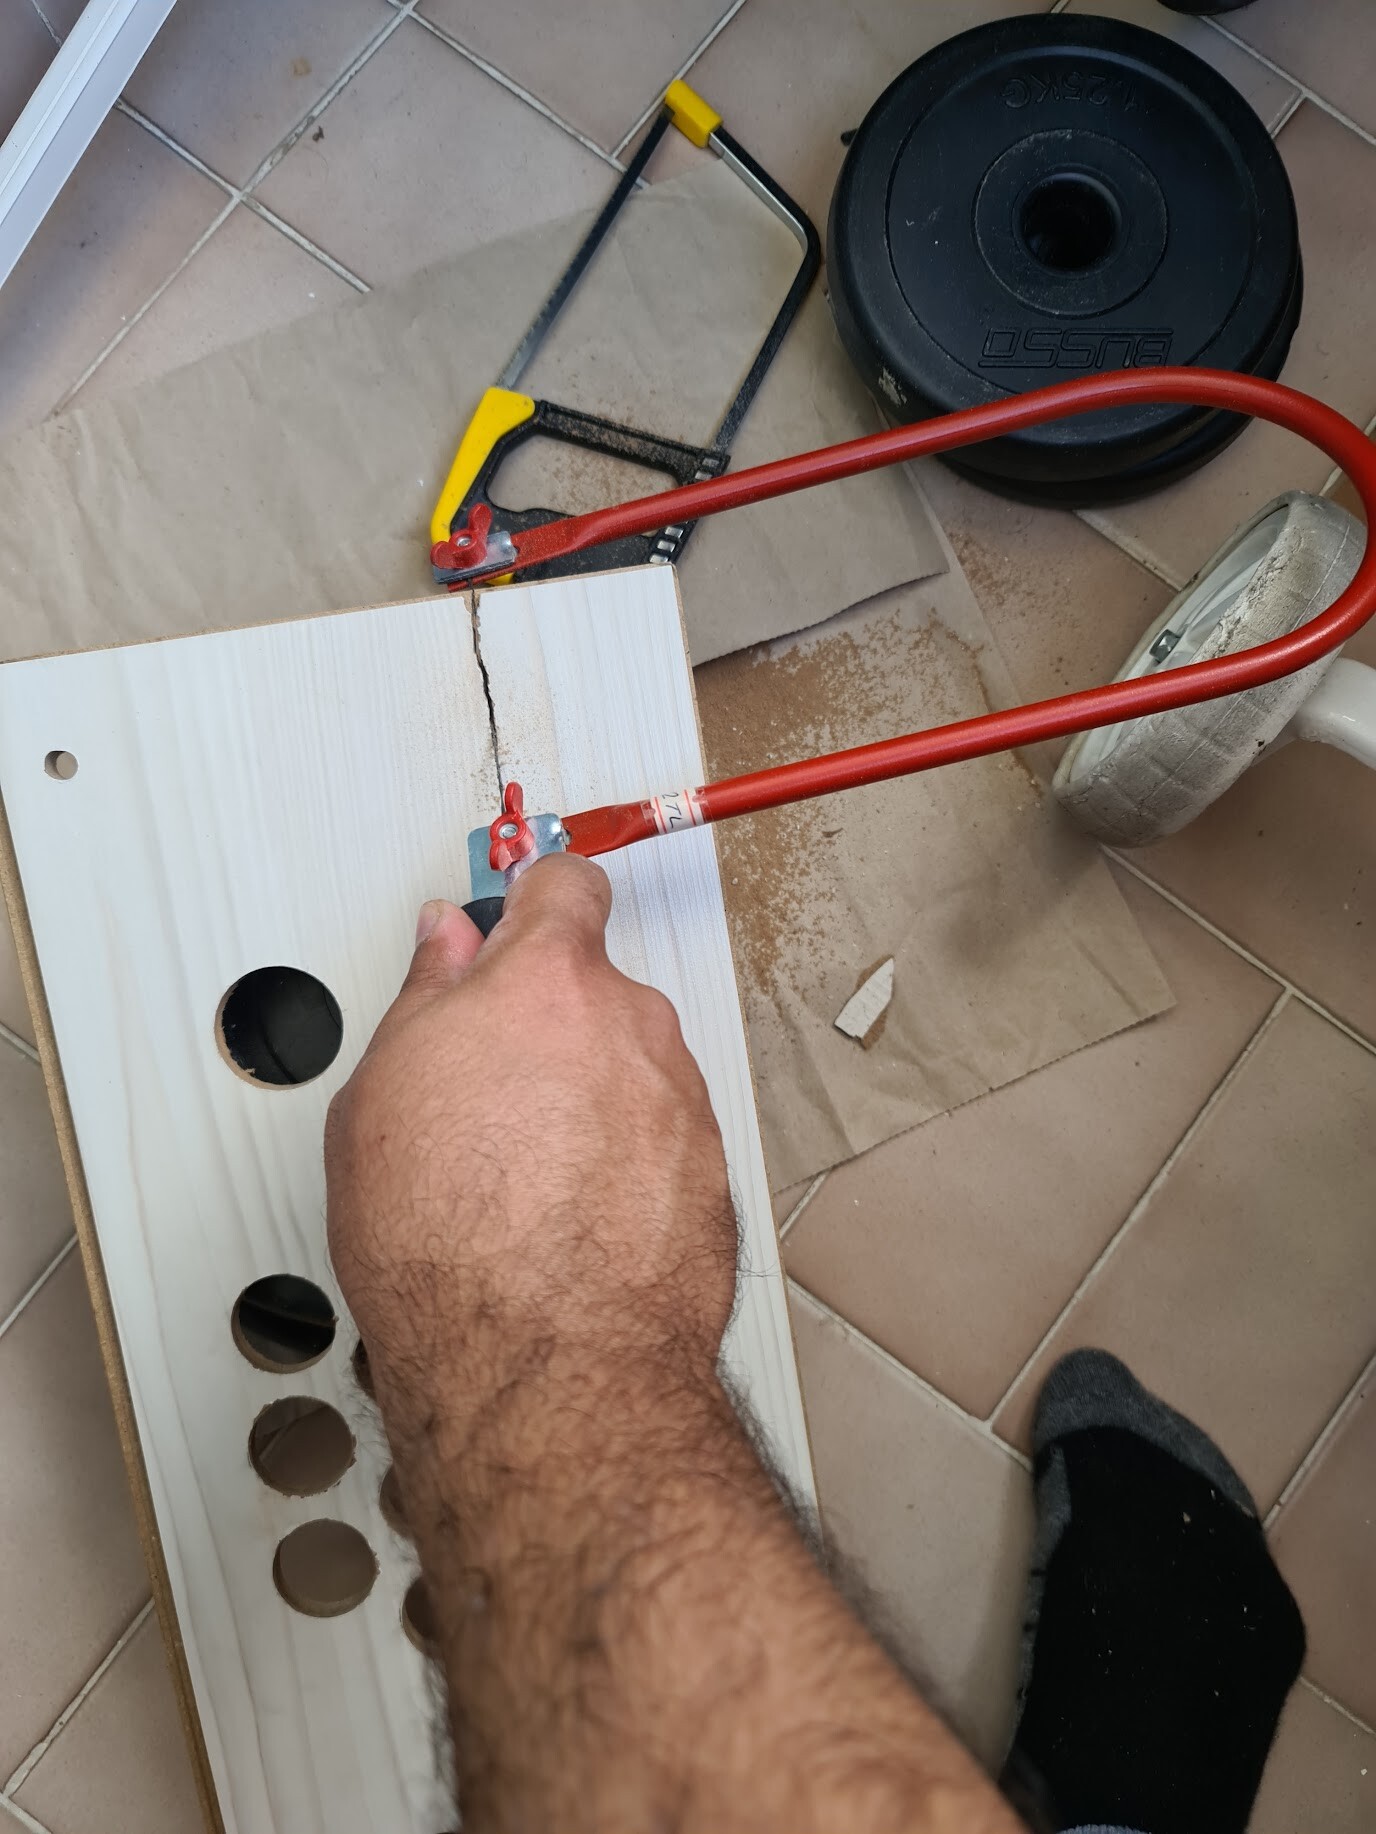
Now I cut the outer boundary with a fretsaw. By determning that it's best to make this cuttings outside (balcony).
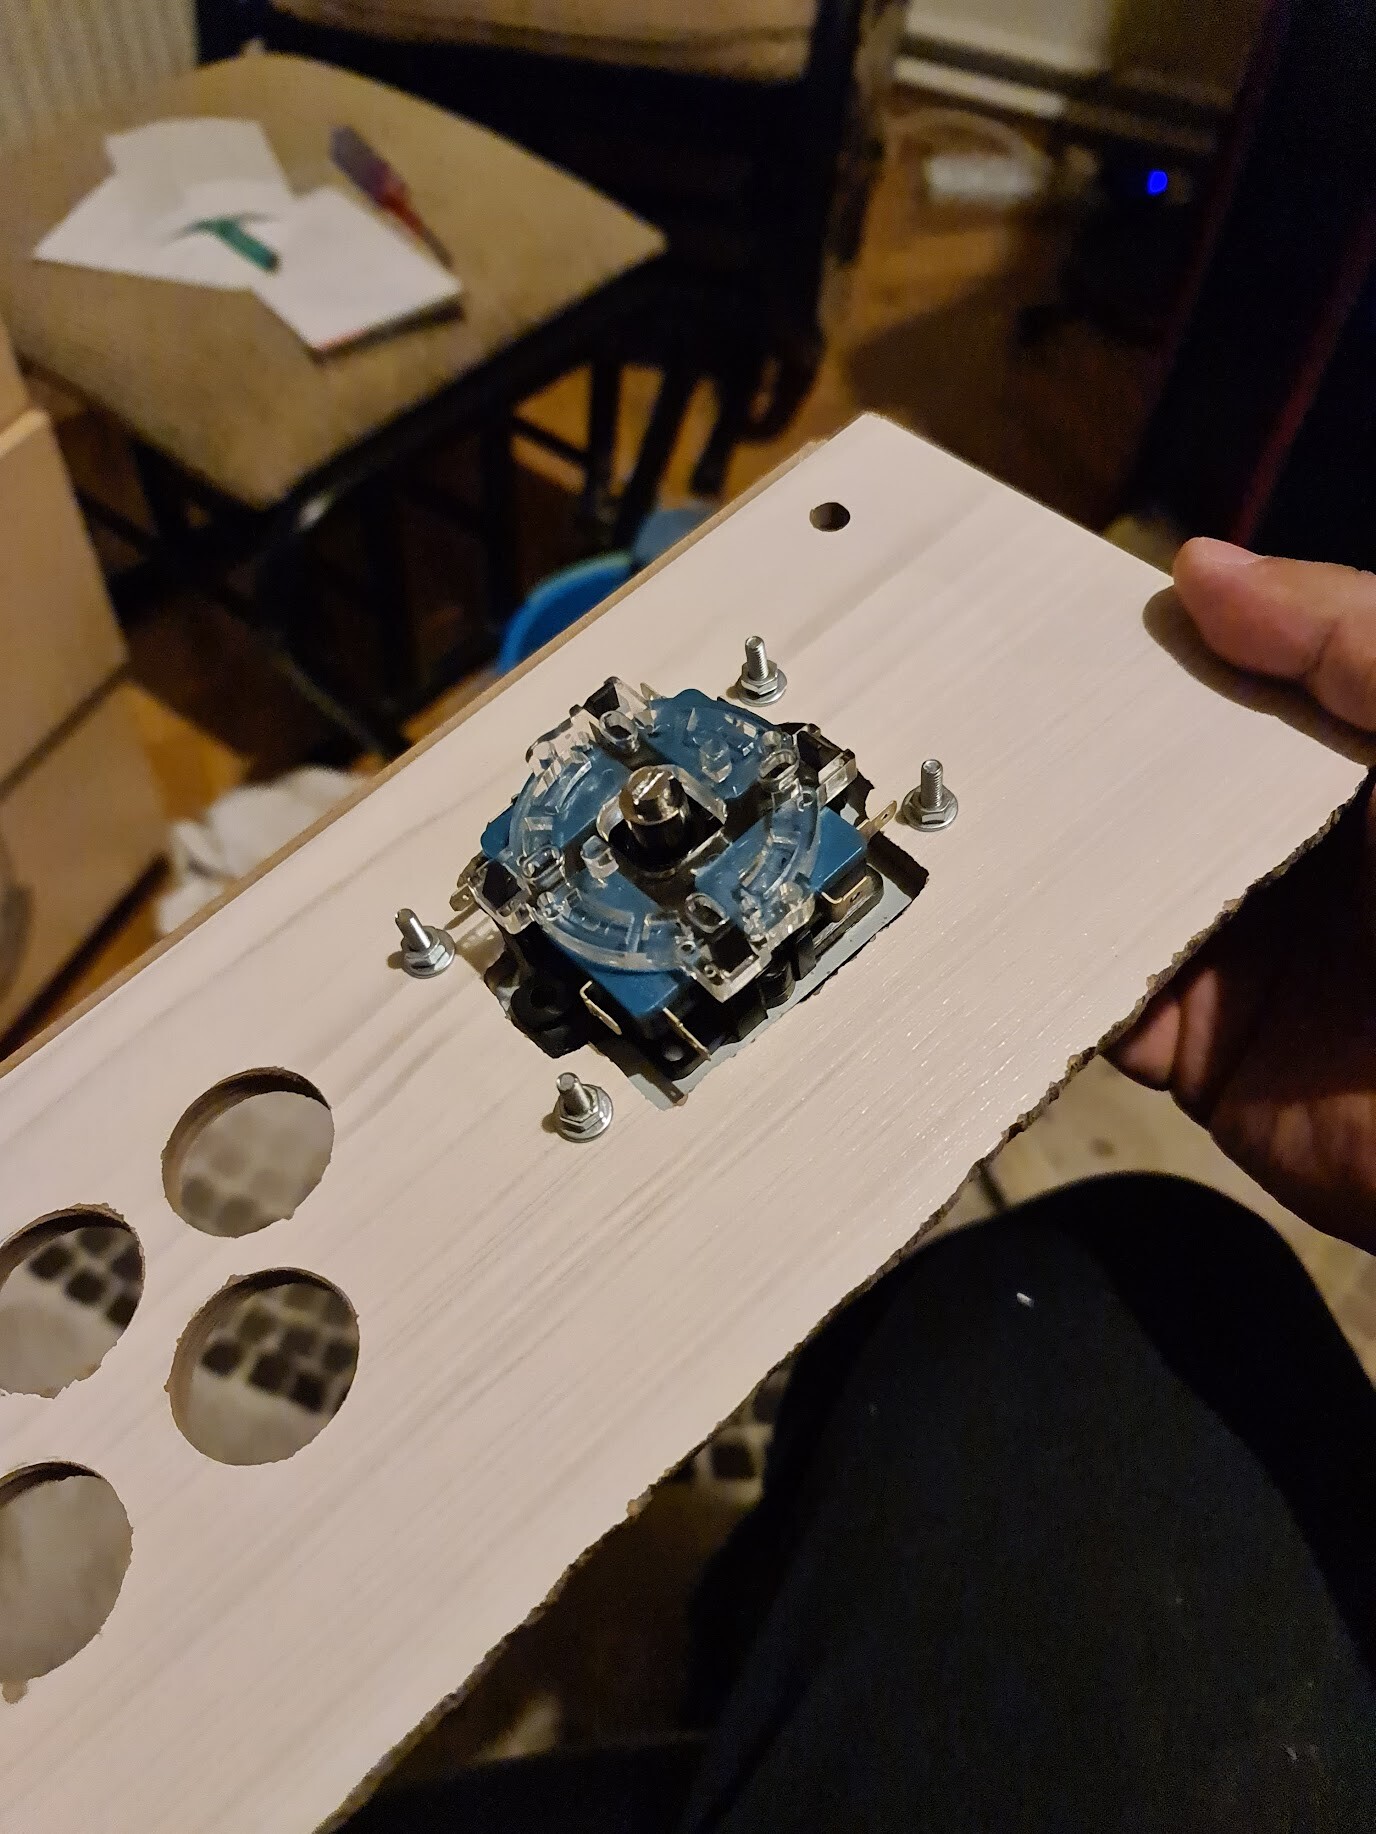
For the placement of the stick mechanisms through the new plate, I needed to enlarge the hole of the stick. Since I got a circular hole, it was easy for me to draw a larger rectangle that has the same center. And I cut it too.

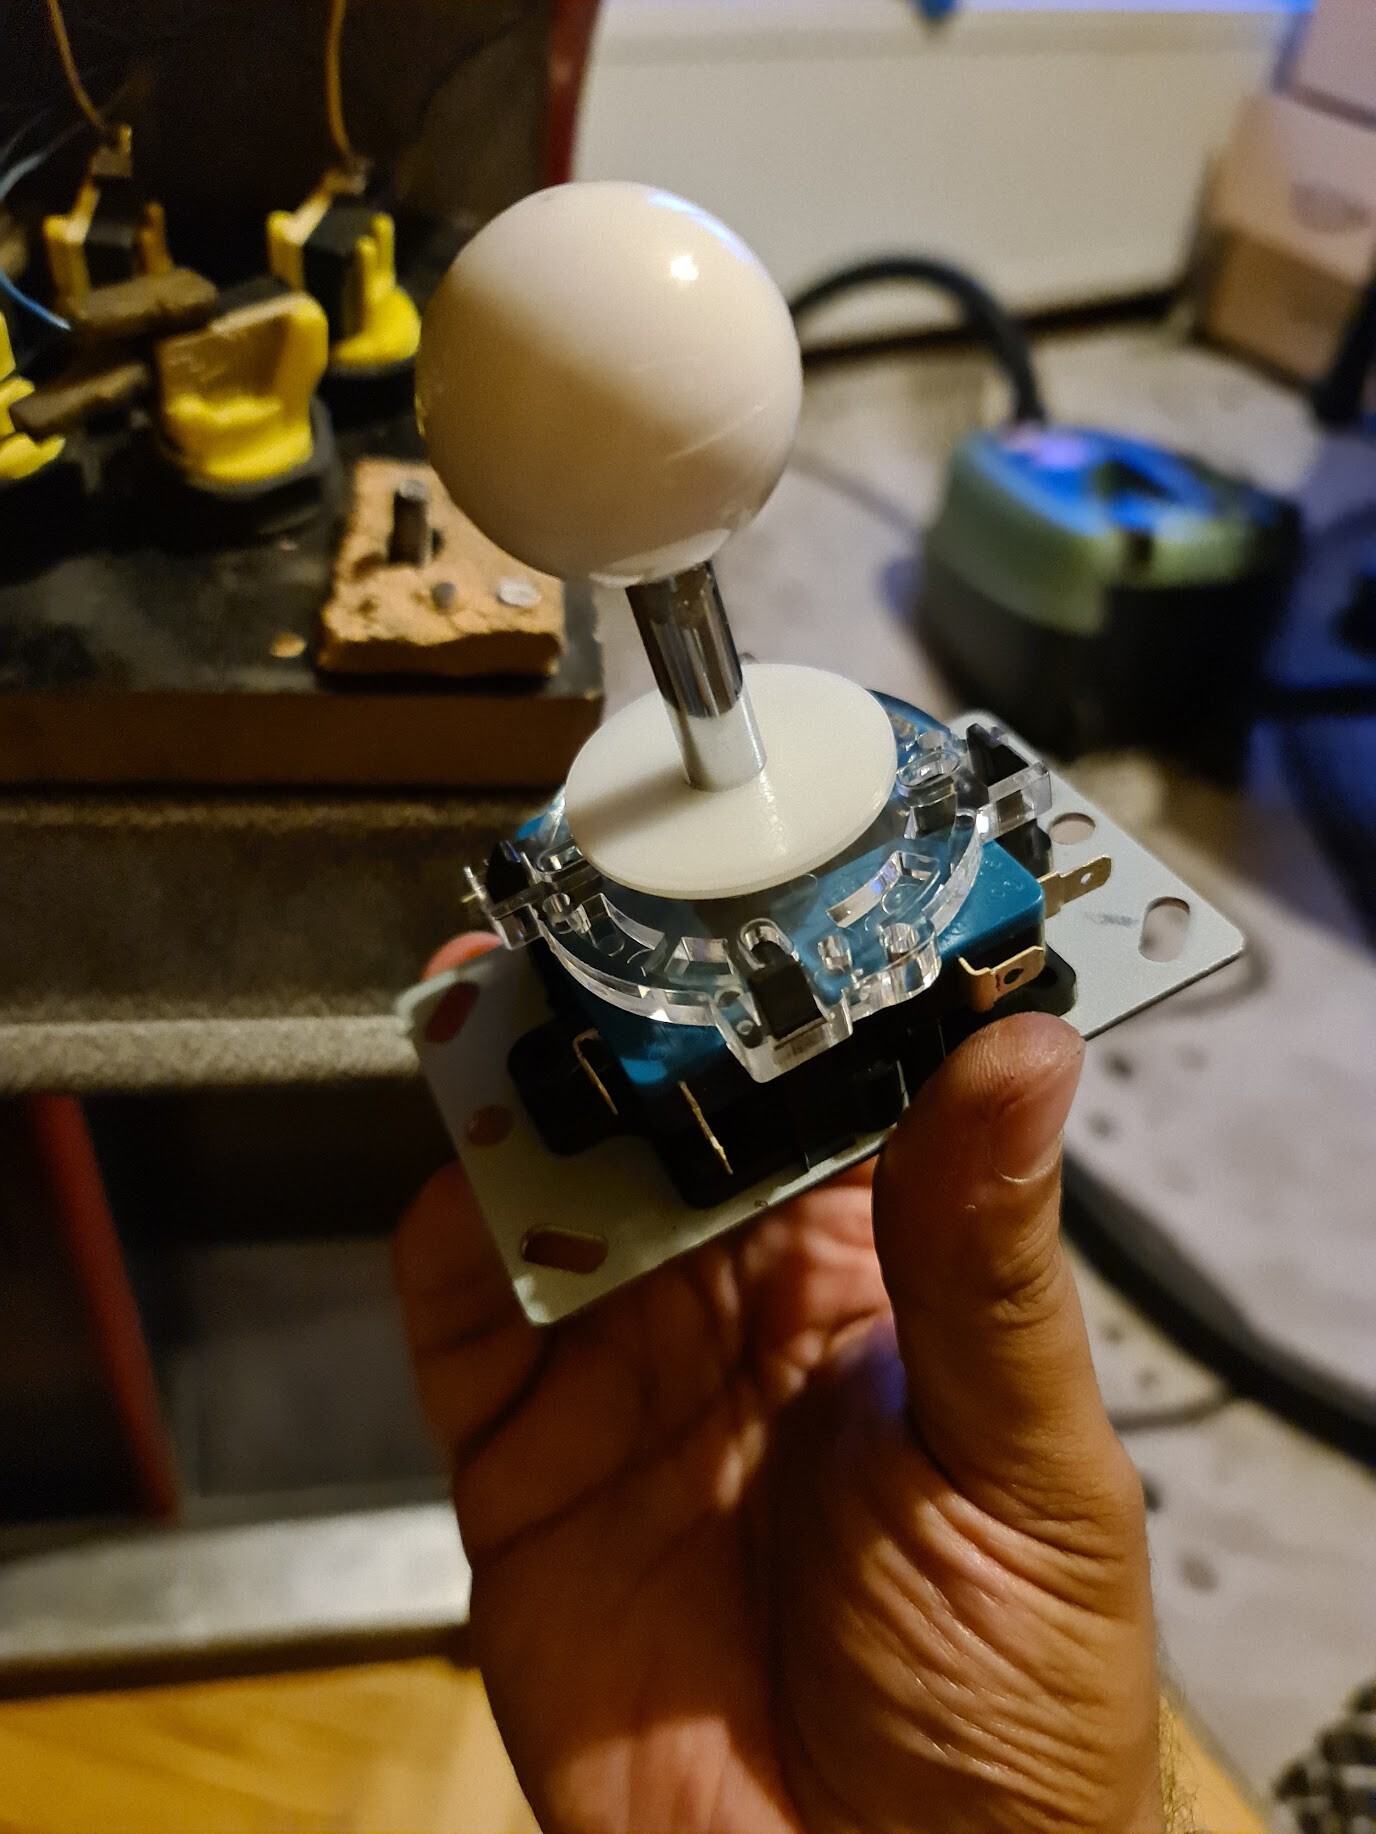
I mounted the sticks (I used counter nuts as well by a thankful warning of one of my friends).
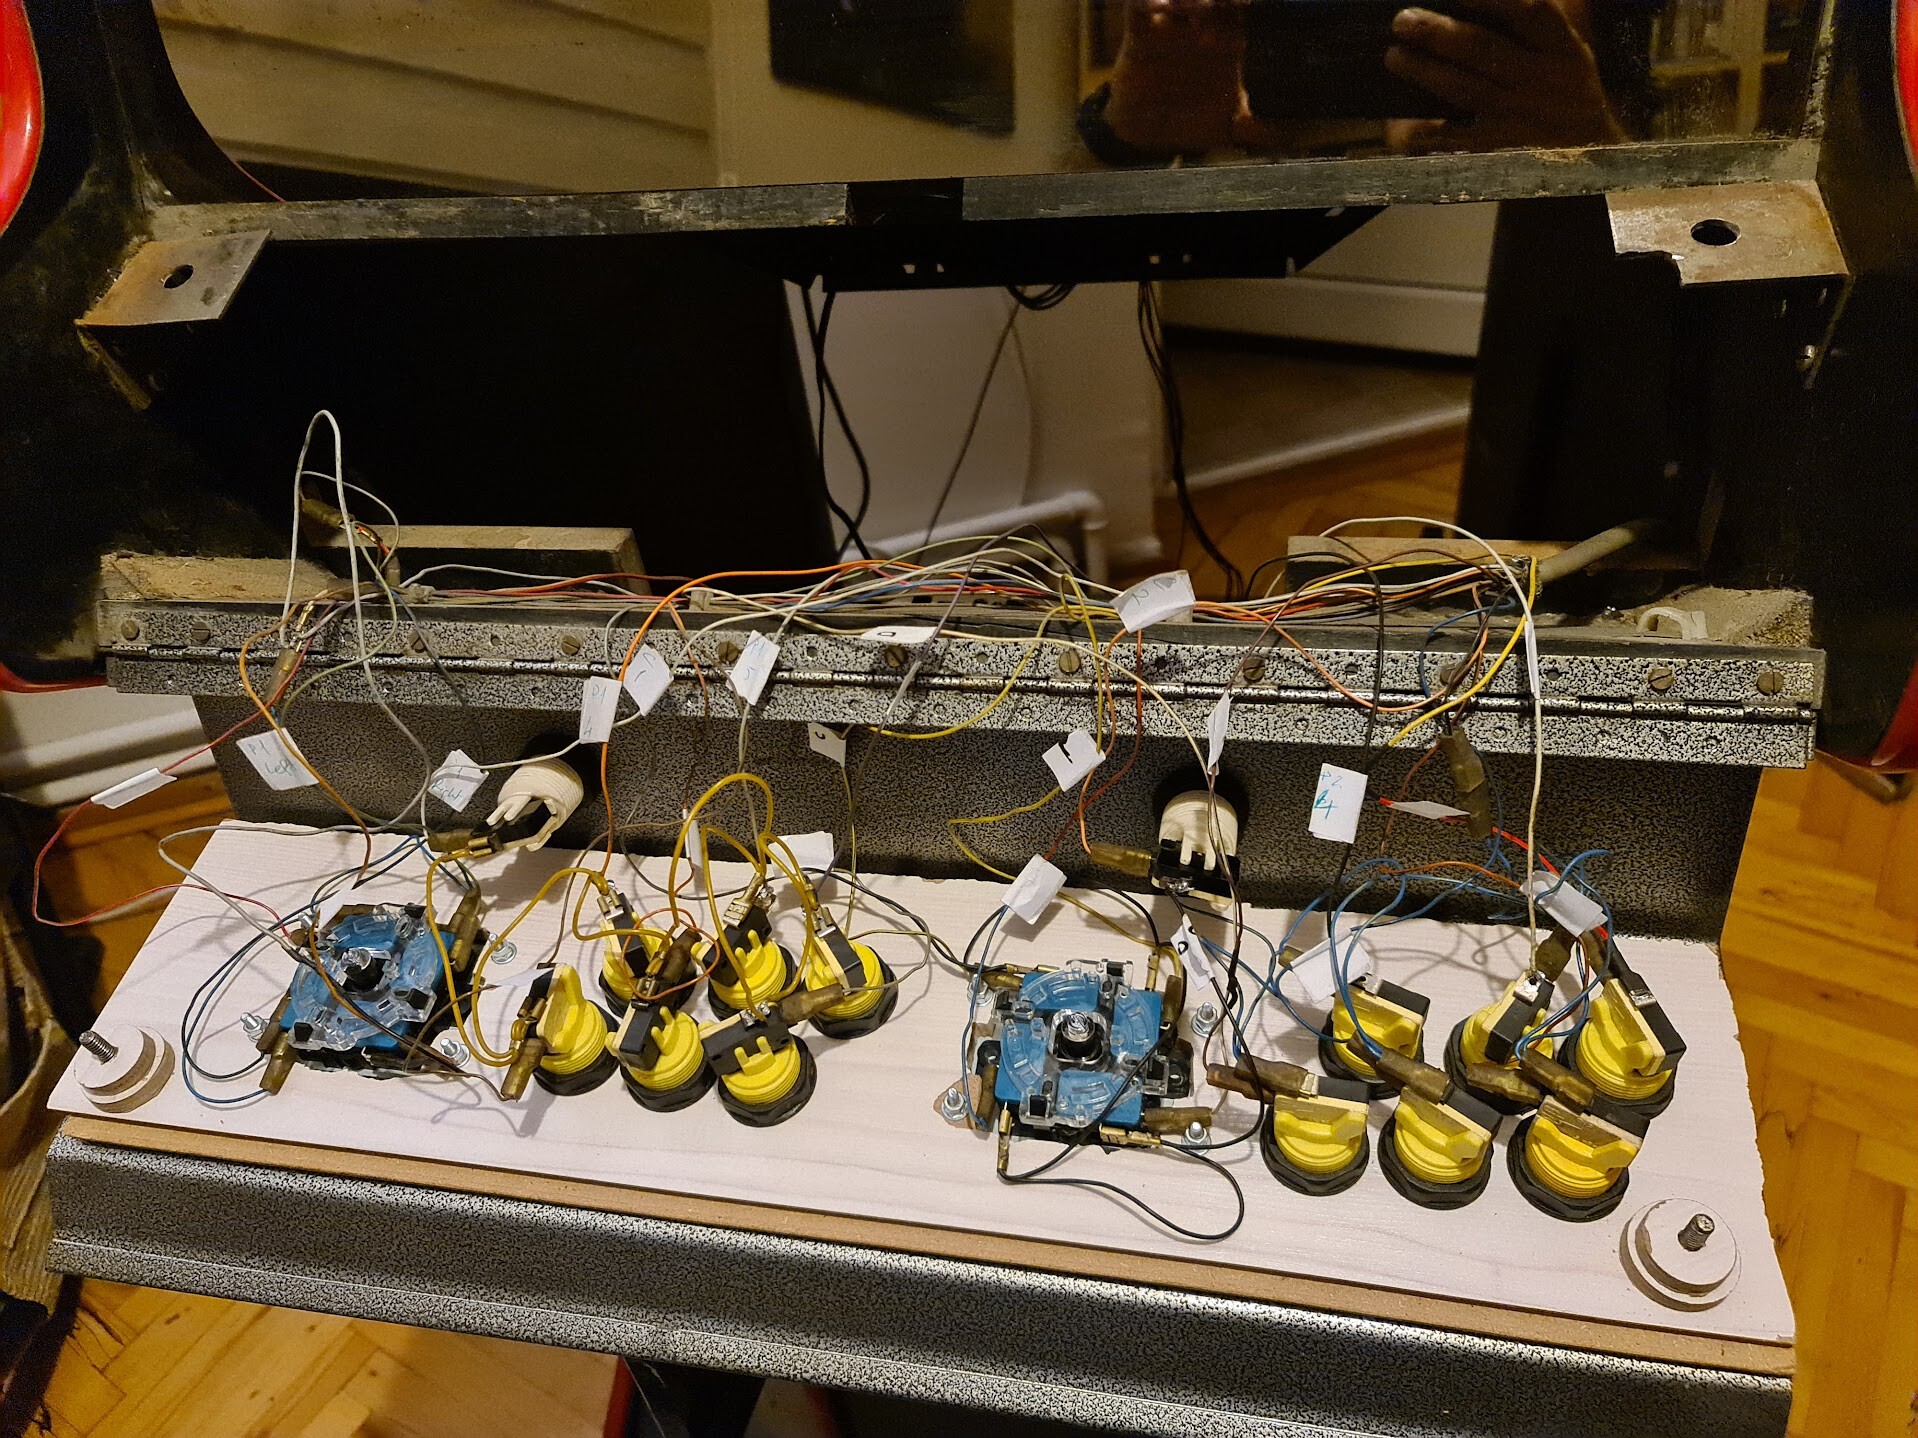
And this is the new sticks installed to the new board!

These sticks were amazing improvement after the previous ones. Previous ones were called battops which I prefer for fighting games, but I had no choice about the sticks I had in my stock. So I ordered some buttons and new battop sticks.
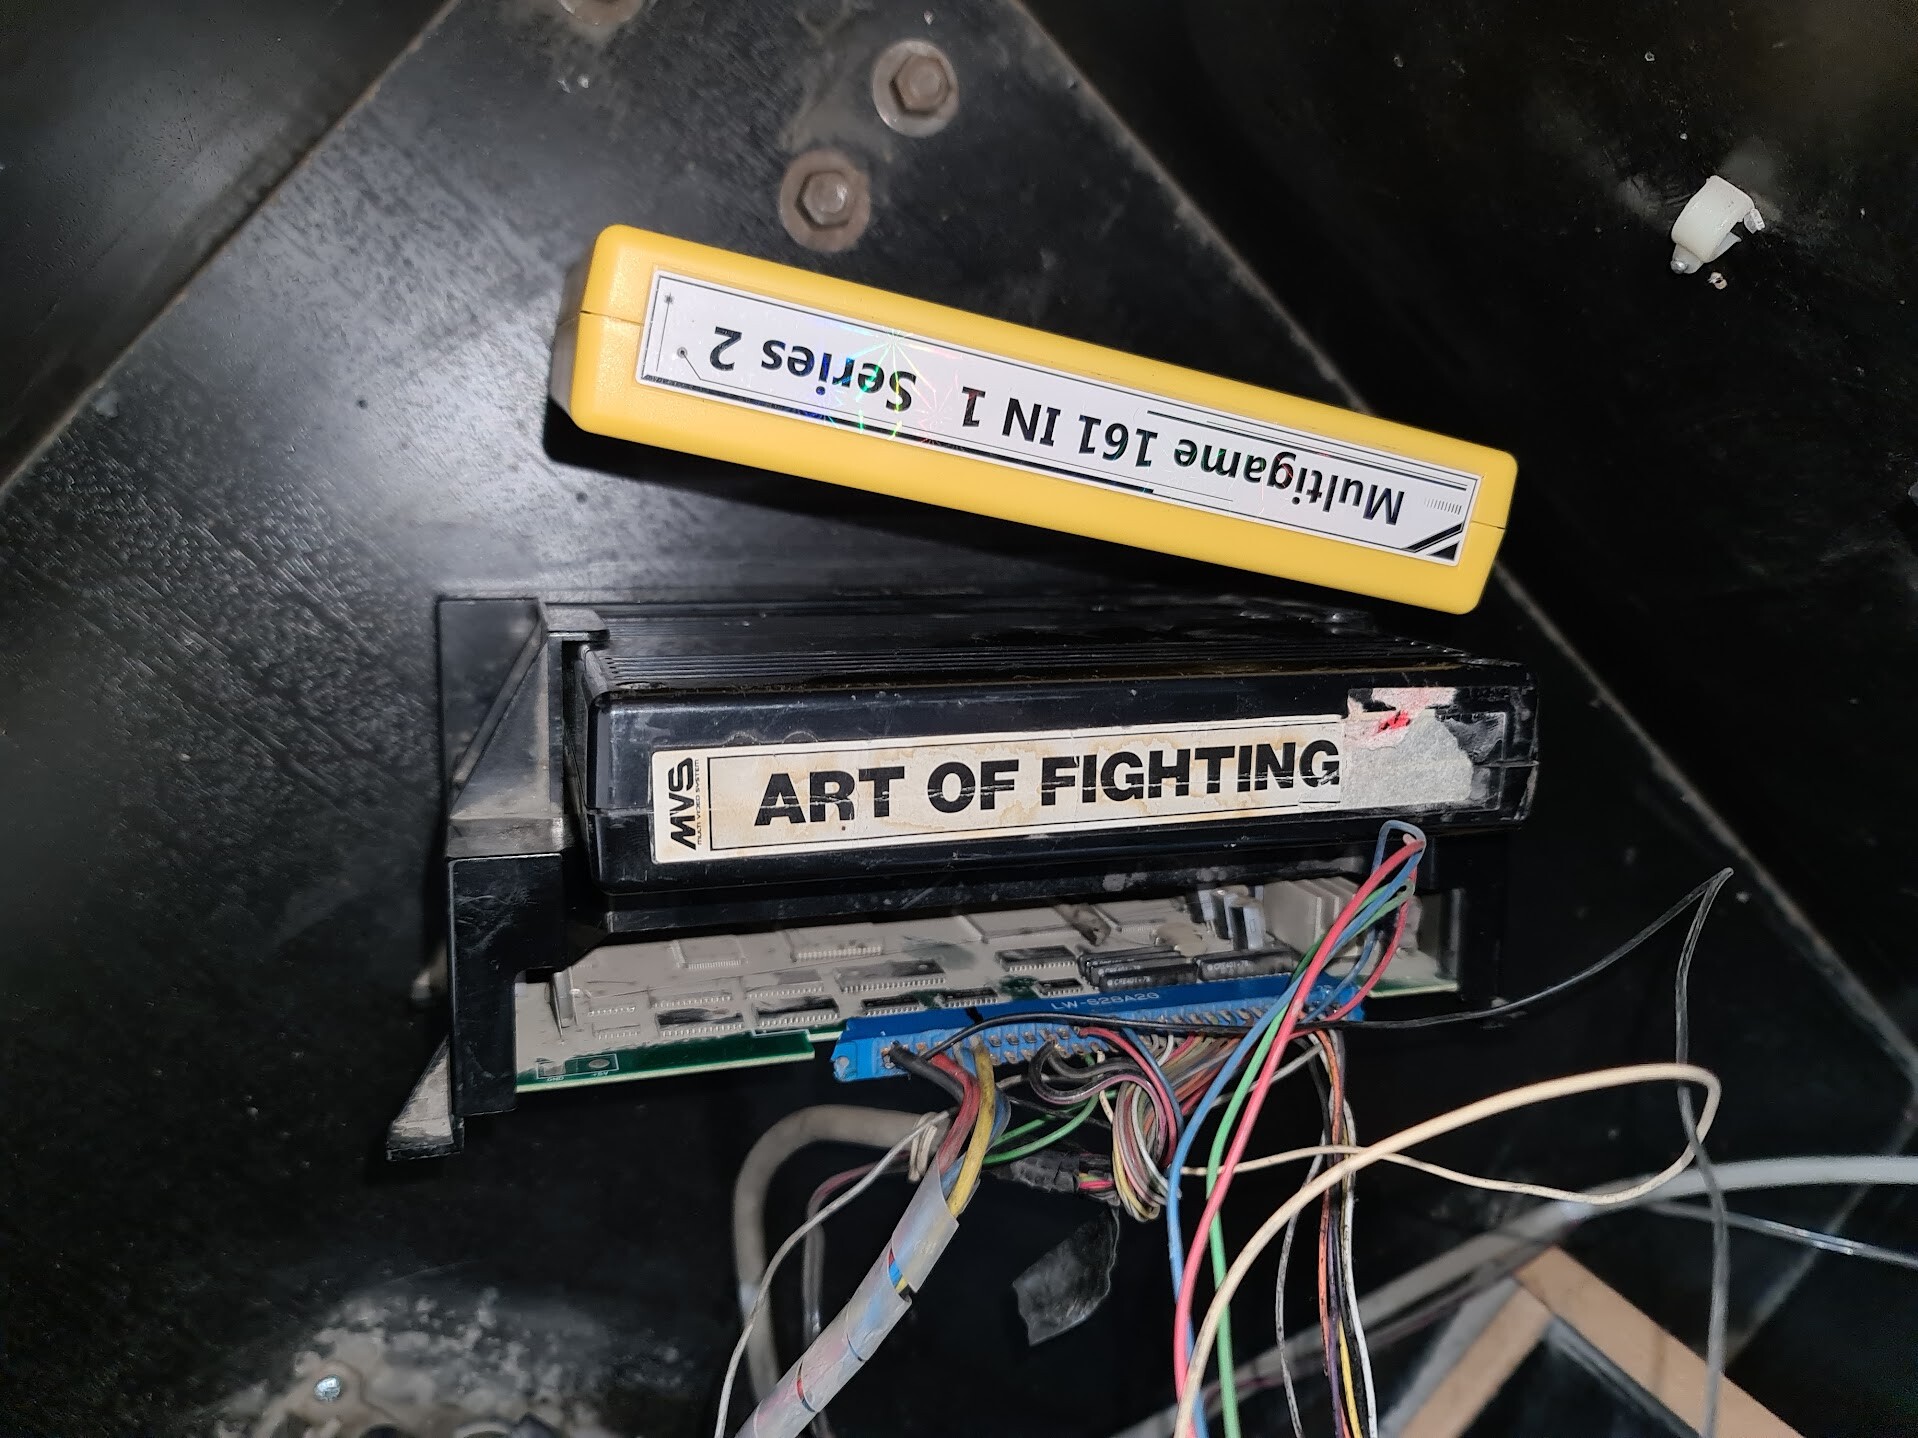
While they were being shipped from China, I bought a NEO-GEO motherboard and a miraculous cartridge for it: 161 in 1 series 2 pack from dealer I purchased the arcade machine from!!!!
3. Neo-Geo Game System - MVS
As I mentioned screen tearing about Pandora systems before on this blog post. Since I had a big arcade machine, I wanted to have an original game system for it too. So I acquired Neo-Geo game system to run SNK / Neo-Geo games. Best thing about that is it has a 161 in 1 cartridge which contains the great pack of the NG games. Also, luckily, I bought the specific game cartridge my all time favorite "Art of Fighting" too! Because it's not included in the 161 game pack.
Normally, on other systems and Neo-Geo as well, we were limited with a one board and one game. This is an expensive way to play games. Considering the benefit of 161 in 1 pack, and gaming in a traditional way (without emulation) I bought it.
You can check the difference with the Pandora and Neo-Geo system by this video (tags of the videos are reversed, sorry). Please watch it in 60 fps. You will see that bottom one has a frame skip in almost 2 times in a second.
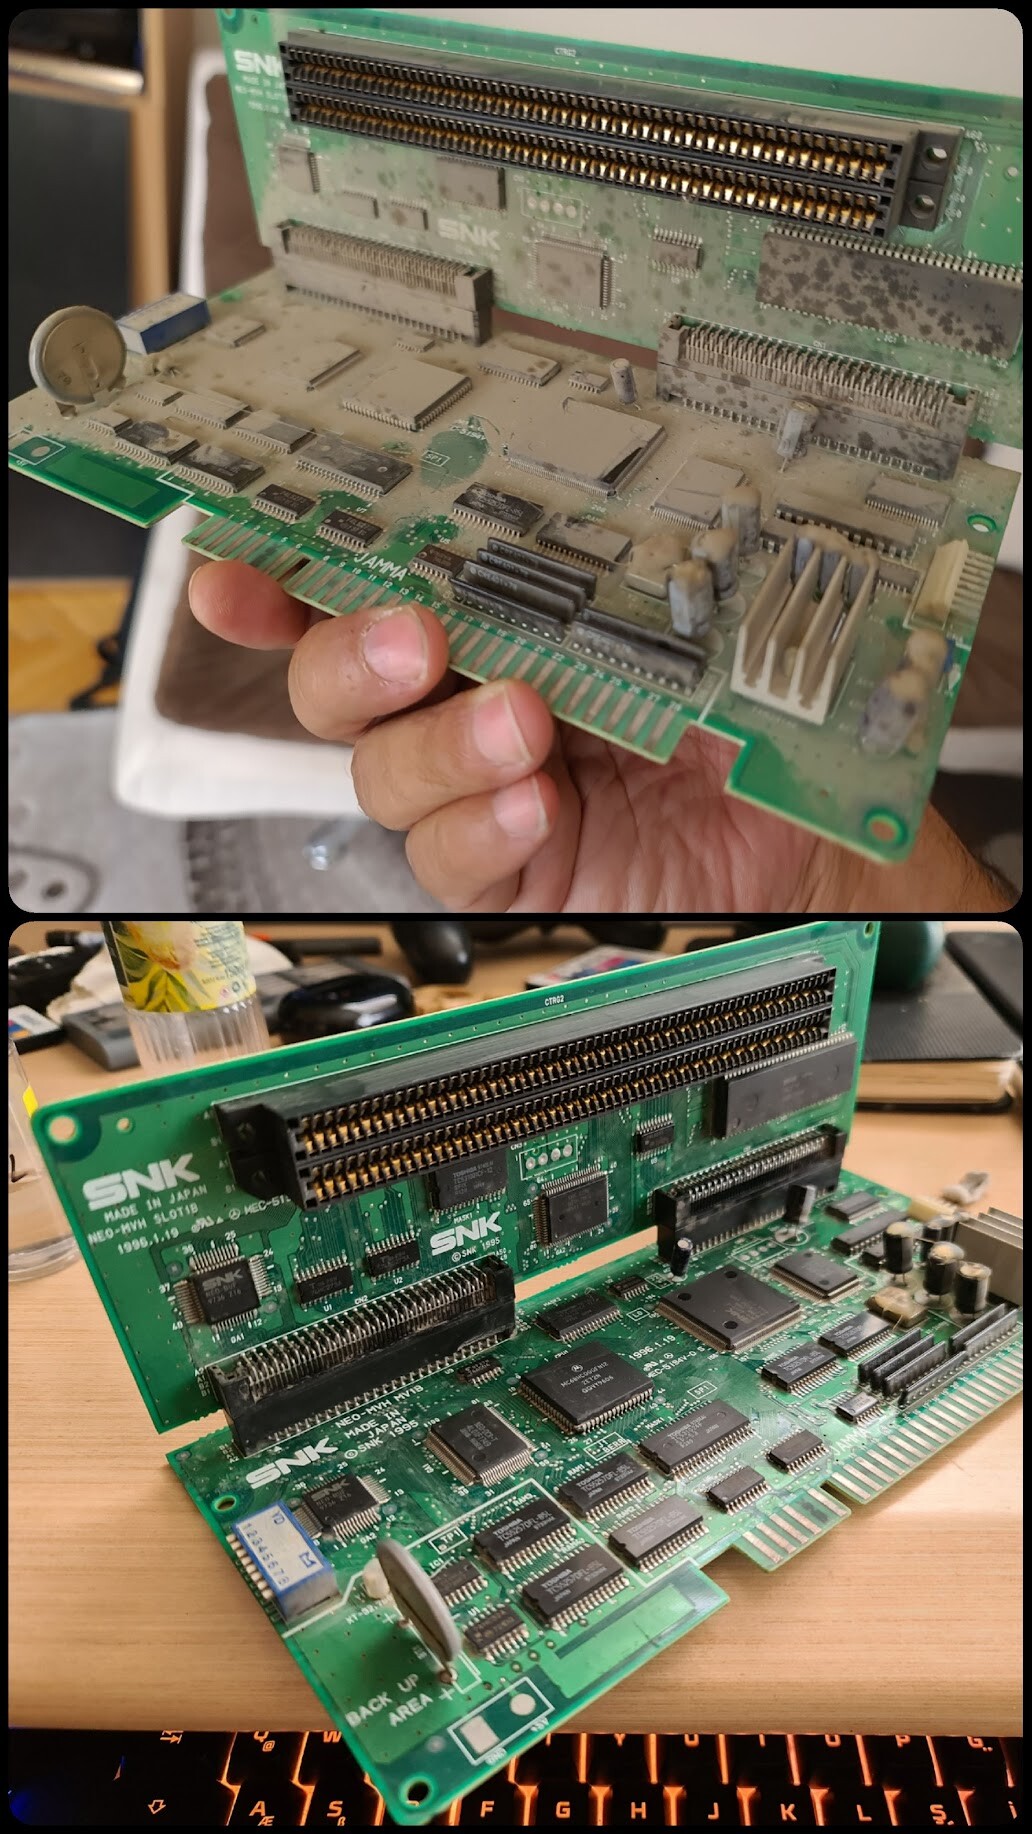
The SNK / NEo-Geo motherboard was terrible too. I cleaned it first.
After that to switch the system from Pandora to Neo-Geo, I needed to access the back side of the cabinet which means moving it first, and change the JAMMA cable. I needed to find a way to make the change without moving the cabinet. Also there was a need of changing the Neo-Geo cartridge when it's needed as well. I solved this later :)
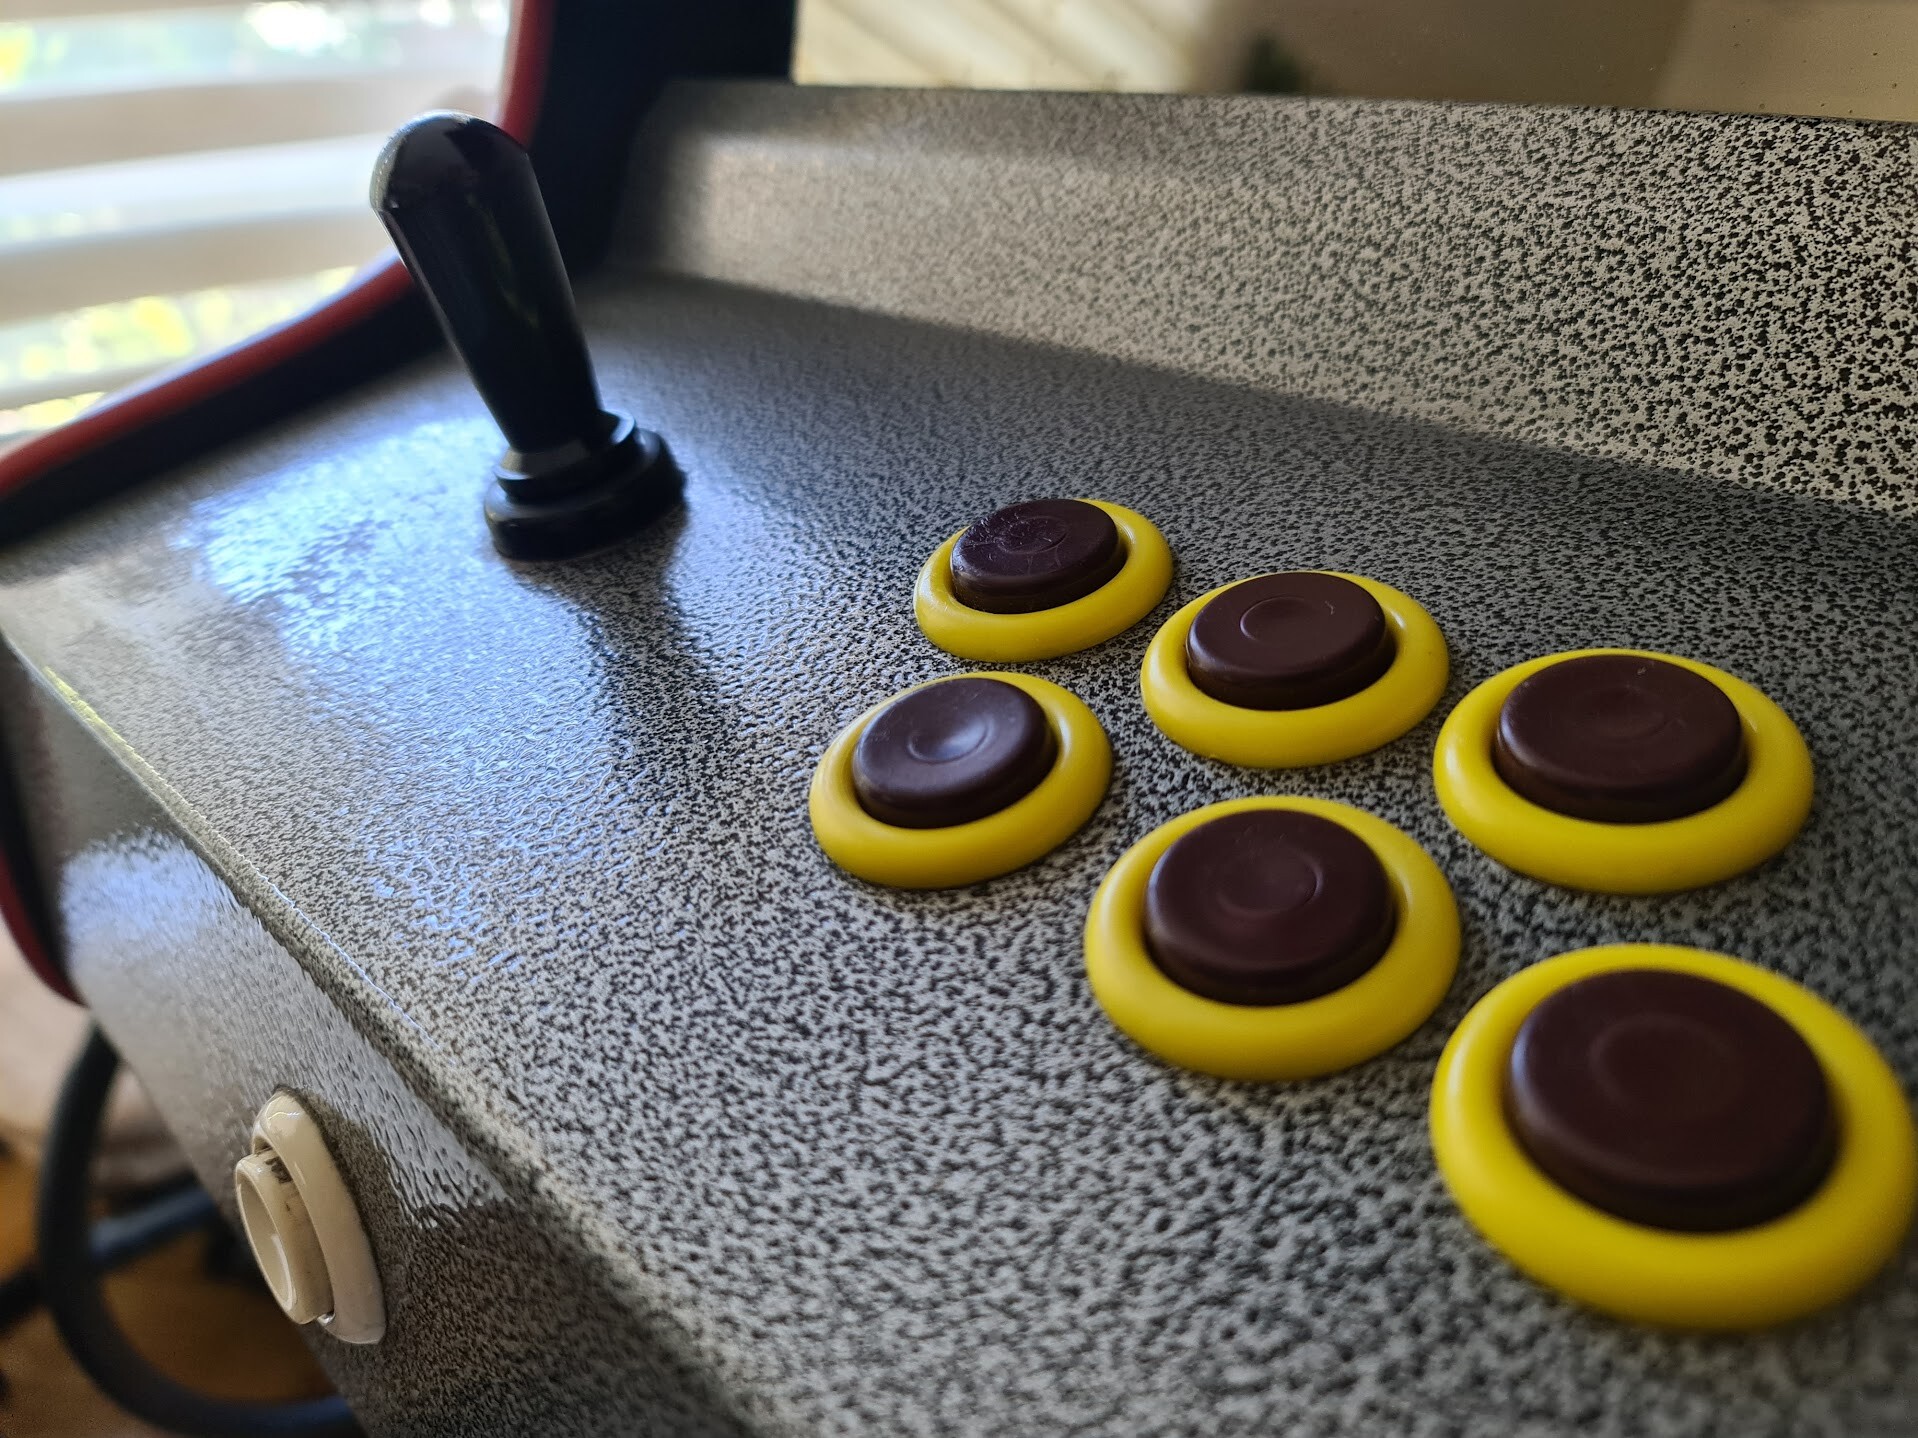
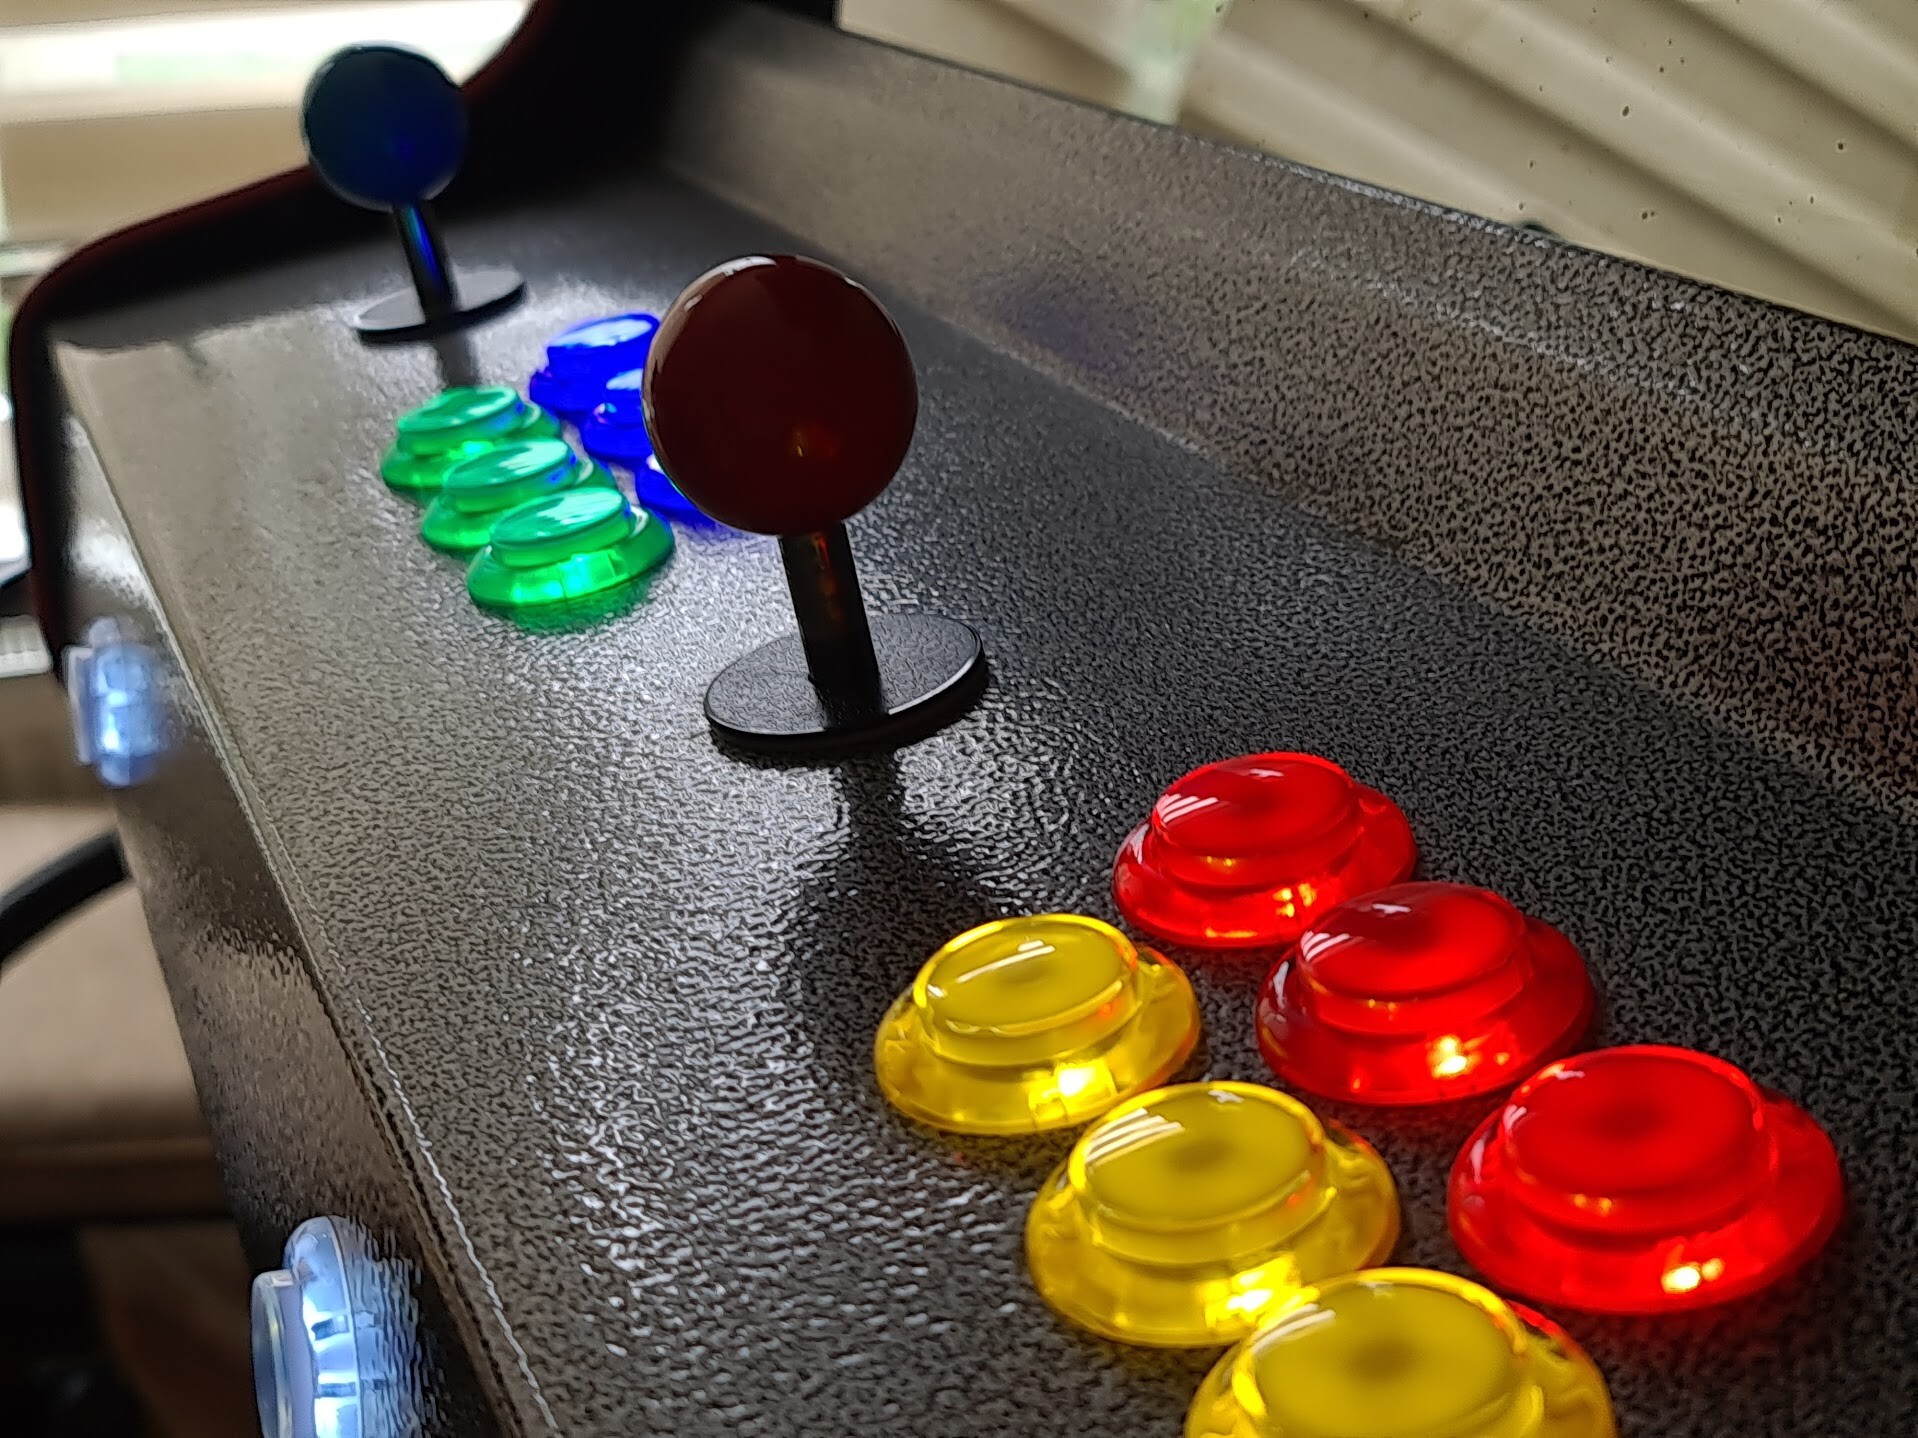
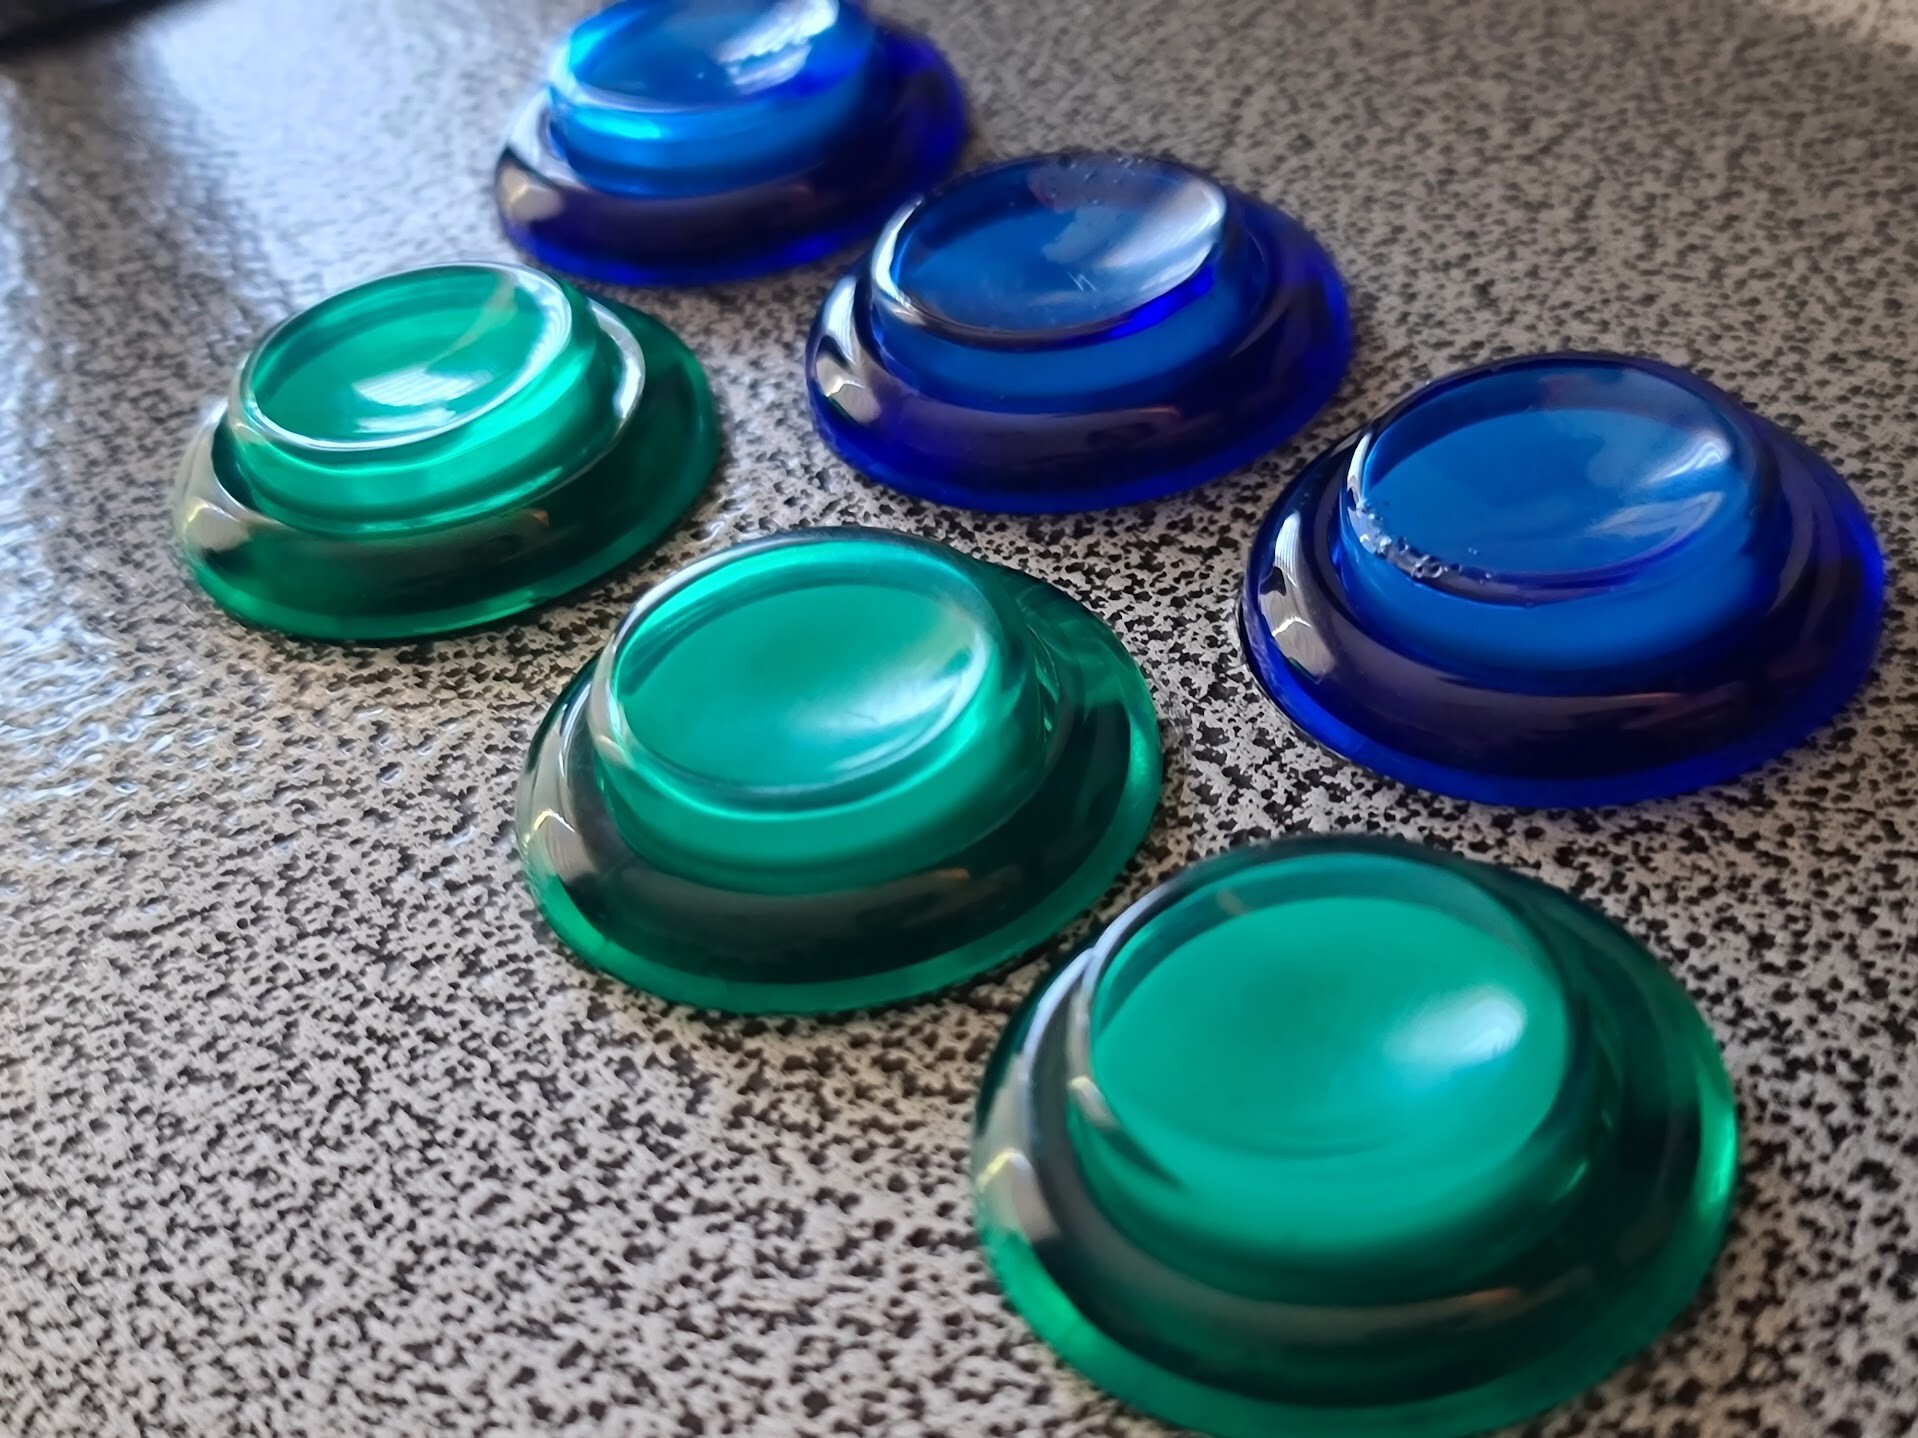
4. Changing the buttons with the LED ones
The existing buttons were terrible. Some of them was concave and some of them convex. Also they were very hard on tension. My daughter was not enjoying pressing them, I could clearly see it.

Finally buttons I ordered are arrived from China, and they were looking cool. This was the set I bought:
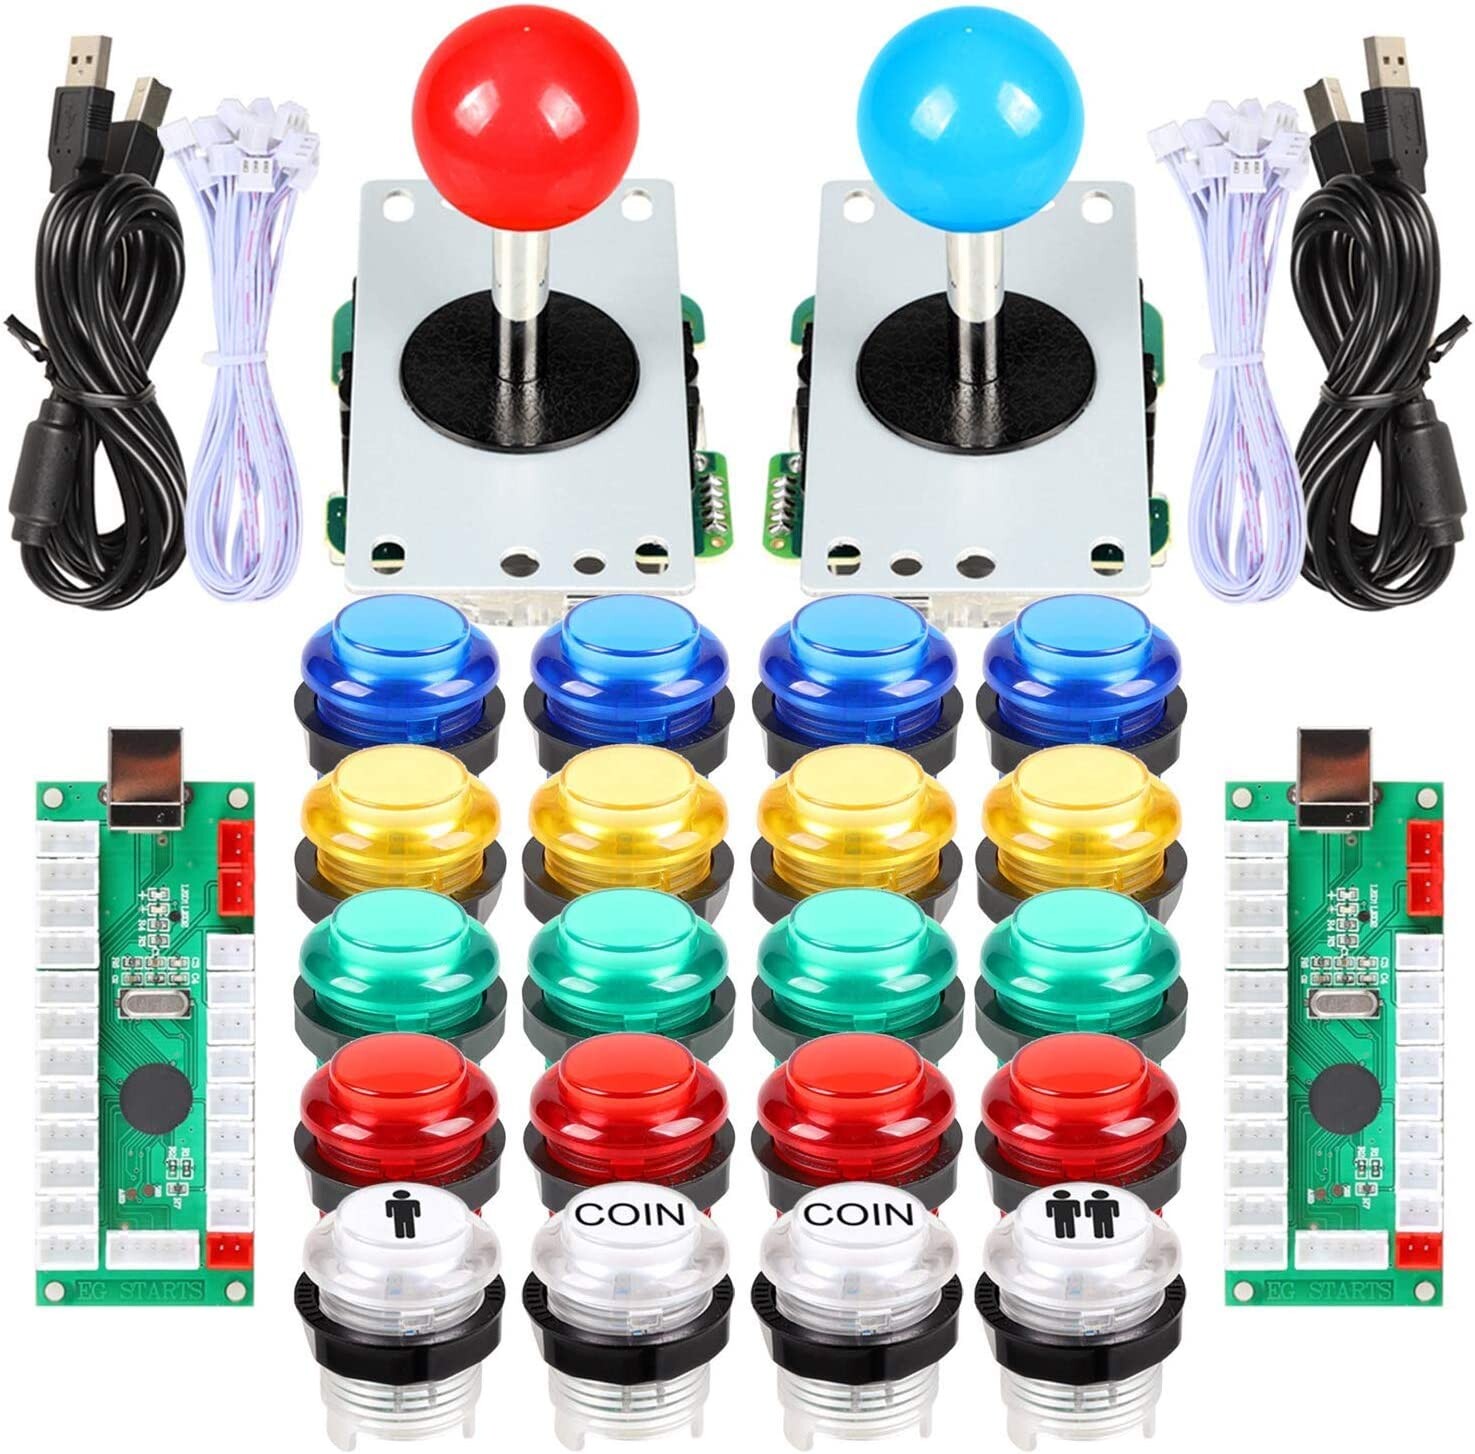
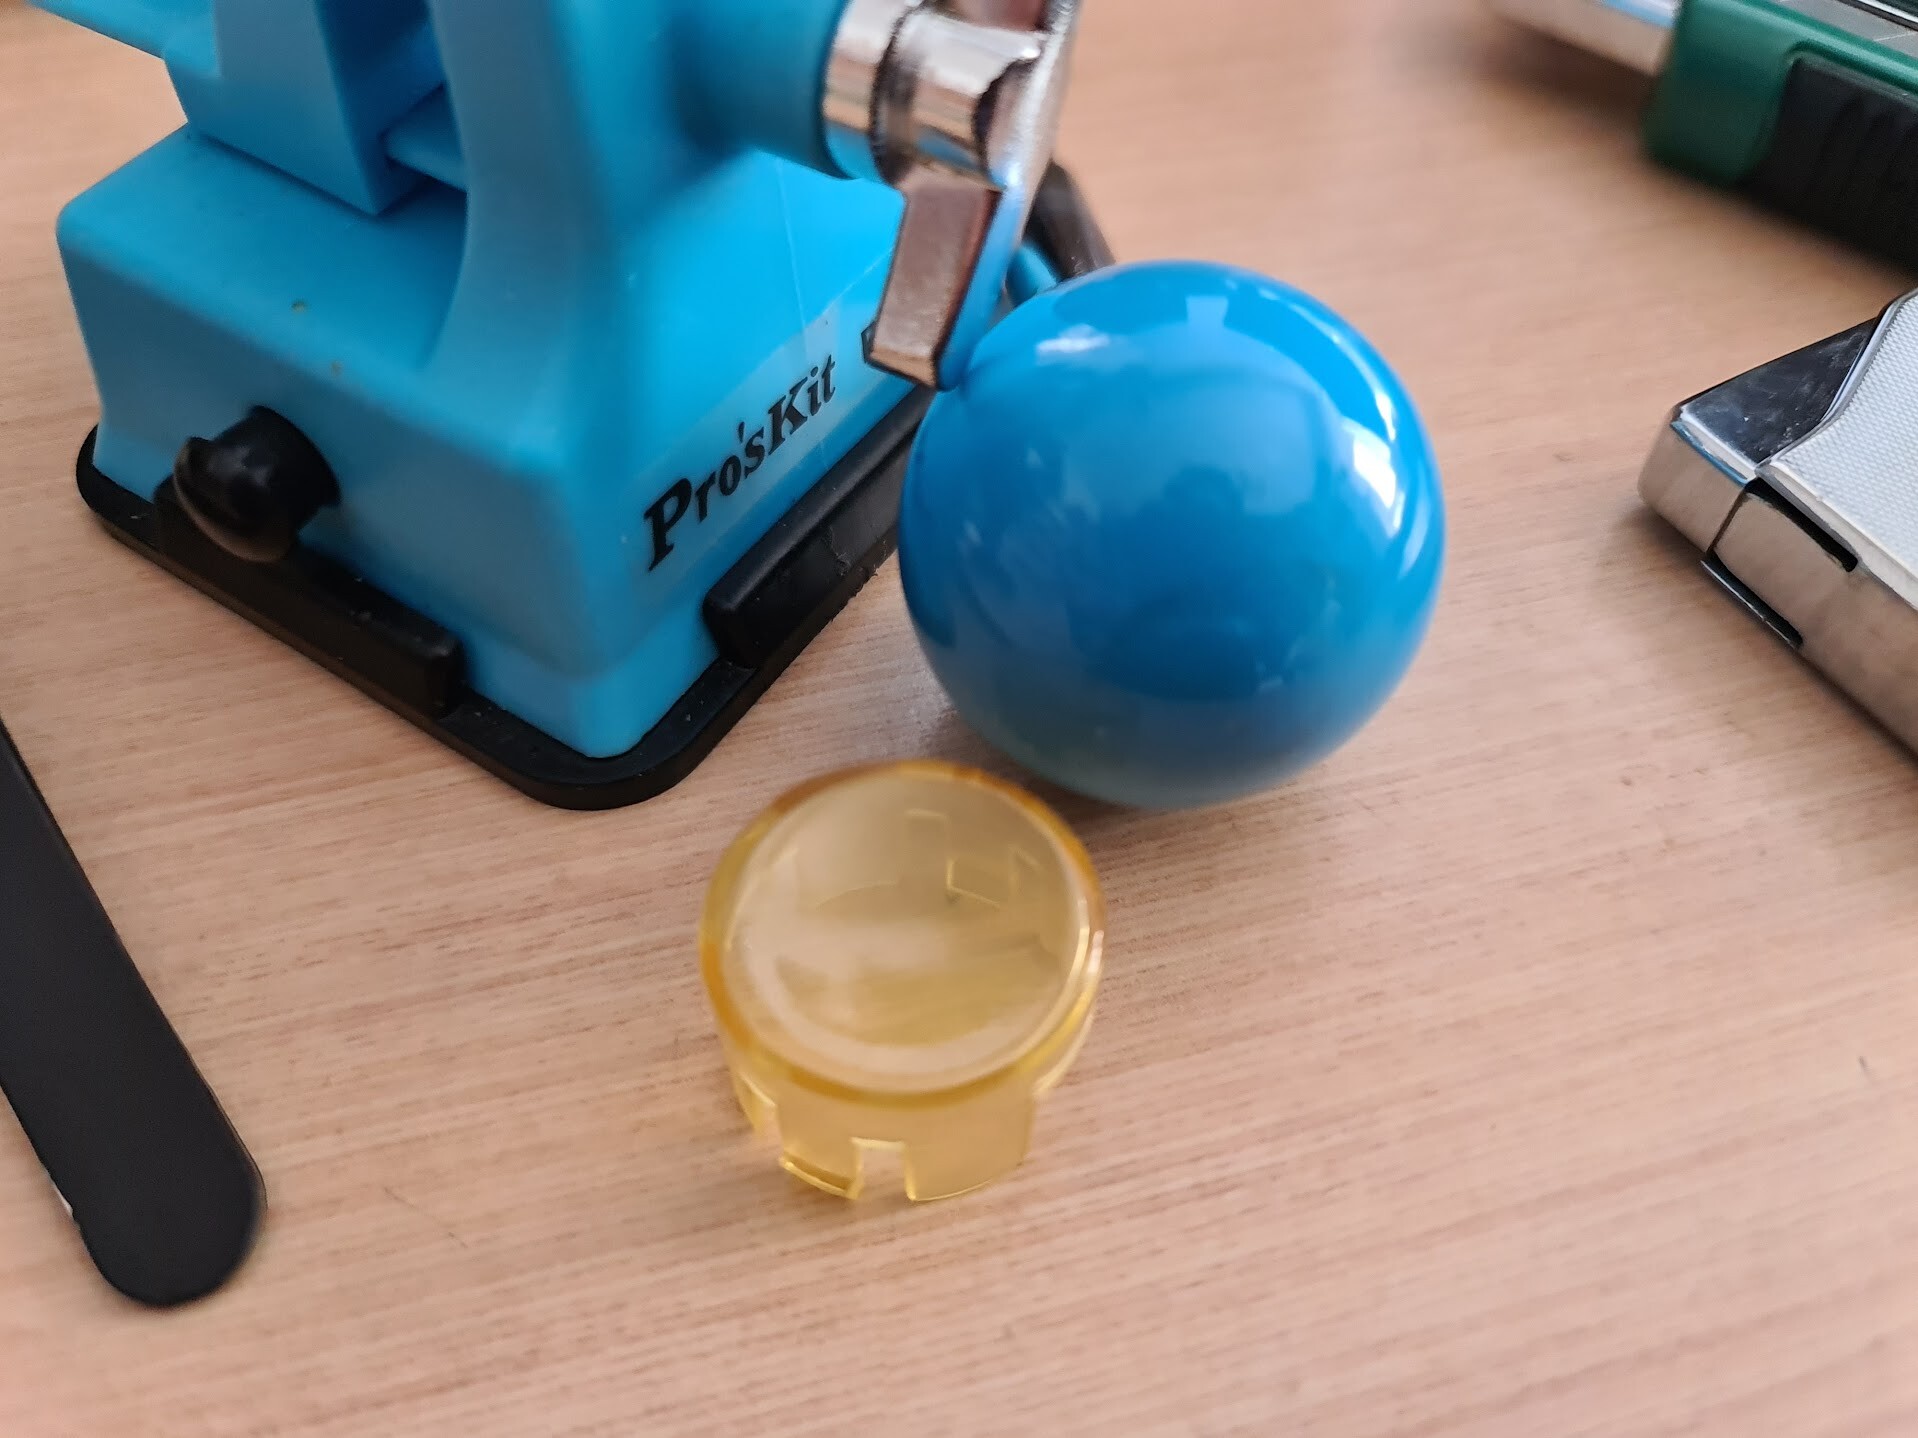
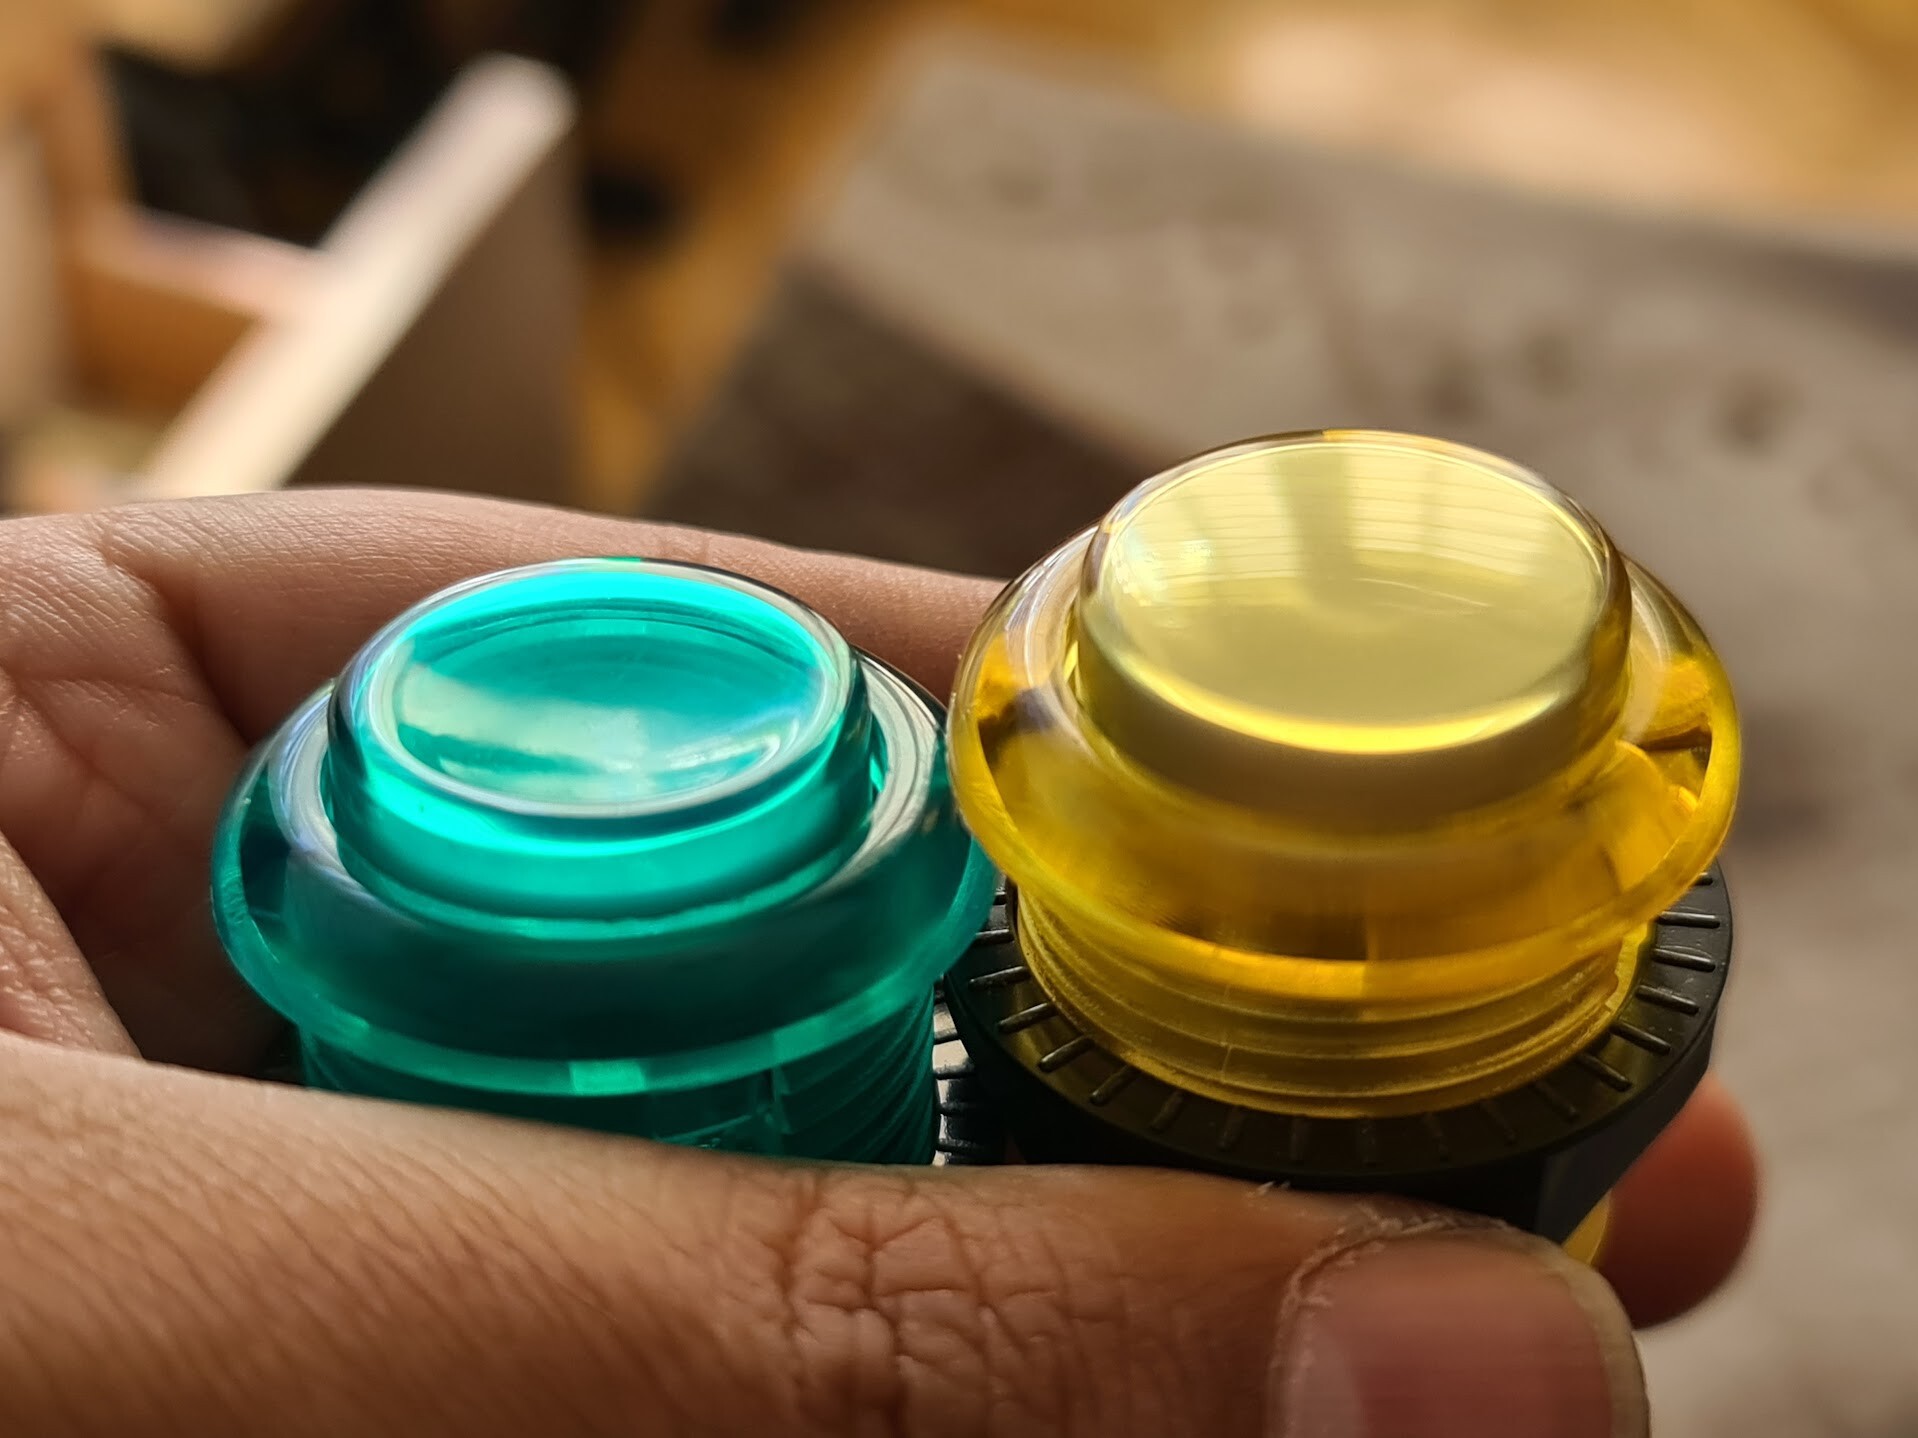
Acutally this set is for making an arcade controller for a PC or modern consoles with USB support. Which means modding for me to adapt it to my arcade cabinet. I only interested with the buttons BTW, sticks arenot important at this stage because the ones I installed already were very similar to these. But the colored spheres on those were worh changing with the white ones.
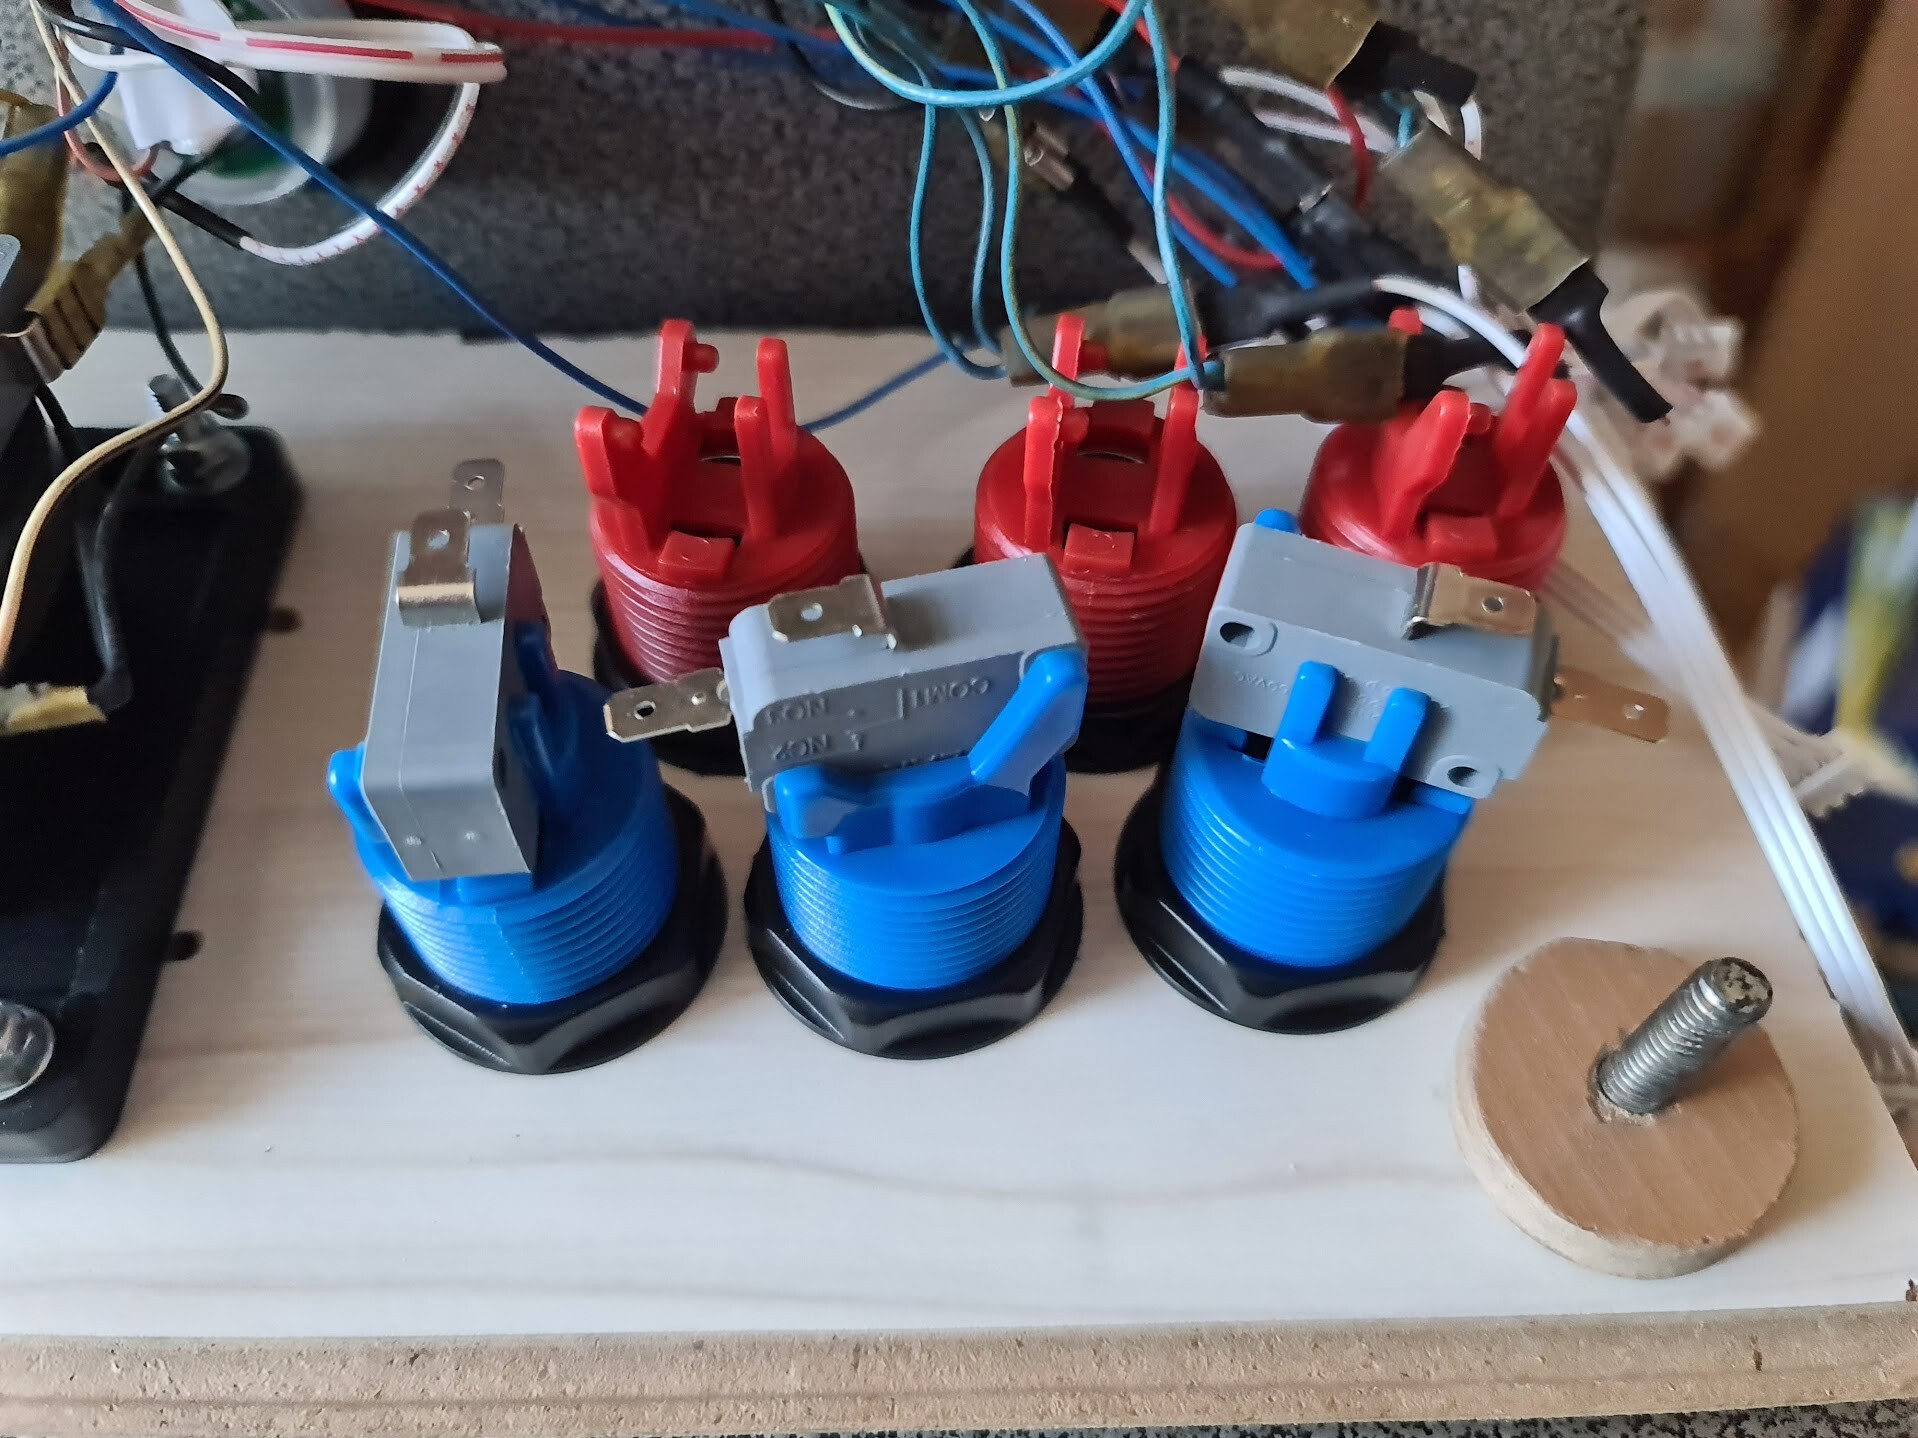
Buttons had this kind of connectors and cables for them.

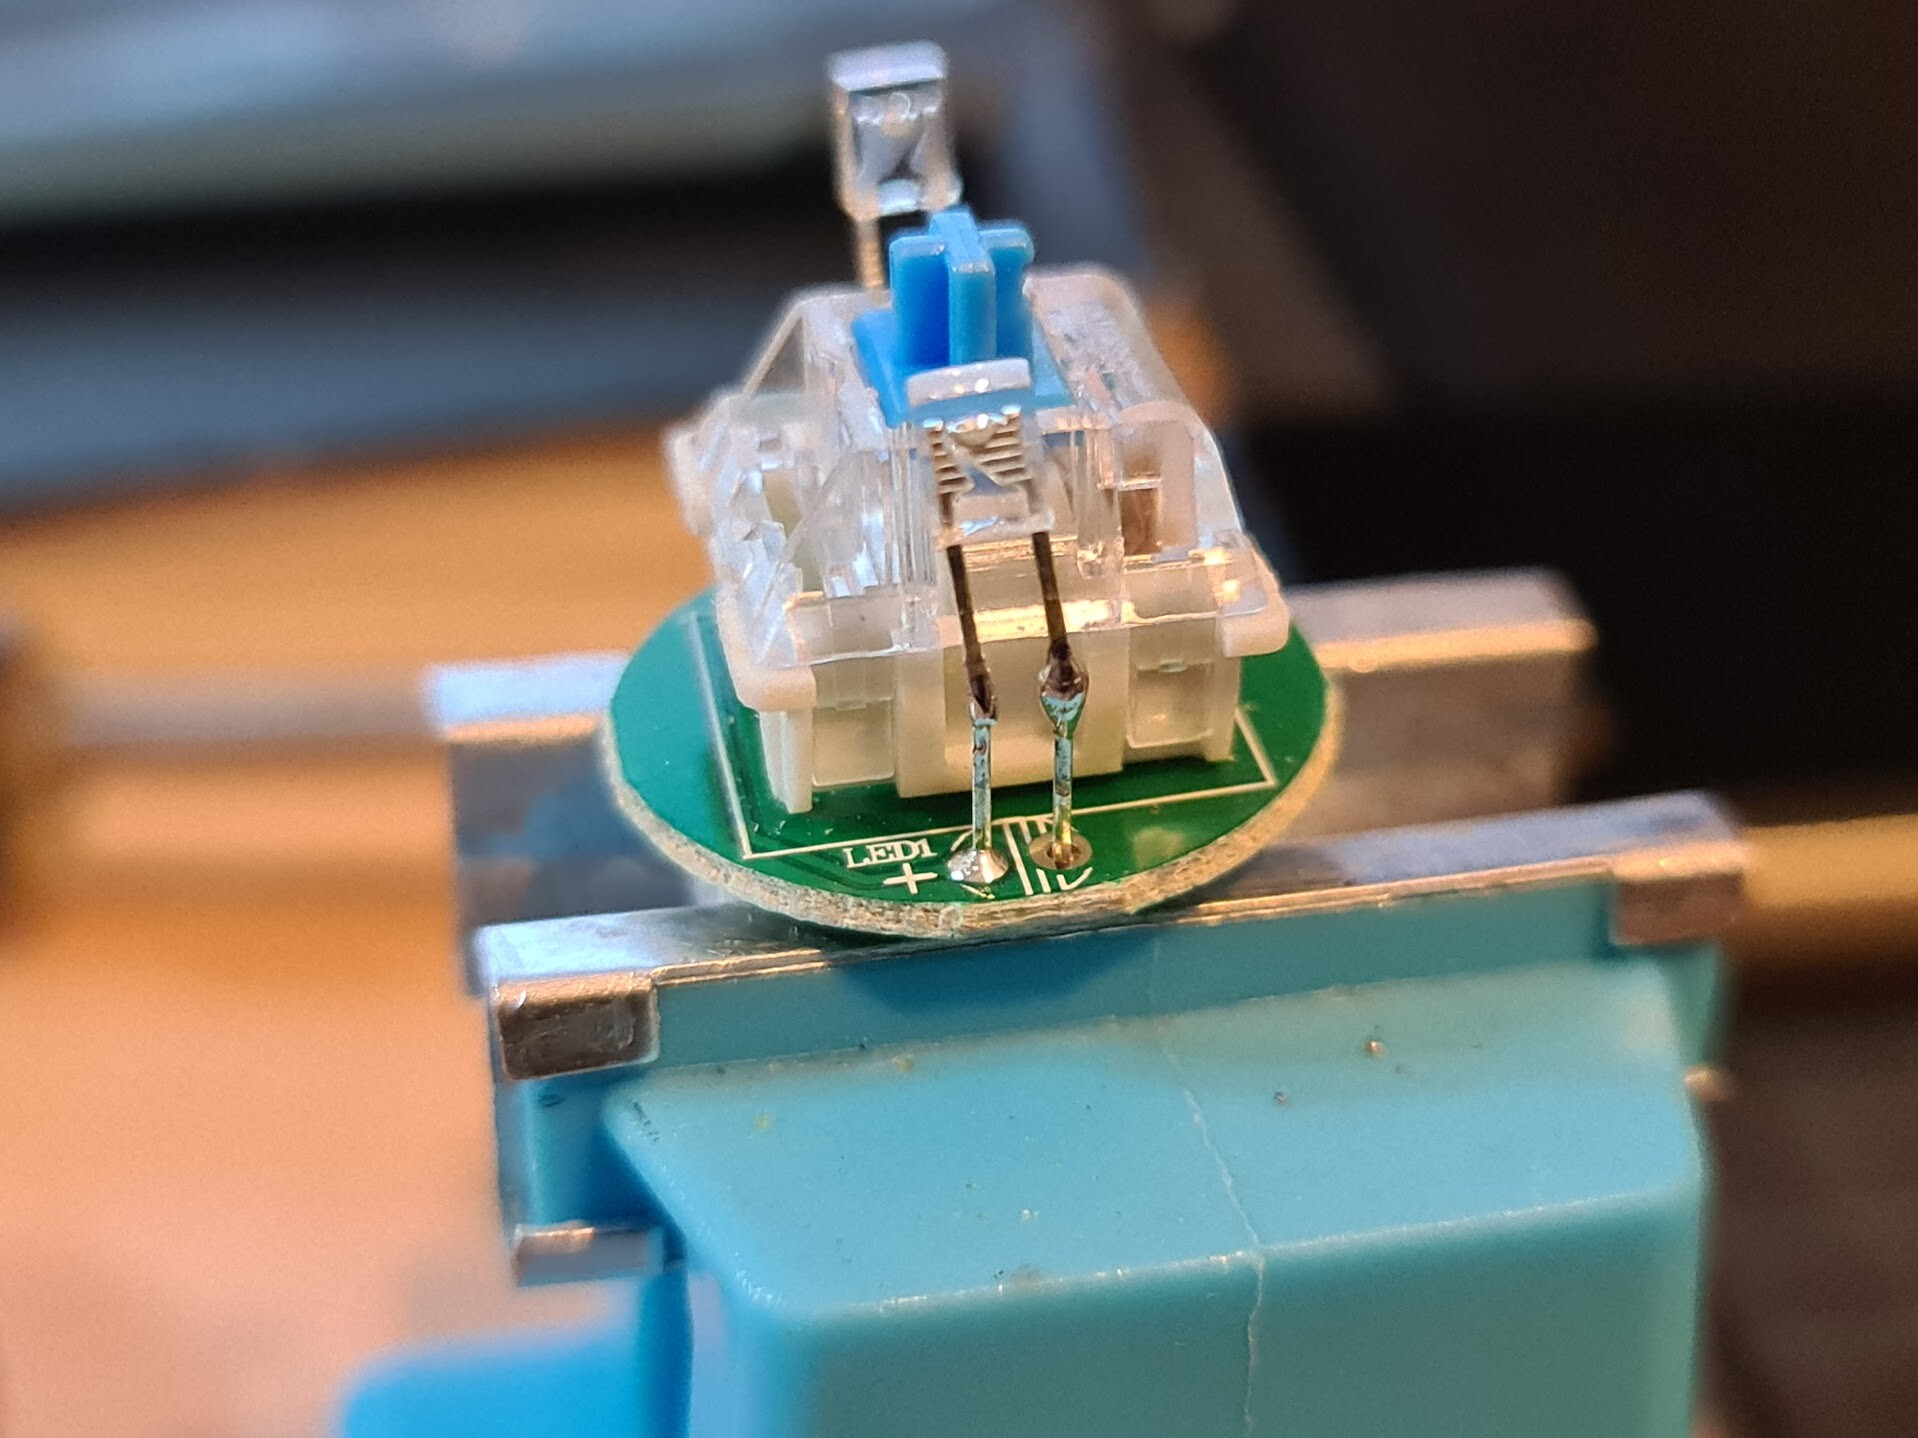
I cut the connector cables top test the polarities. Because both LED lights on the buttons and the switch were using the same ground. I had no chance to connect the ground and button pole reversed. While testing the cables, I couldn't be able to both lit the LEDs and make the button work. If LEDs are ON, button was not working. If I switch the cables, then button was working but LED is not this time.
After getting crazy a while I I realized that the USB converter PCB of the buttons has all +5V side connected :) Normally grounds should be connected!
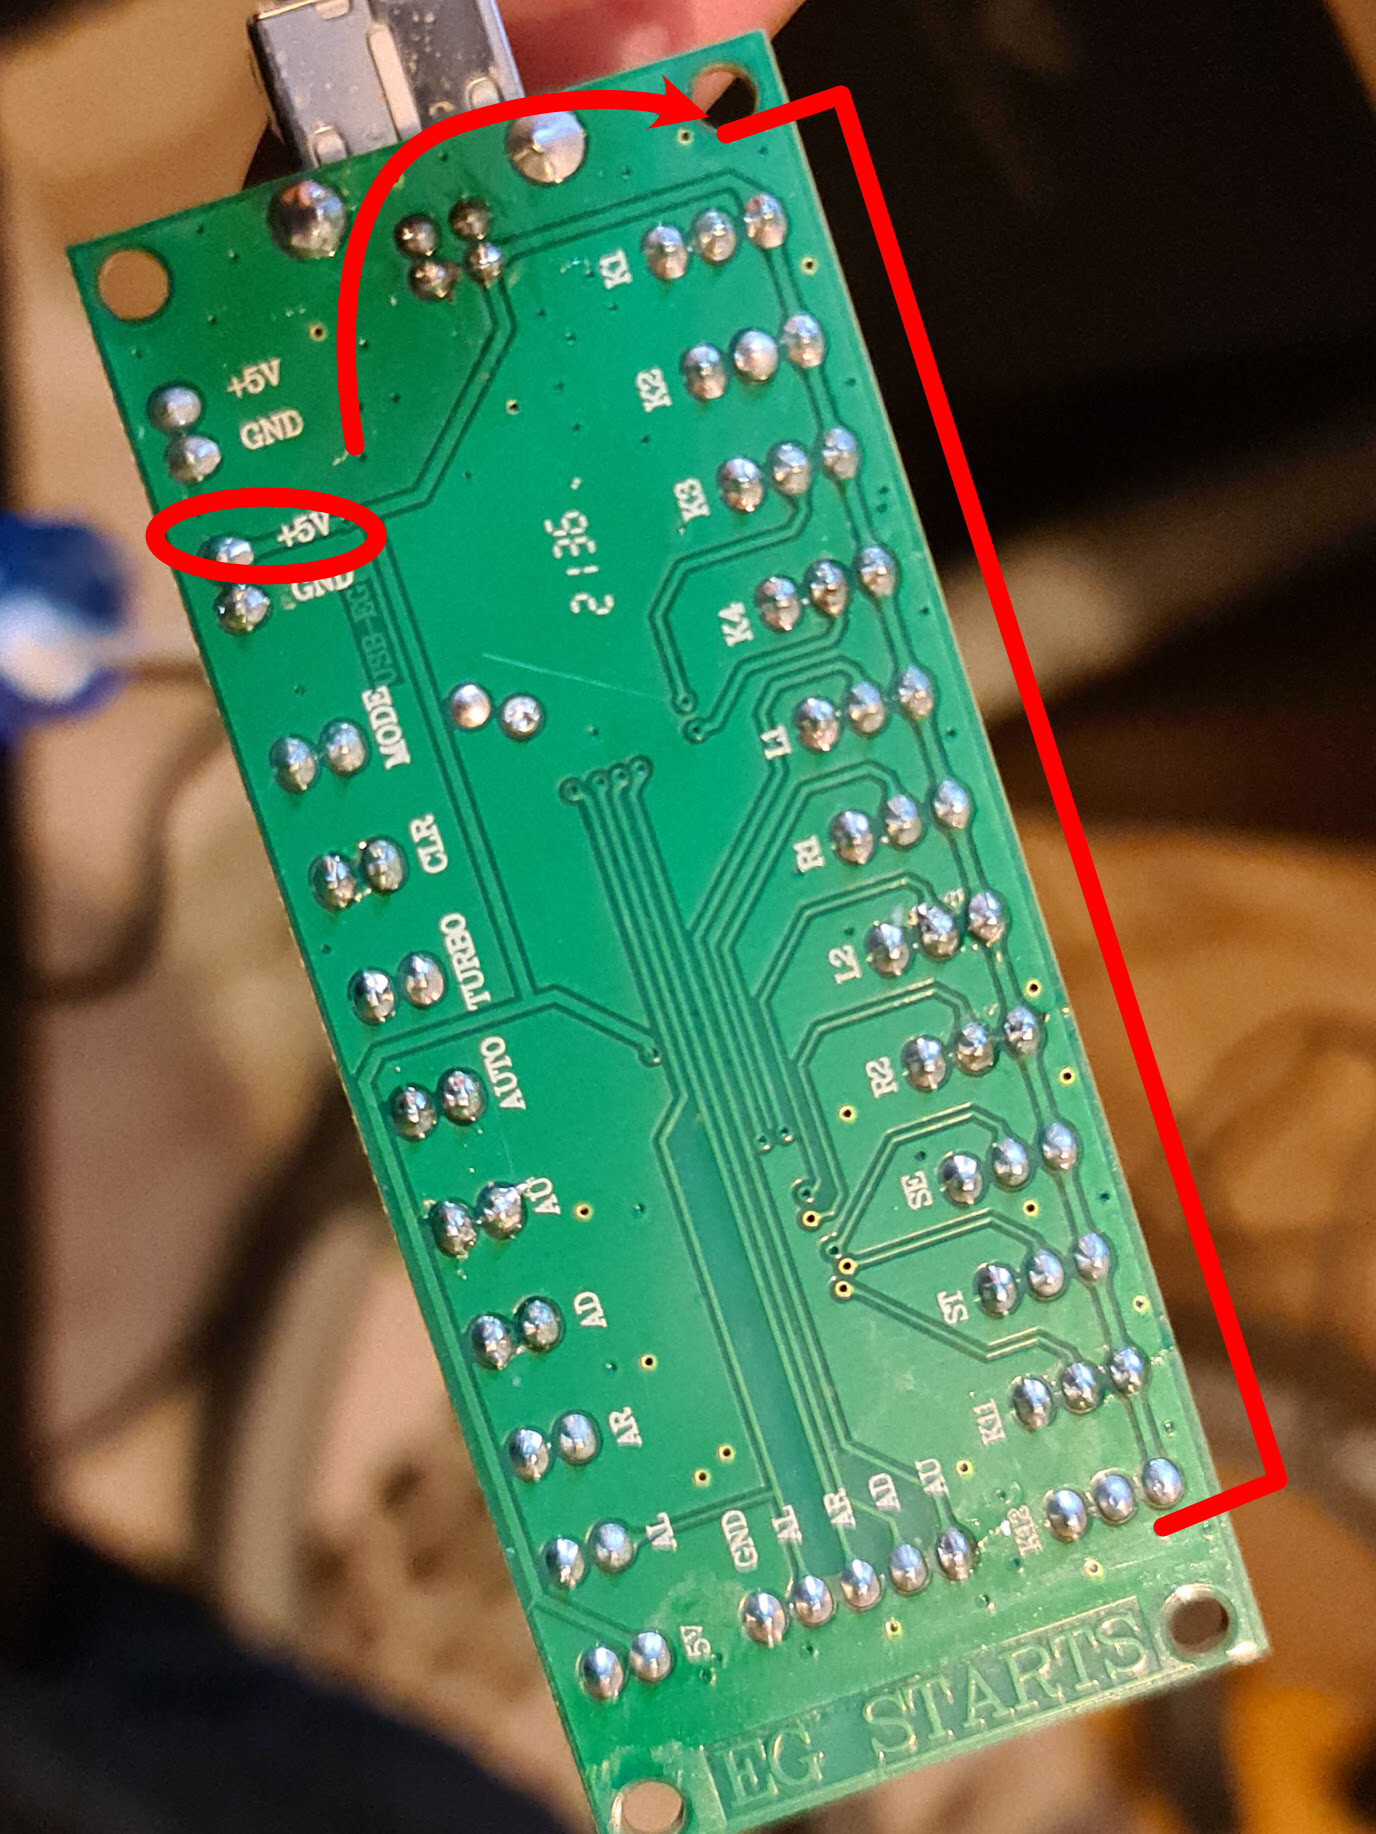
So only way was to cut the LEDs and re-solder them in reversed way. I re-soldered 2 LEDs per each.
These buttons has a cherry MX type switches inside btw. Which makes them very light and enjoyable.
All the cables that comes from JAMMA socket has a quick terminal sockets. So, I used some copper sheet and soldered it to the cables to make a good connection with that sockets.
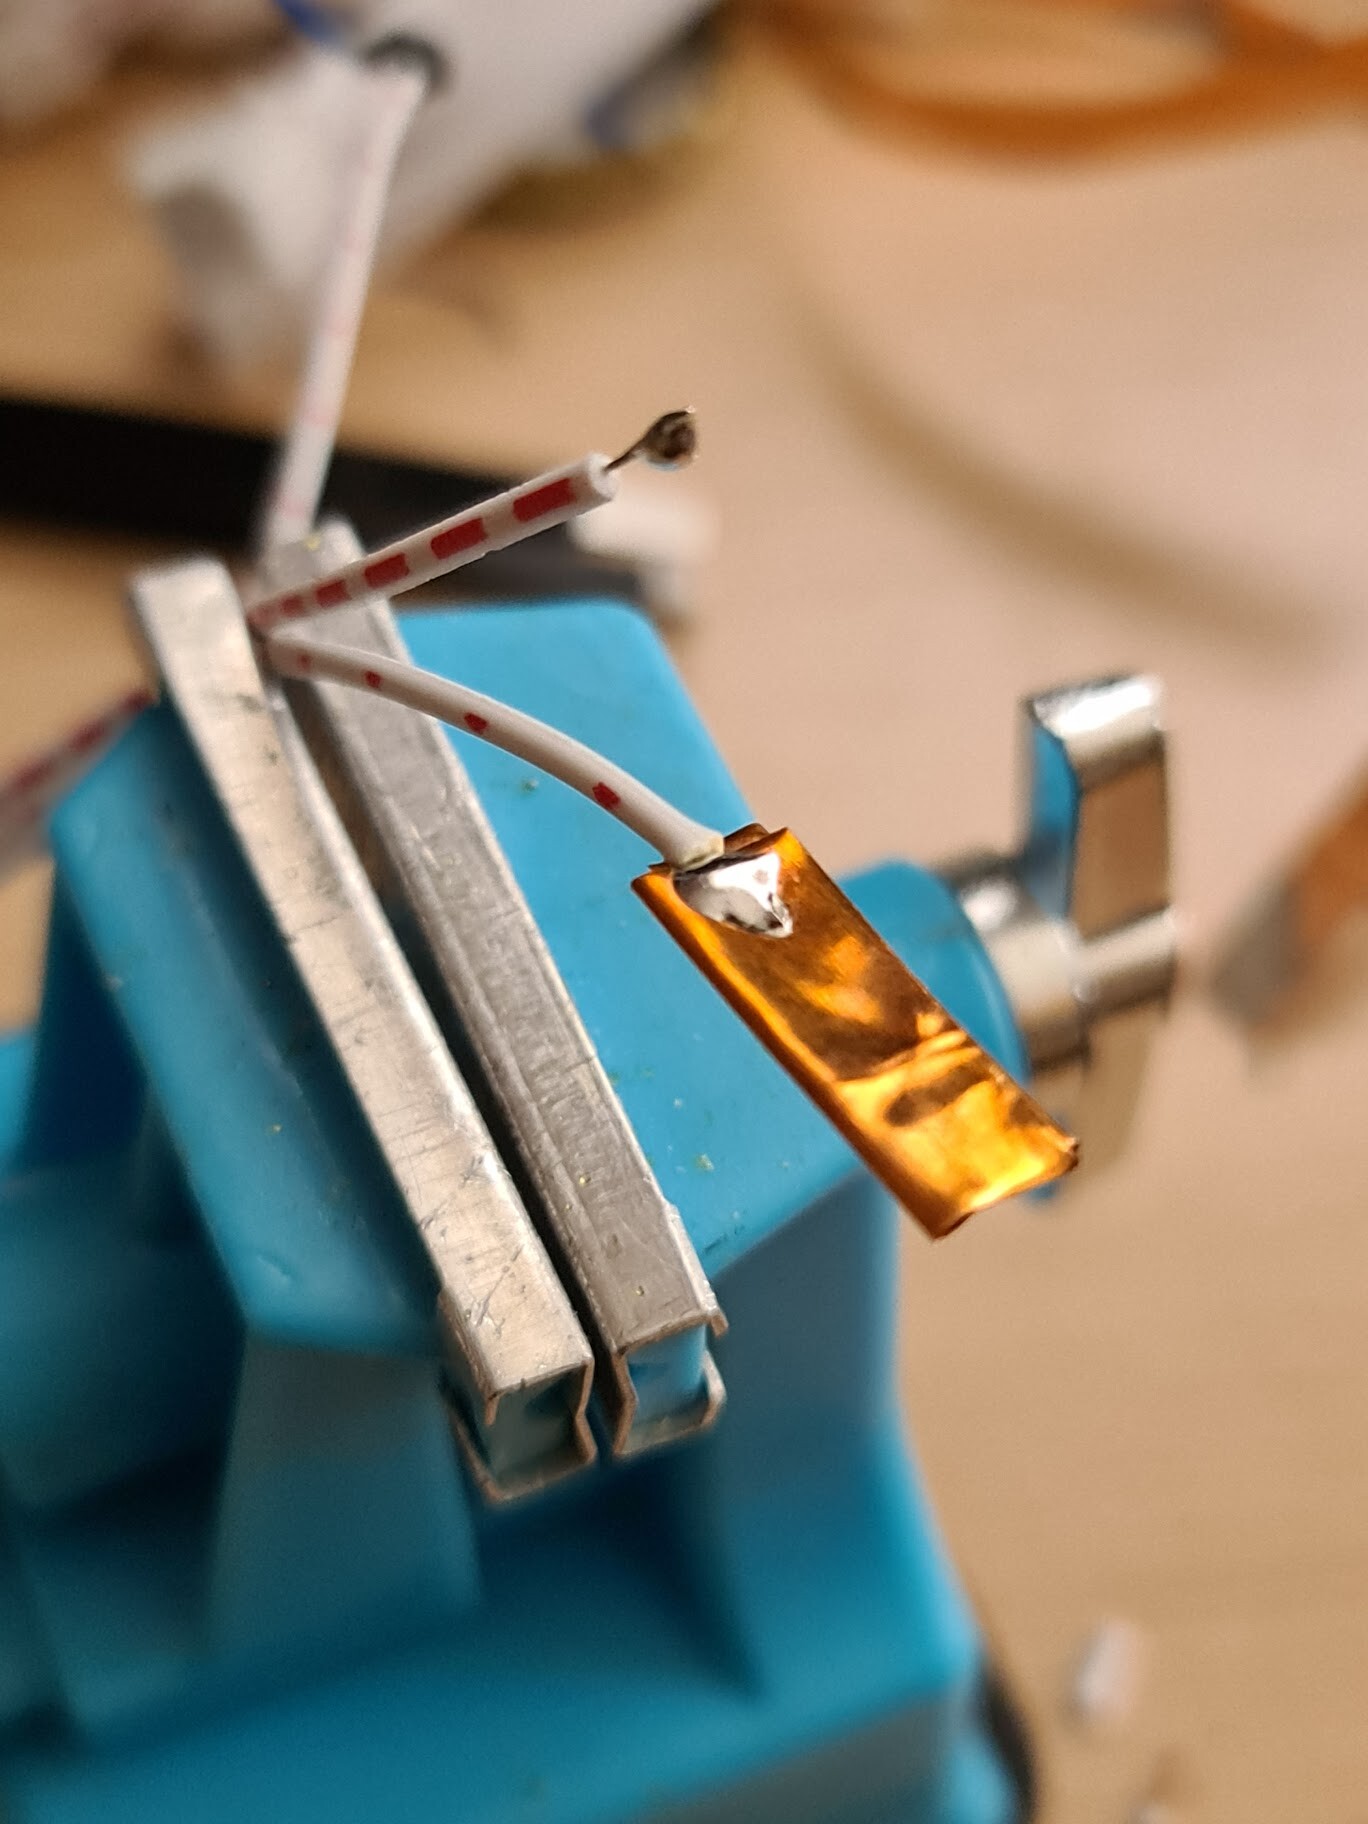

I take a +5V from the power suppy of the cabinet and connected all new connectos with the sockets according to the realted button assignment.

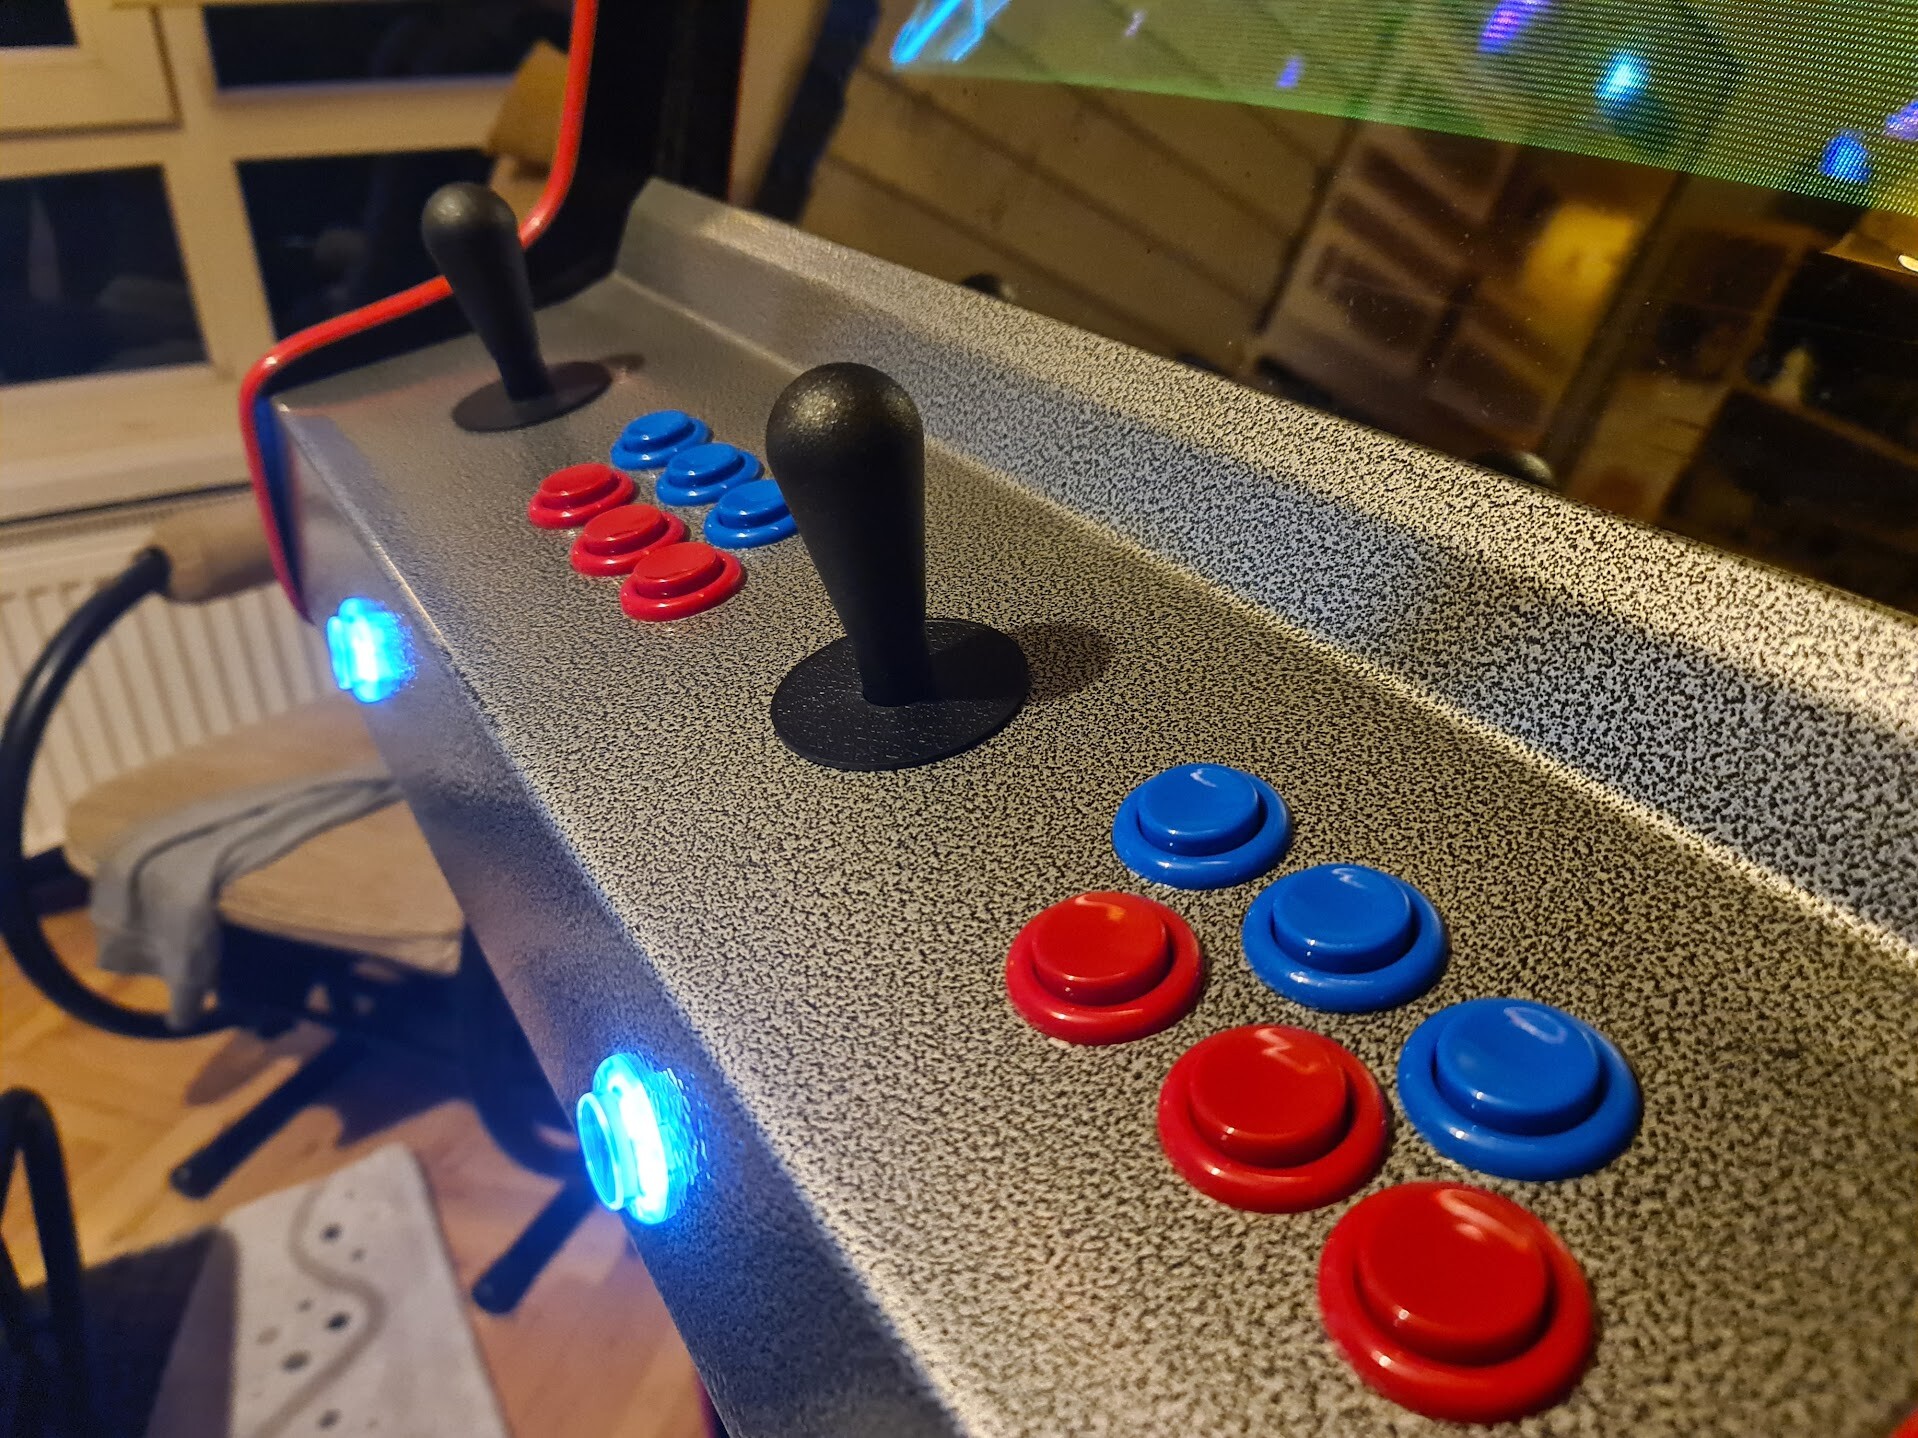
And we're on fire!


5. Switching Game Systems from the Front Door
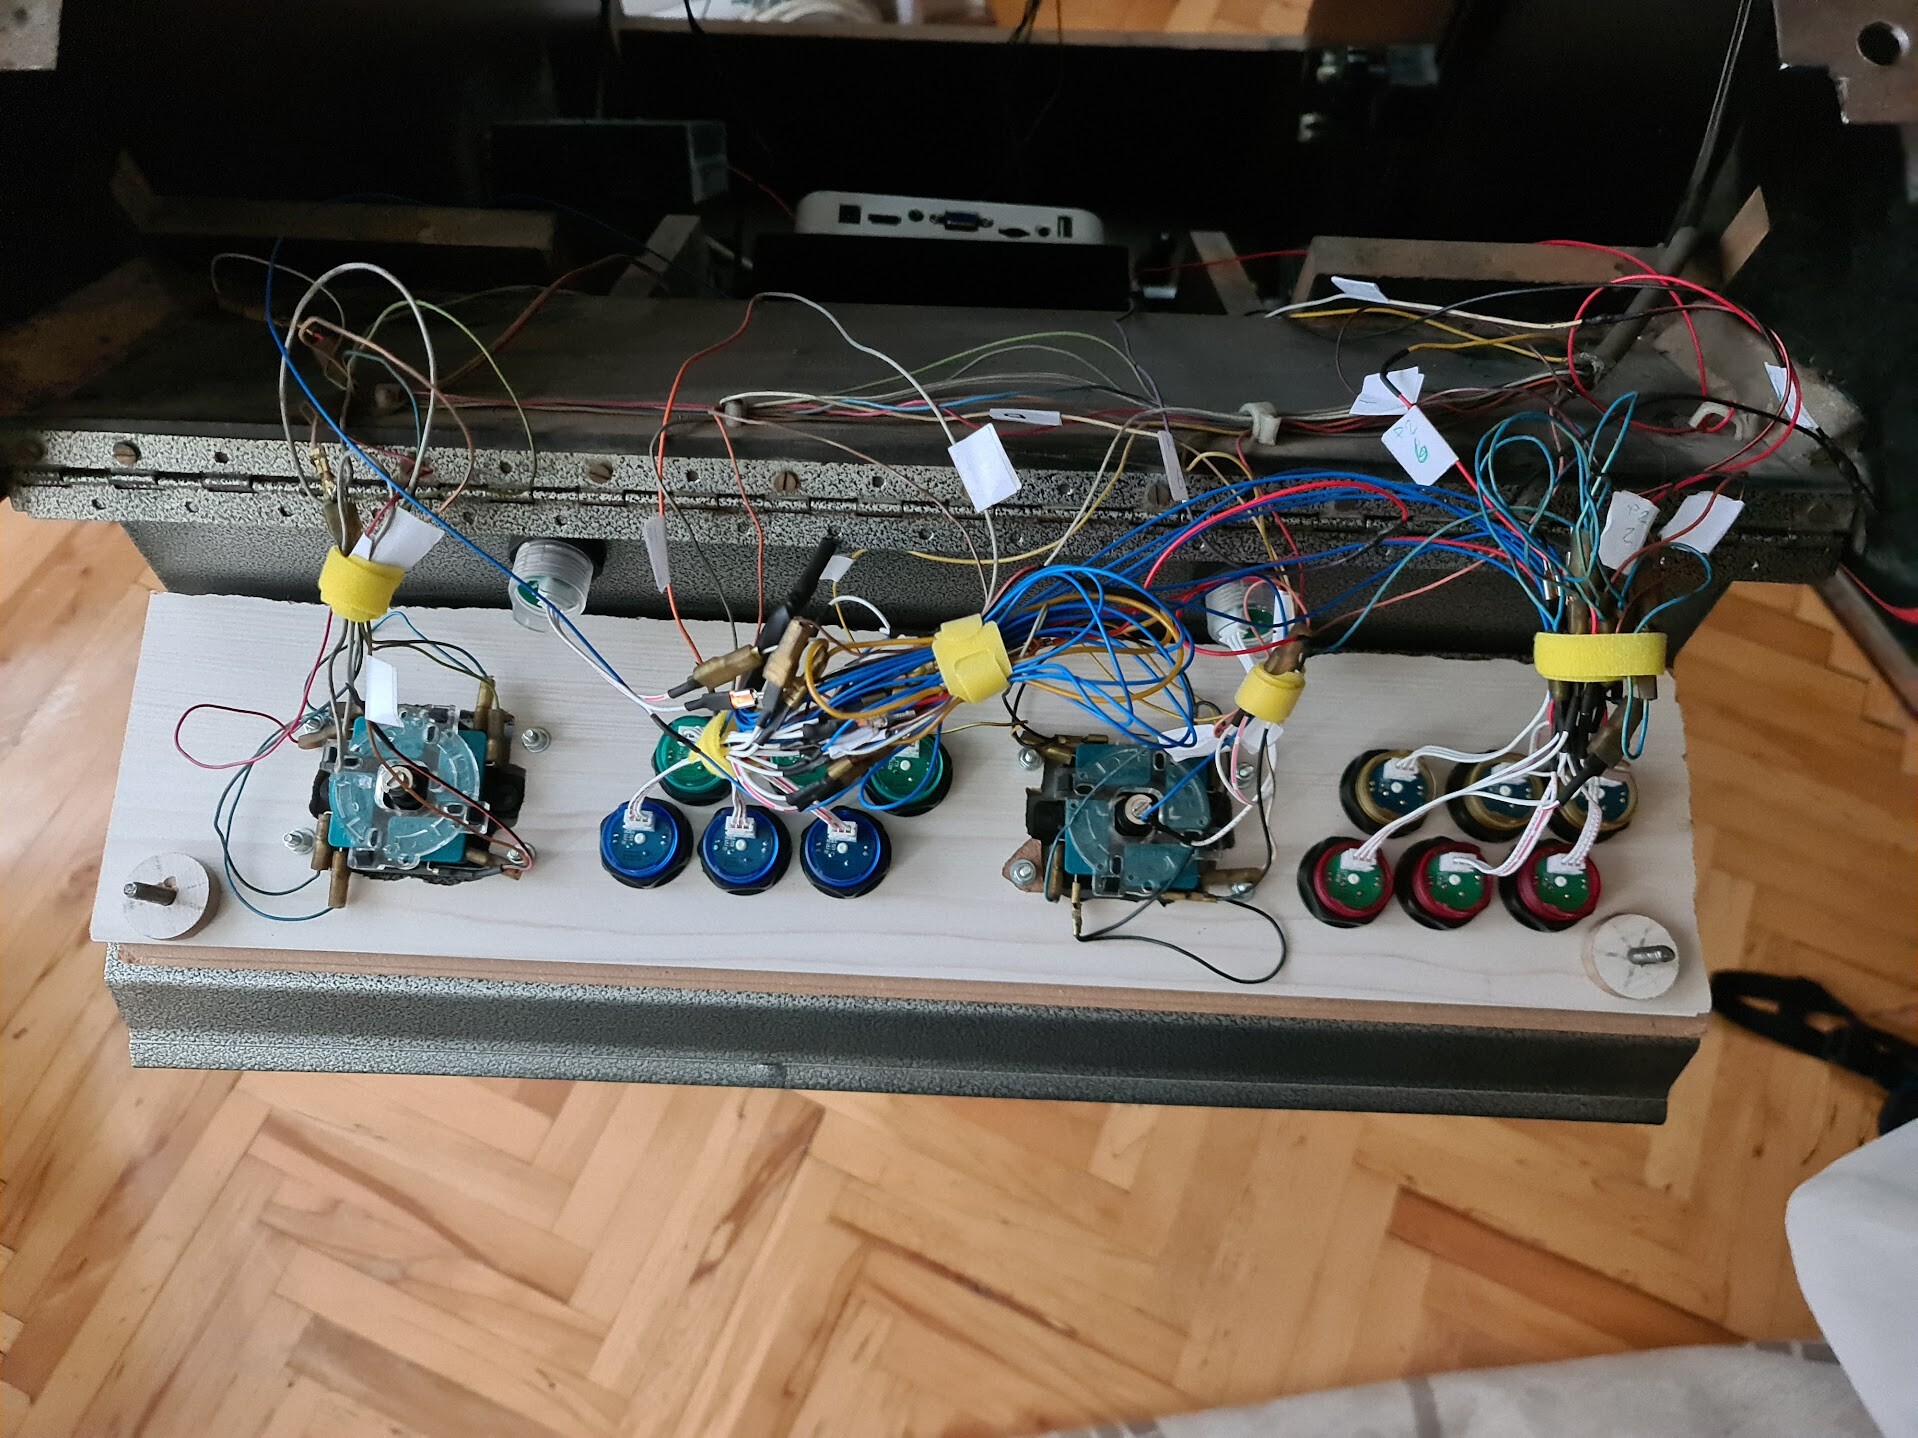
Since I didn't want to move the cabinet each time I want to switch the game system (Pandora or Neo-Geo) I mounted the Pandora to the other side of the plate. And by the help of a new plate, I mounted Neo-Geo to the next to Pandora. This is the plan I made.
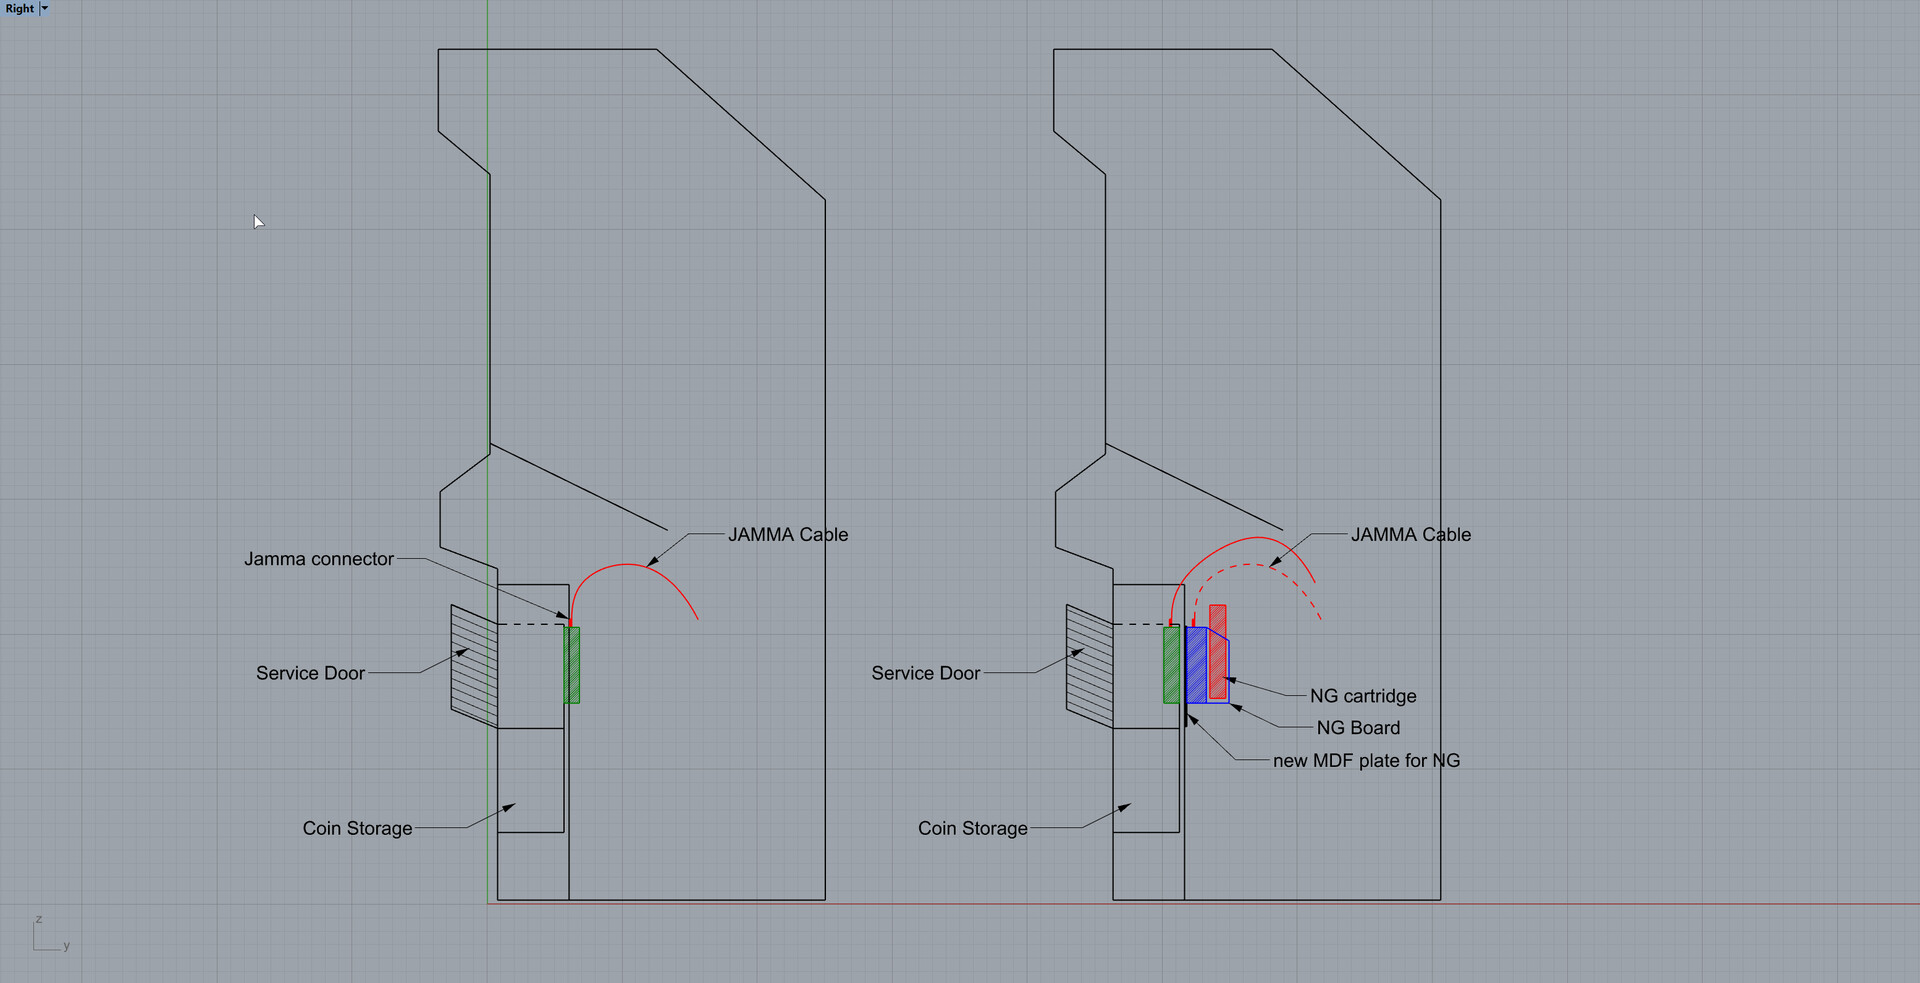
So I added the board first.

Screwed it to the edge of the woods behind, and screwed the Neo-Geo to the board.

This is how the systems side by side so I can detach the jamma and connect to other one each time I needed.
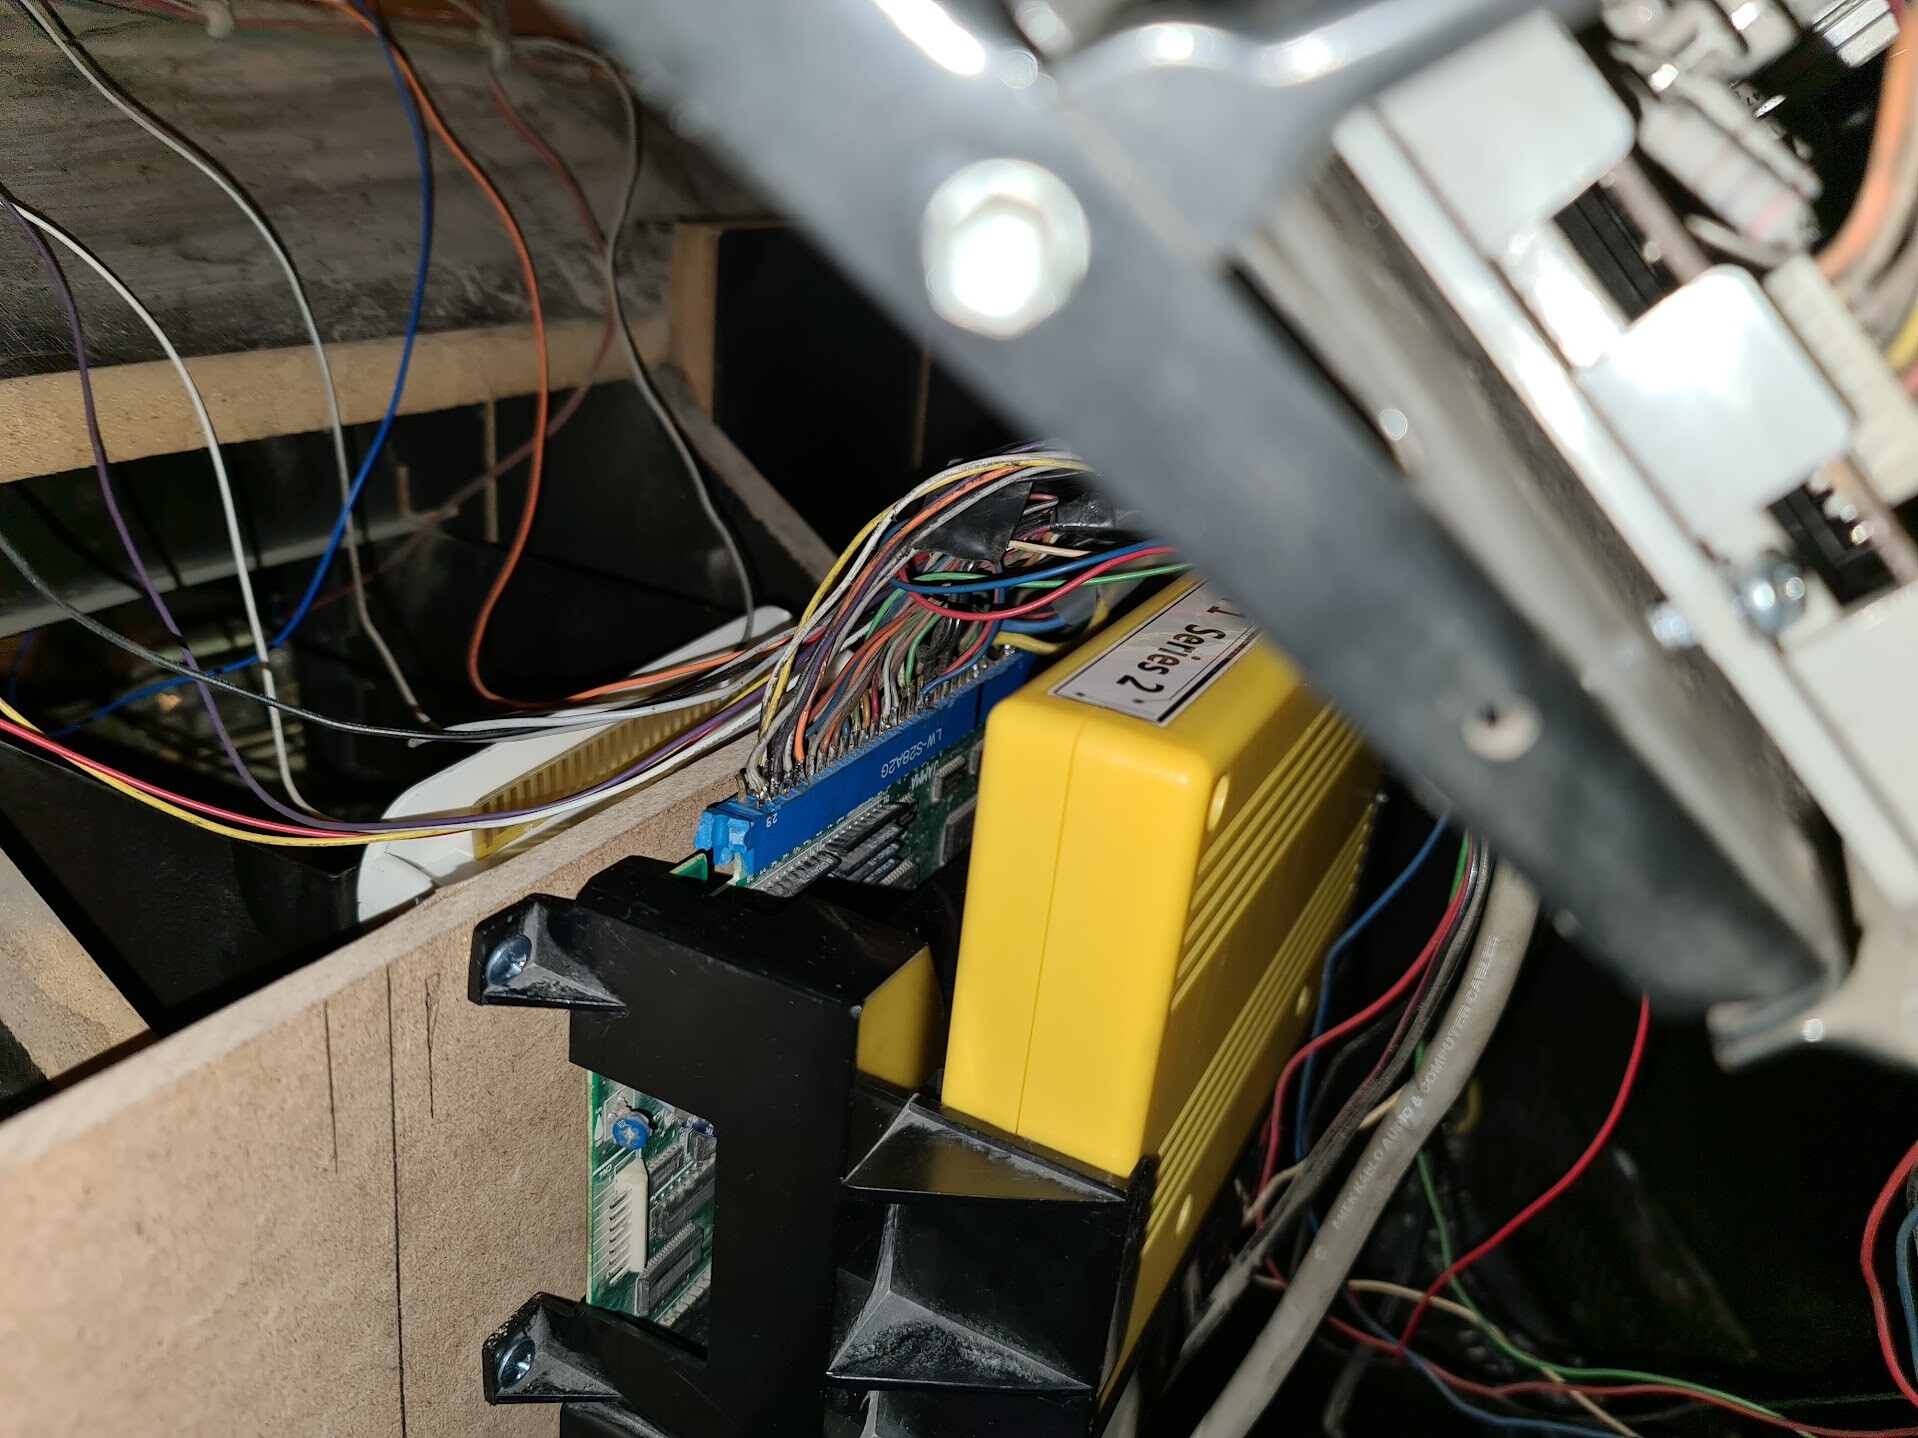
After a few trials, I can easily change the cardridge of Neo-Geo, even I reach to the dip switches. Believe me it's better than moving the cabinet and open the back door of it each time!
6. Battop Sticks
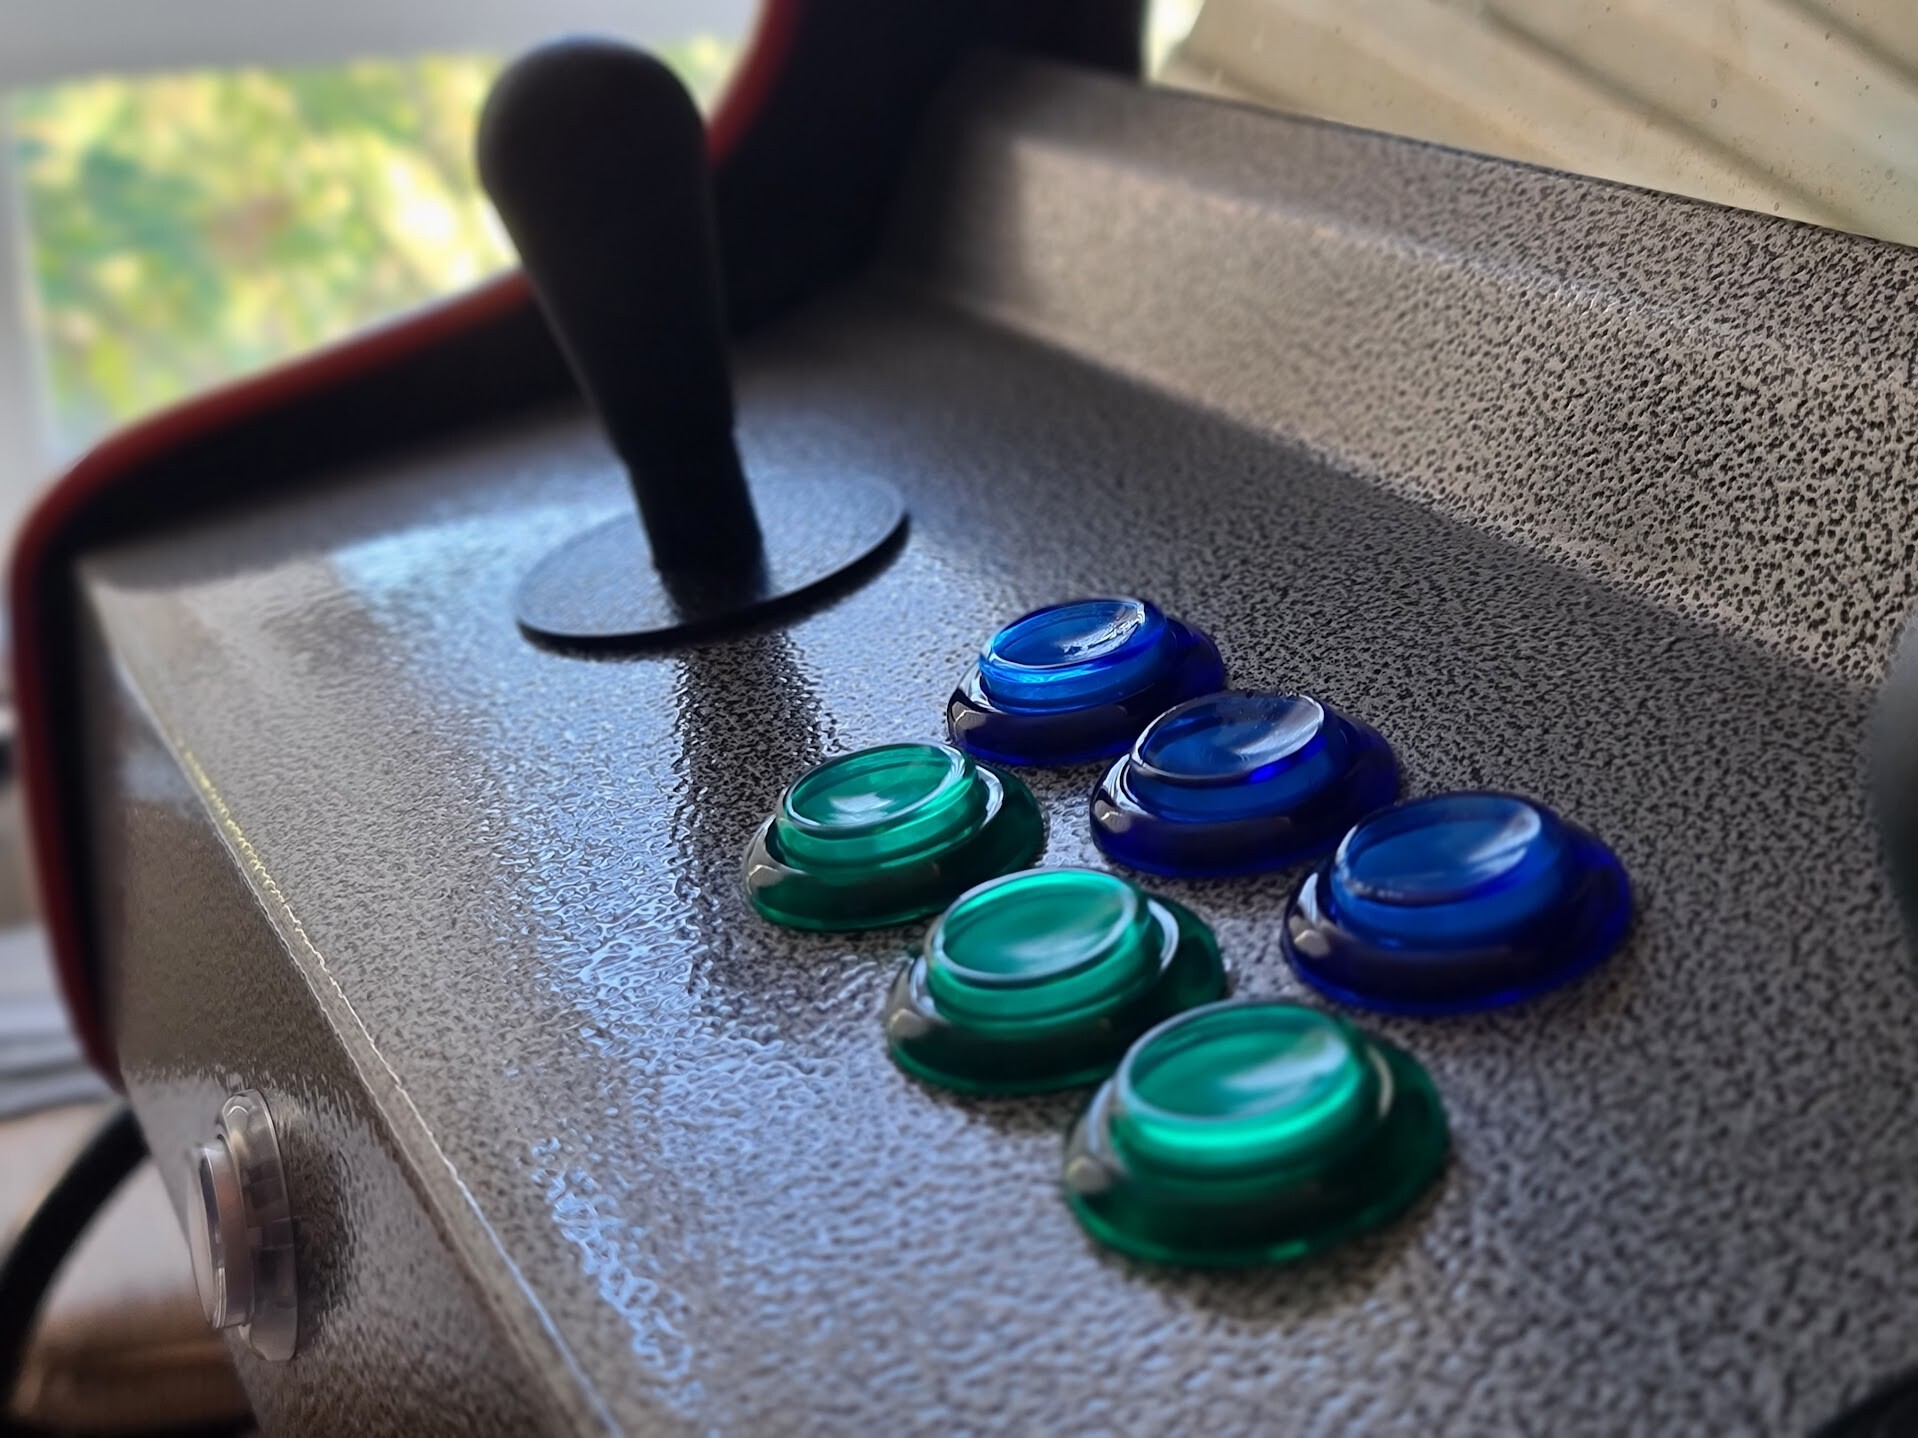
Not a long story, I applied the new sticks to the existing board. These sticks are much more better on fighting games than the ones with the ball tops, although the the sticks with red and blue balls were looking way cooler.

7. Headphone Jack, Sound volume, and Switch for button lights
I decided to add a 3.5mm headphone jack to use the machine without disturbing others. For that I had an old broken PC speaker system that has that female jack. Best part of this jack is it has a switch on it that cuts off the 2nd channel when a jack is inserted.

(image source: https://www.cuidevices.com/blog/understanding-audio-jack-switches-and-schematics)
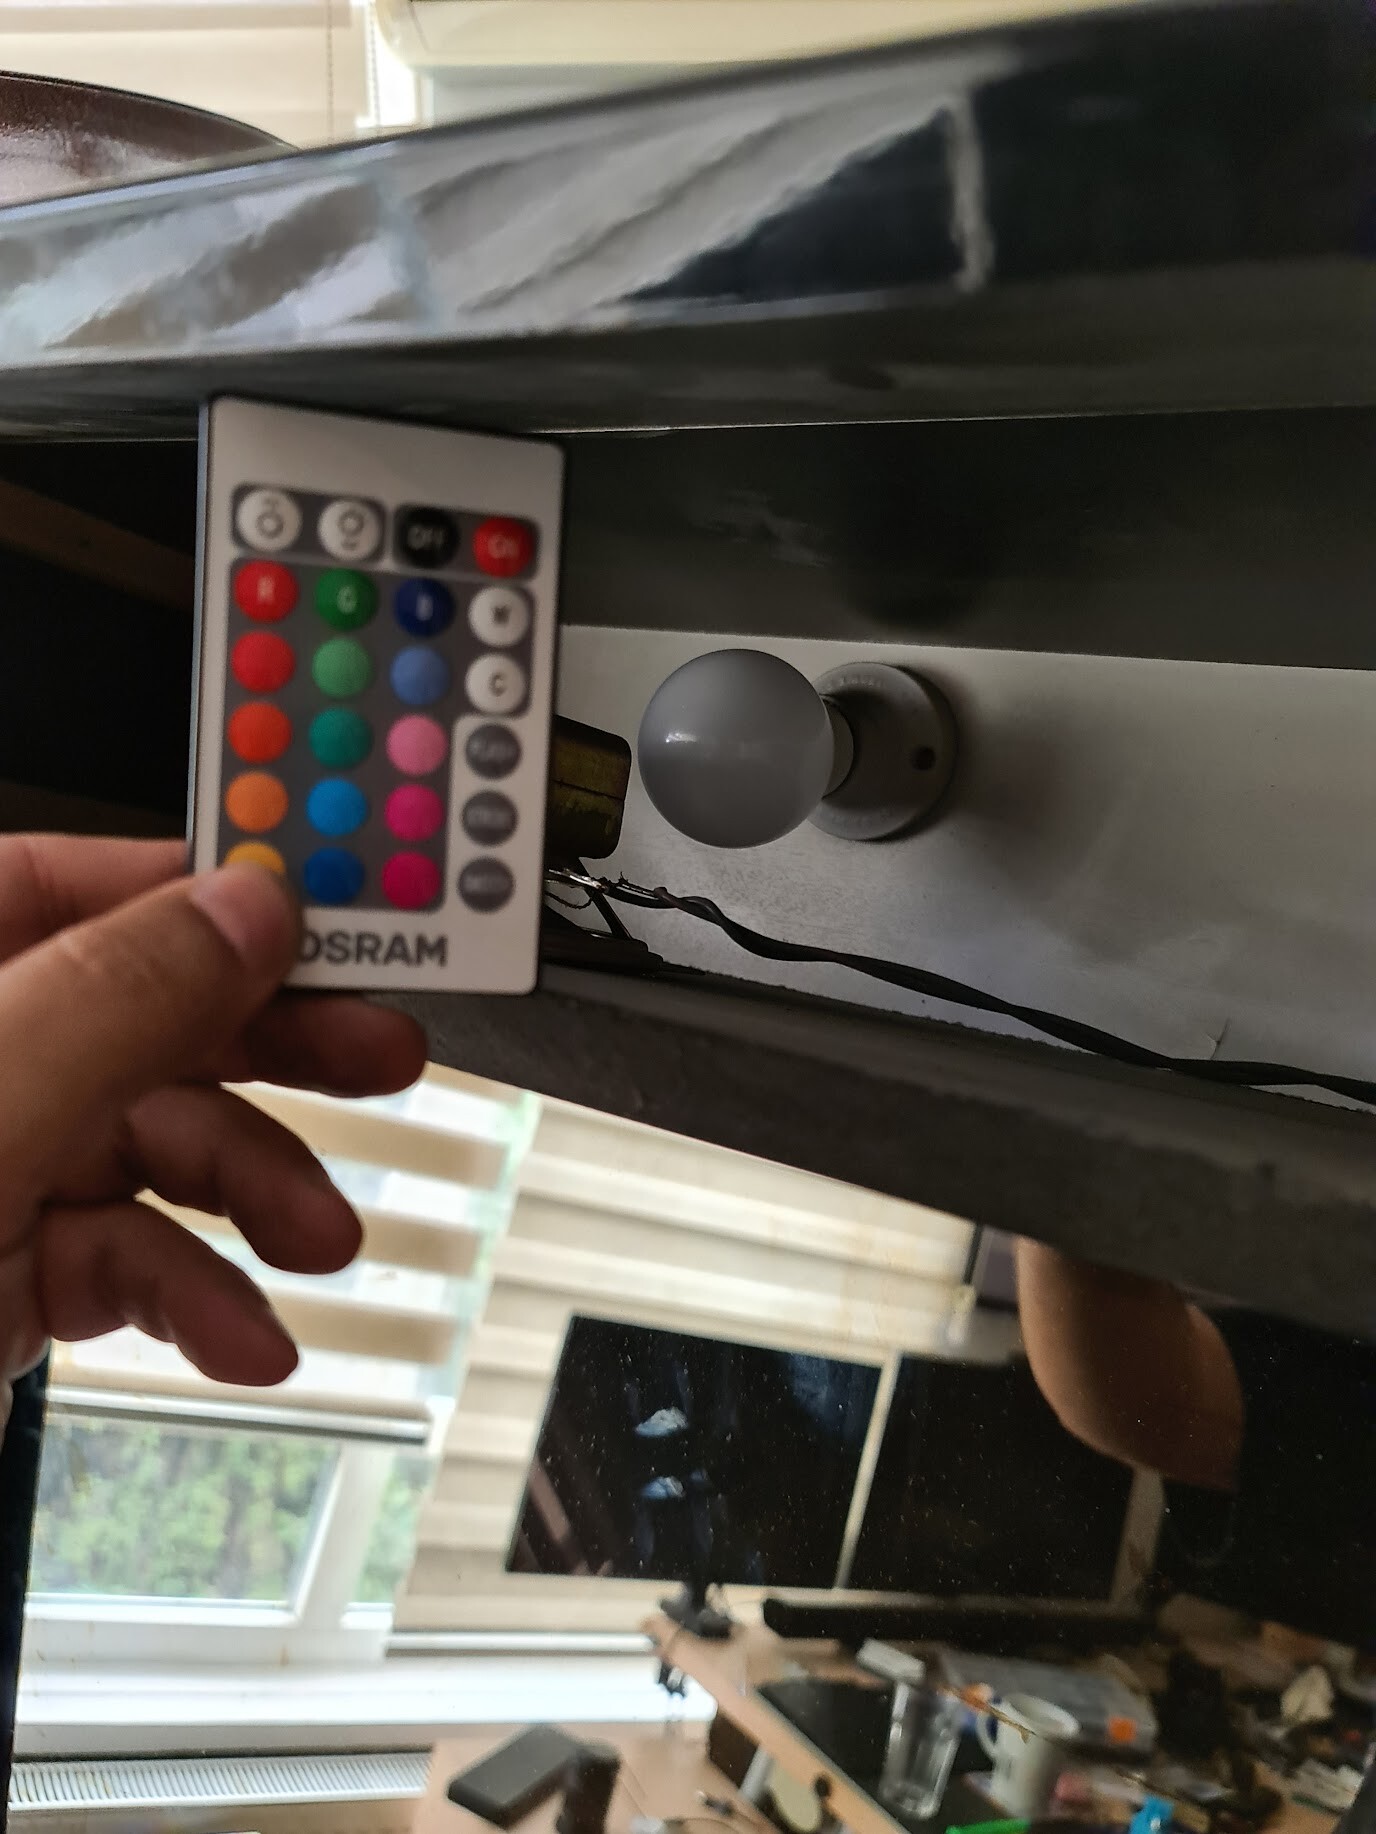
I opened up the top part of the cabinet to access the speaker for adding this jack/switch and surprised to see there is an old/dead lamp there!

I changed that bulb with an RGB LED lamp with a remote control.
And connected / soldered the cables for the audio jack.

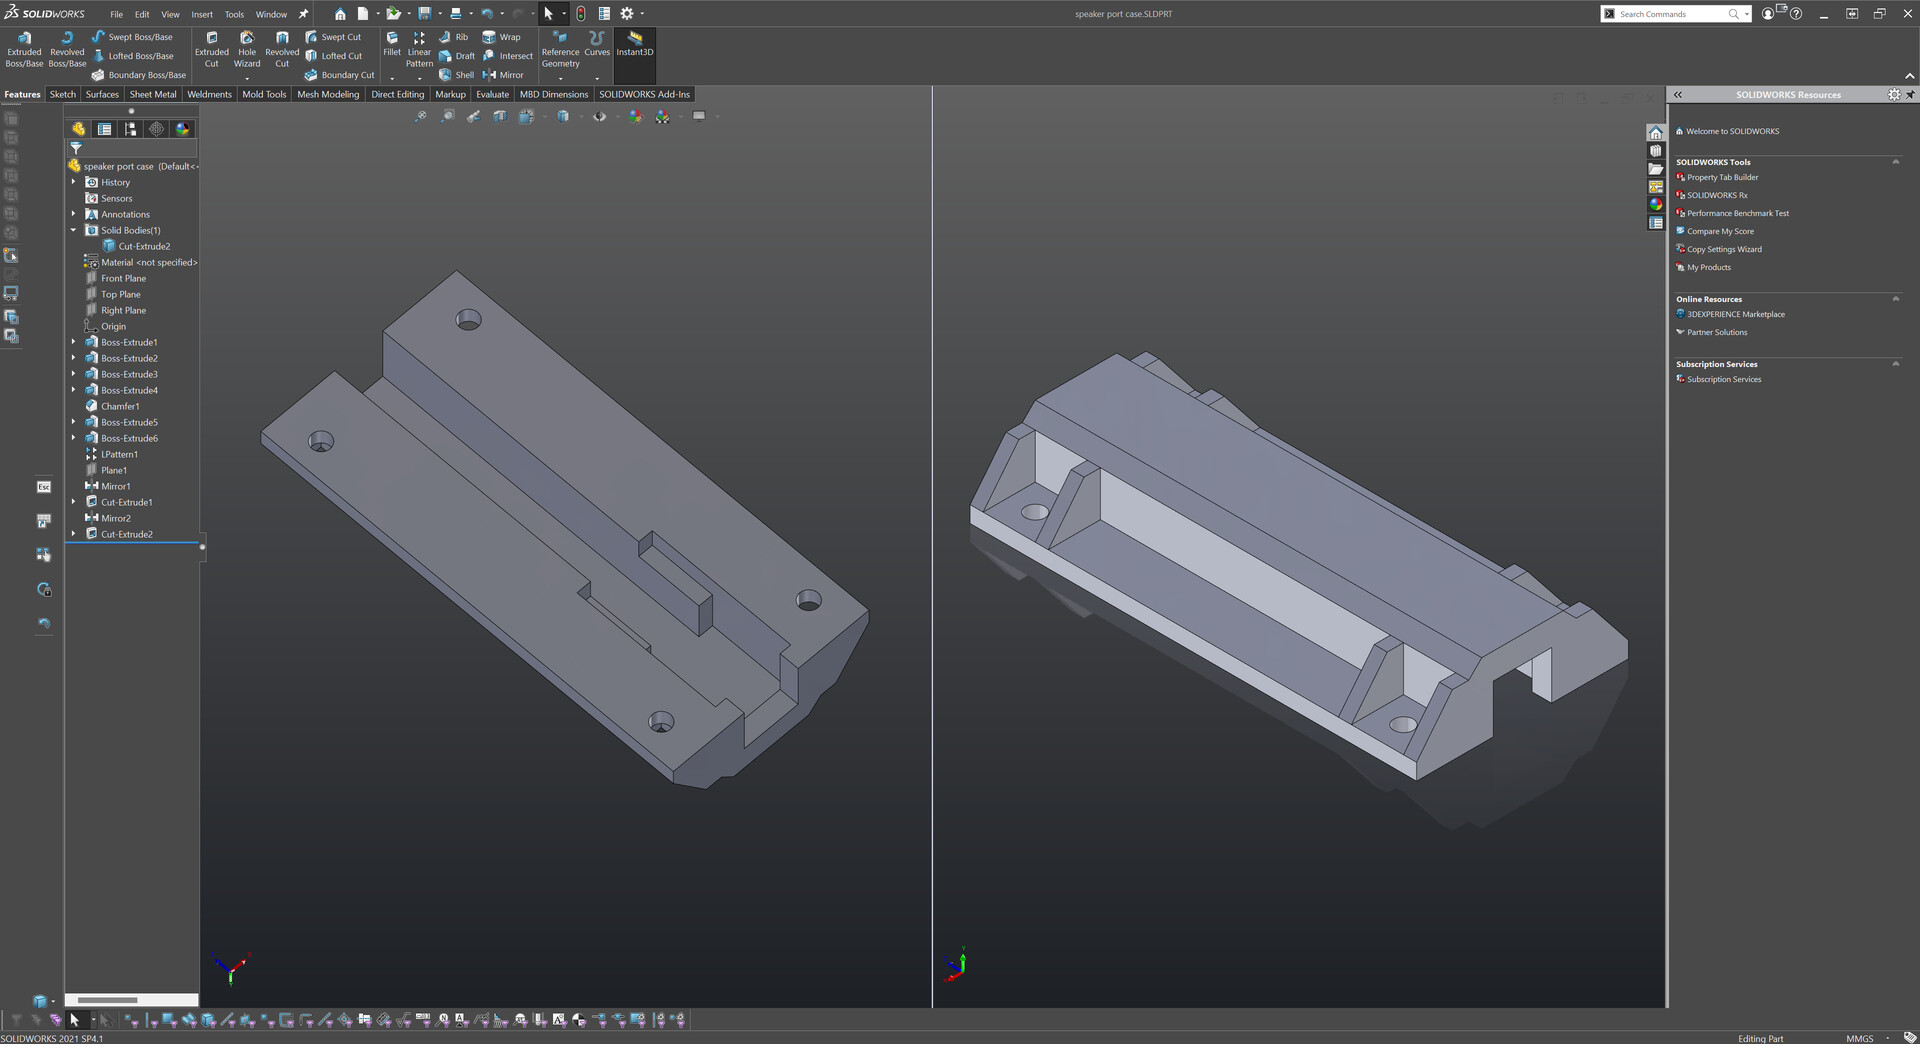
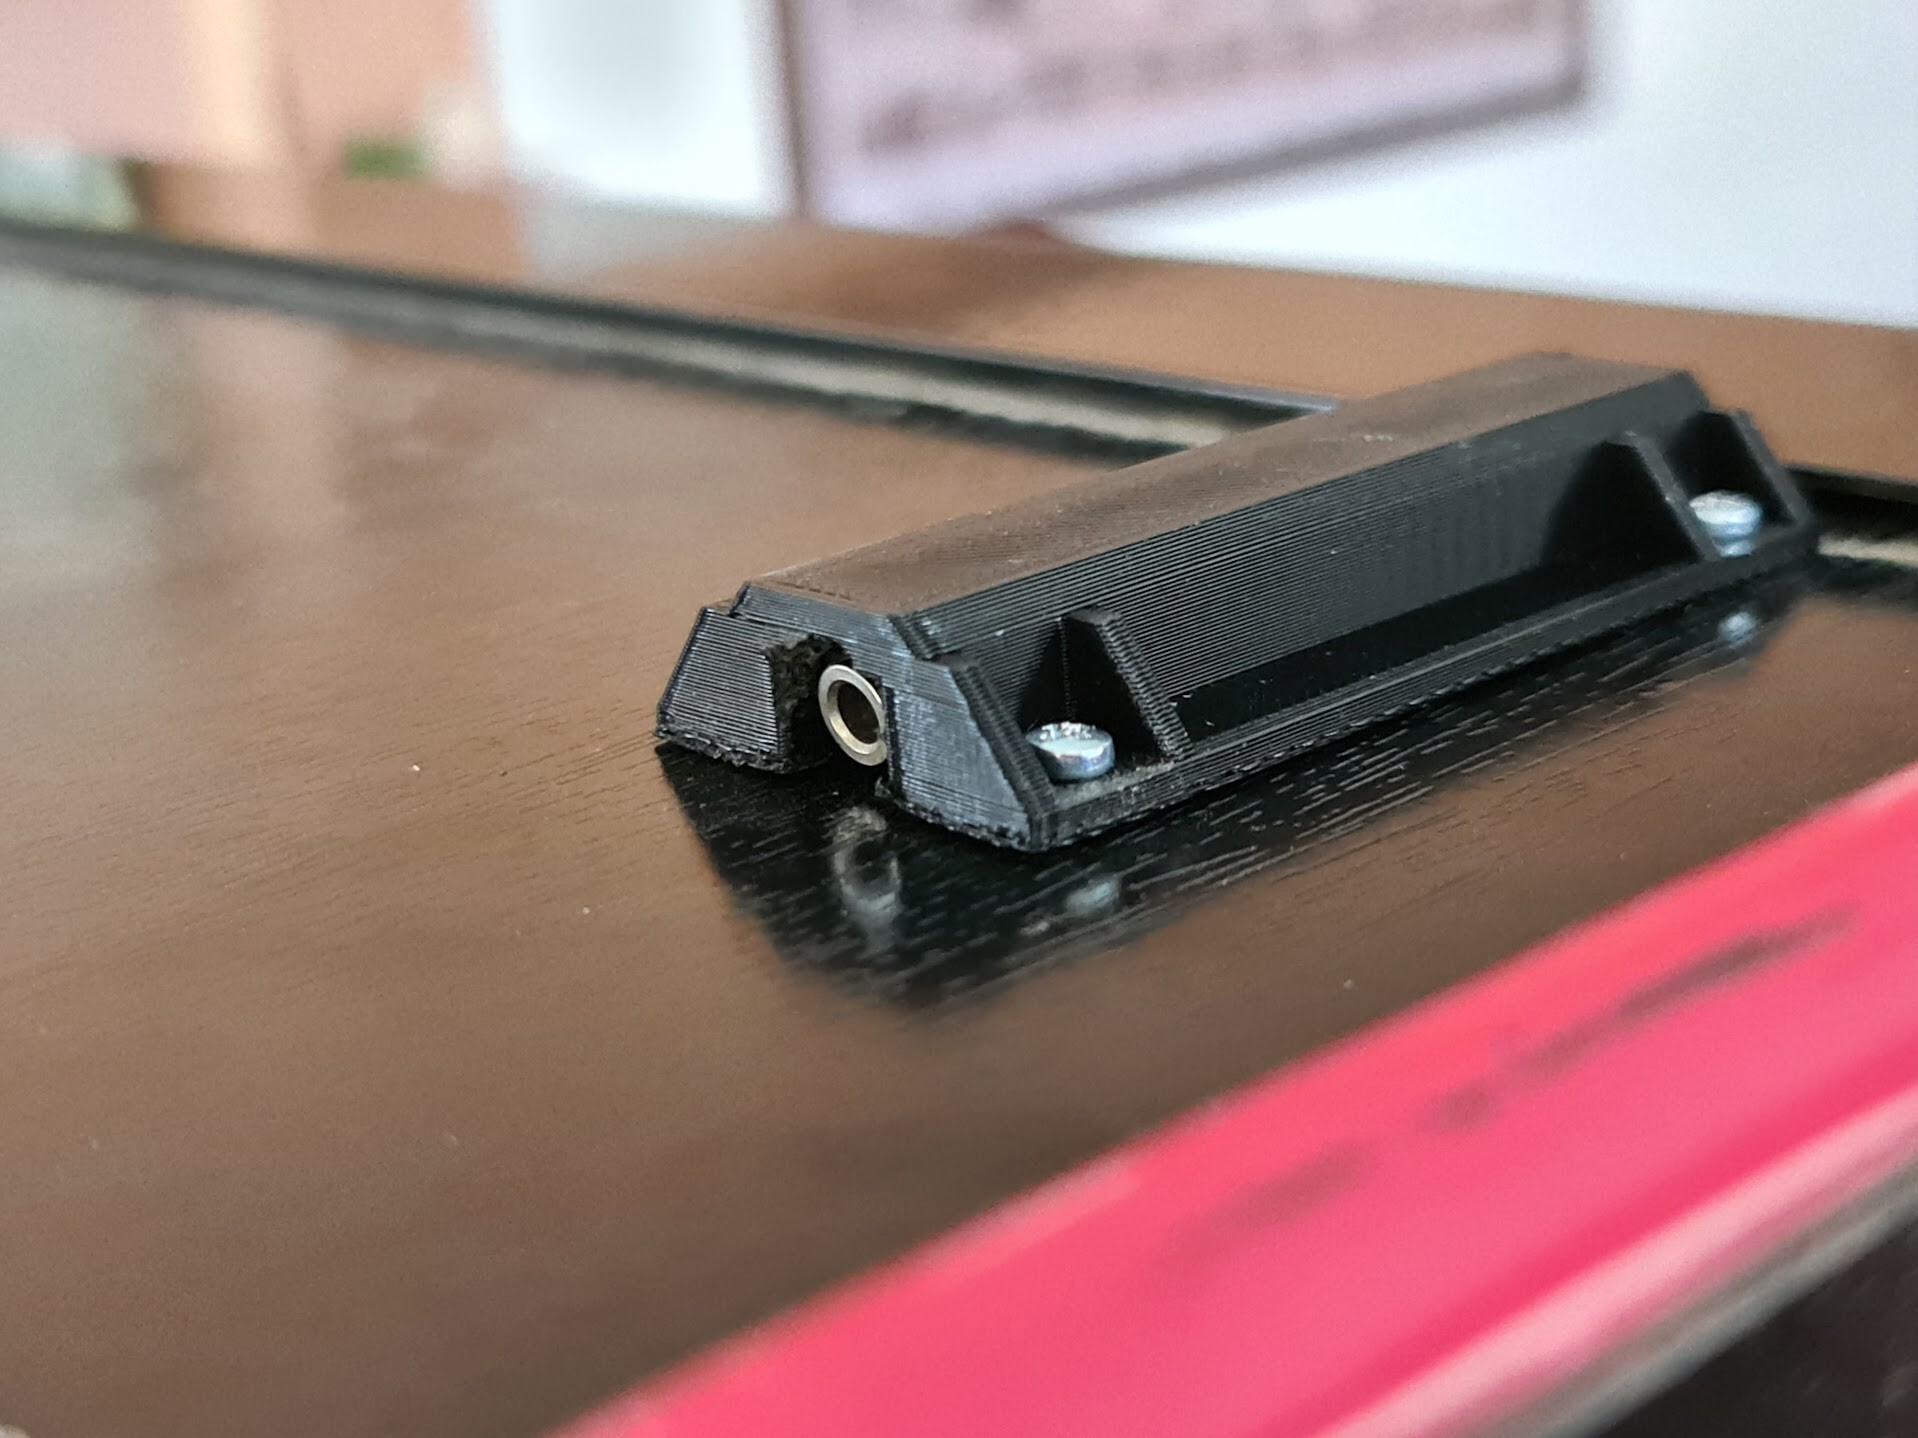
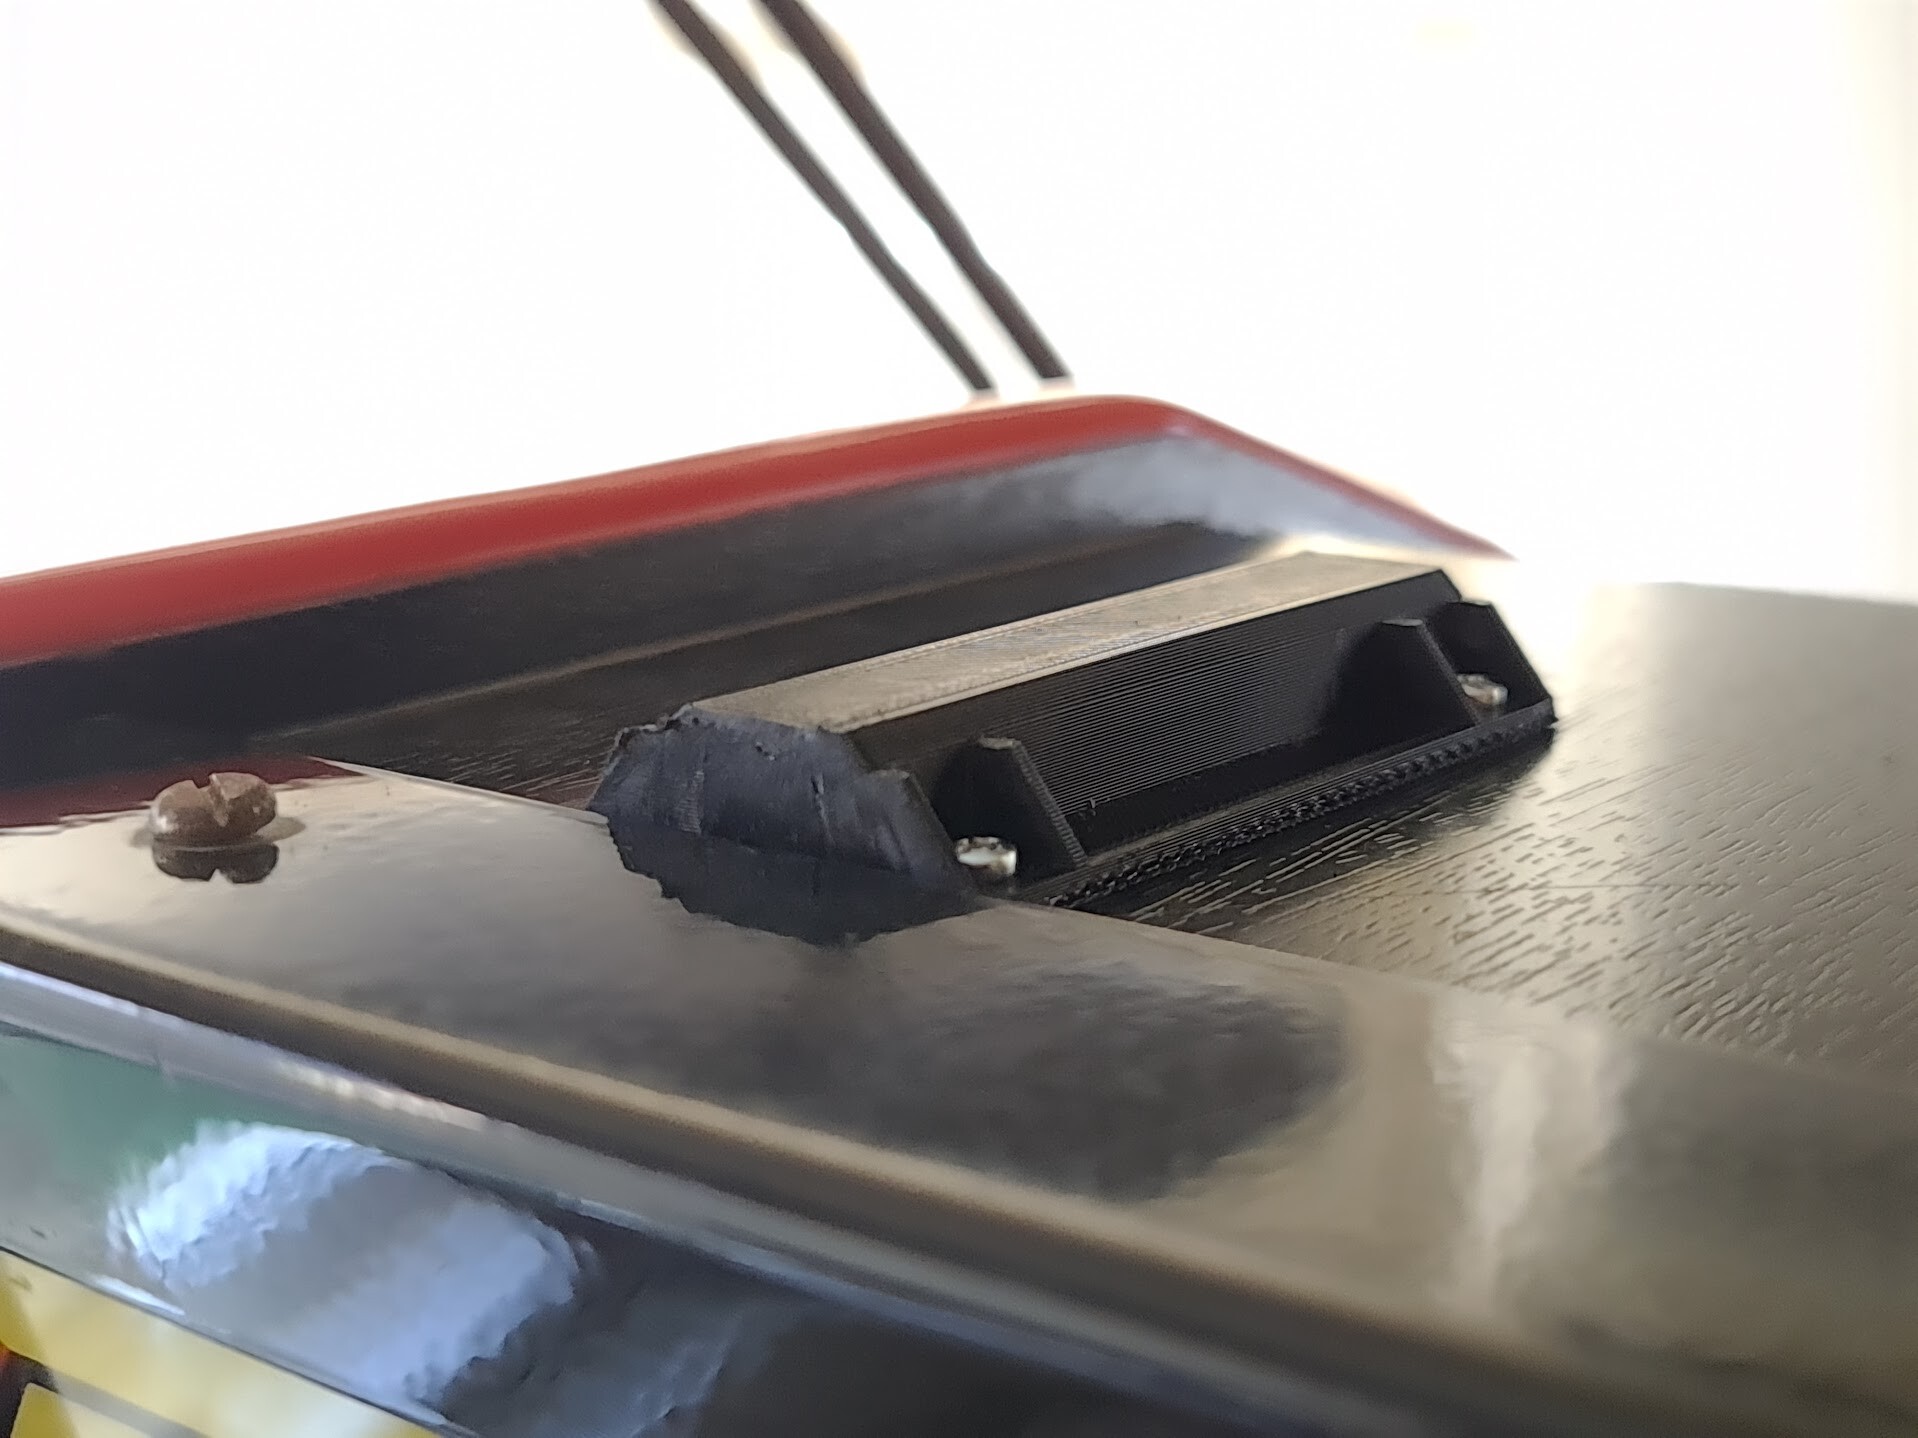
This area should be havind a cover to protect the cables and also to fix the connector. I made a quick design in Solidworks and 3d printed it. Then mounted it of course.


I drilled a big another hole on the back of the cabinet and fixed a 1k potantiometer to control sound volume for the spears and headphones. This was needed because a normal volume level of the speaker is too much for the headphones. It should be lowered.

and finally I added a switch to cut off the voltage that goes to button LEDs to turn them of when lighting disturbs.
8. Resurrecting the Coin System
I adjusted some screws on the mechanism to work with 1 TRY coins. Also the bottom hatch has locked and there was no key. I broke into it and changed the lock with a new one.
9. Concave Buttons
The first set of buttons that came with the cabinet were really shitty. I like concave buttons but these were random on top molding. and had a poor plastic / mechanic quailty. Buttons were hard to press.

The ones I attached to my cabinet with LED lights was flat buttons.
It's hard to find good concave buttons, HAPP brand is the best, I suppose, but I found a cheaper and similar one on Amazon and ordered them.

These concave buttons are important for the games that need "rapid fire". You join your thumb and index finger like holding a guitar pick and center them on the button, then you figgle it left to right through the concave center to make a rapid firing like playing a fast guitar solo :) I know it's a weird definition, I will show it to you in a video.
In this video I'm showing it with a concave button that has LED buttons. I know I told you that these were flat buttons. I will get to it next :)
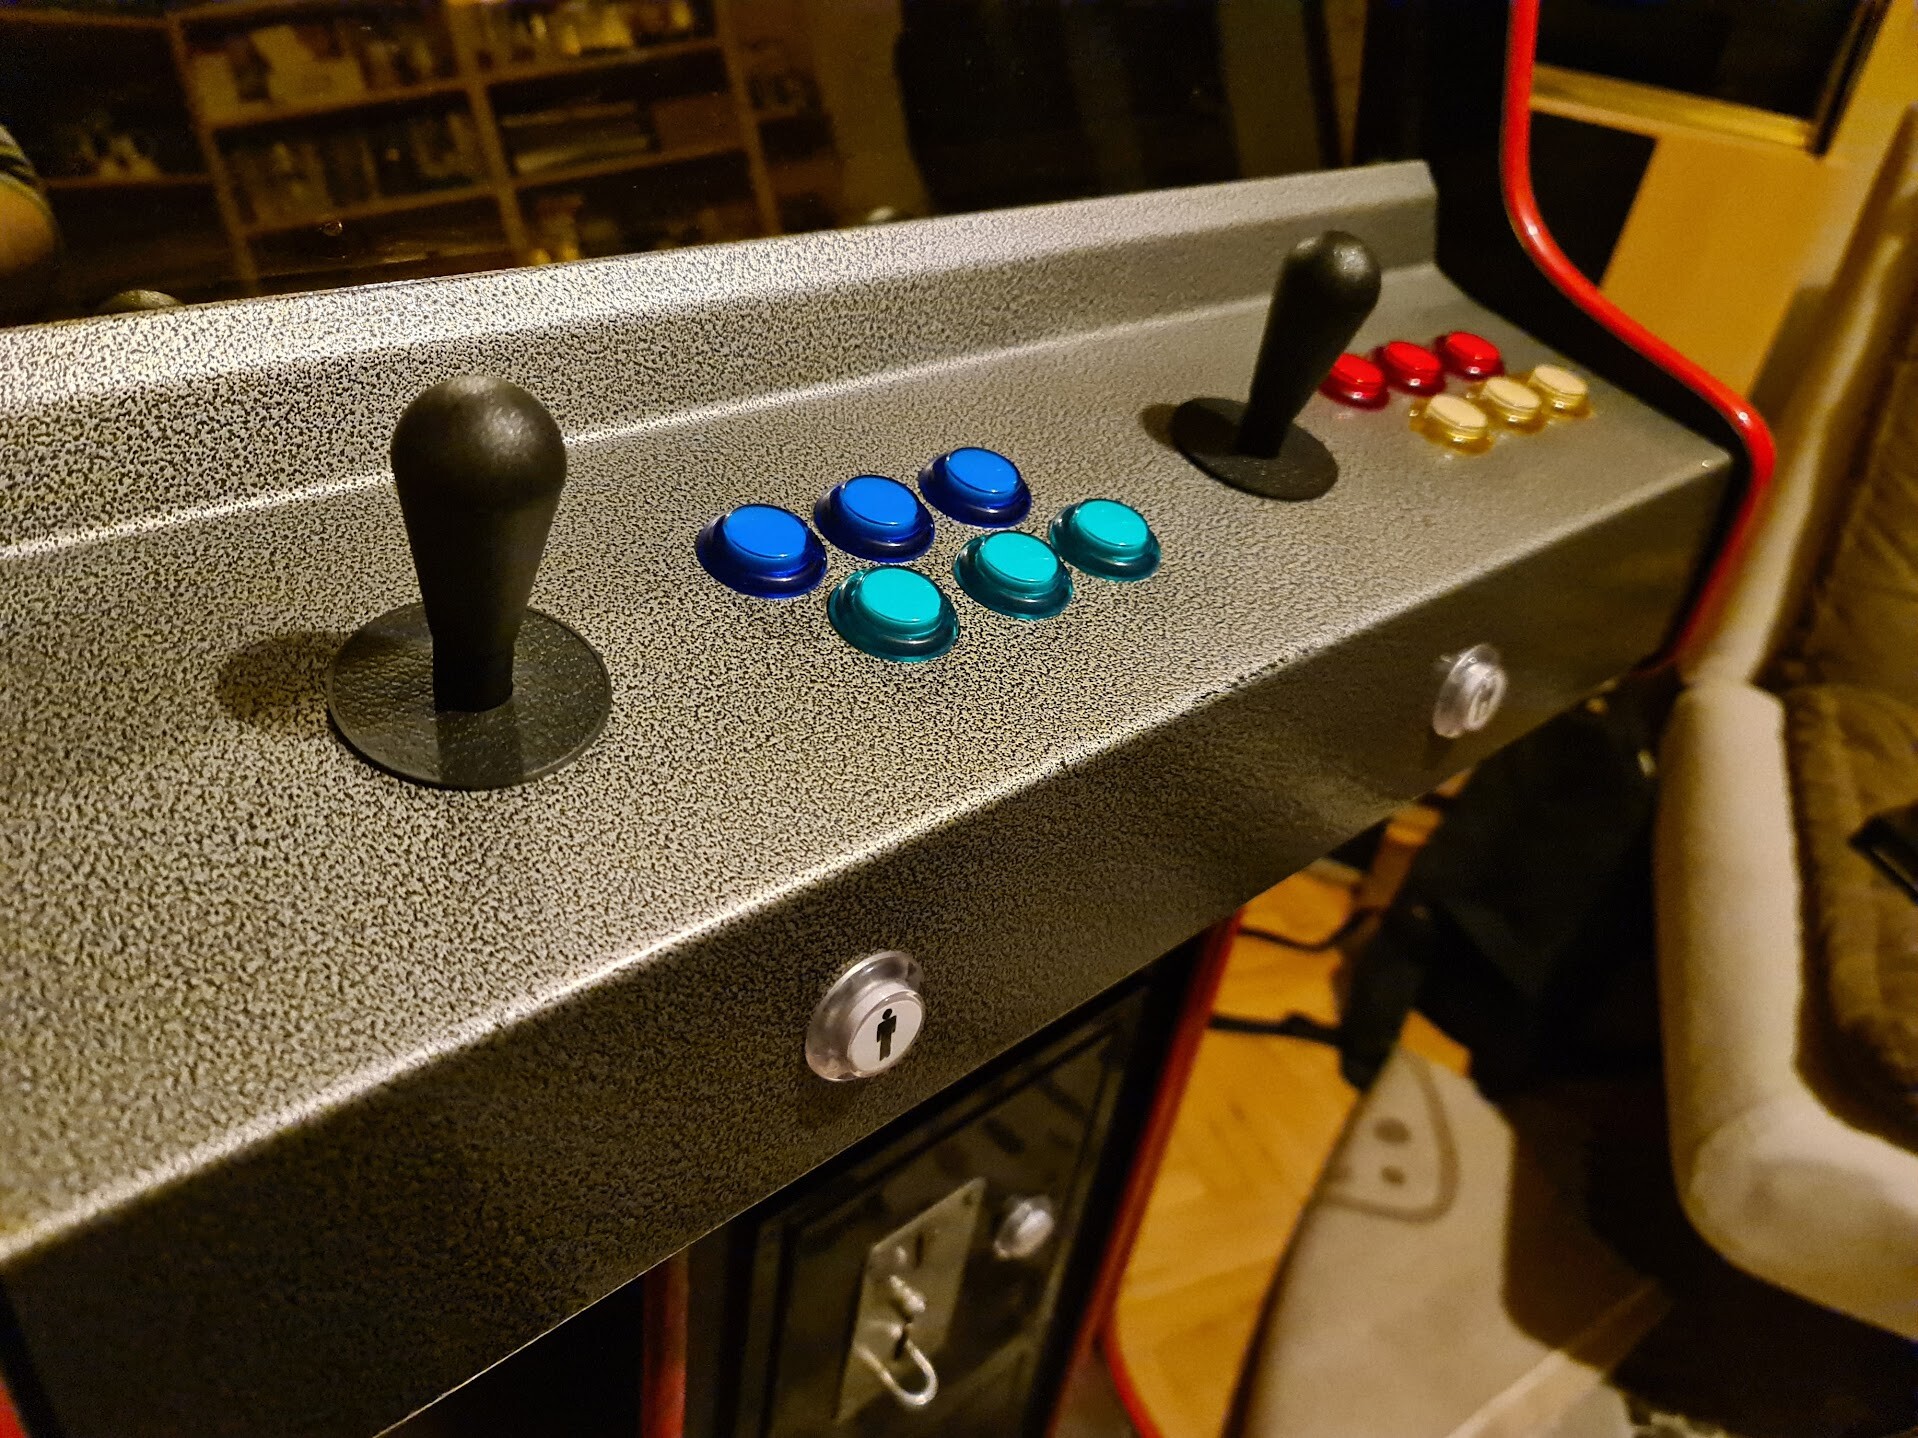
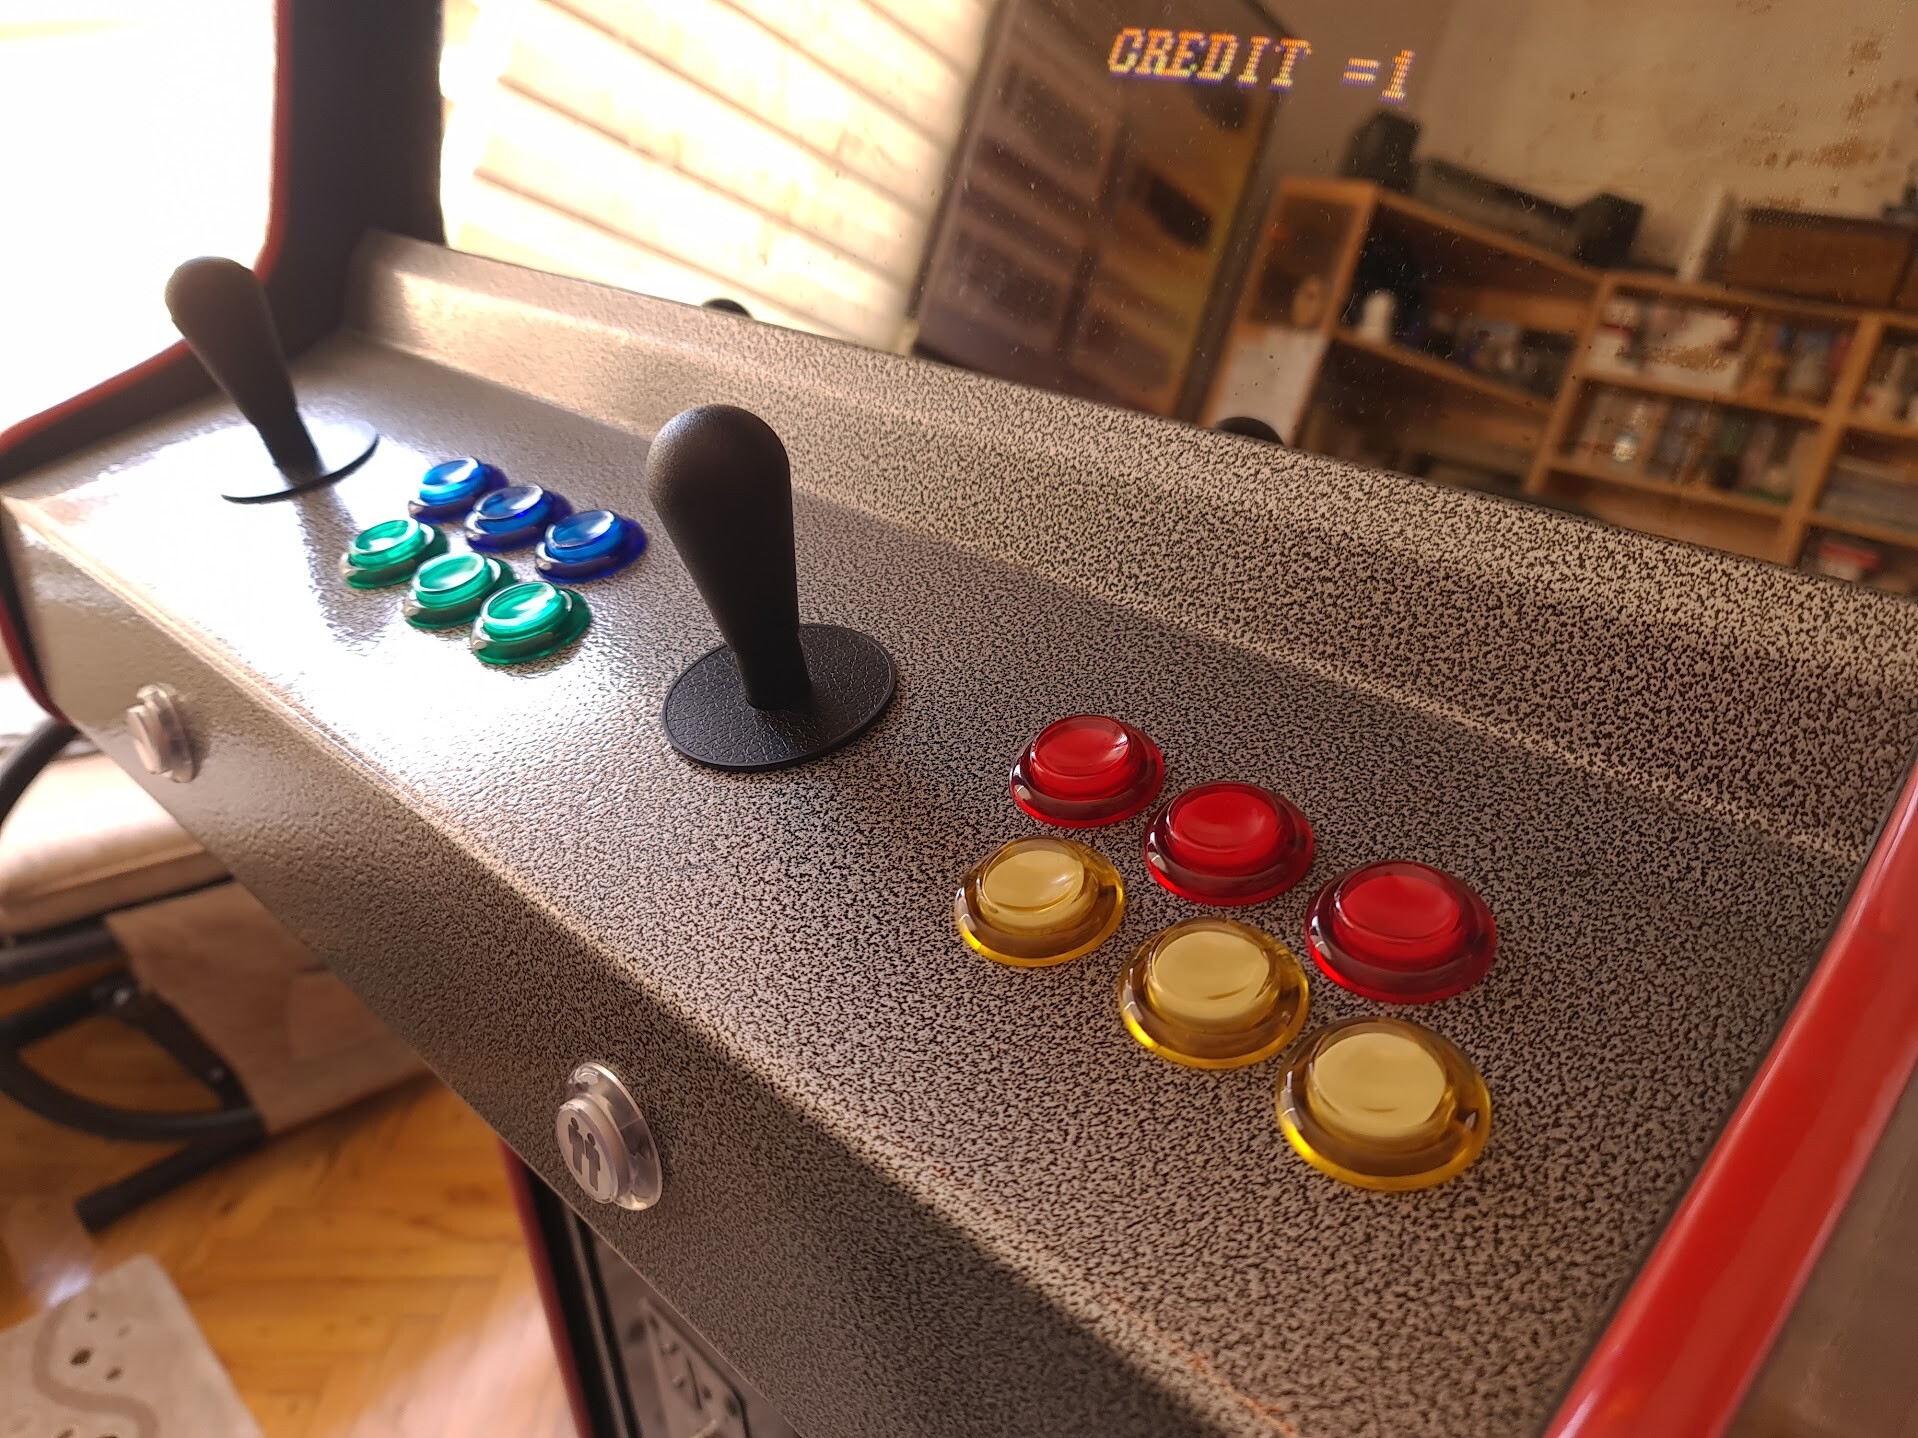
I attached the new keys that were regular arcade machine buttons. So they look fantastic and whole retro!

Look at that!
9. Switching Buttons Back to LED Buttons (I know!)
These new buttons were amazing. The feel, the look was as it is in 90s. So using an original Neo-Geo board, an original game cartridge, and playing with these buttons were exact 90s experience that I had before.
But the thing is, these buttons were too hard to press. My daughter couldn't be able play easily with them. So I had doubts on keeping these buttons but I needed the concave tip of them. One morning I woke up with an idea. I will be going to heat the tips of the LED buttons and bend them to have a finger cavity. At least I was going to try on 1 or 2 spare buttons to see how it looks and feels.
I detached the tip of the button, and use a lighter to heat it up. Each time after keeping the lighter for 5 seconds I pressed to the top of the surface by the old sphere-head sticks.
After bending that part, I cut the leg that reaches to the Cherry MX button (a clone actually) to keep the distance that is reduced by the cavity.
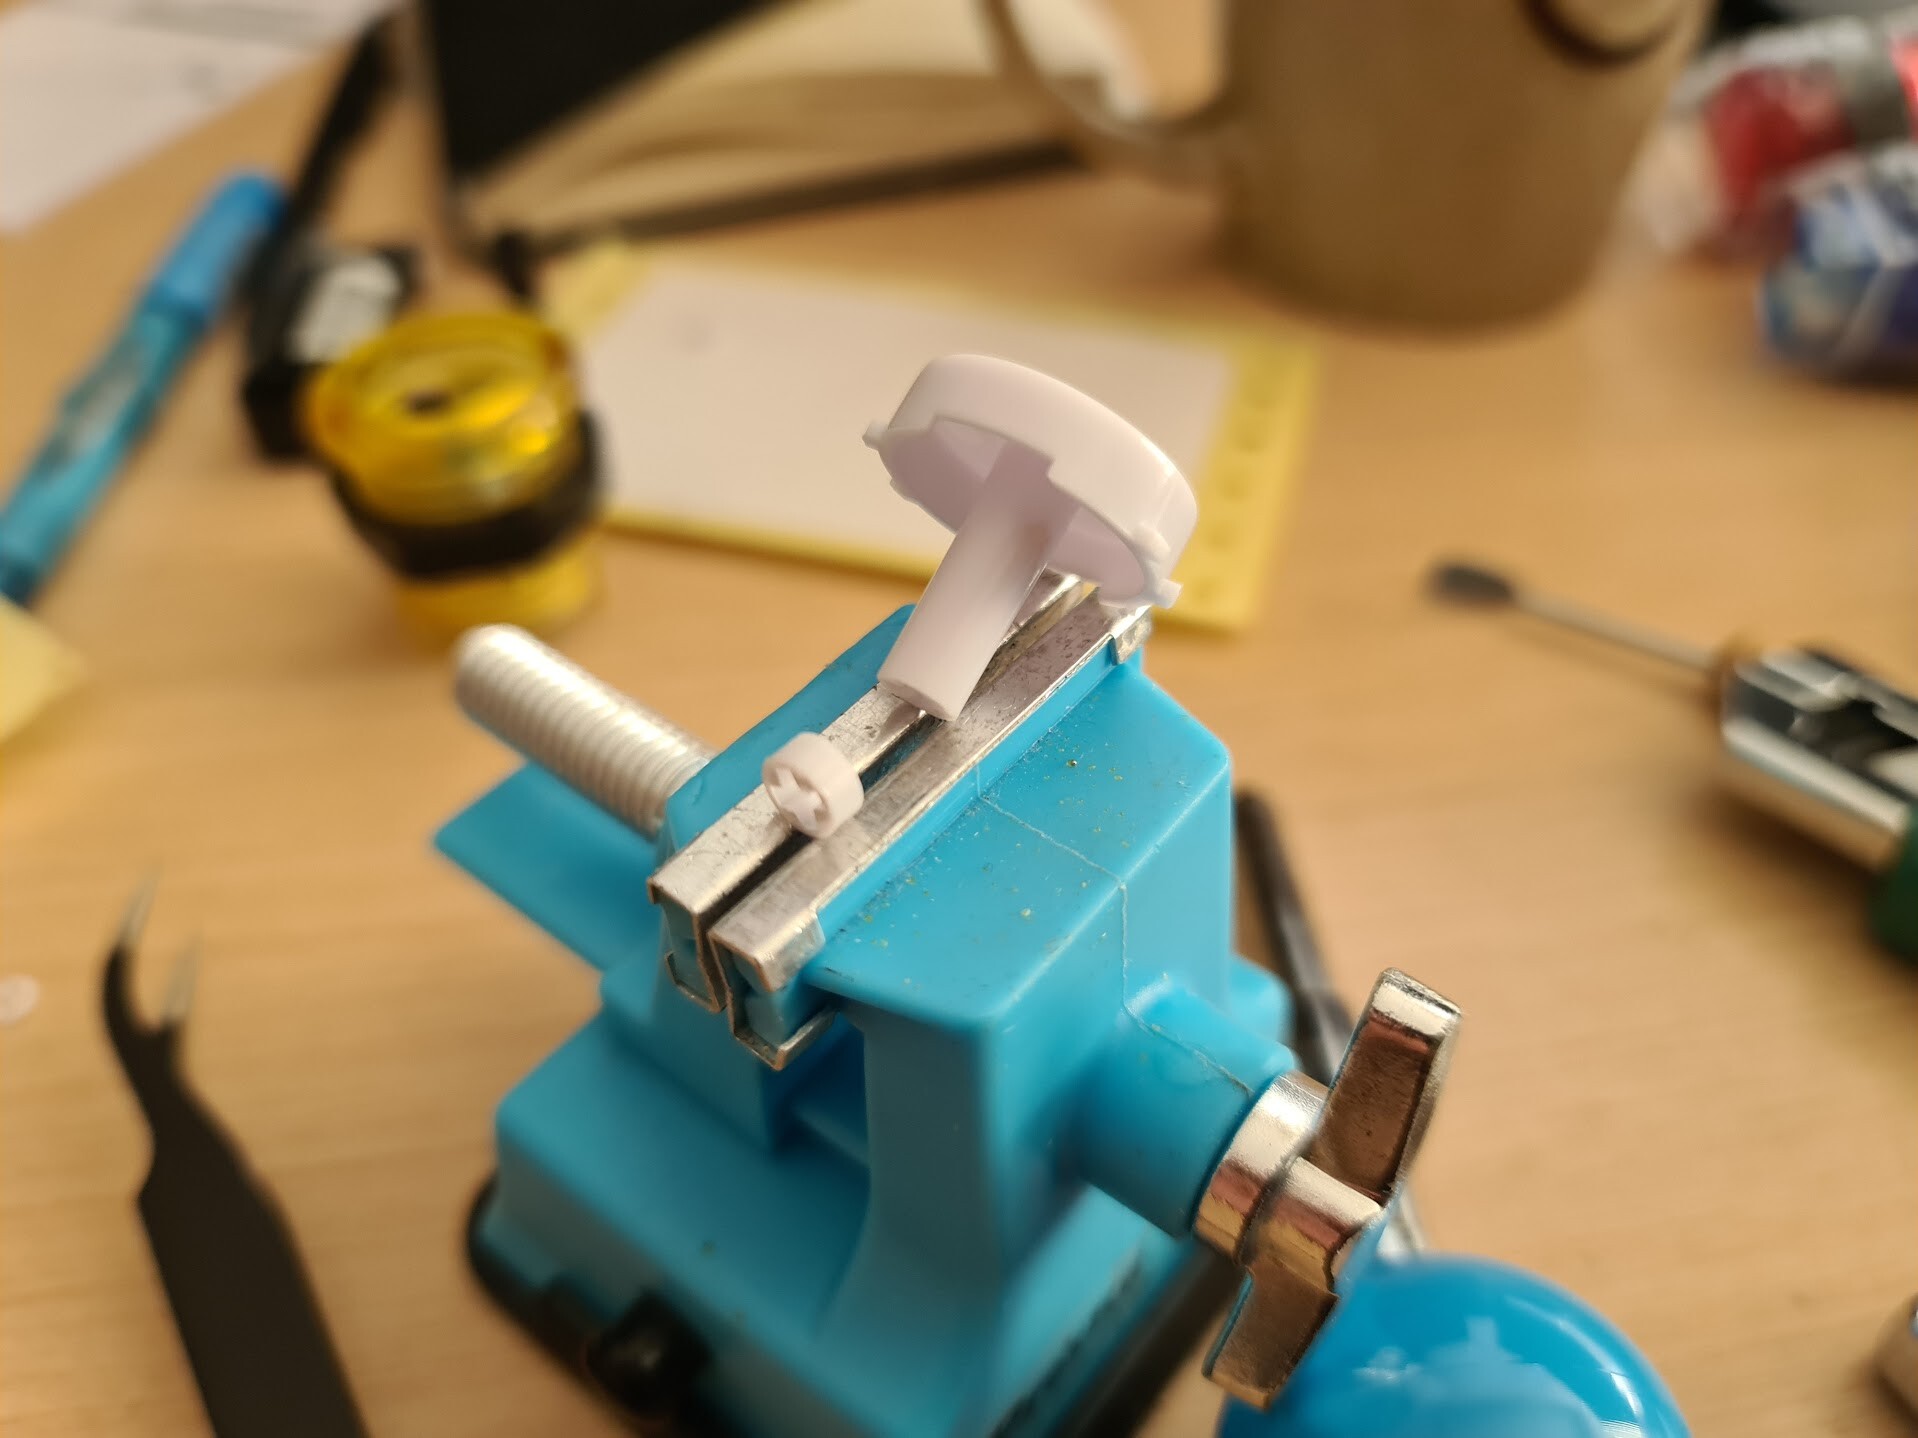
And check the difference:
I applied these buttons back to achieve the preference of both my daughter and myself. Here is the result:

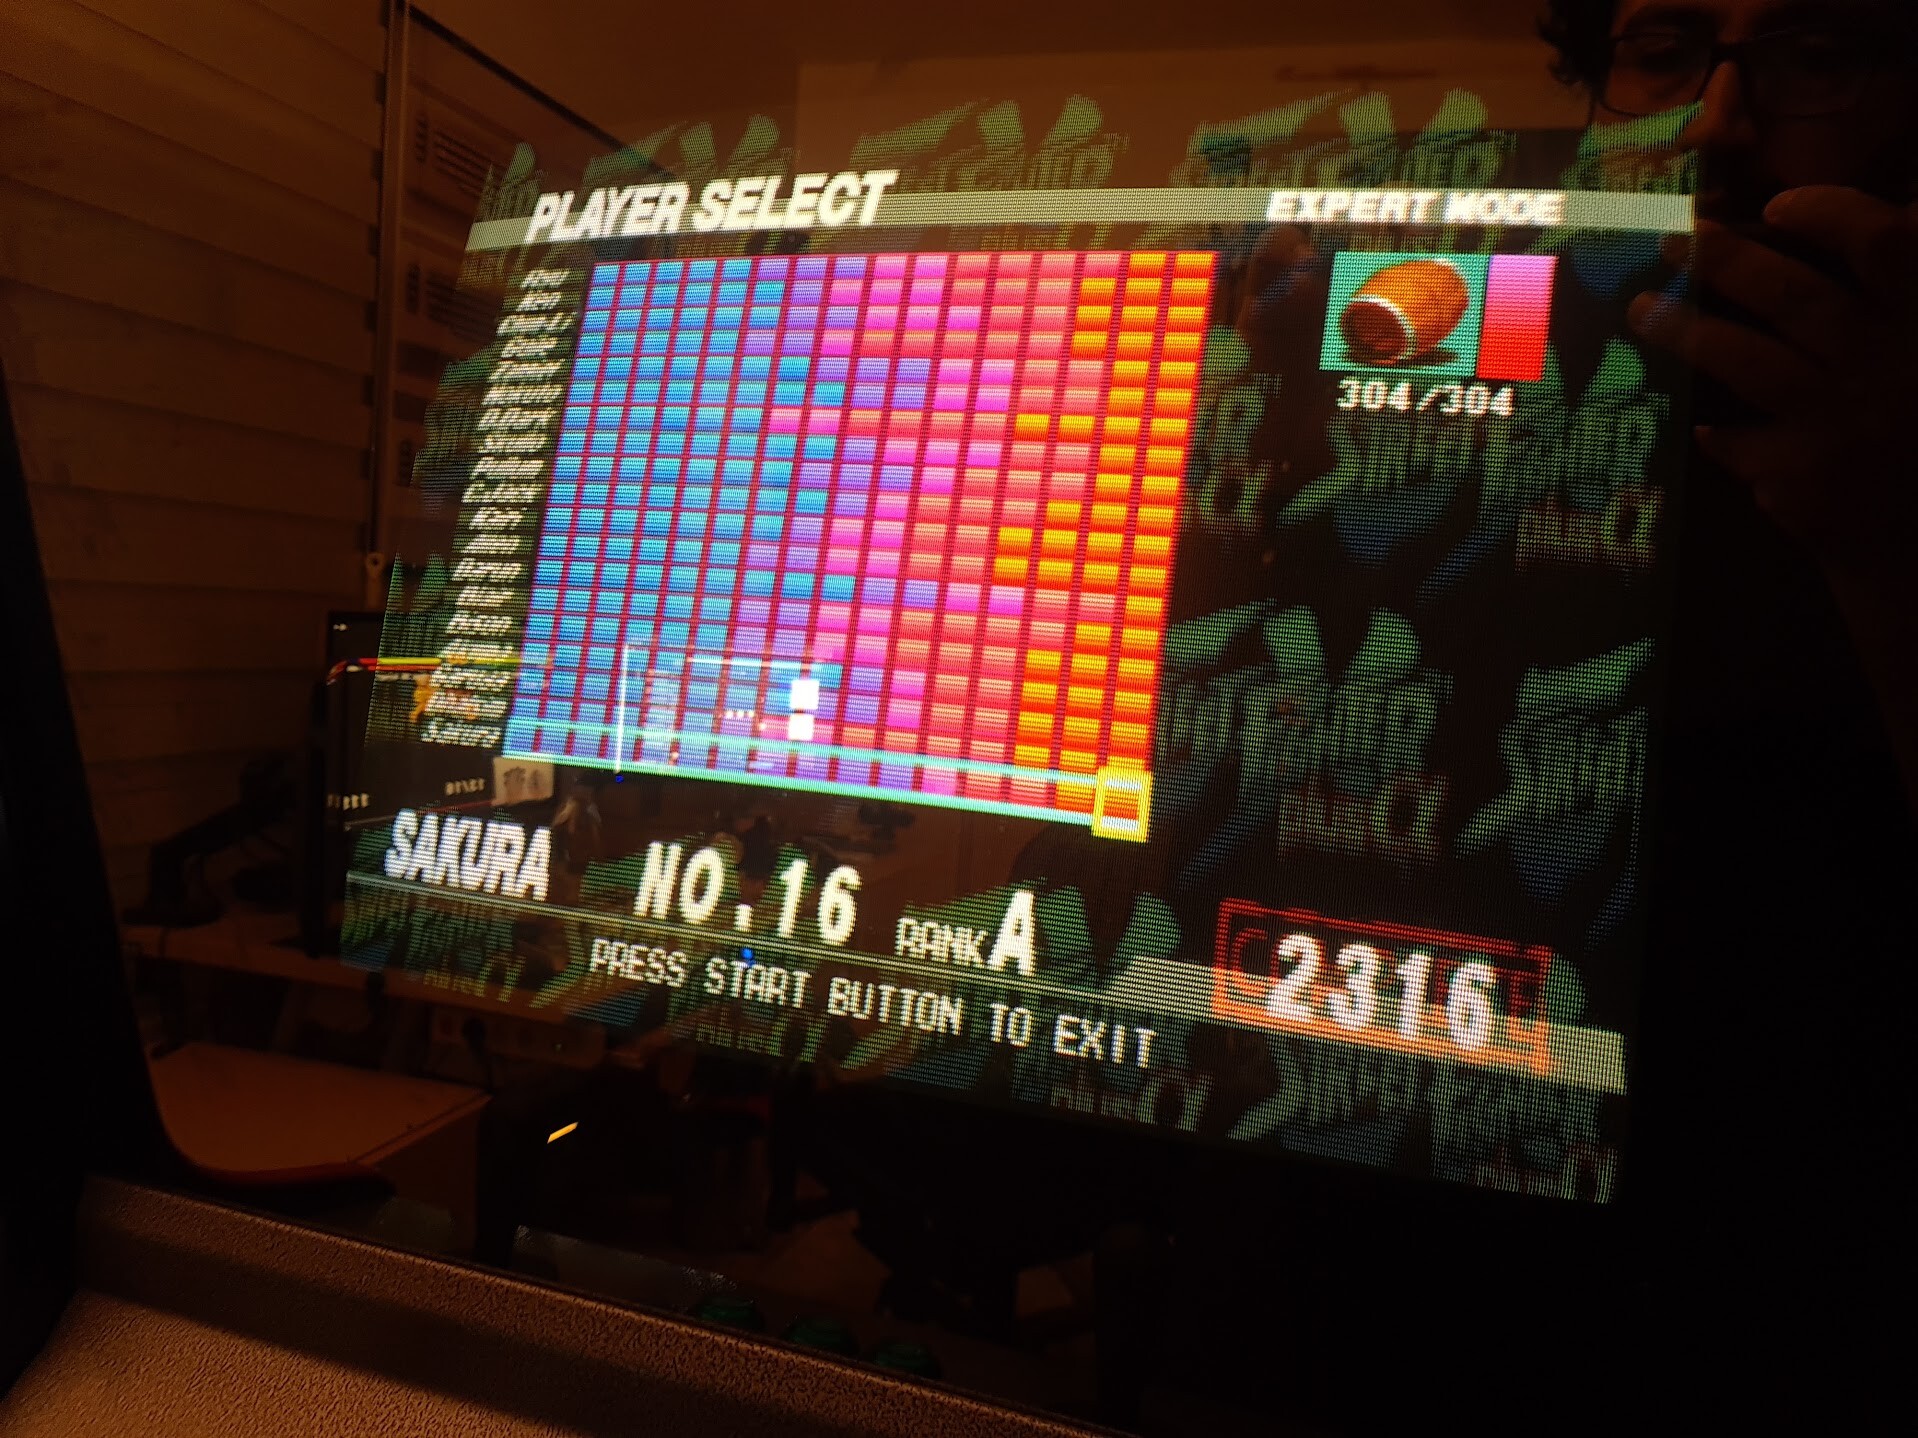
By my side, I completed the Expert Mode of Street Fighter Ex Plus Alpha with all characters. That means buttons and the sticks are working great for me!
And this is the proof that my daughter plays easily with the new soft buttons :) In this video she does a trick I told her about a hacked version of Street Fighter 2, with Zangief :)
Well, that's it for now, folks. I have something more in my mind but I will keep the system like this, and enjoy it for a while. Thanks for reading, cheers!