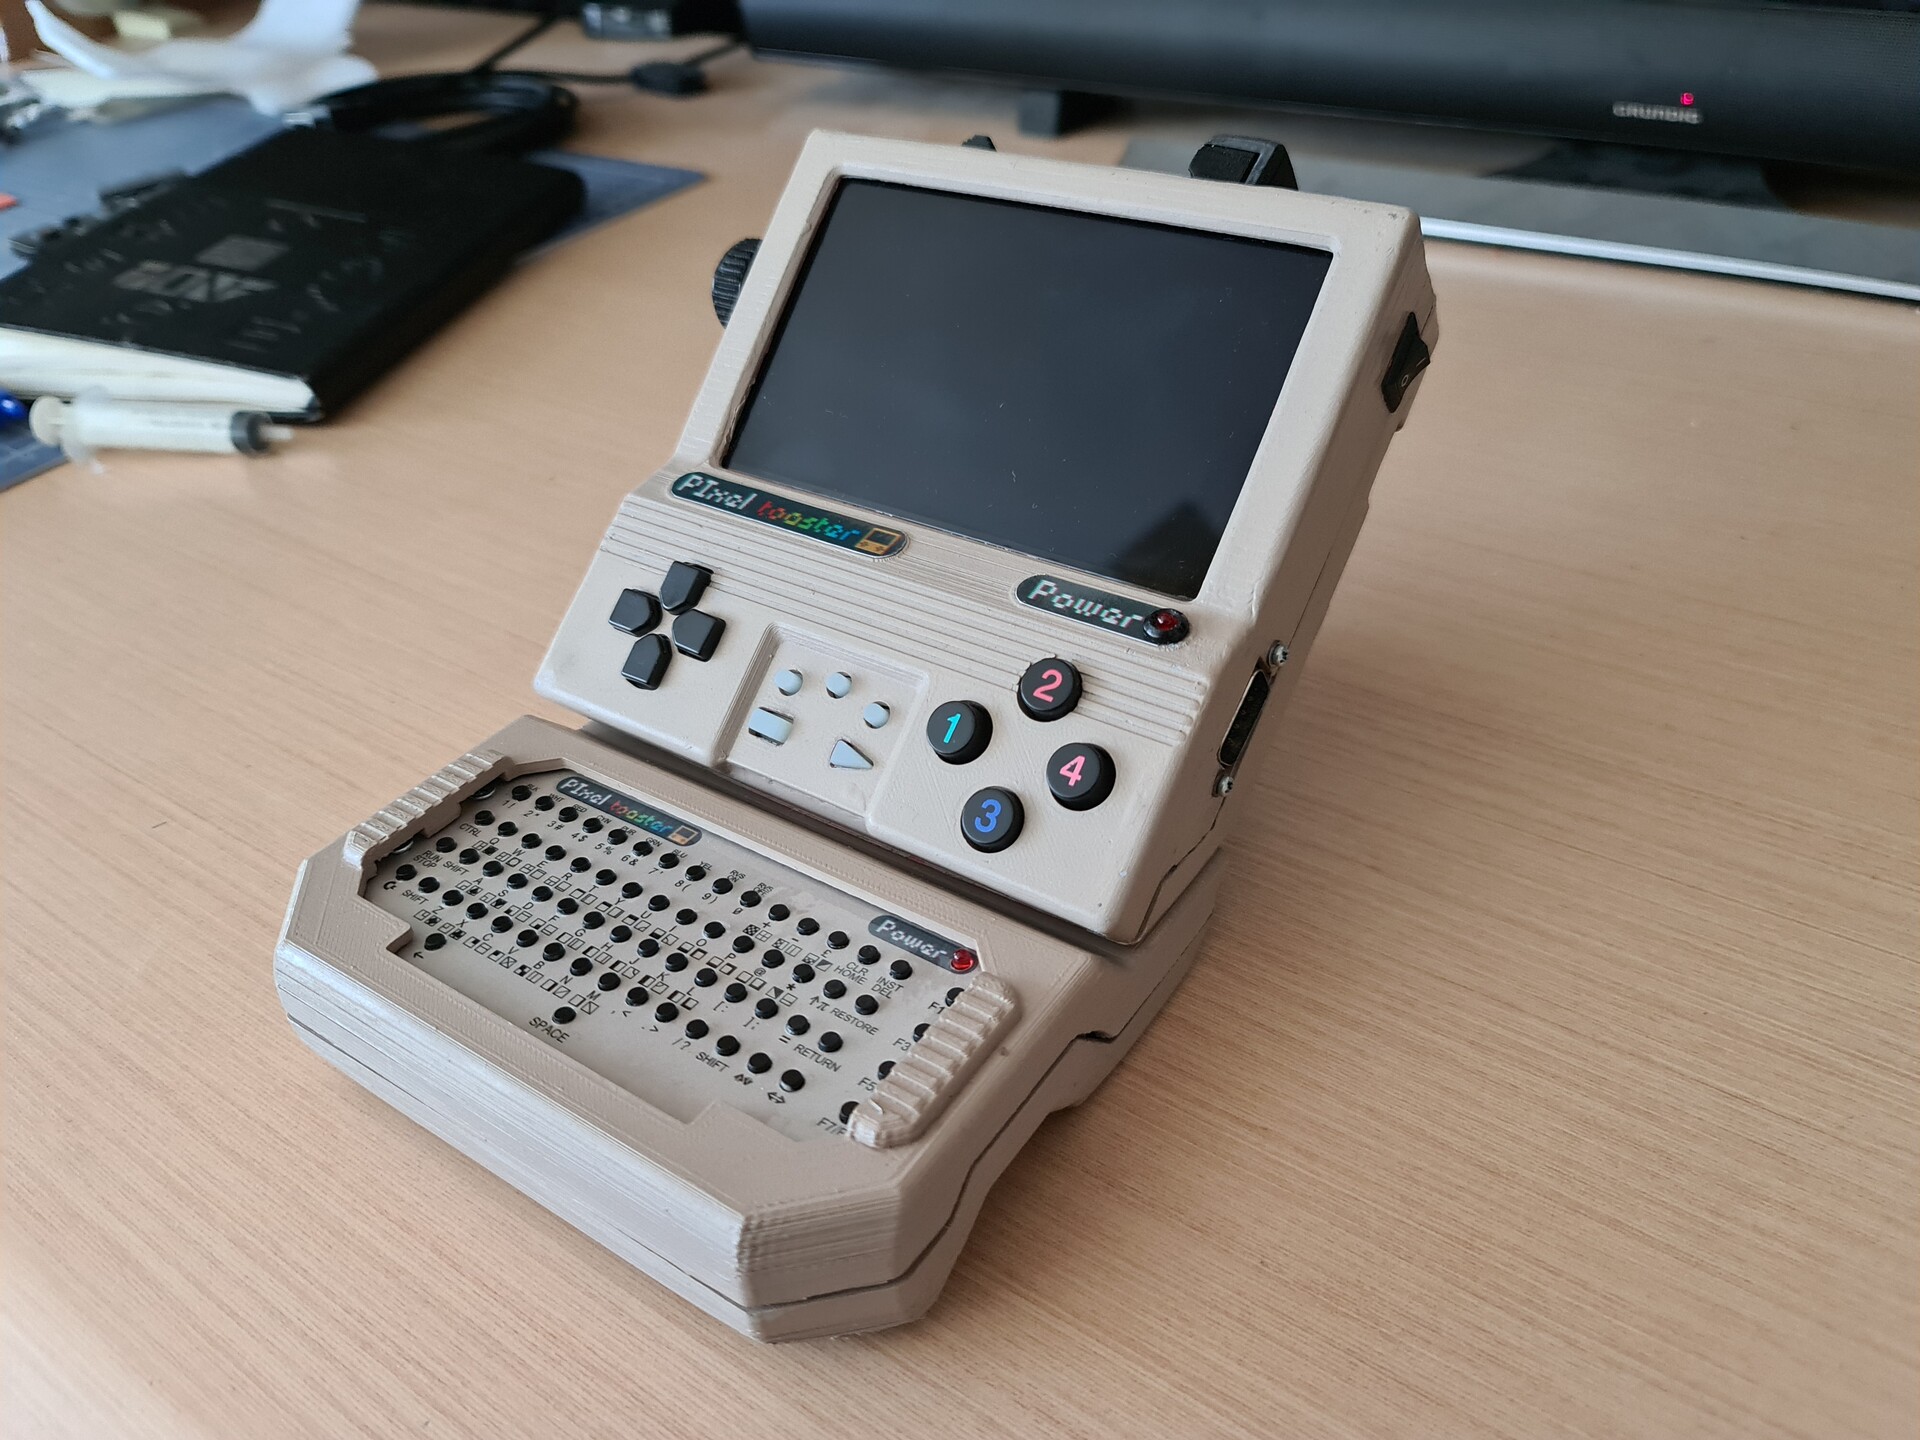
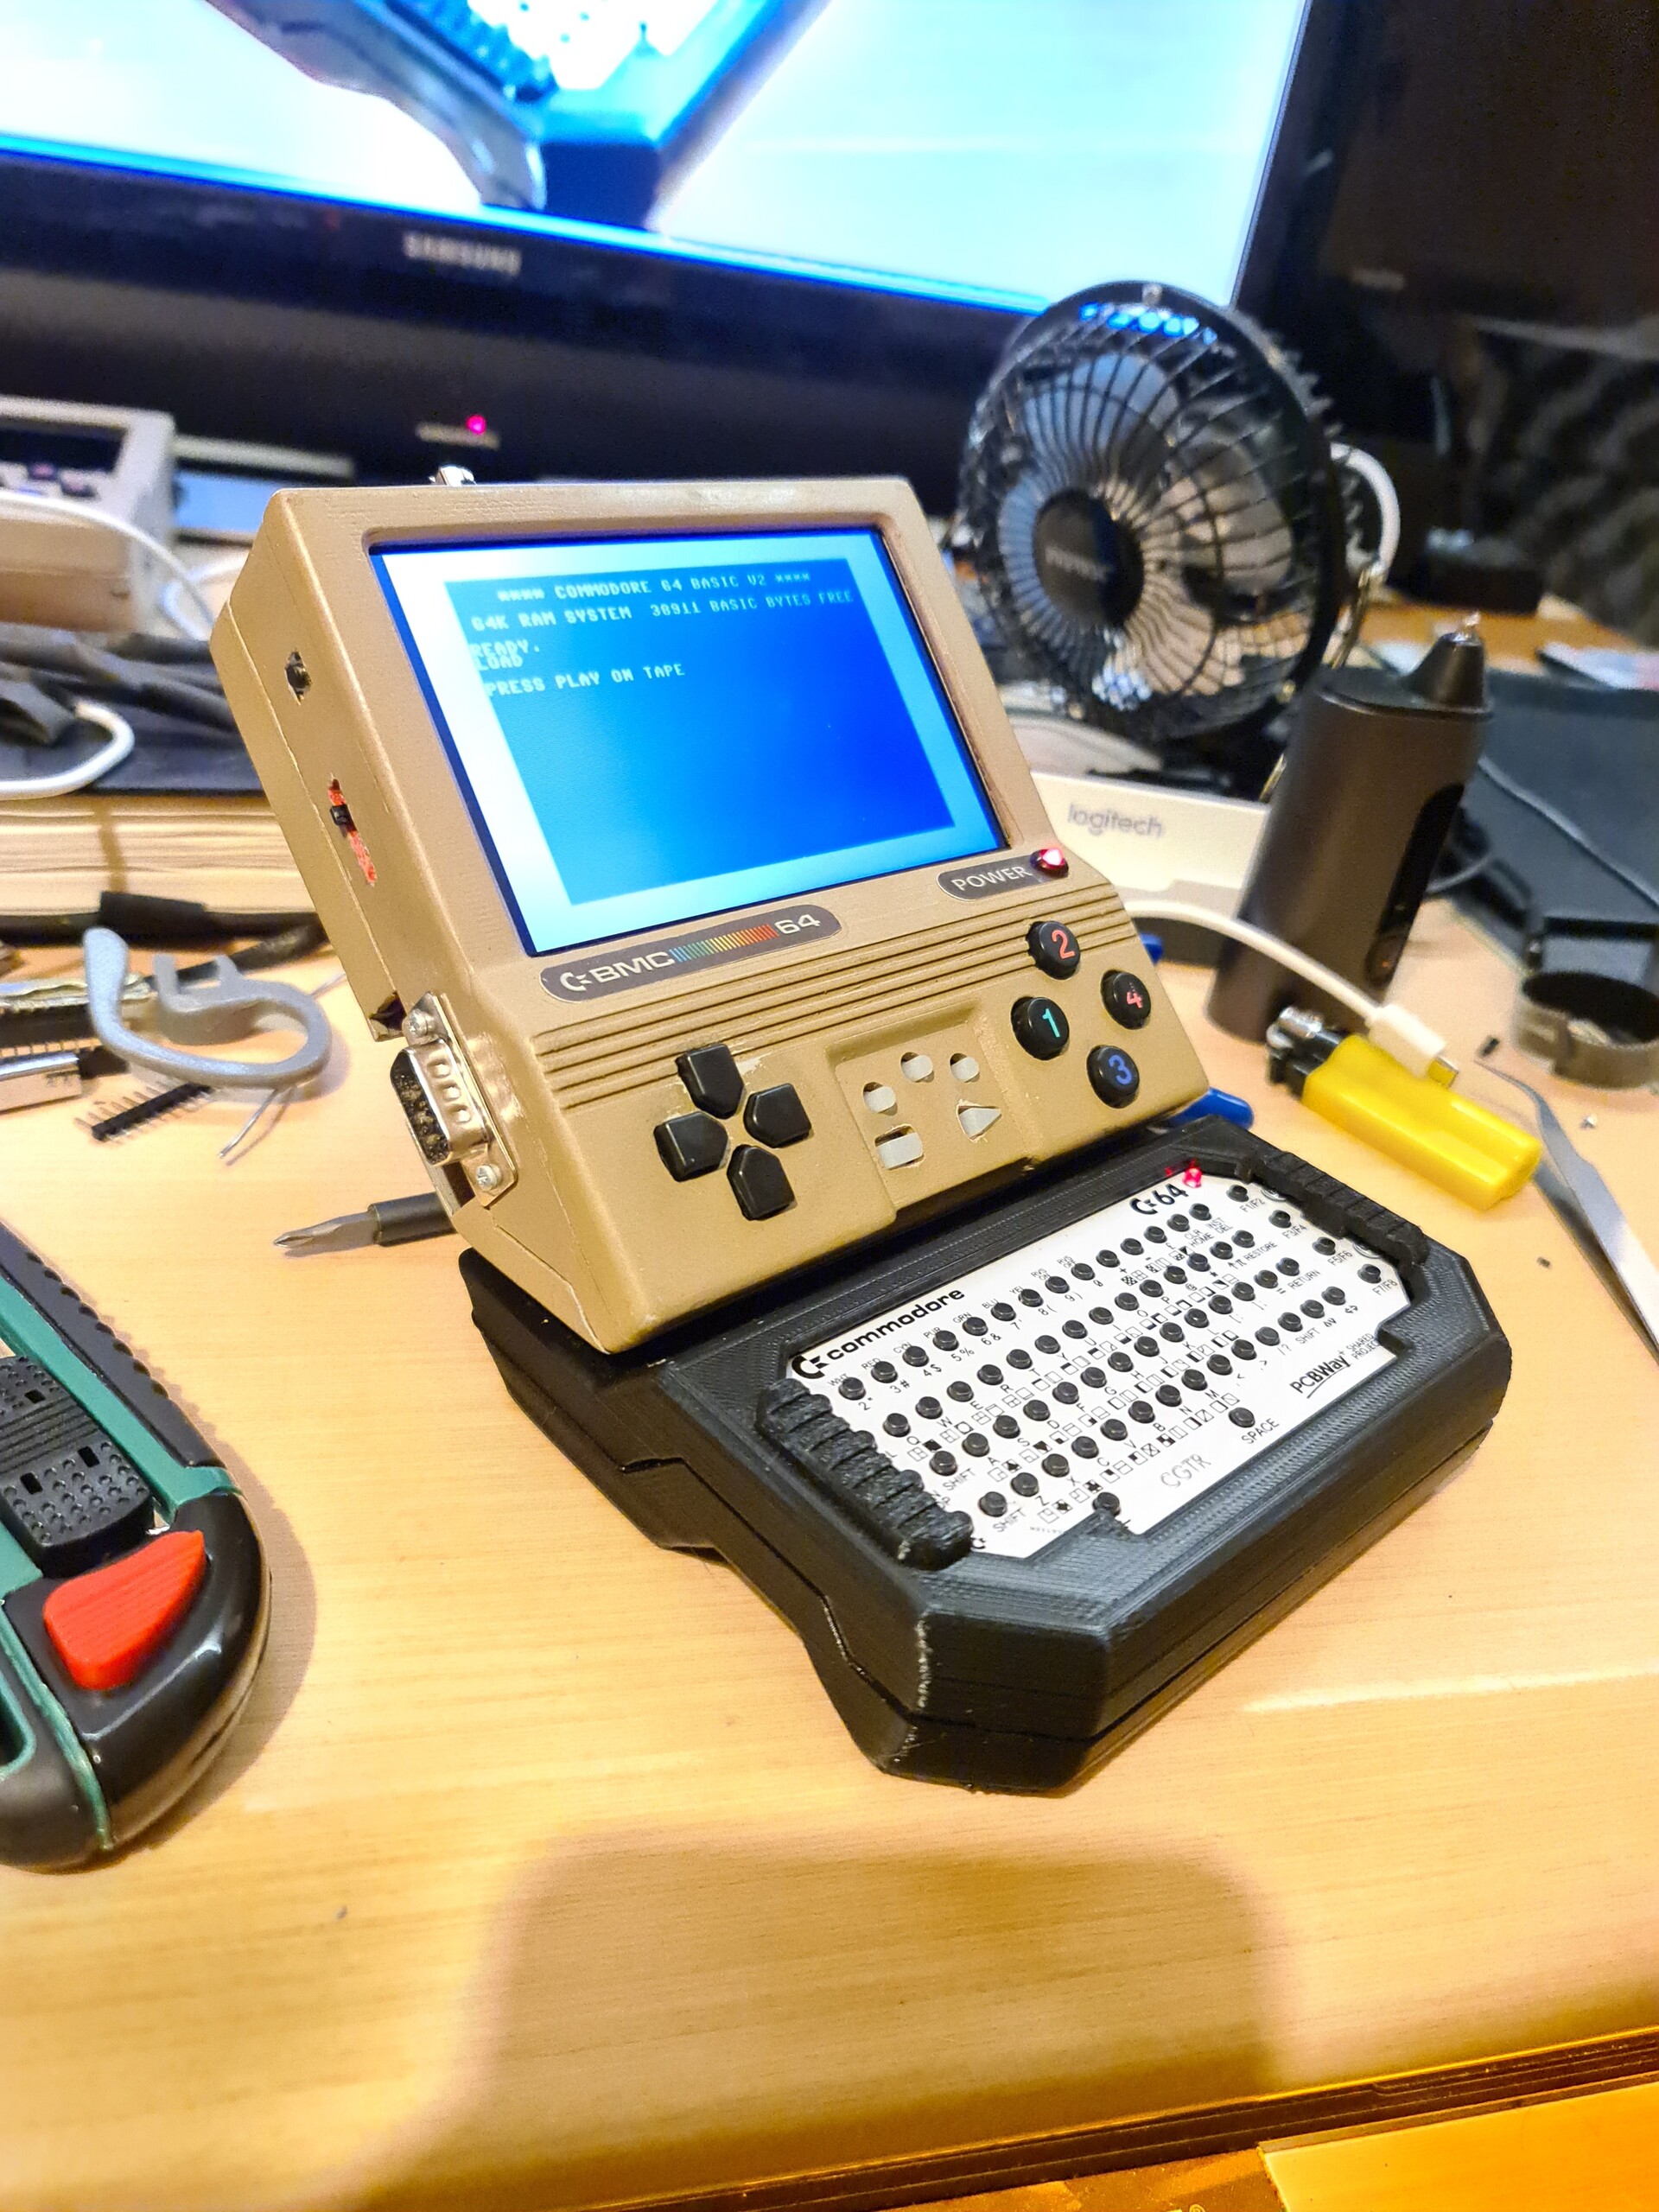
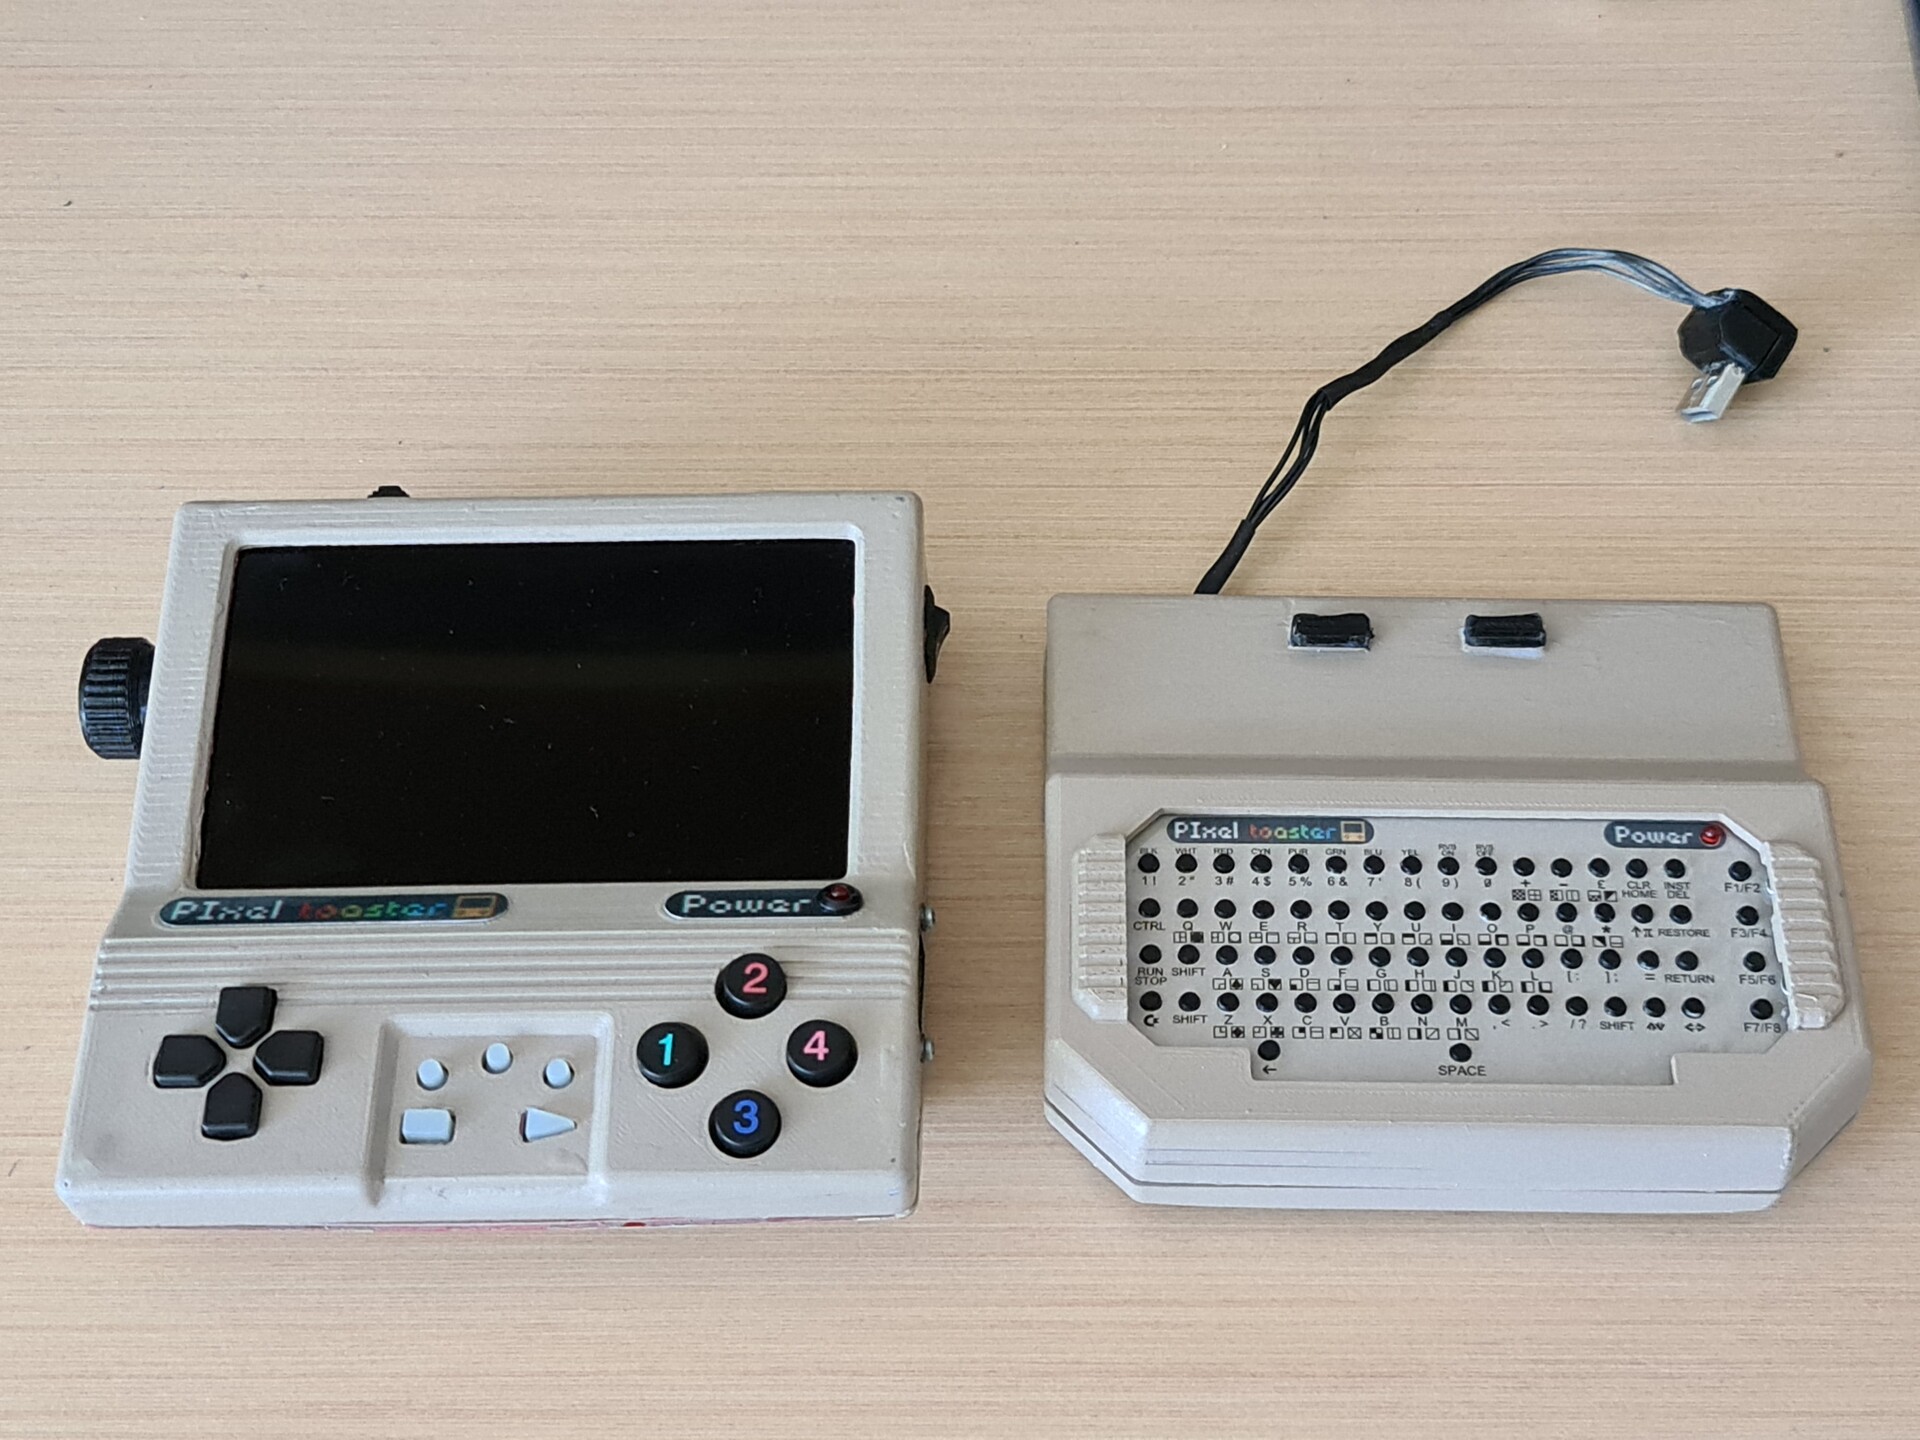
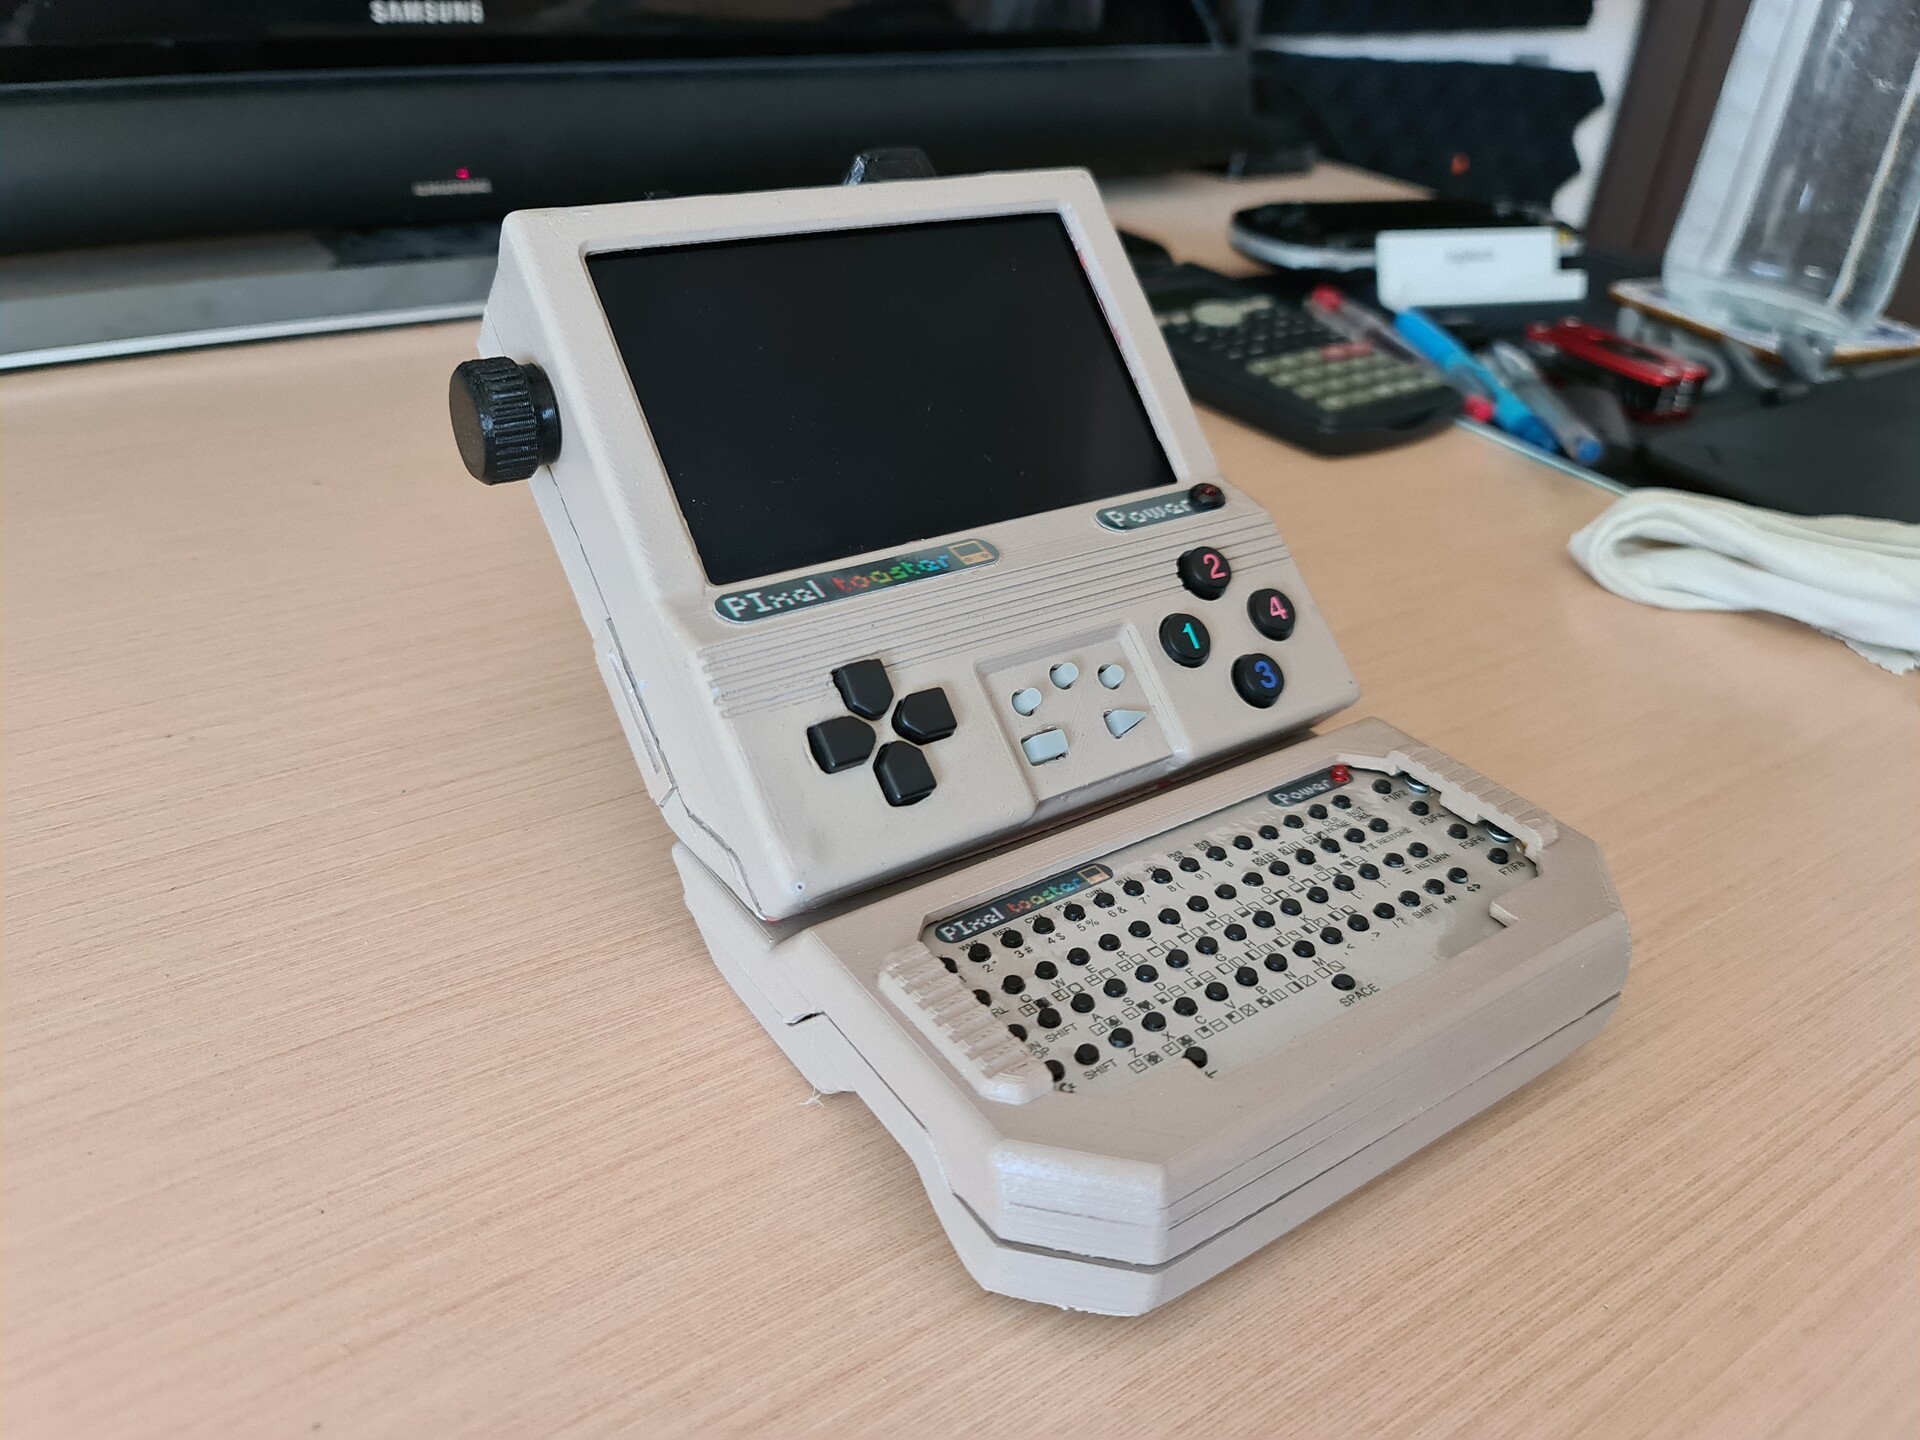
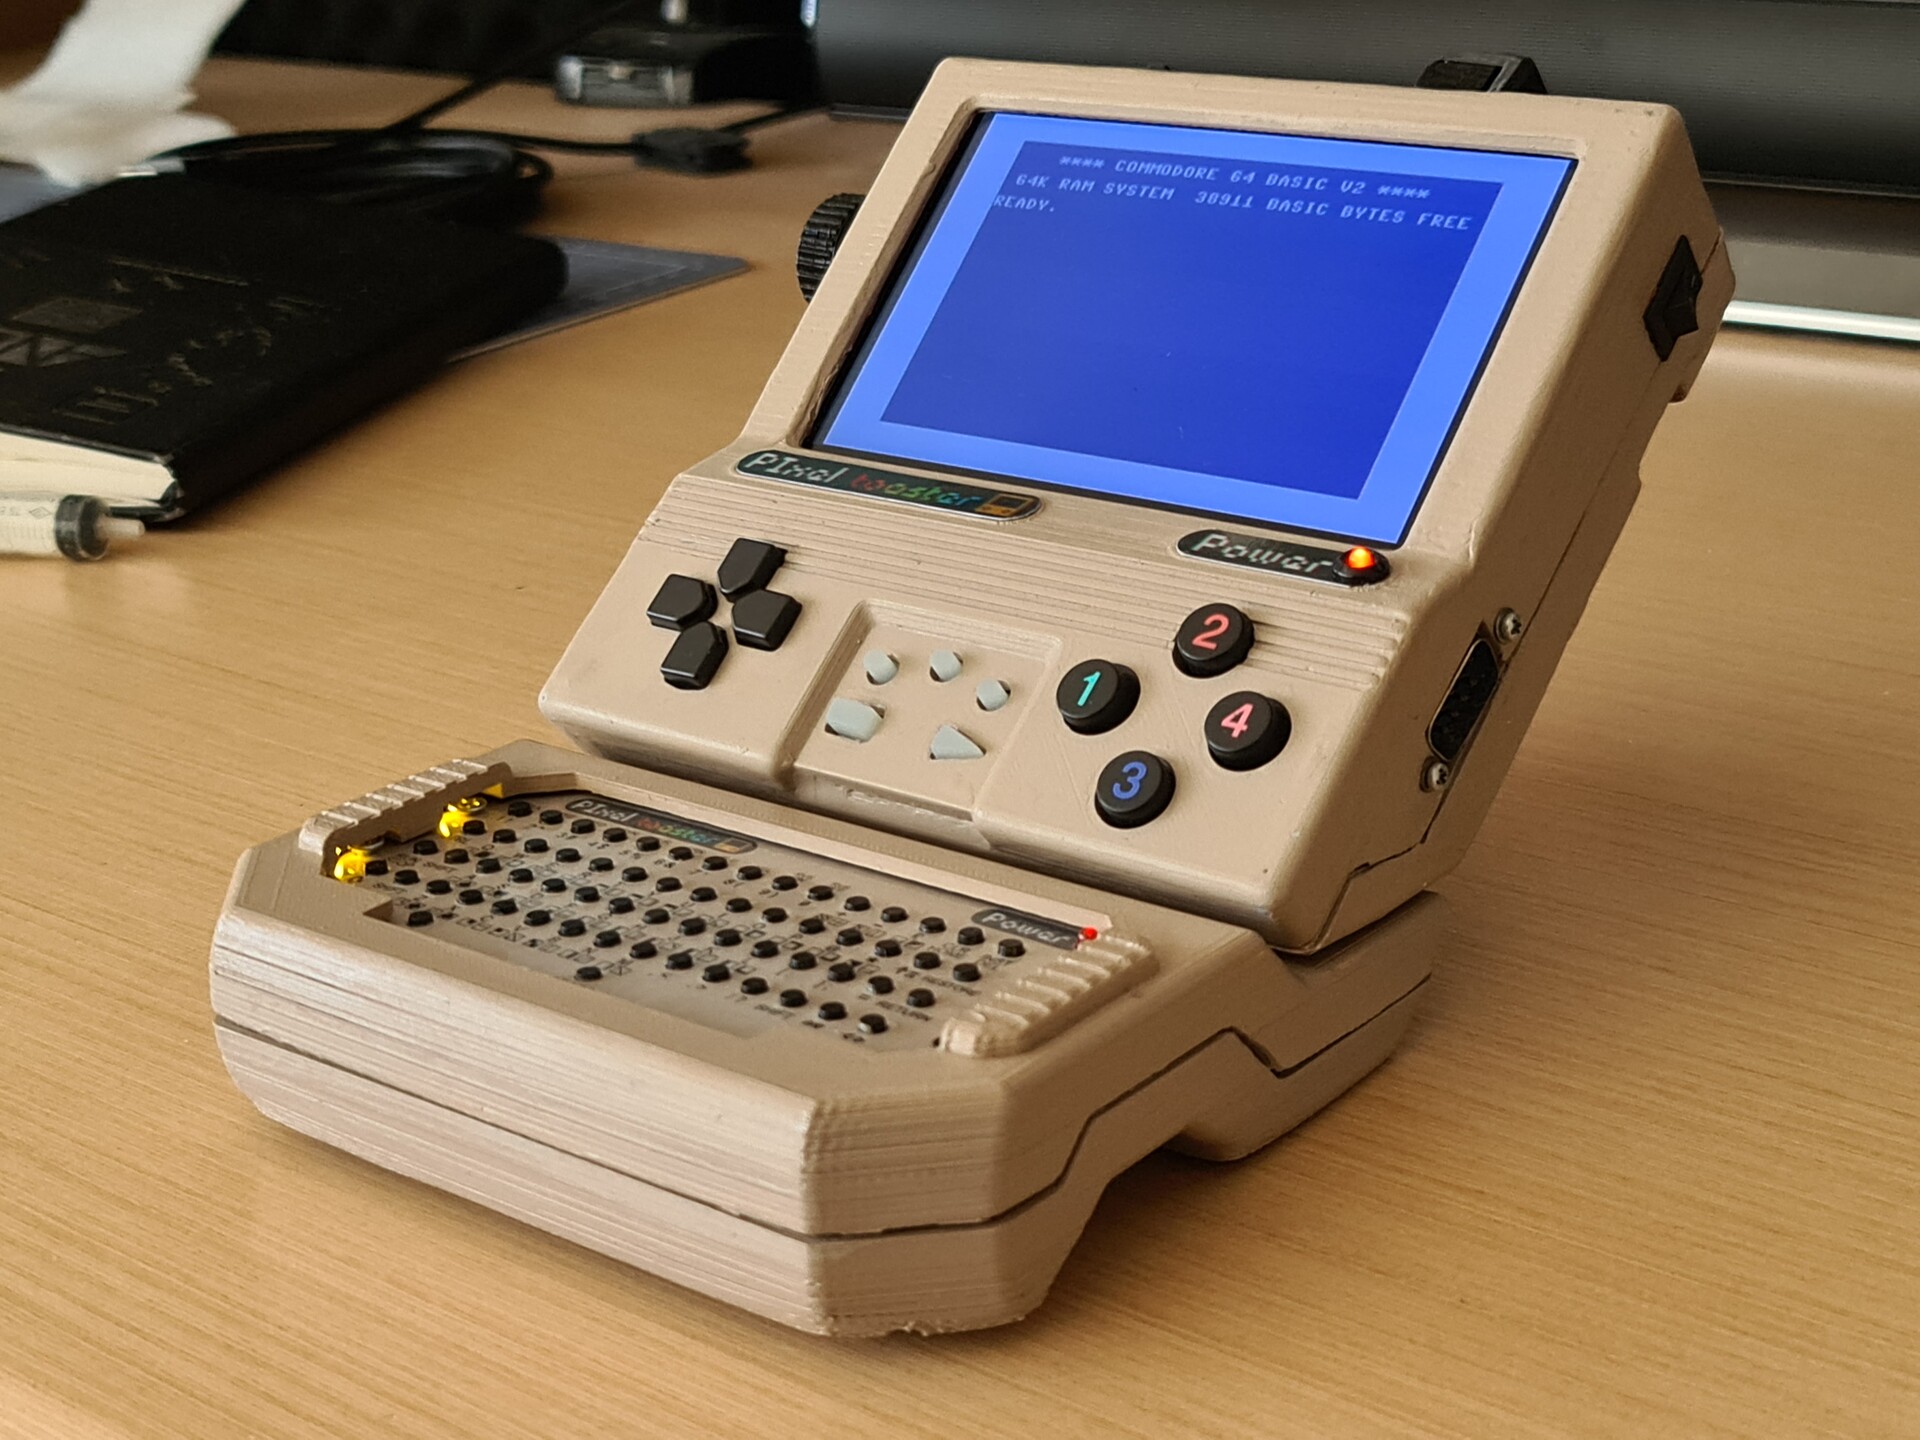
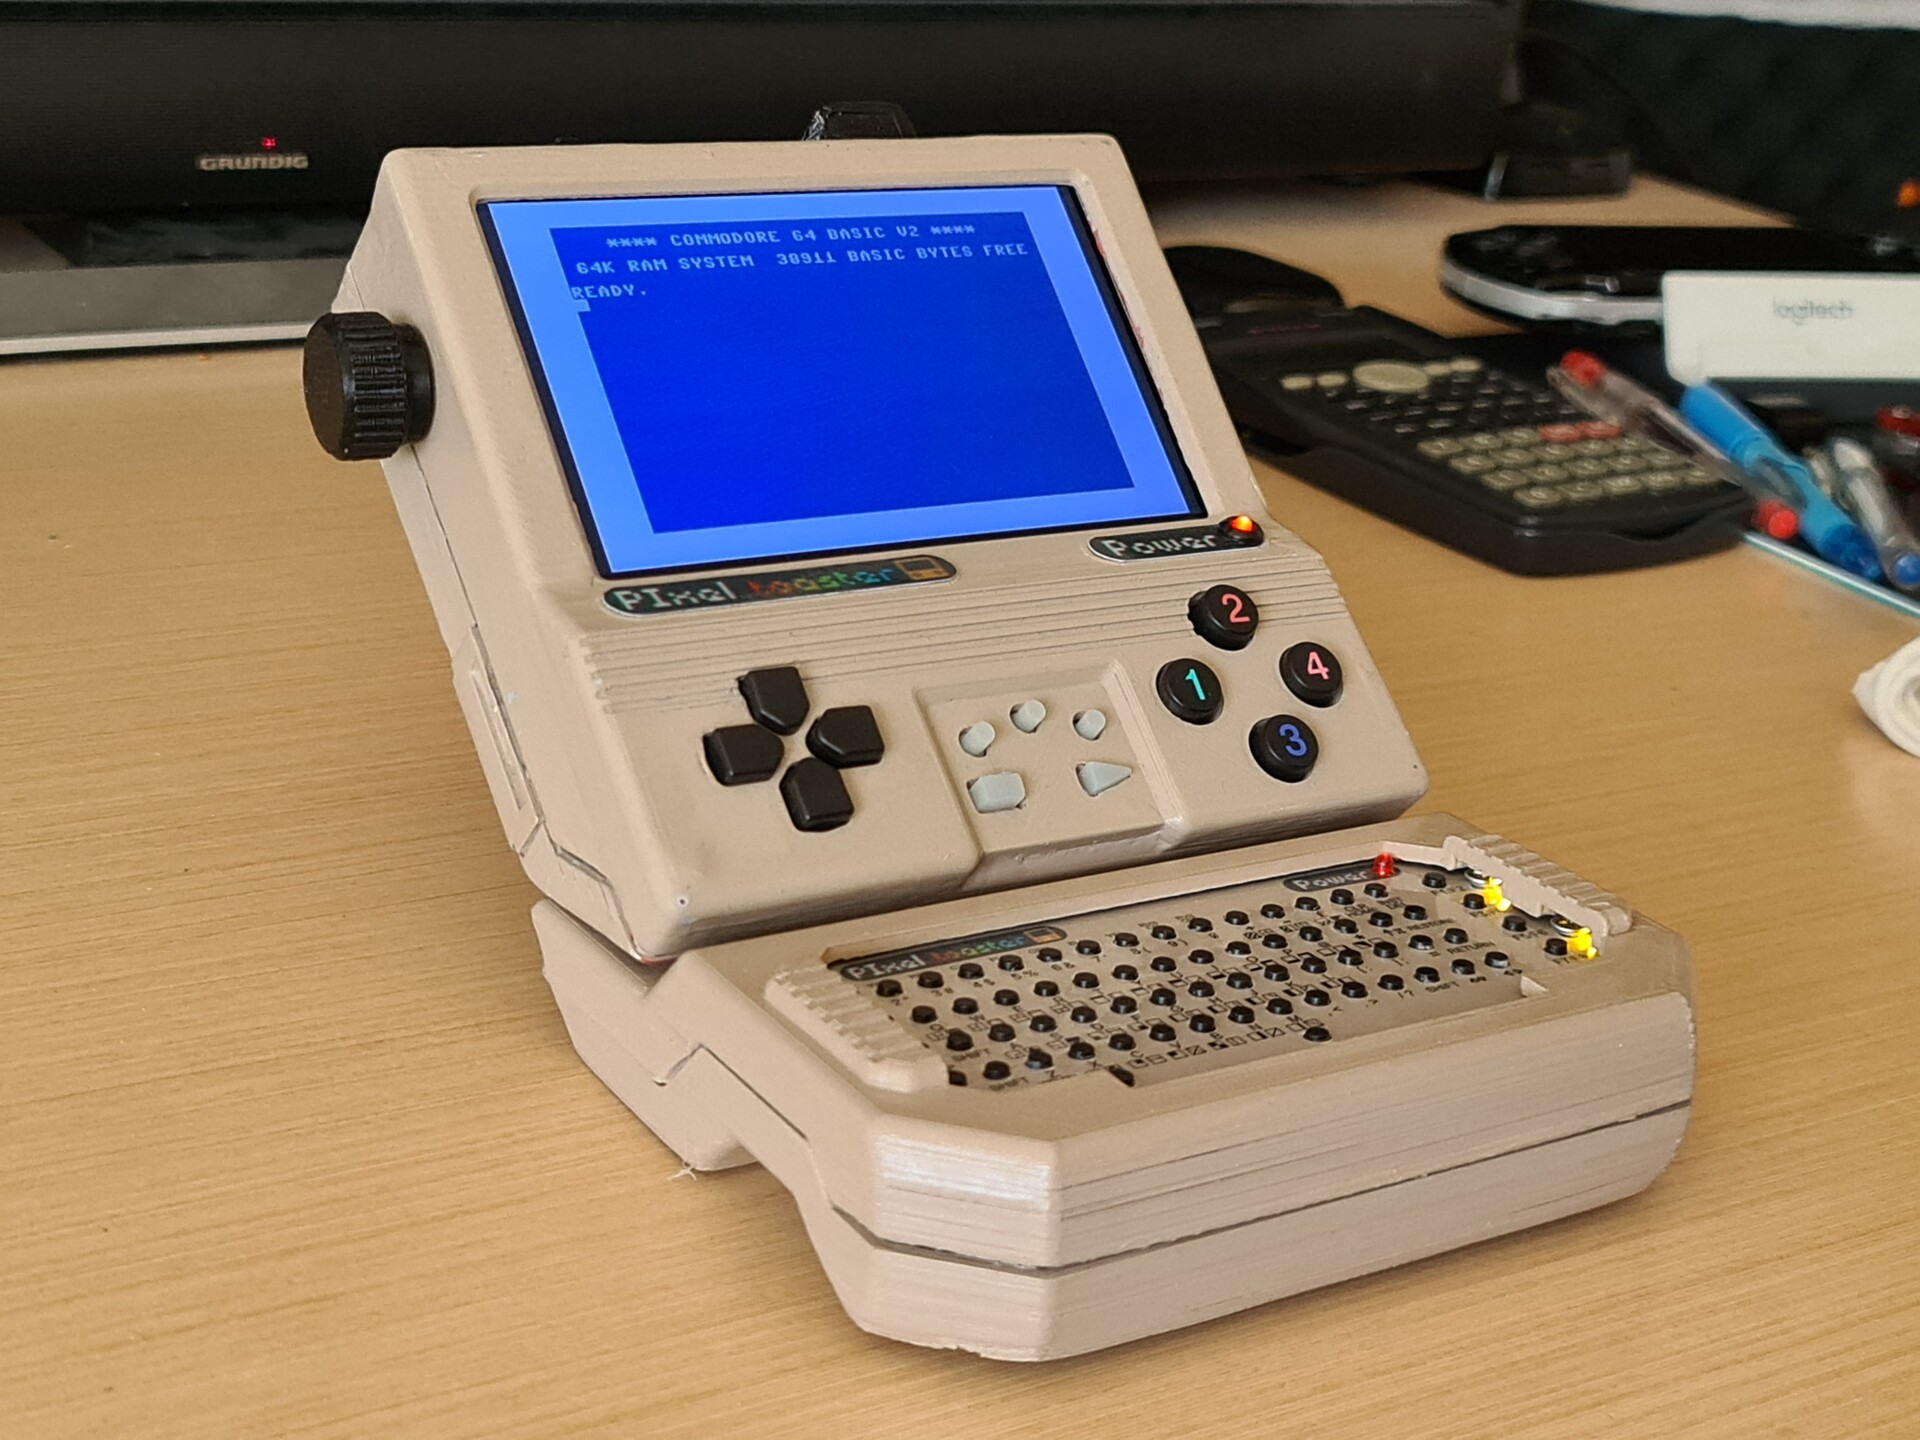
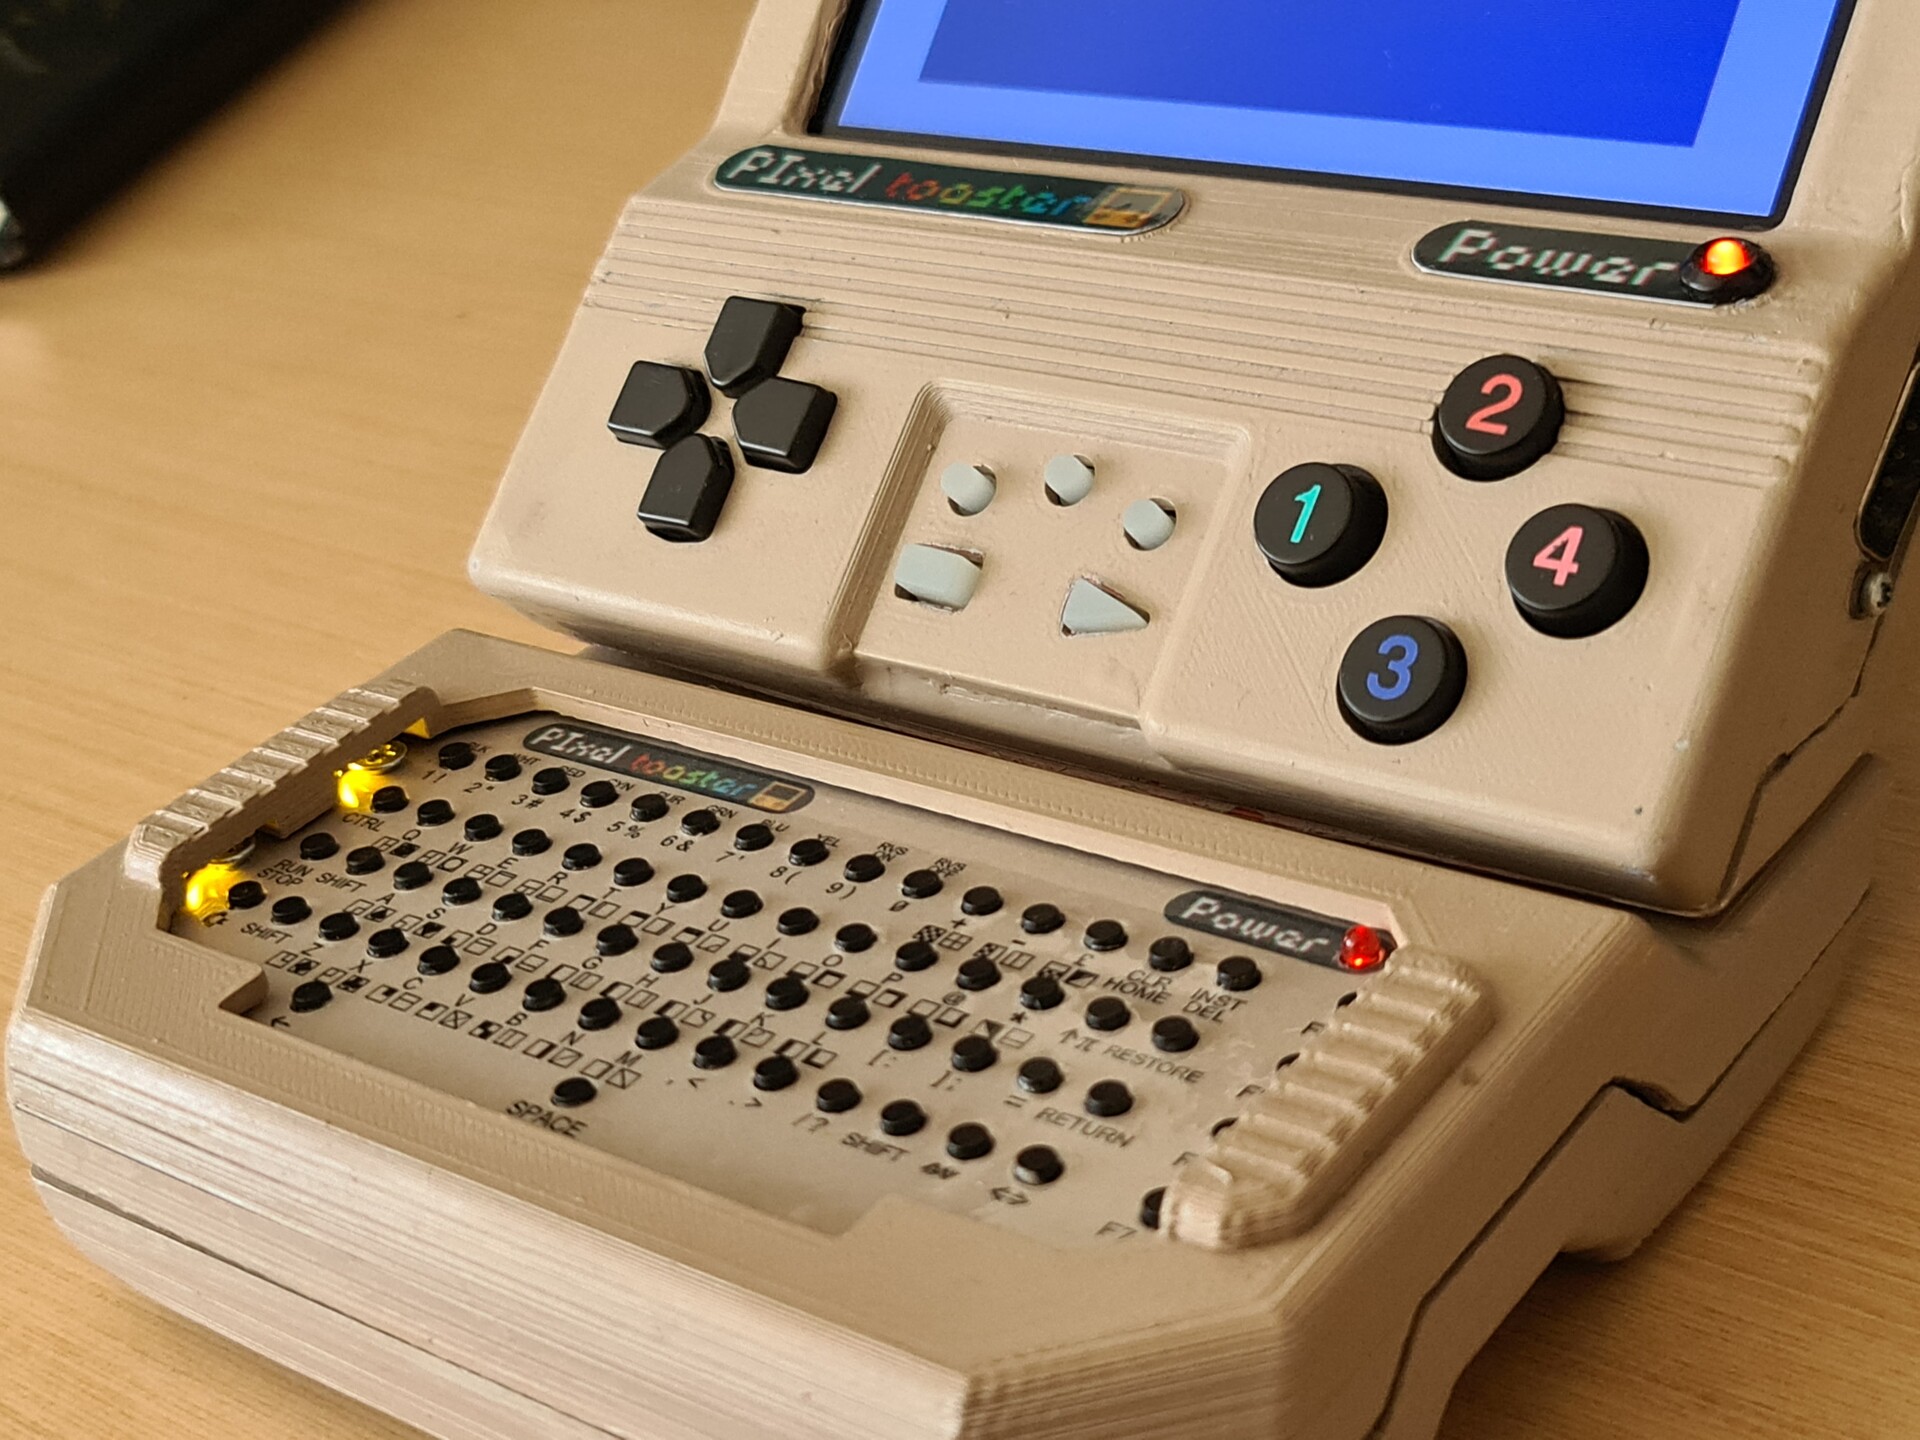
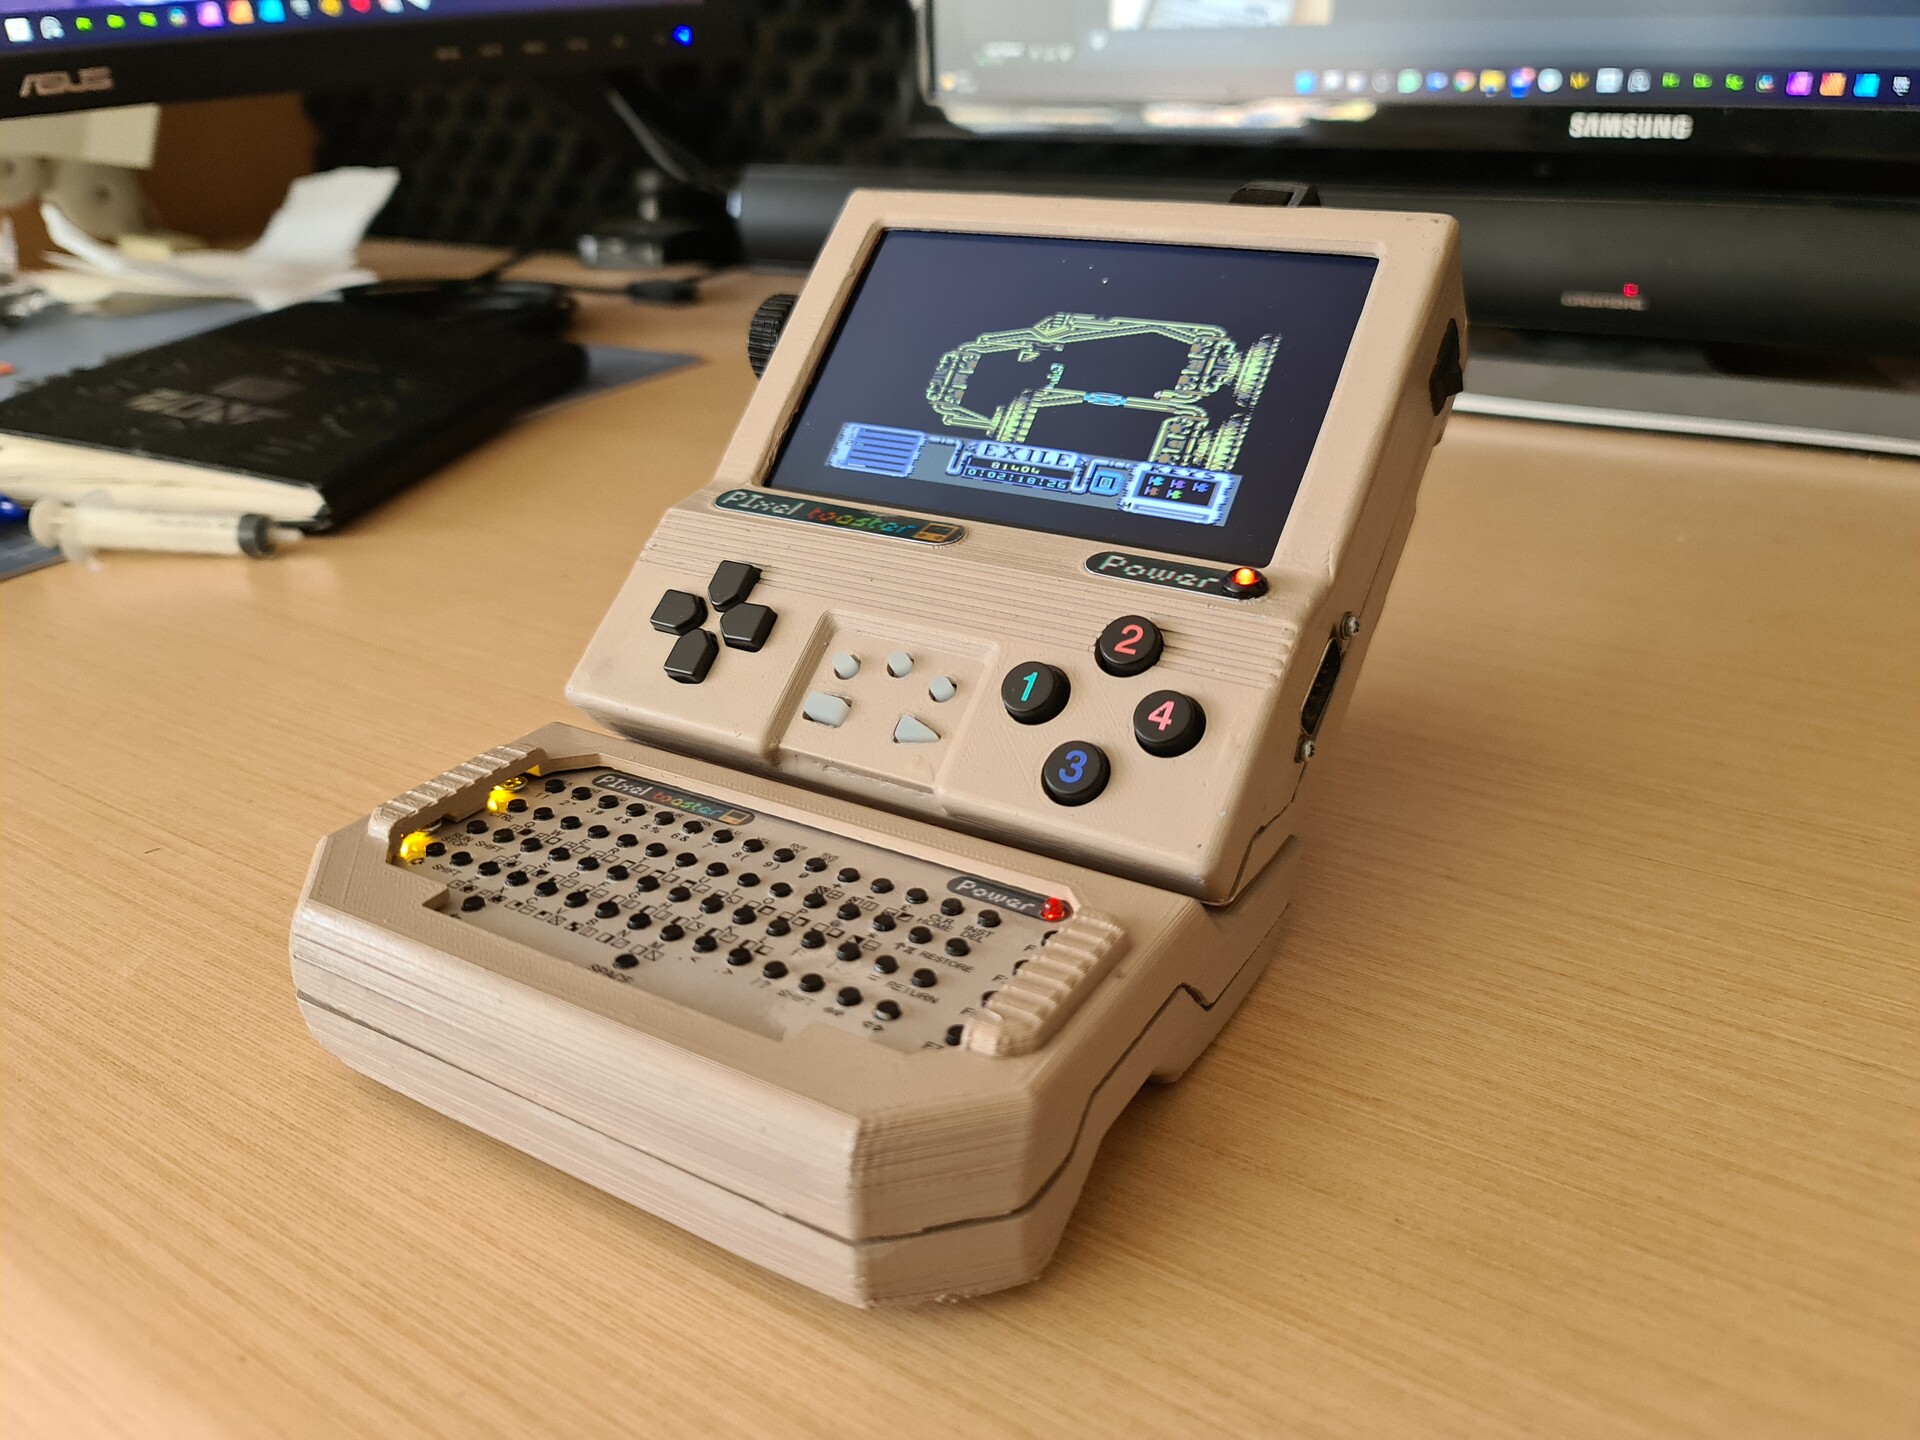
Hello! Previously I made an handheld design using Raspberry PI and 3d Printing / Painting. This time I added a detachable keyboard module to my console so it would be easier to access whole c64 keyboard and experience.
You can check the making of process by this two links:
https://www.artstation.com/blogs/blockmind/lMOo/making-of-handheld-commodore-64-project
https://www.artstation.com/blogs/blockmind/lMee/handheld-commodore-64-project-finalization
This time with the help of C64Istanbul from PCBway, I got a keyboard replacement PCB where you can also order by this link:
https://www.pcbway.com/project/shareproject/COMMODORE_64_USB_KEYBOARD_FOR_BMC64_Poor_man_s_Keyrah_89d5c4fc.html
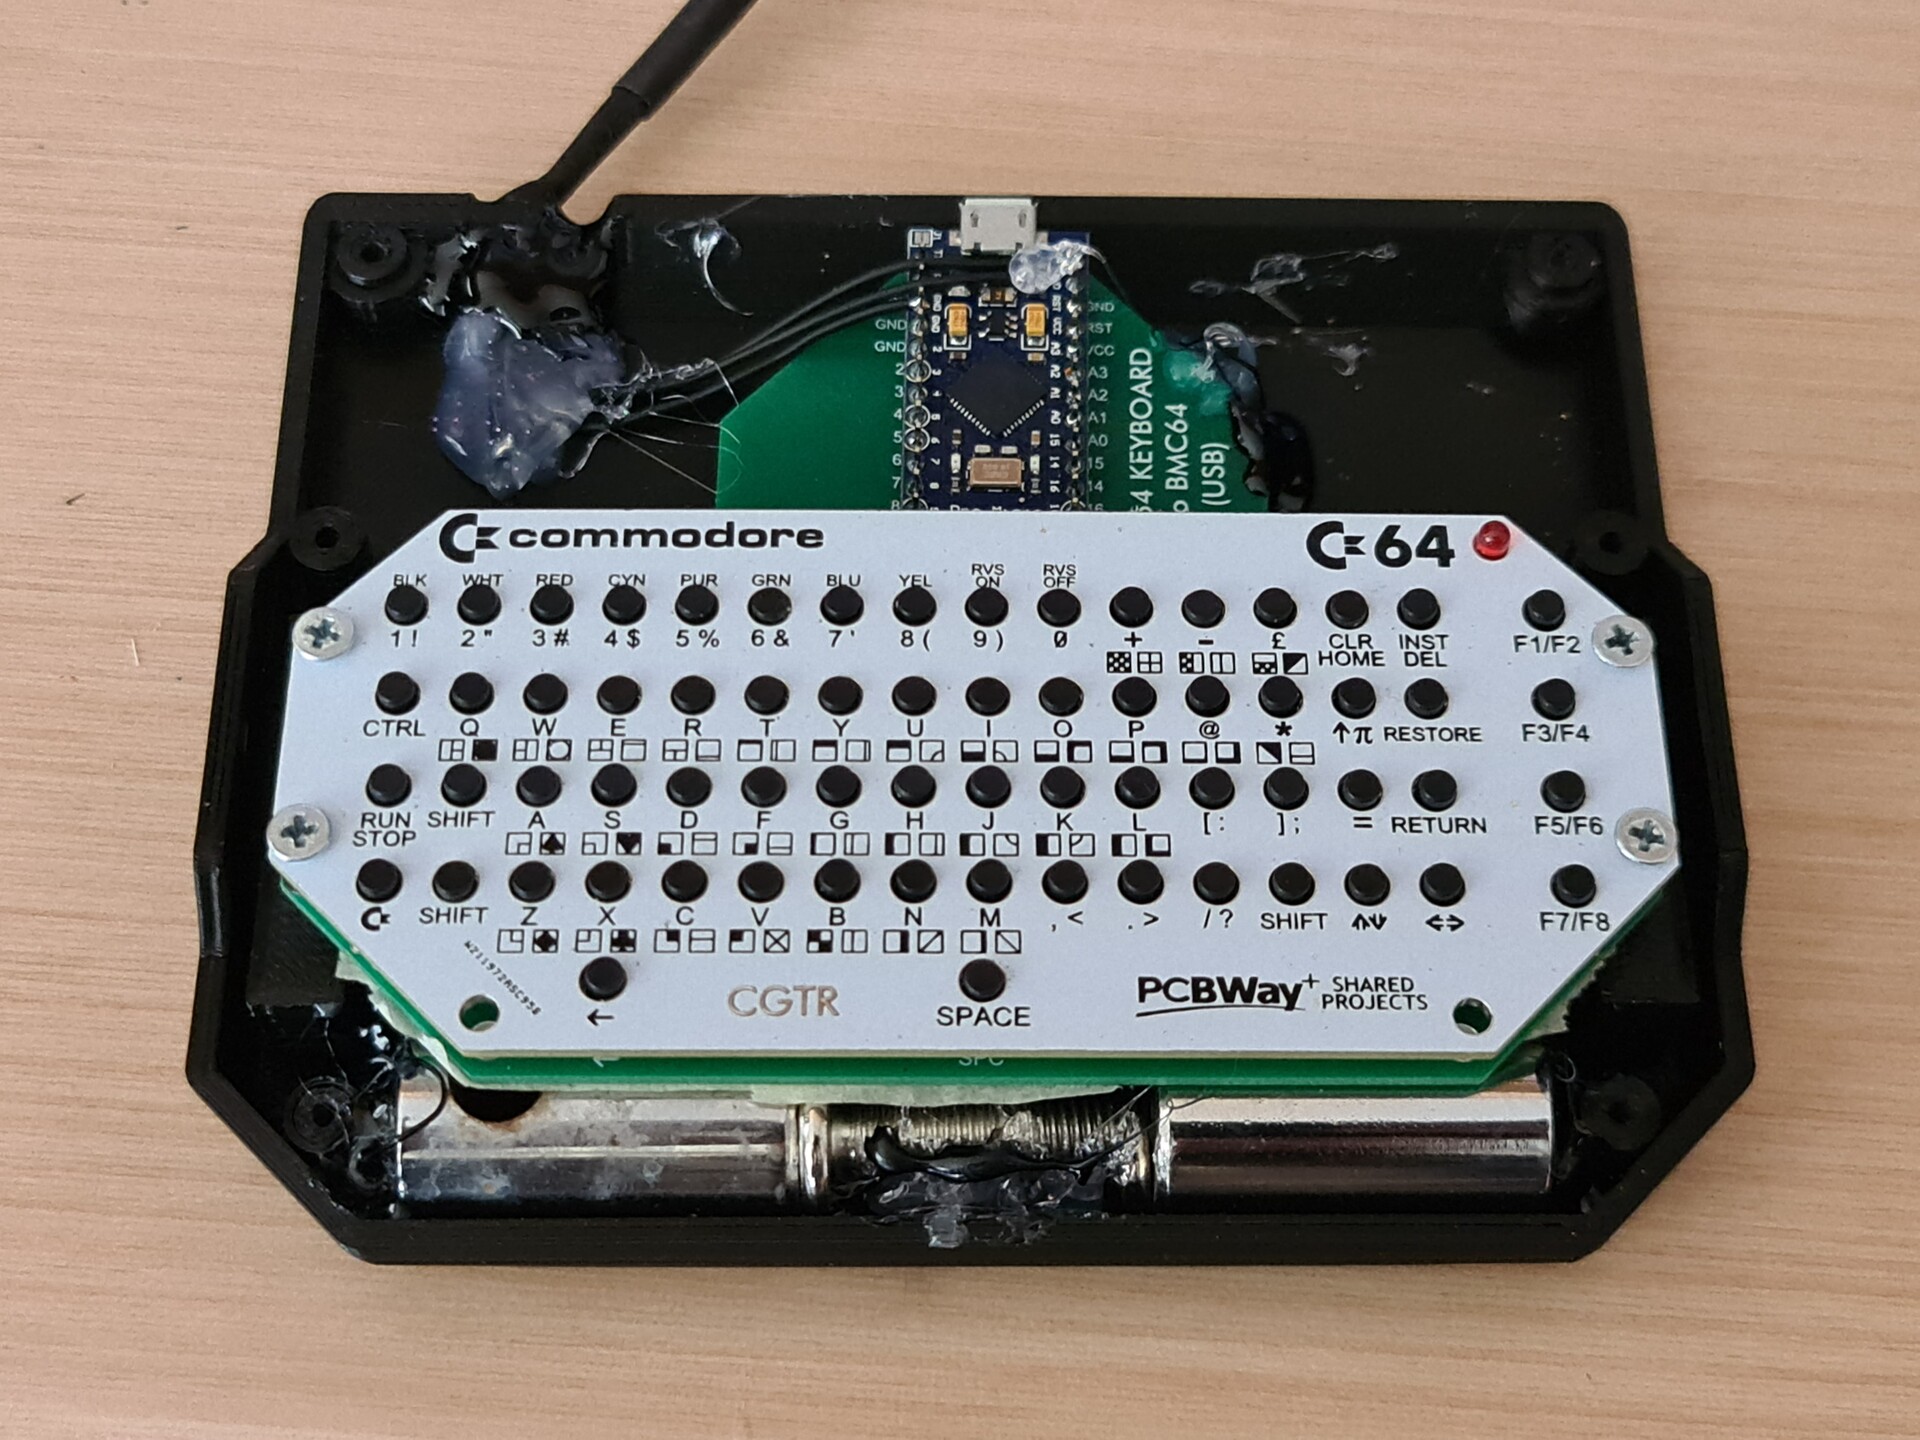
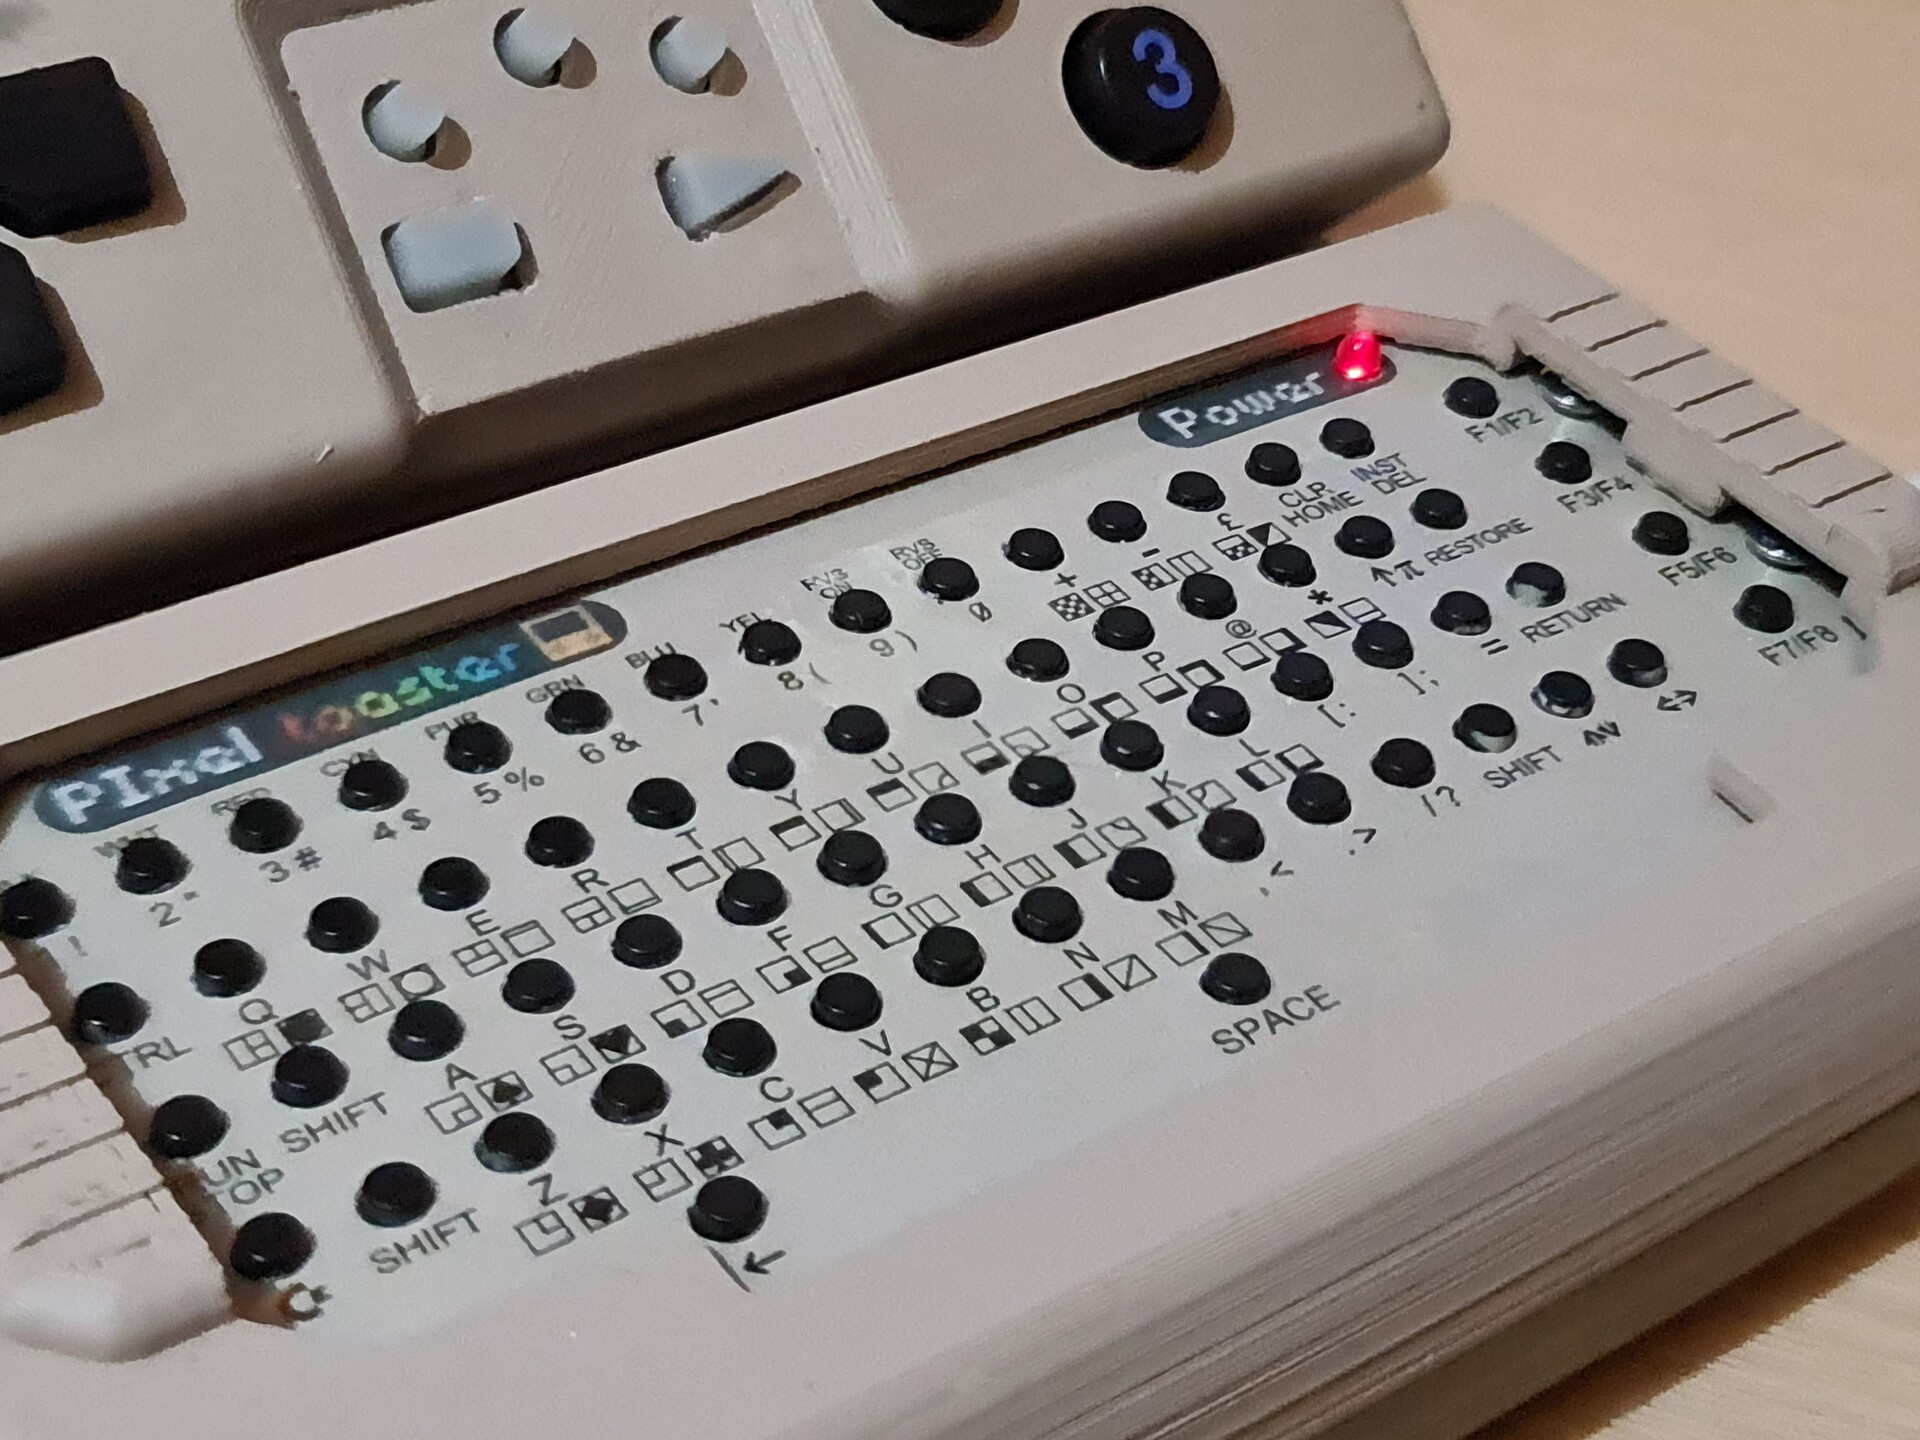
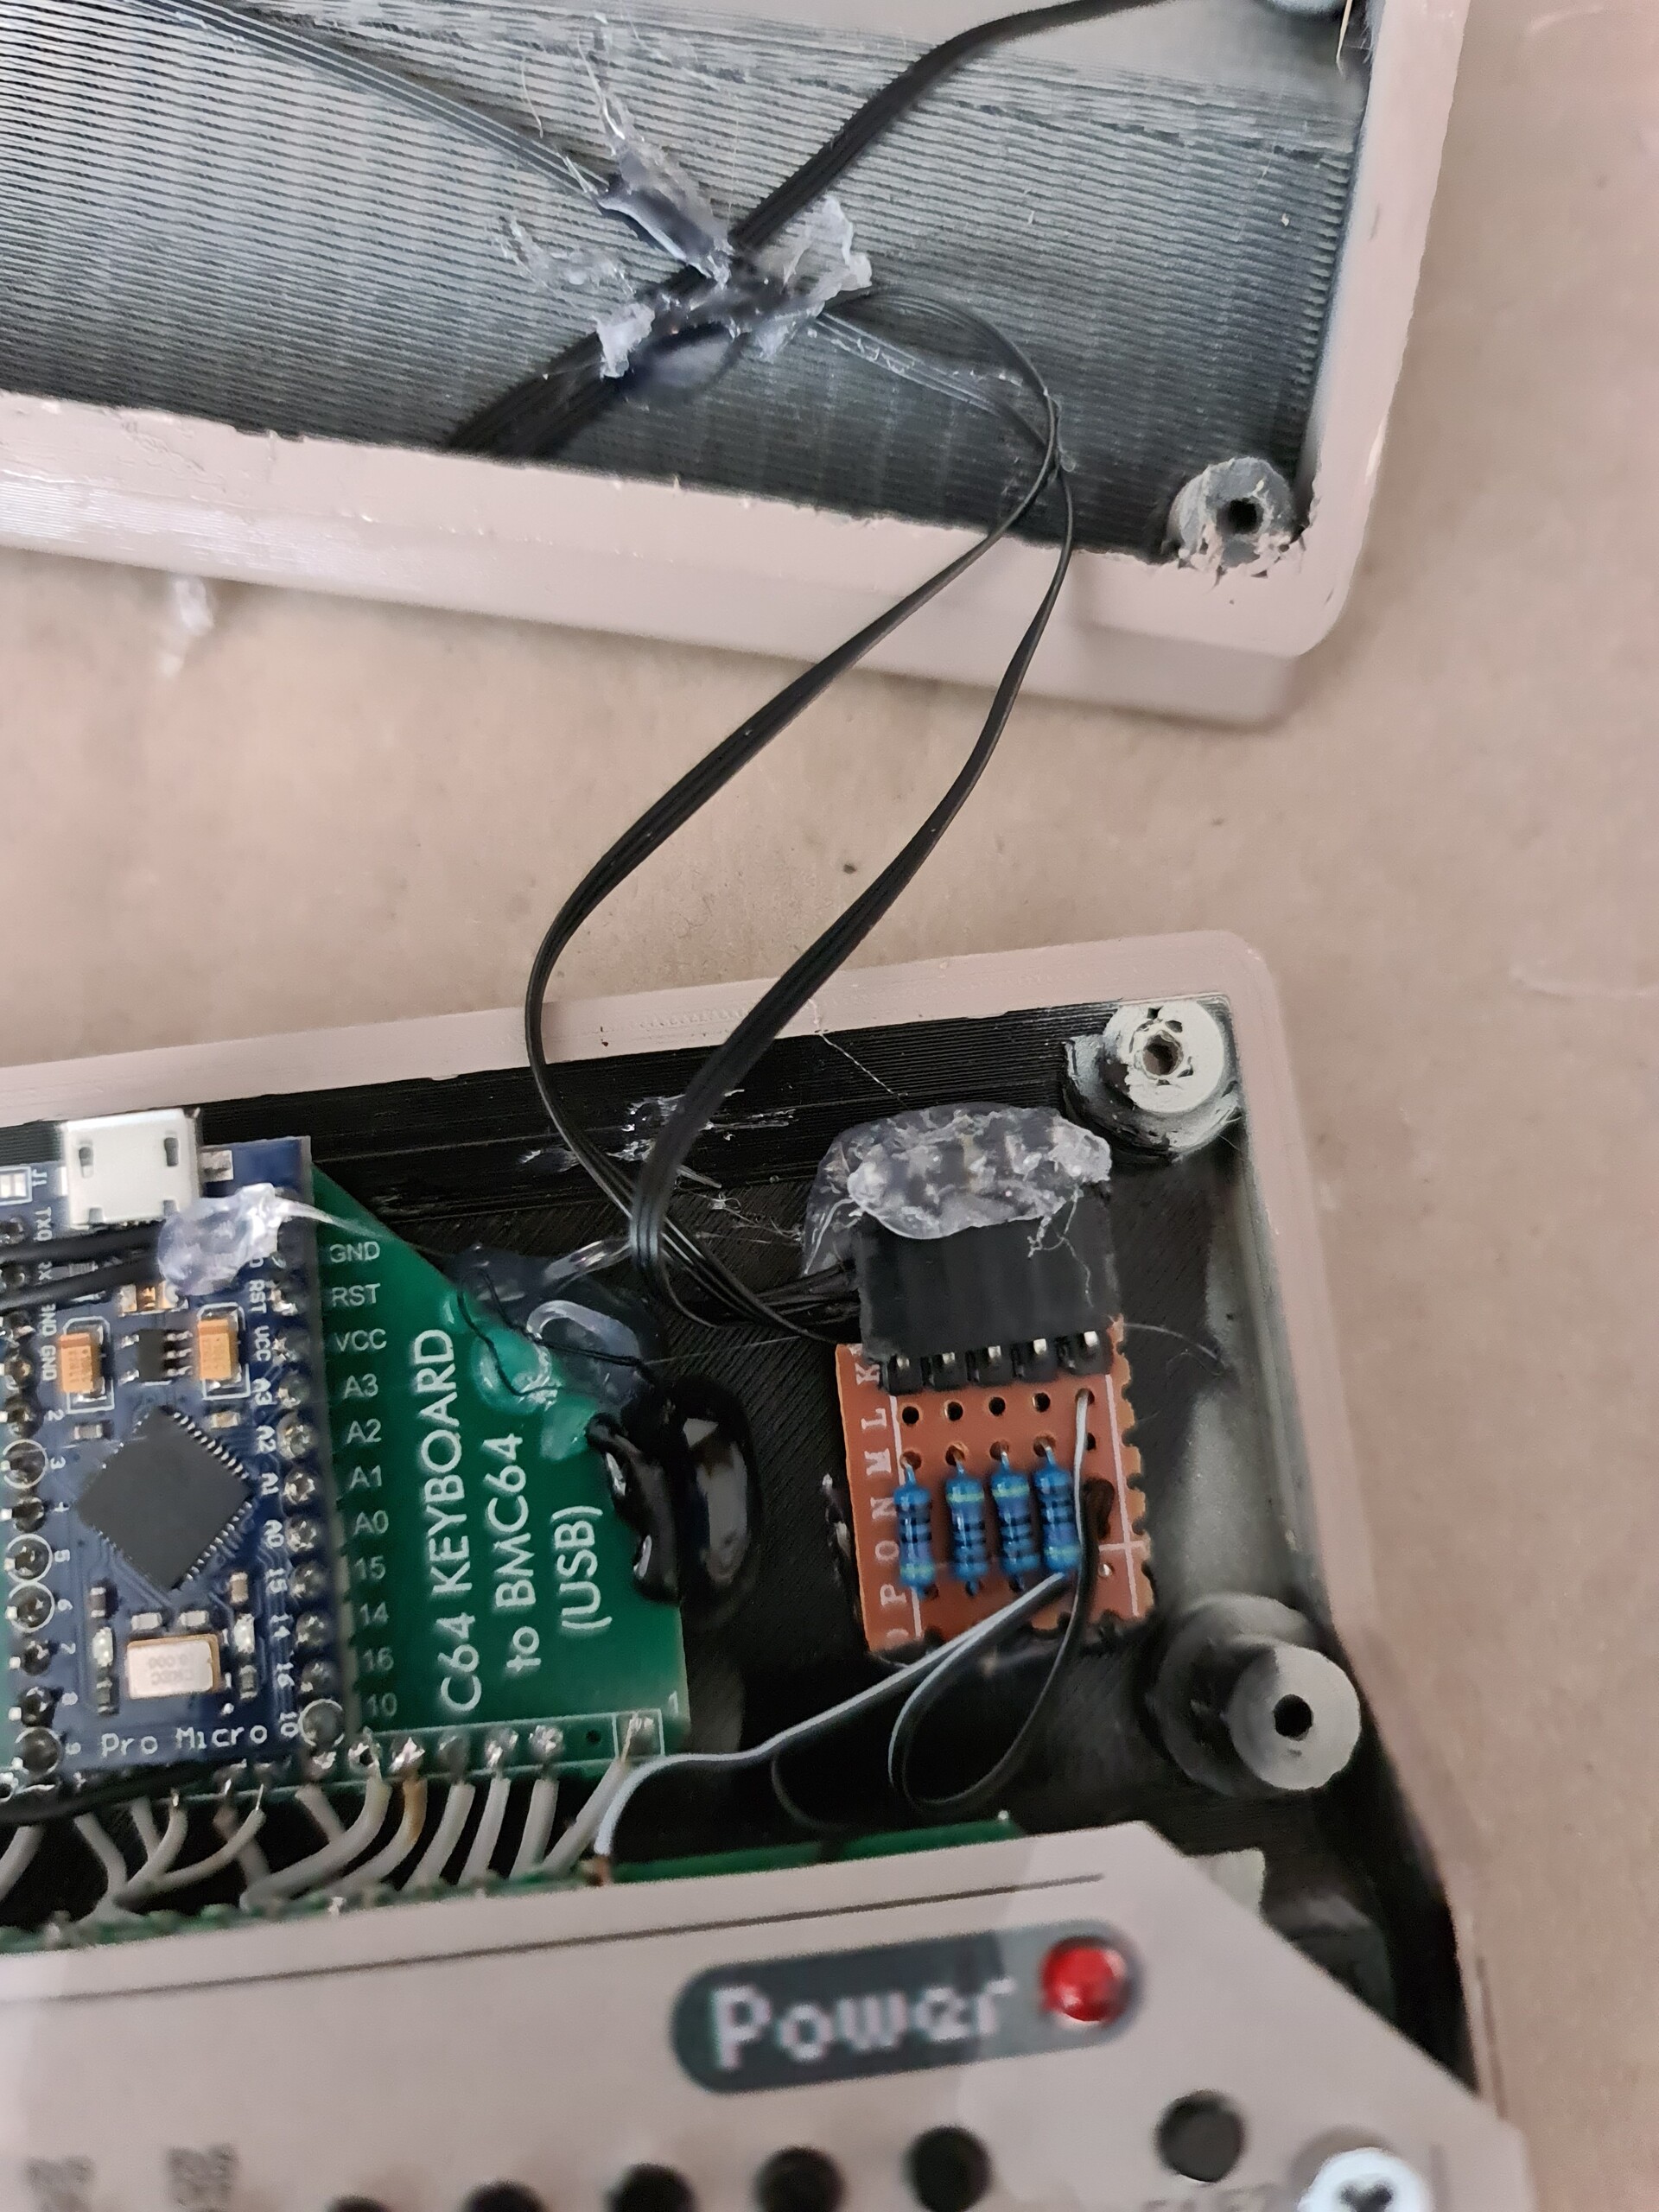
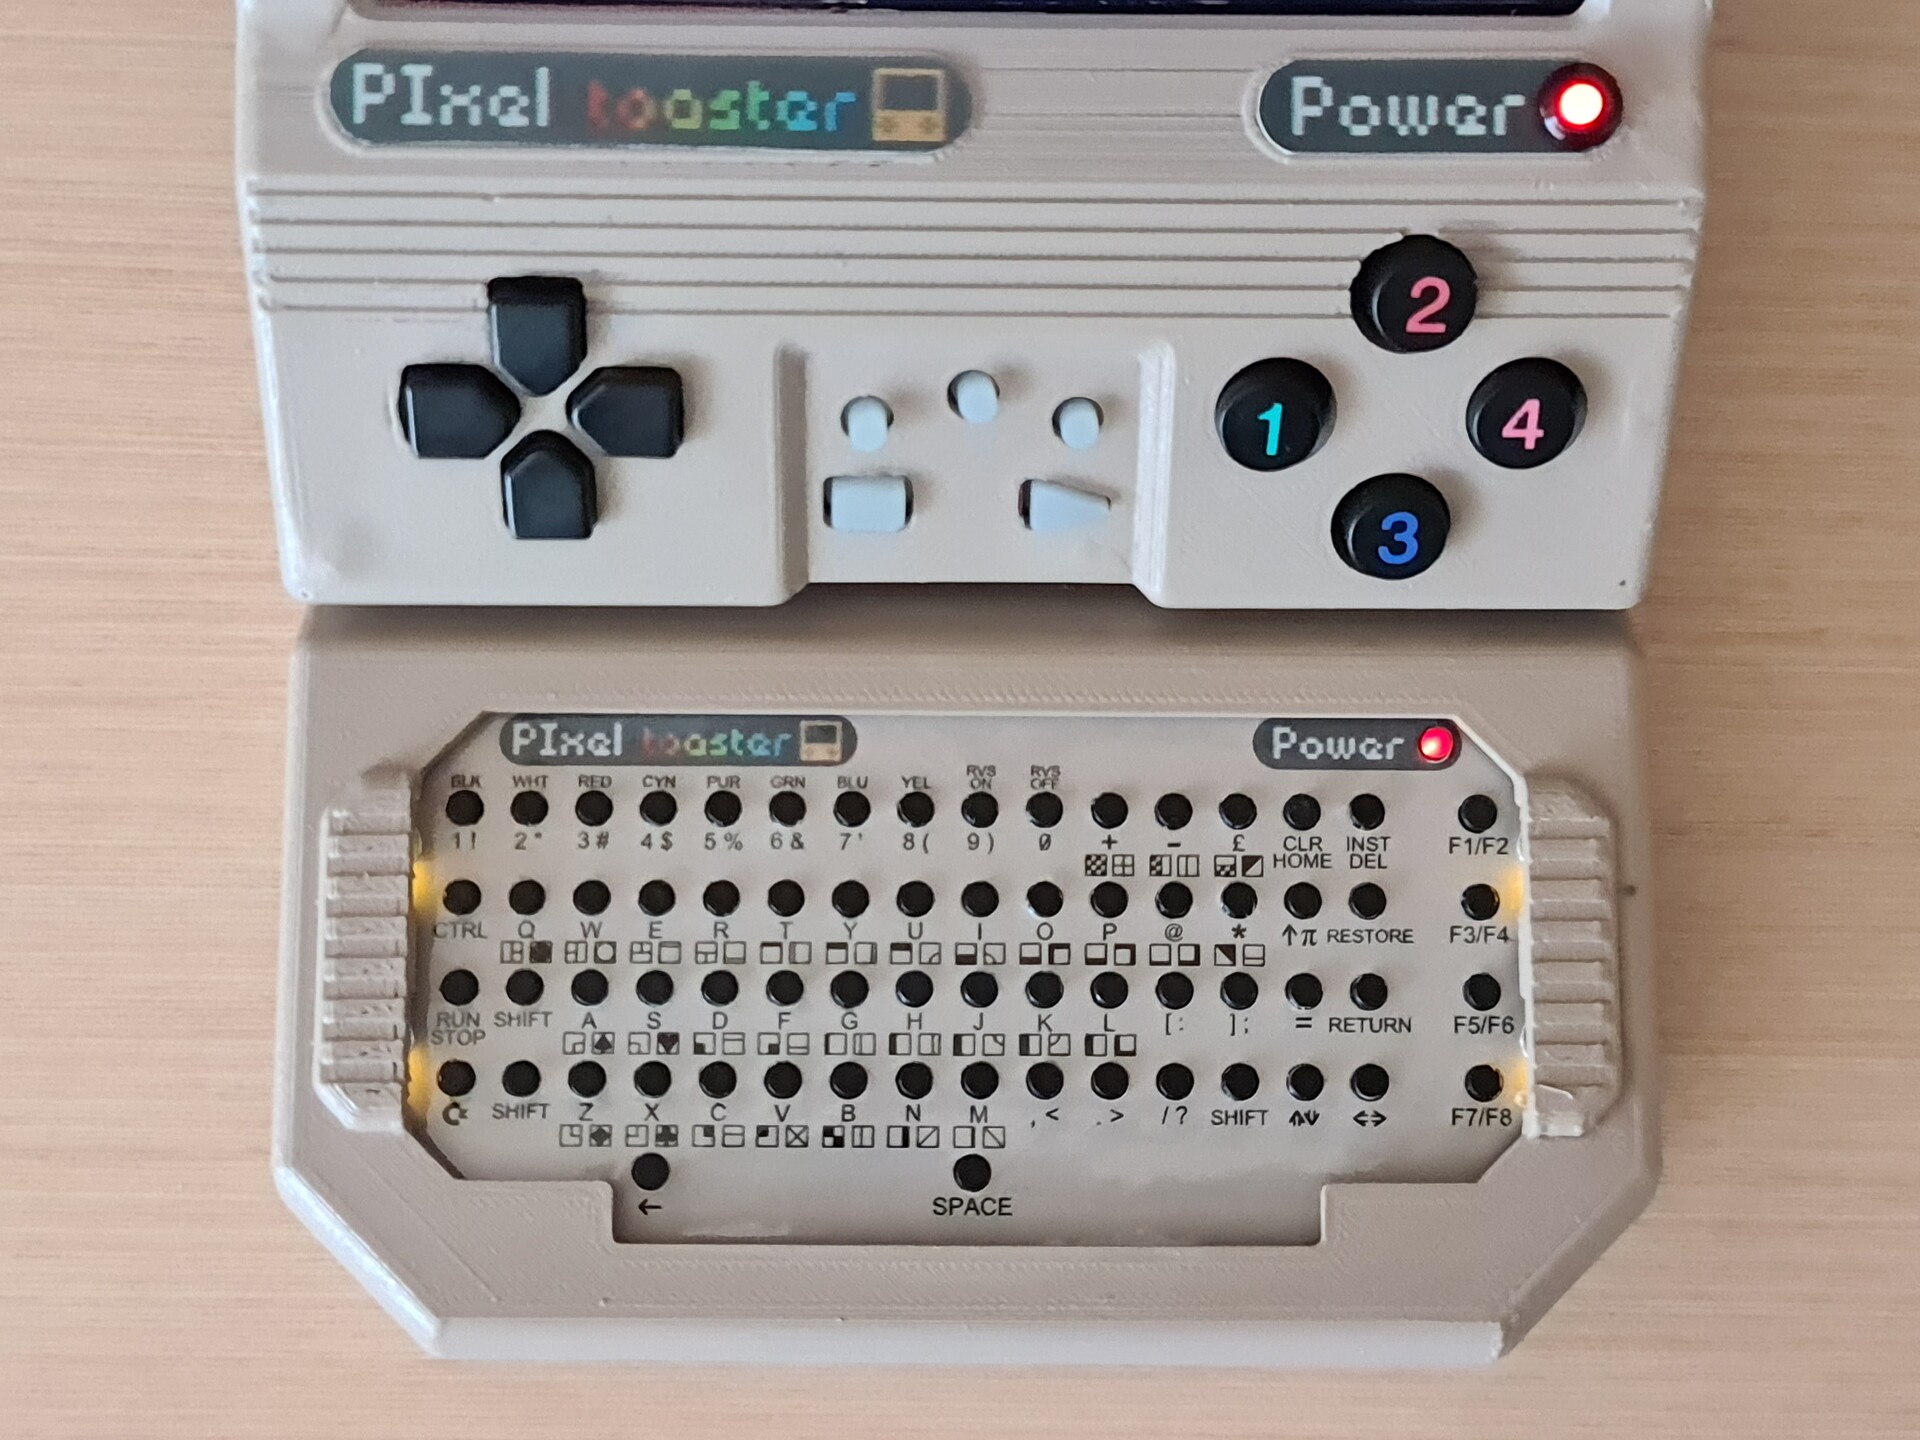
This keyboard has the exact mapping with a real C64 keyboard so the emulators recognize it %100 compatible. It uses an Arduino Pro Micro to make it reconized by a USB interface on the Raspberry PI or PC devices.

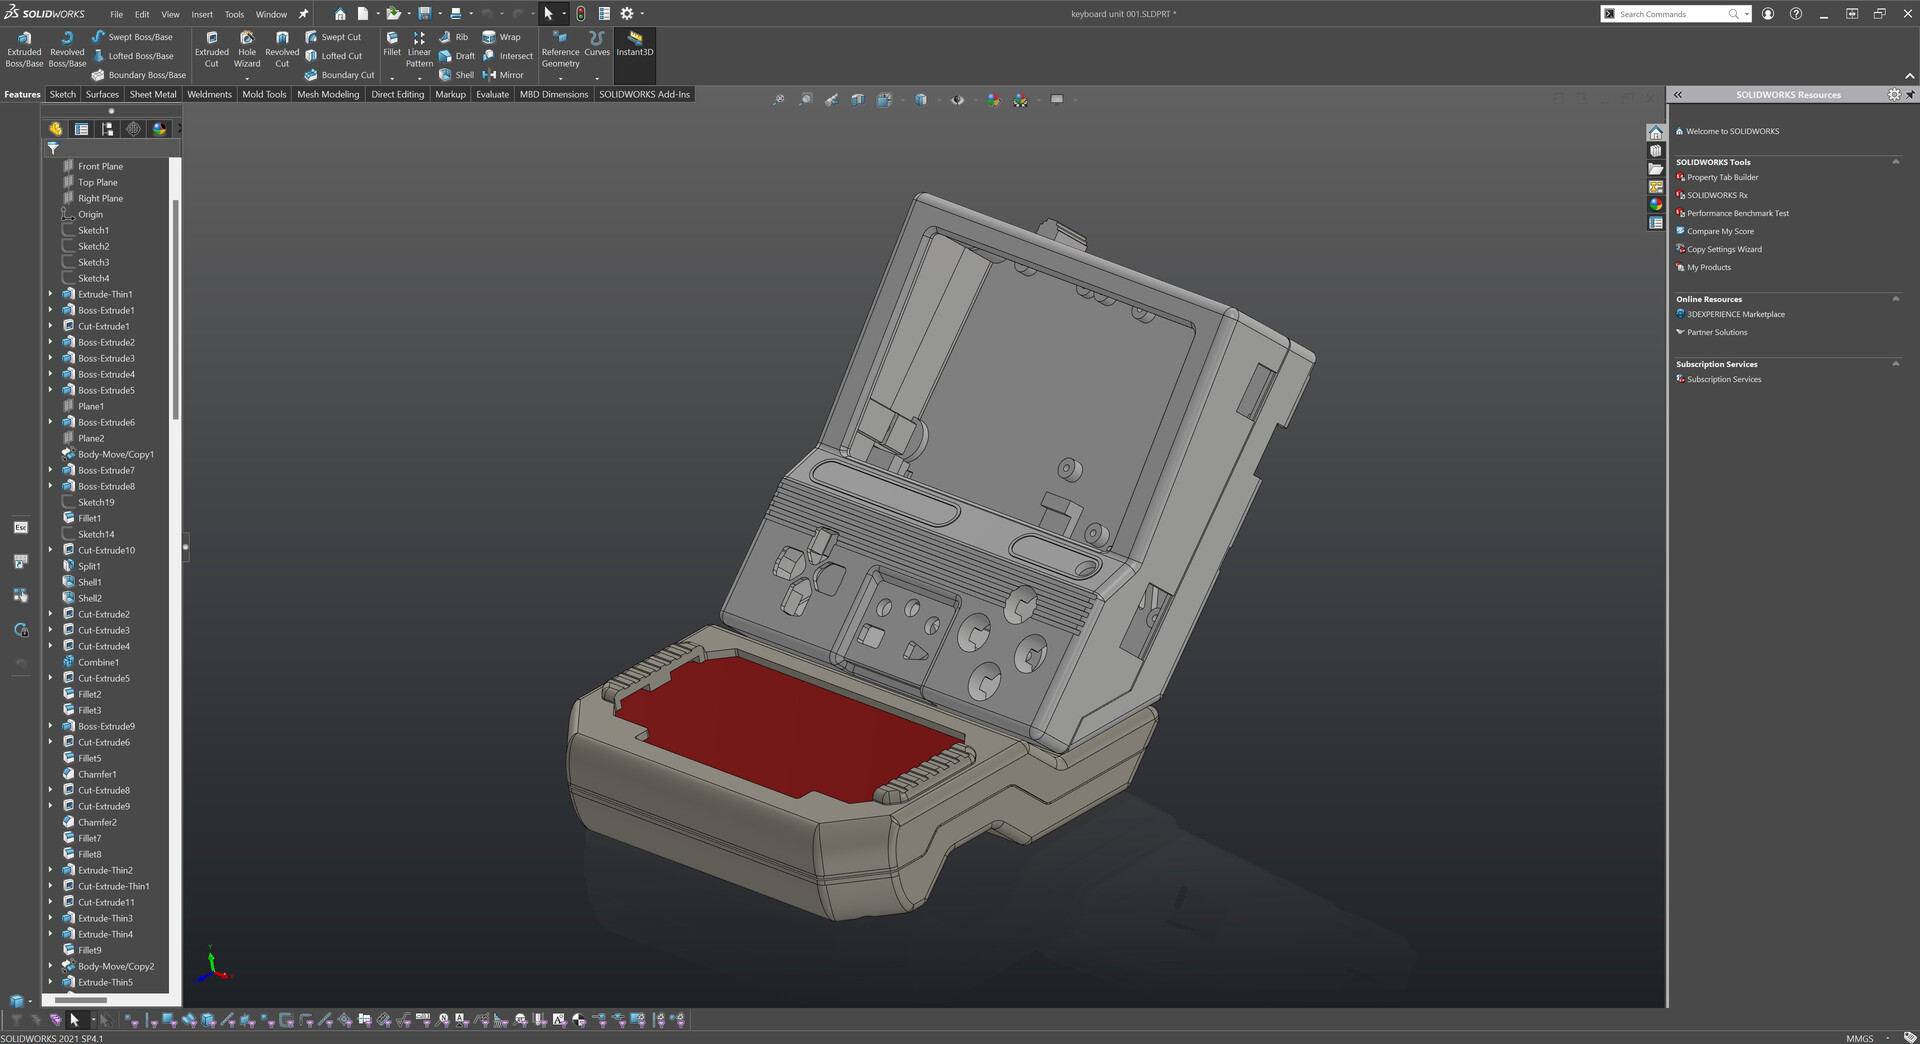
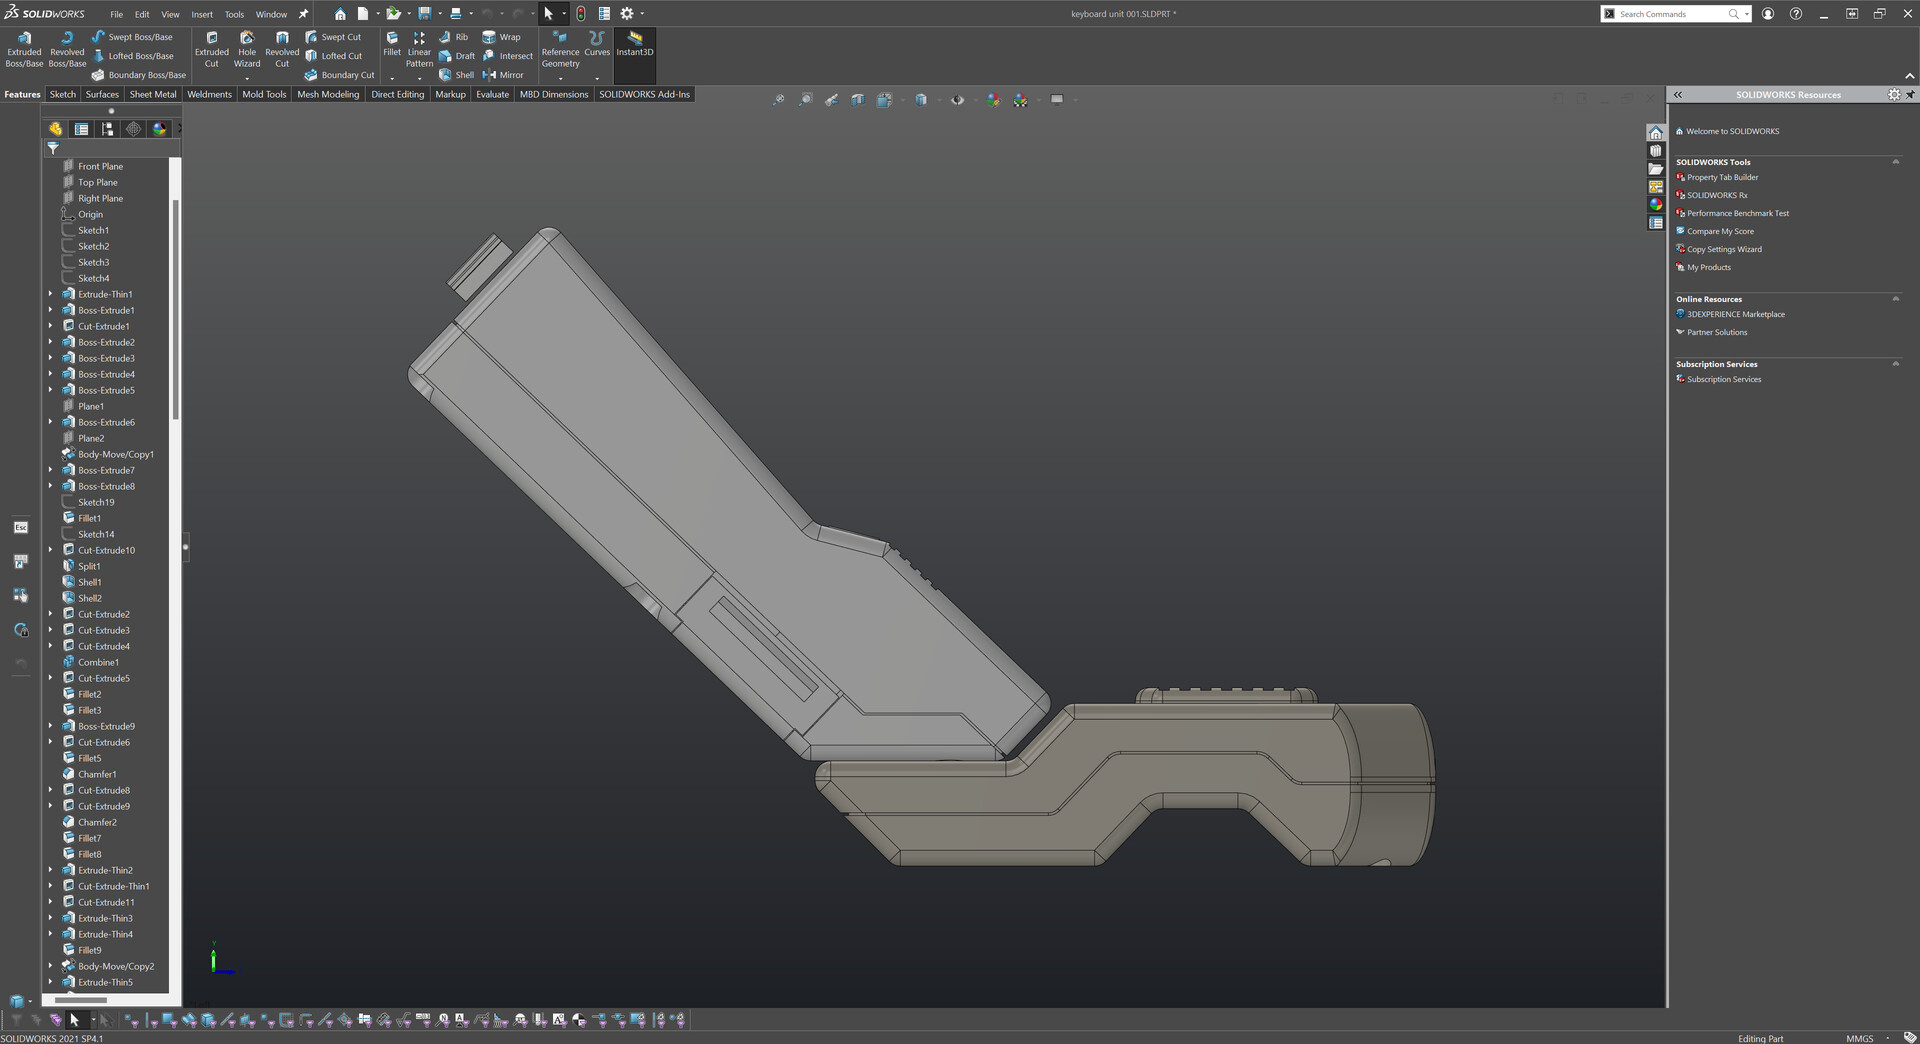
So by having this keyboard PCB, I decided to make an expansion module for my handheld console. Normally I have a stand for the device to put it on surface vertically.

This two holes on my previous design made it possible to attach the keyboard module by here. So I completed the design according to that principle.
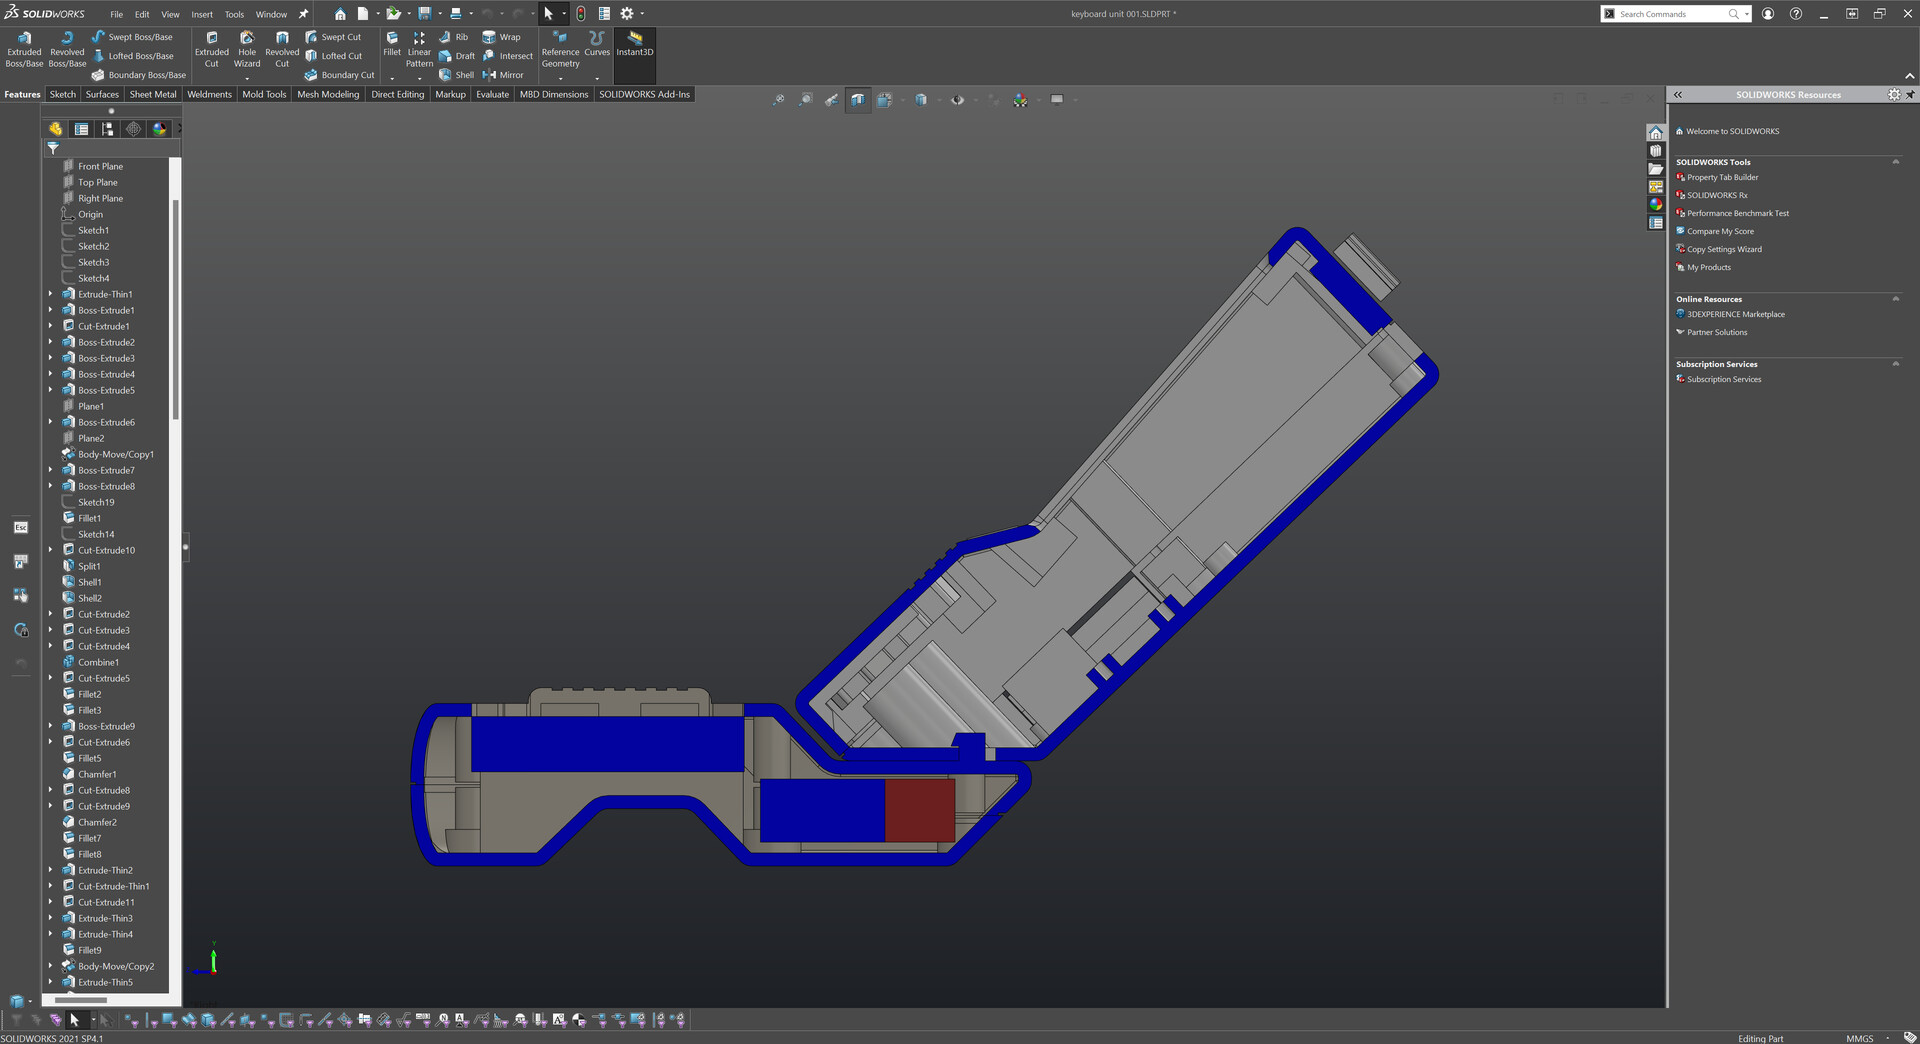
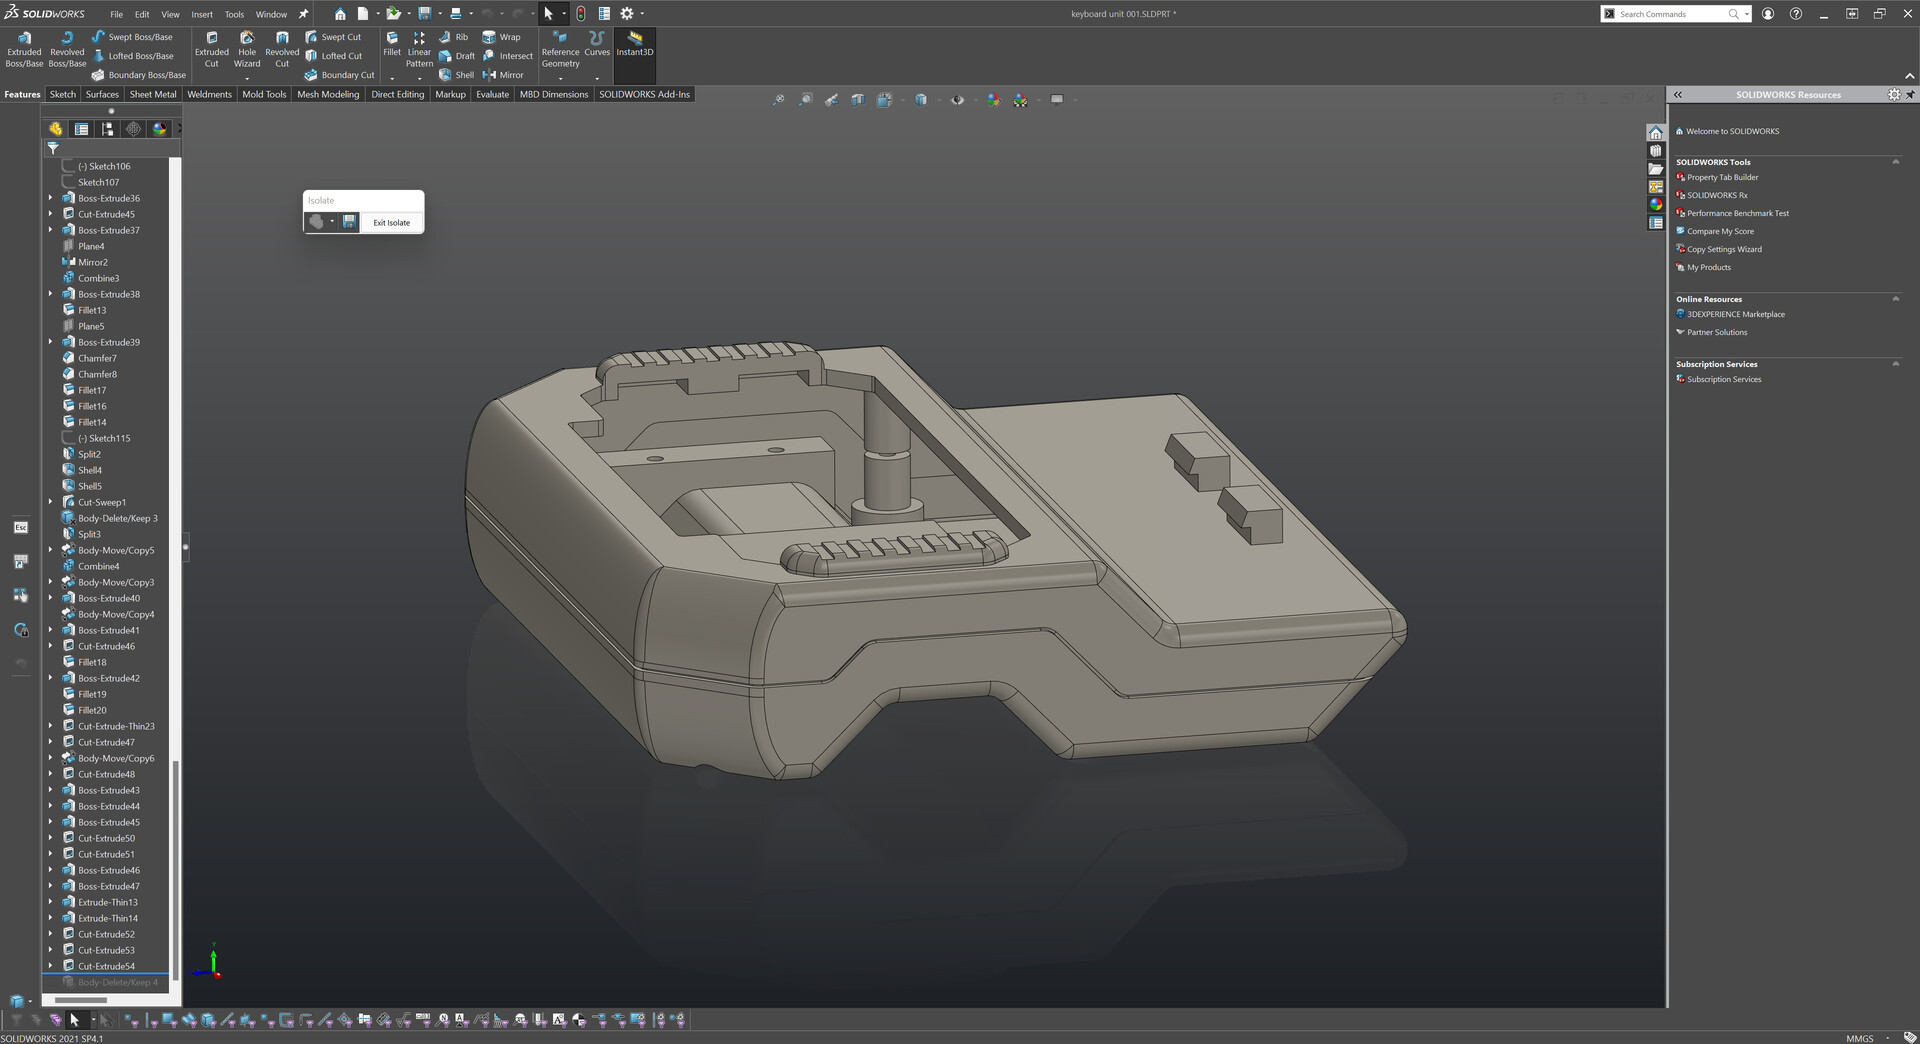
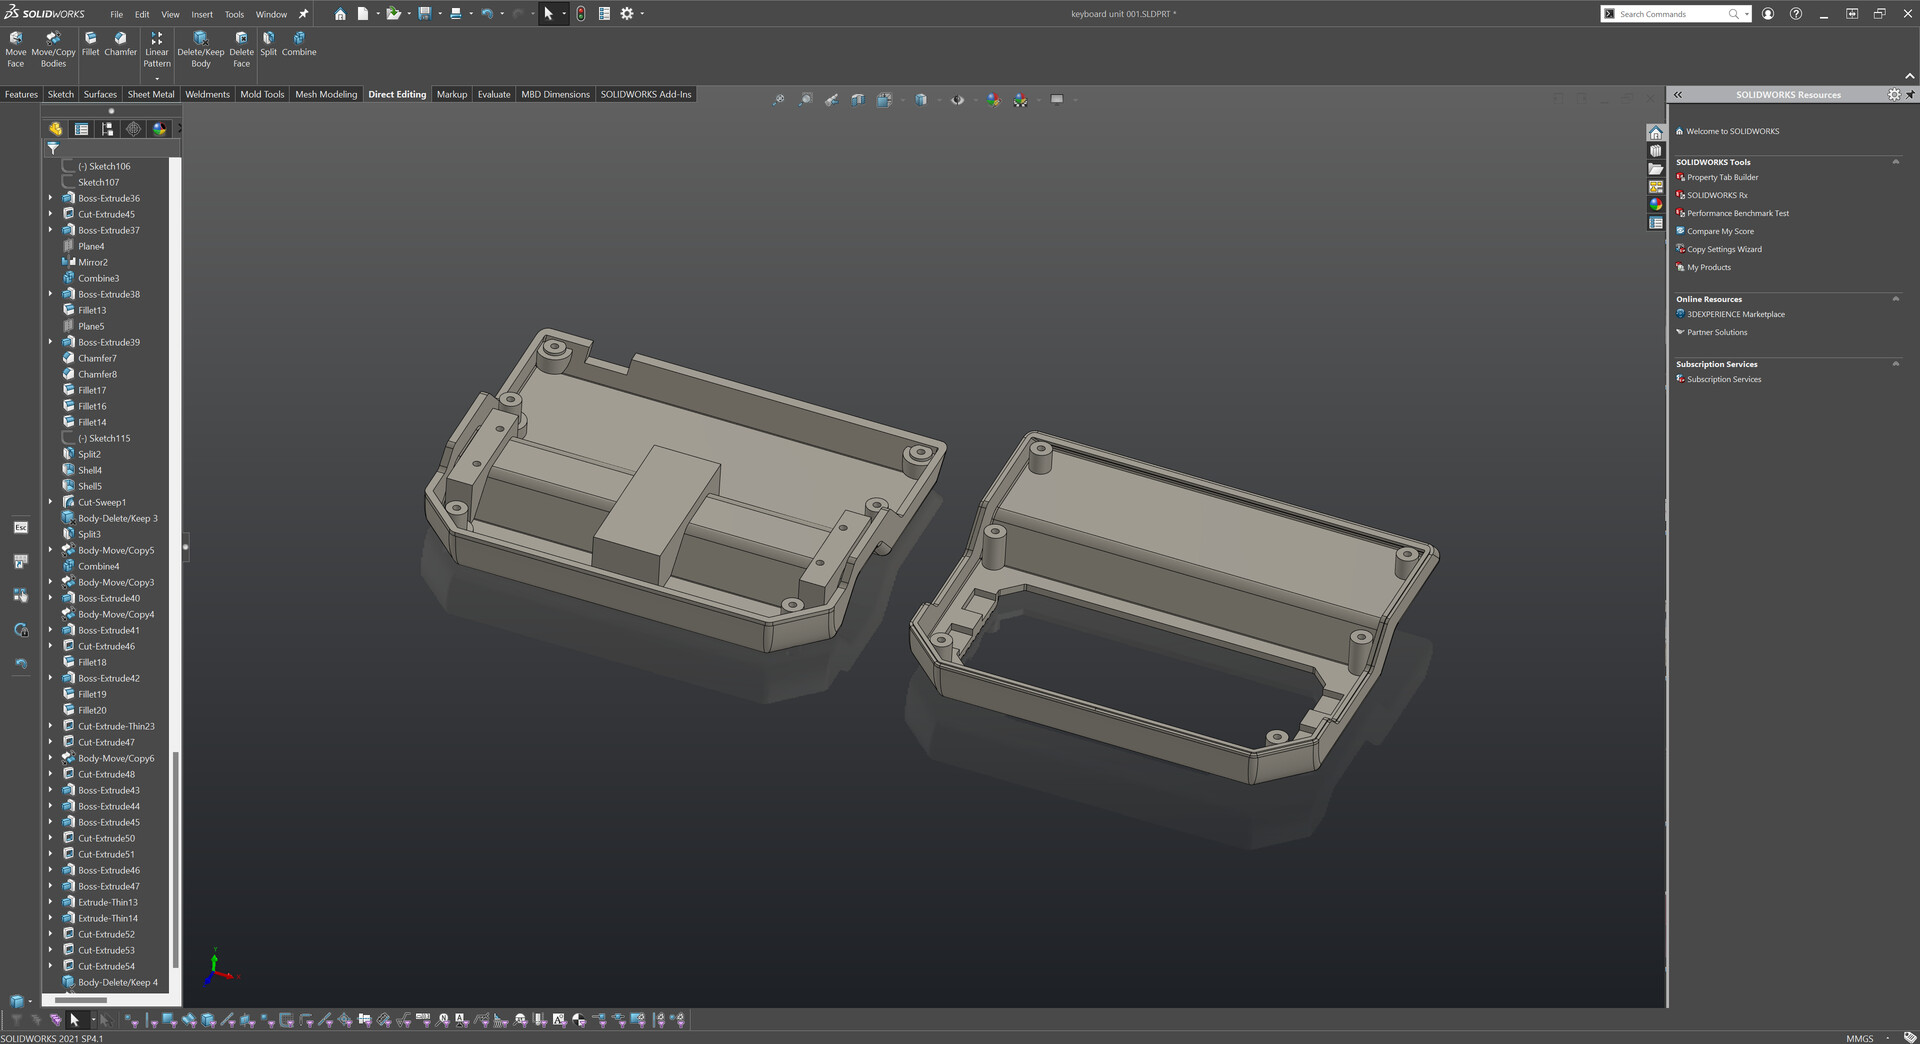
And 3d printed those with my good old Ender 3 v2.
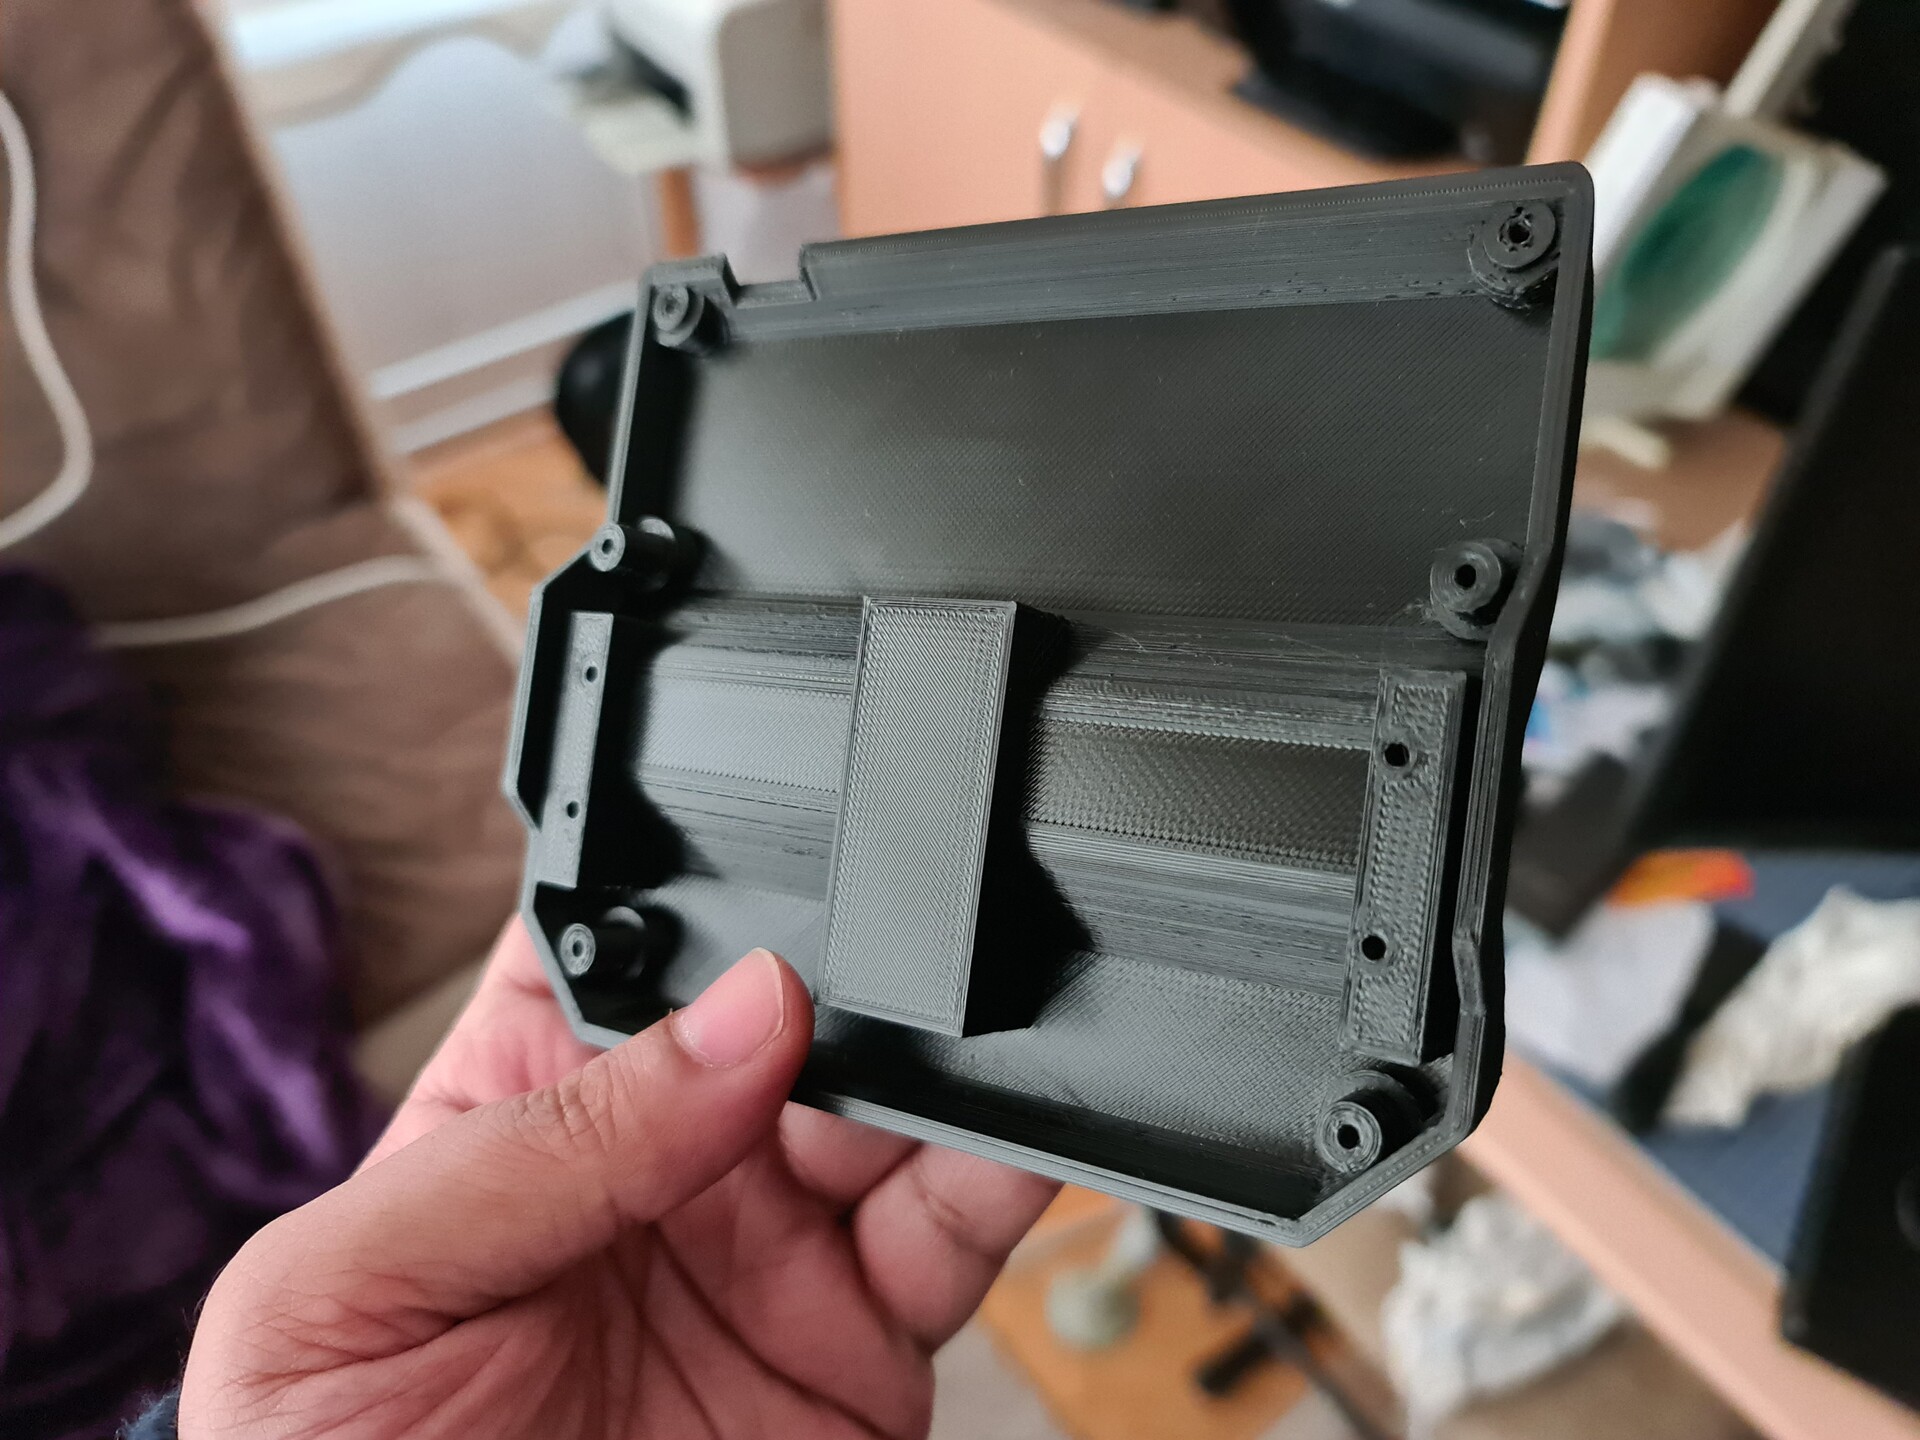
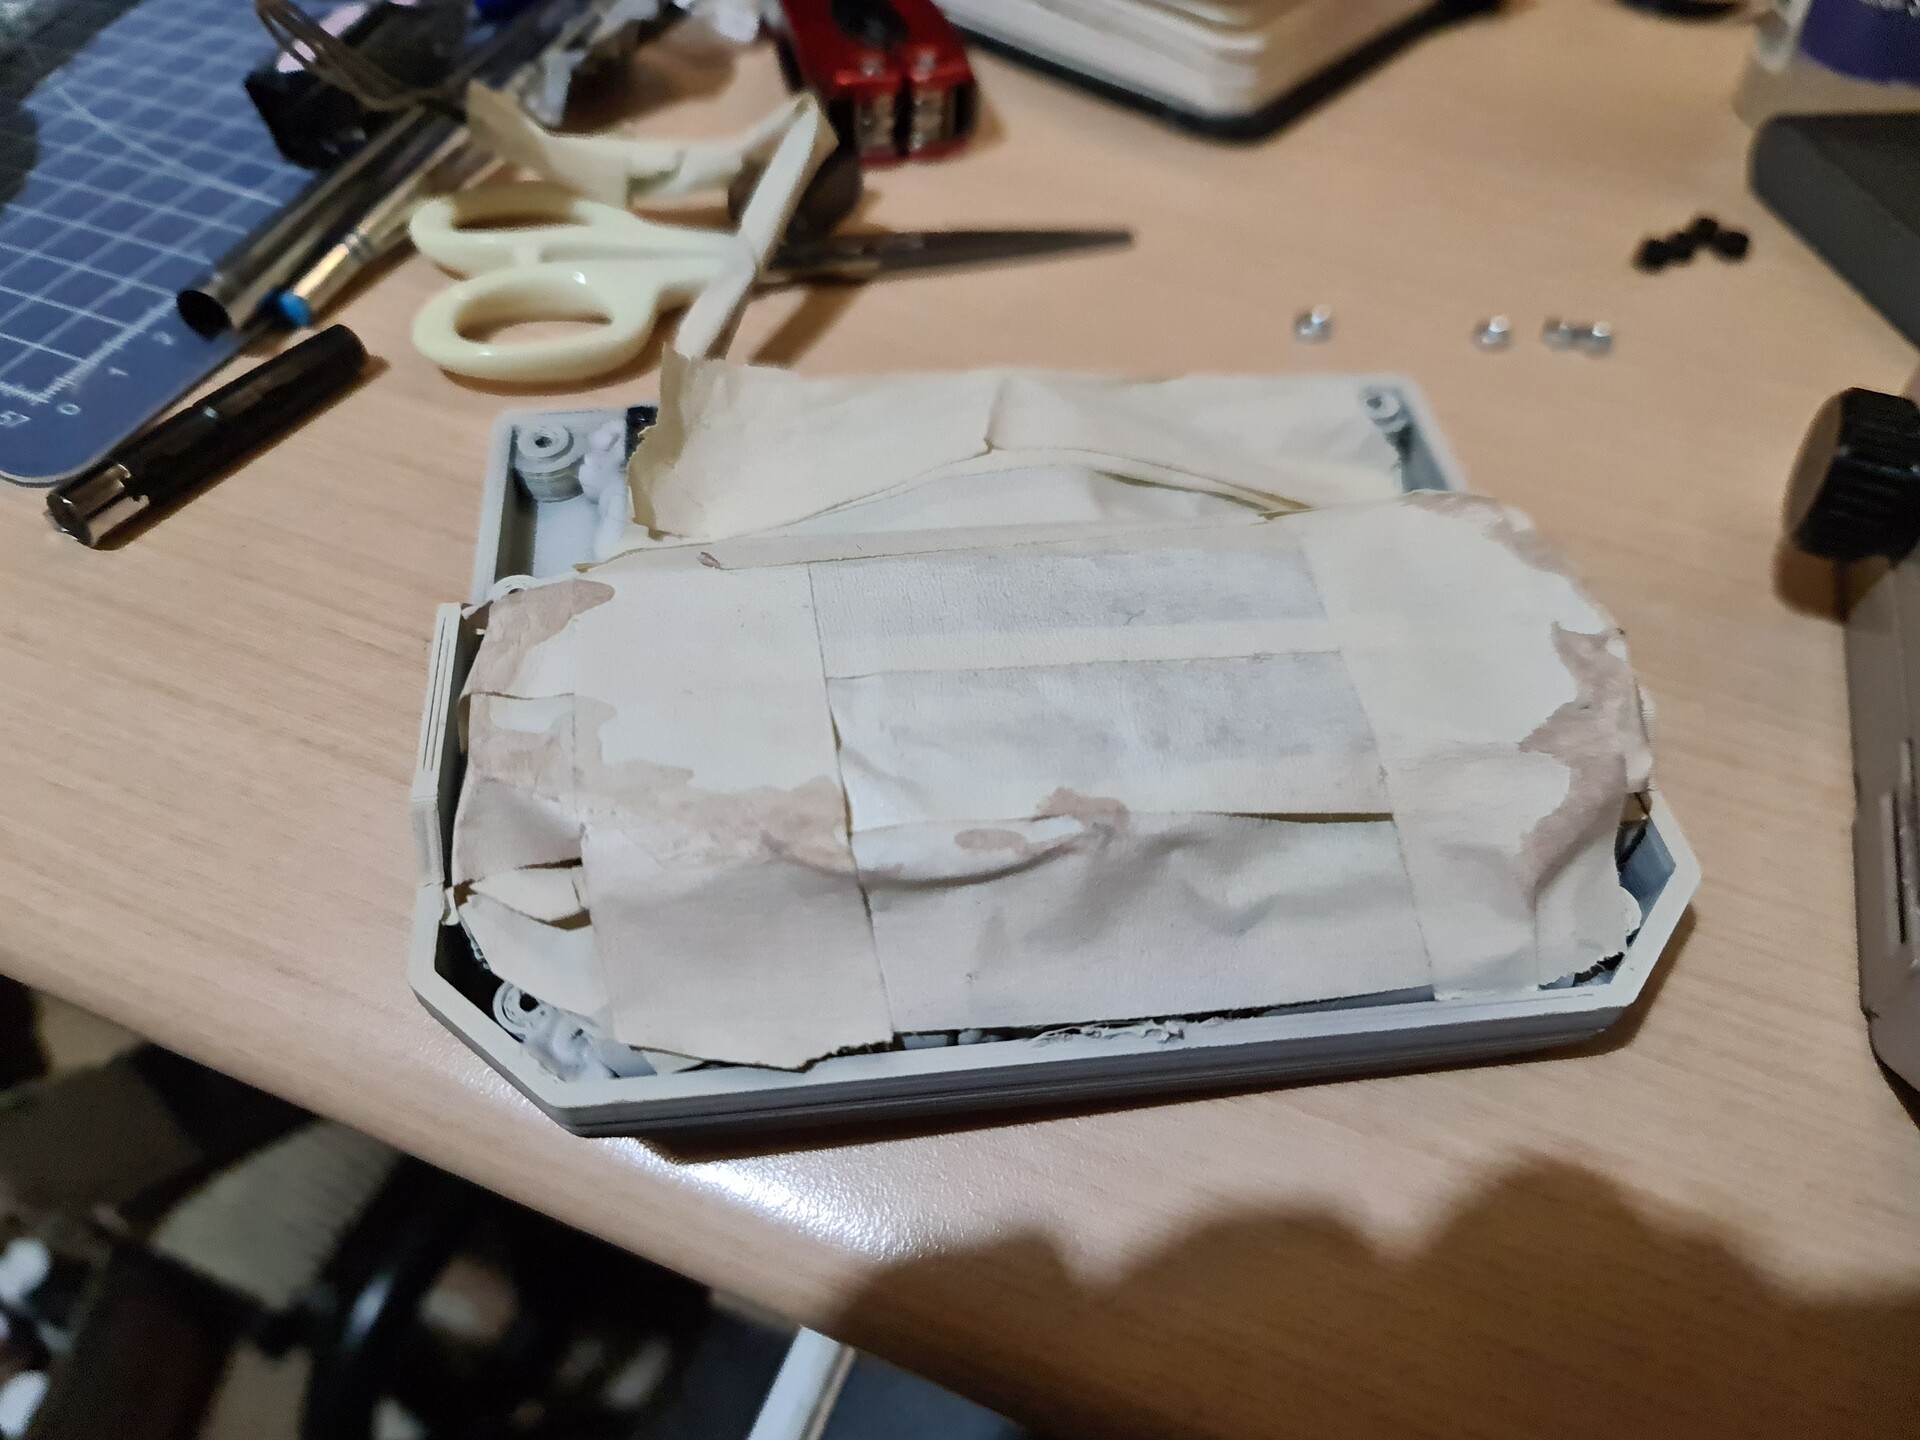
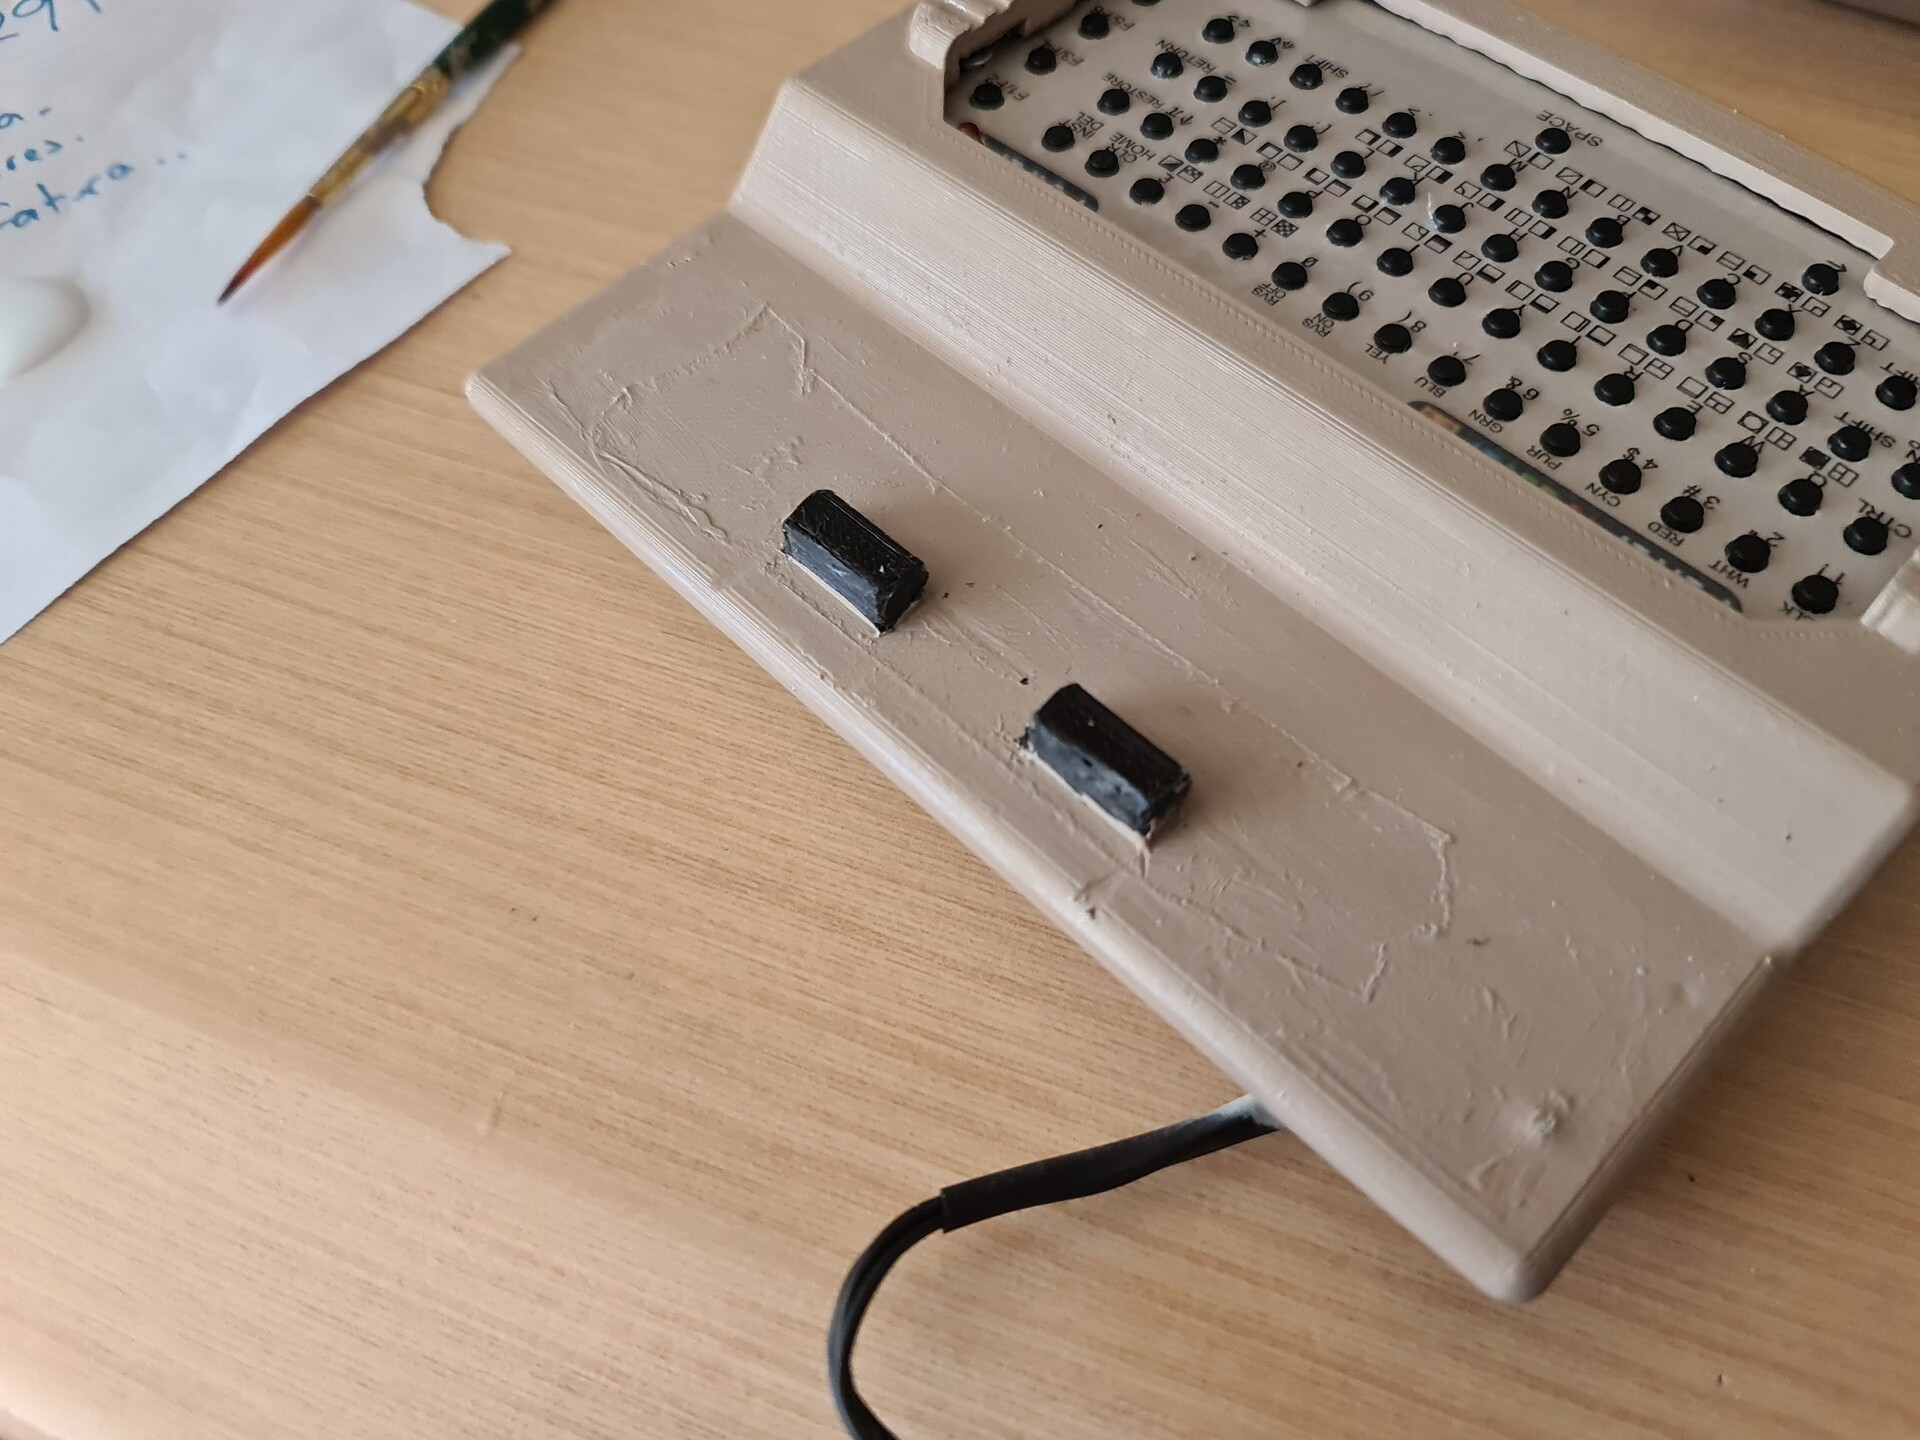
After the printing I go for the weights. Since my design has a shifted weight center because of the angular screen case, I needed add extra weight in front of the keybaord unit. So I found some steel screws to use for that.
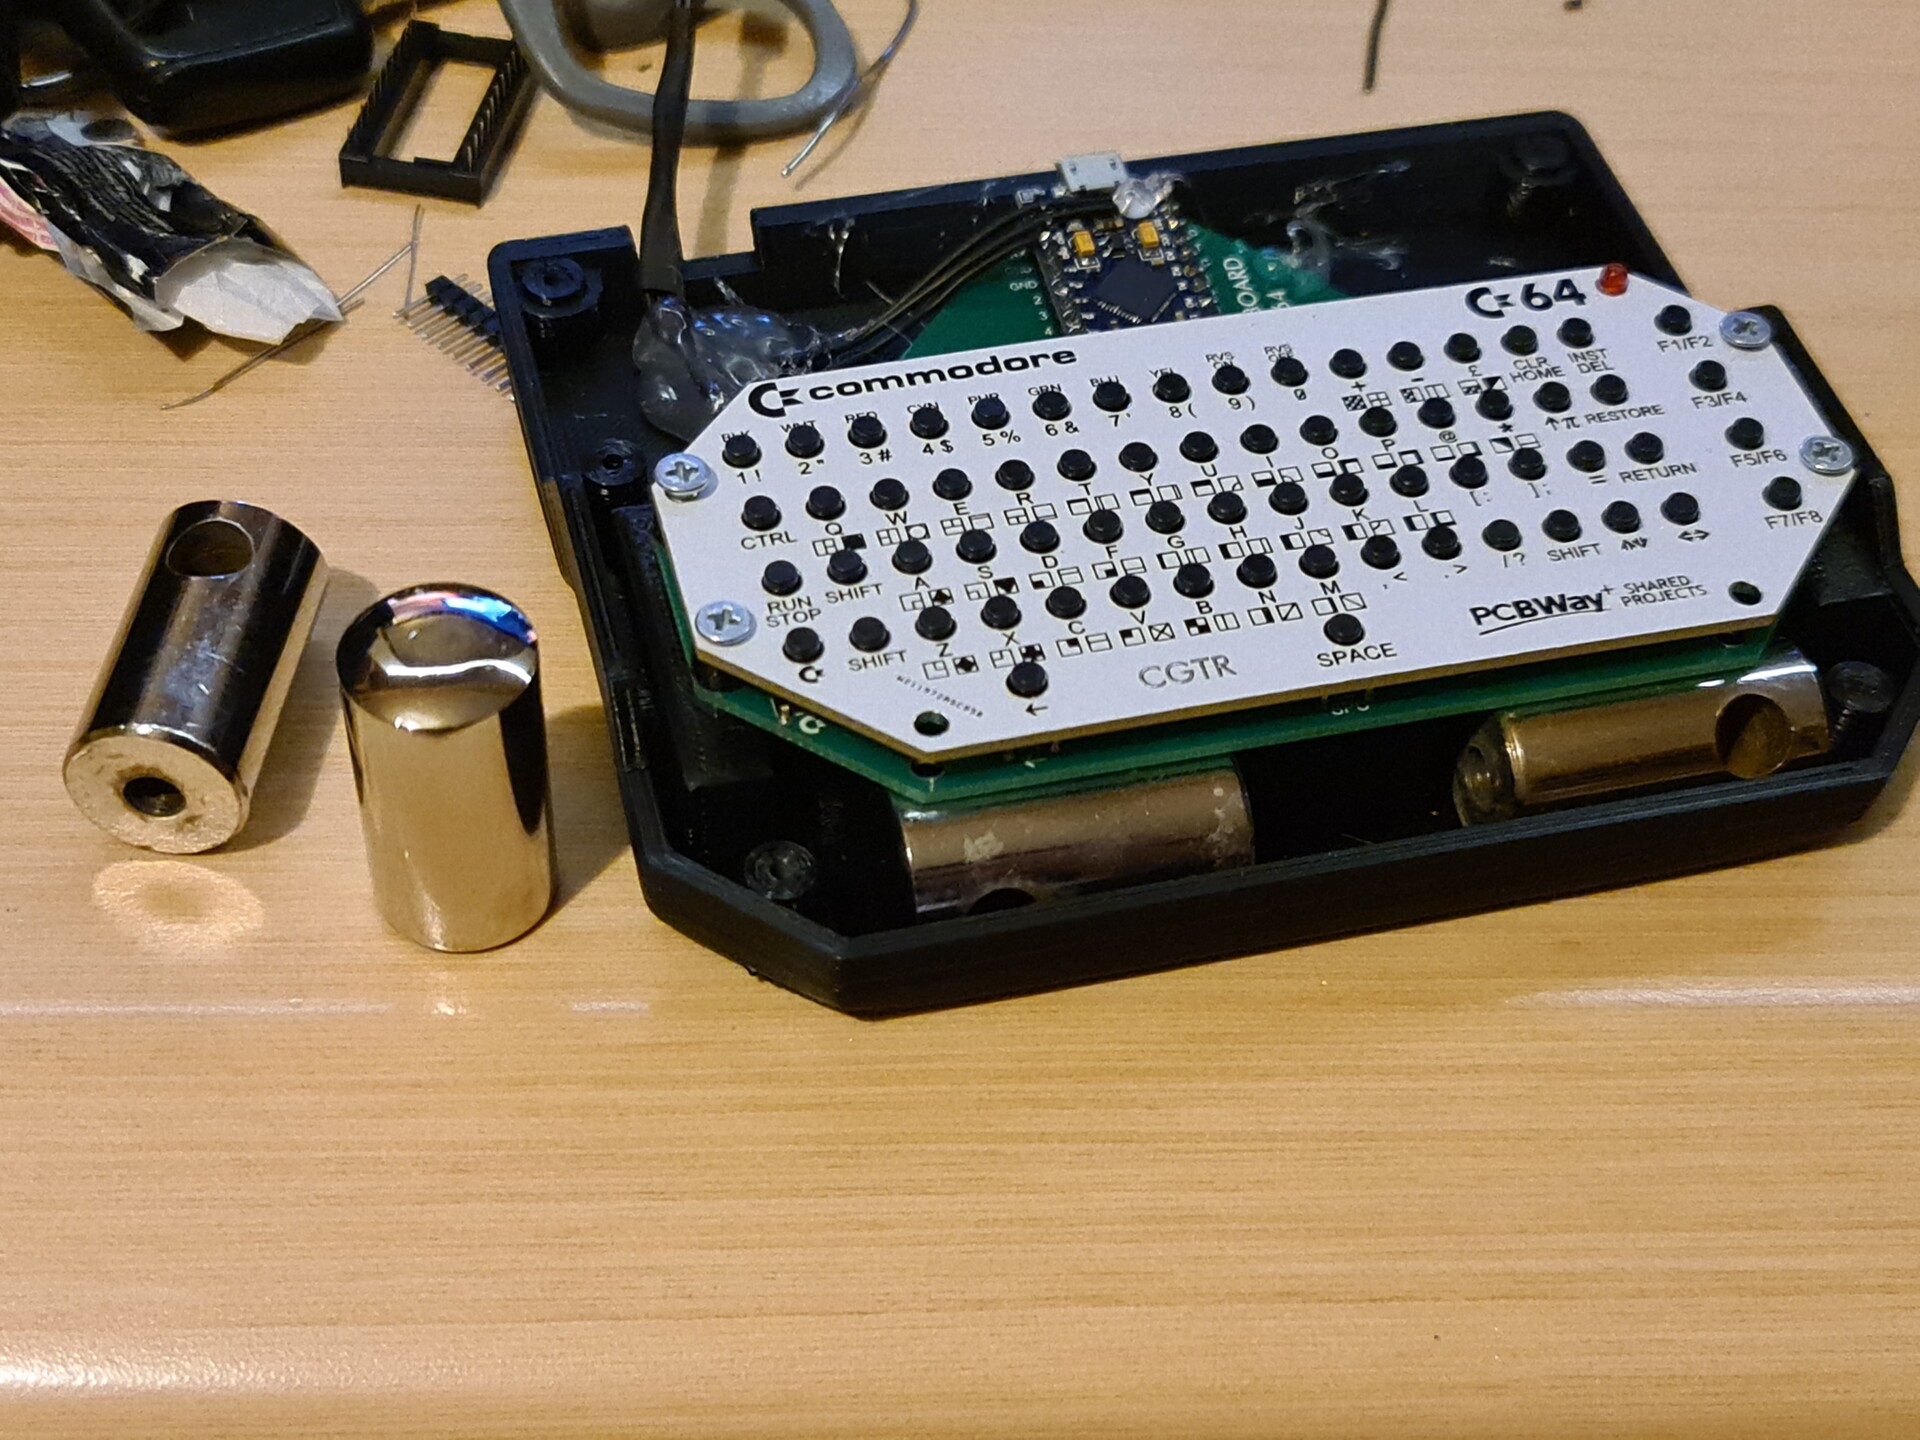
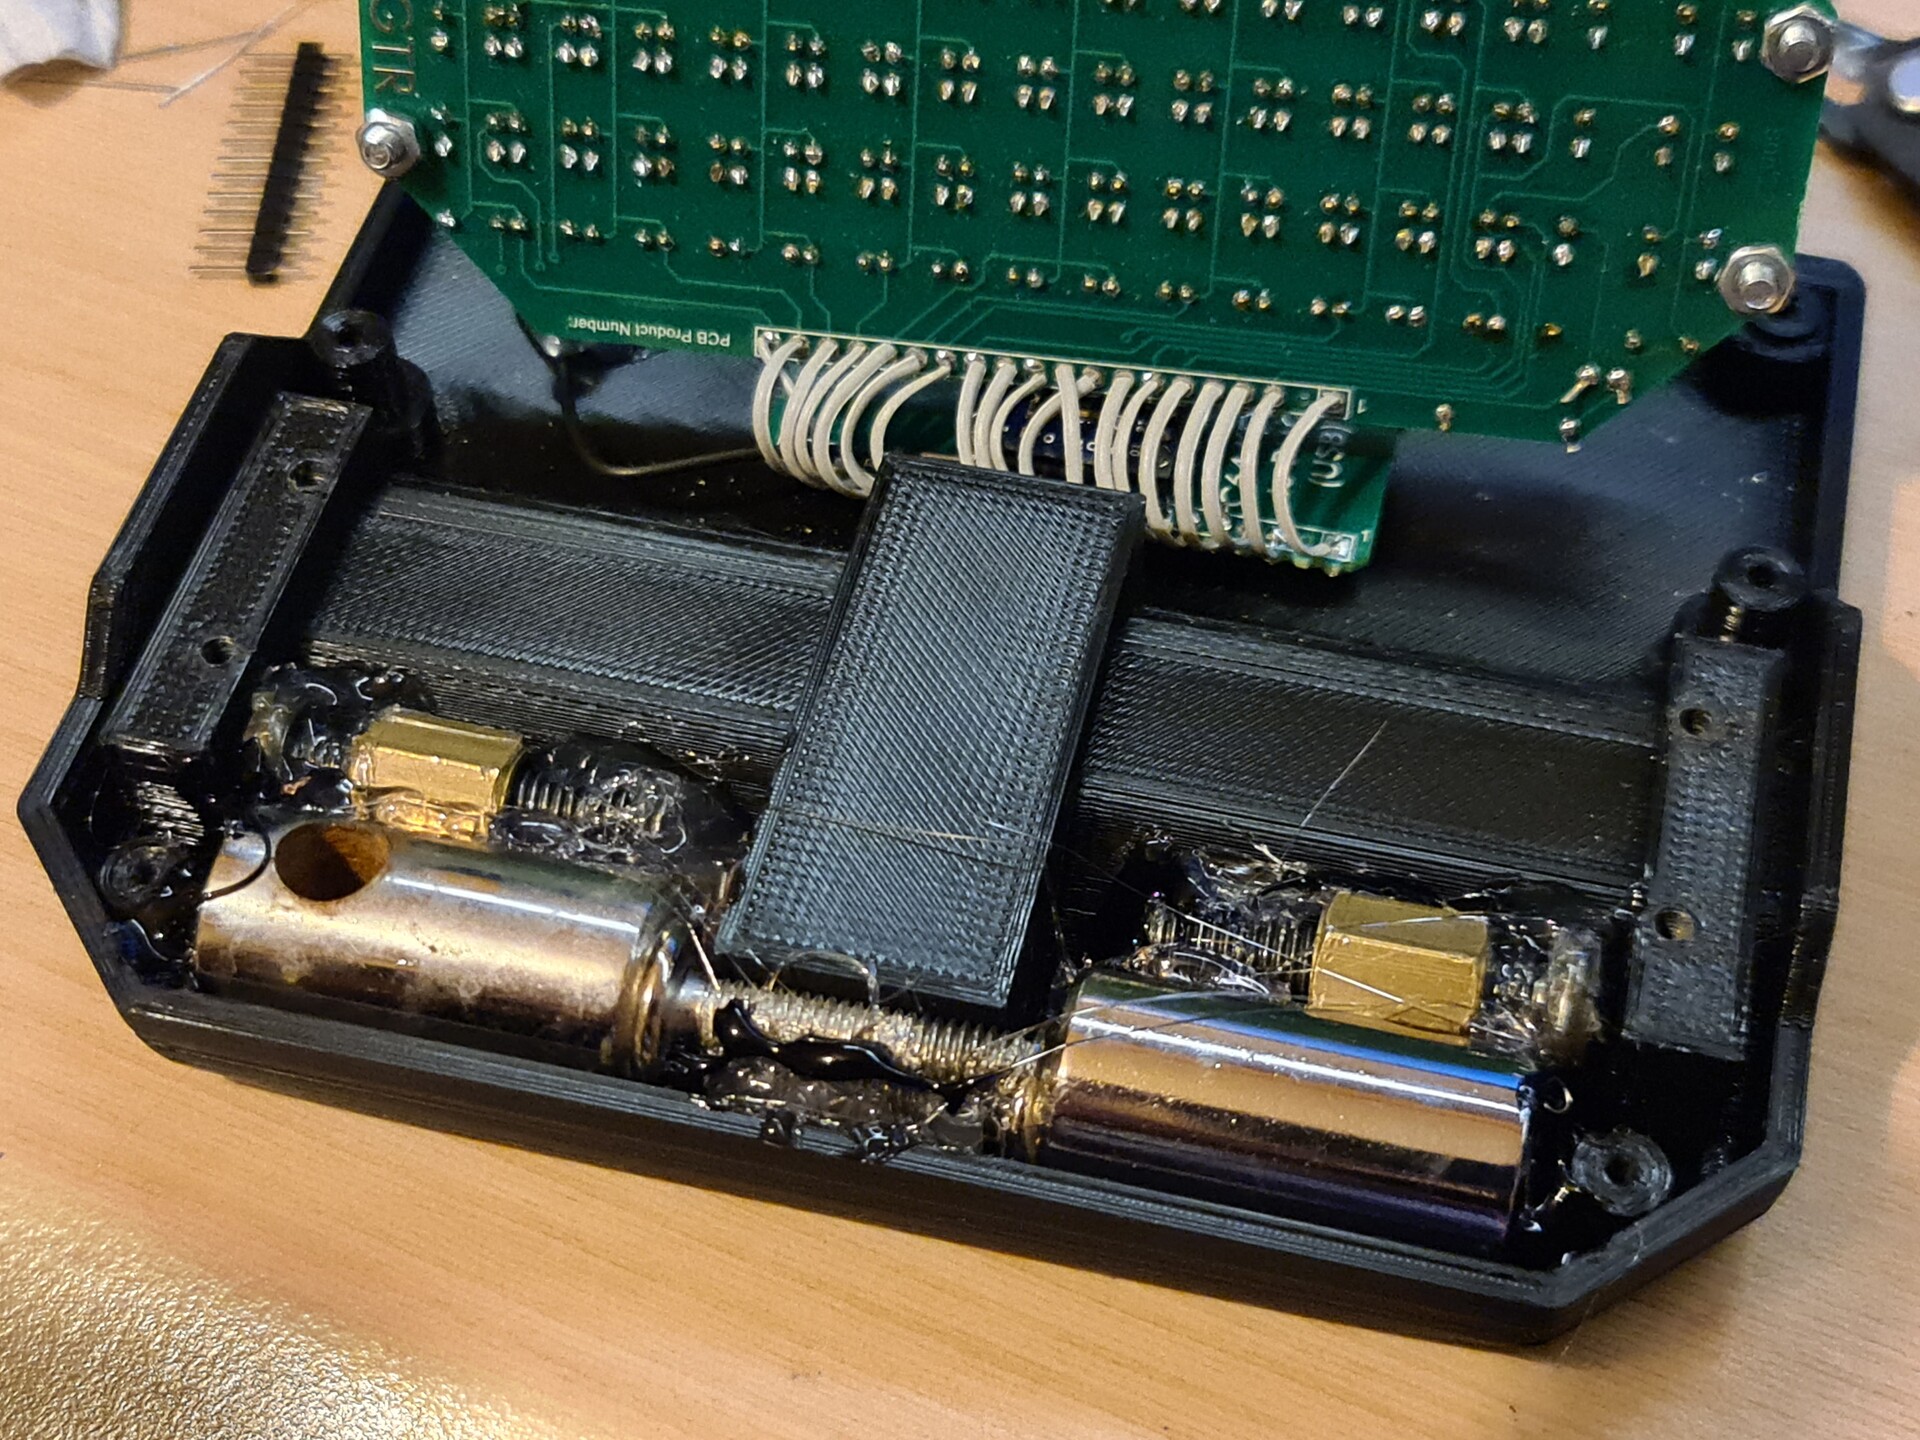
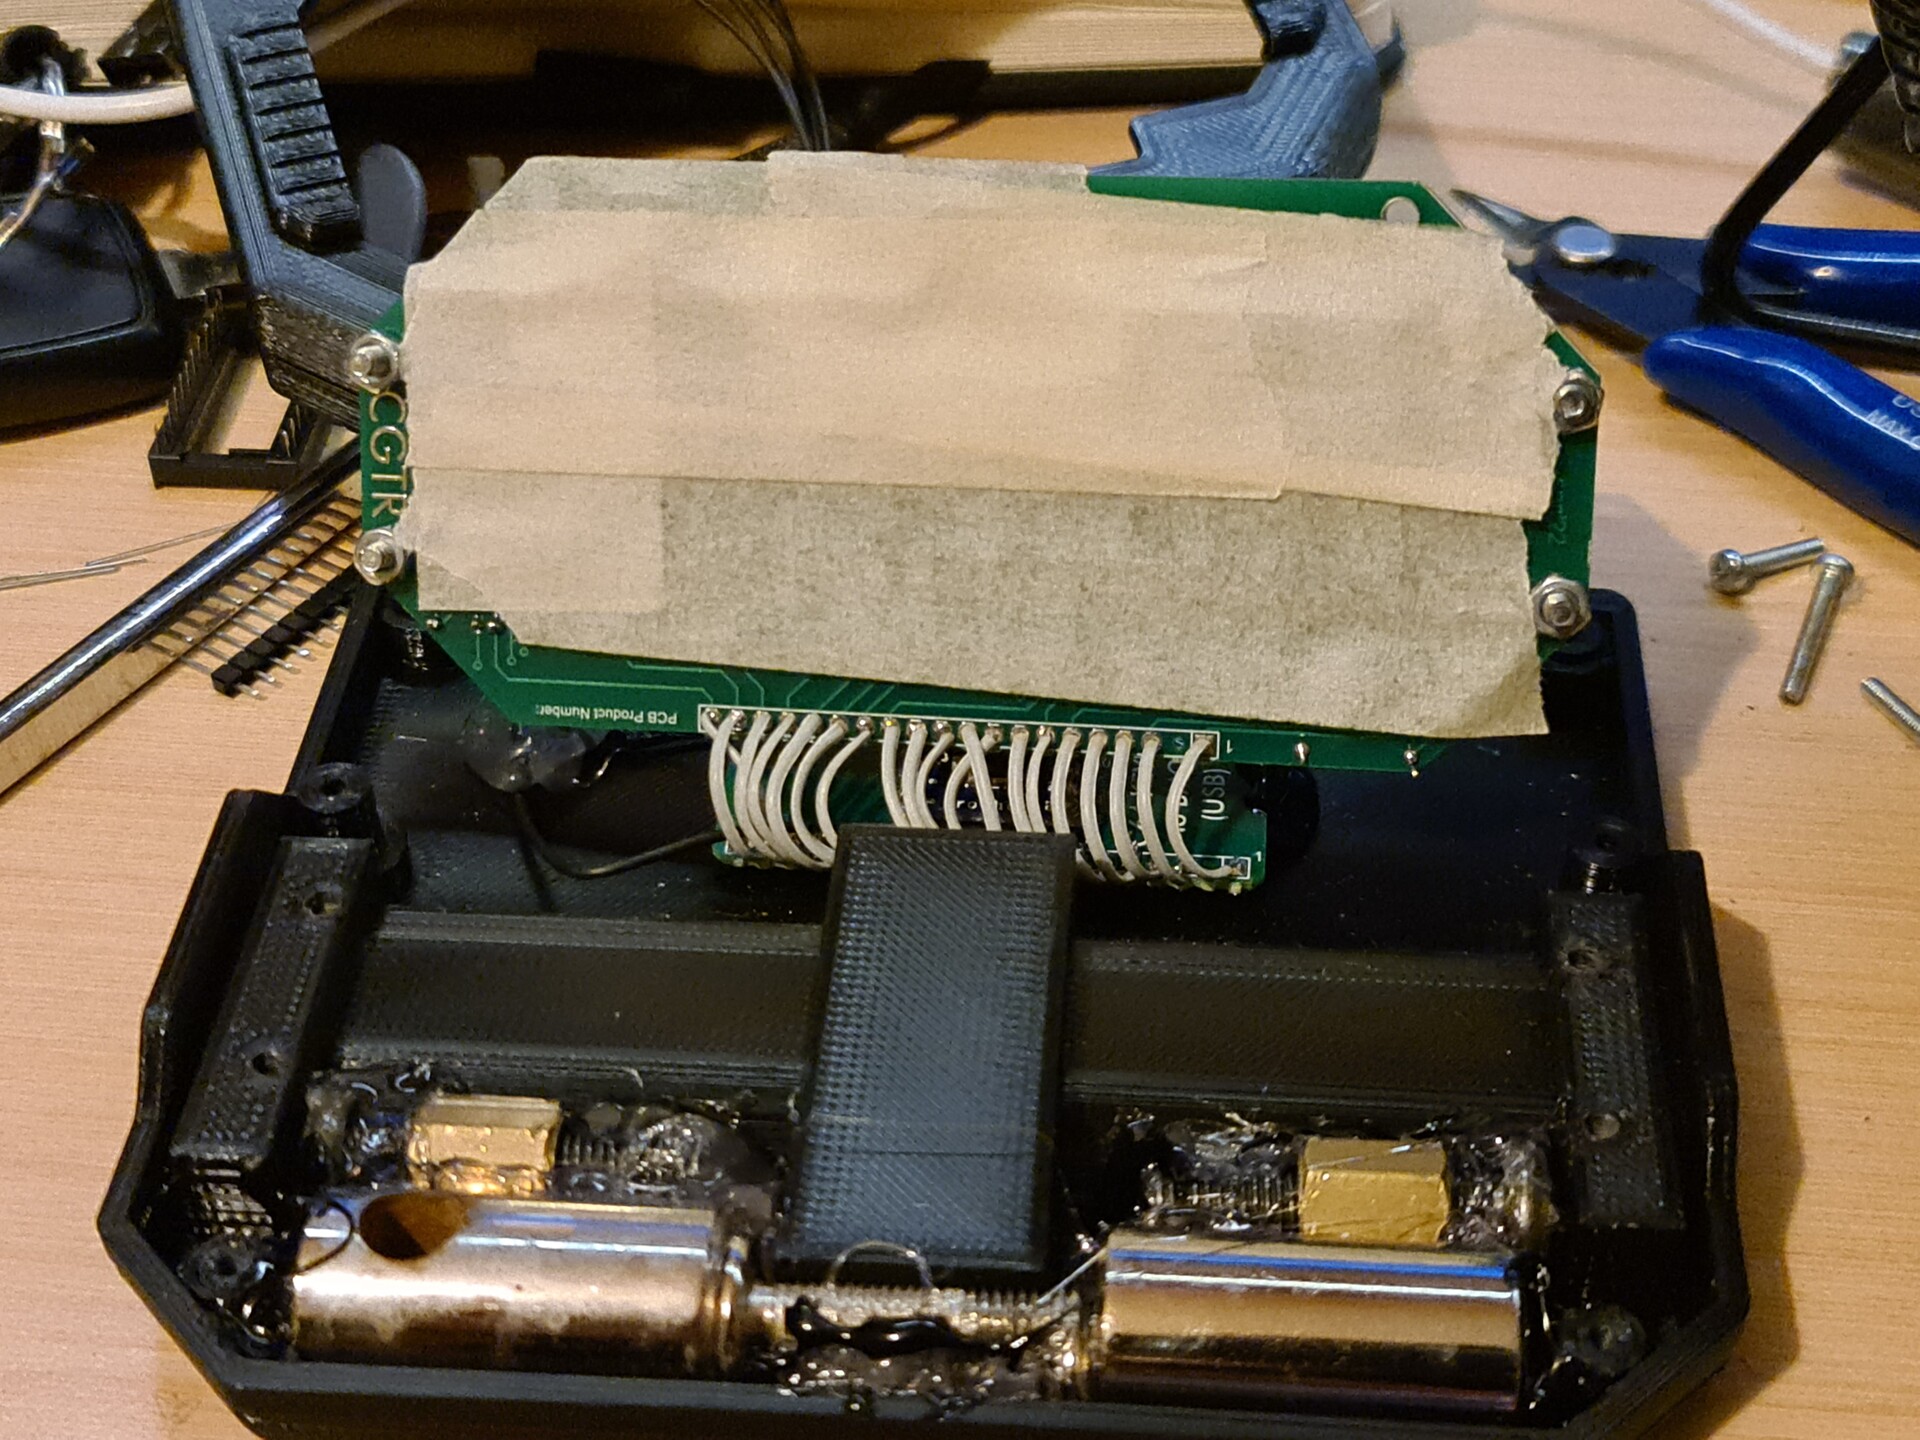
Since I'm using conductive materials as weight, to prevent any short circuit under the PCB, I isolated the back part with 3 layers of masking tape.
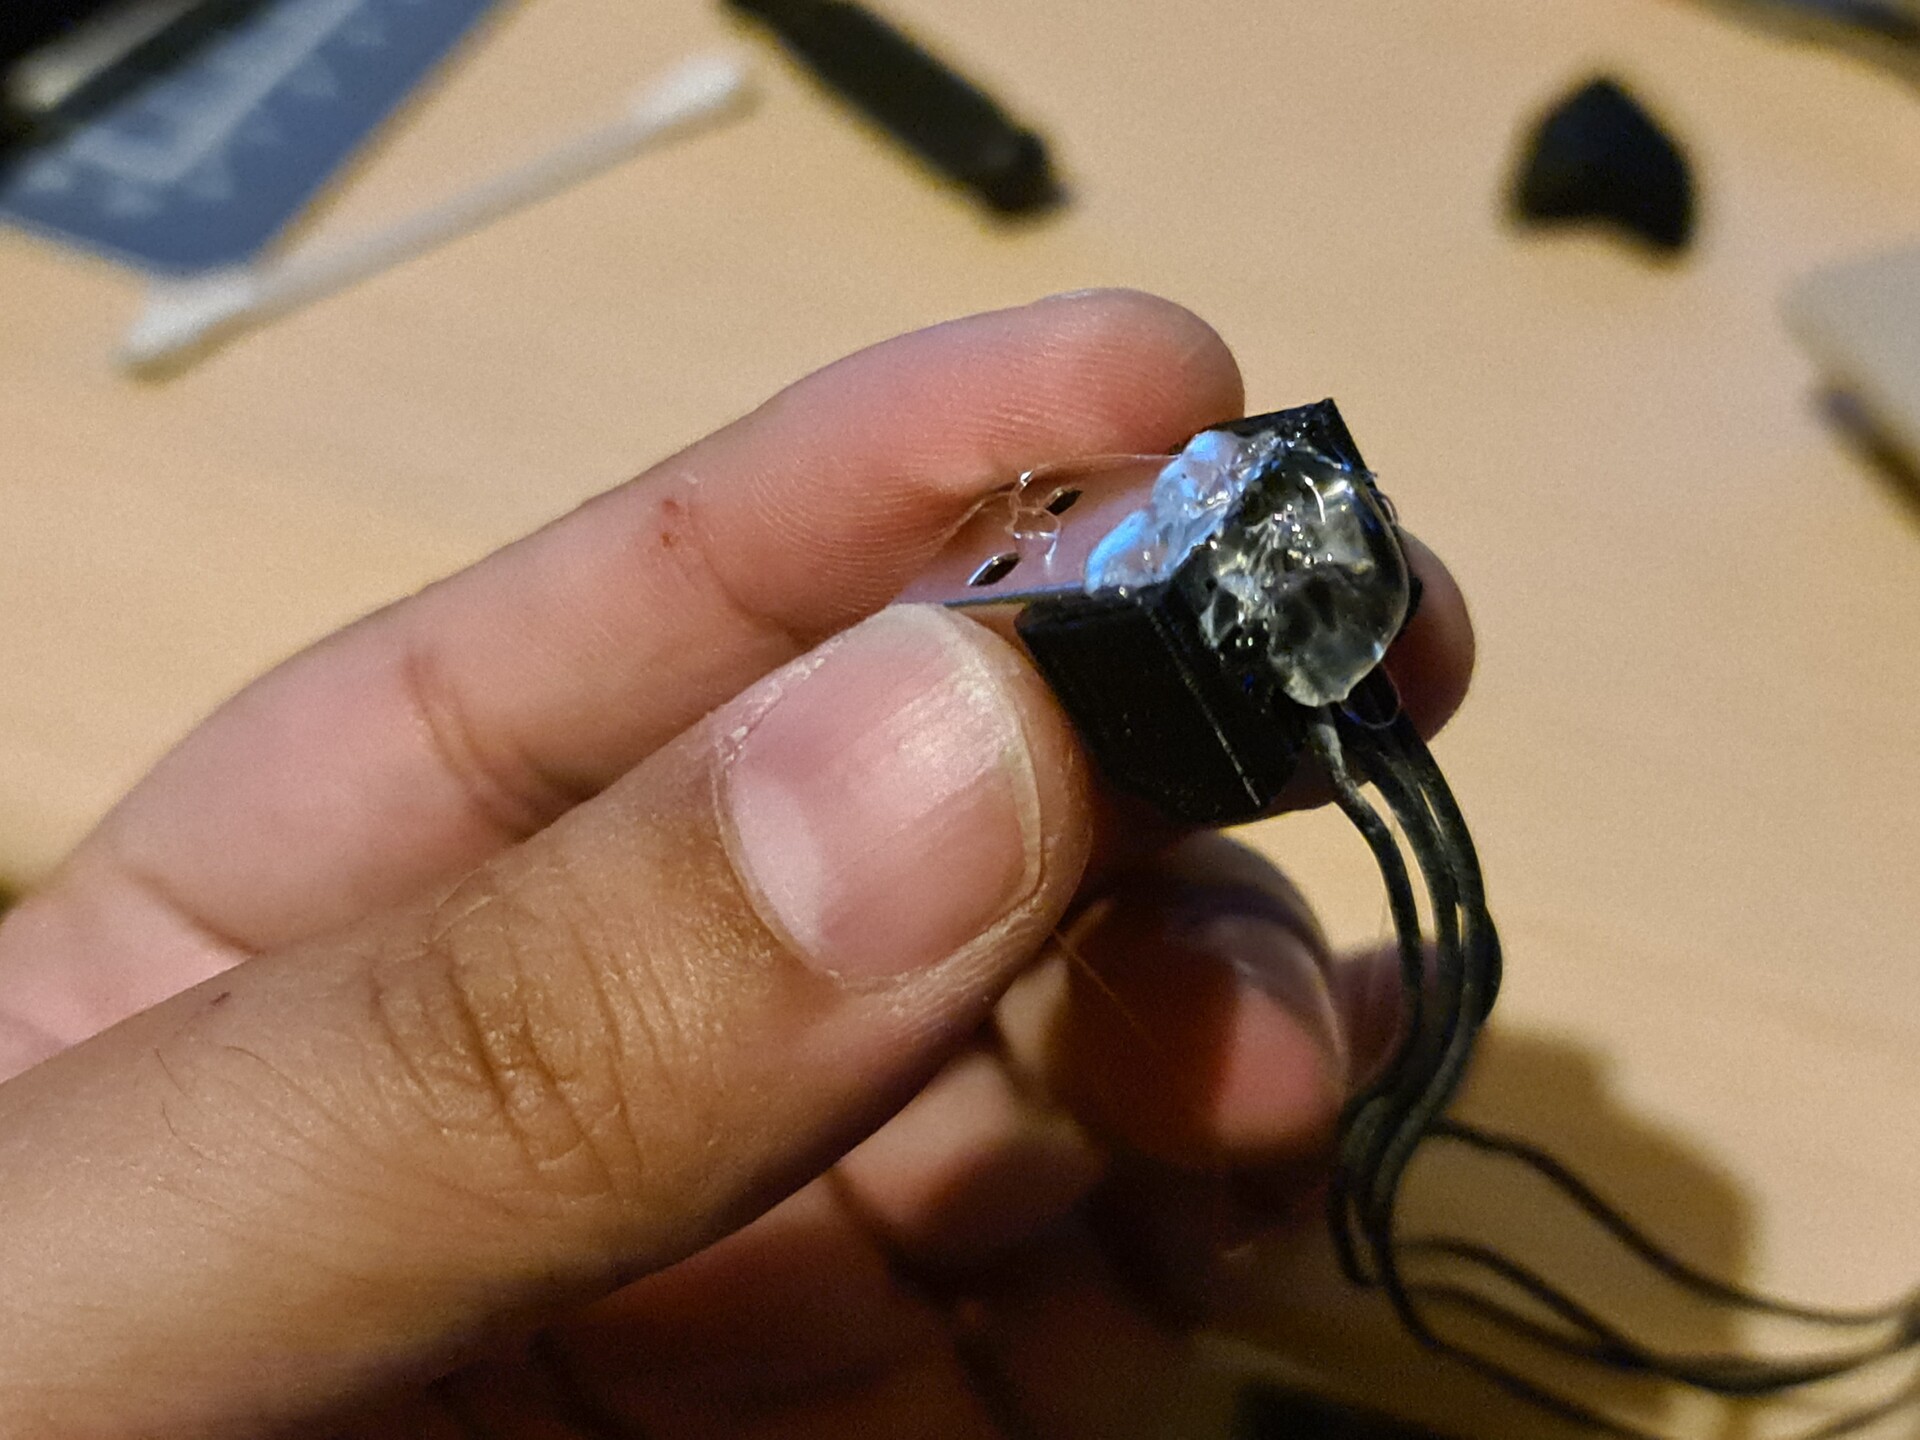
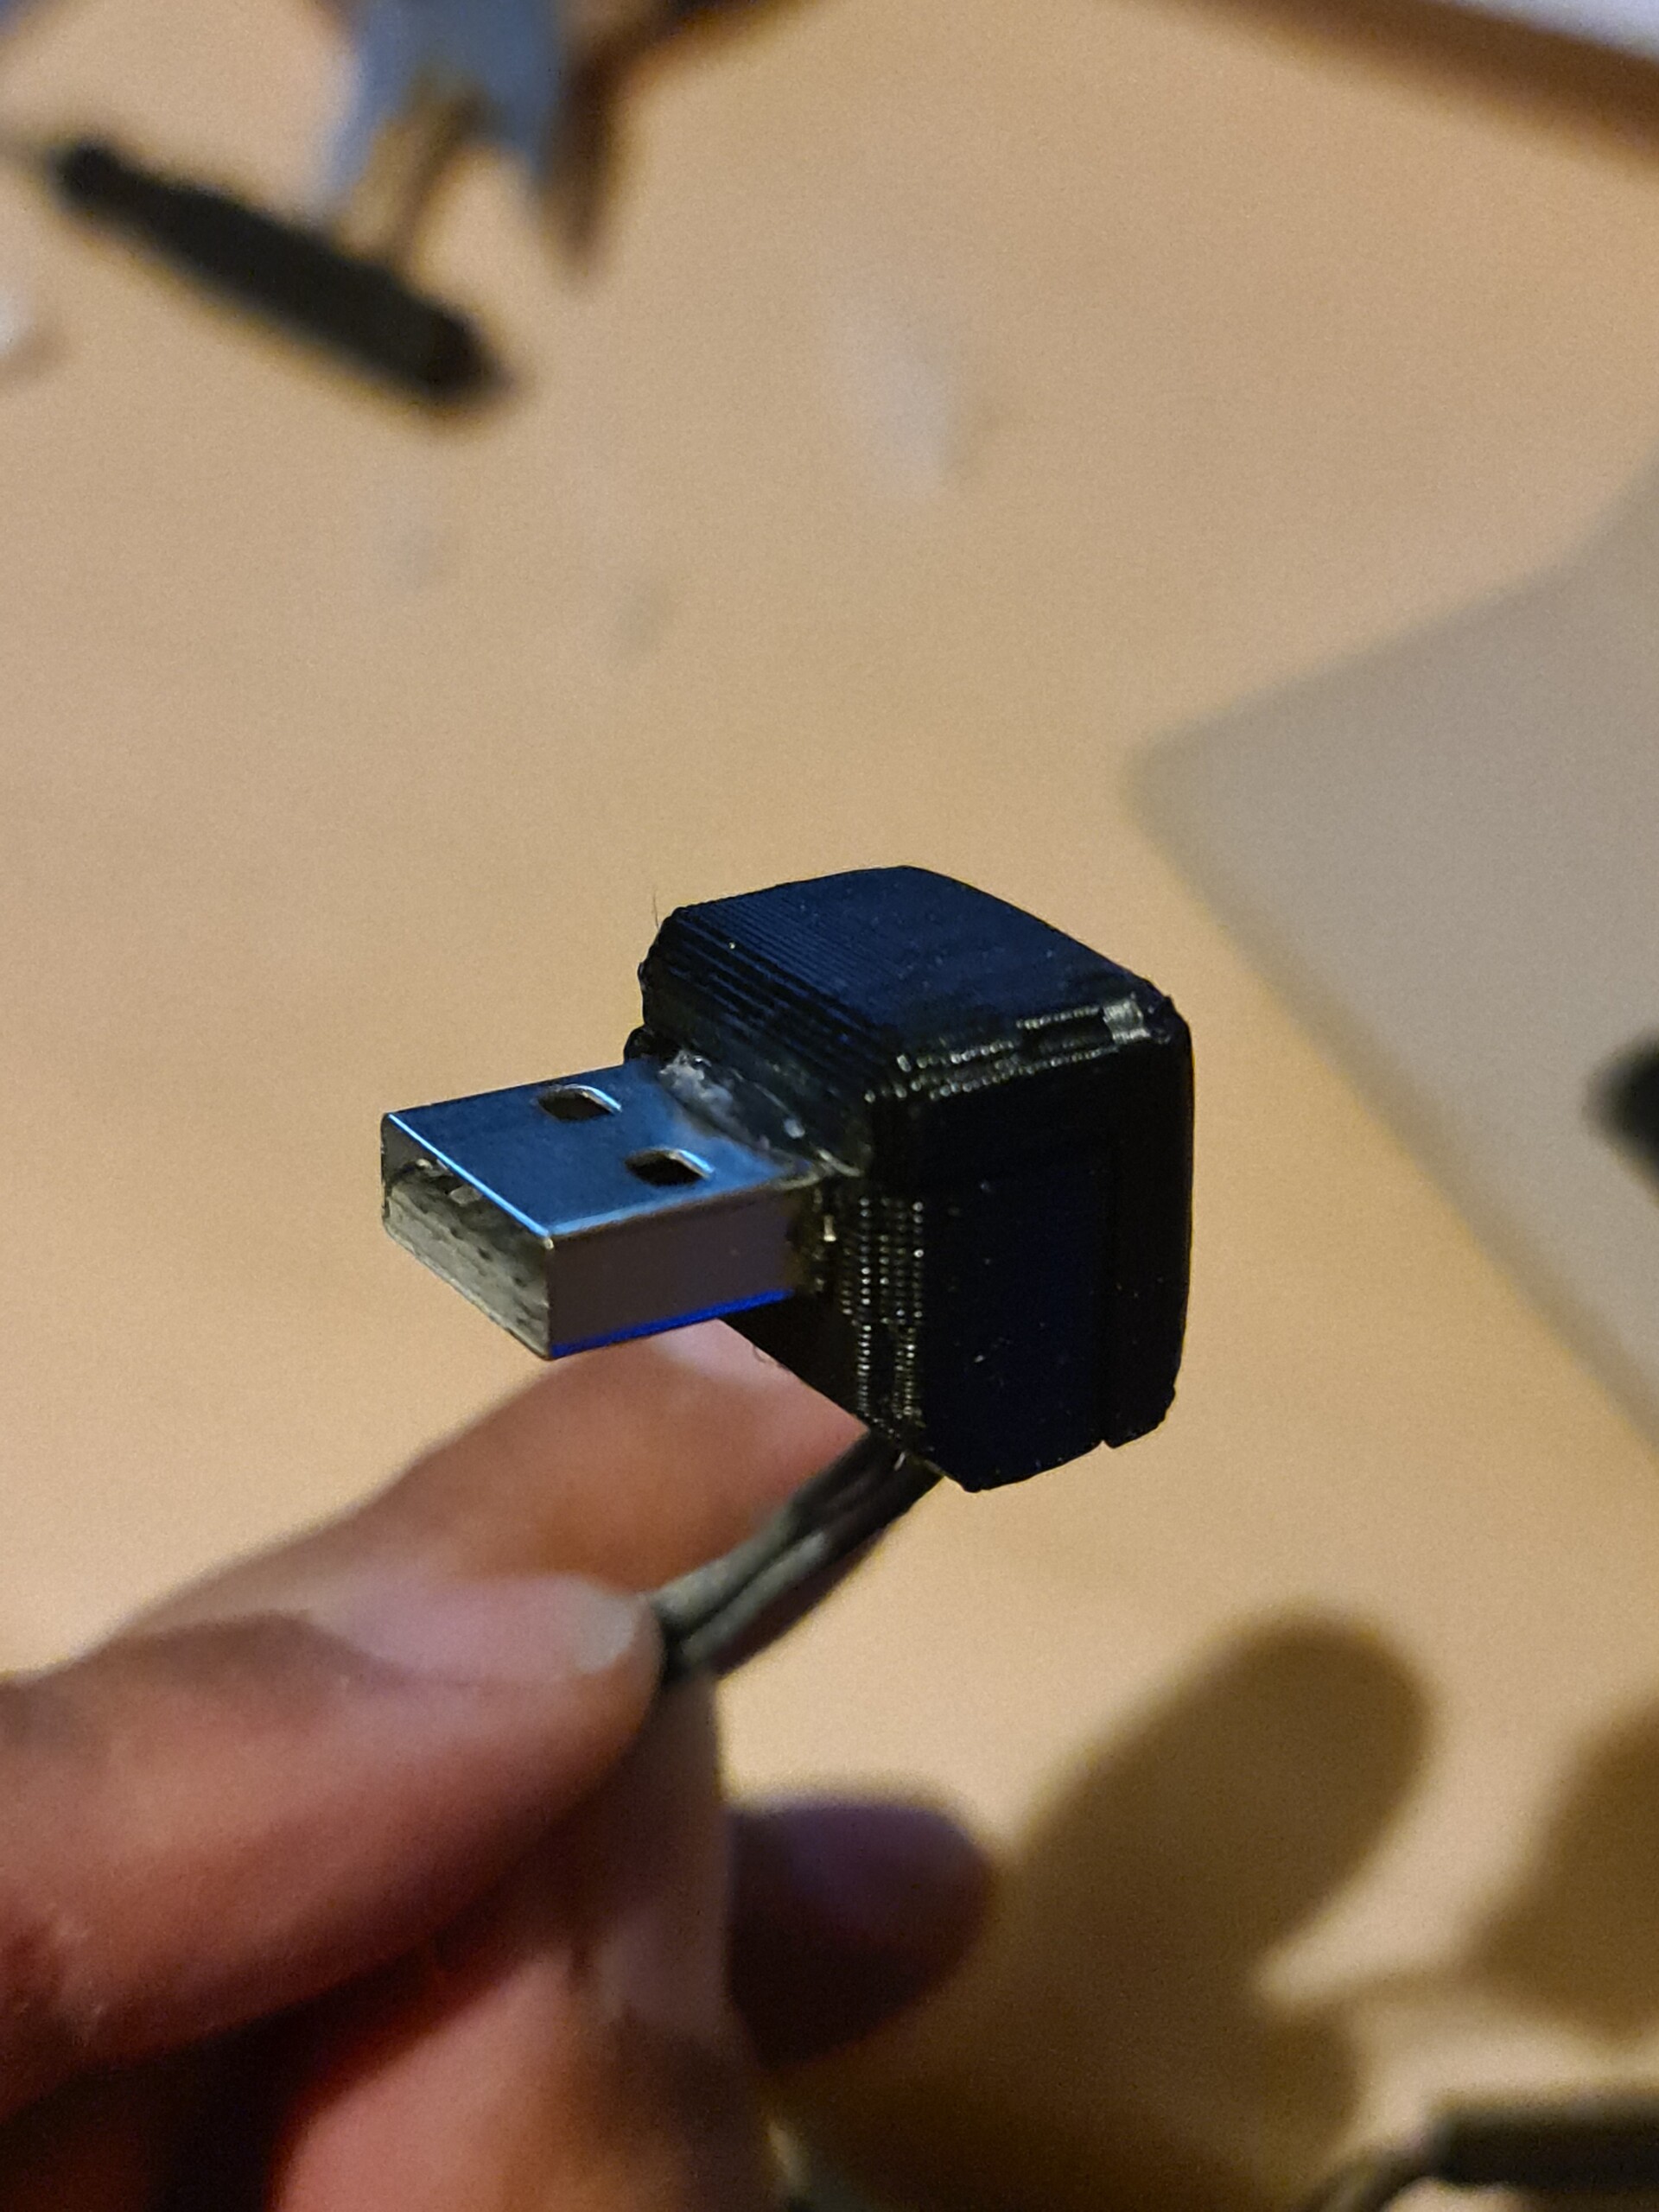
I also hacked the Promicro's usb input to use it as an extension cable. So I soldered 4 cables to relevent areas where you can see on this article.
https://www.instructables.com/Fixing-an-Arduino-Pro-Micro-the-USB-Port-Came-Off-/

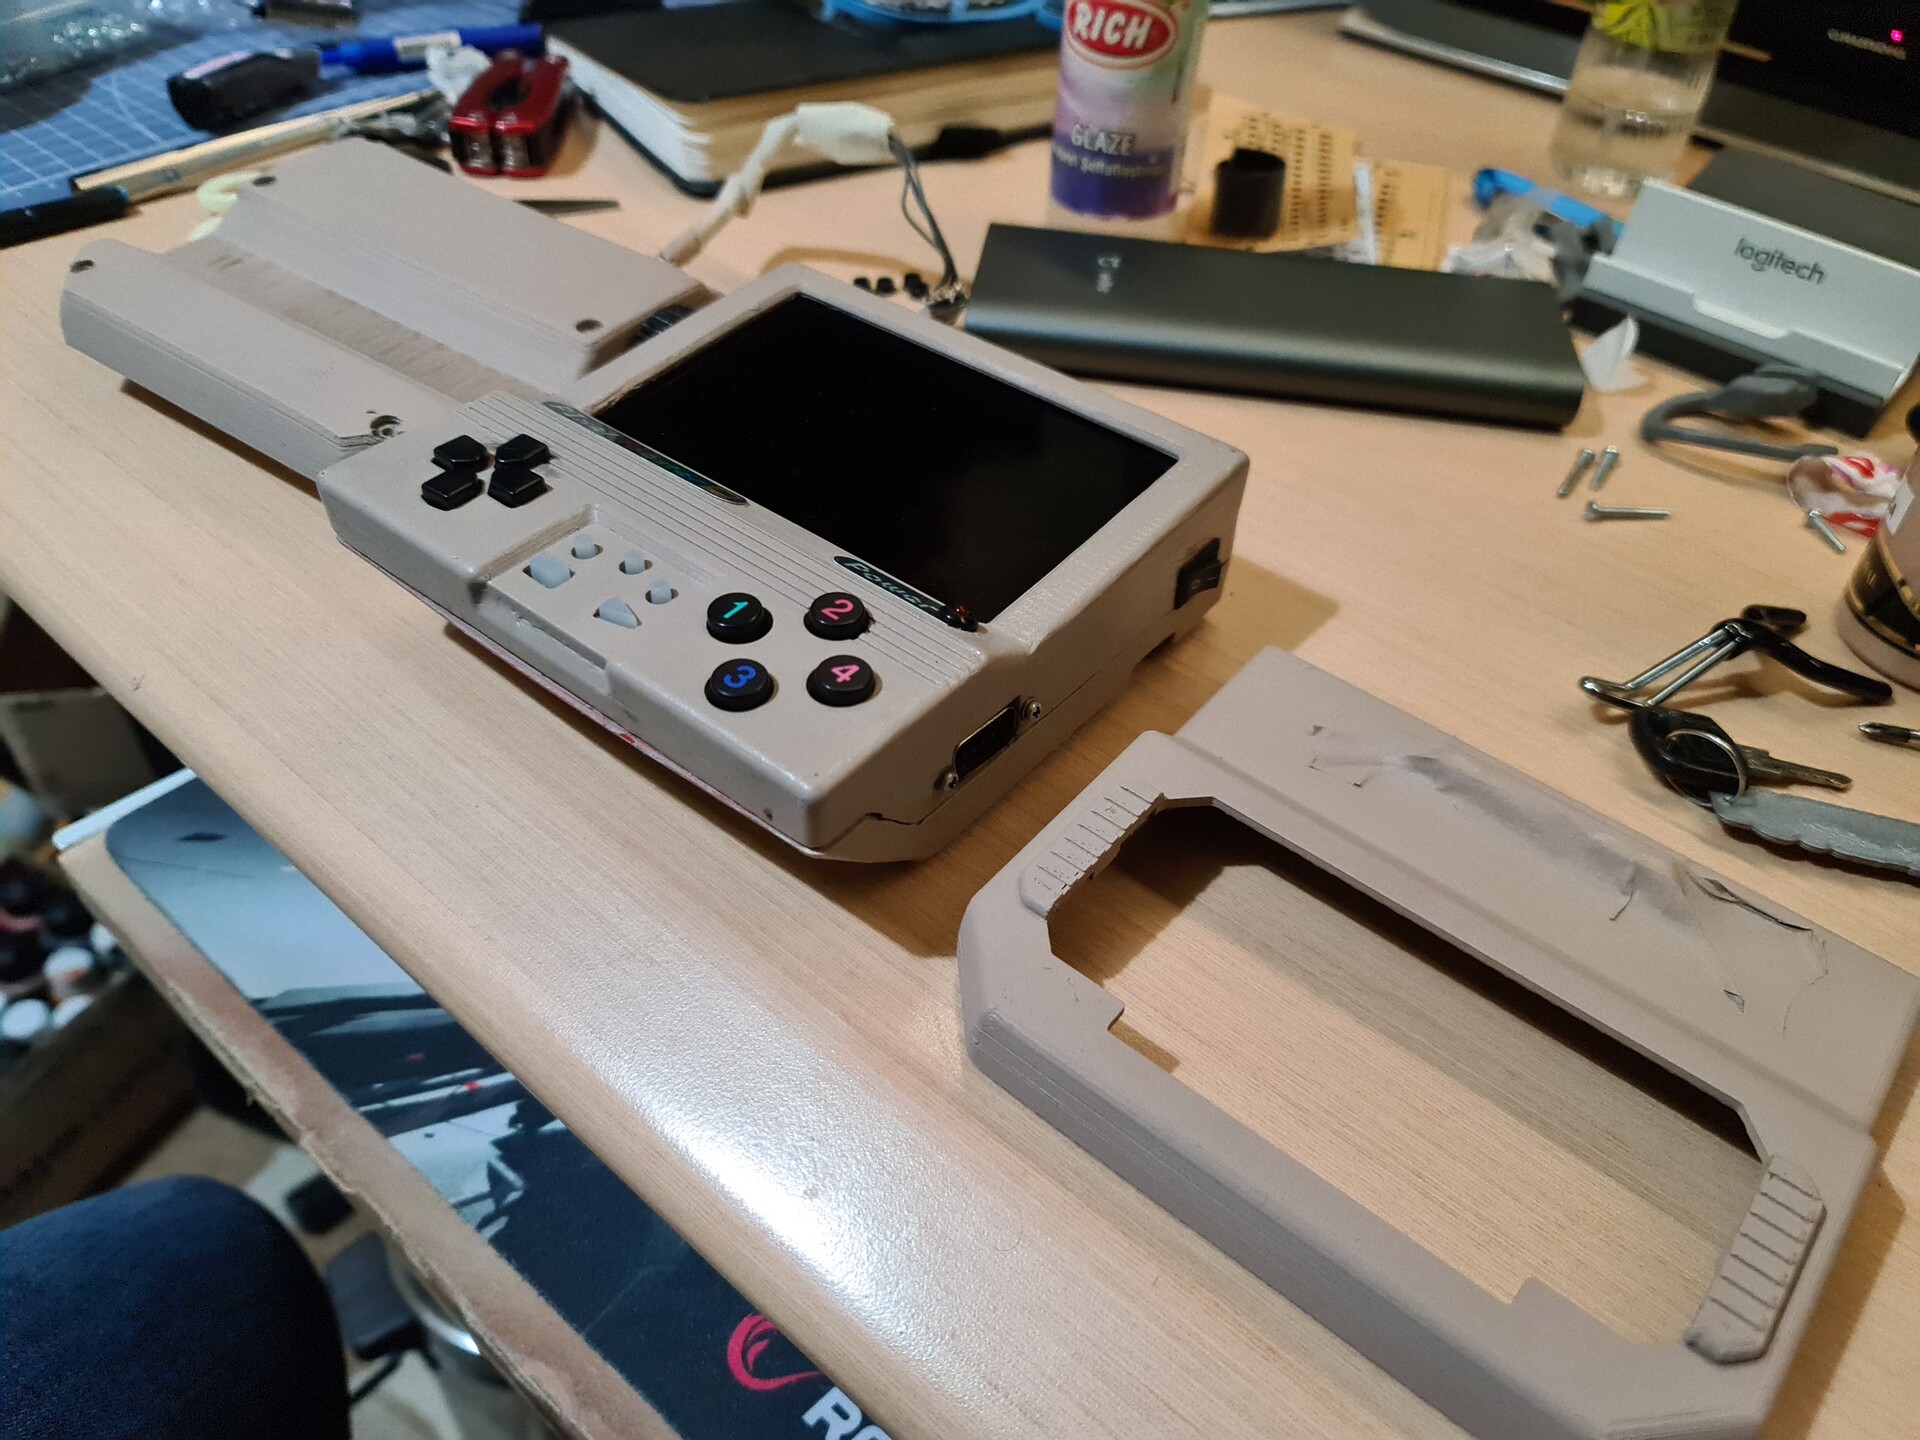
This is the actual look of the bottom part of the case.
And the weights and keyboard works!
Before painting the parts, I masked the electronic components and the attachment hooks.
I used acyrillic paint with a special mixture to get the famous "Commodore Beige". Here is the recipe: %60 Mocca %40 Desert Brown :)
%100 color match with the old painting.
Let's do an assembly.

At that point, the thing that bothered my was the white color of the faceplate. they can be ordered in few colors but any of them cannot match with the beige color. So I decided to change the color of it. Overpainting it with a thinner was not an option. because the surface was too glossy to hold the paint.
I found a strange workaround about this. I decided to print the same design with beige background with my color printer. But I printed the design on a sticker paper.
Next I needed to use my laminator device to cover the paper with PVC. Because standad paper would worn out in time while using the keyboard.
Laminators work with heat treatment to make the PVC sheet welded with the paper. Perfect way of protection. To make it one sided to my printed sticker, I added an extra layer of standard paper to the backside of the sticker.
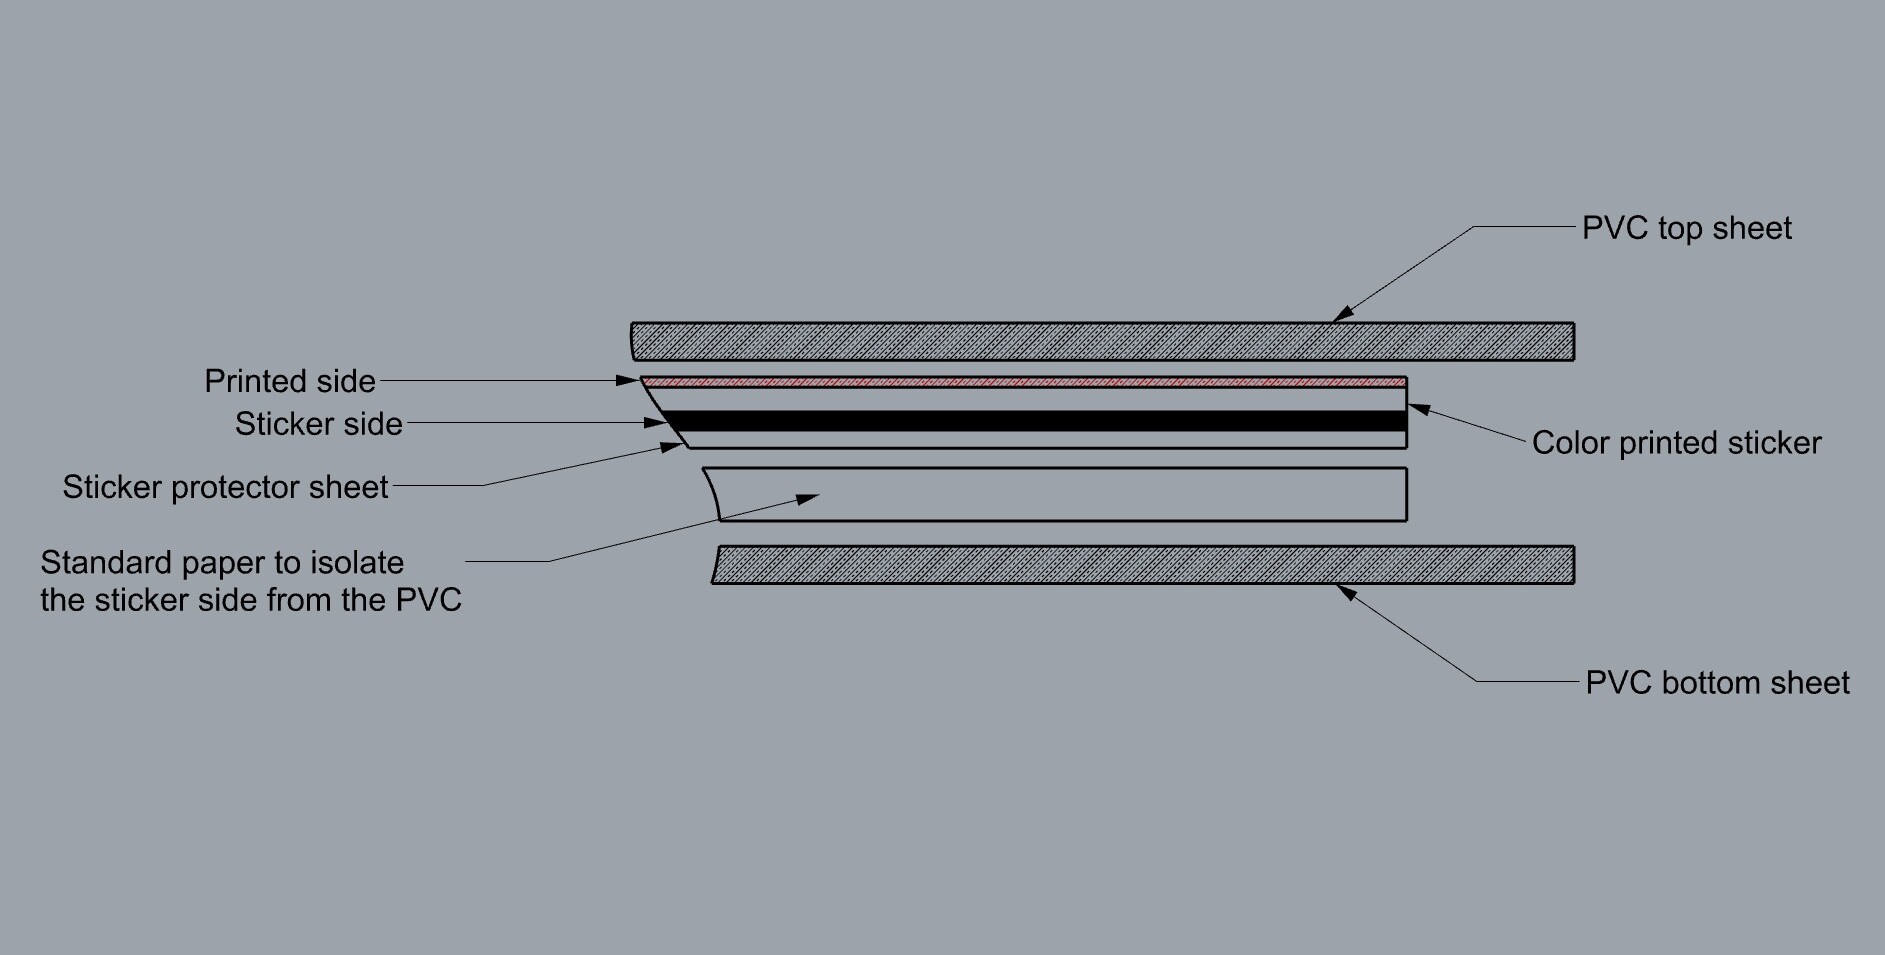

This way I had my sticker PVC laminated on the printed side where I can also easily peel off the cover for the sticky side.
My next problem with this printed keyboard layout was the holes. These holes are drilled by machines, so making holes by hand was not an easy task. I also printed the outline of the holes and to make the holed I modified a pen as a punch pen :)
I used various drill bits to enlarge and sharpen the tip of the pen.
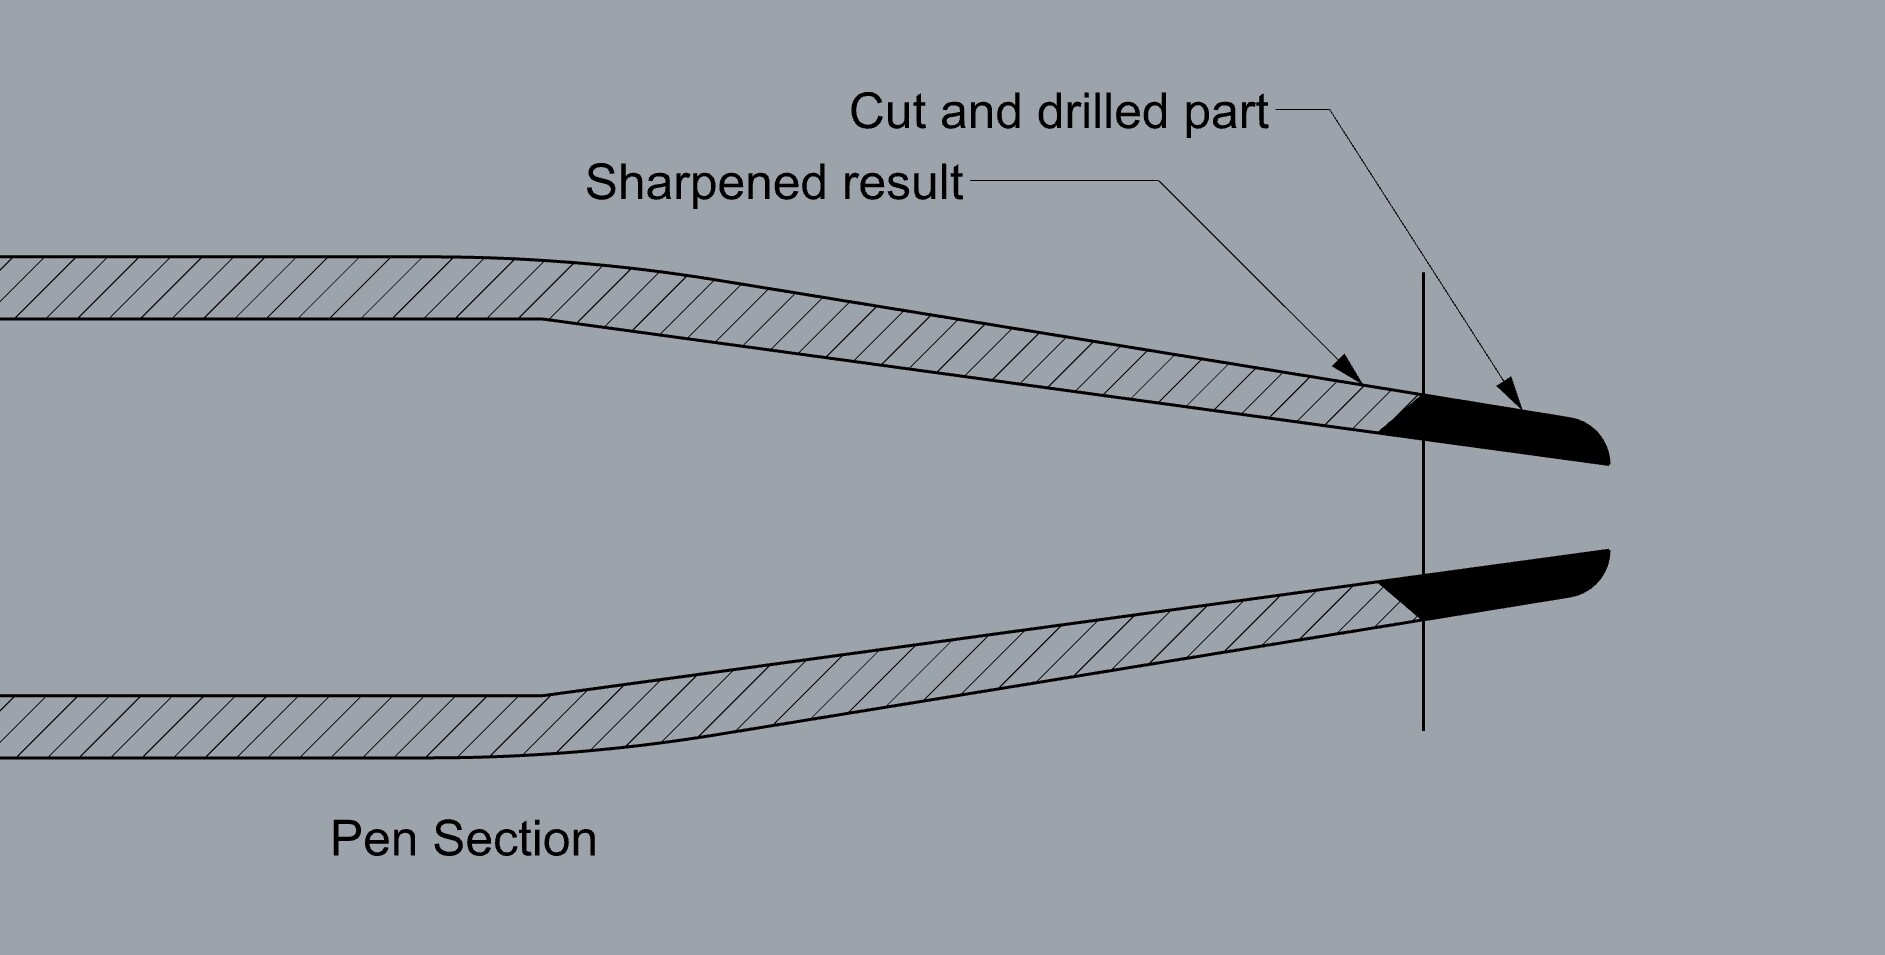
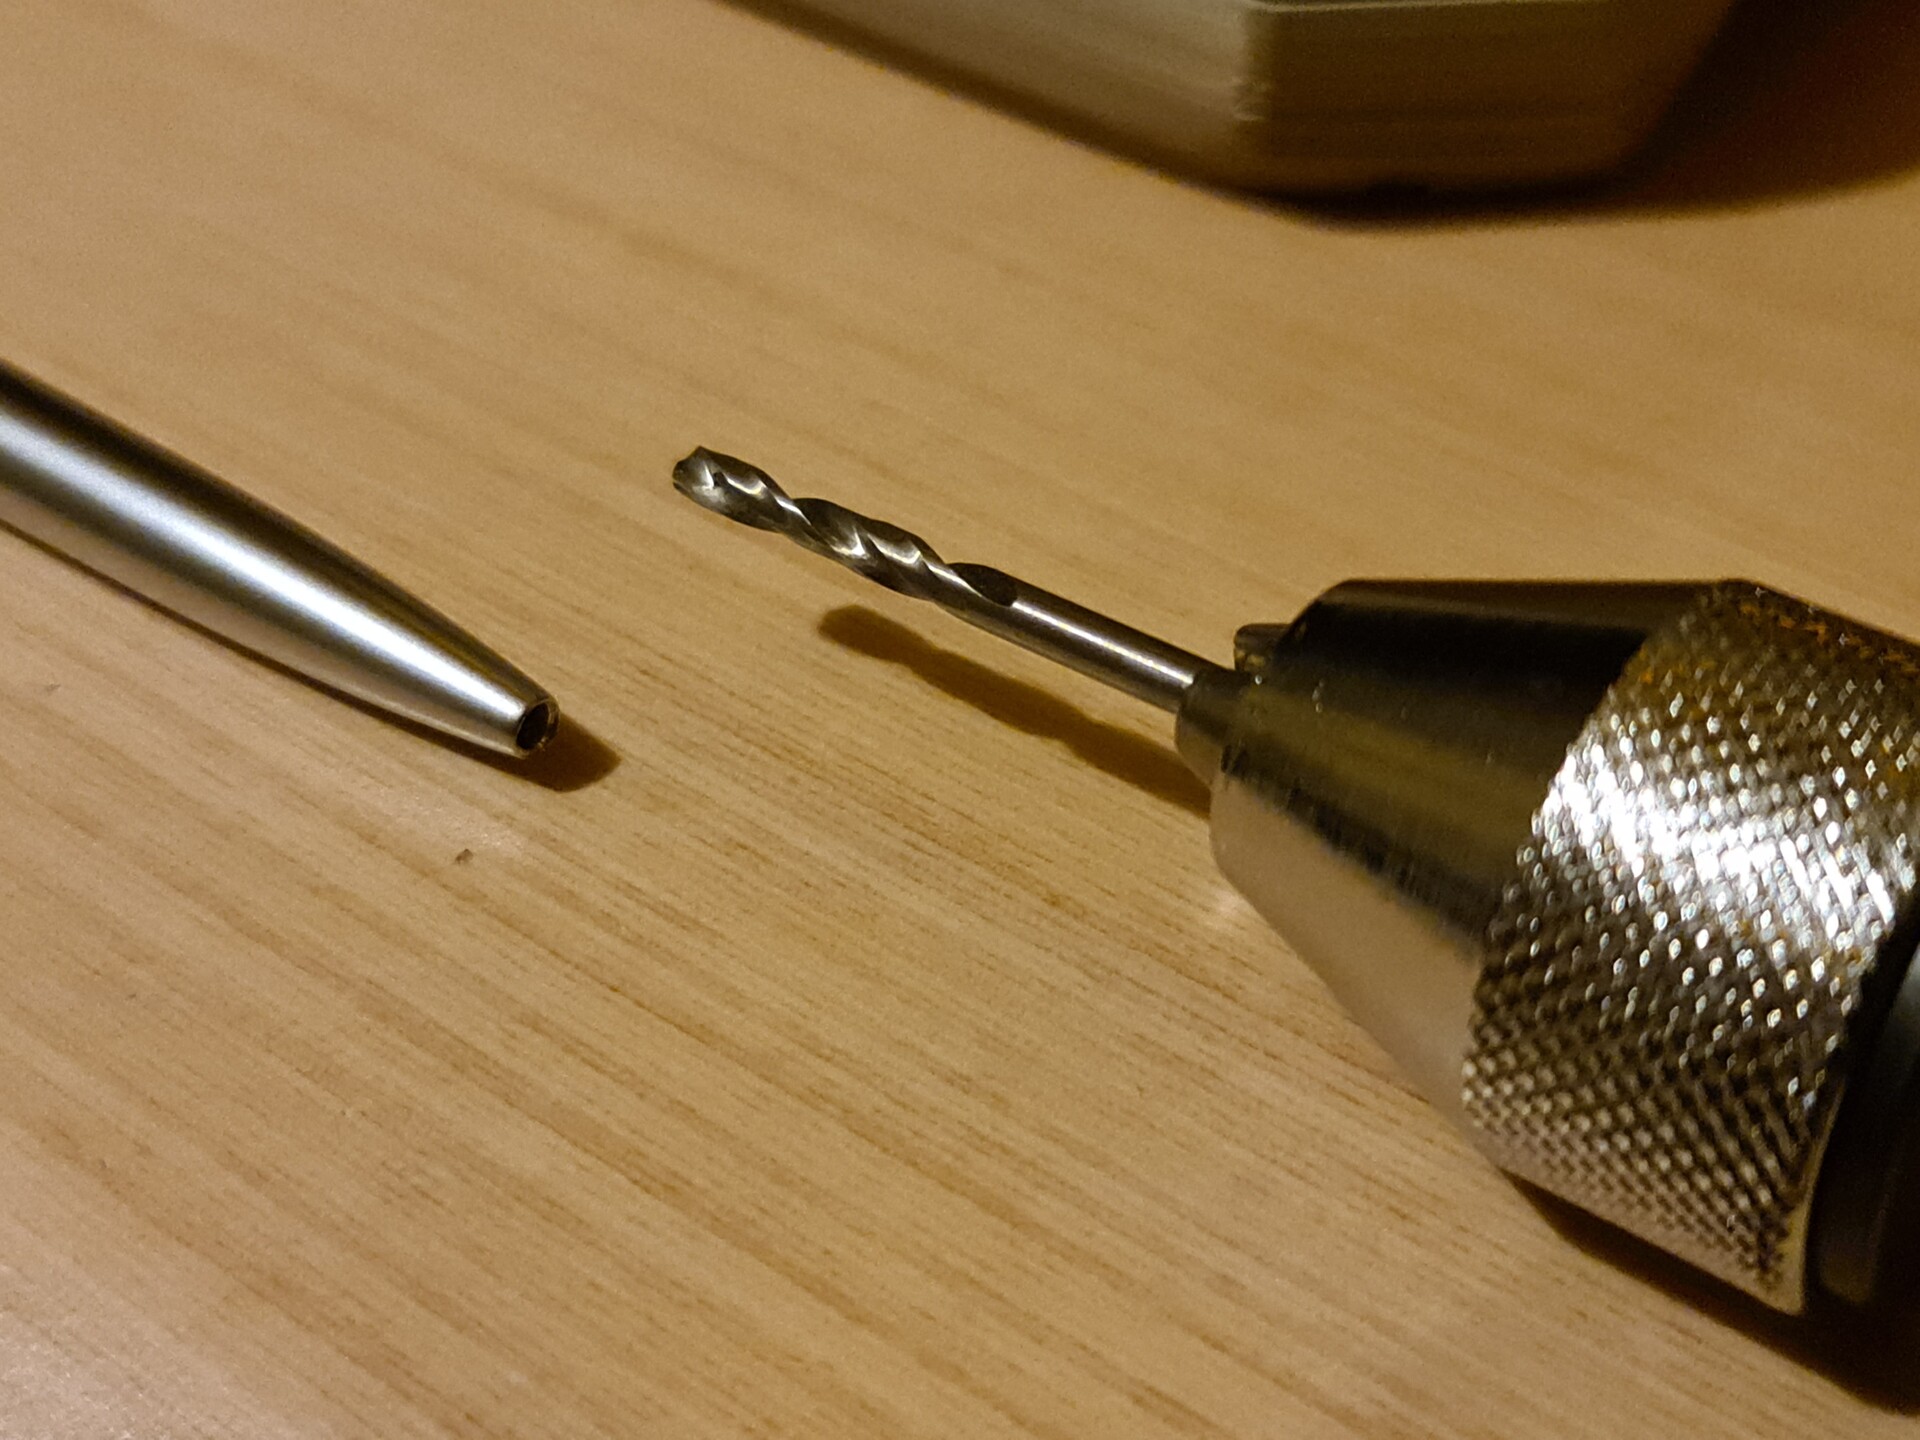
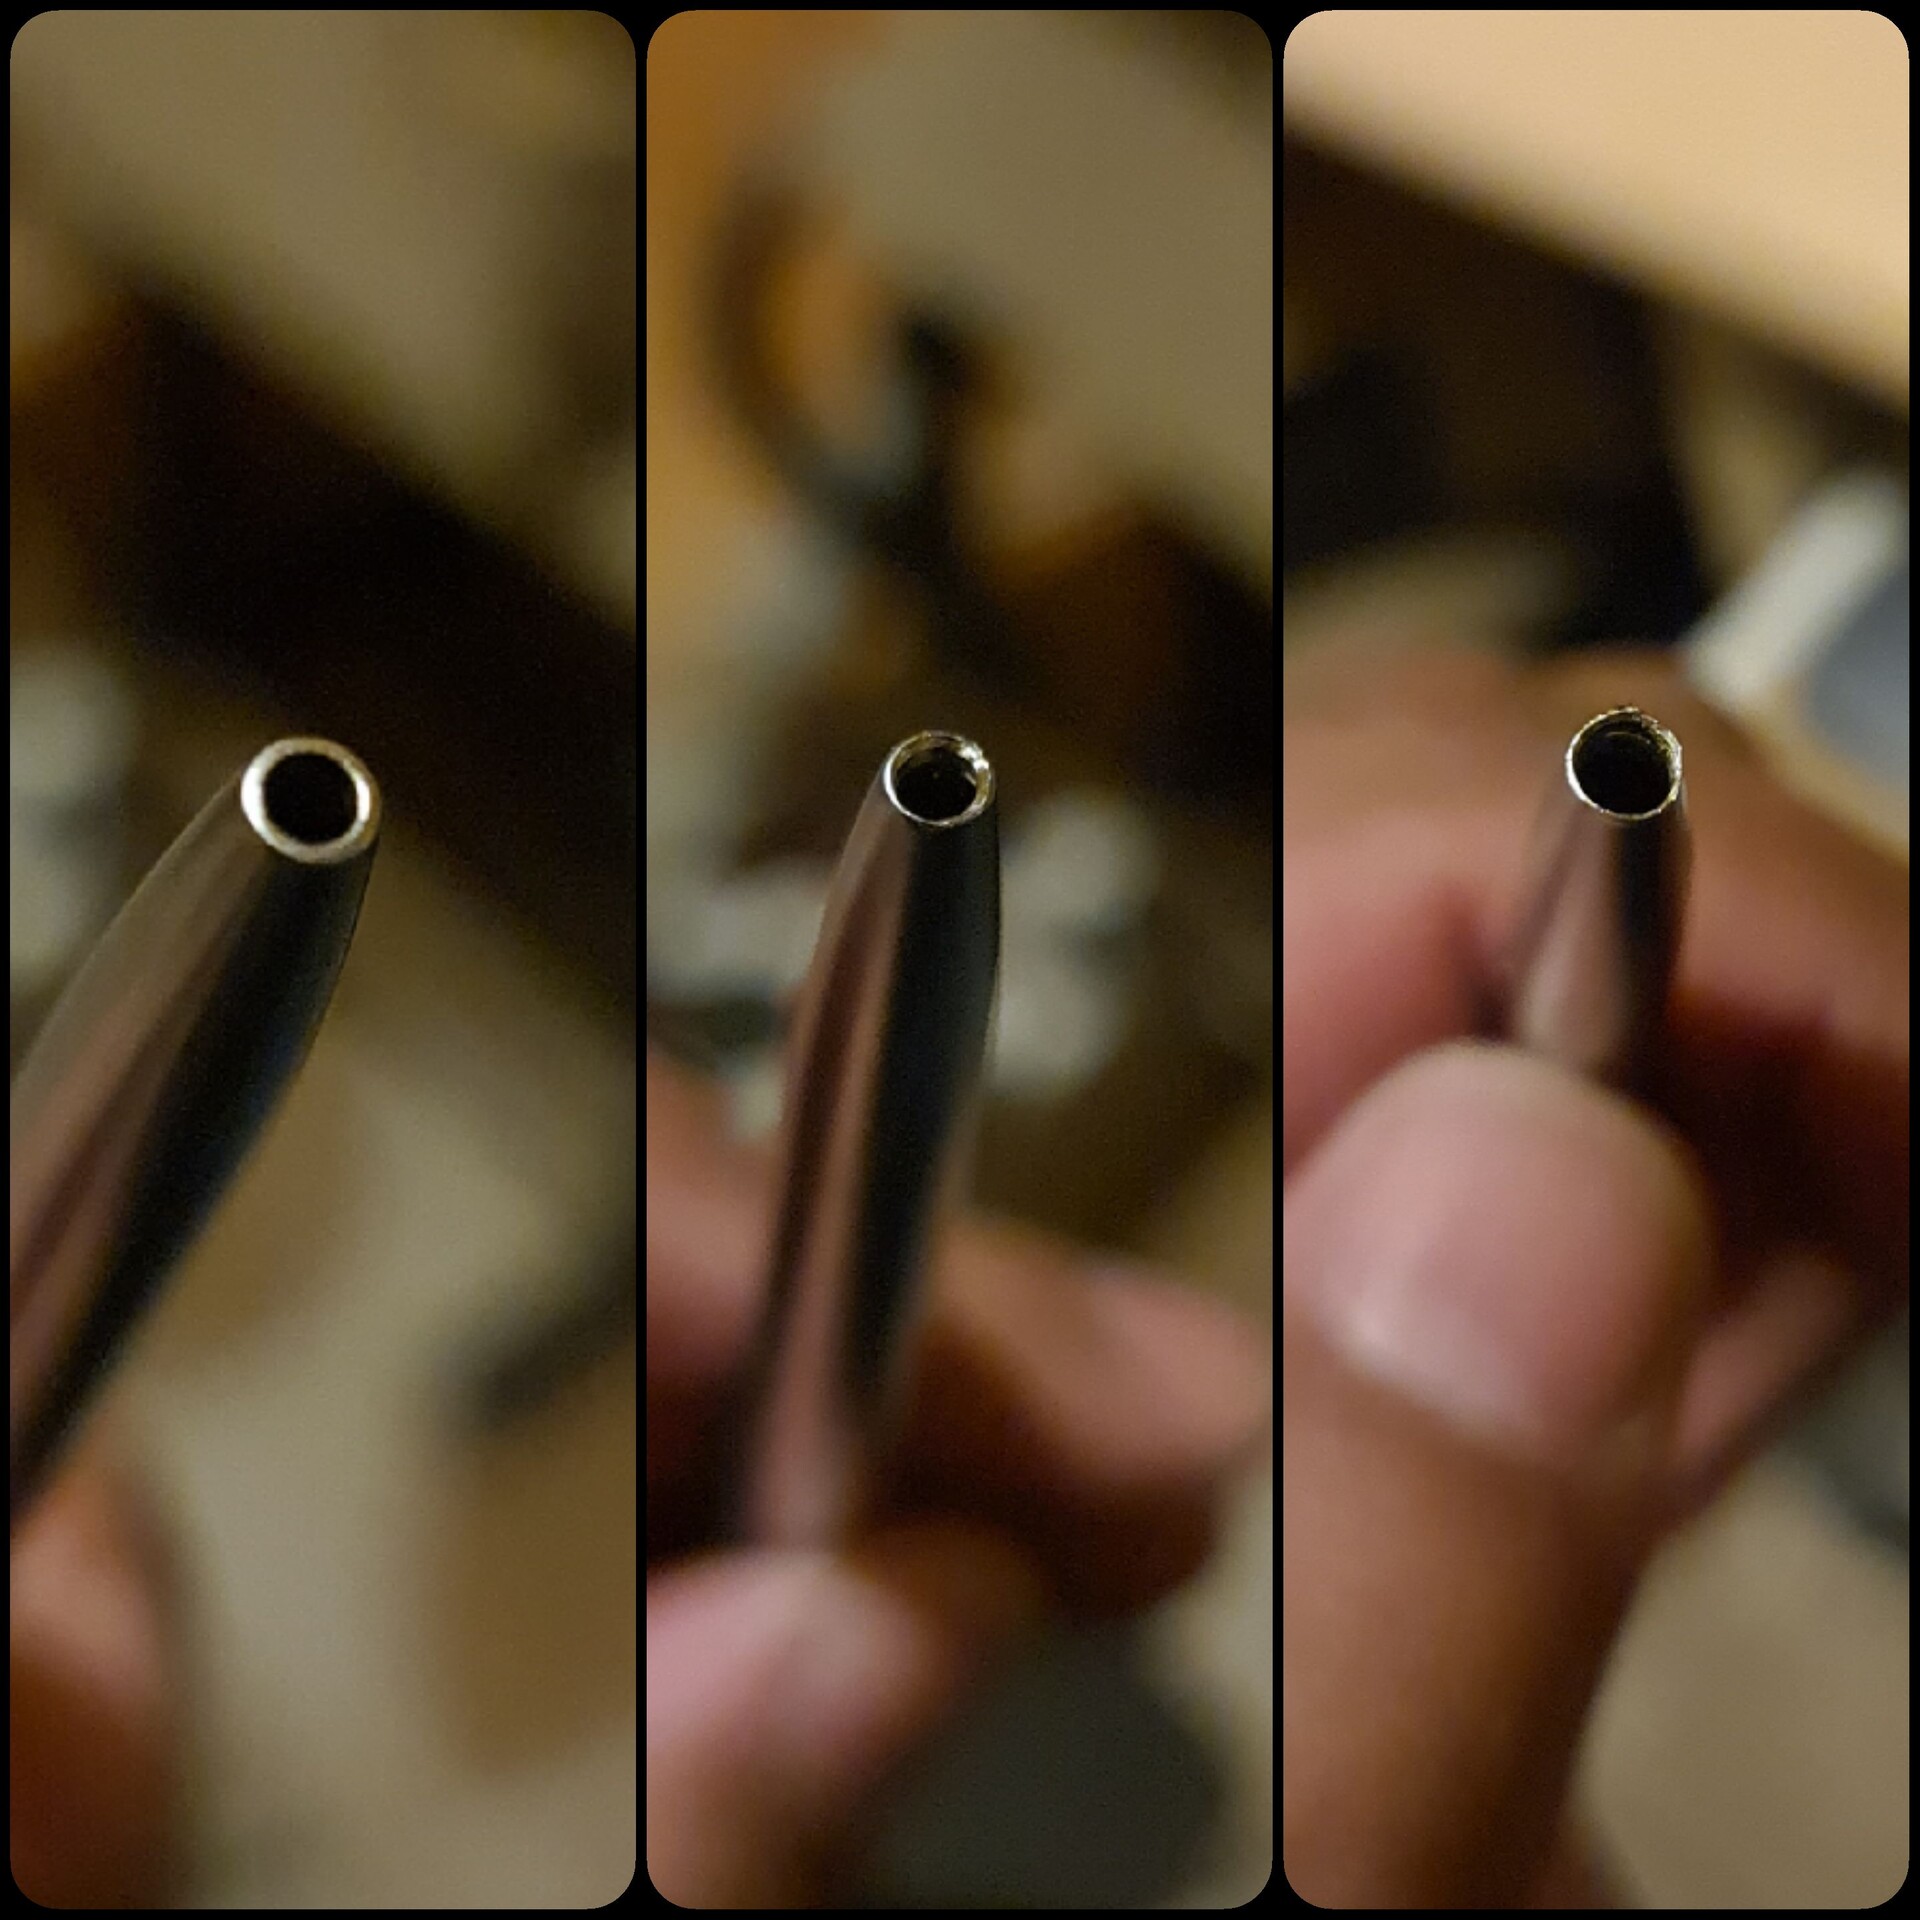
So I used this punch pen to punch the holes.
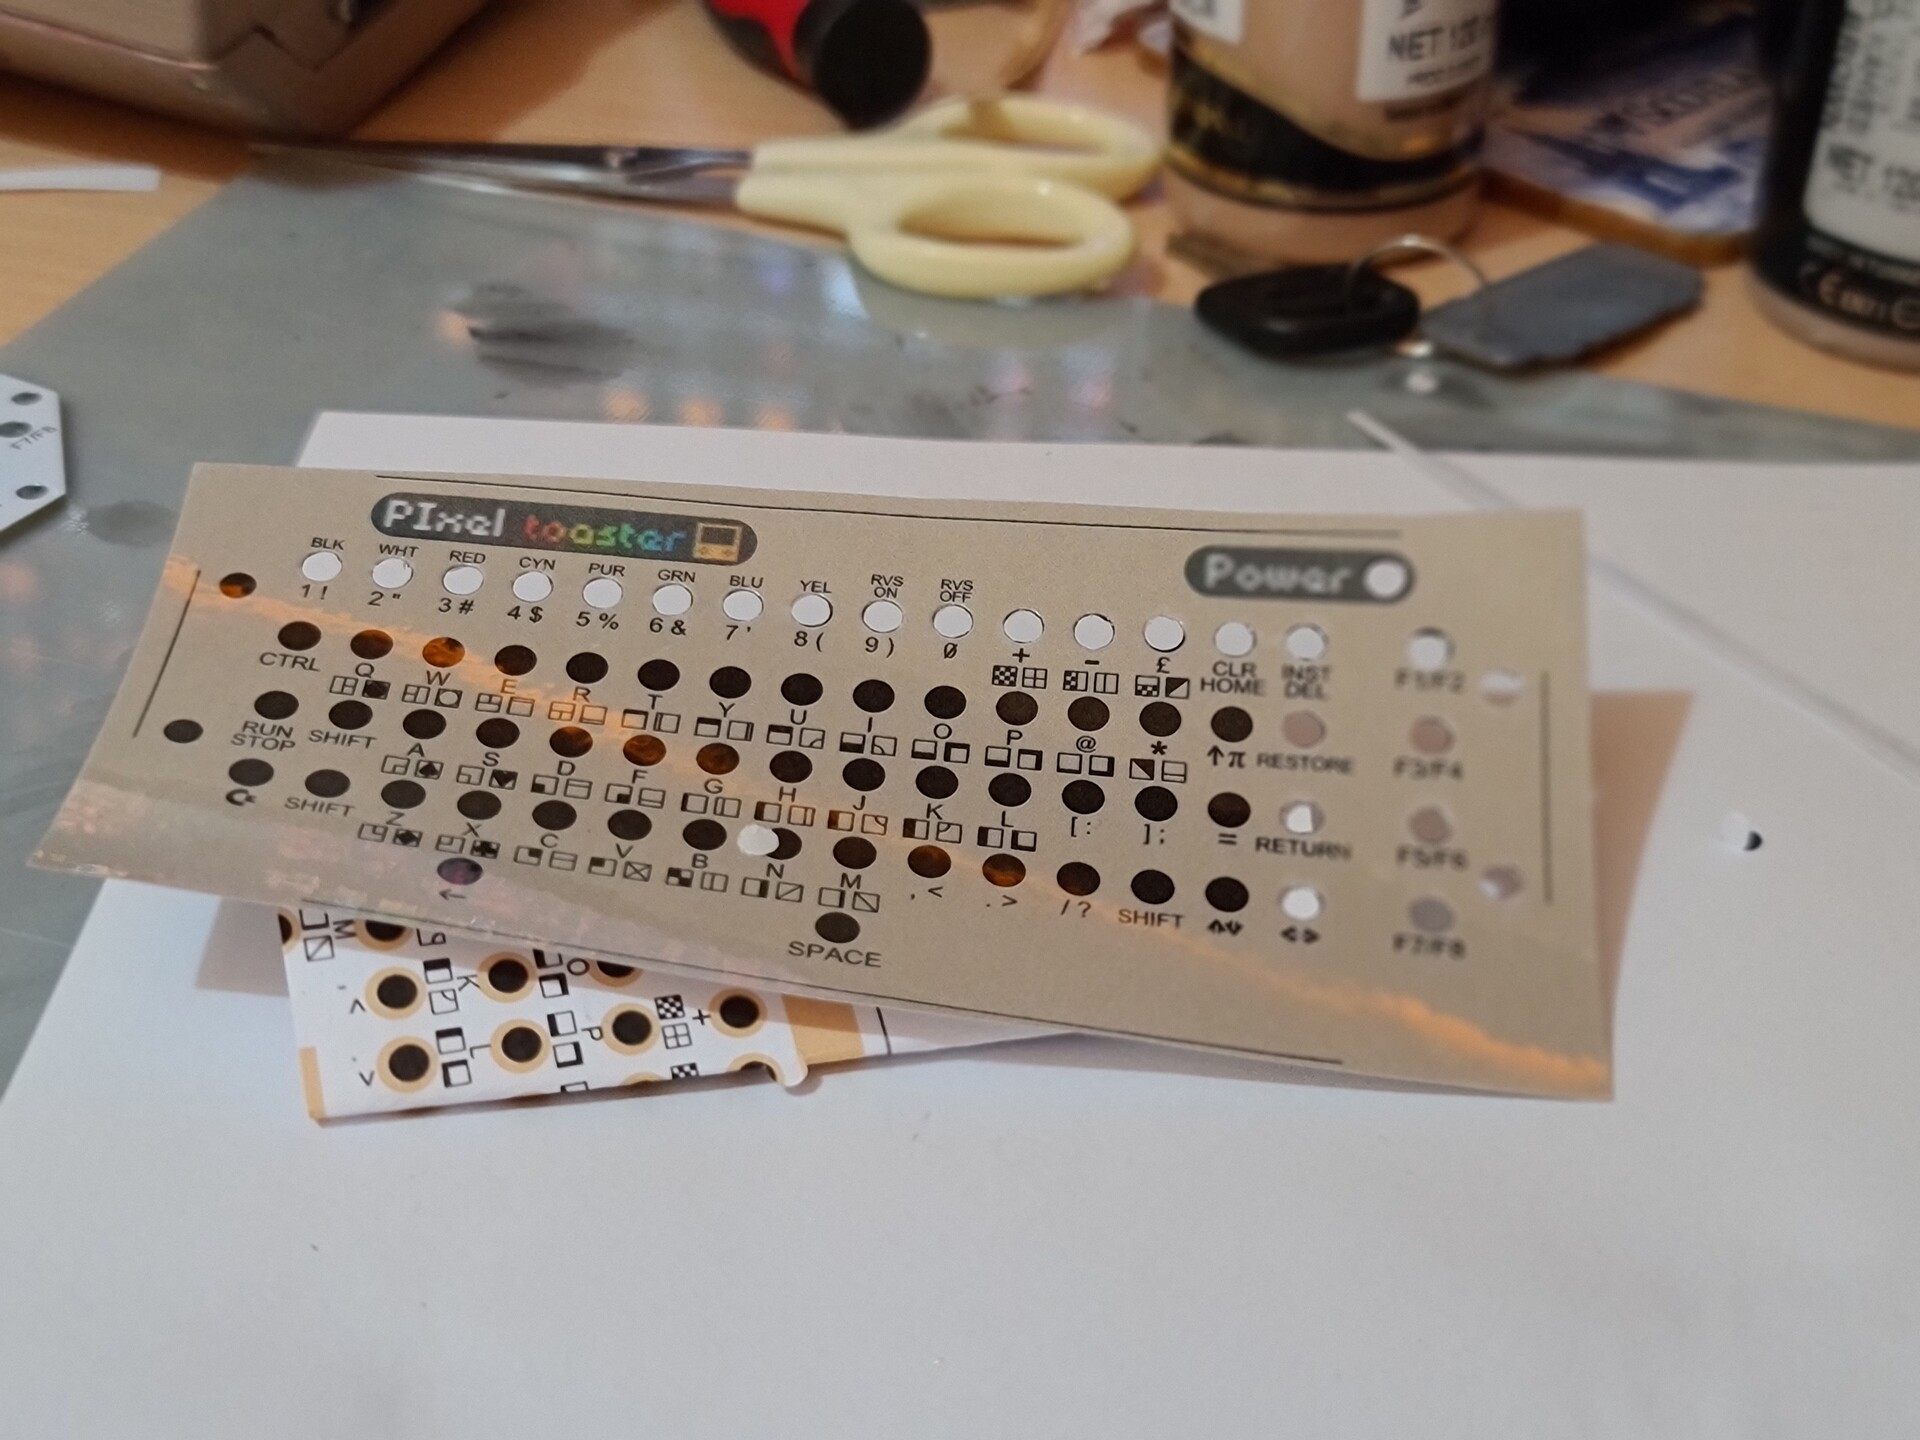
And finally I applied the sticker on top of the faceplate. Very acceptable match!


It looks way better than the white one because of the color match.
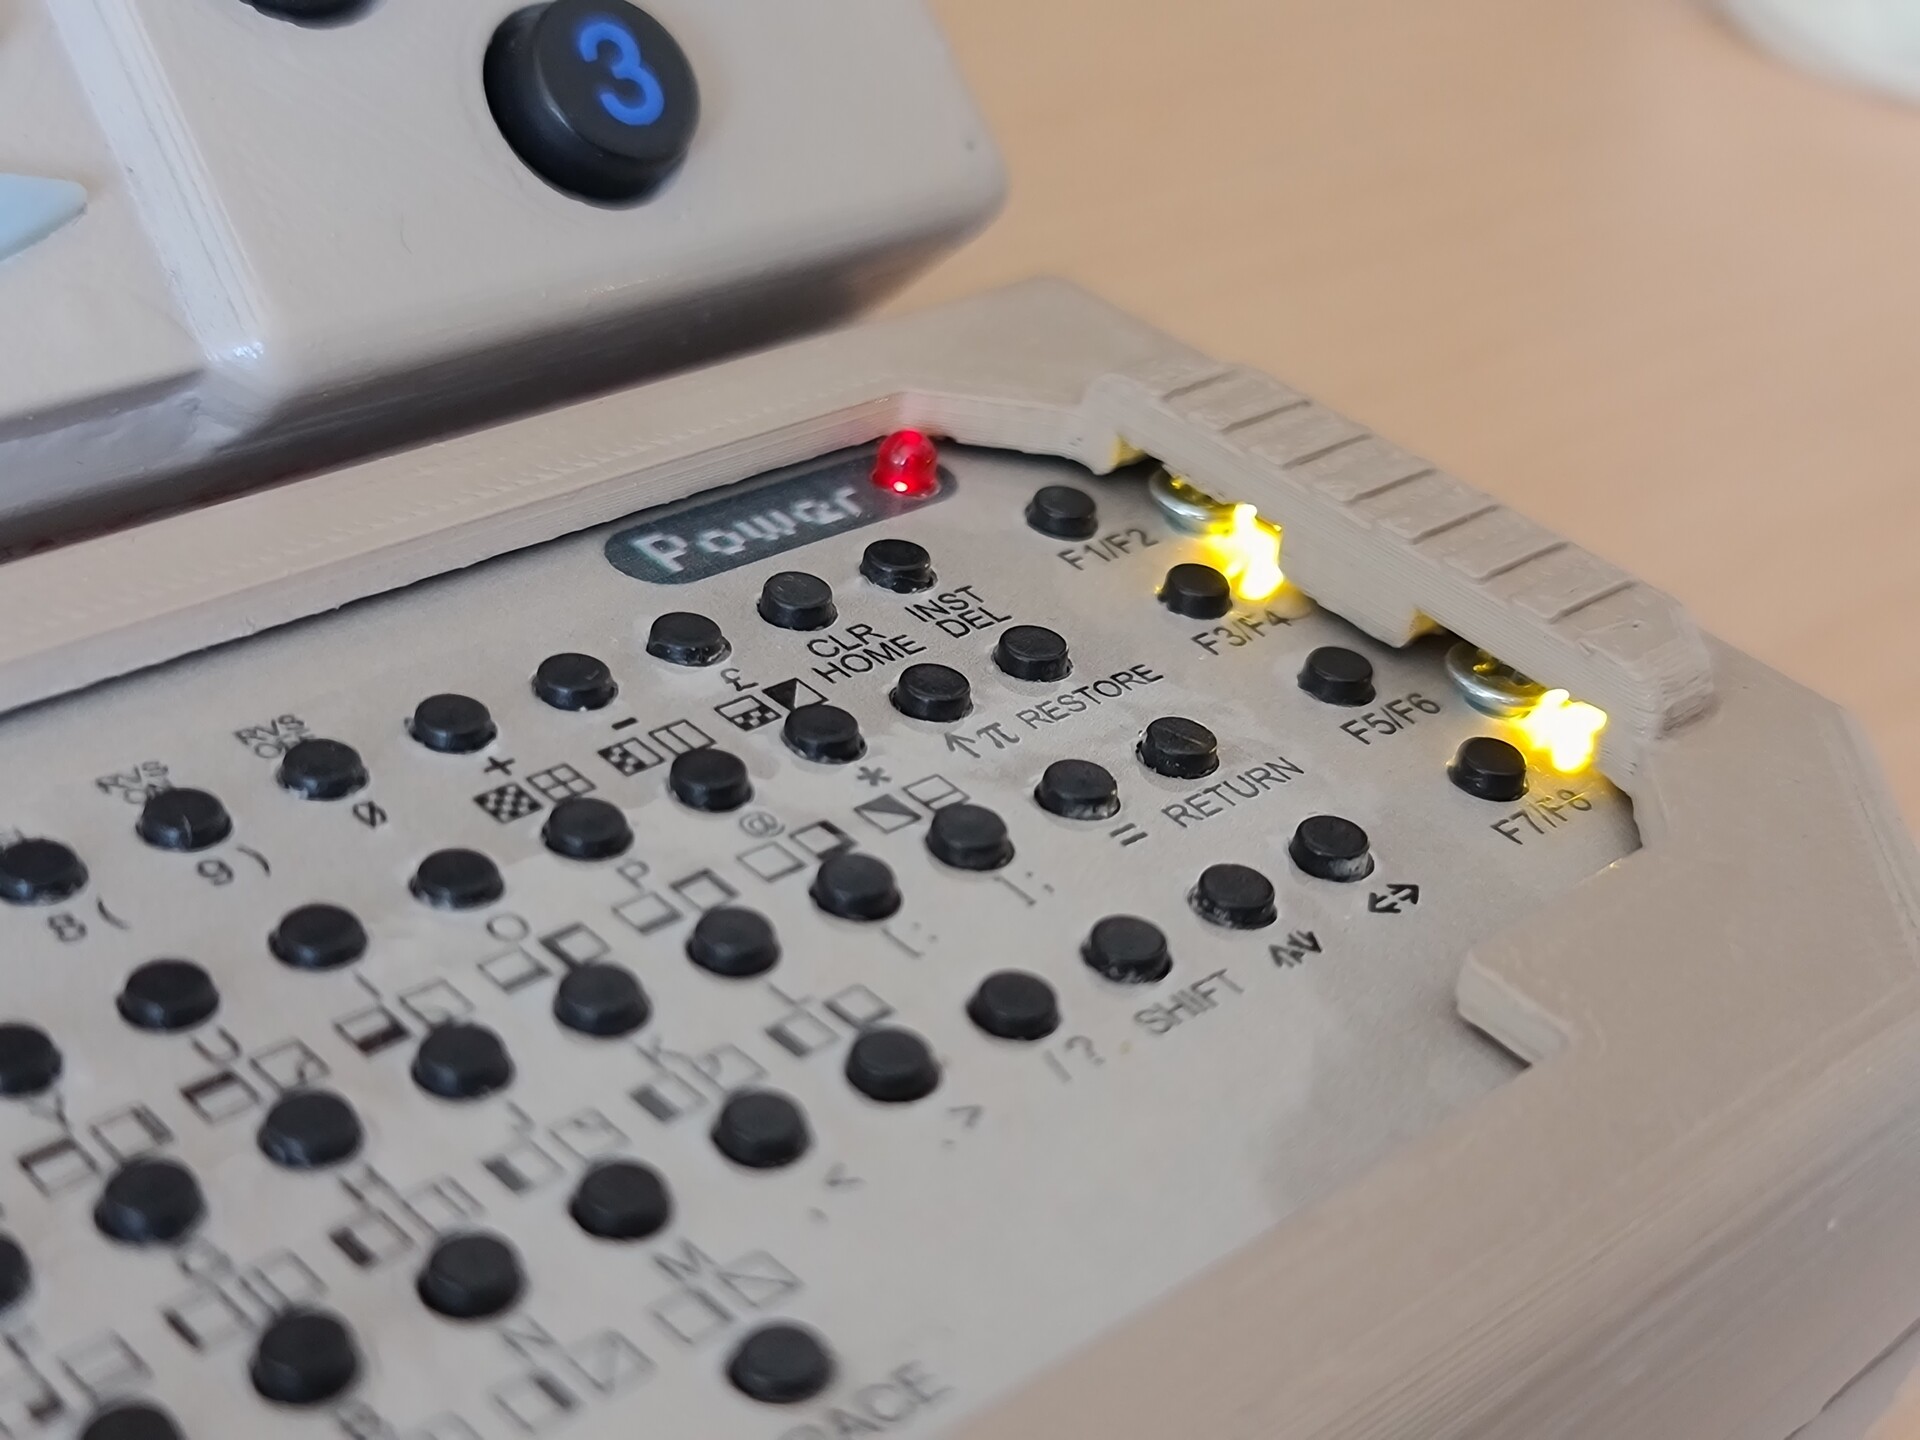
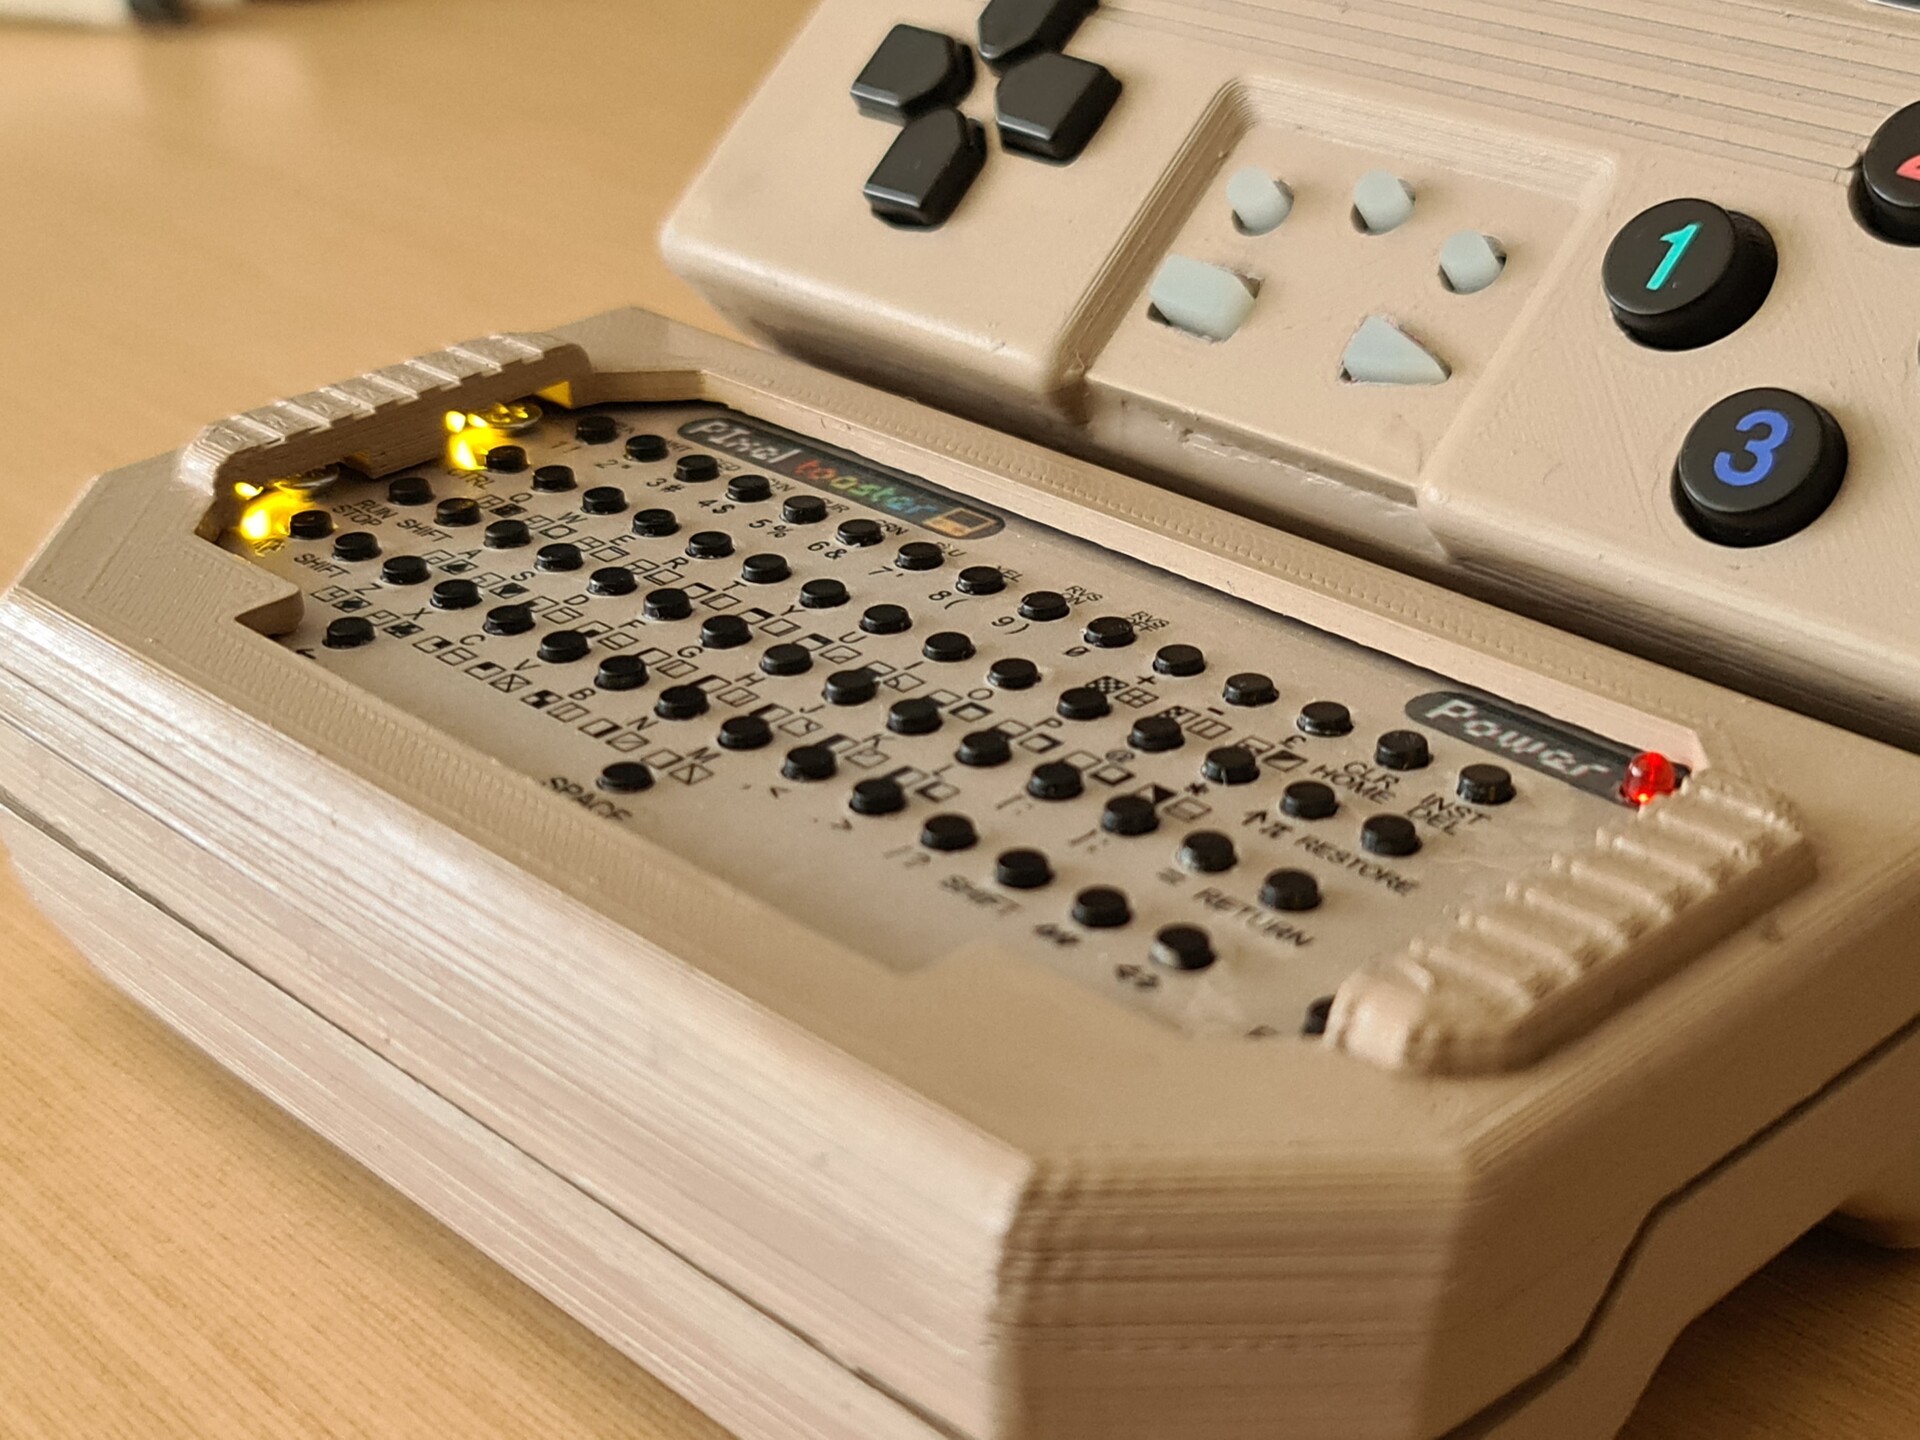
I didn't stop there. My next step was to add some SMD LED lights to the clearance I designed for the screw heads. It lookedlike a perfect placeto add the lights for some decorative key lighting.
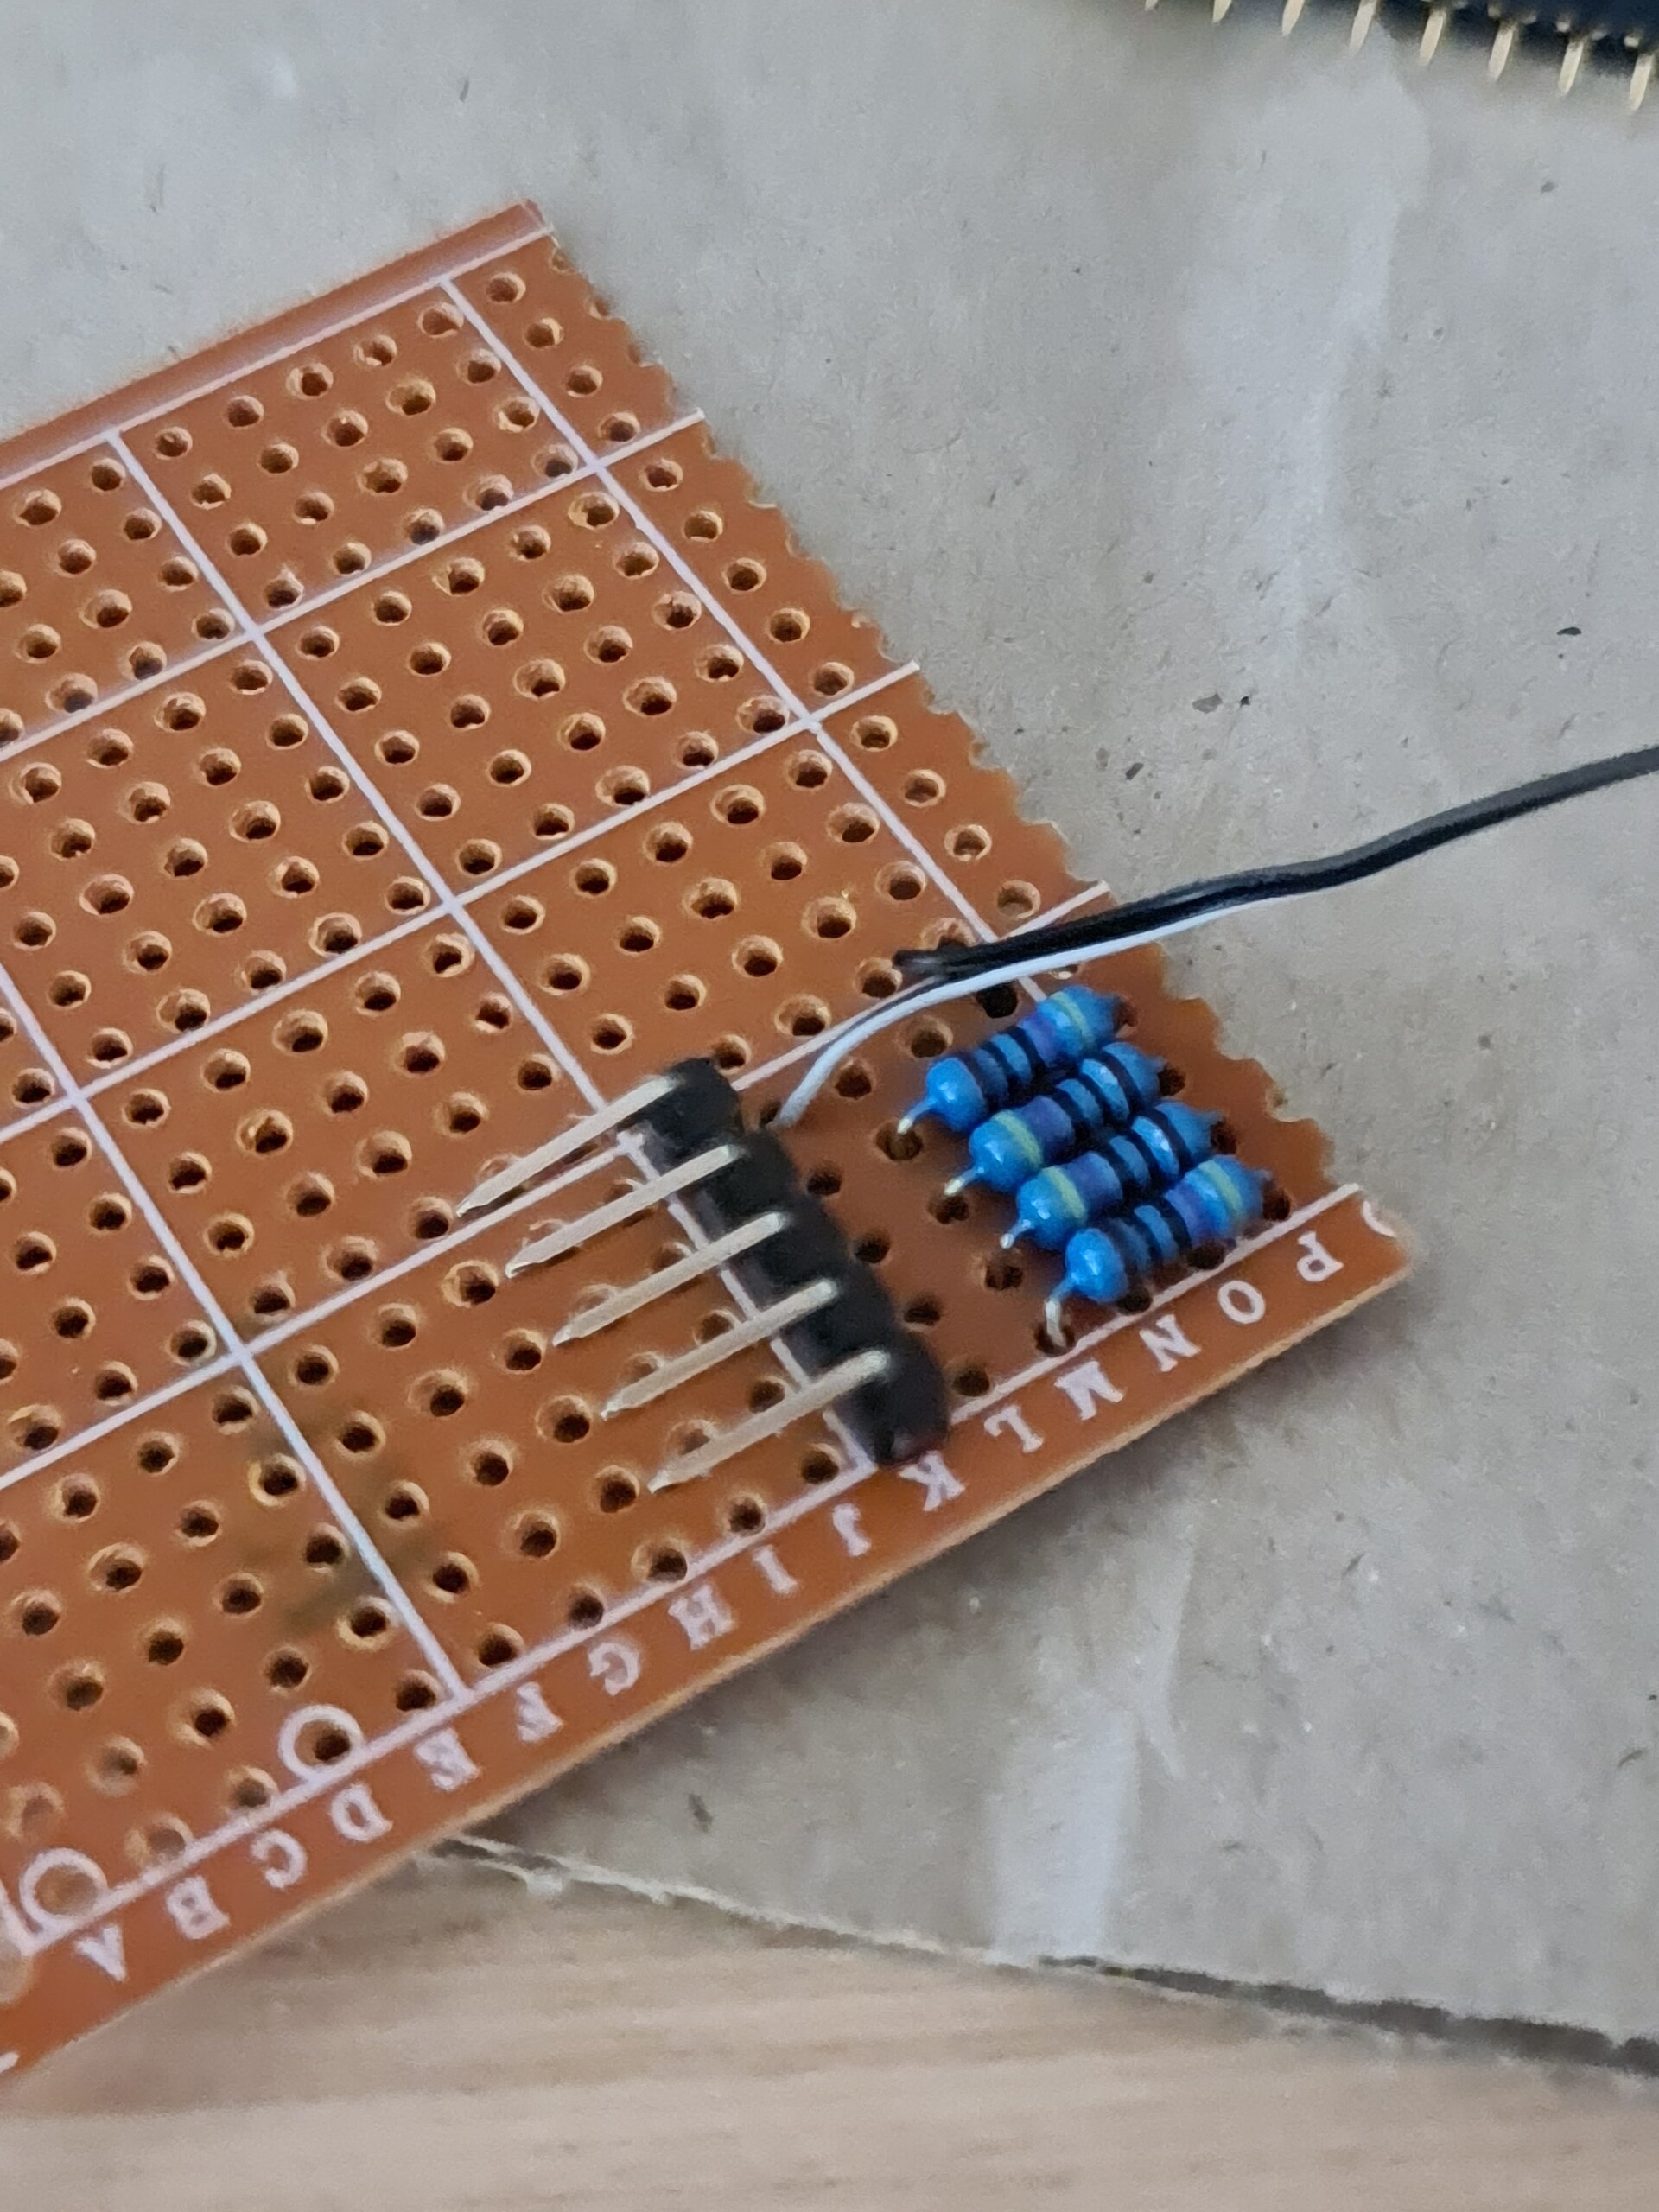
I soldered a simple board for the resistors of the LEDs. I added a 90 degree pins to put a connector, because board is on the bottom part, and the LEDs are on the top part. So I needed to detach LEDs from the bottom part of the case for maintenance purposes.

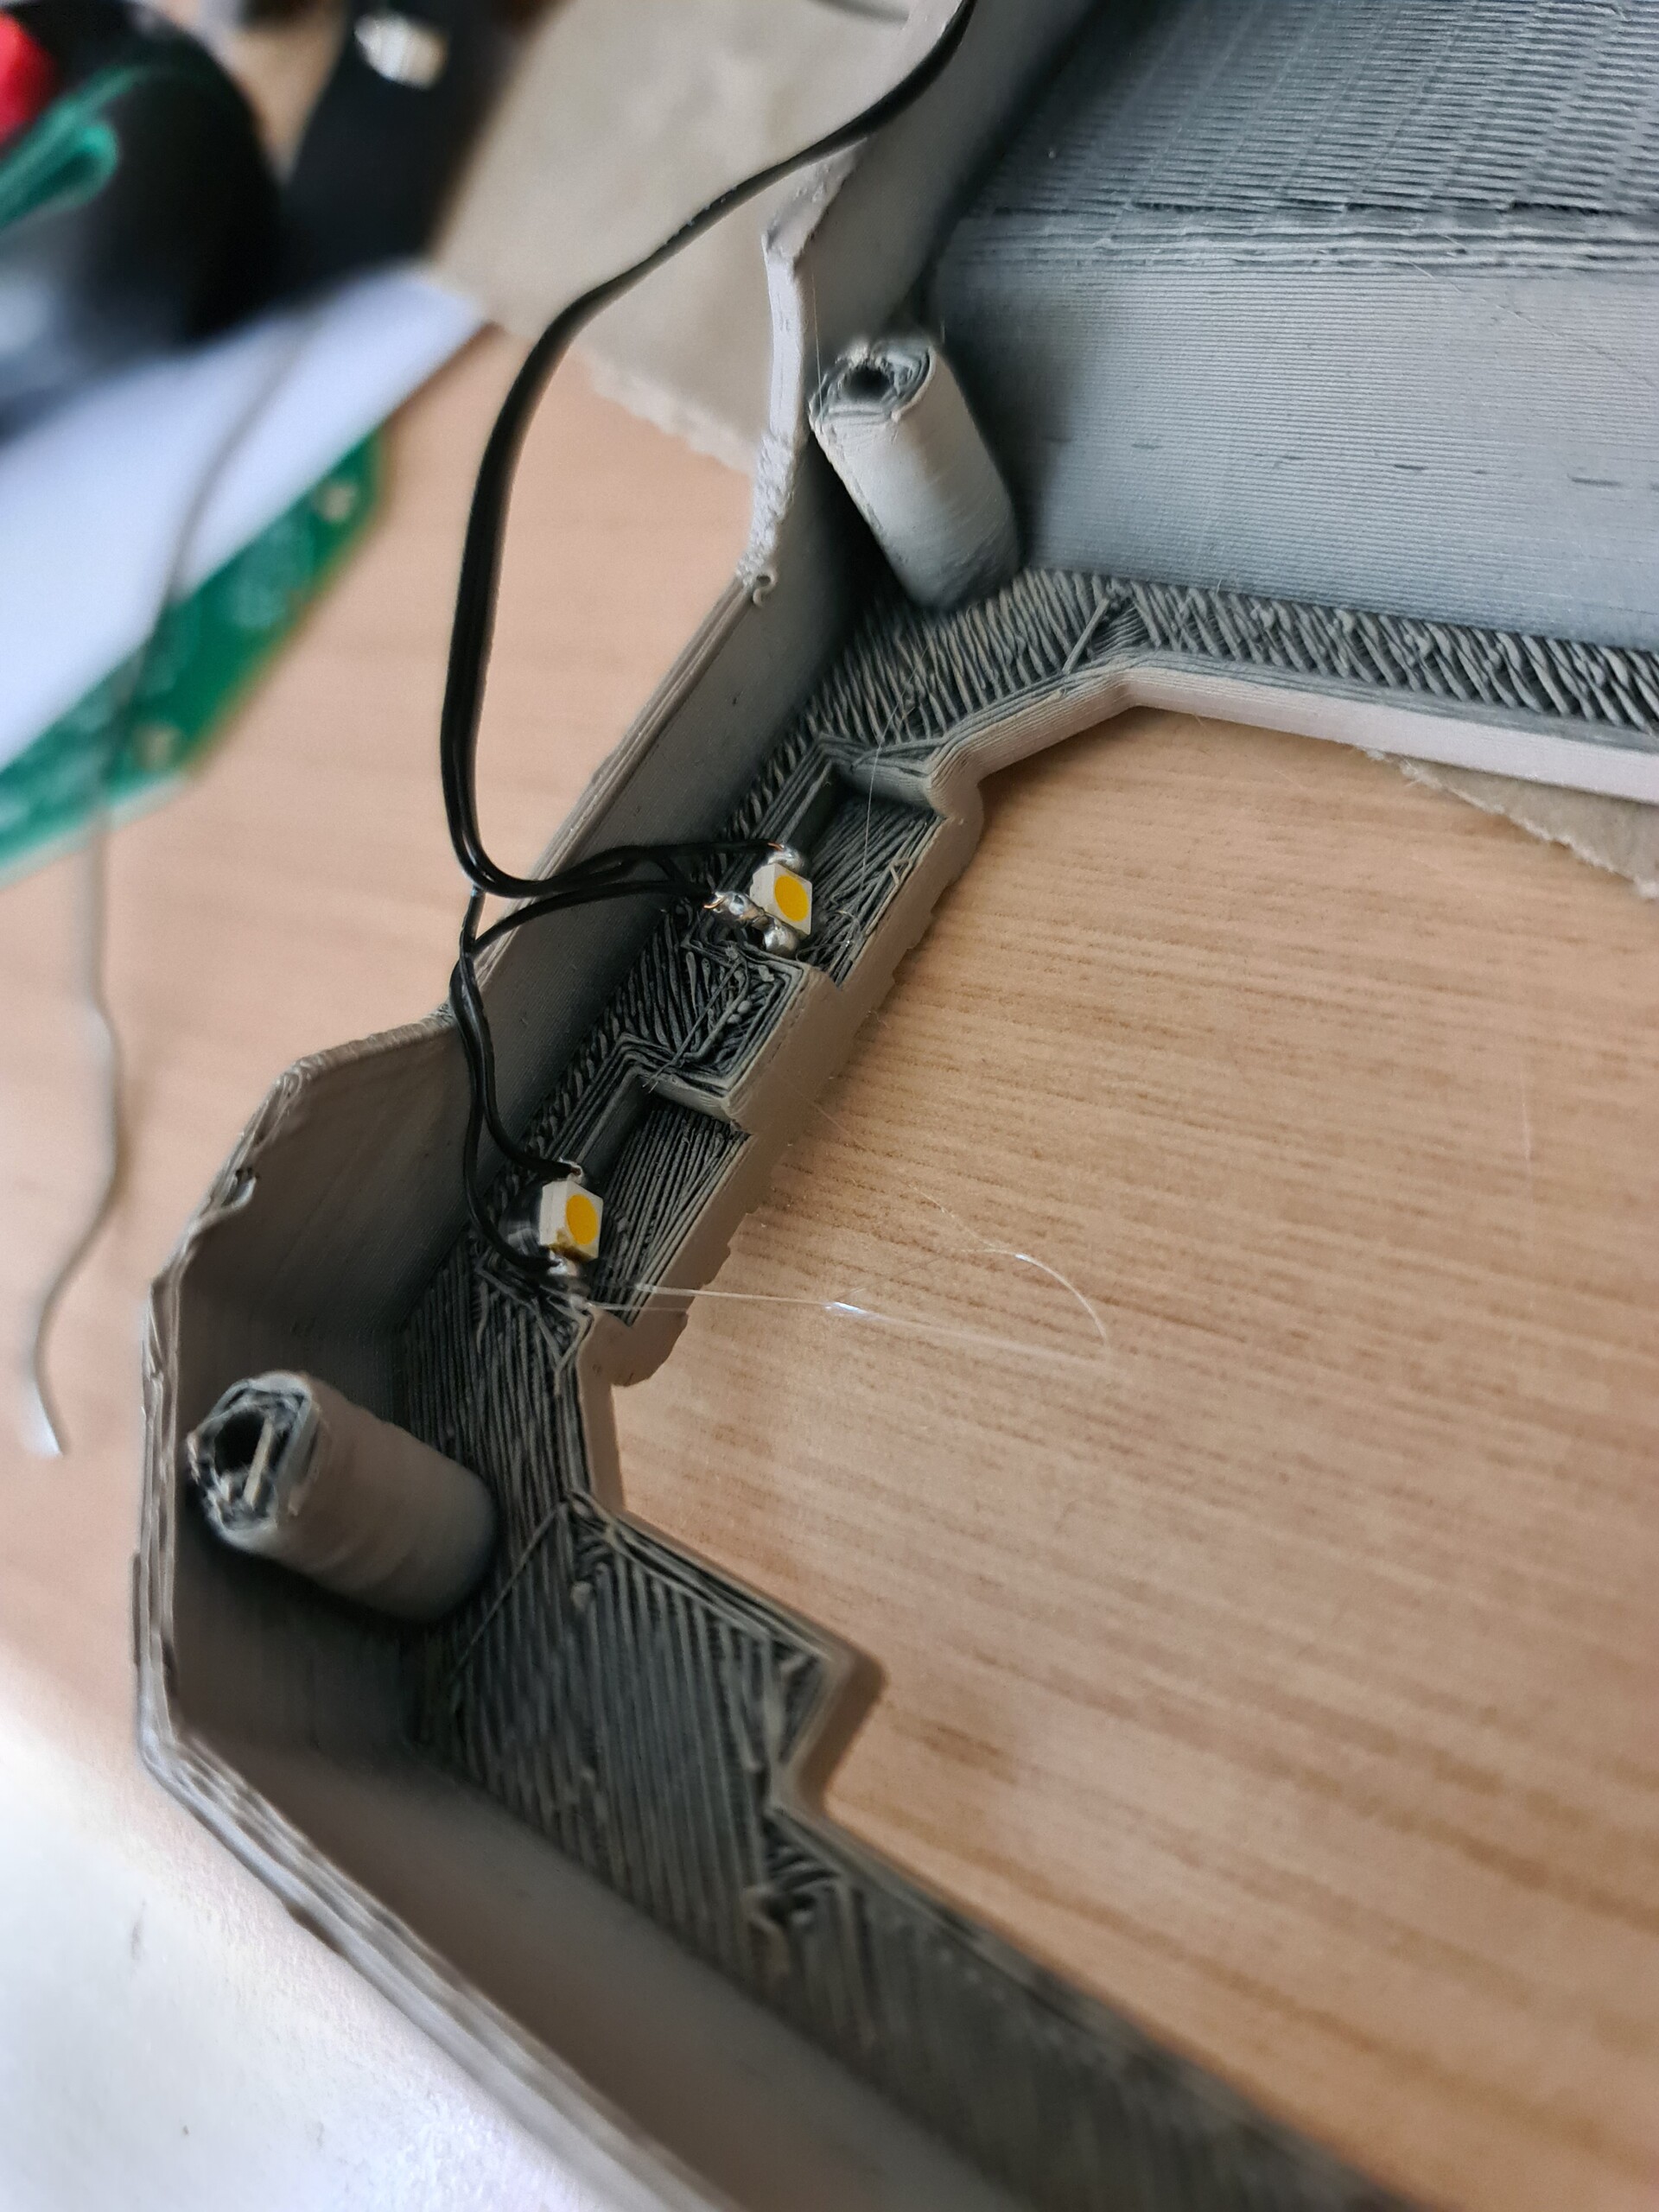

And the lights on!
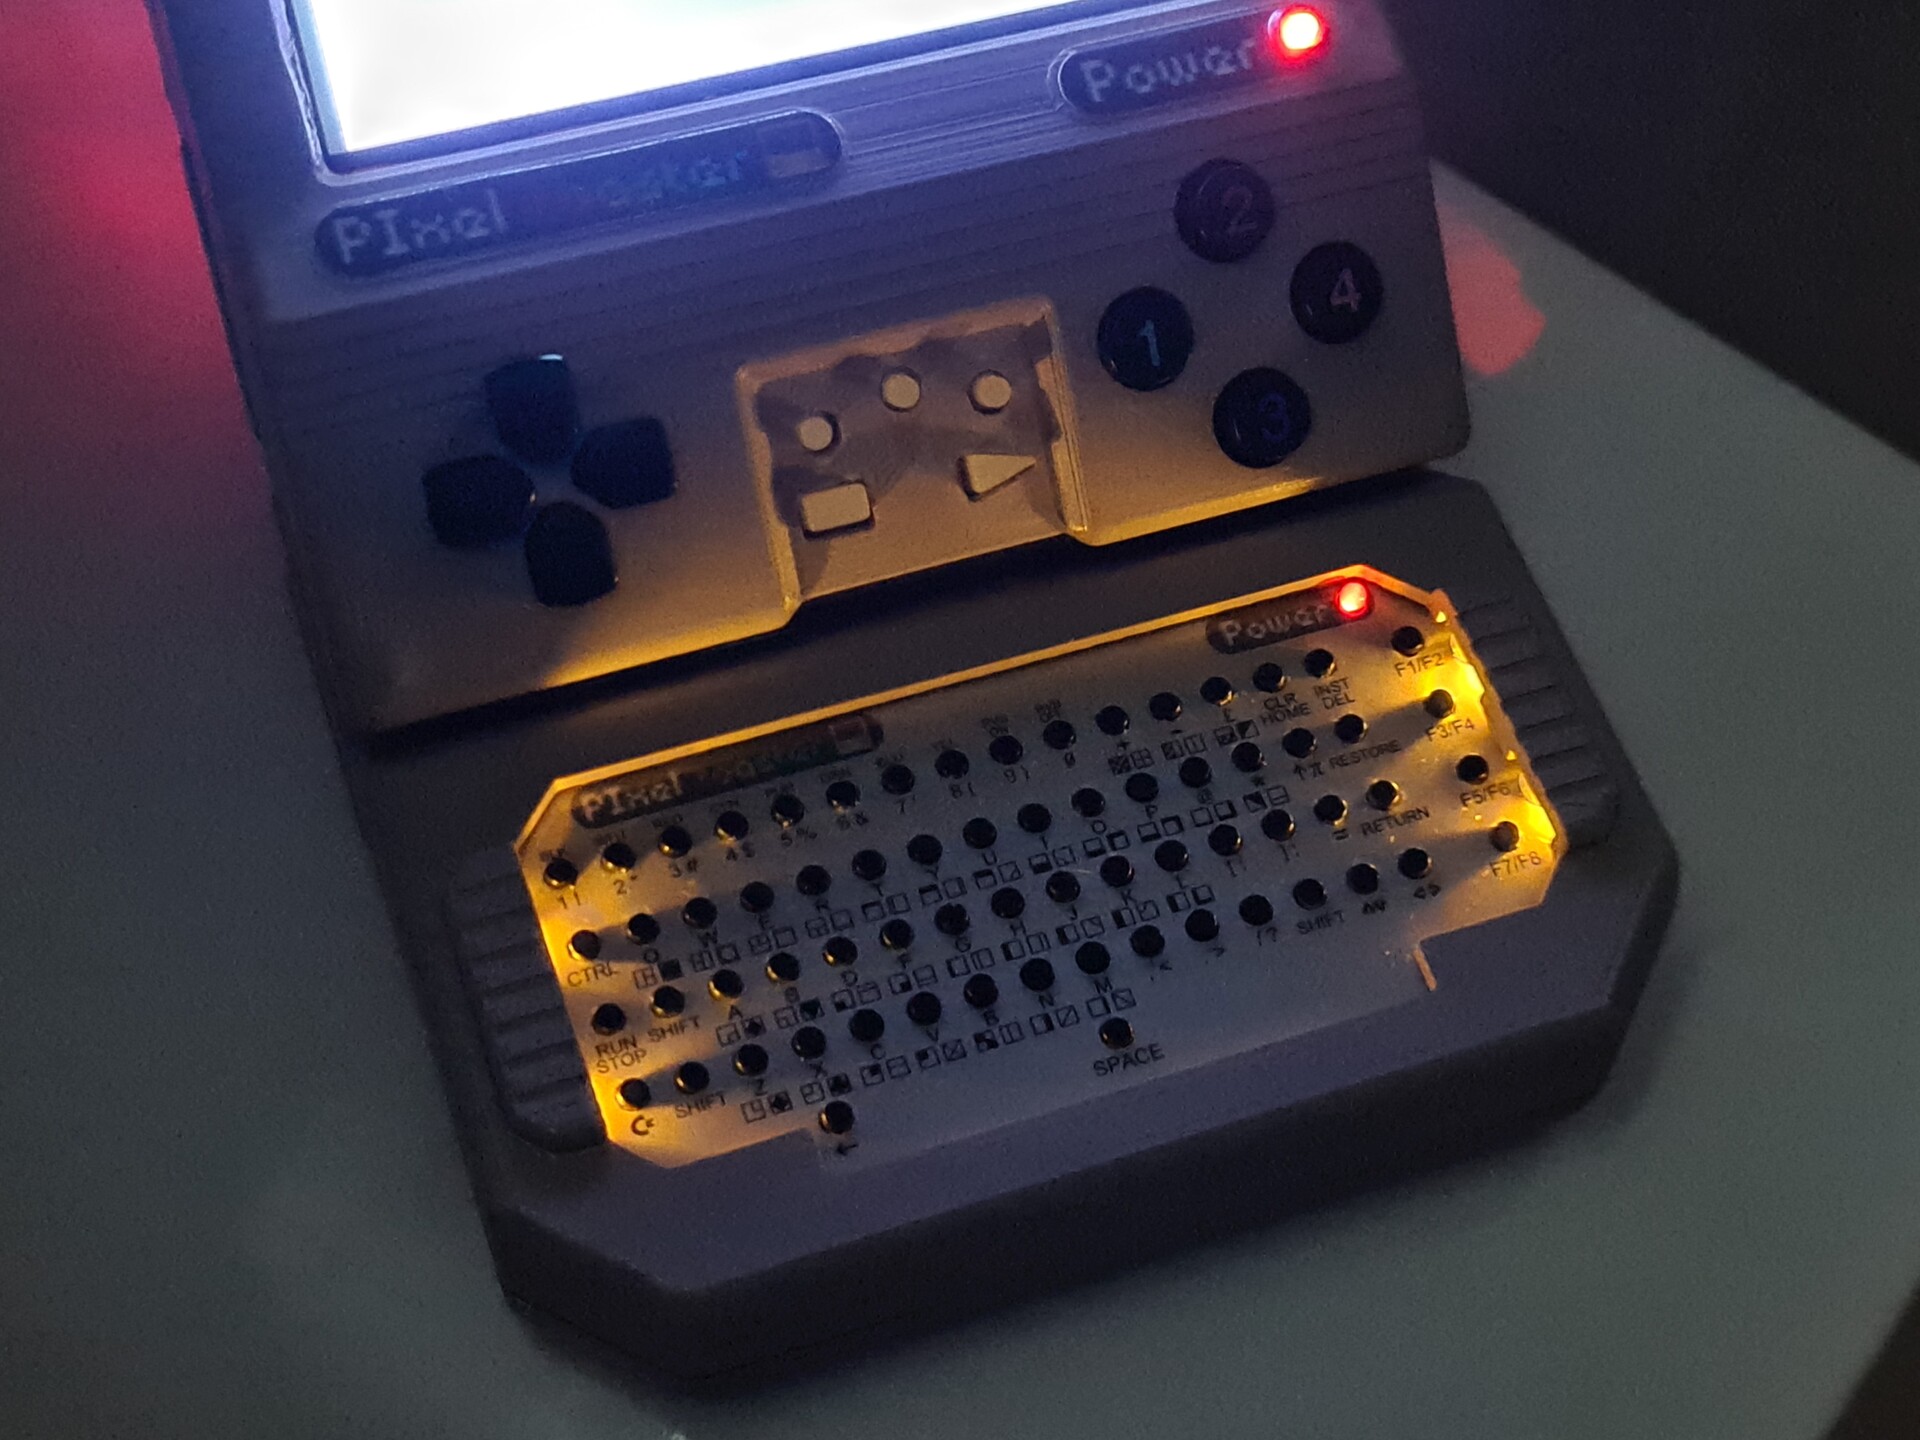
These are not so powerful lights bu they added a nice touch I suppose.

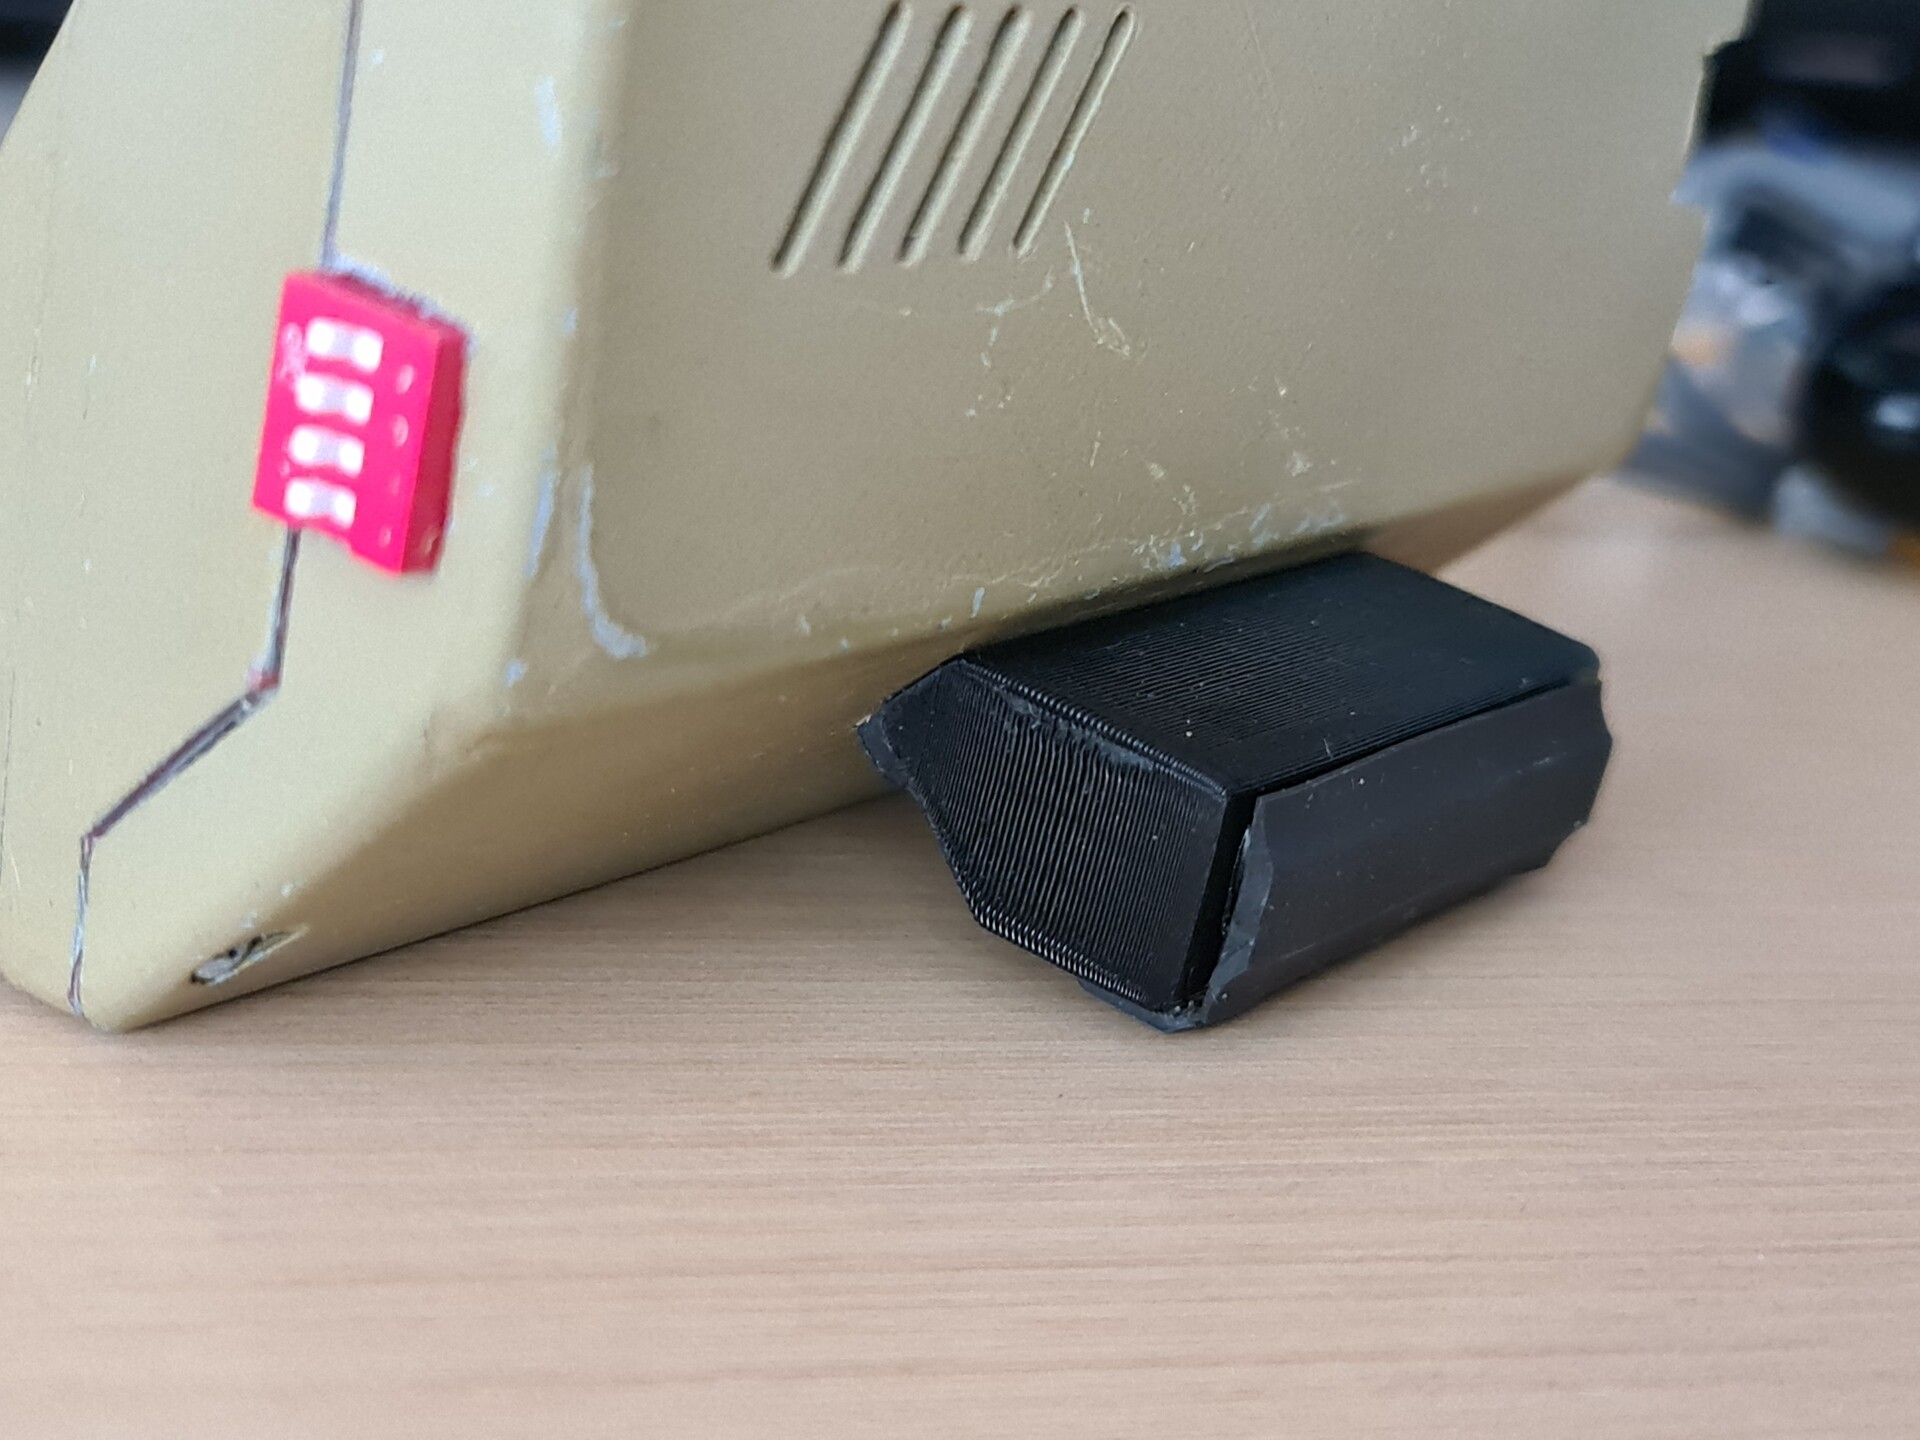
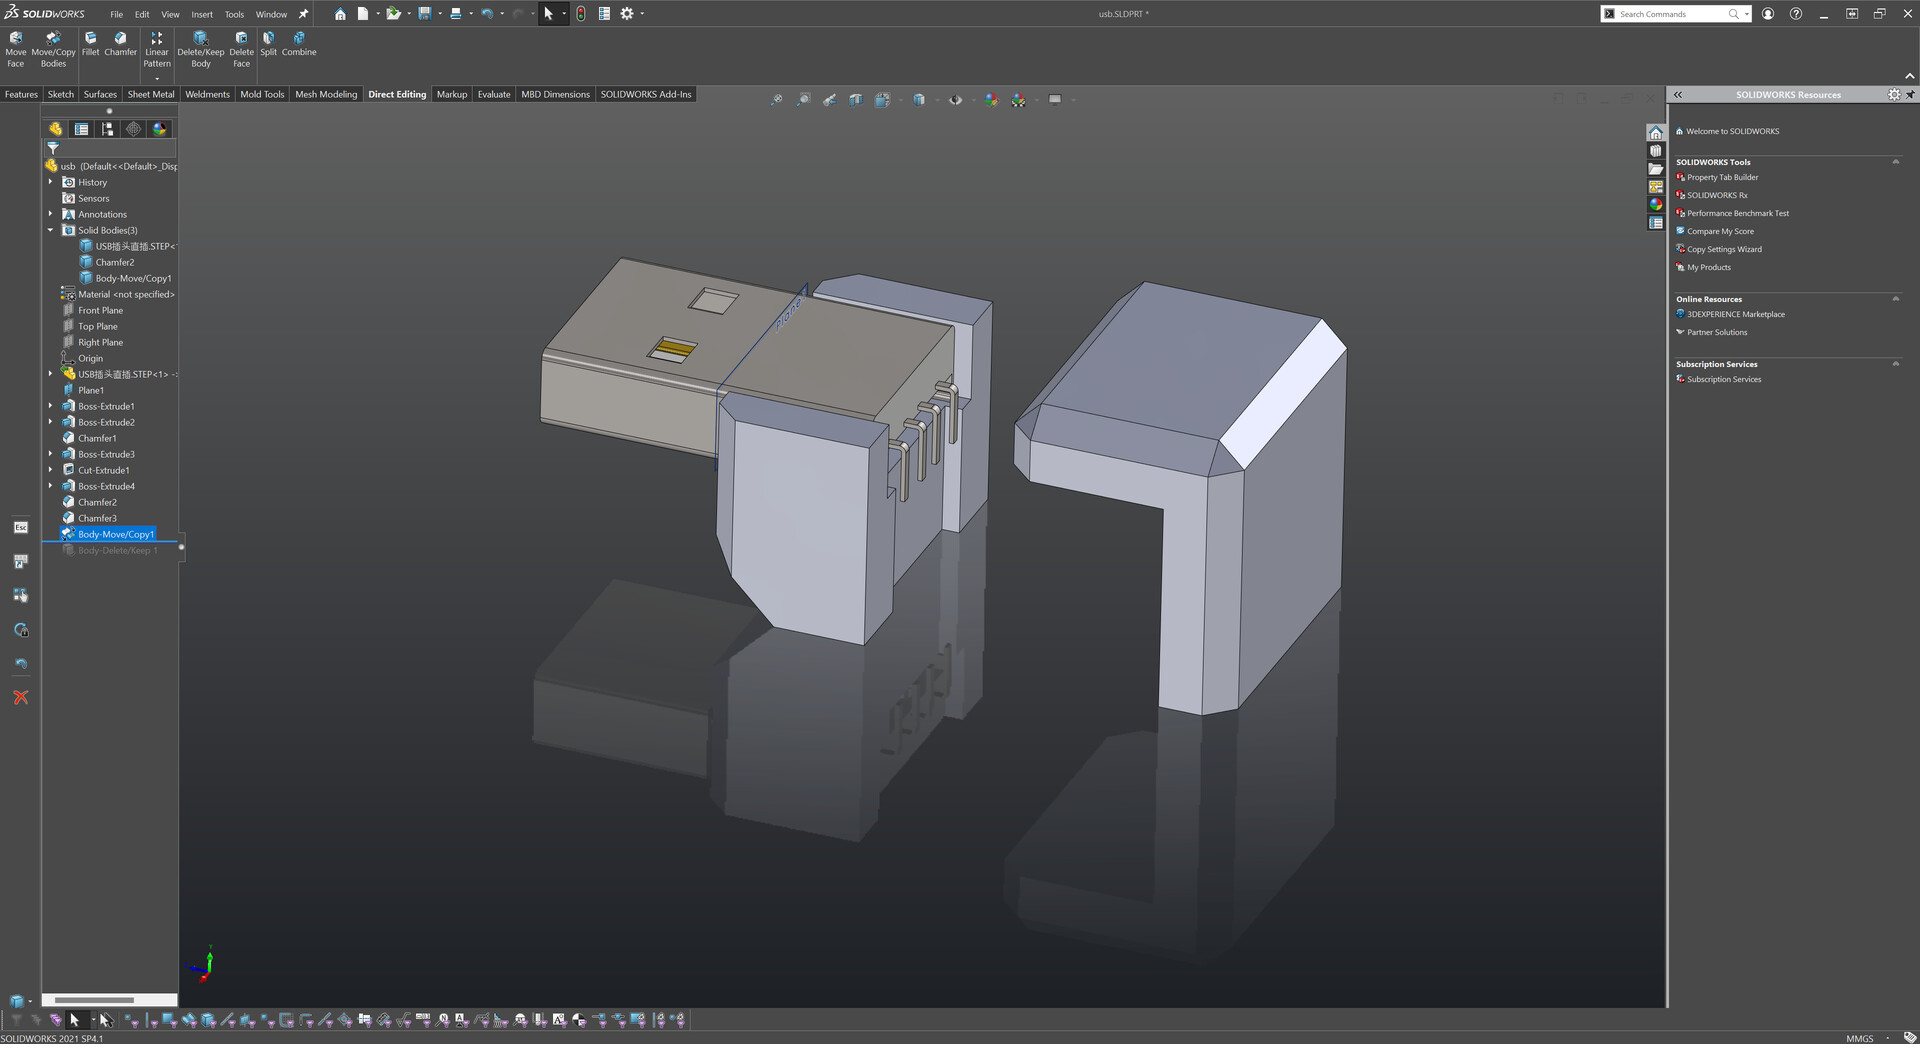
For the USB connector, I made up a case like this. I know it's not looking so good but at least it secured the soldier and cables on the tip.

Because of the bad masking decision I made, the bottom keyboard module was looking like this:
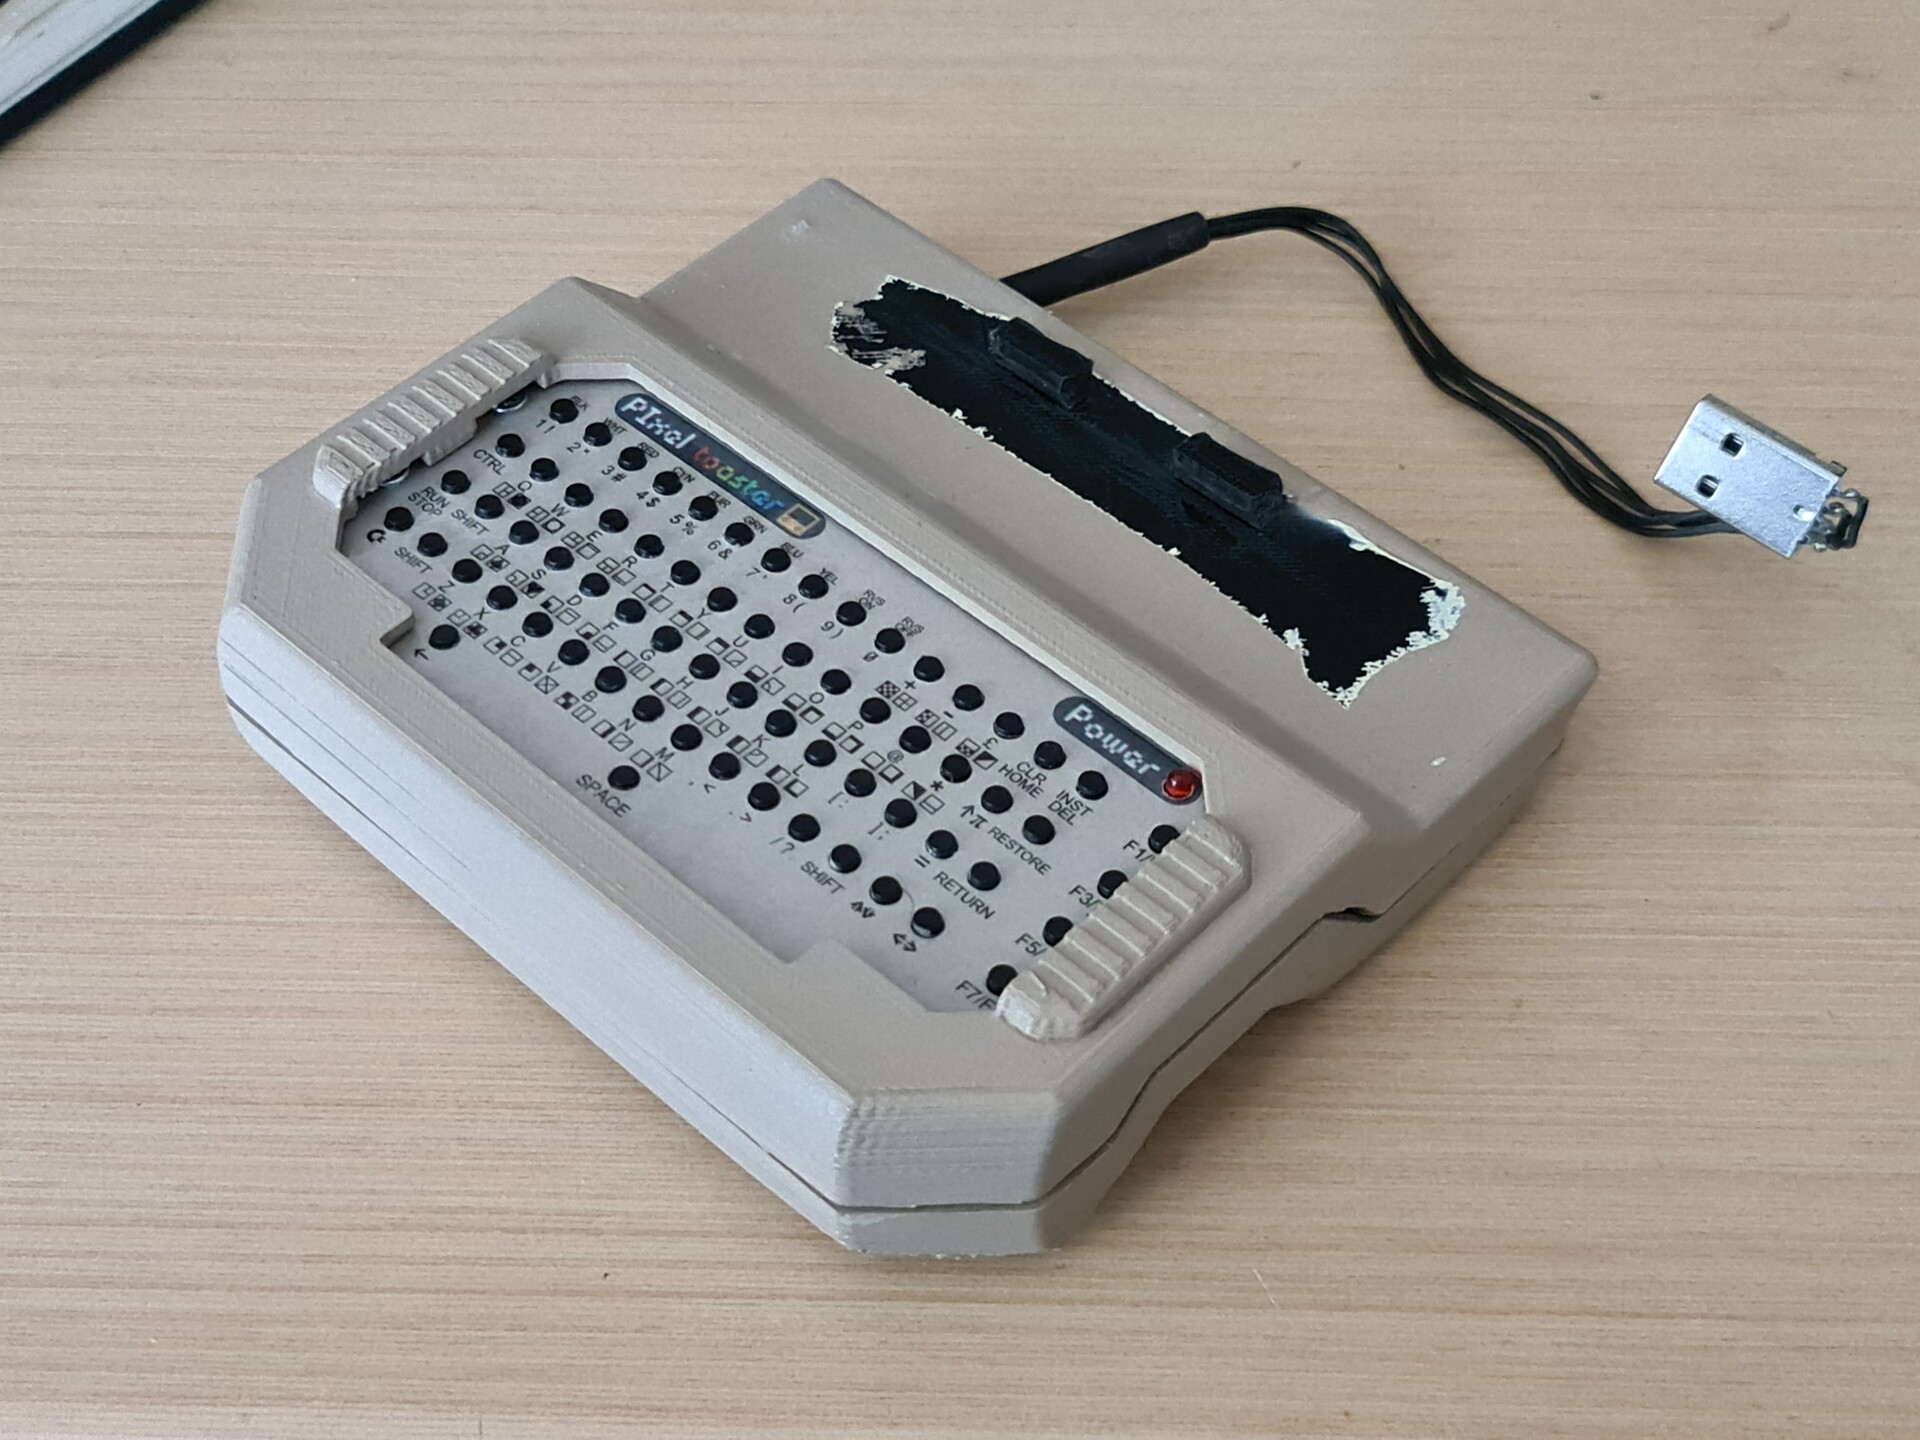
I kept that black are masked because it is the attachment hooks. Painting them will cause losing tolerances on the shrink fit. But it looks terrible this way and even it's not exposed after attaching to the screen, I wouldn't let it be like that. So I re-painted that area. But as you can see, there was an height level variation between the first paint and the secondary paint surfaces.
I sand papered it and painted one last time and it's done!


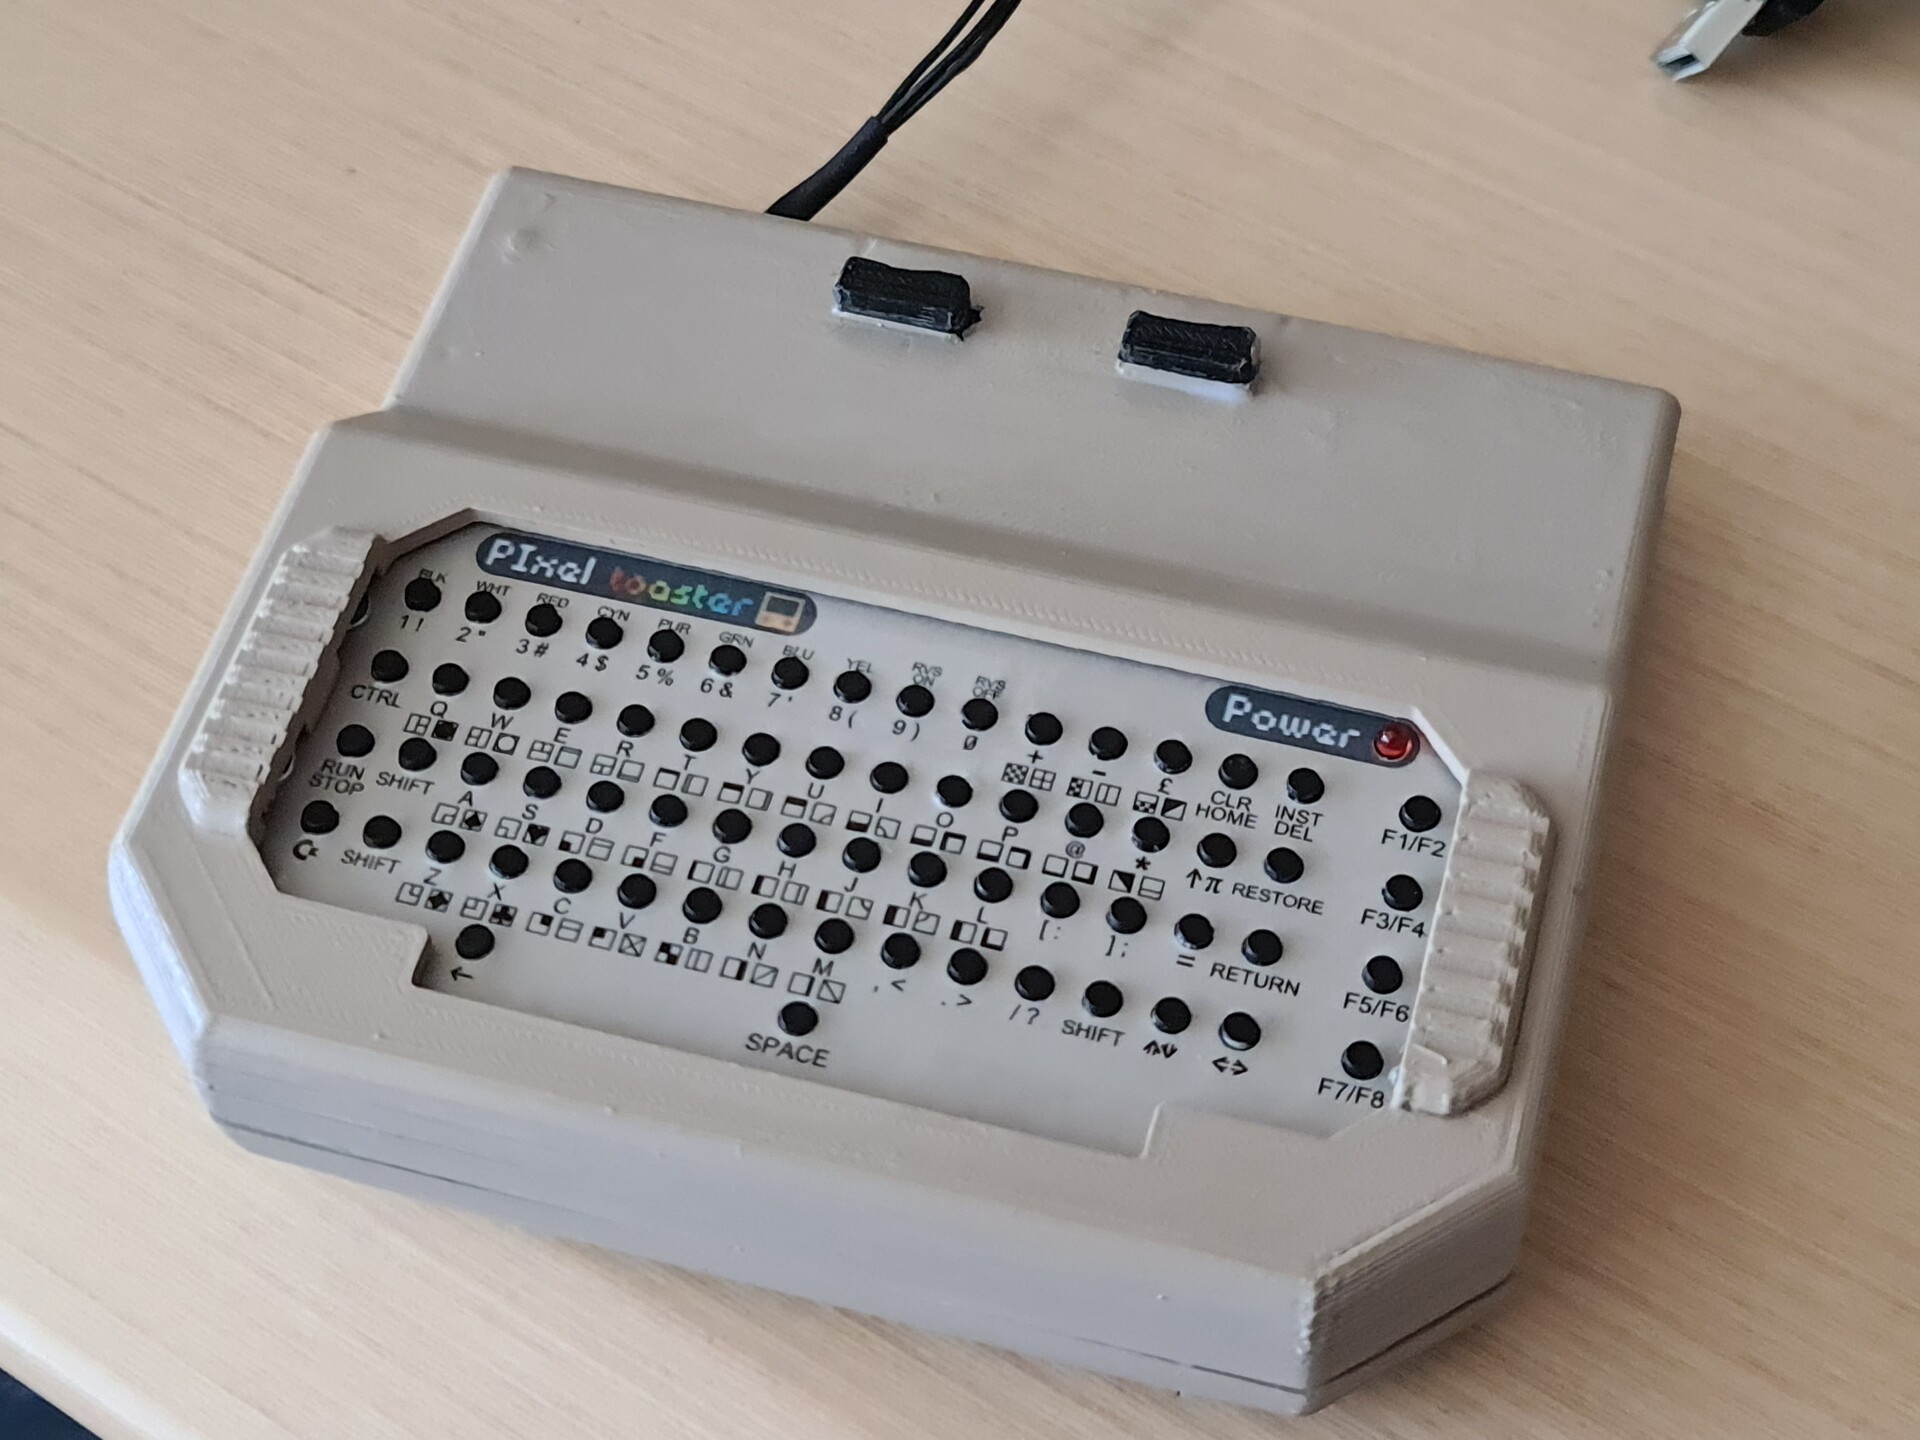
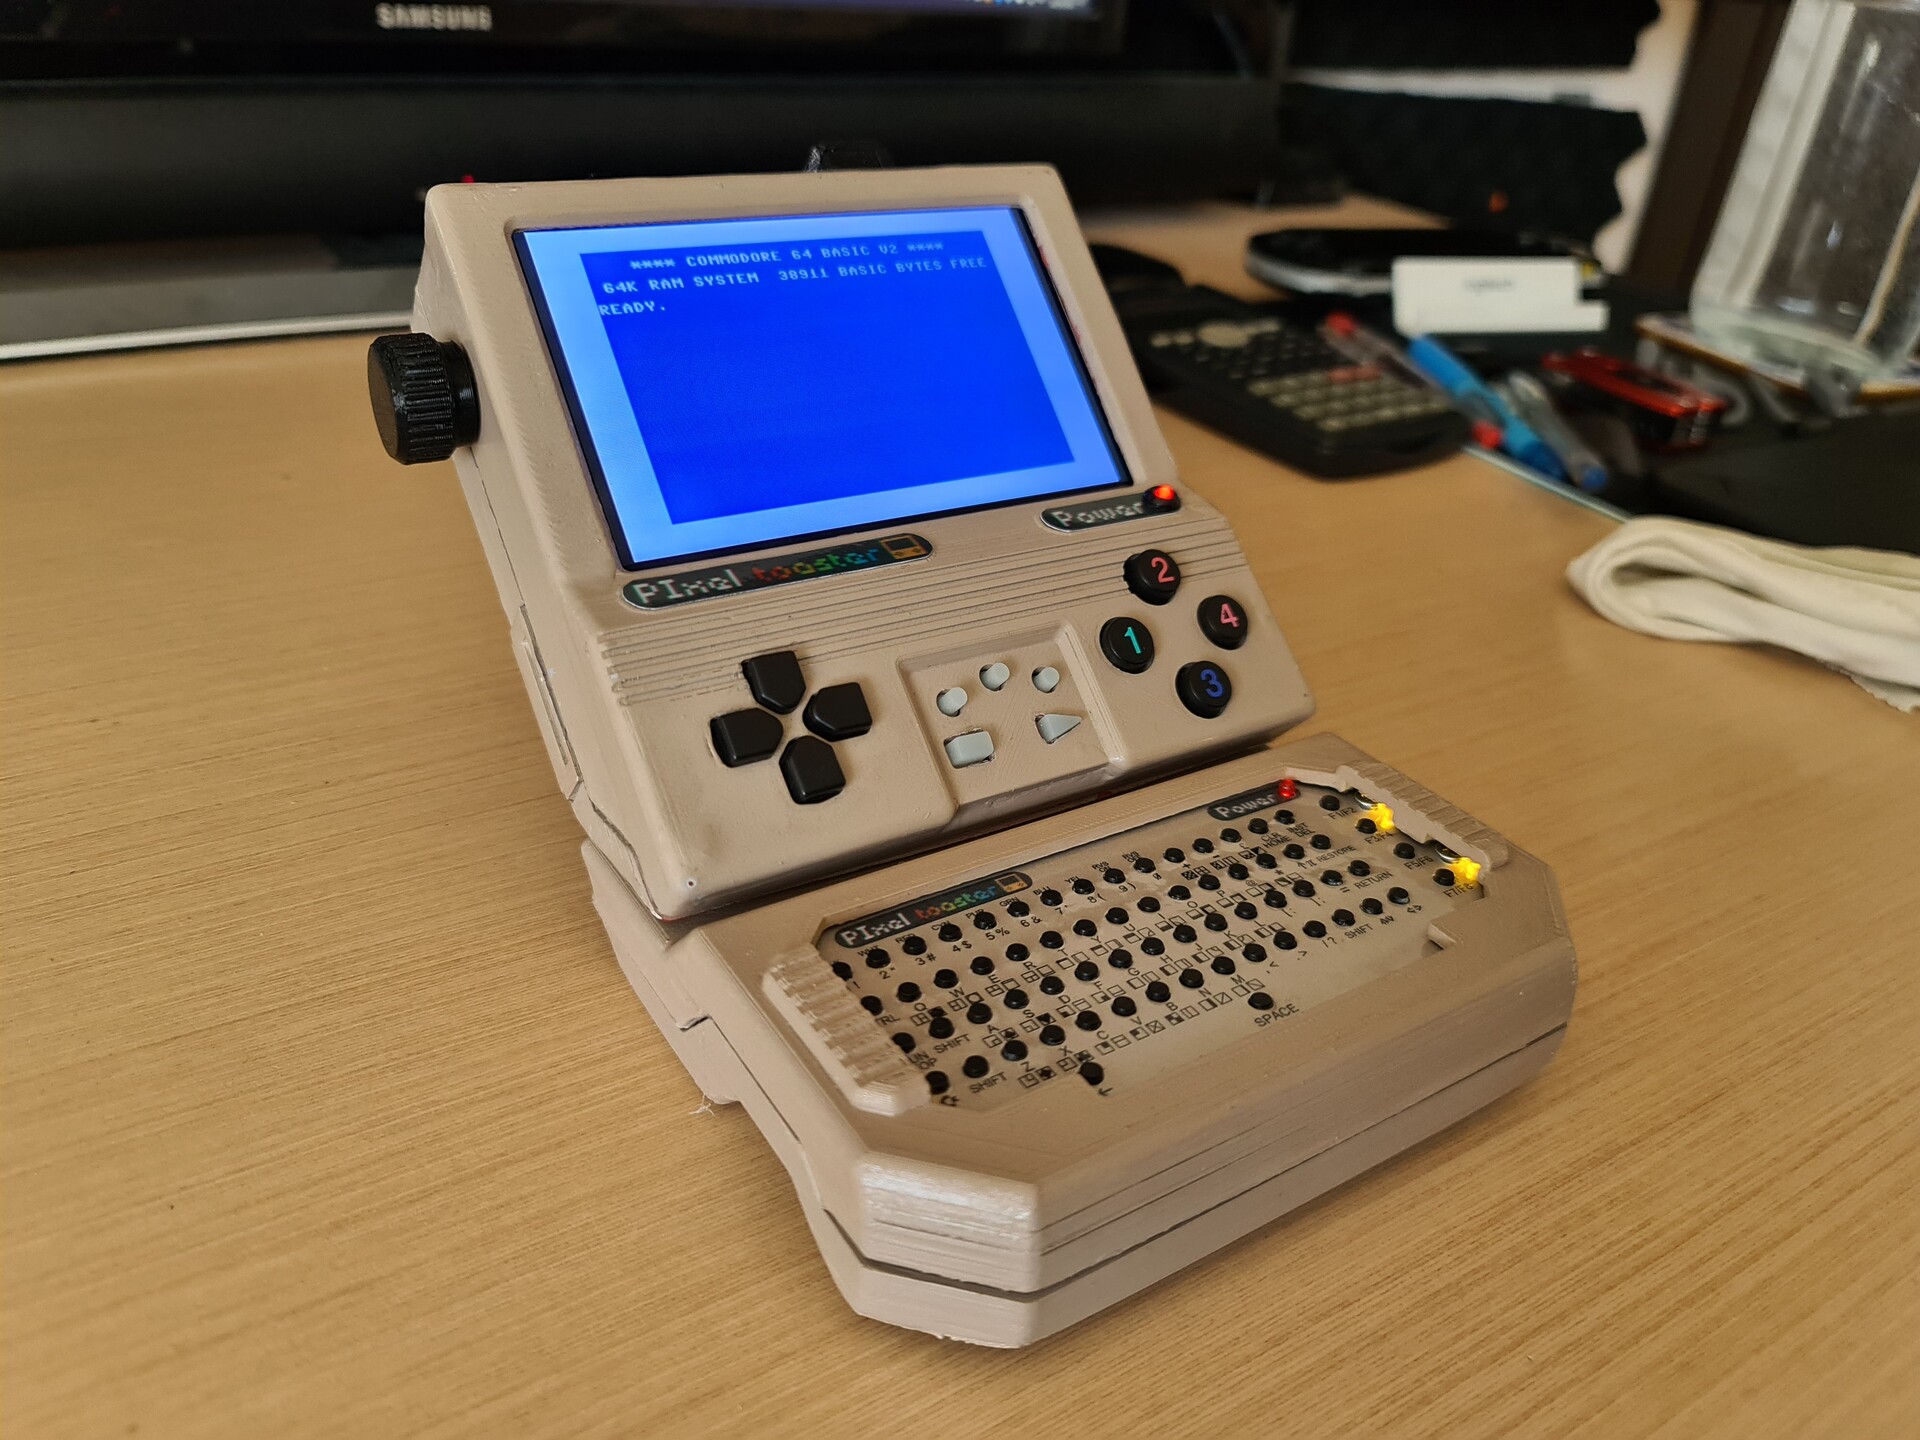
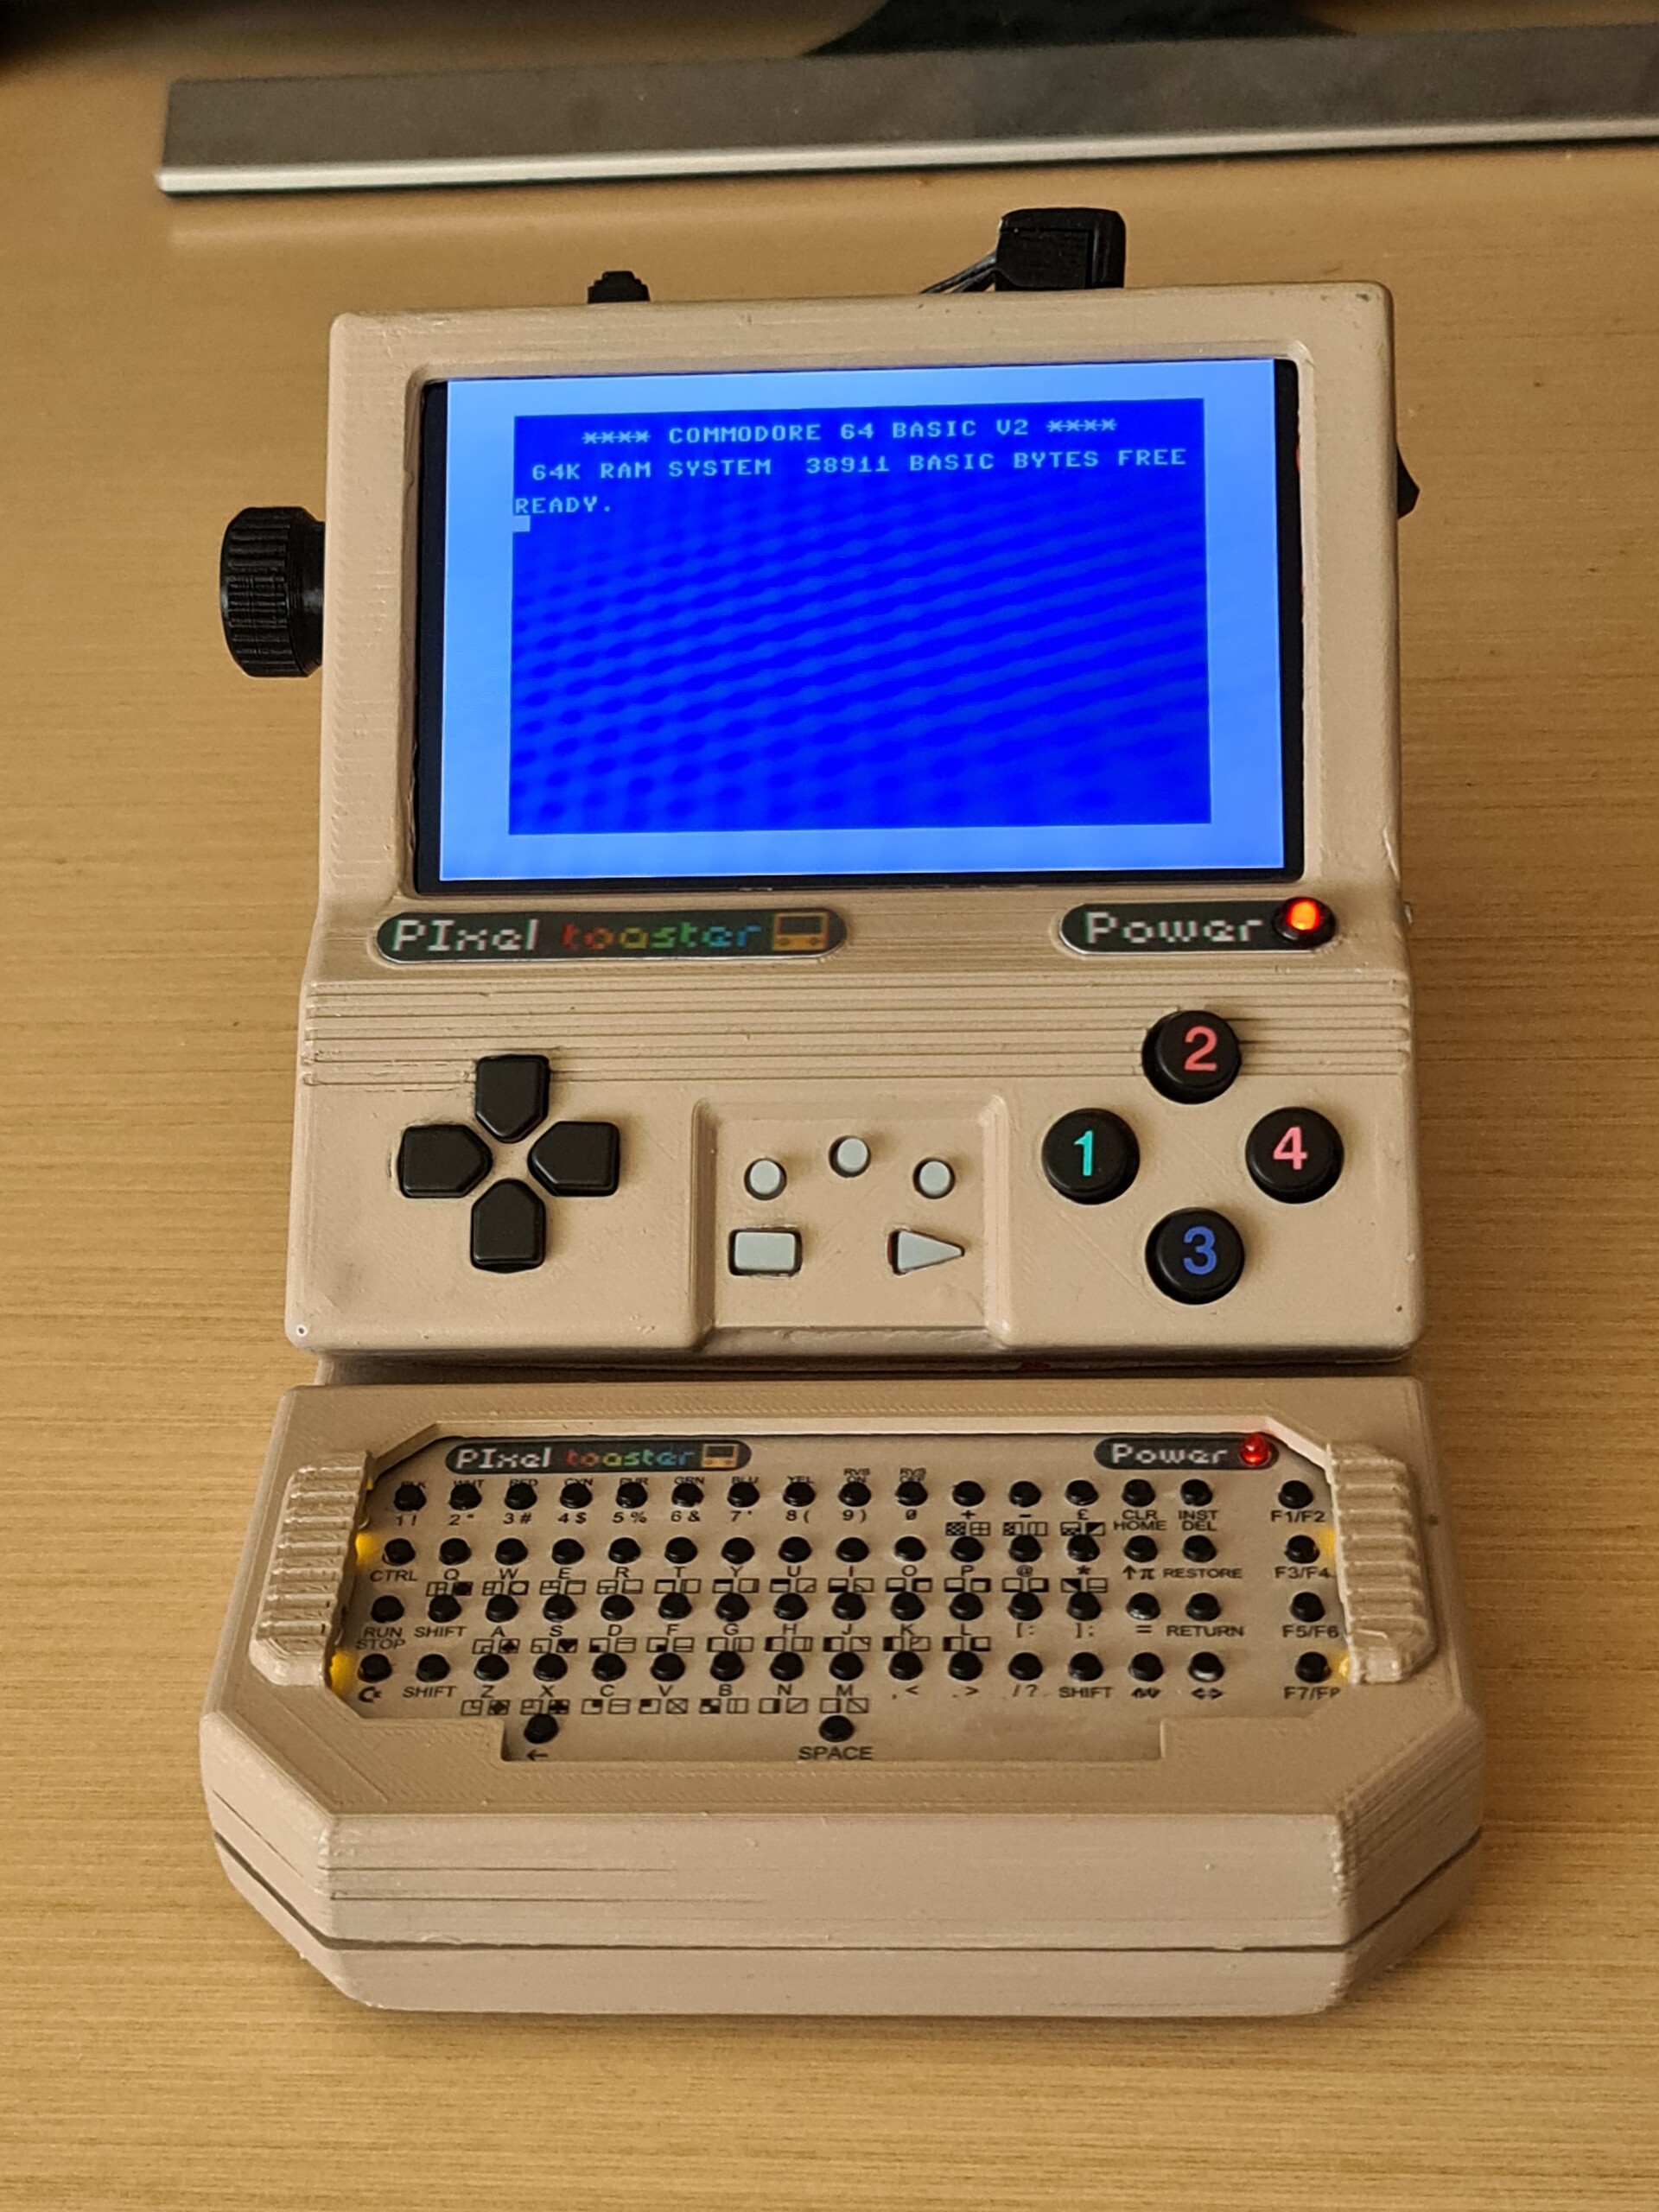
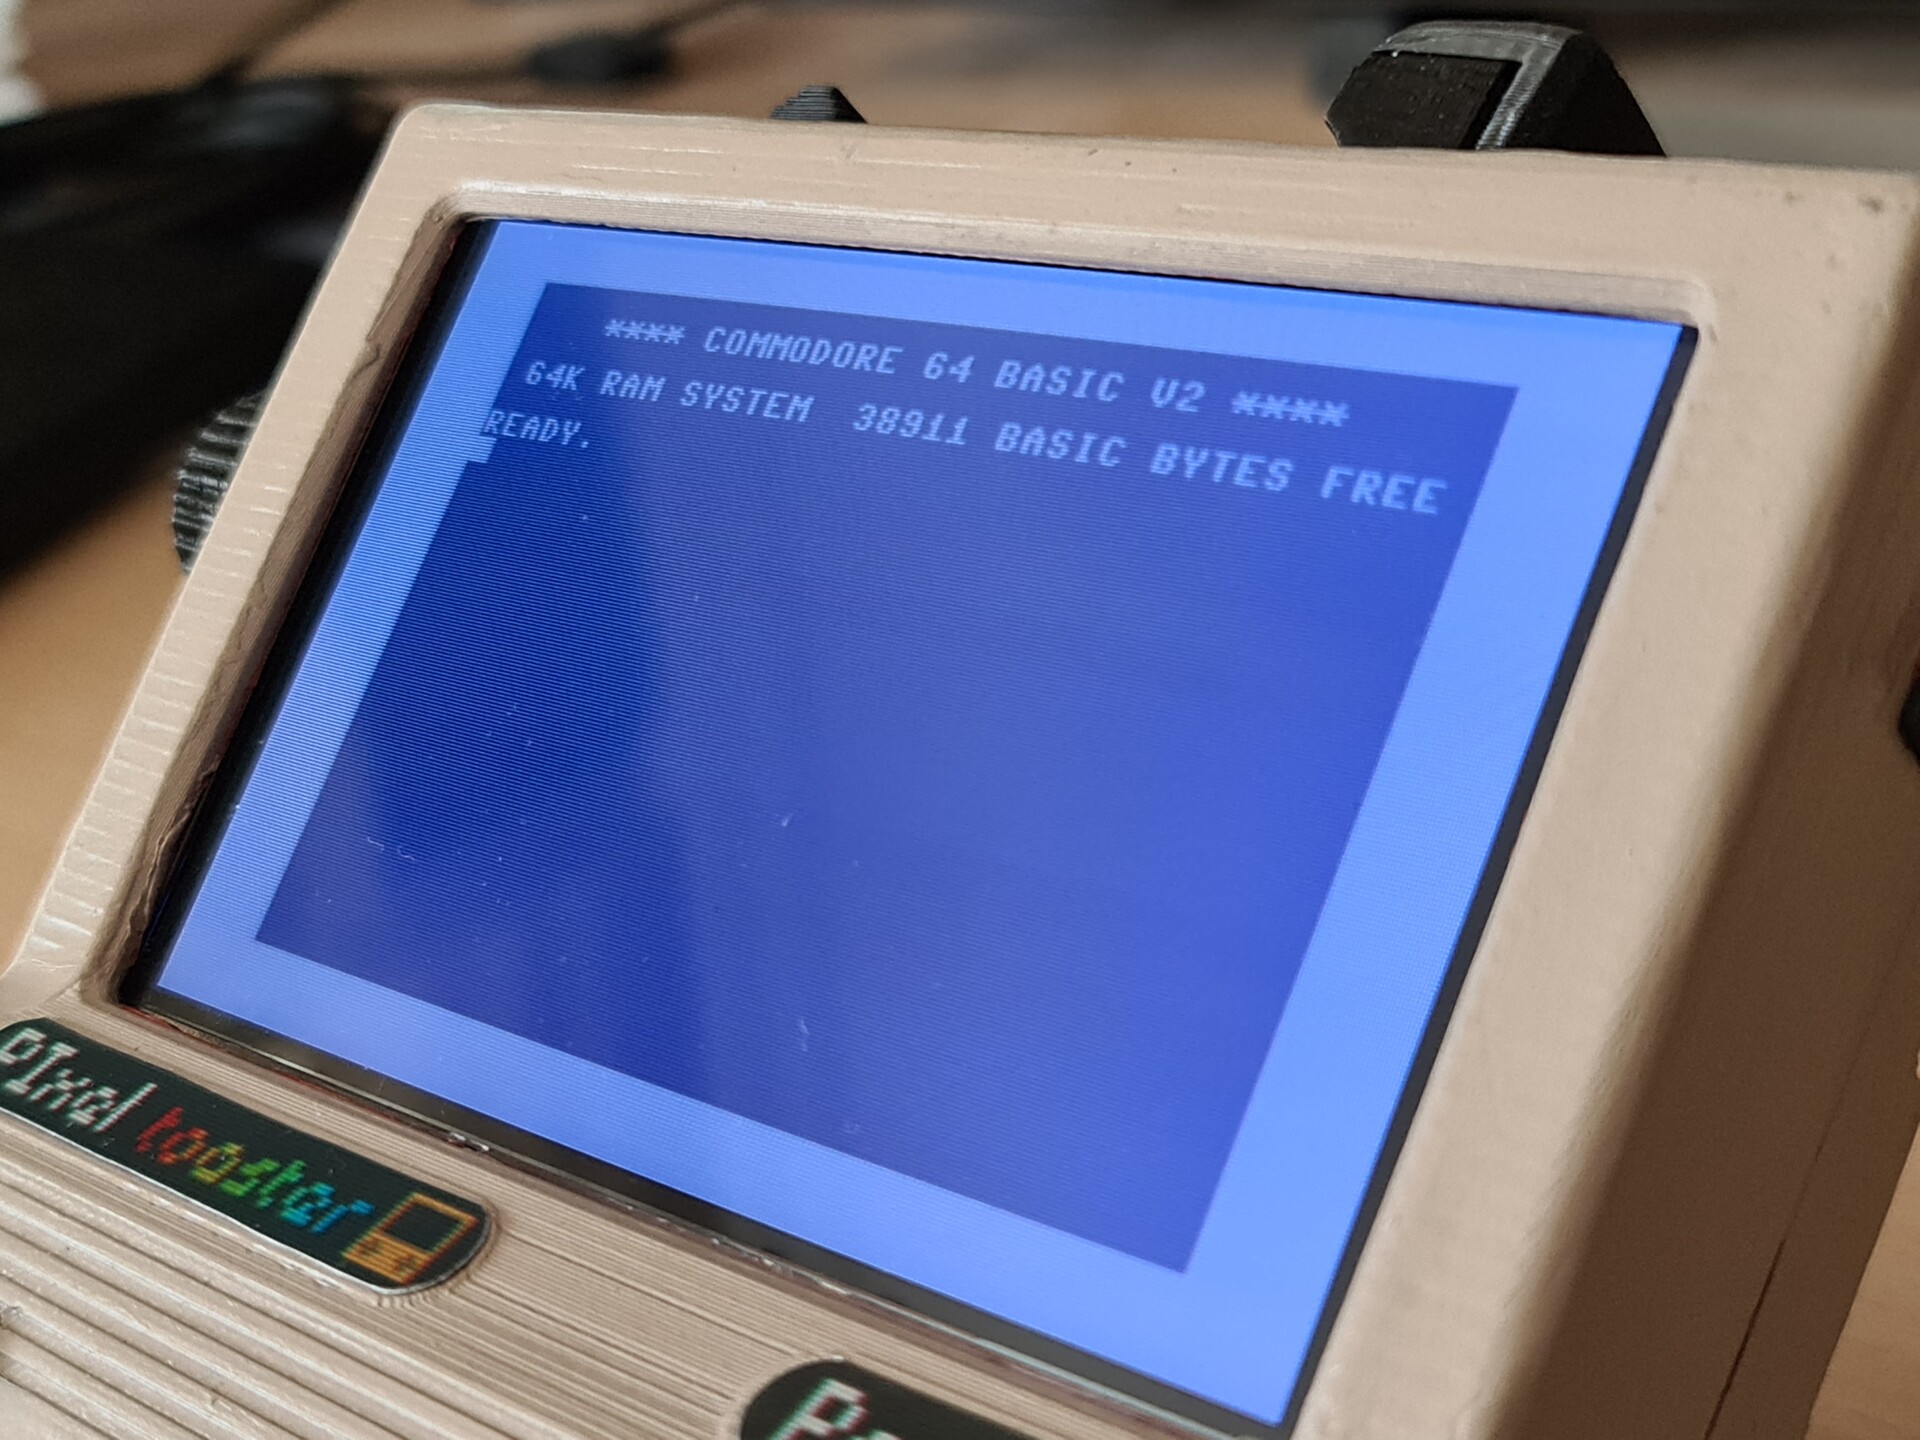
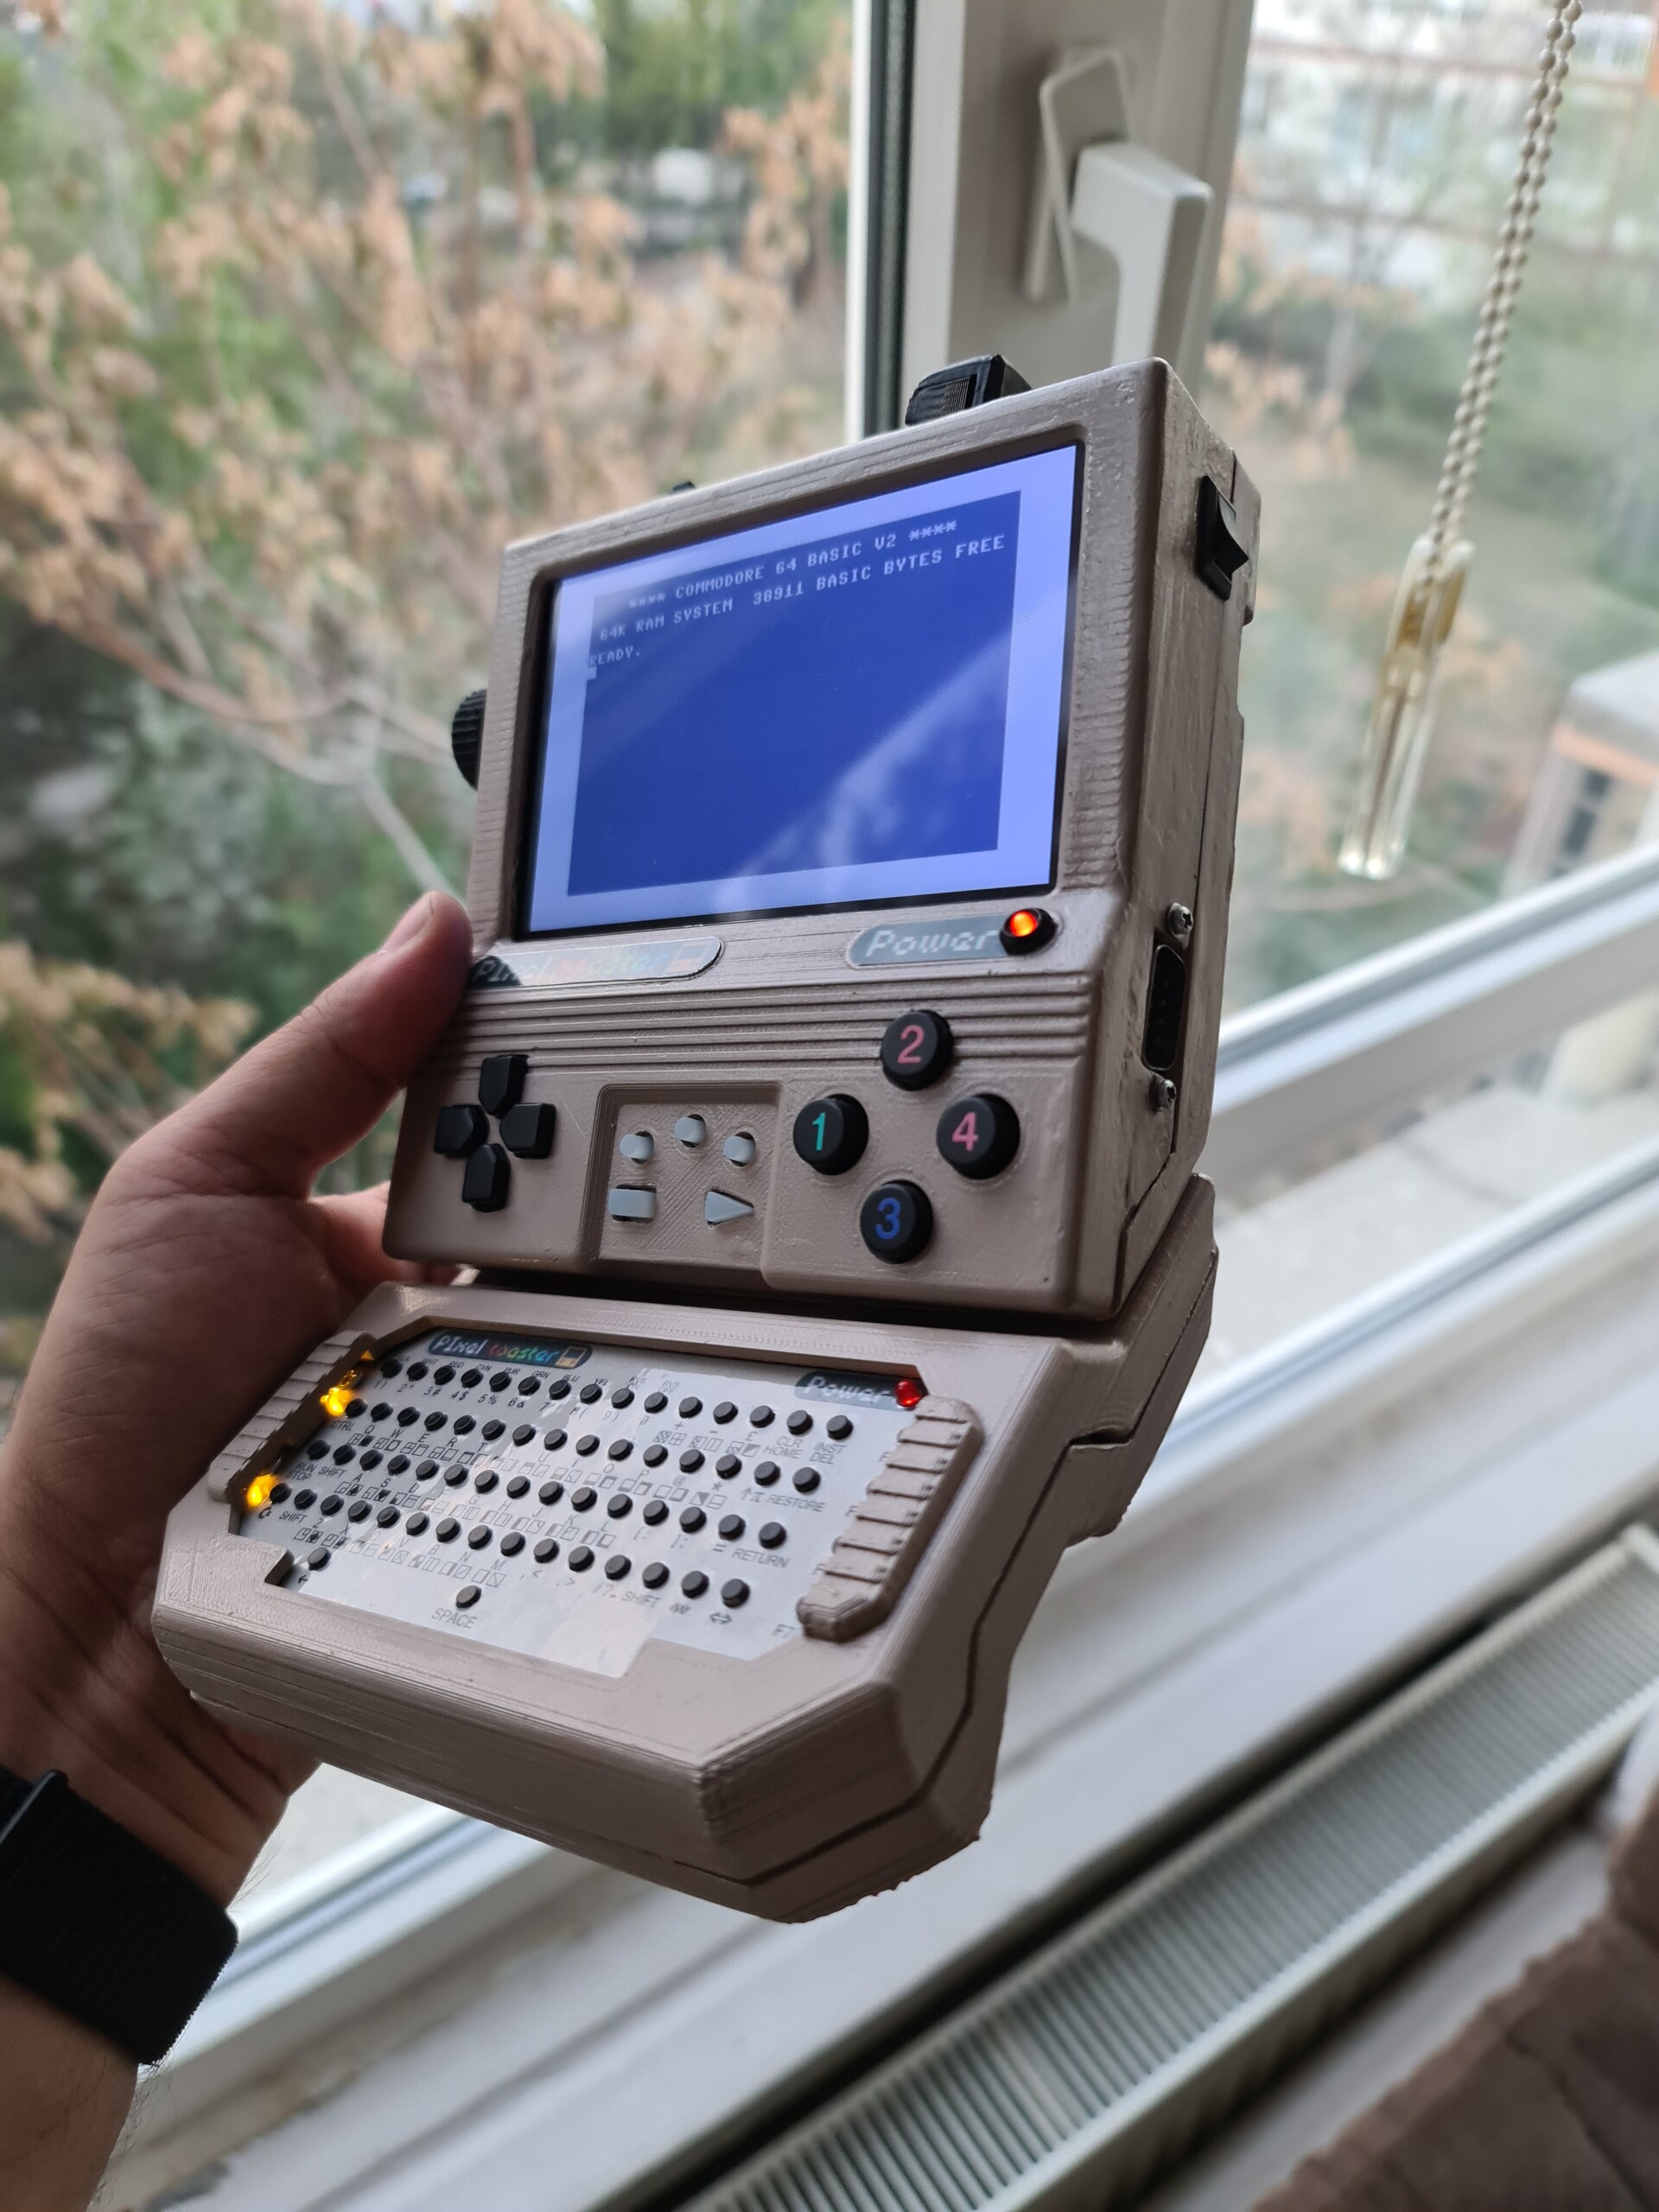
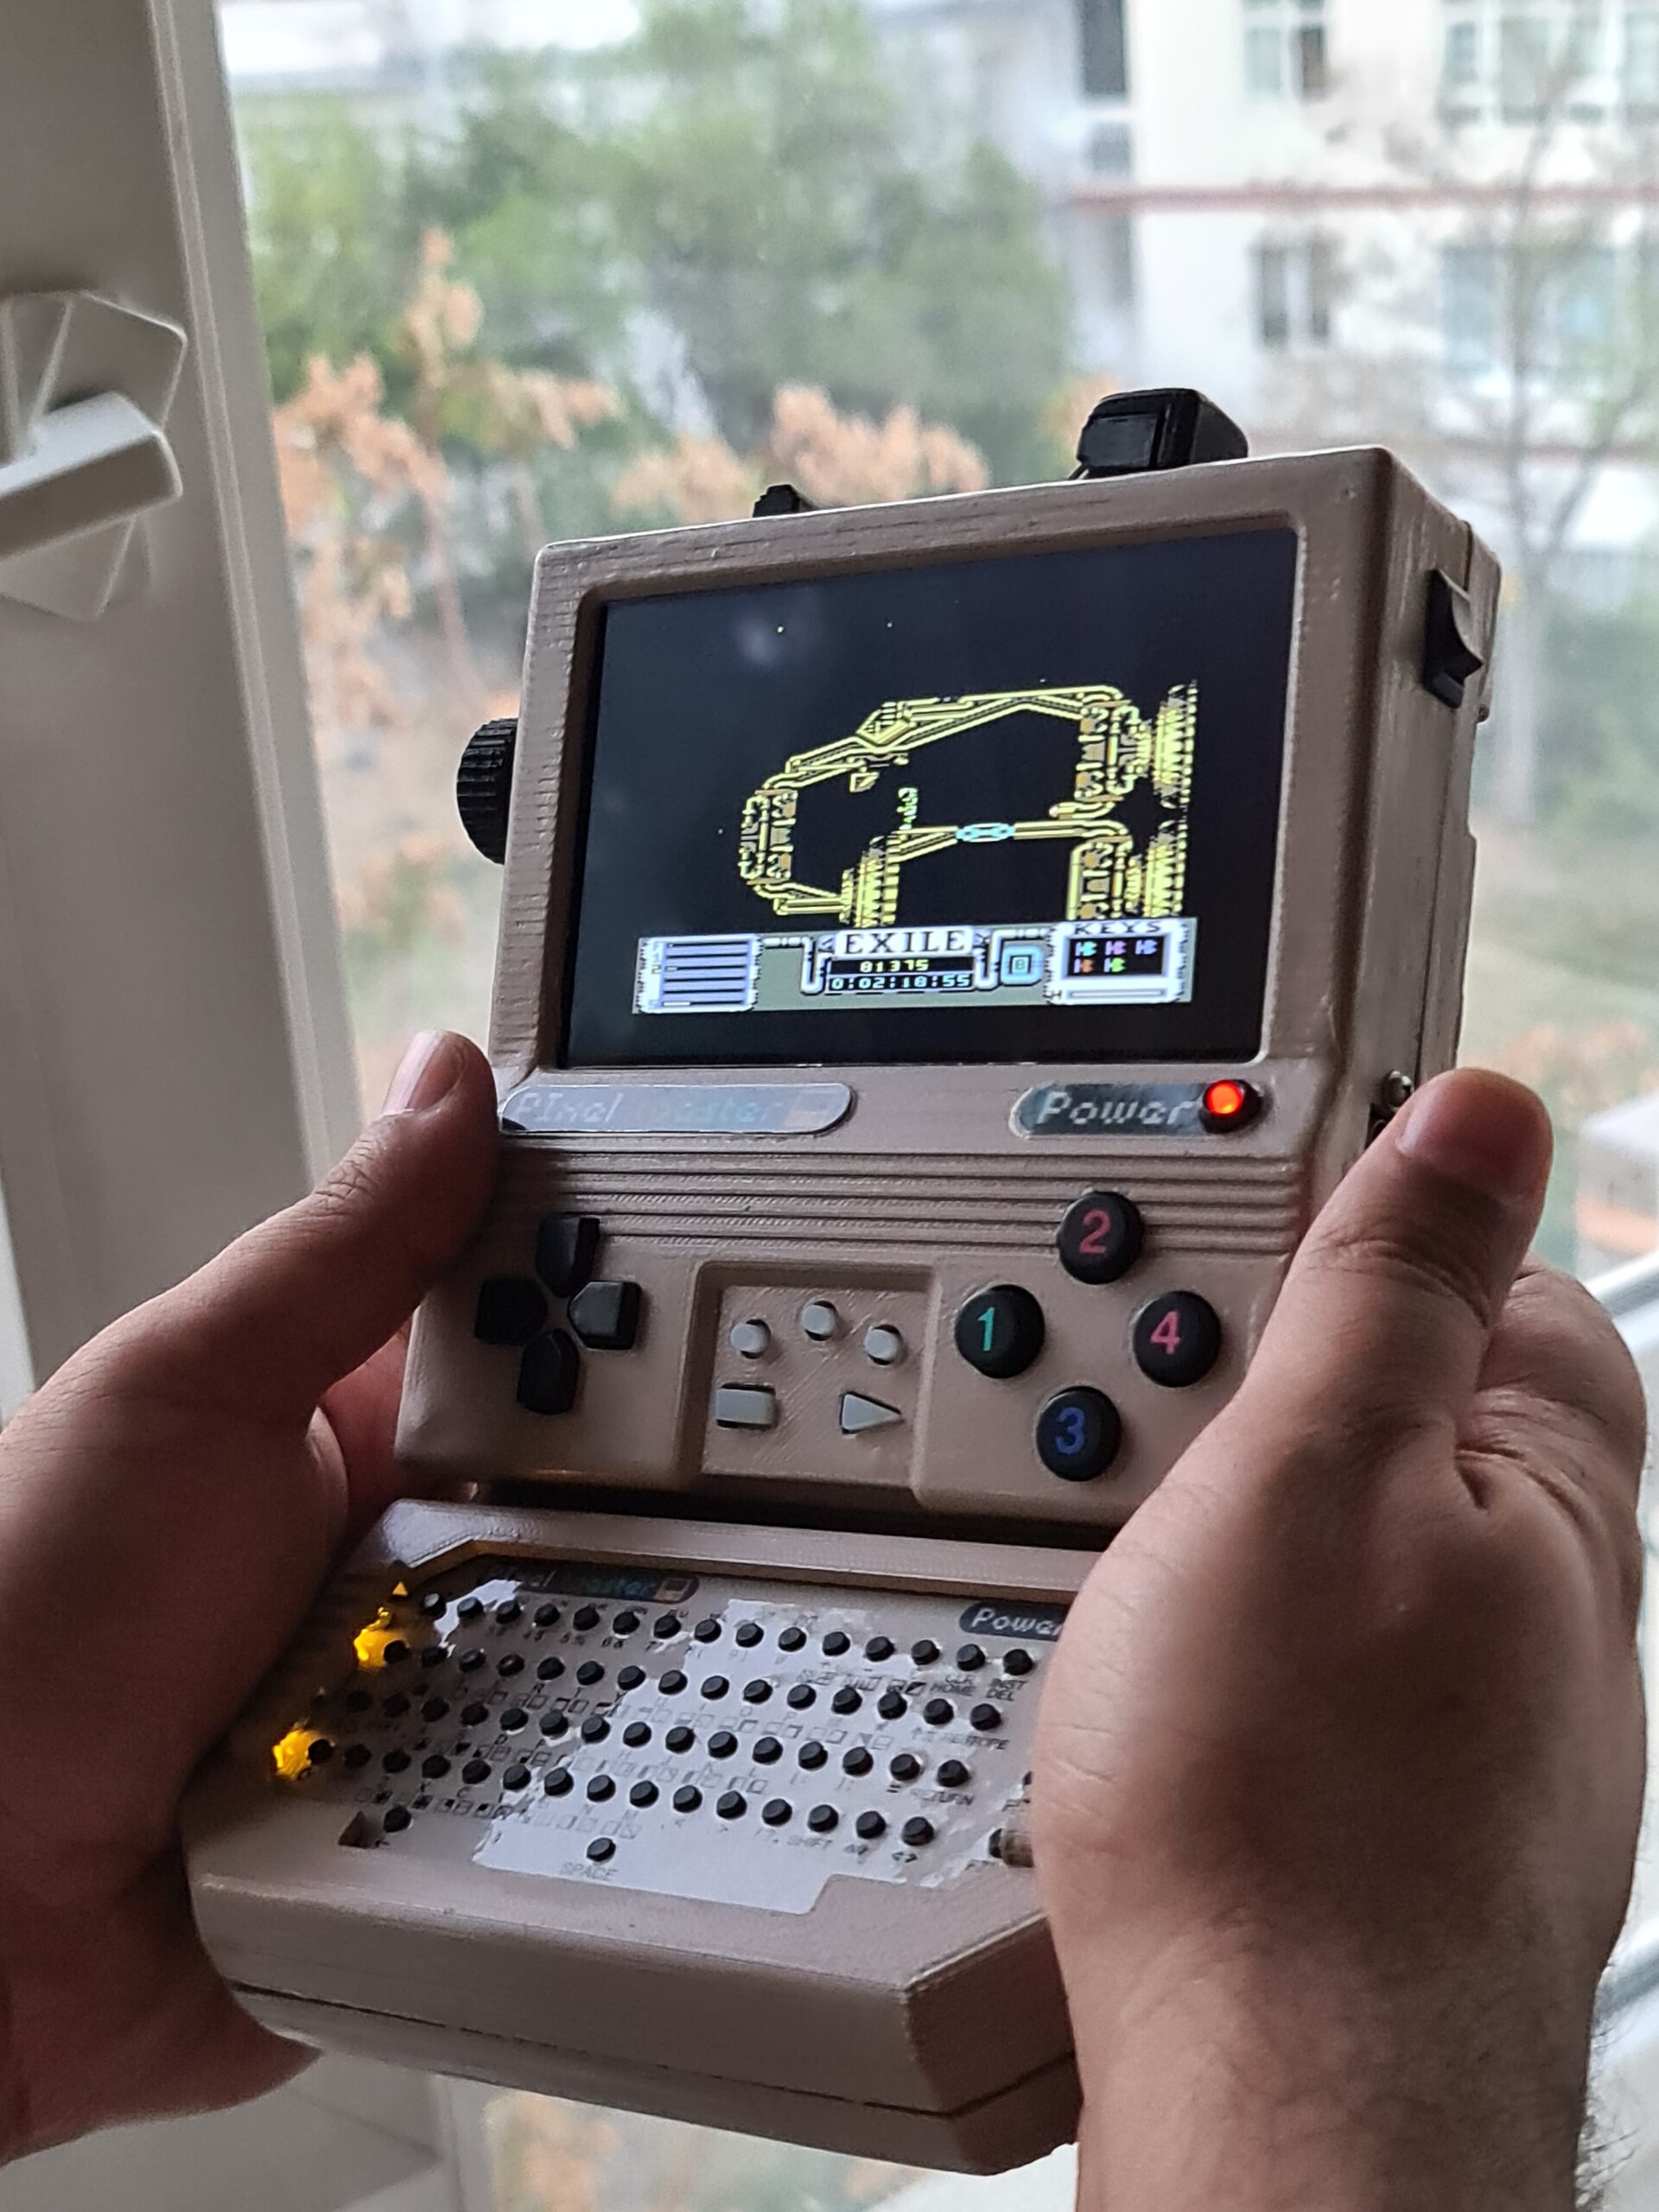
And finally completed this project. Here is the final shots about it.
It was a real fun making this device get closer to my reverse-visionary HX-64 design (https://www.artstation.com/artwork/dOqA8K) and it was great to make up some homebrew workarounds during the process. I hope you like it too!


And some FPV shots :)
Cheers!