Hello,
Check this video first!
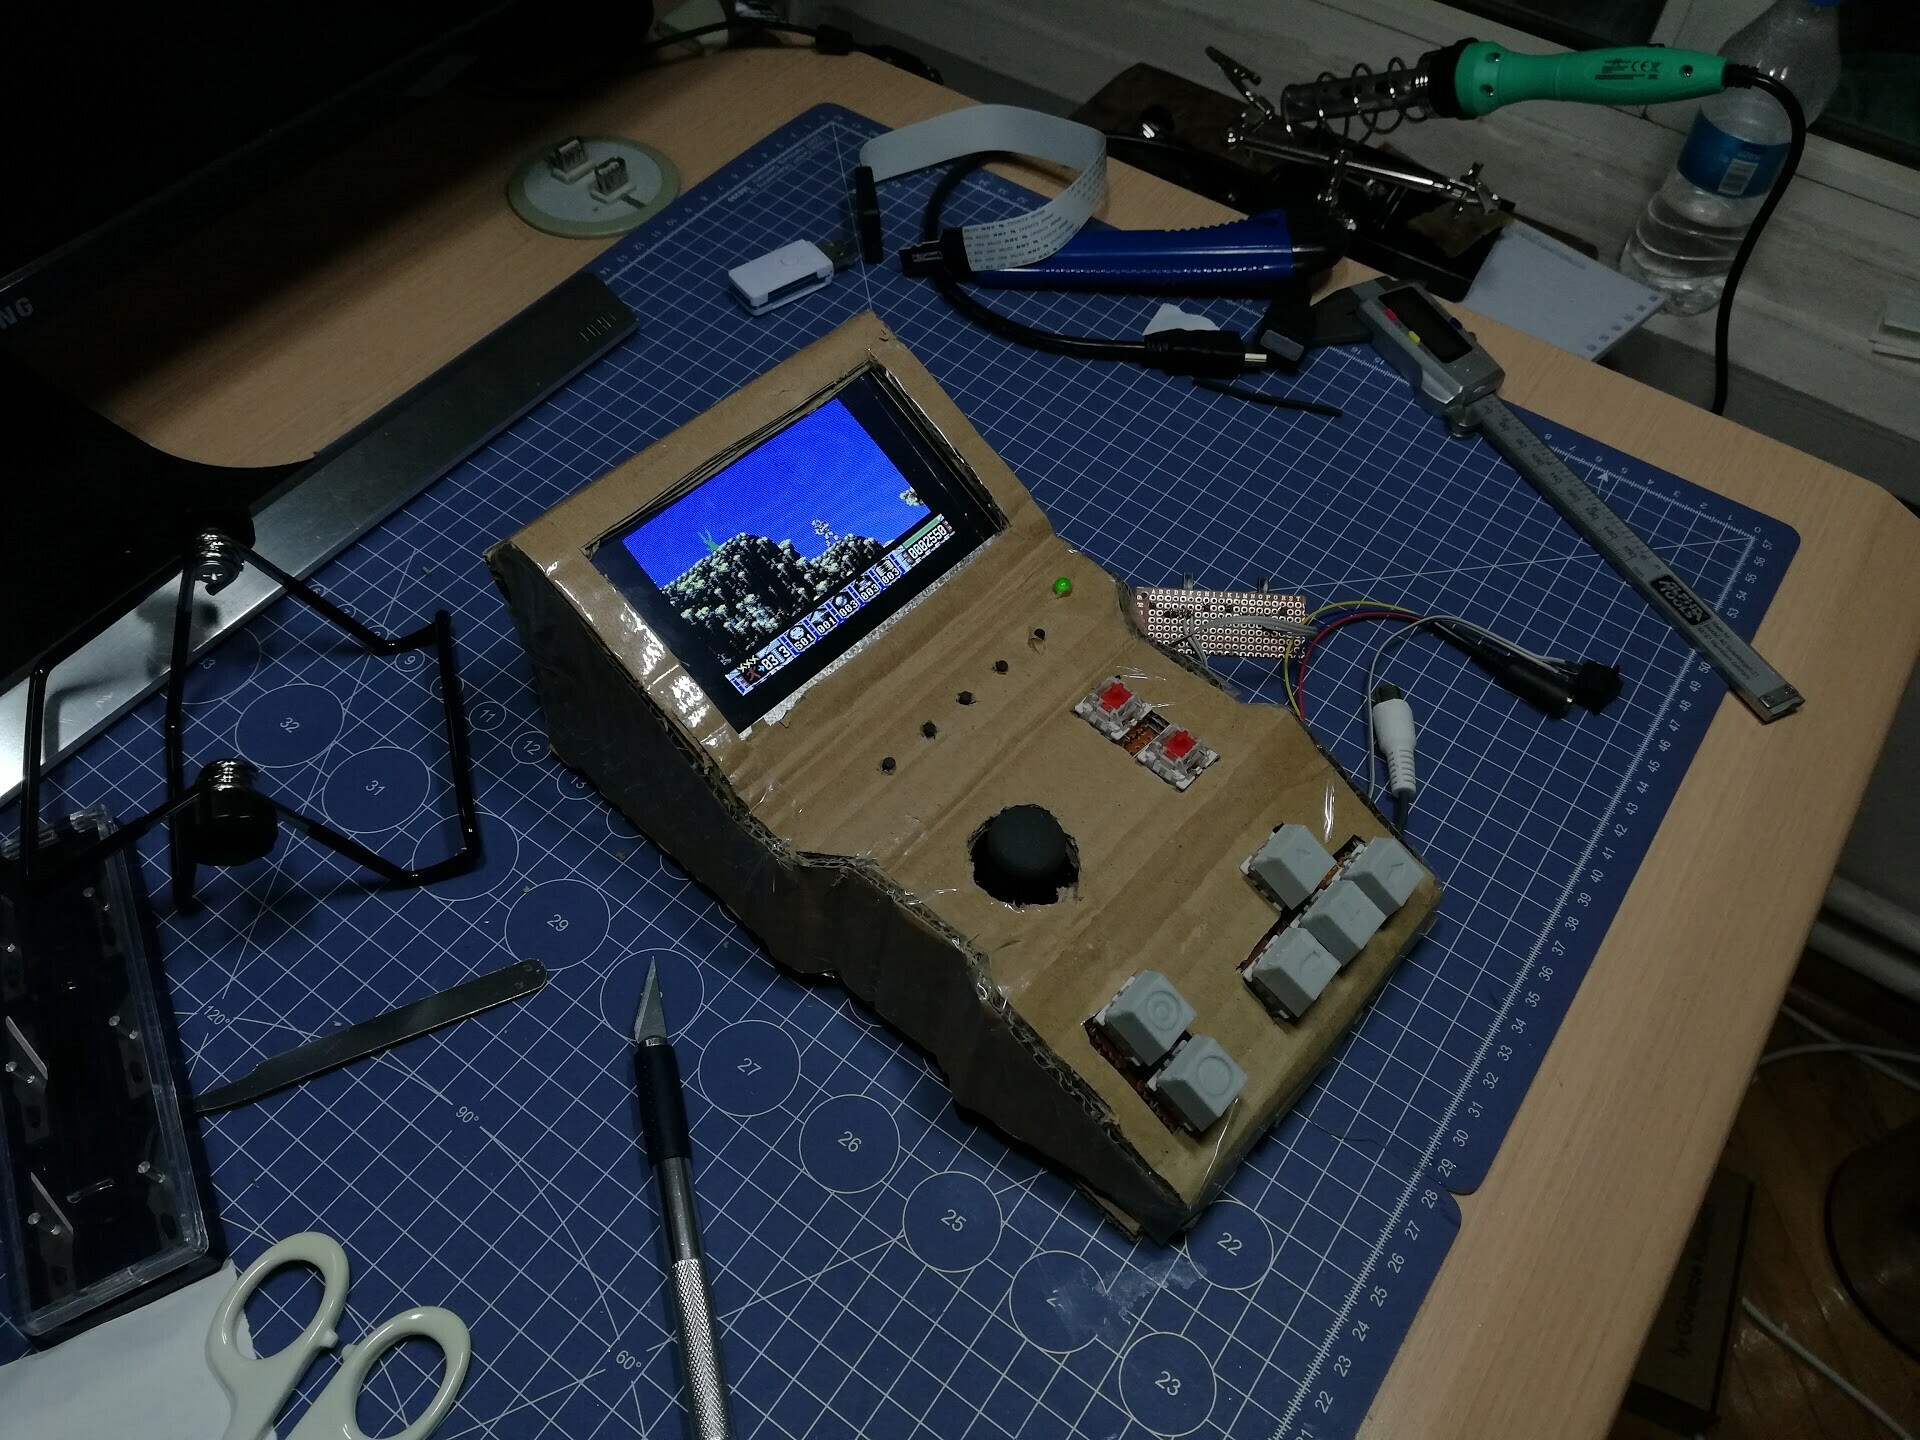
Previously I made some conceptual design for my portable C64 with cardboard placement.
After finalizing the electronic and mechanic components, I made de rough placement into a cardboard which you can see more details on this blog post.
https://www.artstation.com/blockmind/blog/QlQE/a-proof-of-concept-portable-commodore-64
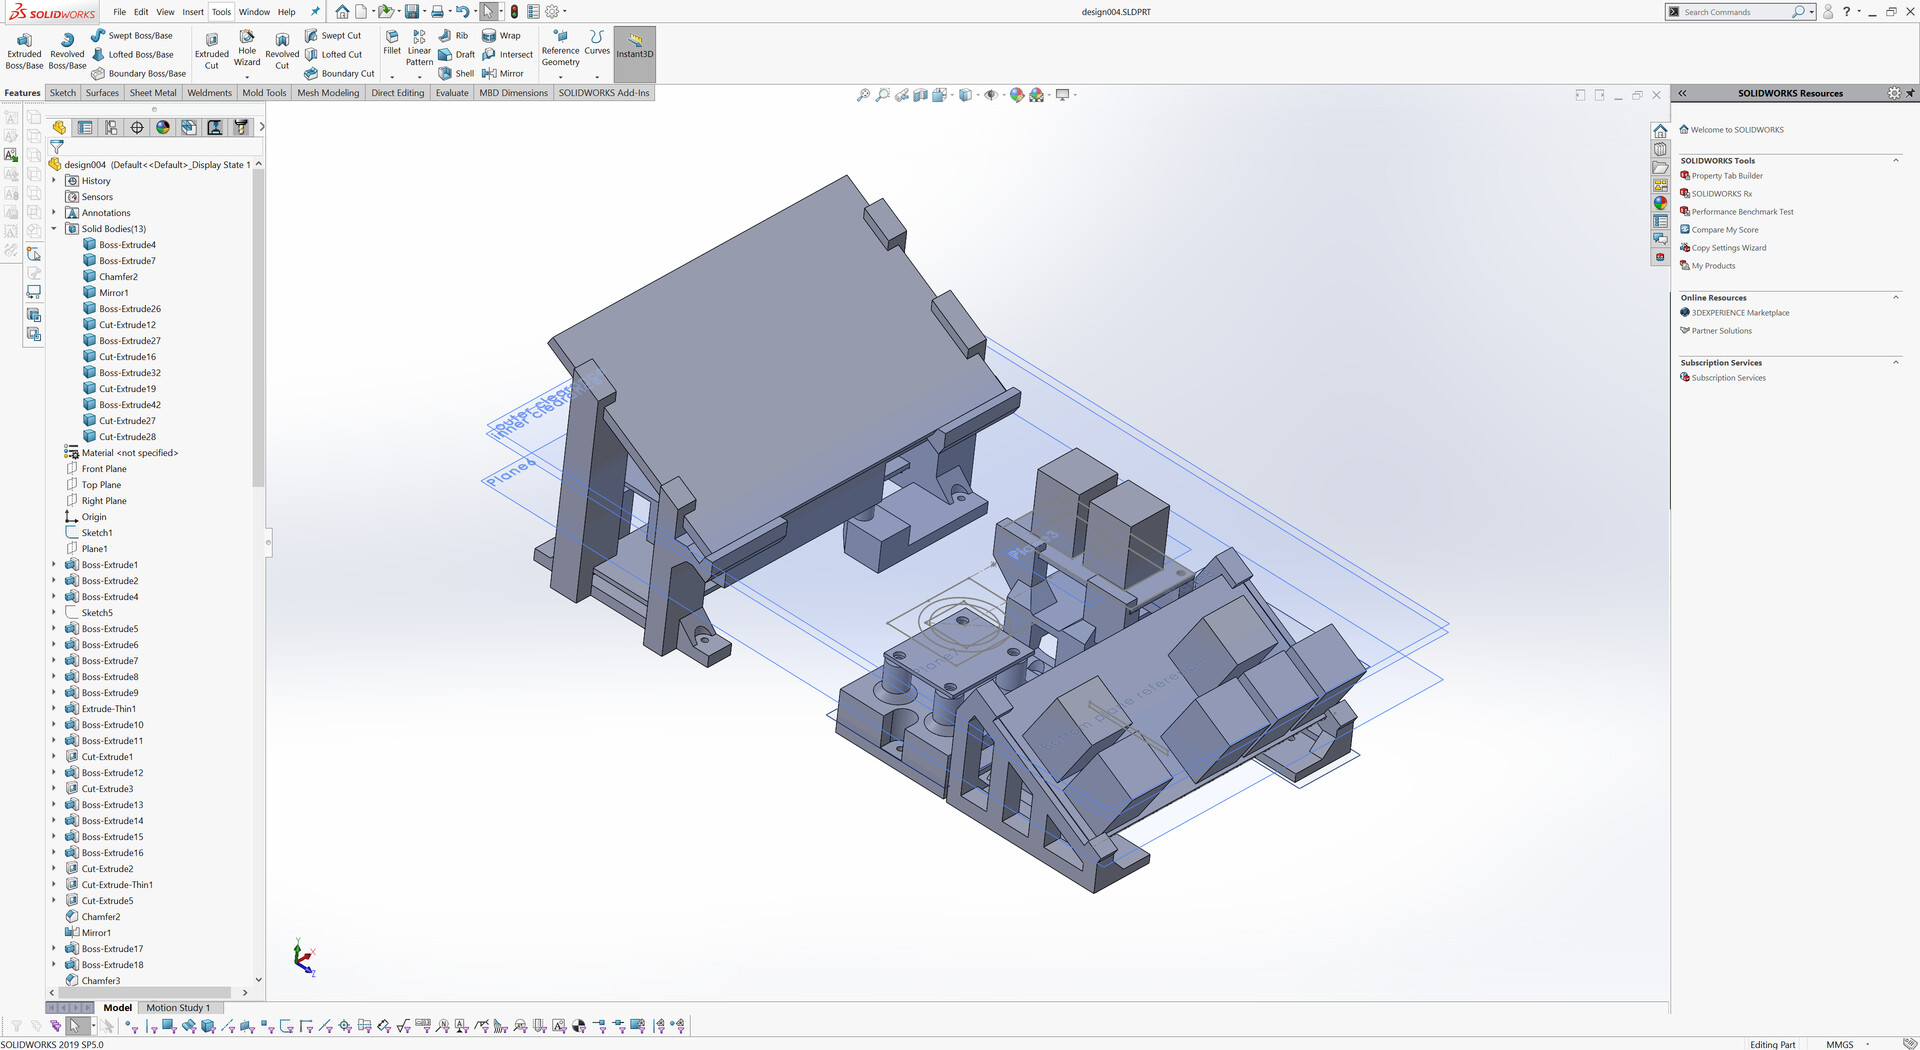
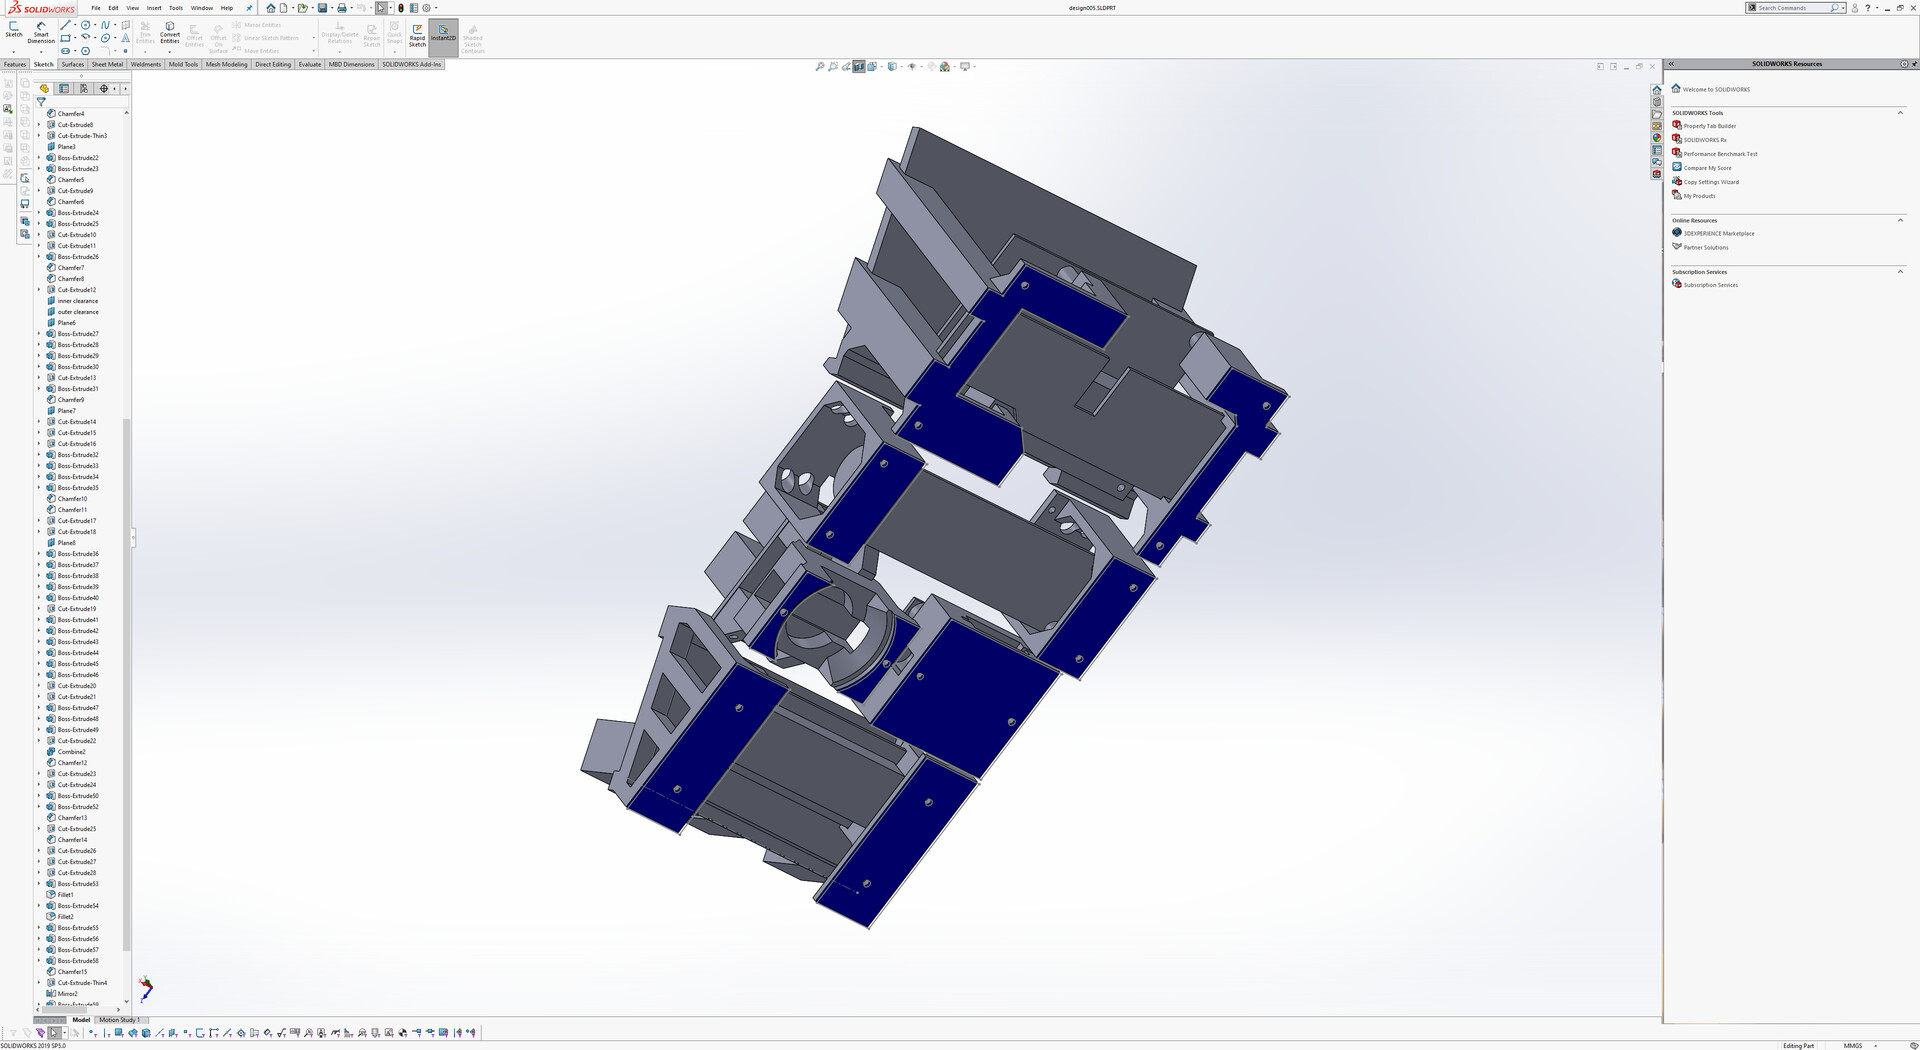
This time I designed interior stands to hold all compoenents in a way that made on the cardboard placement. So I measured all compoenents back, and designed holder skeleton stands. These stands will be able to fixed in a planar surface at the ground.
You can see some progress screenshots from Solidworks.


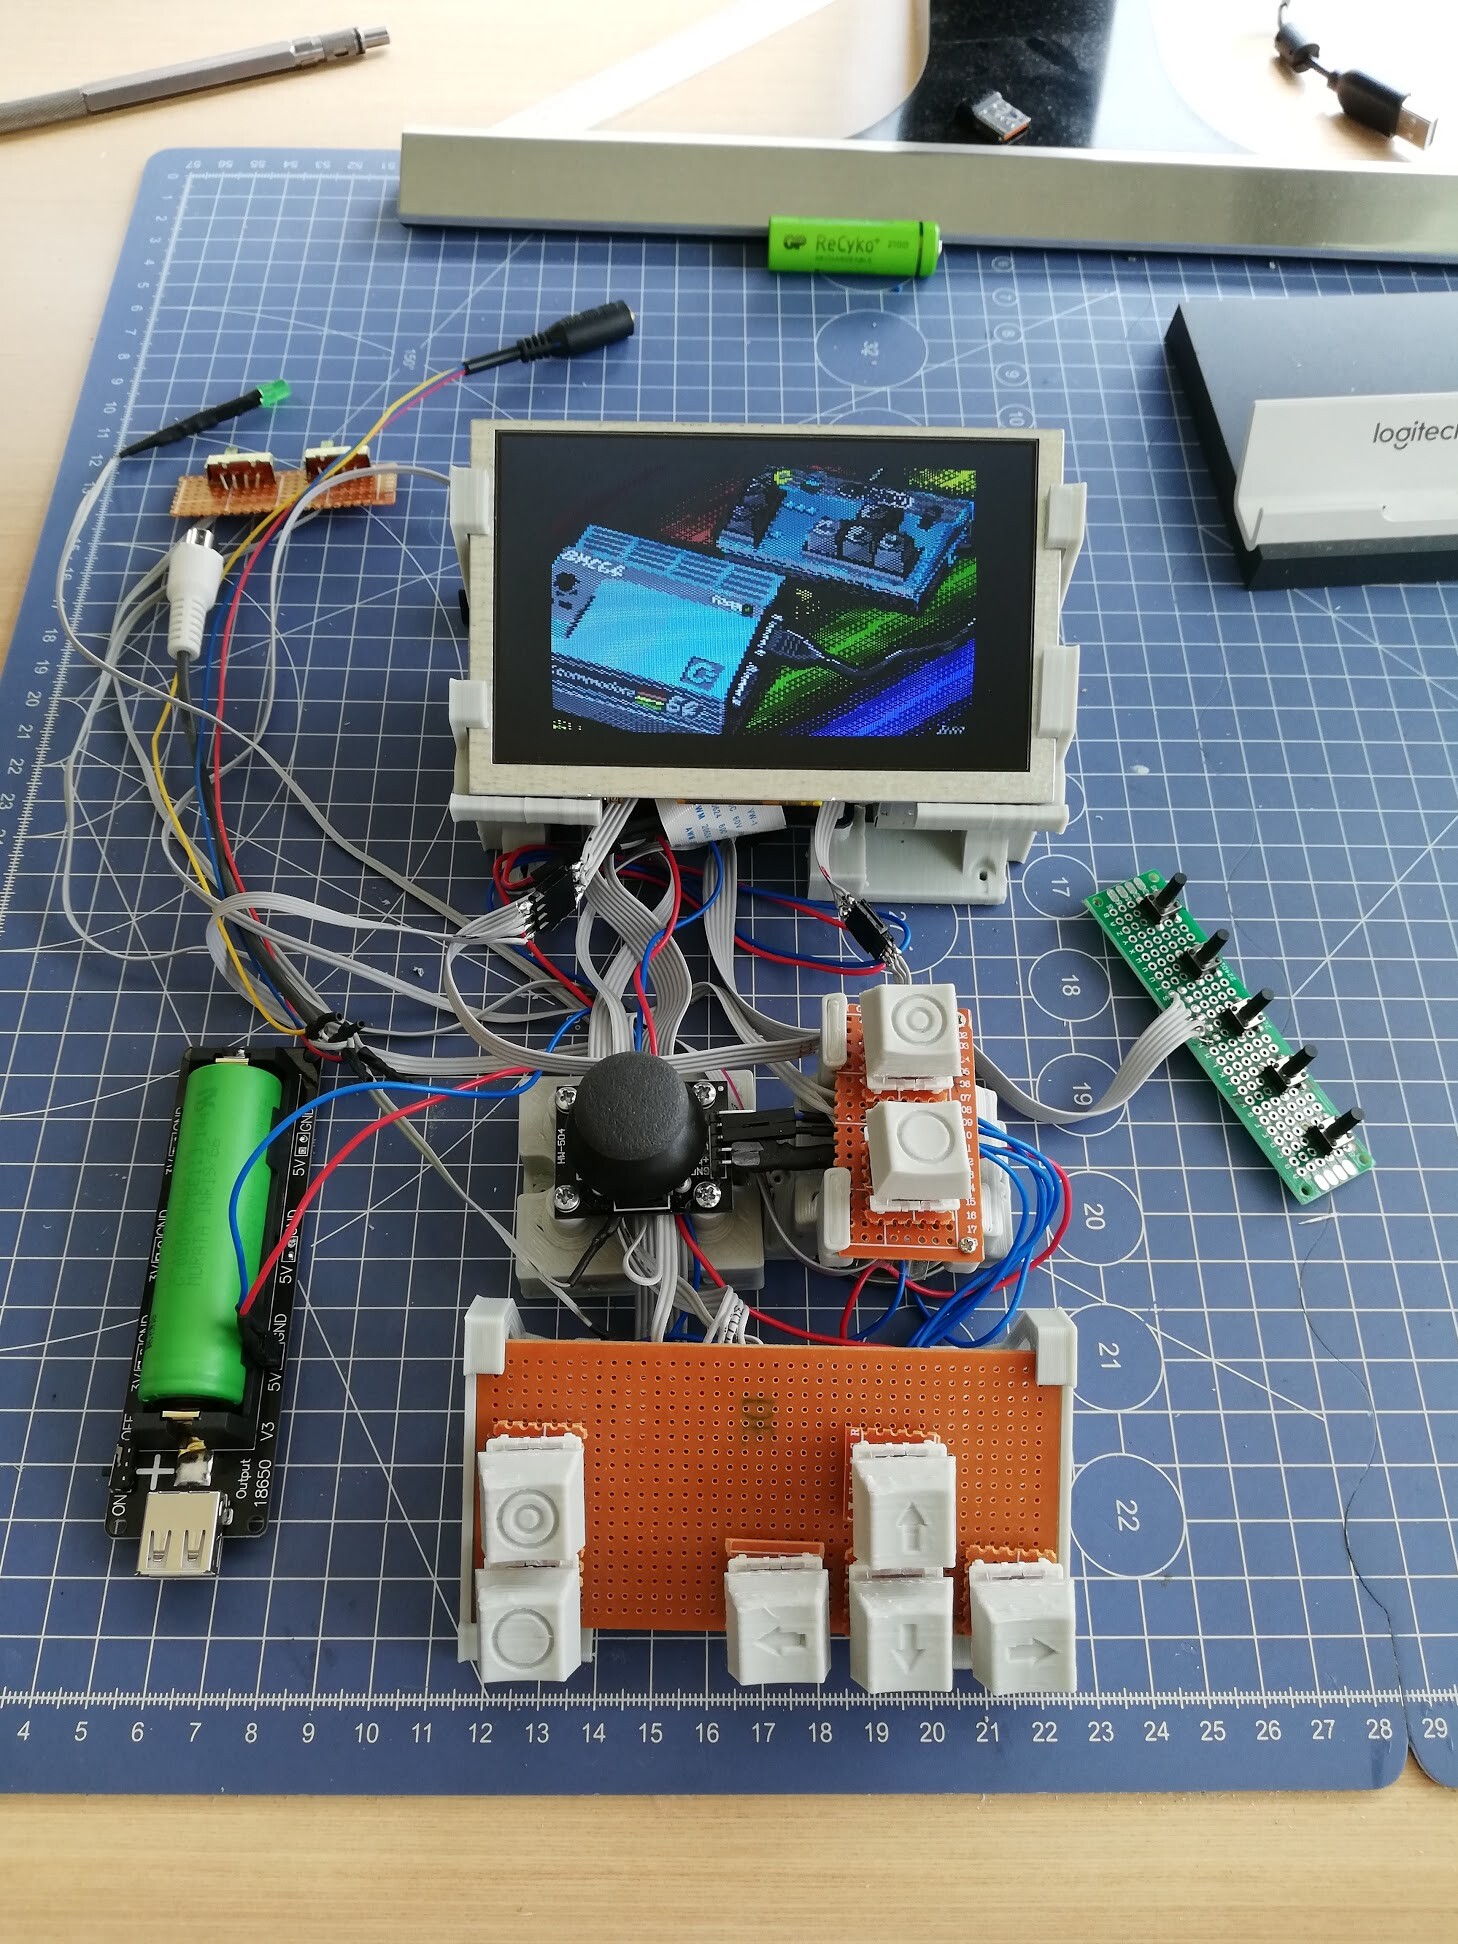
While designing the stands, I started to 3d print them and try to see if they fit and cables are OK starting from the bottom keypad and analog converter board.
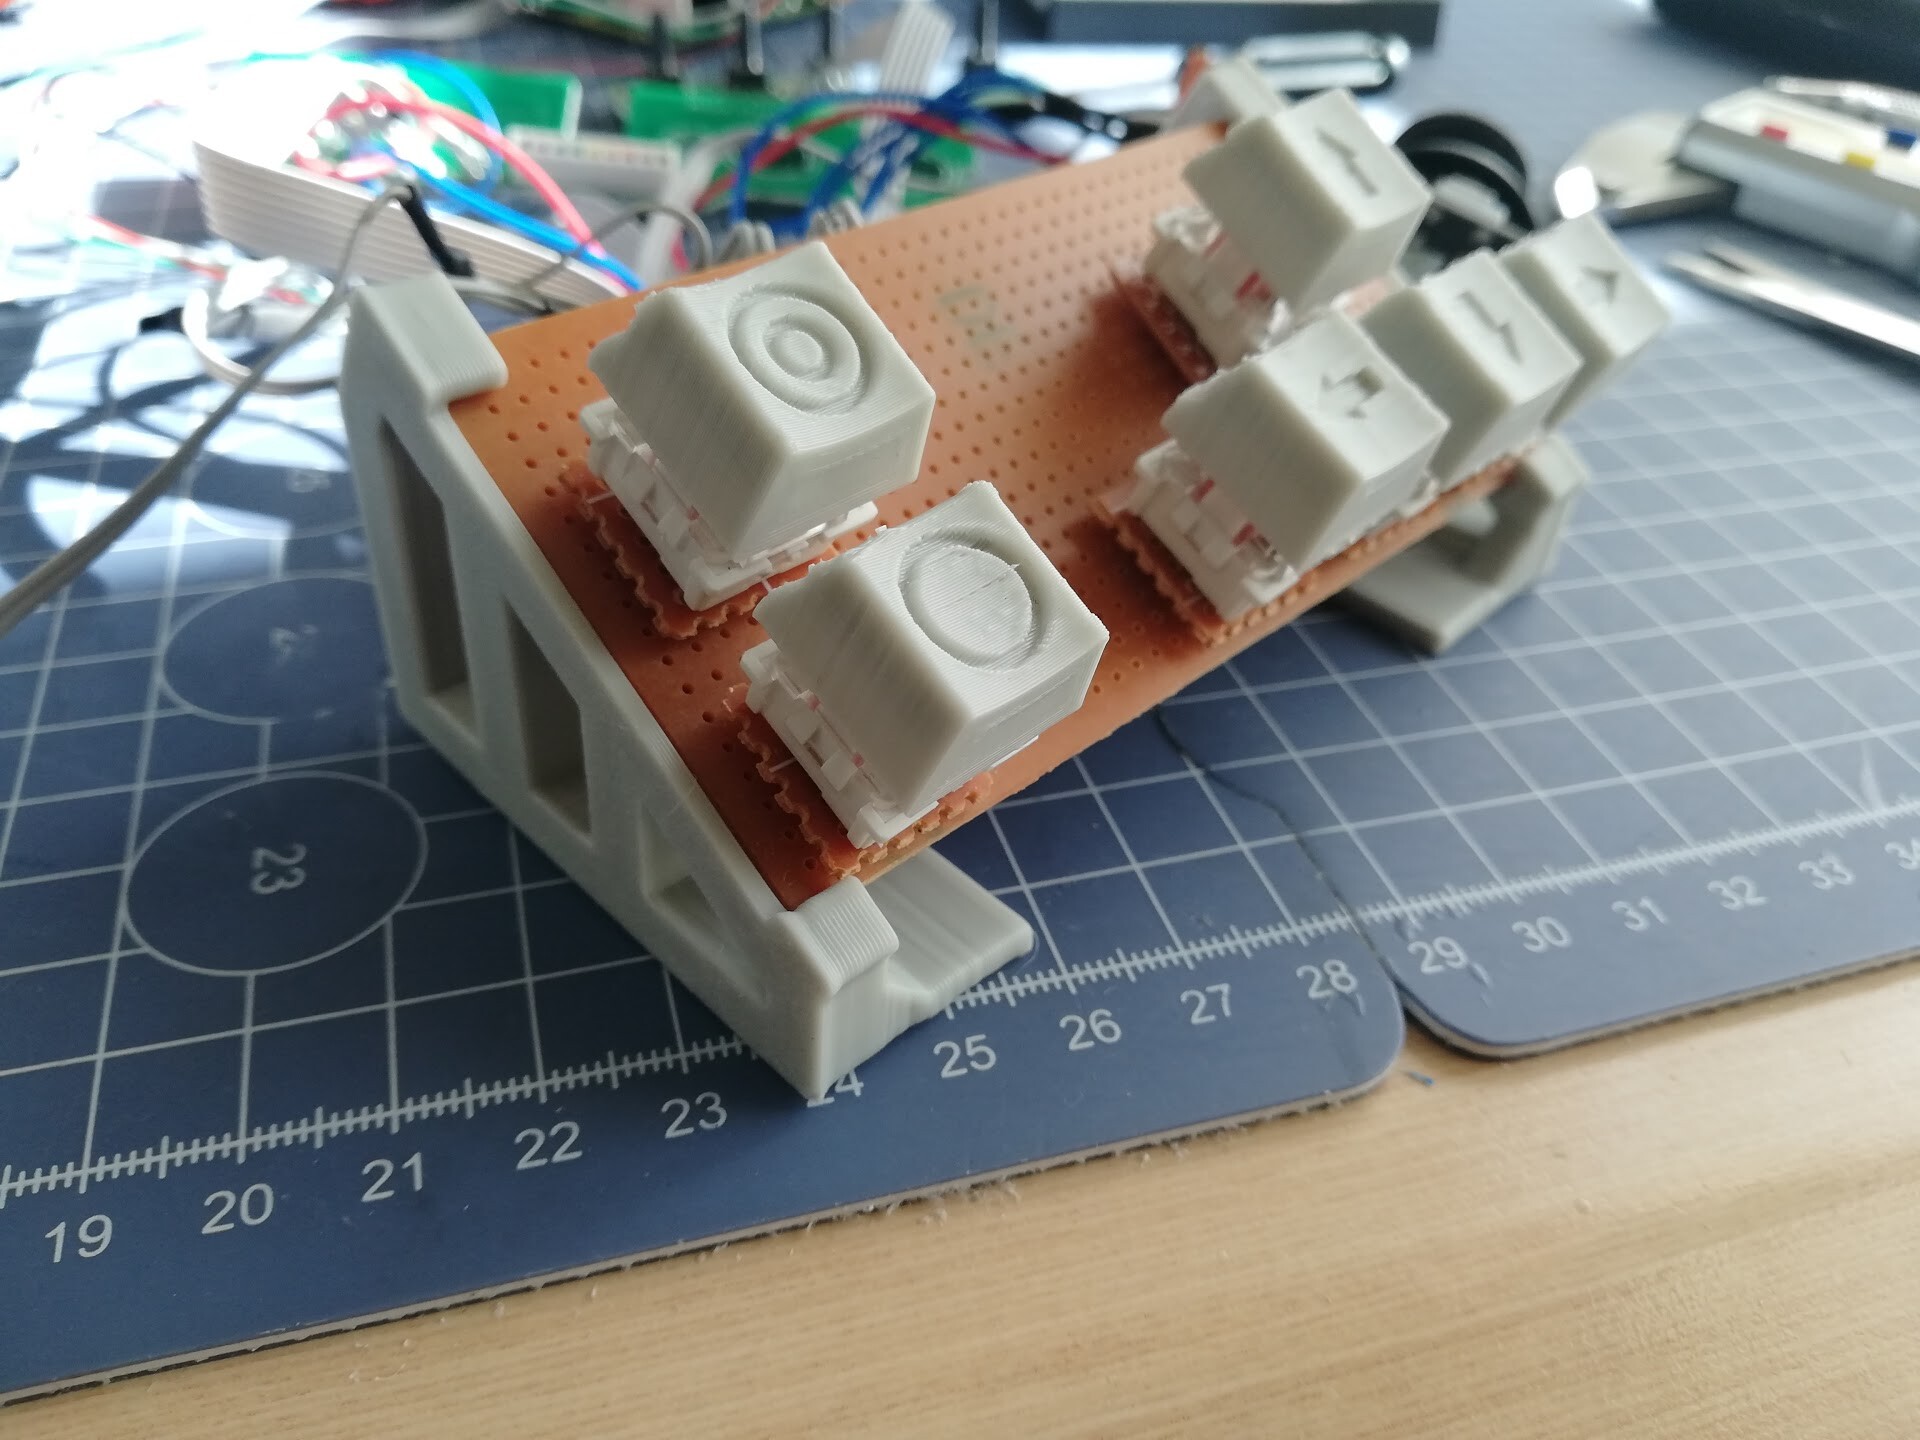

To save space, I tried my best to place all components in 2 or 3 layers.
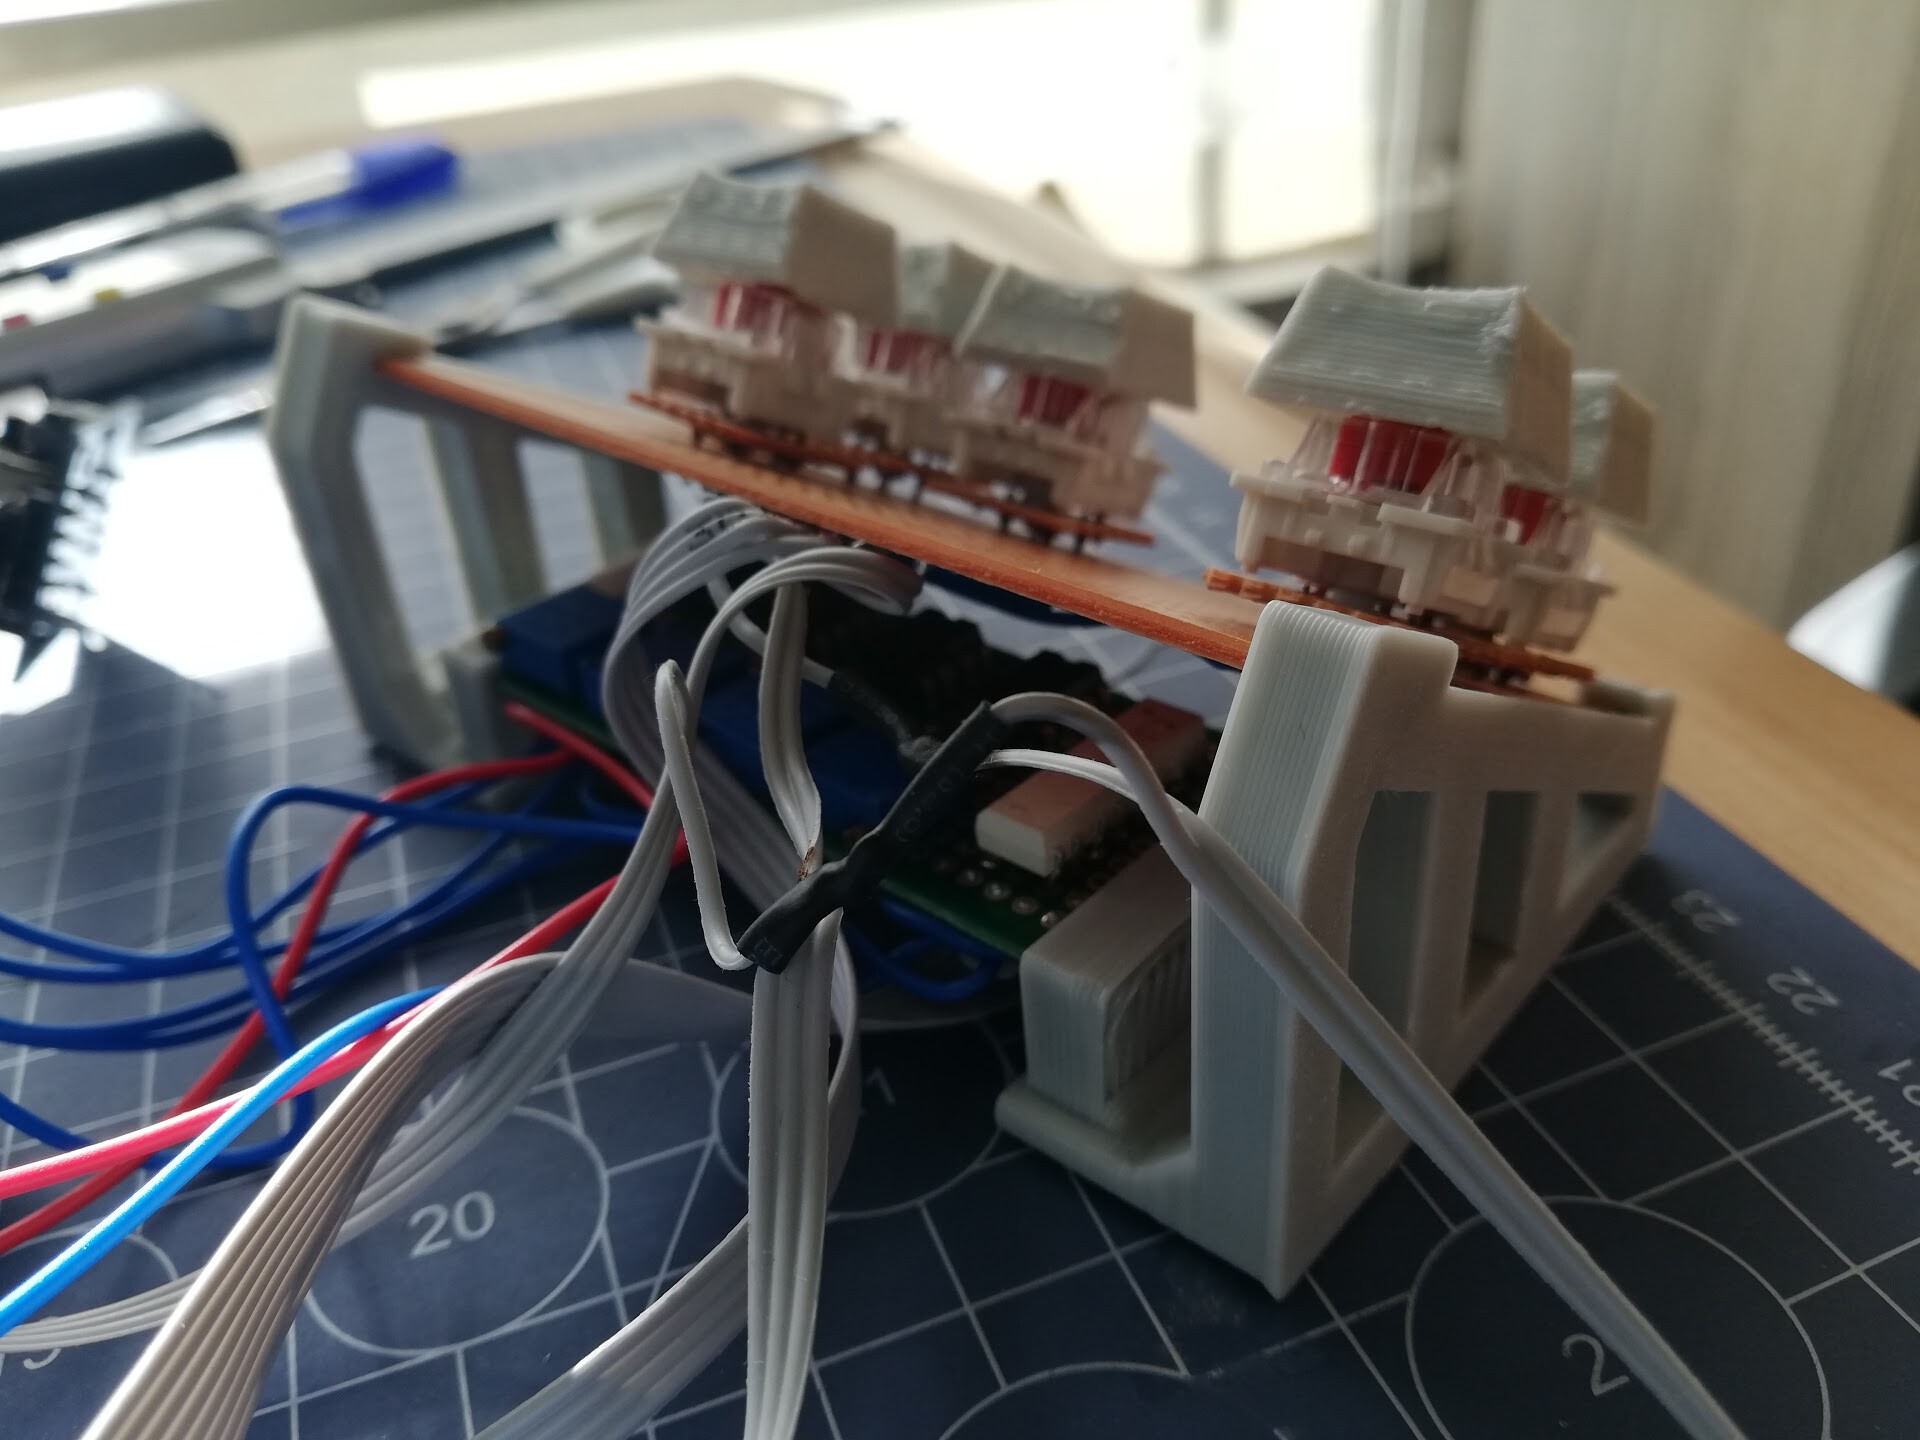
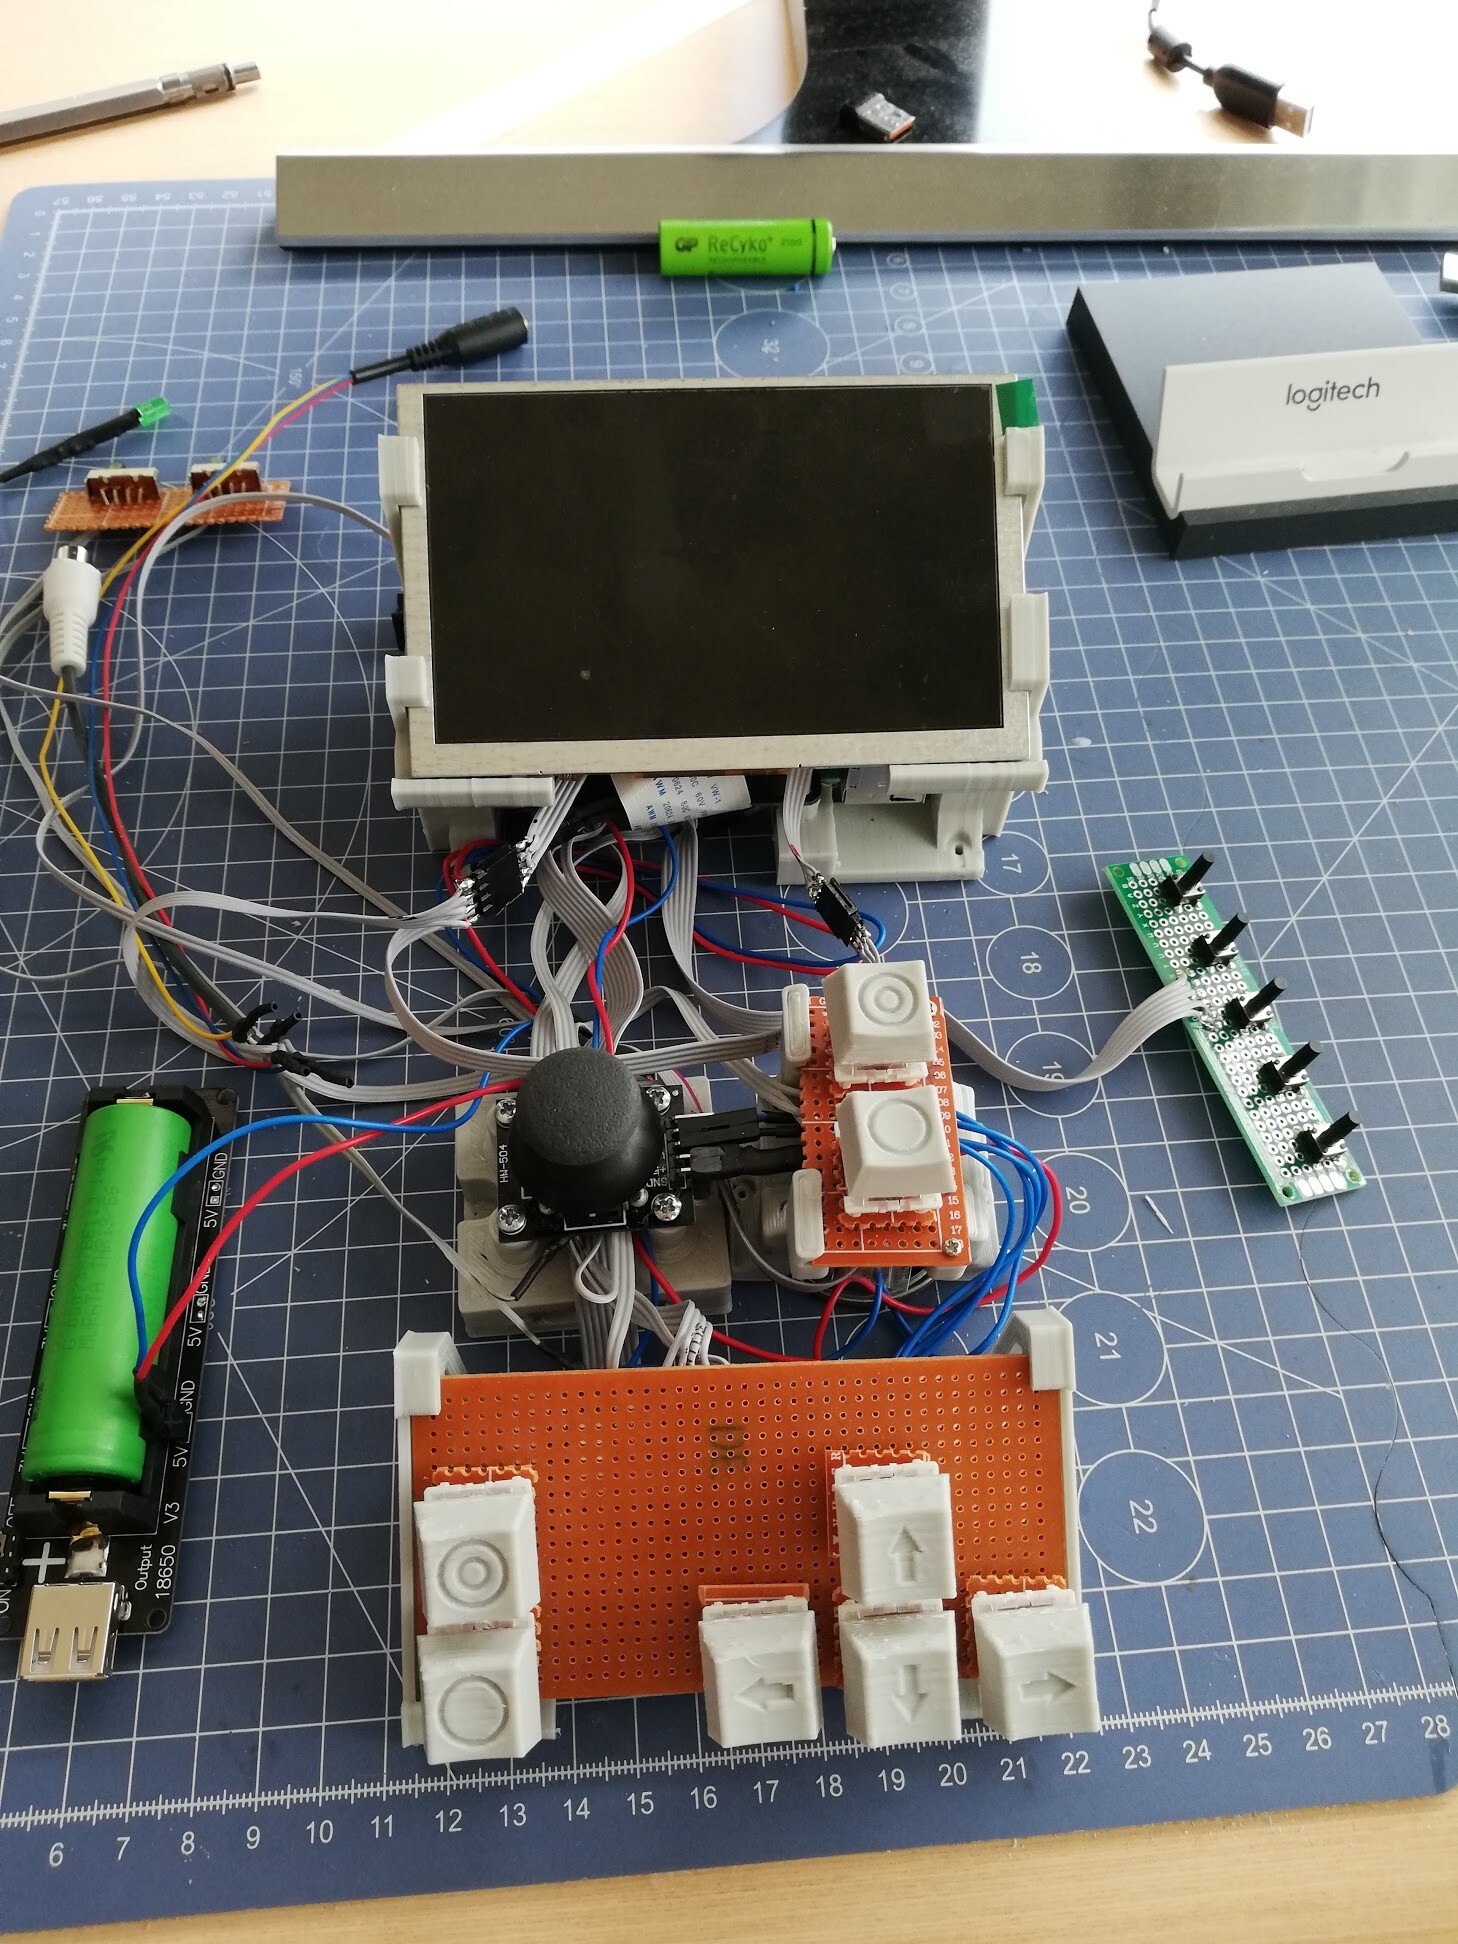
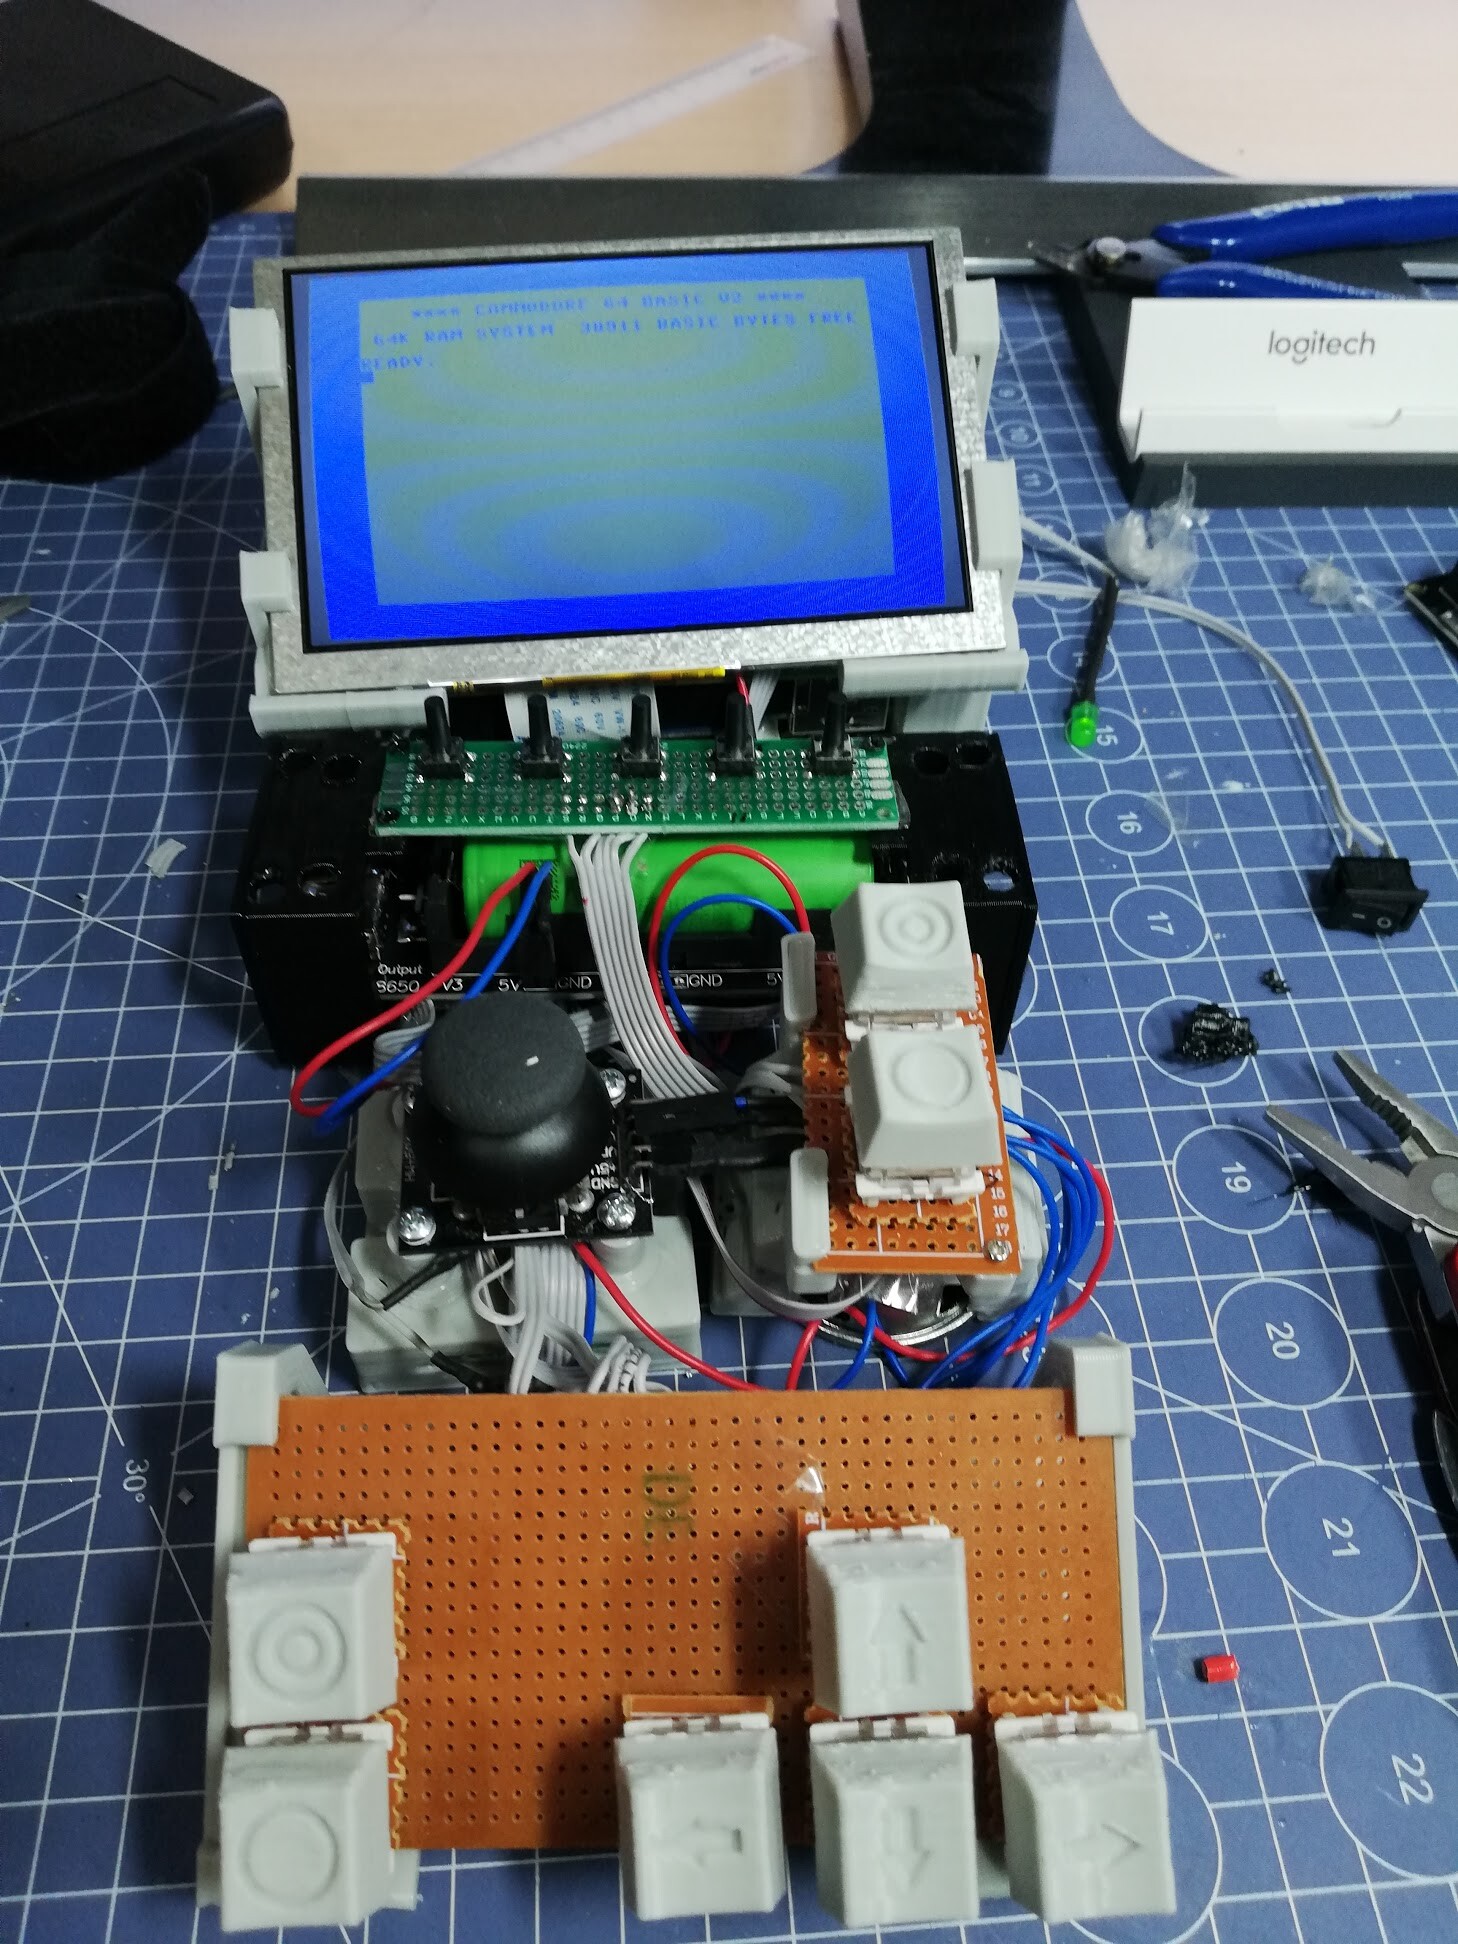
So I moved on to the upper part with analog controller.

I made the connections through test solders of the raspberry pi as much as I can, to get rid of using connectors. Because the consume to much of space.

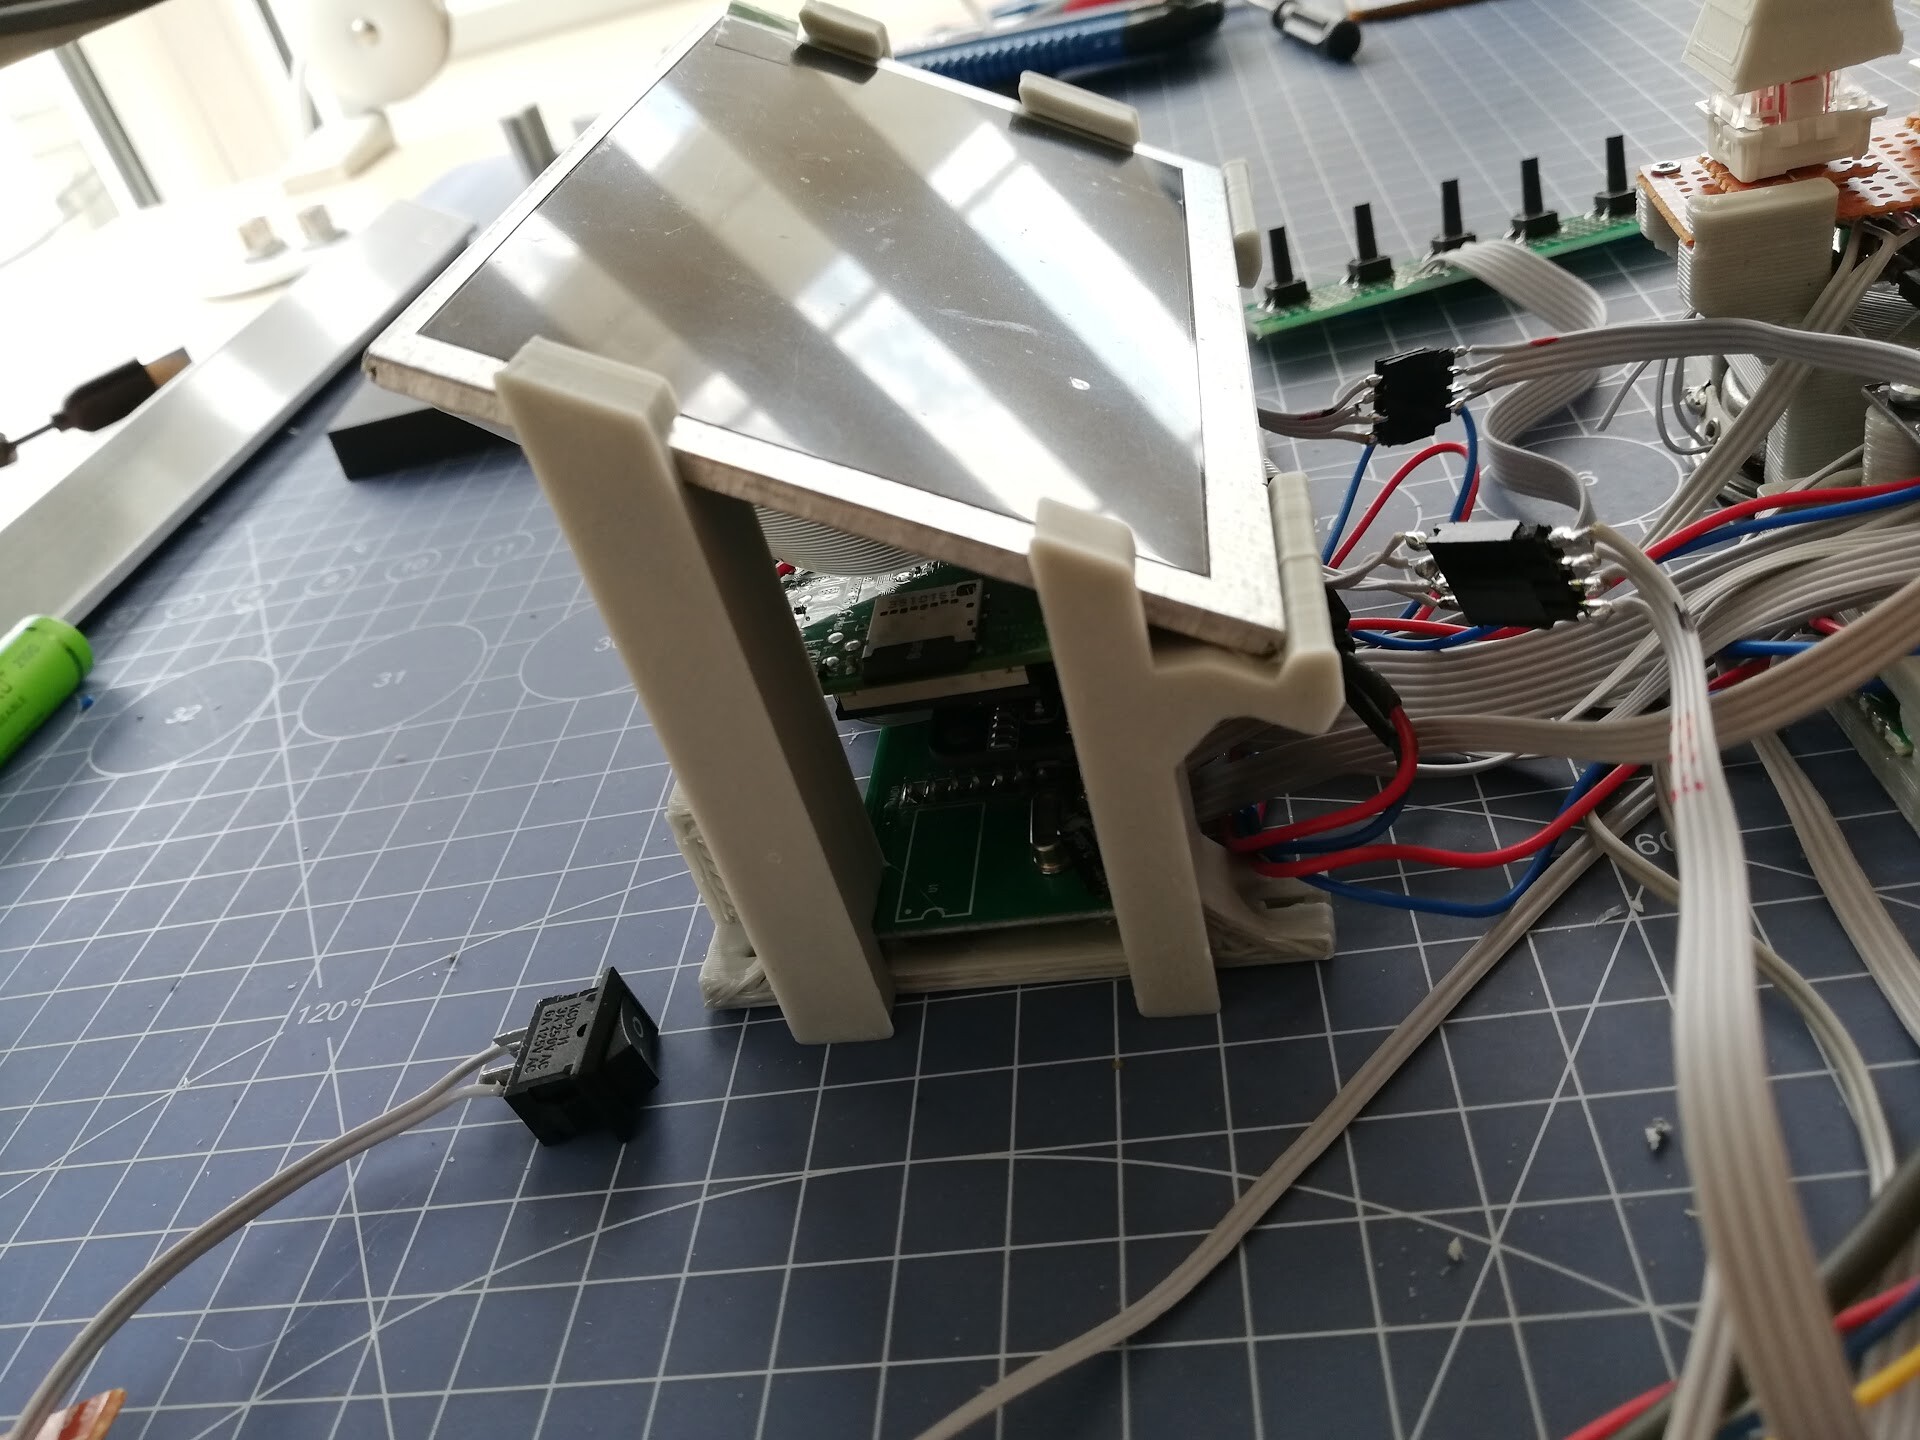
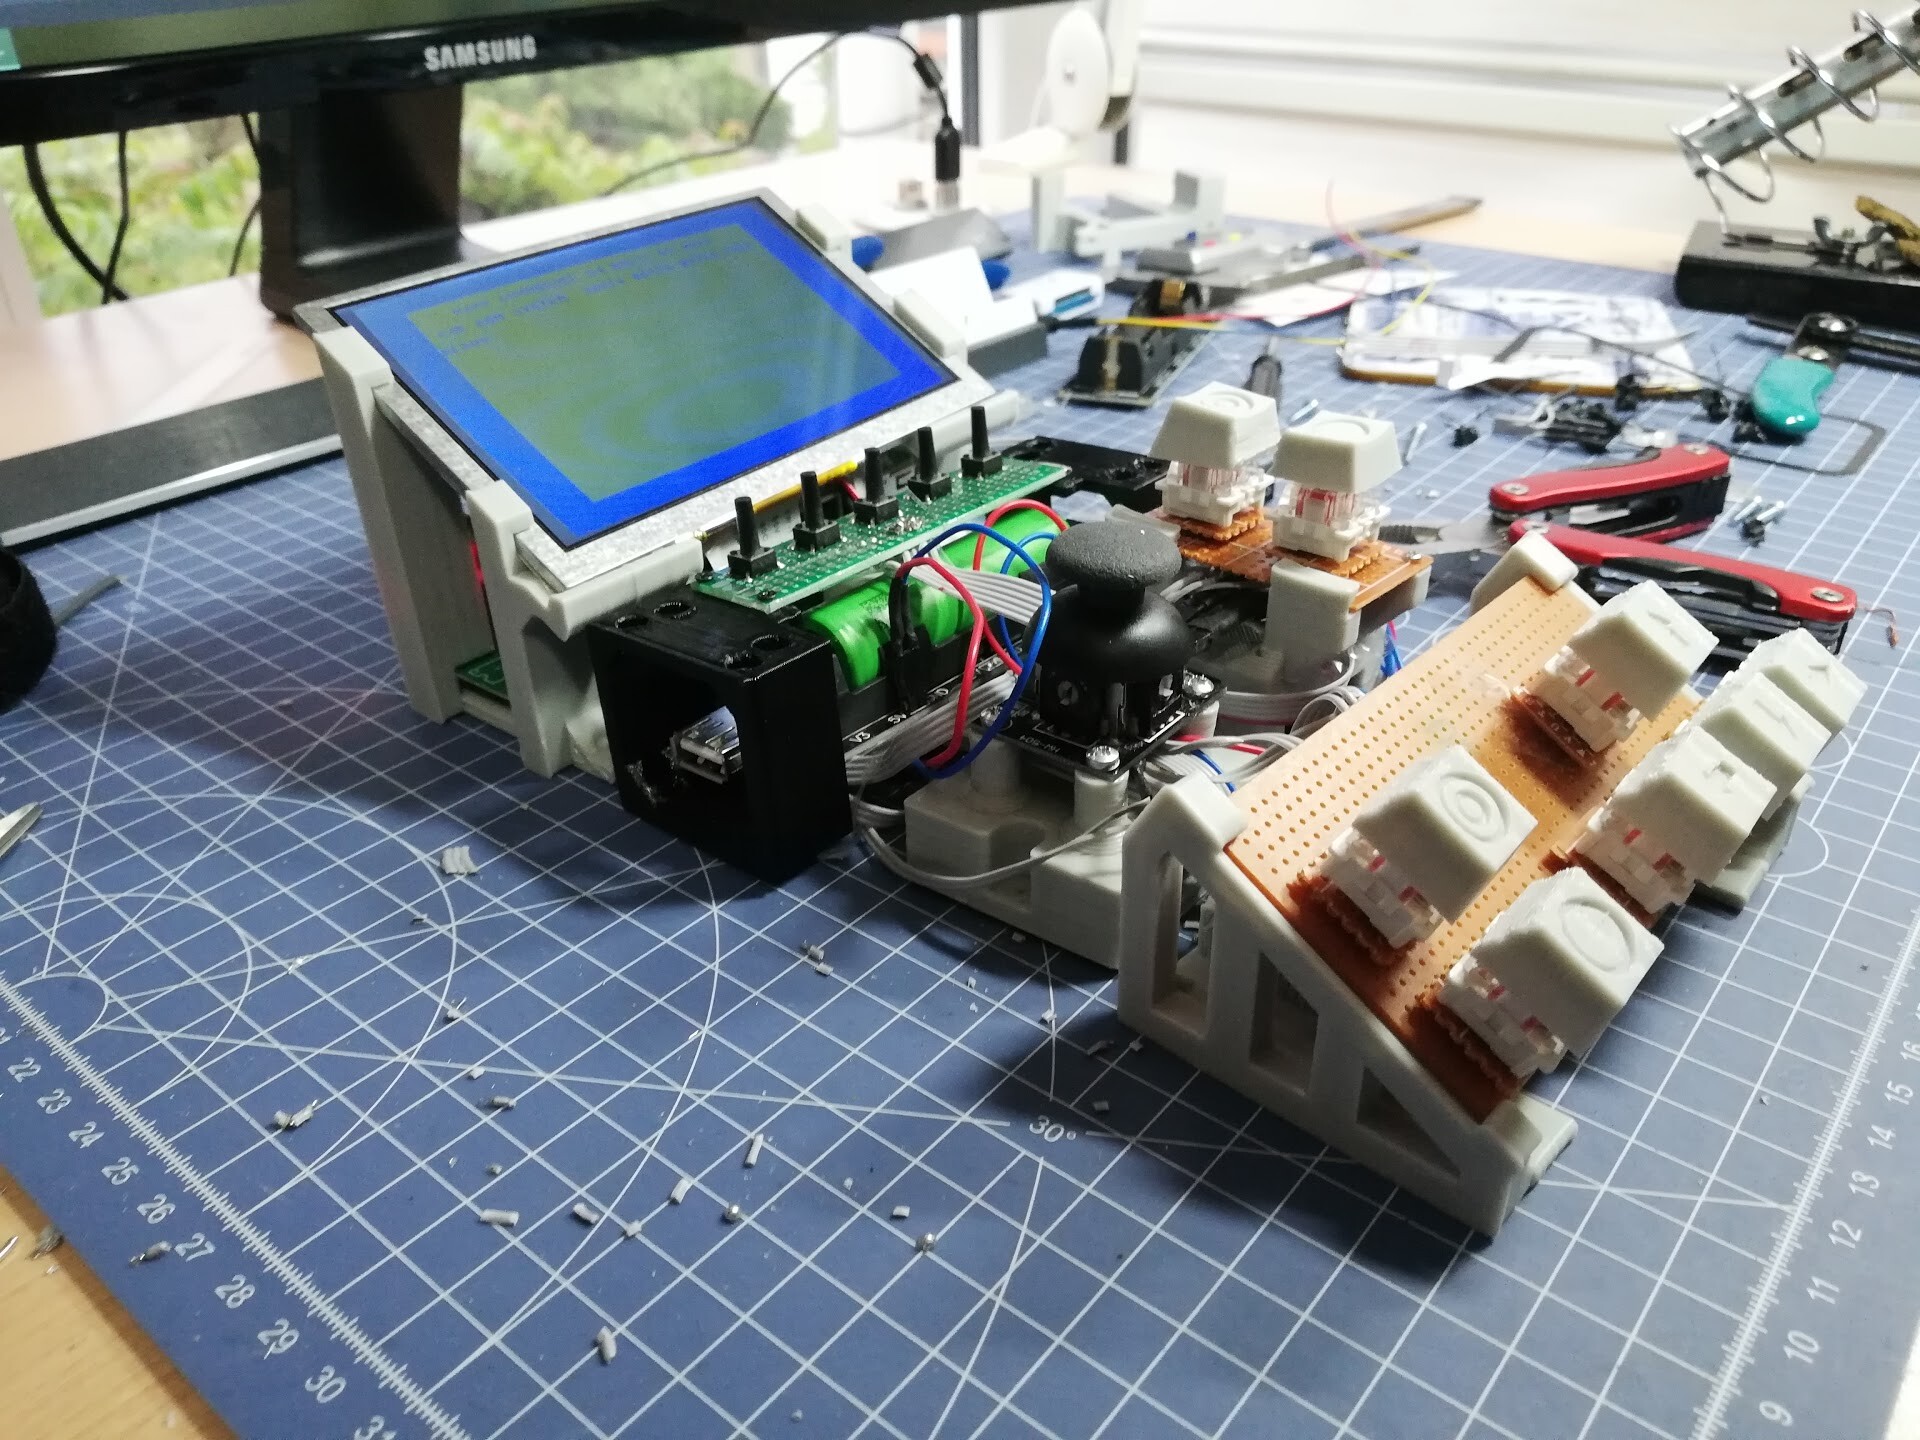
Next I printed the stand that holds USB controller, Raspberry pi and the Screen.
It fit great!

Only menu navigation buttons set and the battery pack is remained.
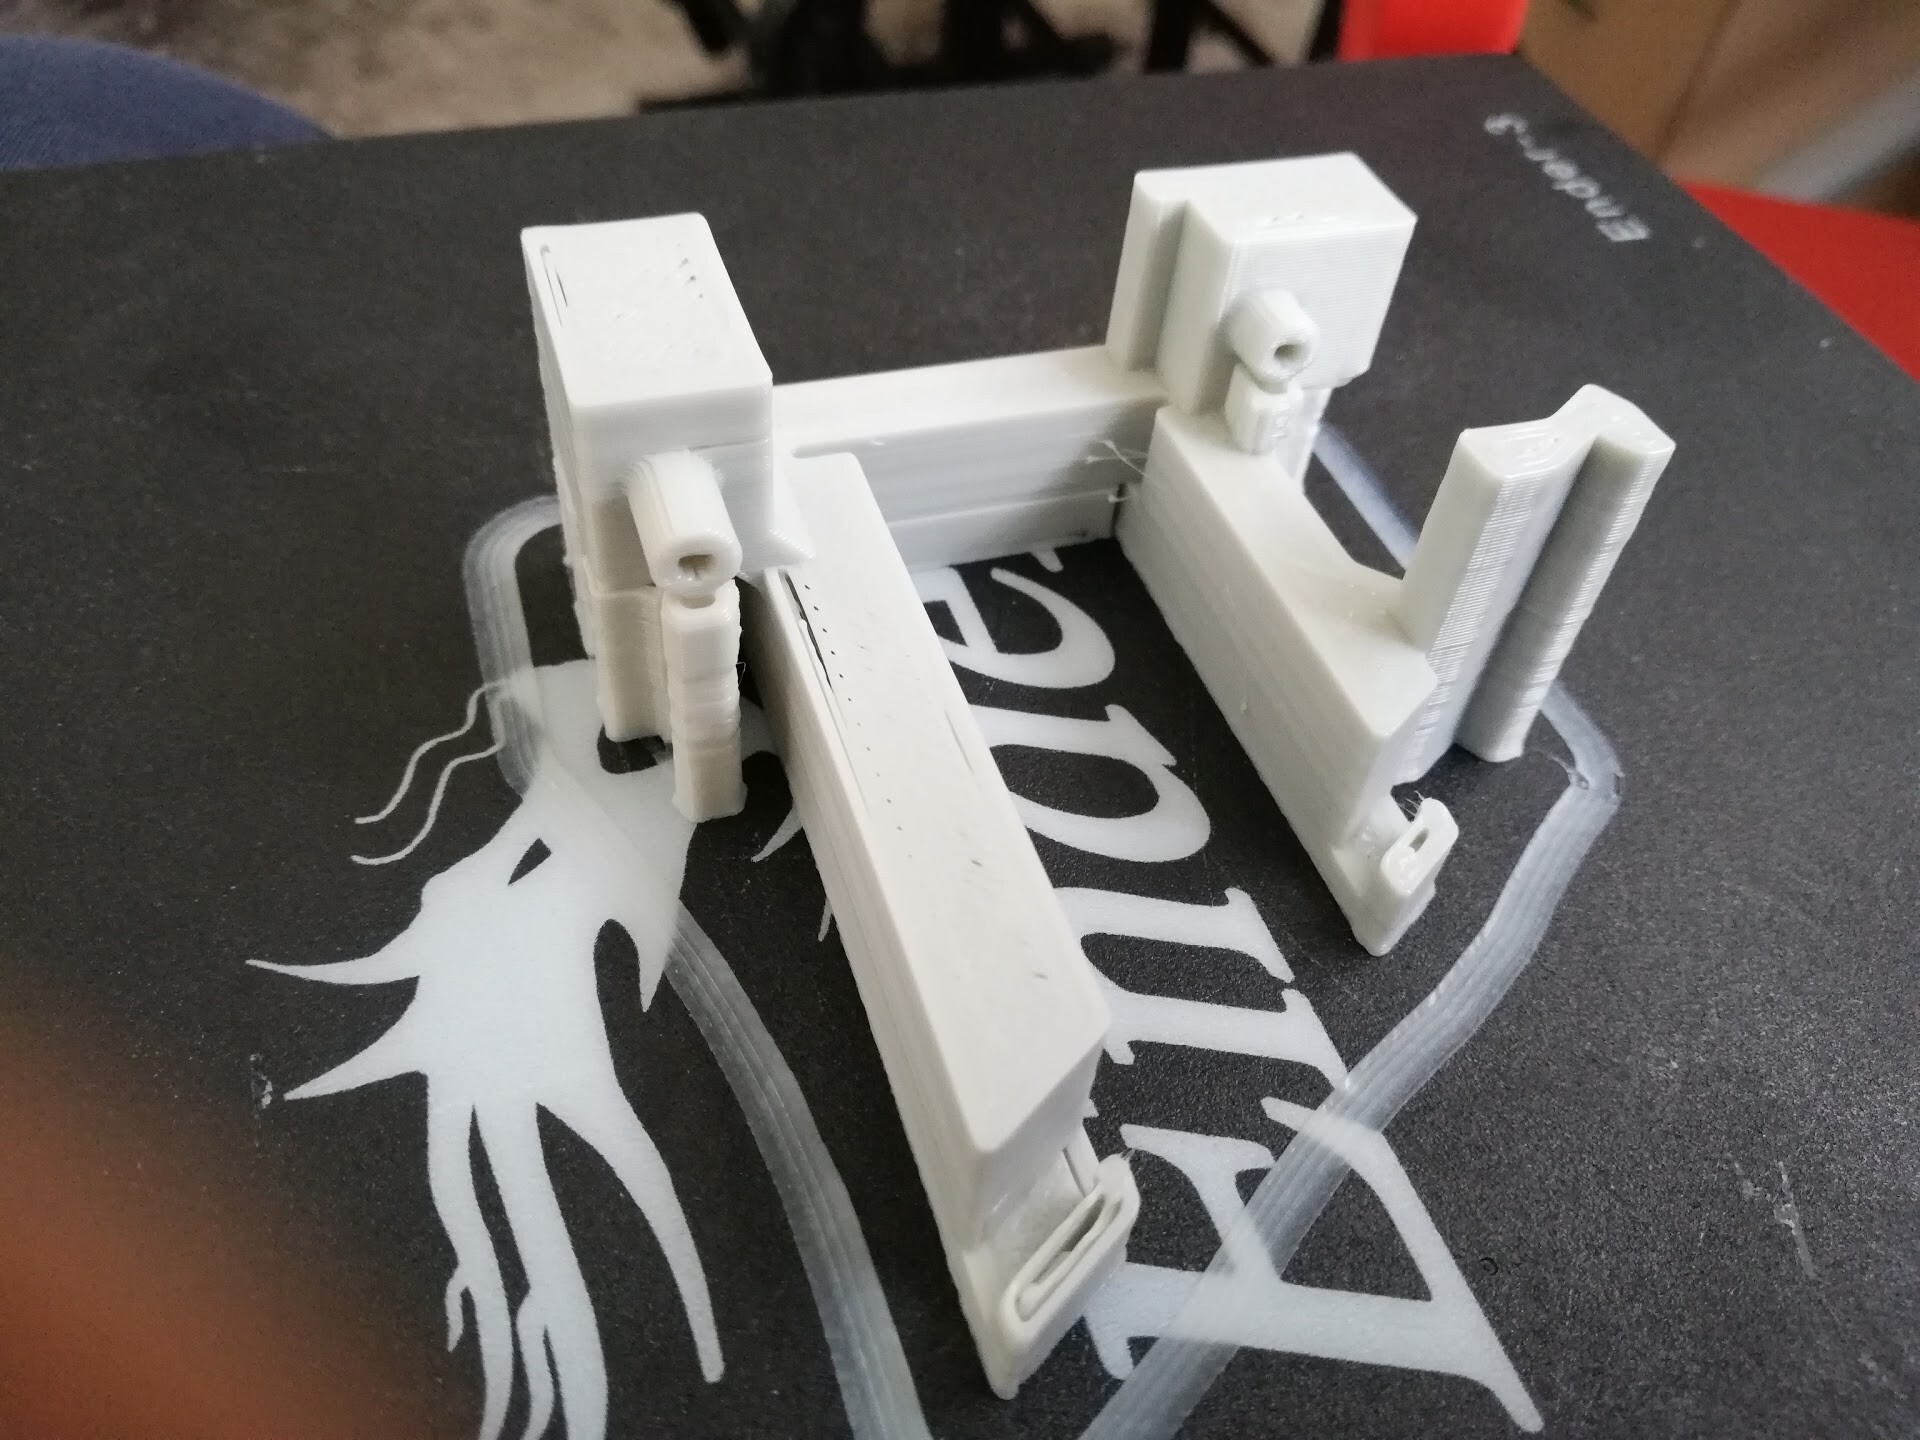
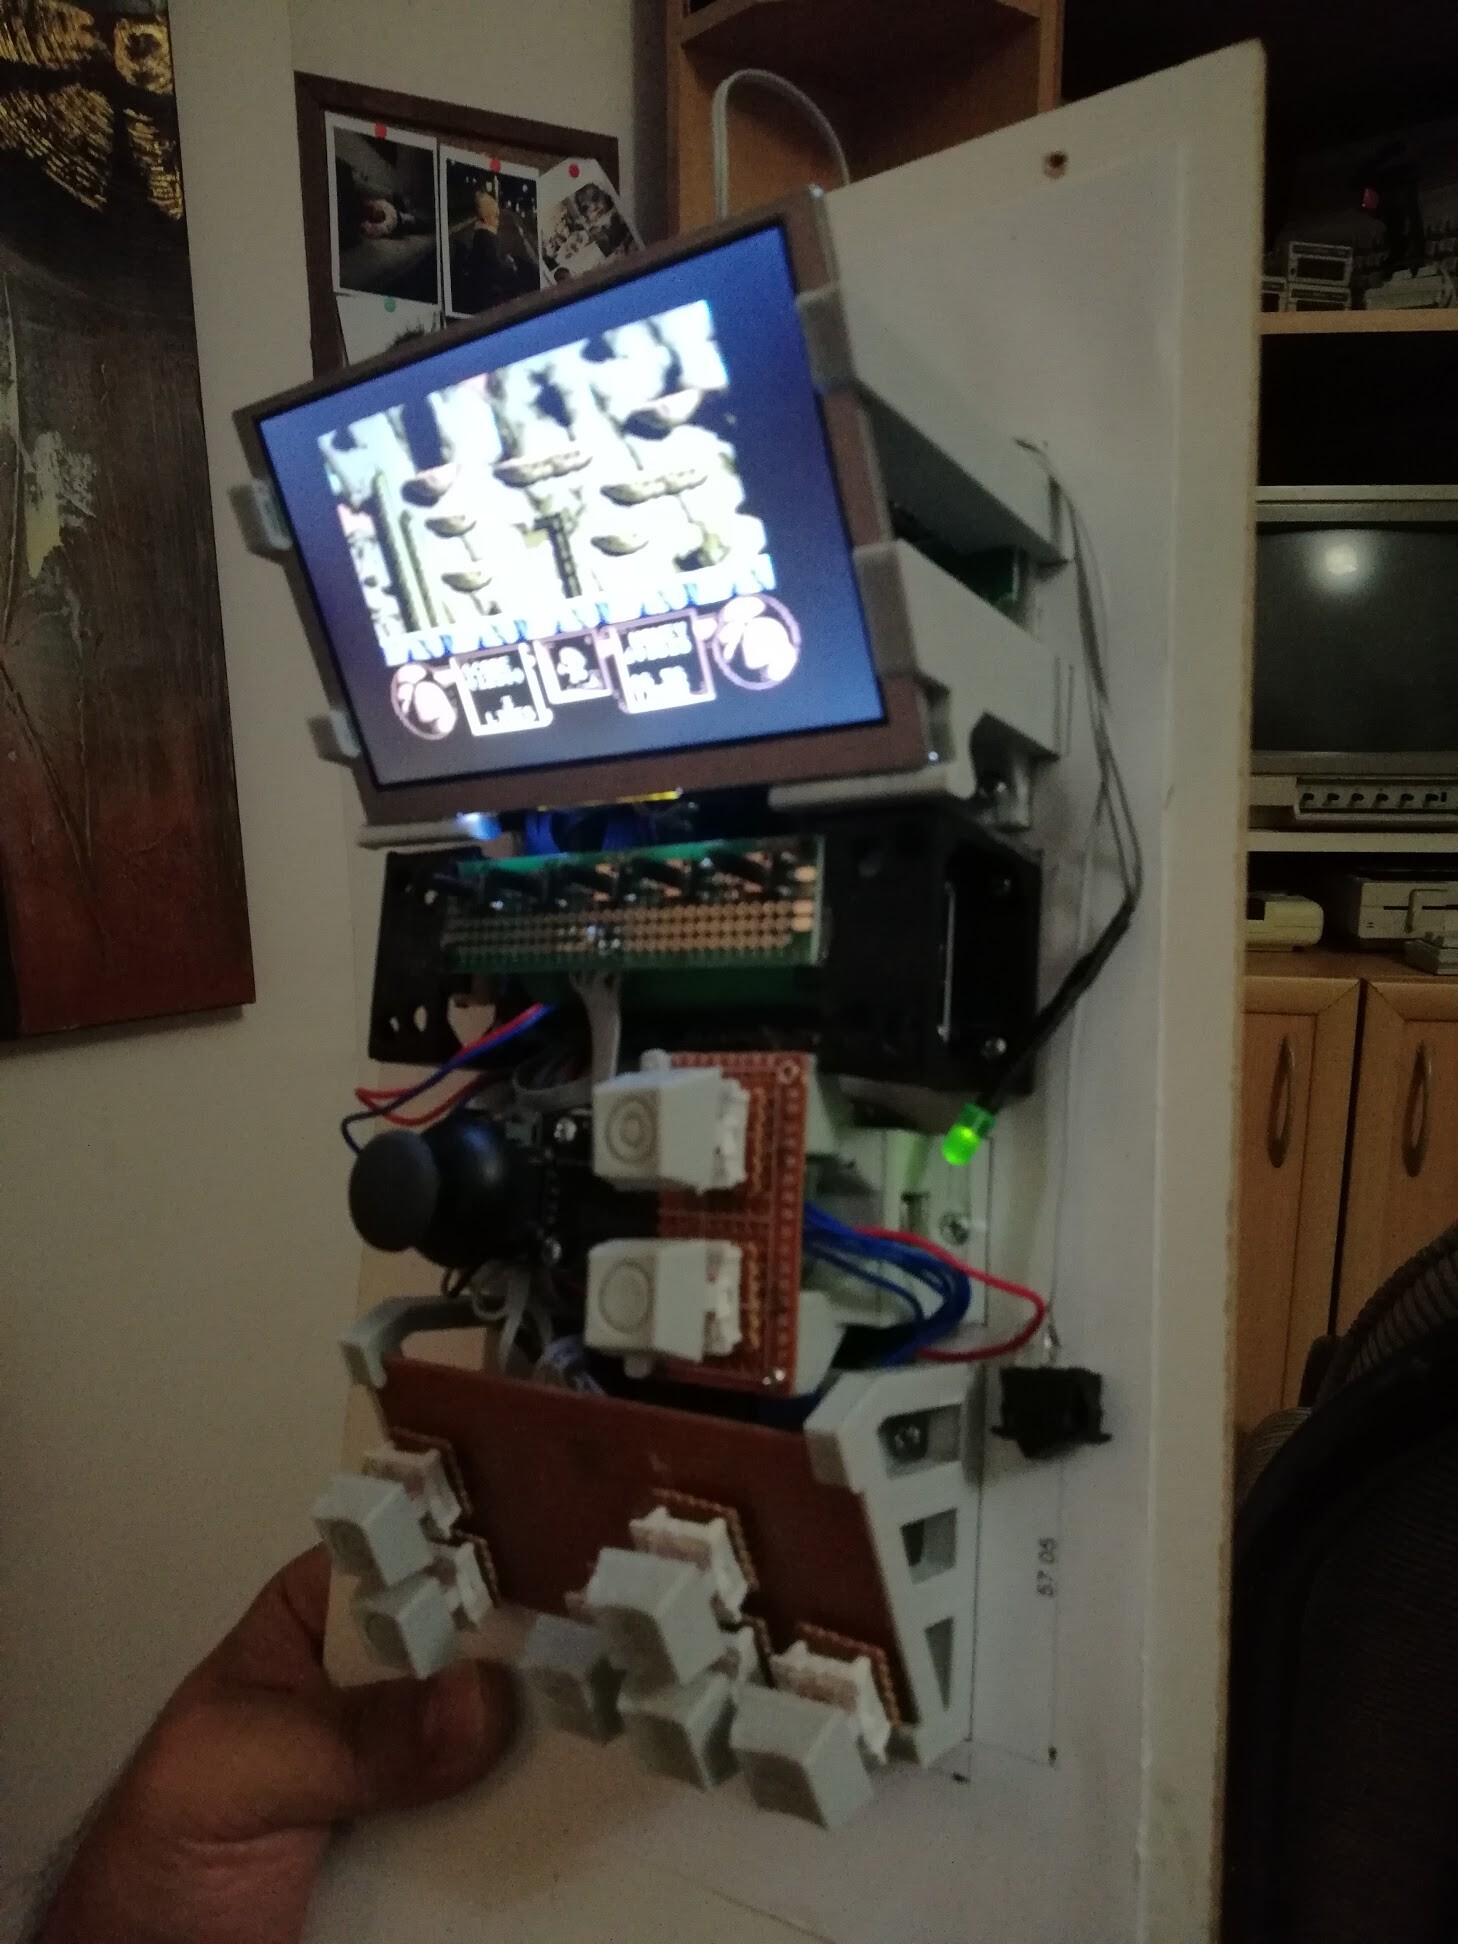
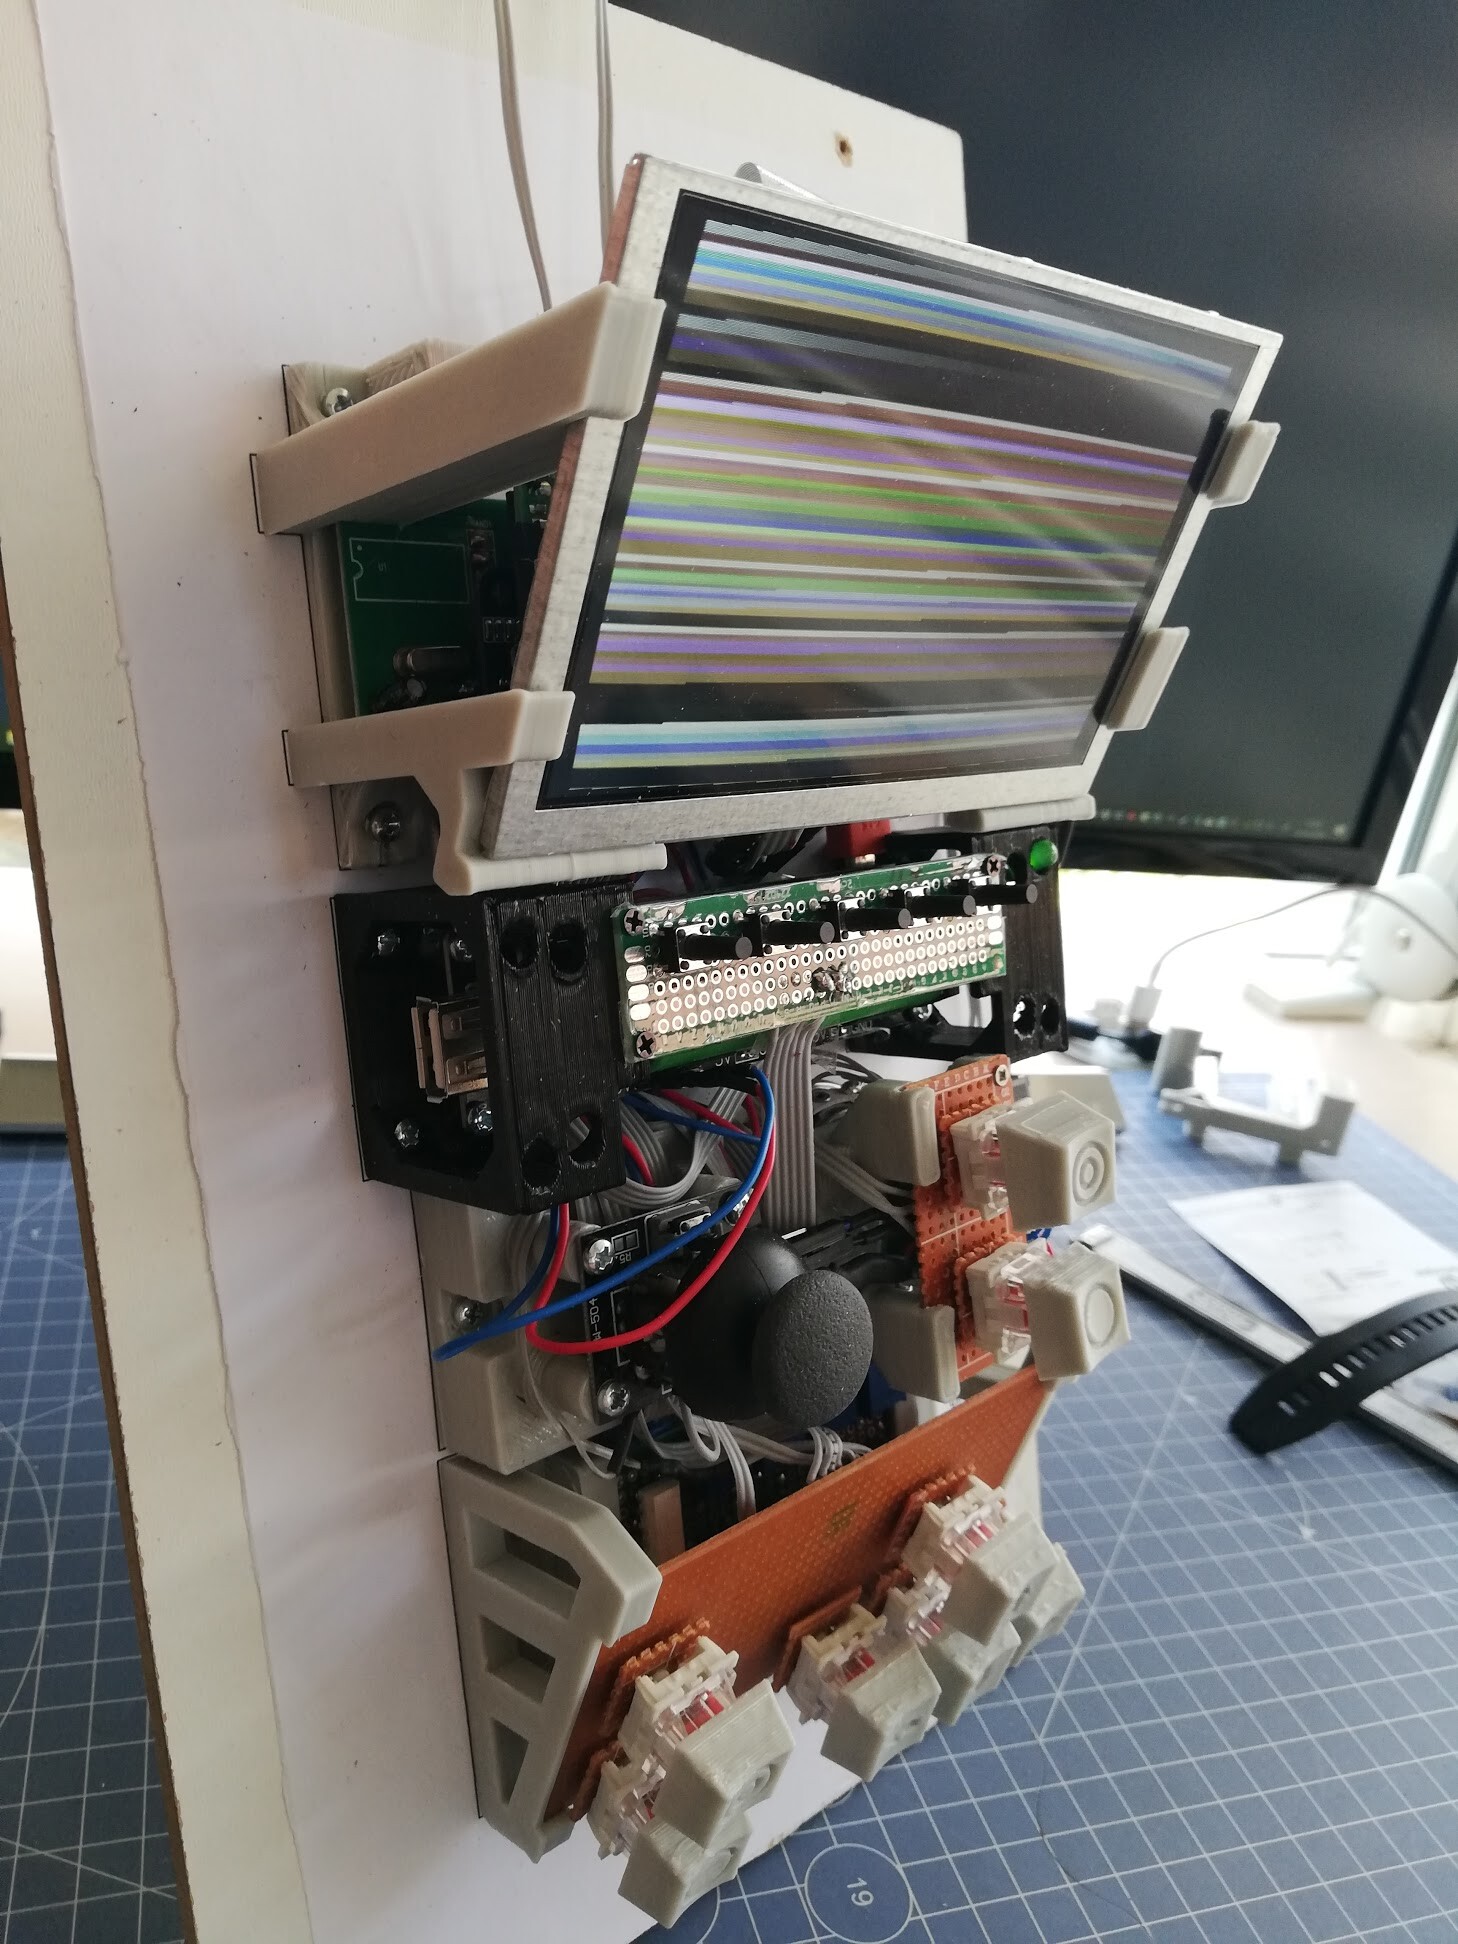
And finally I printed the battery and navigation key stands with black PLA this time.

Everything in it's place but they are not fixed.
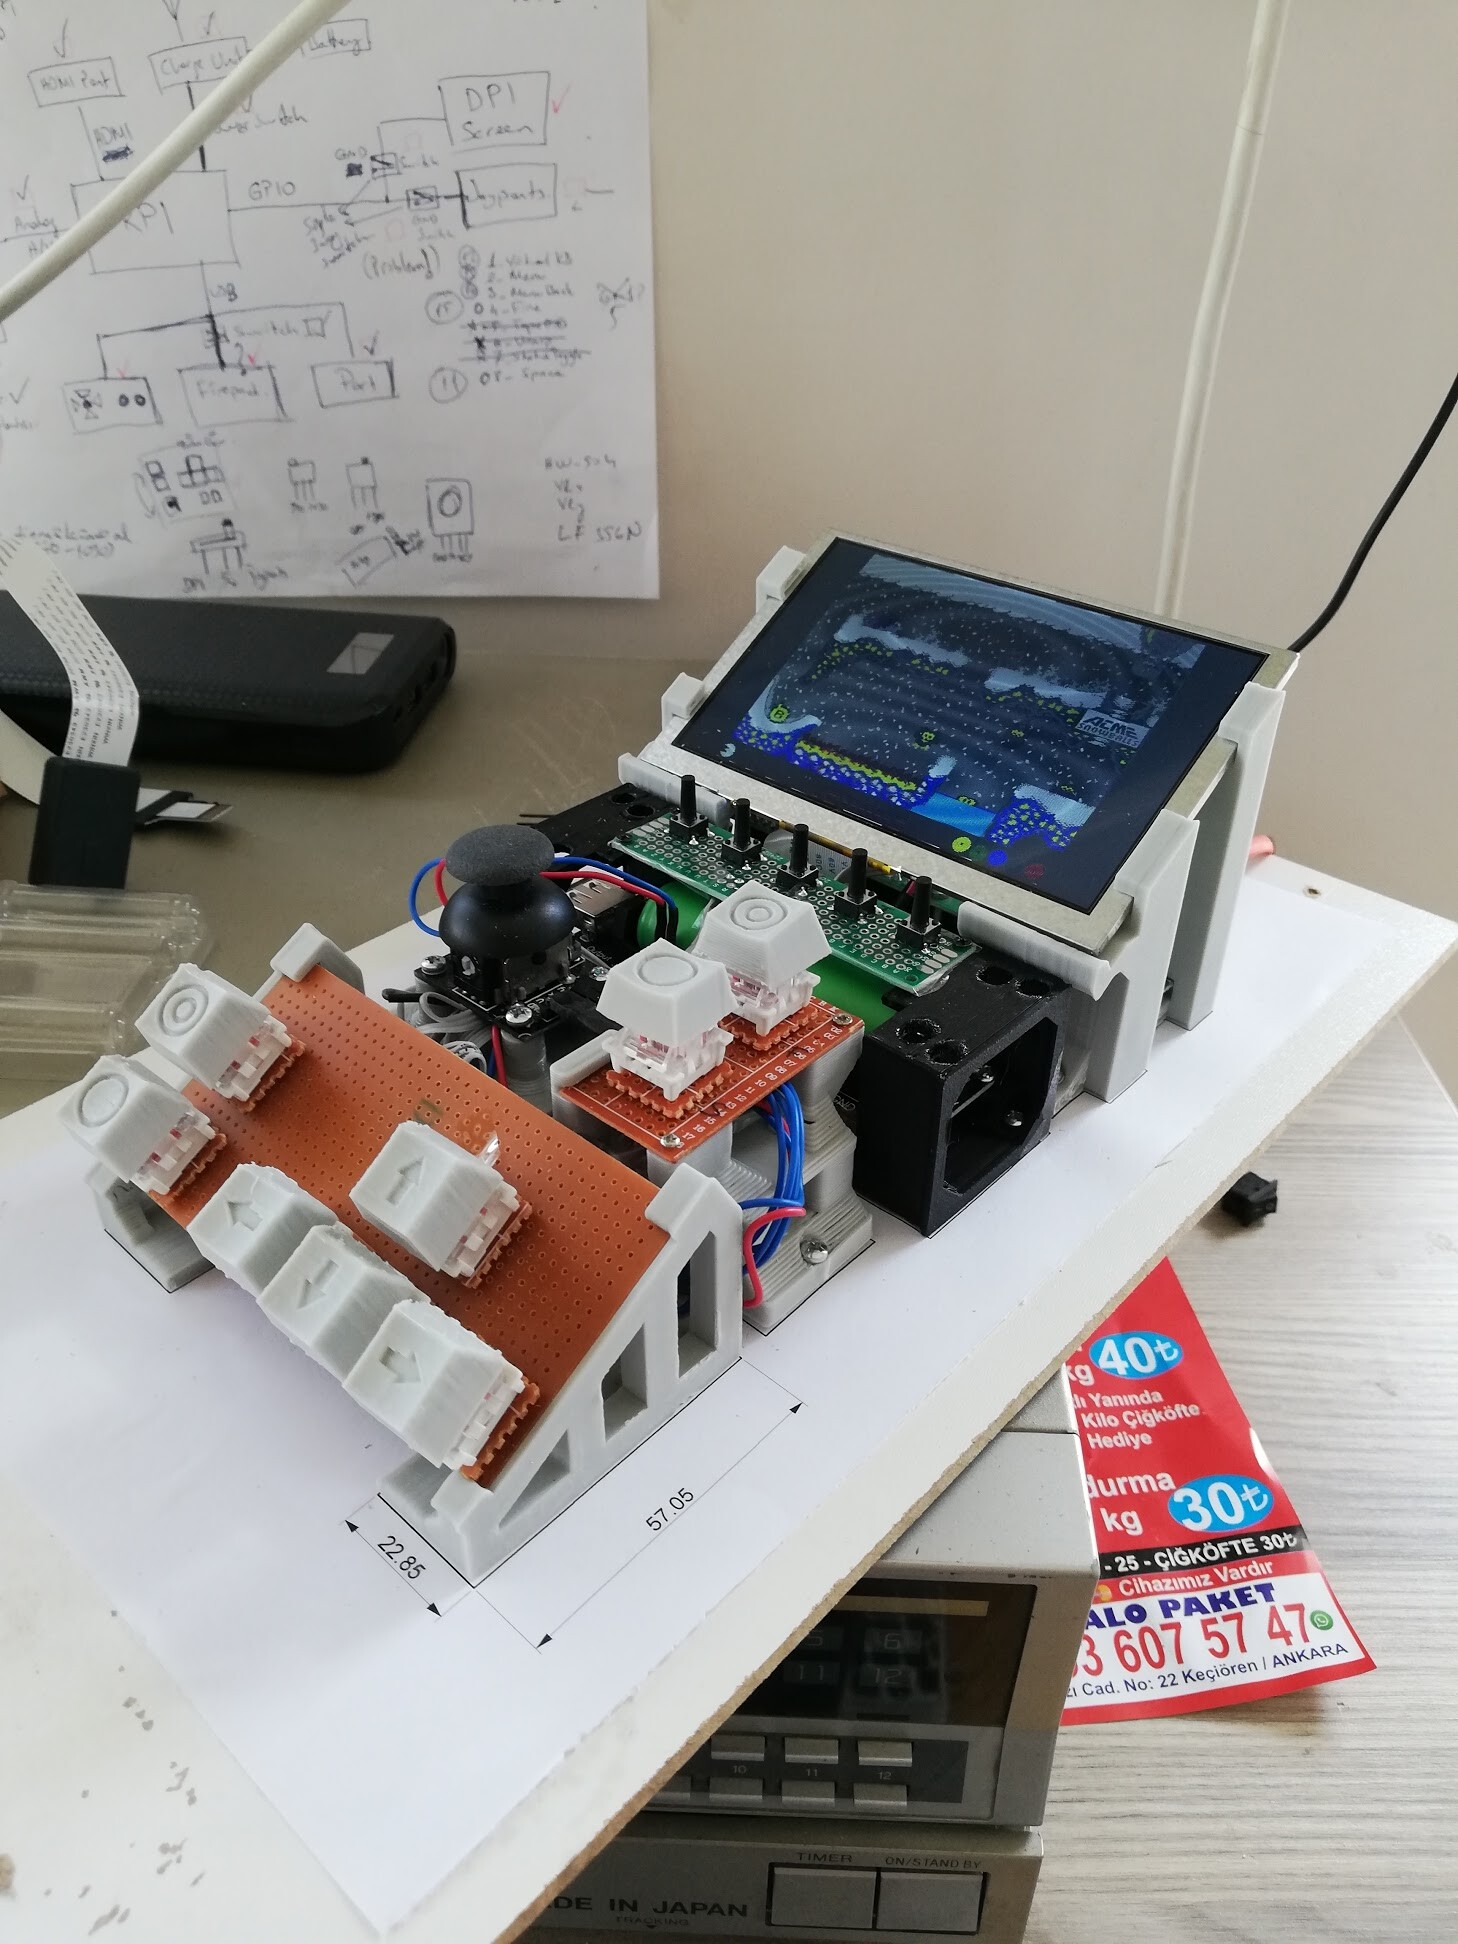
To fix everything on a wooden plate, first I extracted a bottom surface drawing from Solidworks.
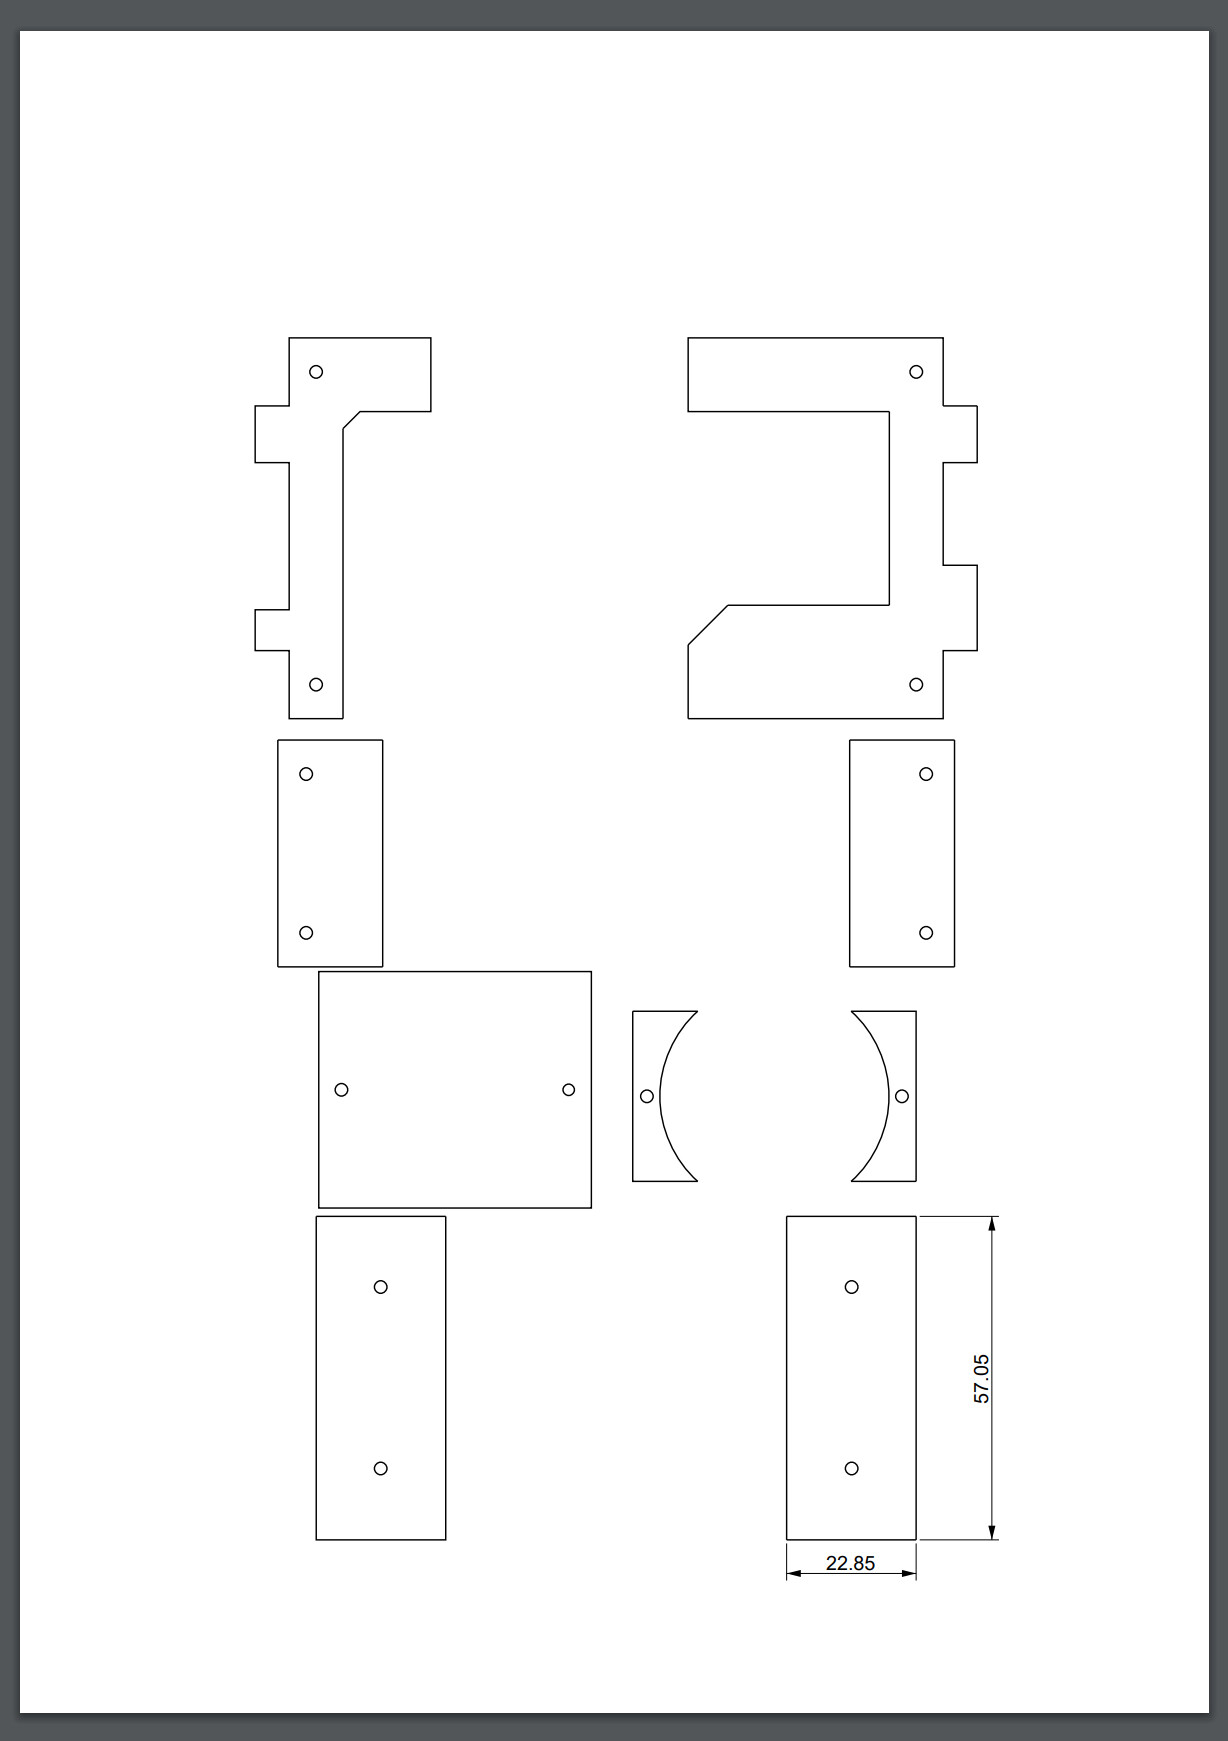
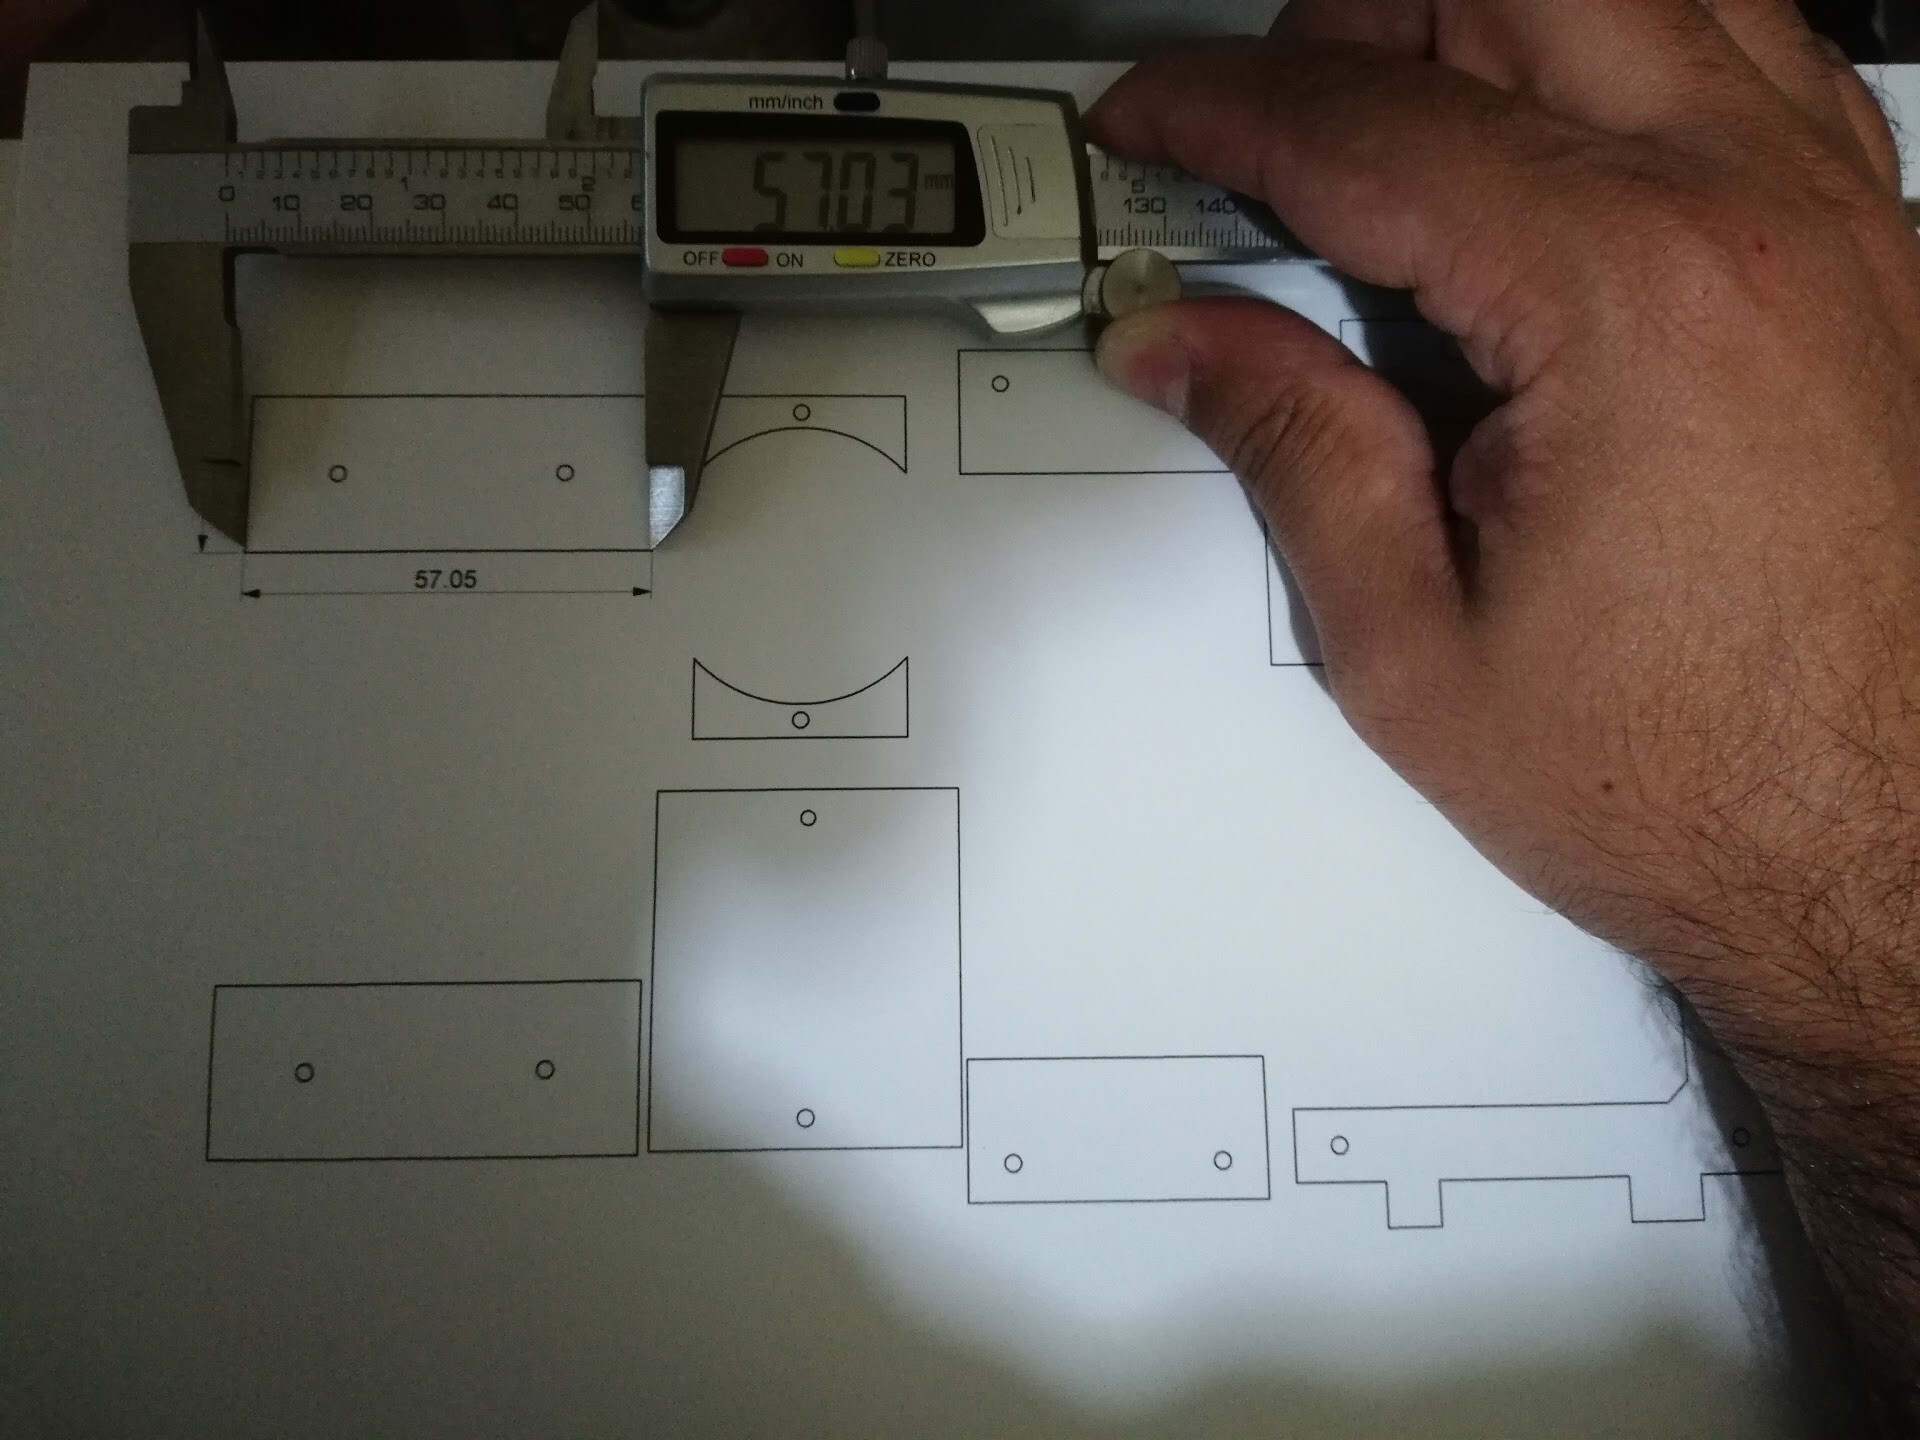
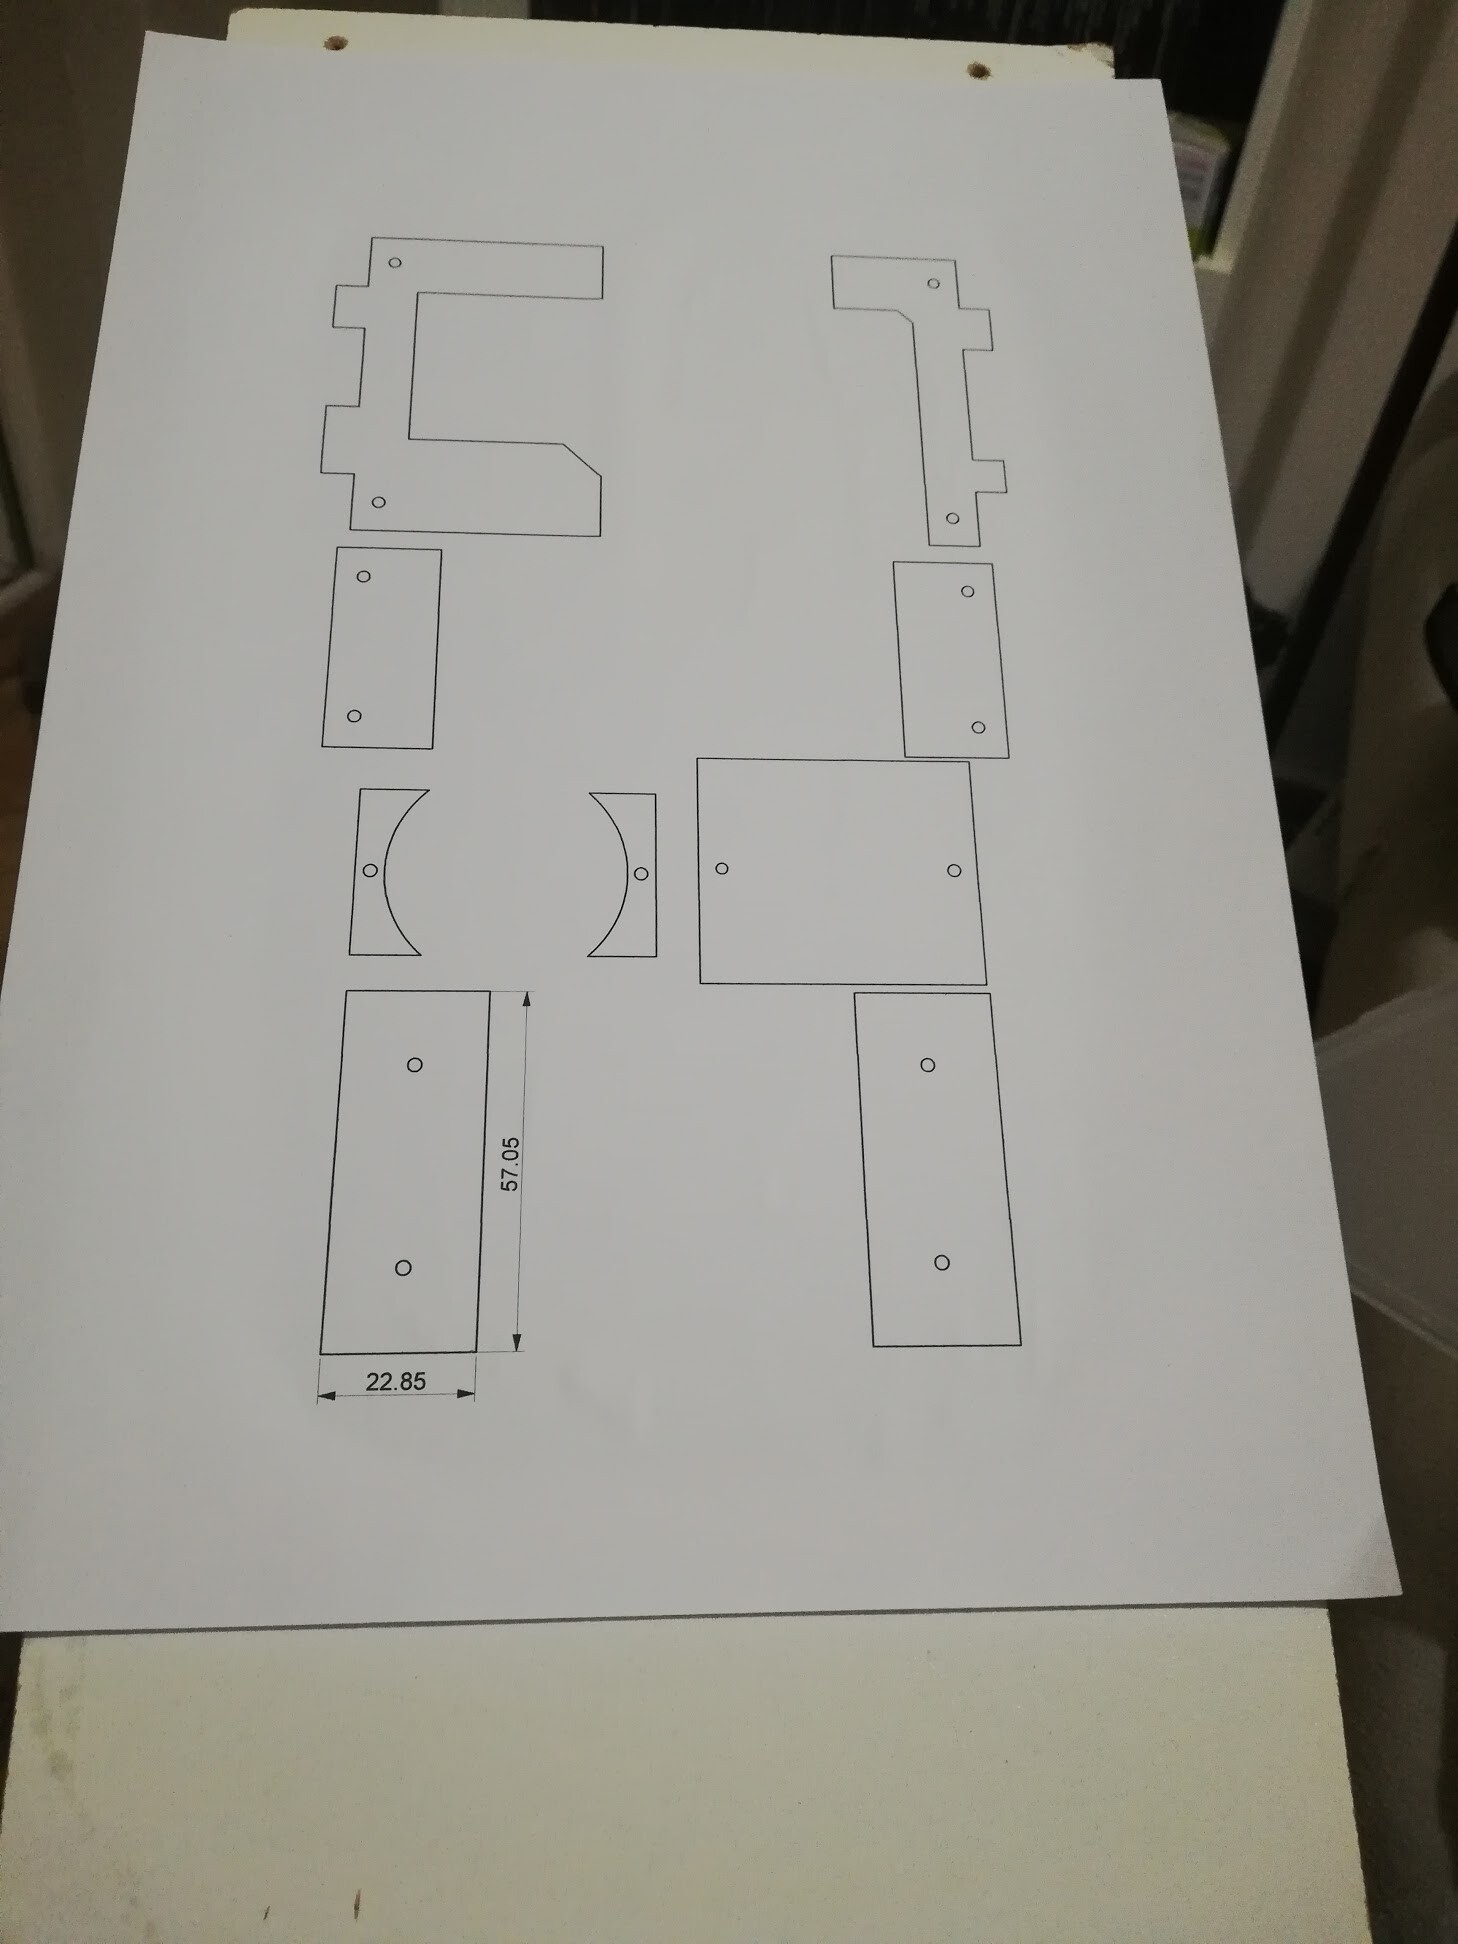
Printed the drawing and checked if it's correctly scaled with the reference dimension on the drawing.
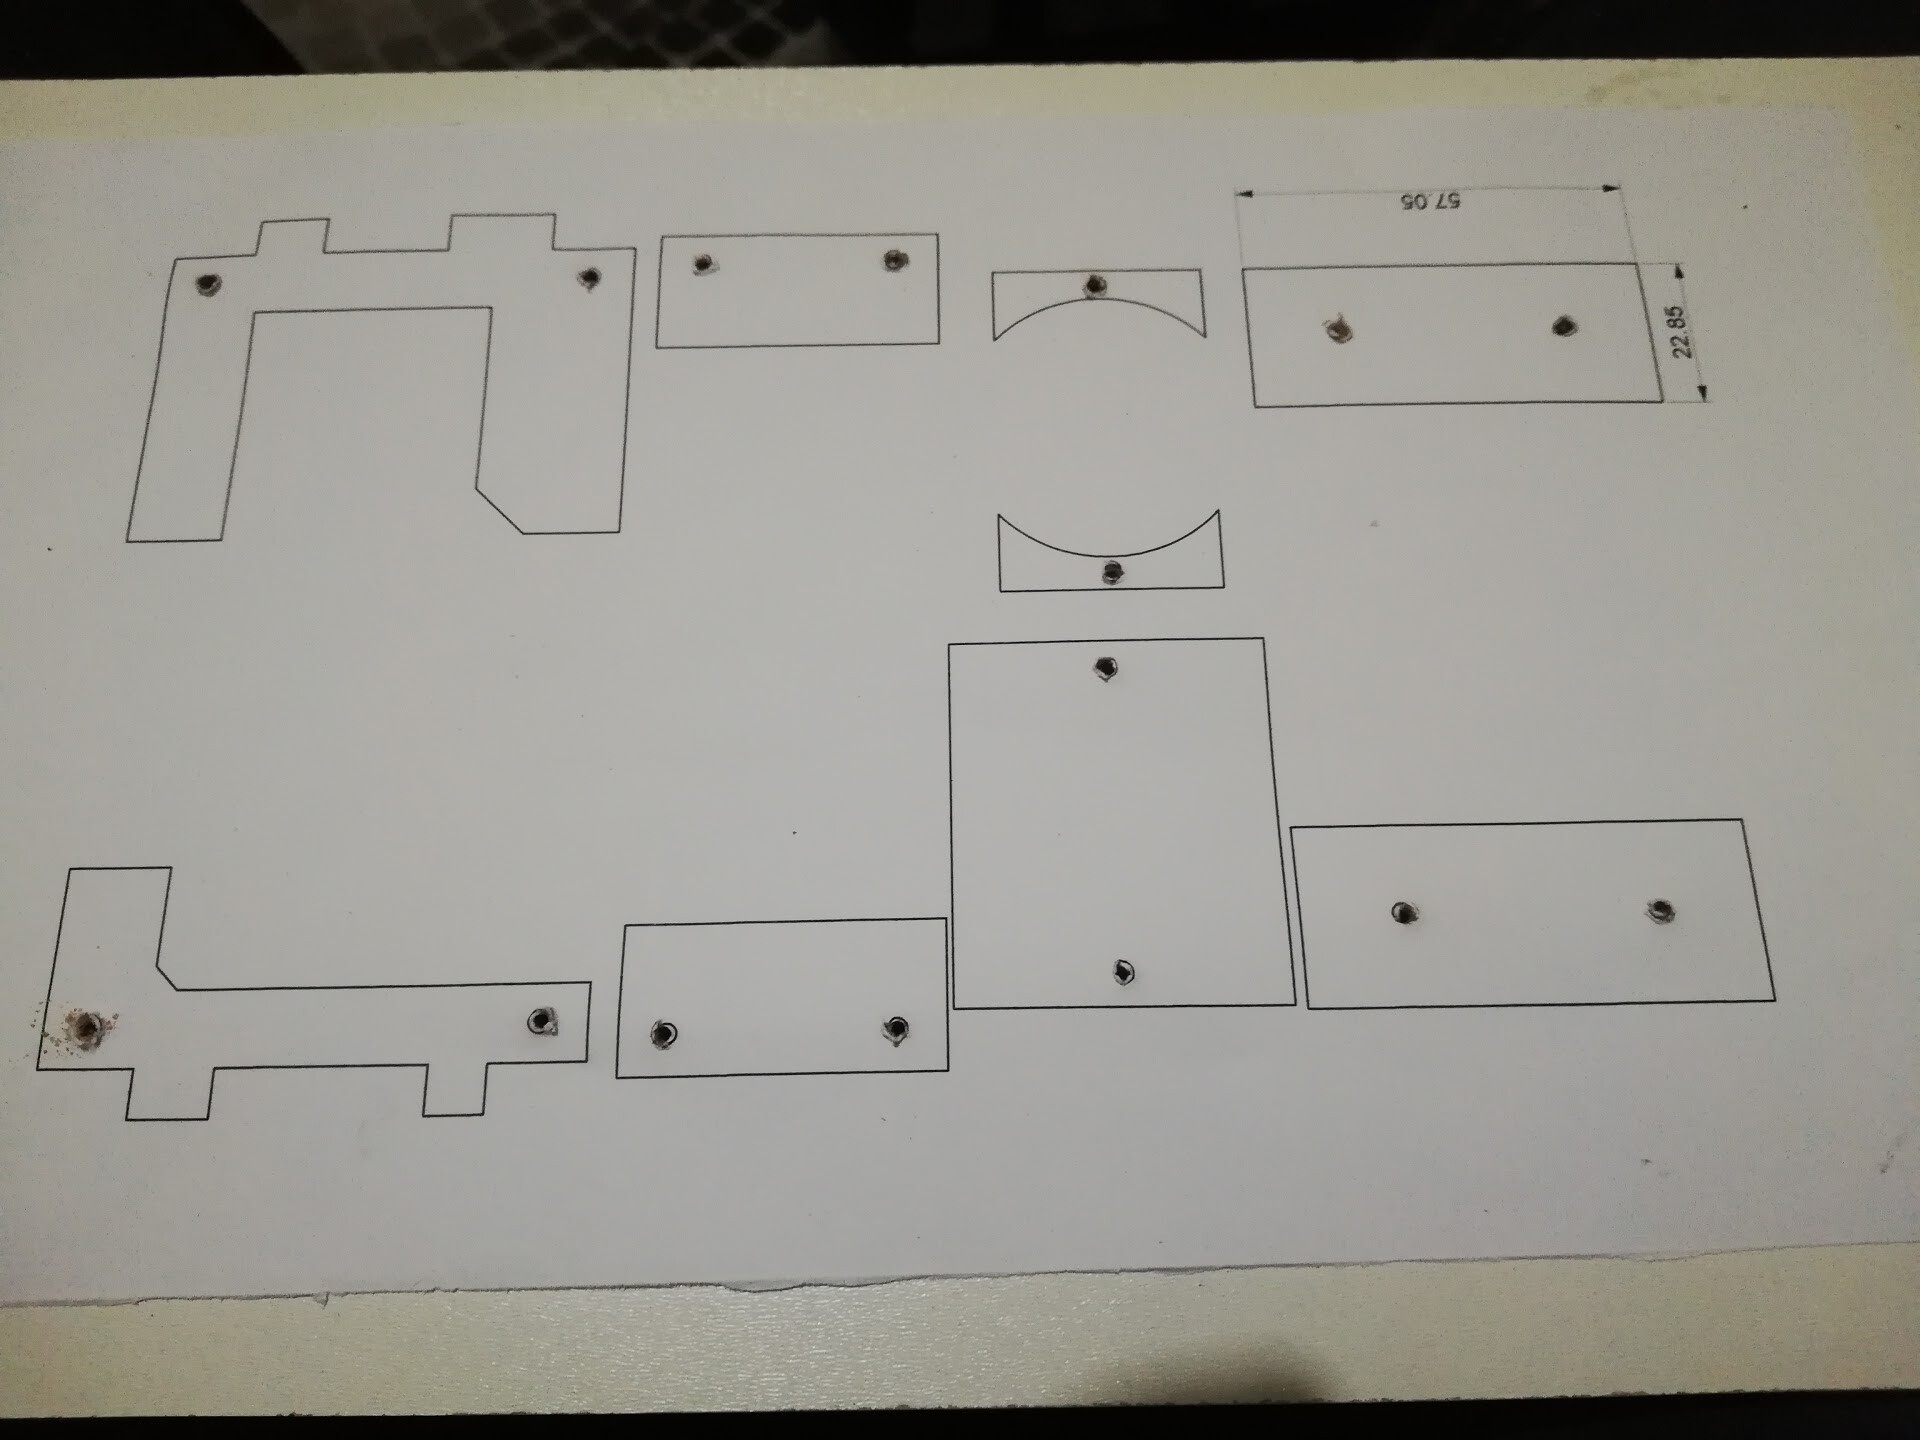
I glued the template to the wooden plate and drilled the holes with a screw (first I printed the mirrored template by mistake!).

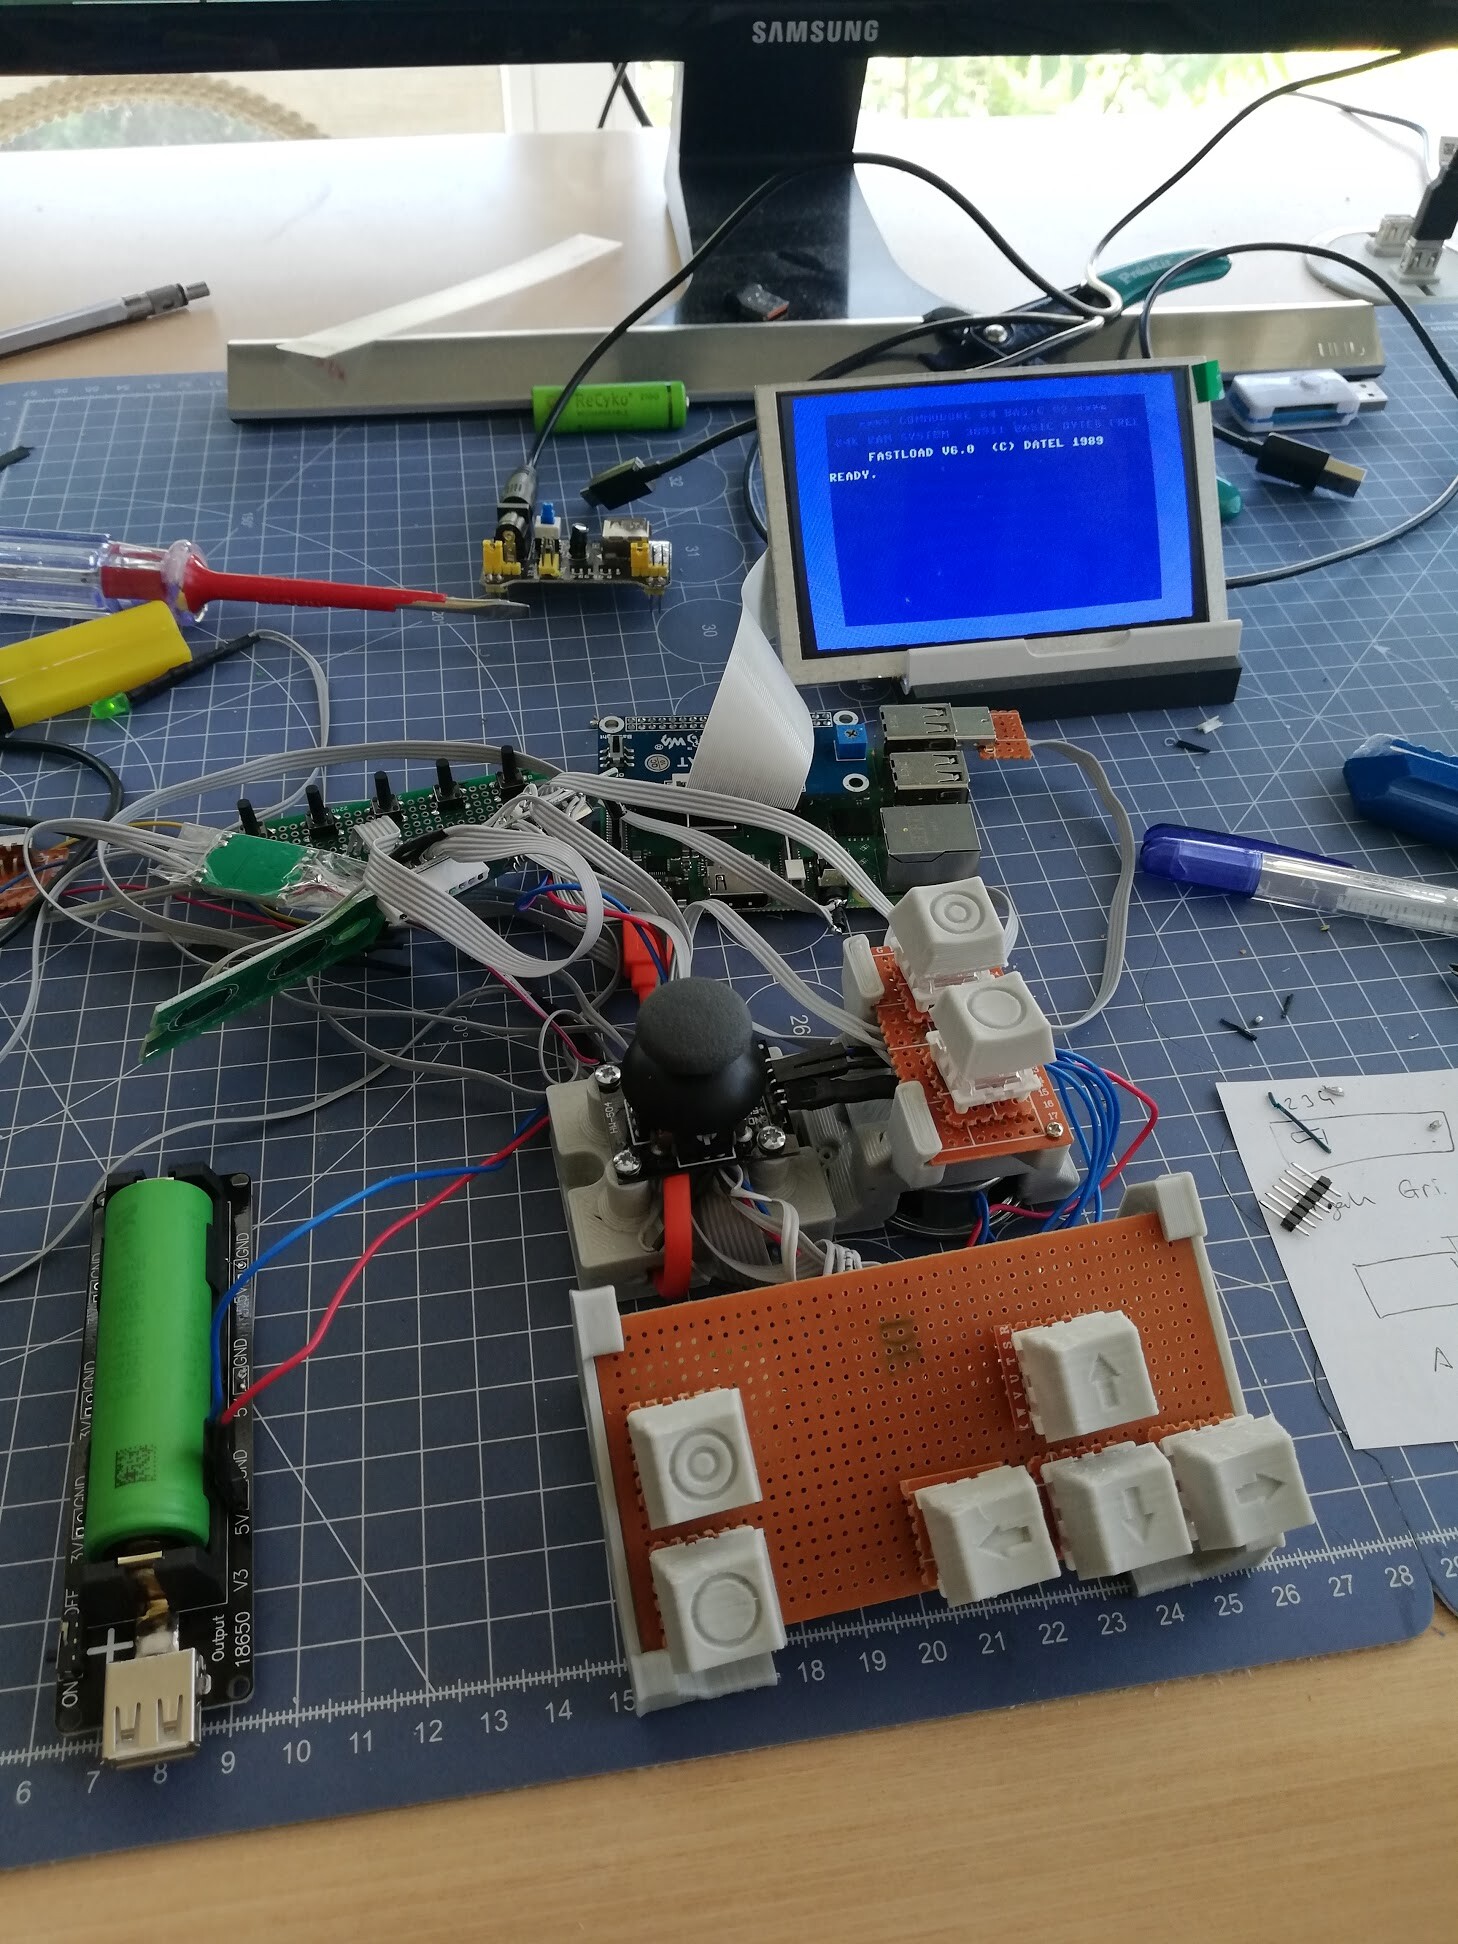
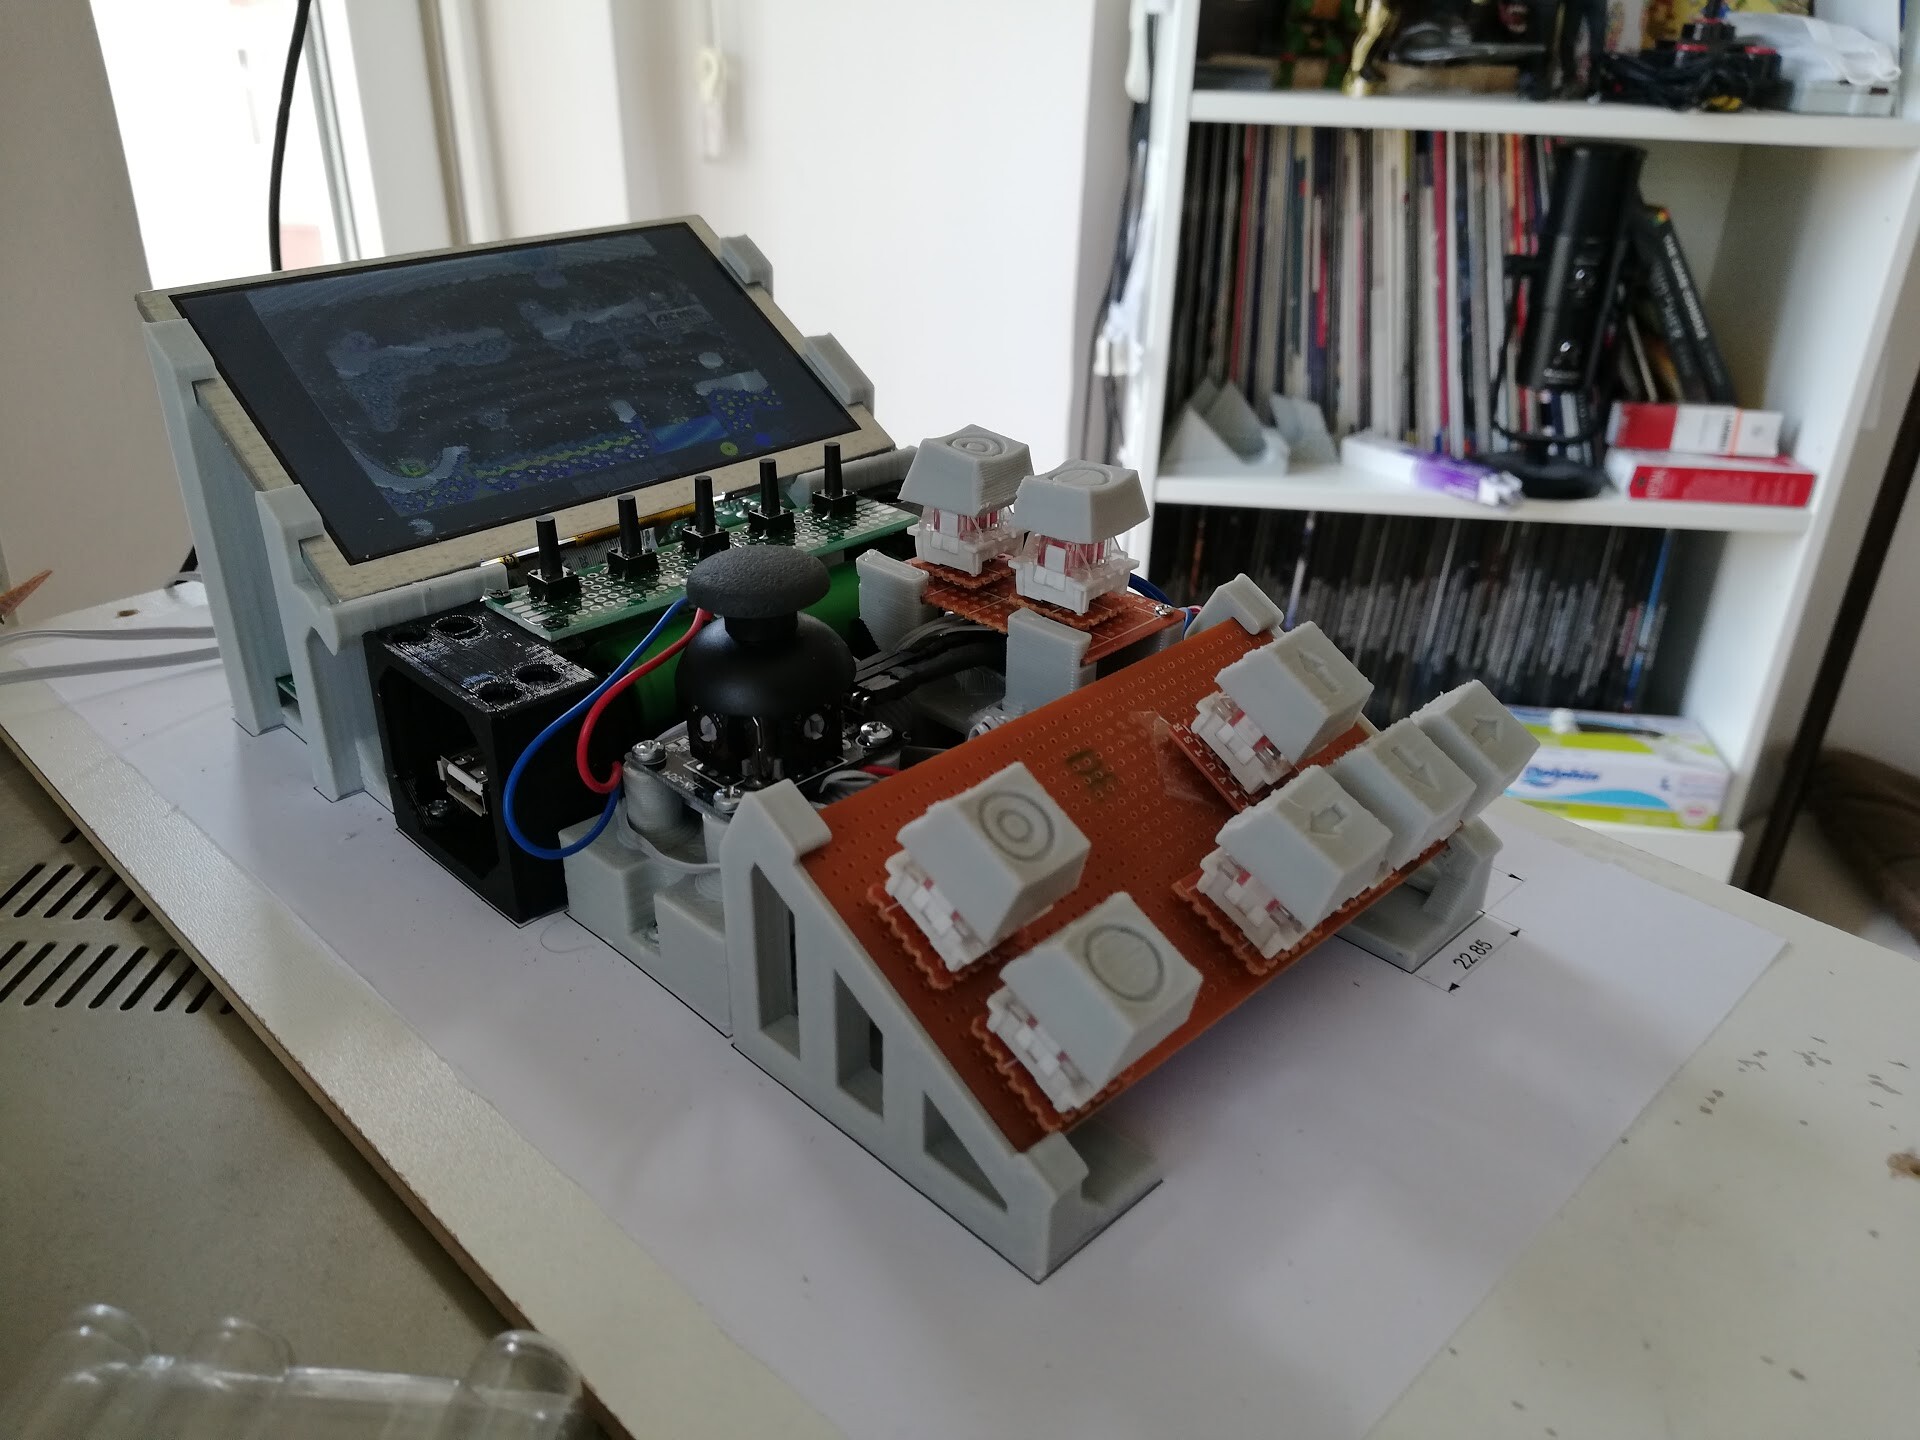
And finally fixed!

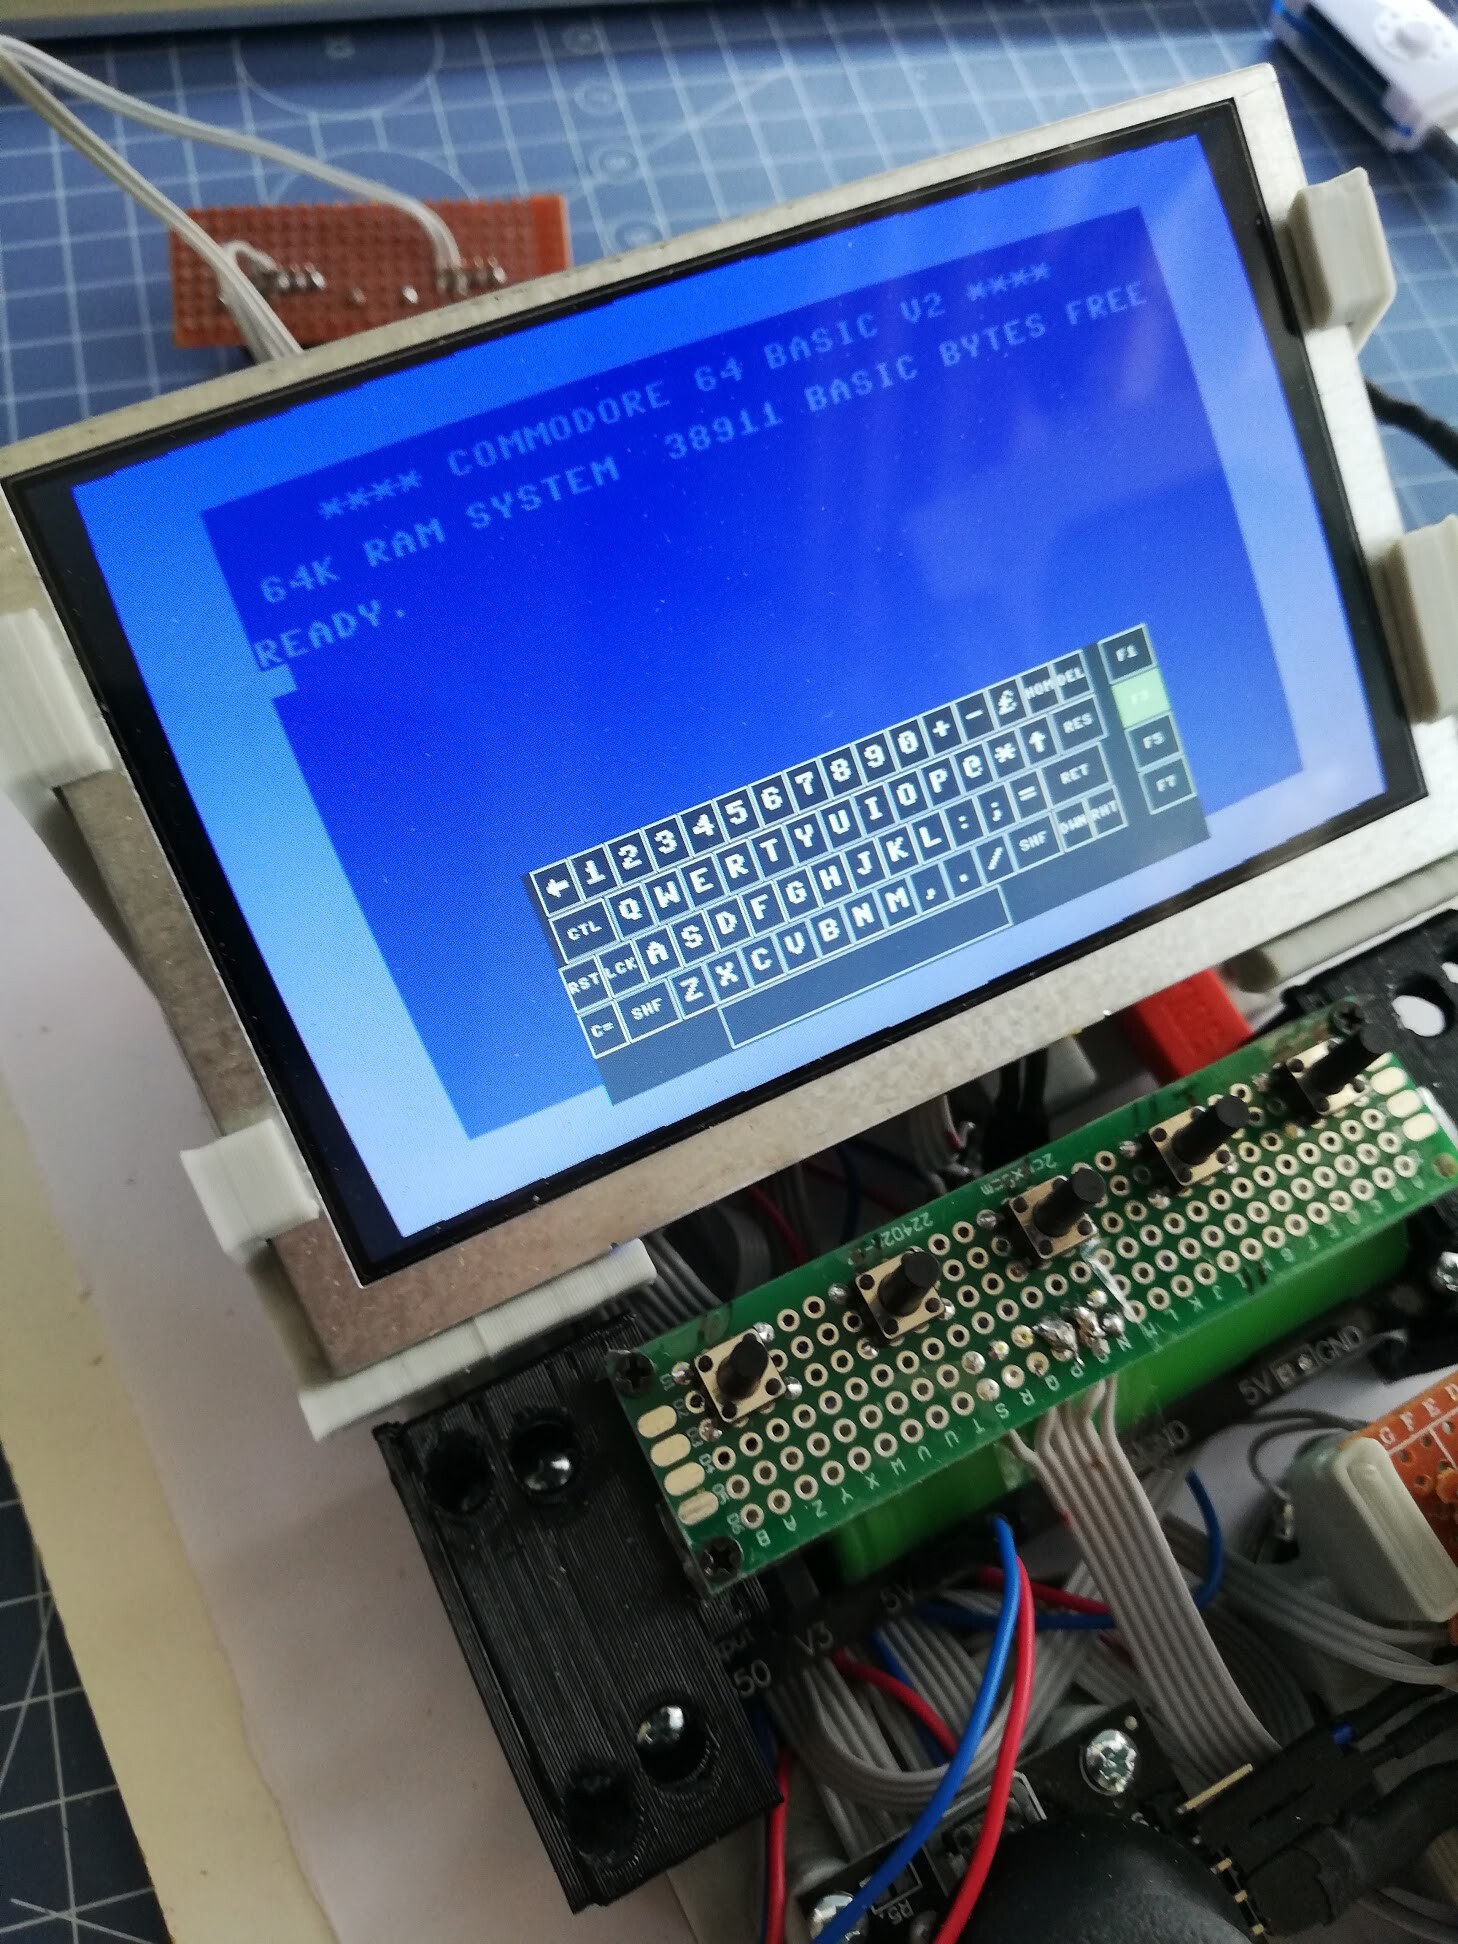

Look at that screen with CRT Filter! Imho it's almost perfect for a 800 x 480 pixels screen.

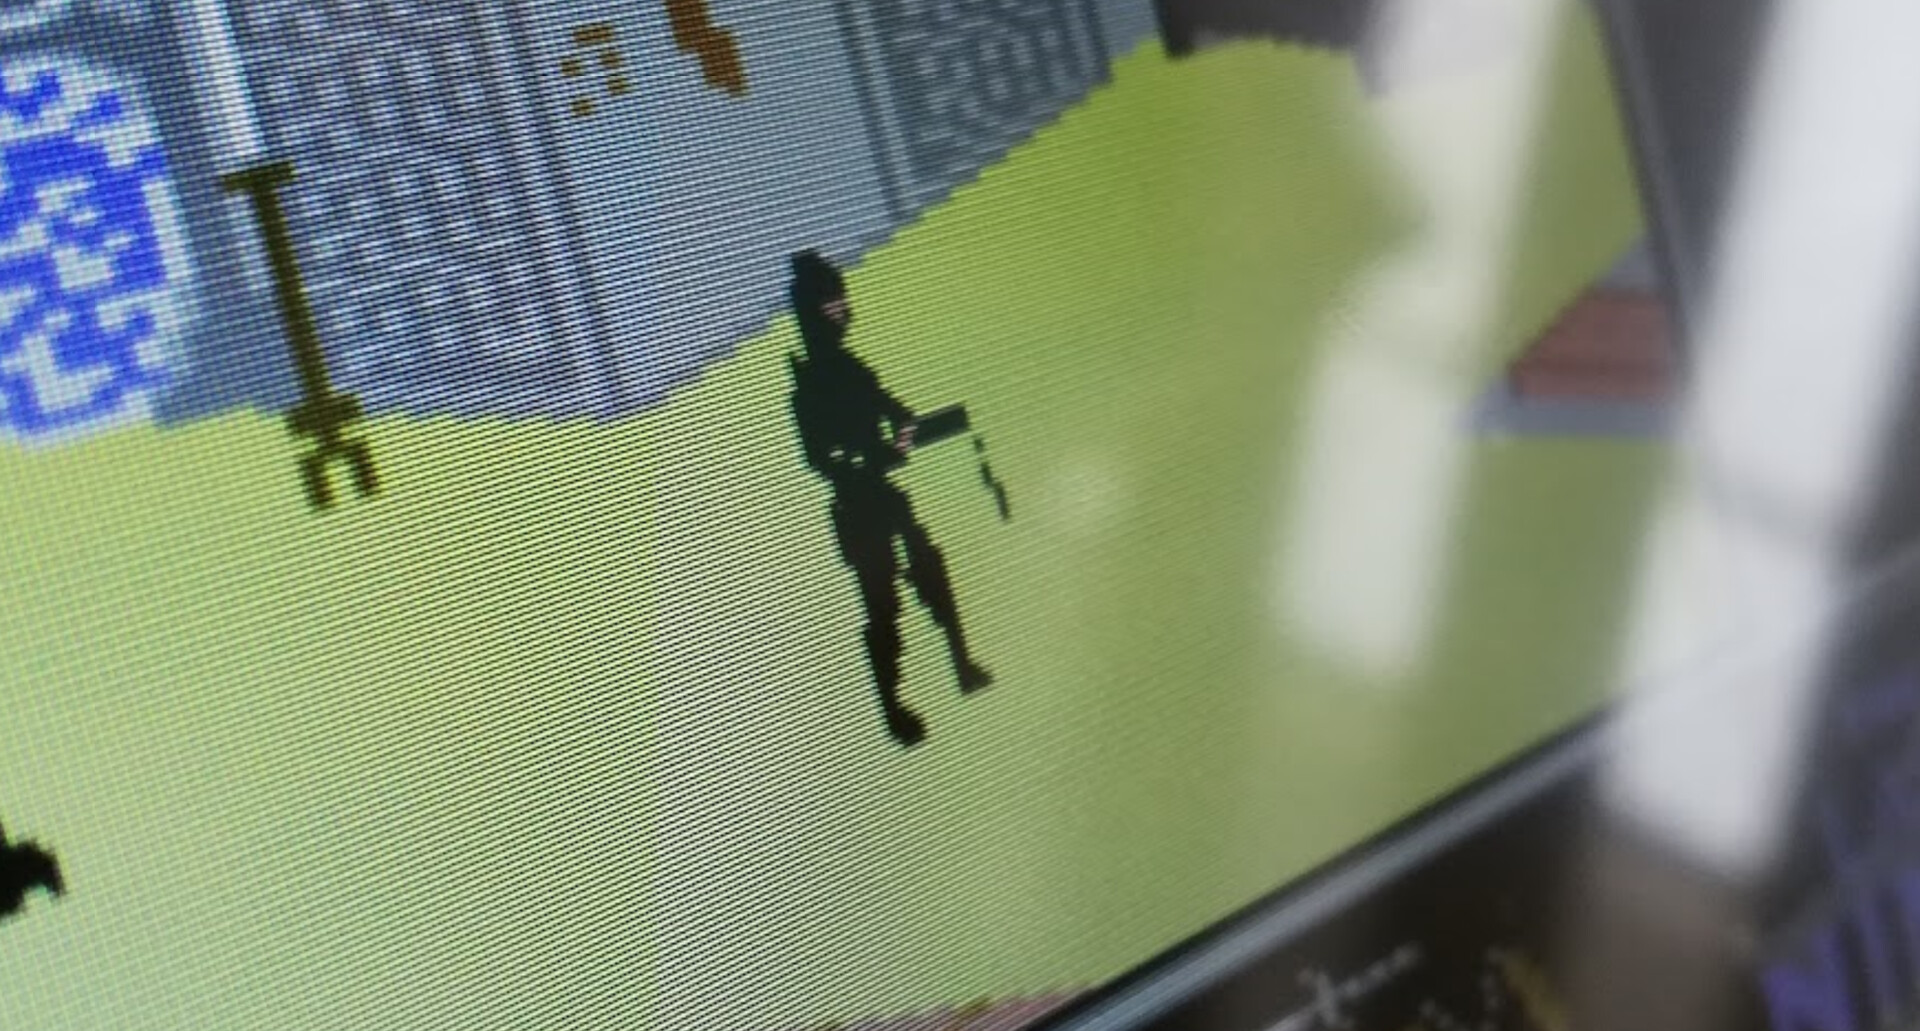
See you on next post!