Let's continue from the previous part. you can find the first part by this link:
https://www.artstation.com/blogs/blockmind/EgoA/making-of-a-crt-tabletop-bartop-arcade-machine-part-12
6. Texturing the Cabinet
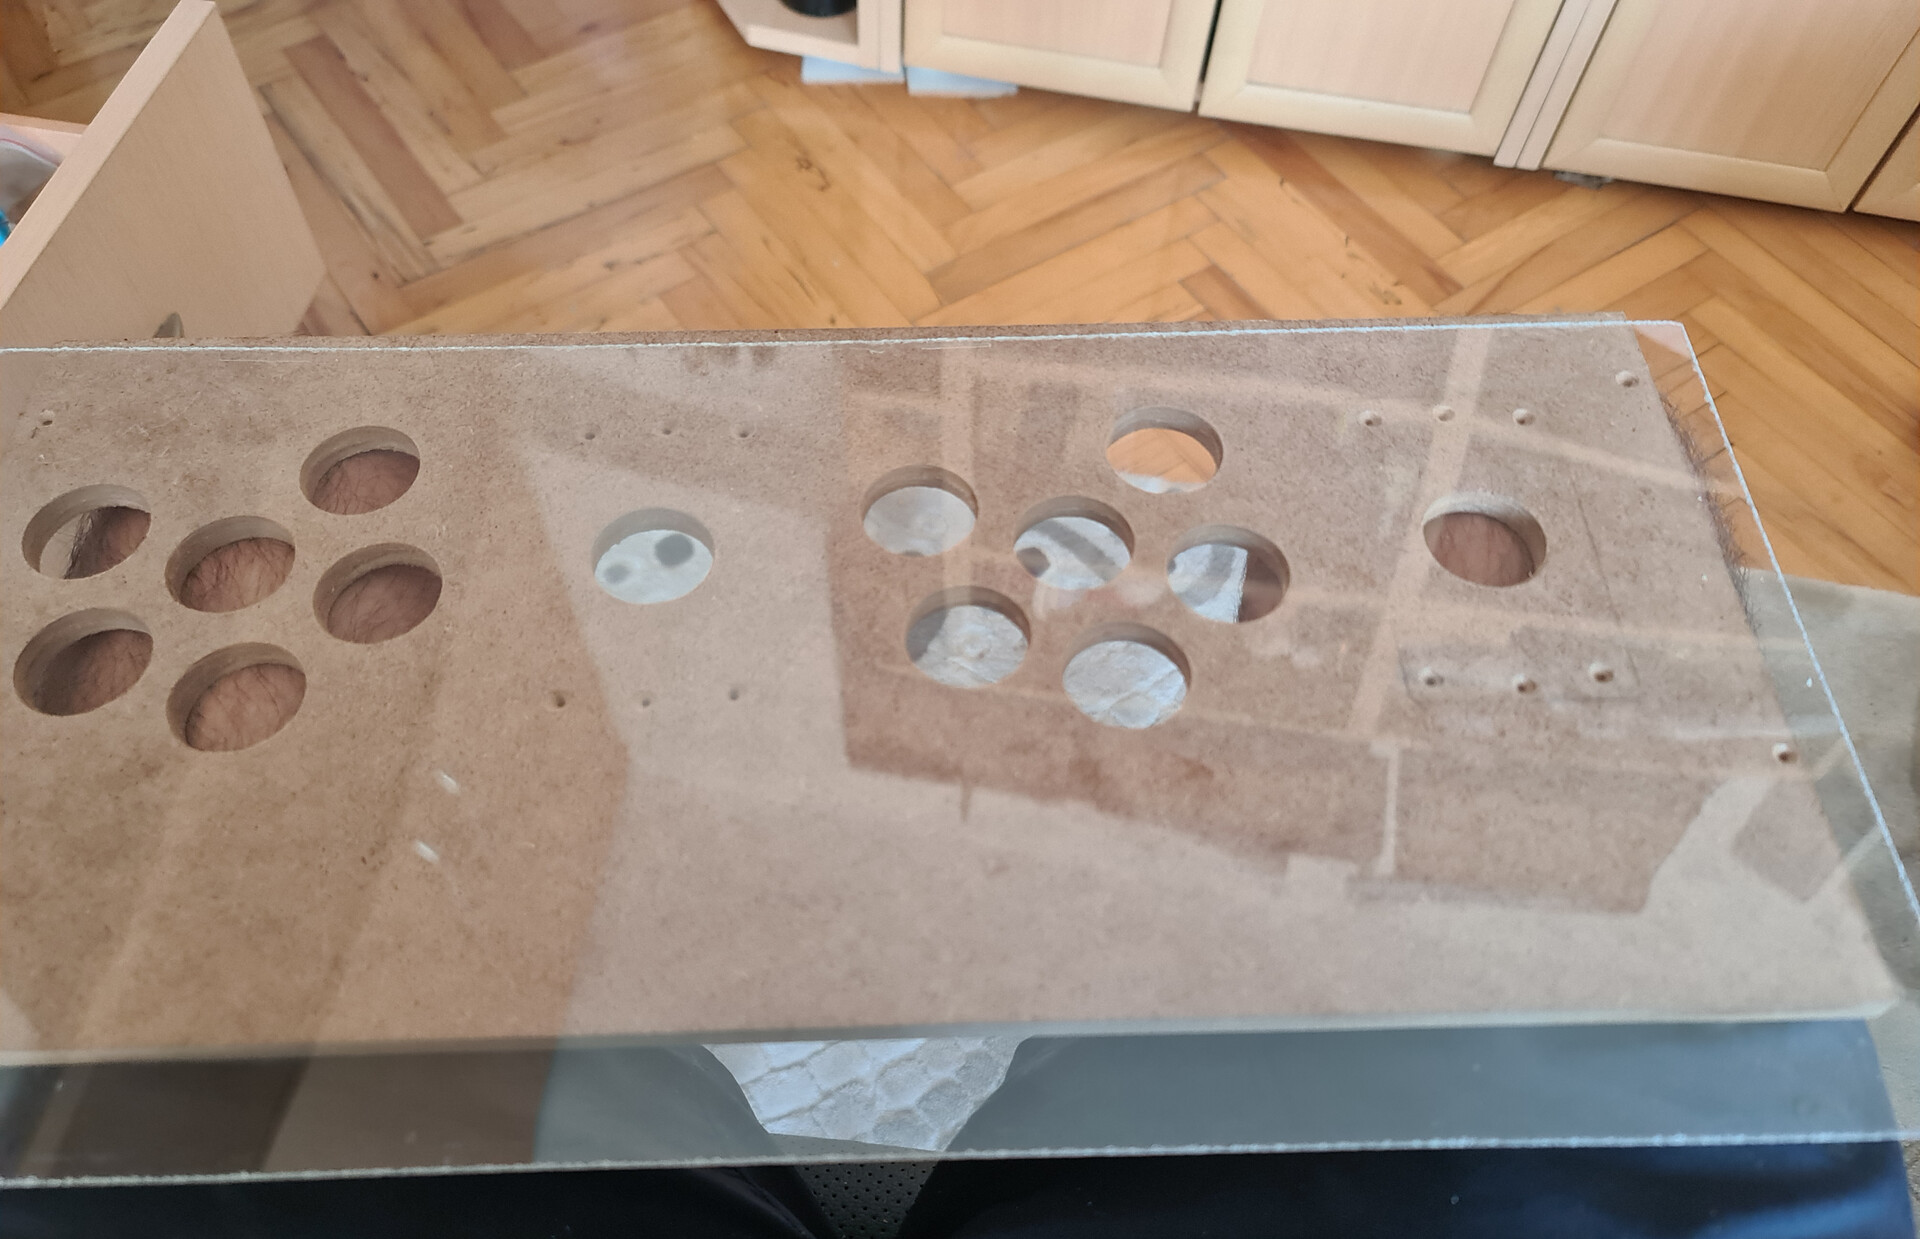
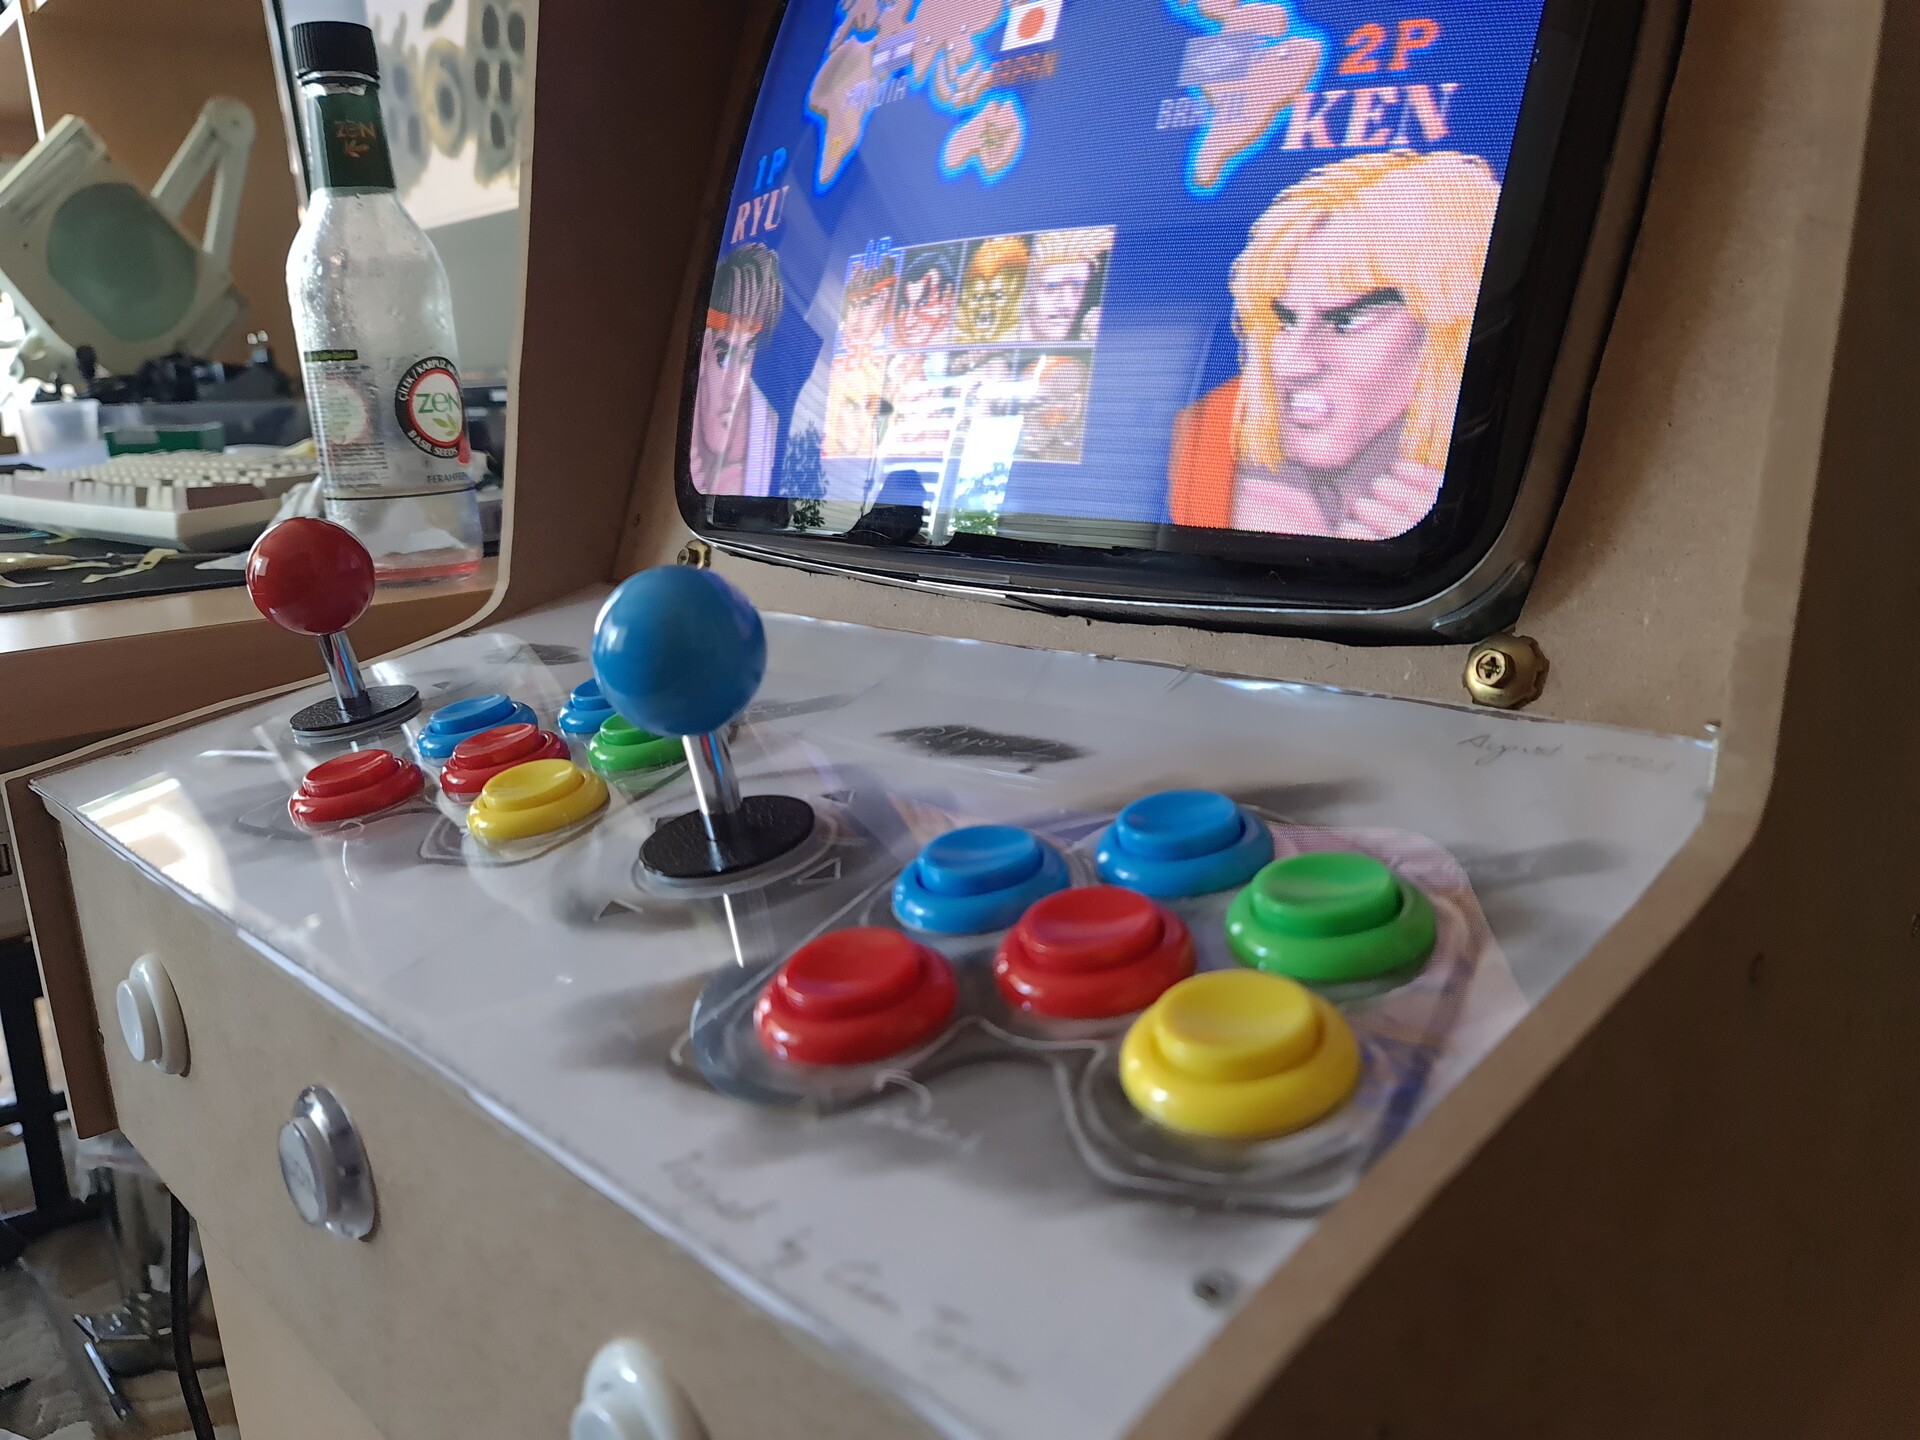
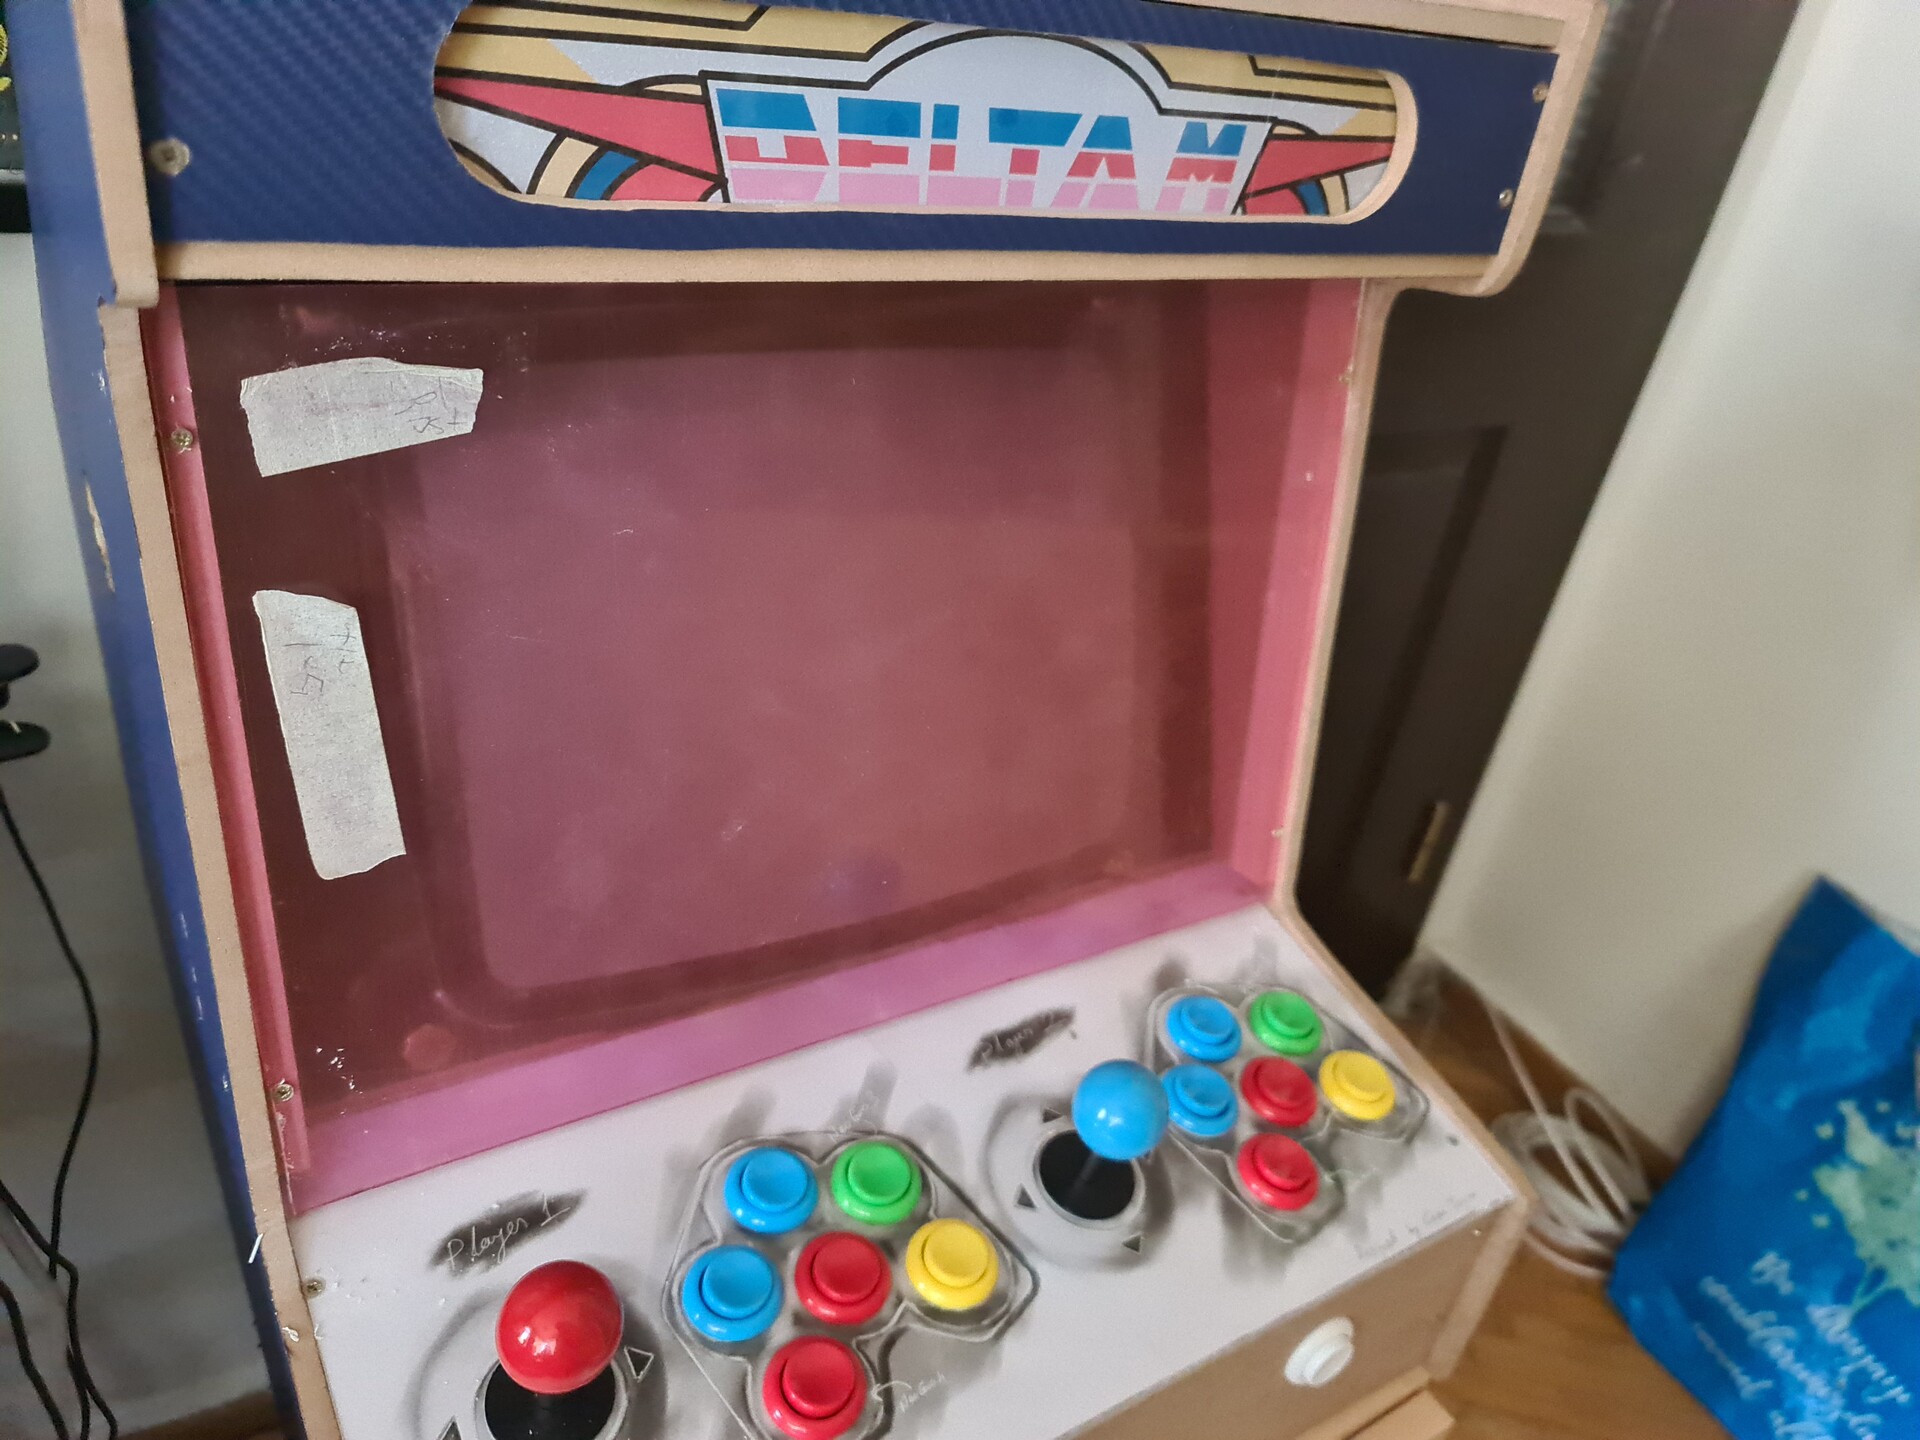
Before getting into cosmetic details, it was urgent to add another layer over the controller panel, because hand sweat was not good for MDF. I decided to use a translucent plexiglass I had over a while, so I drilled the same holes on it, to use it as an overlay.
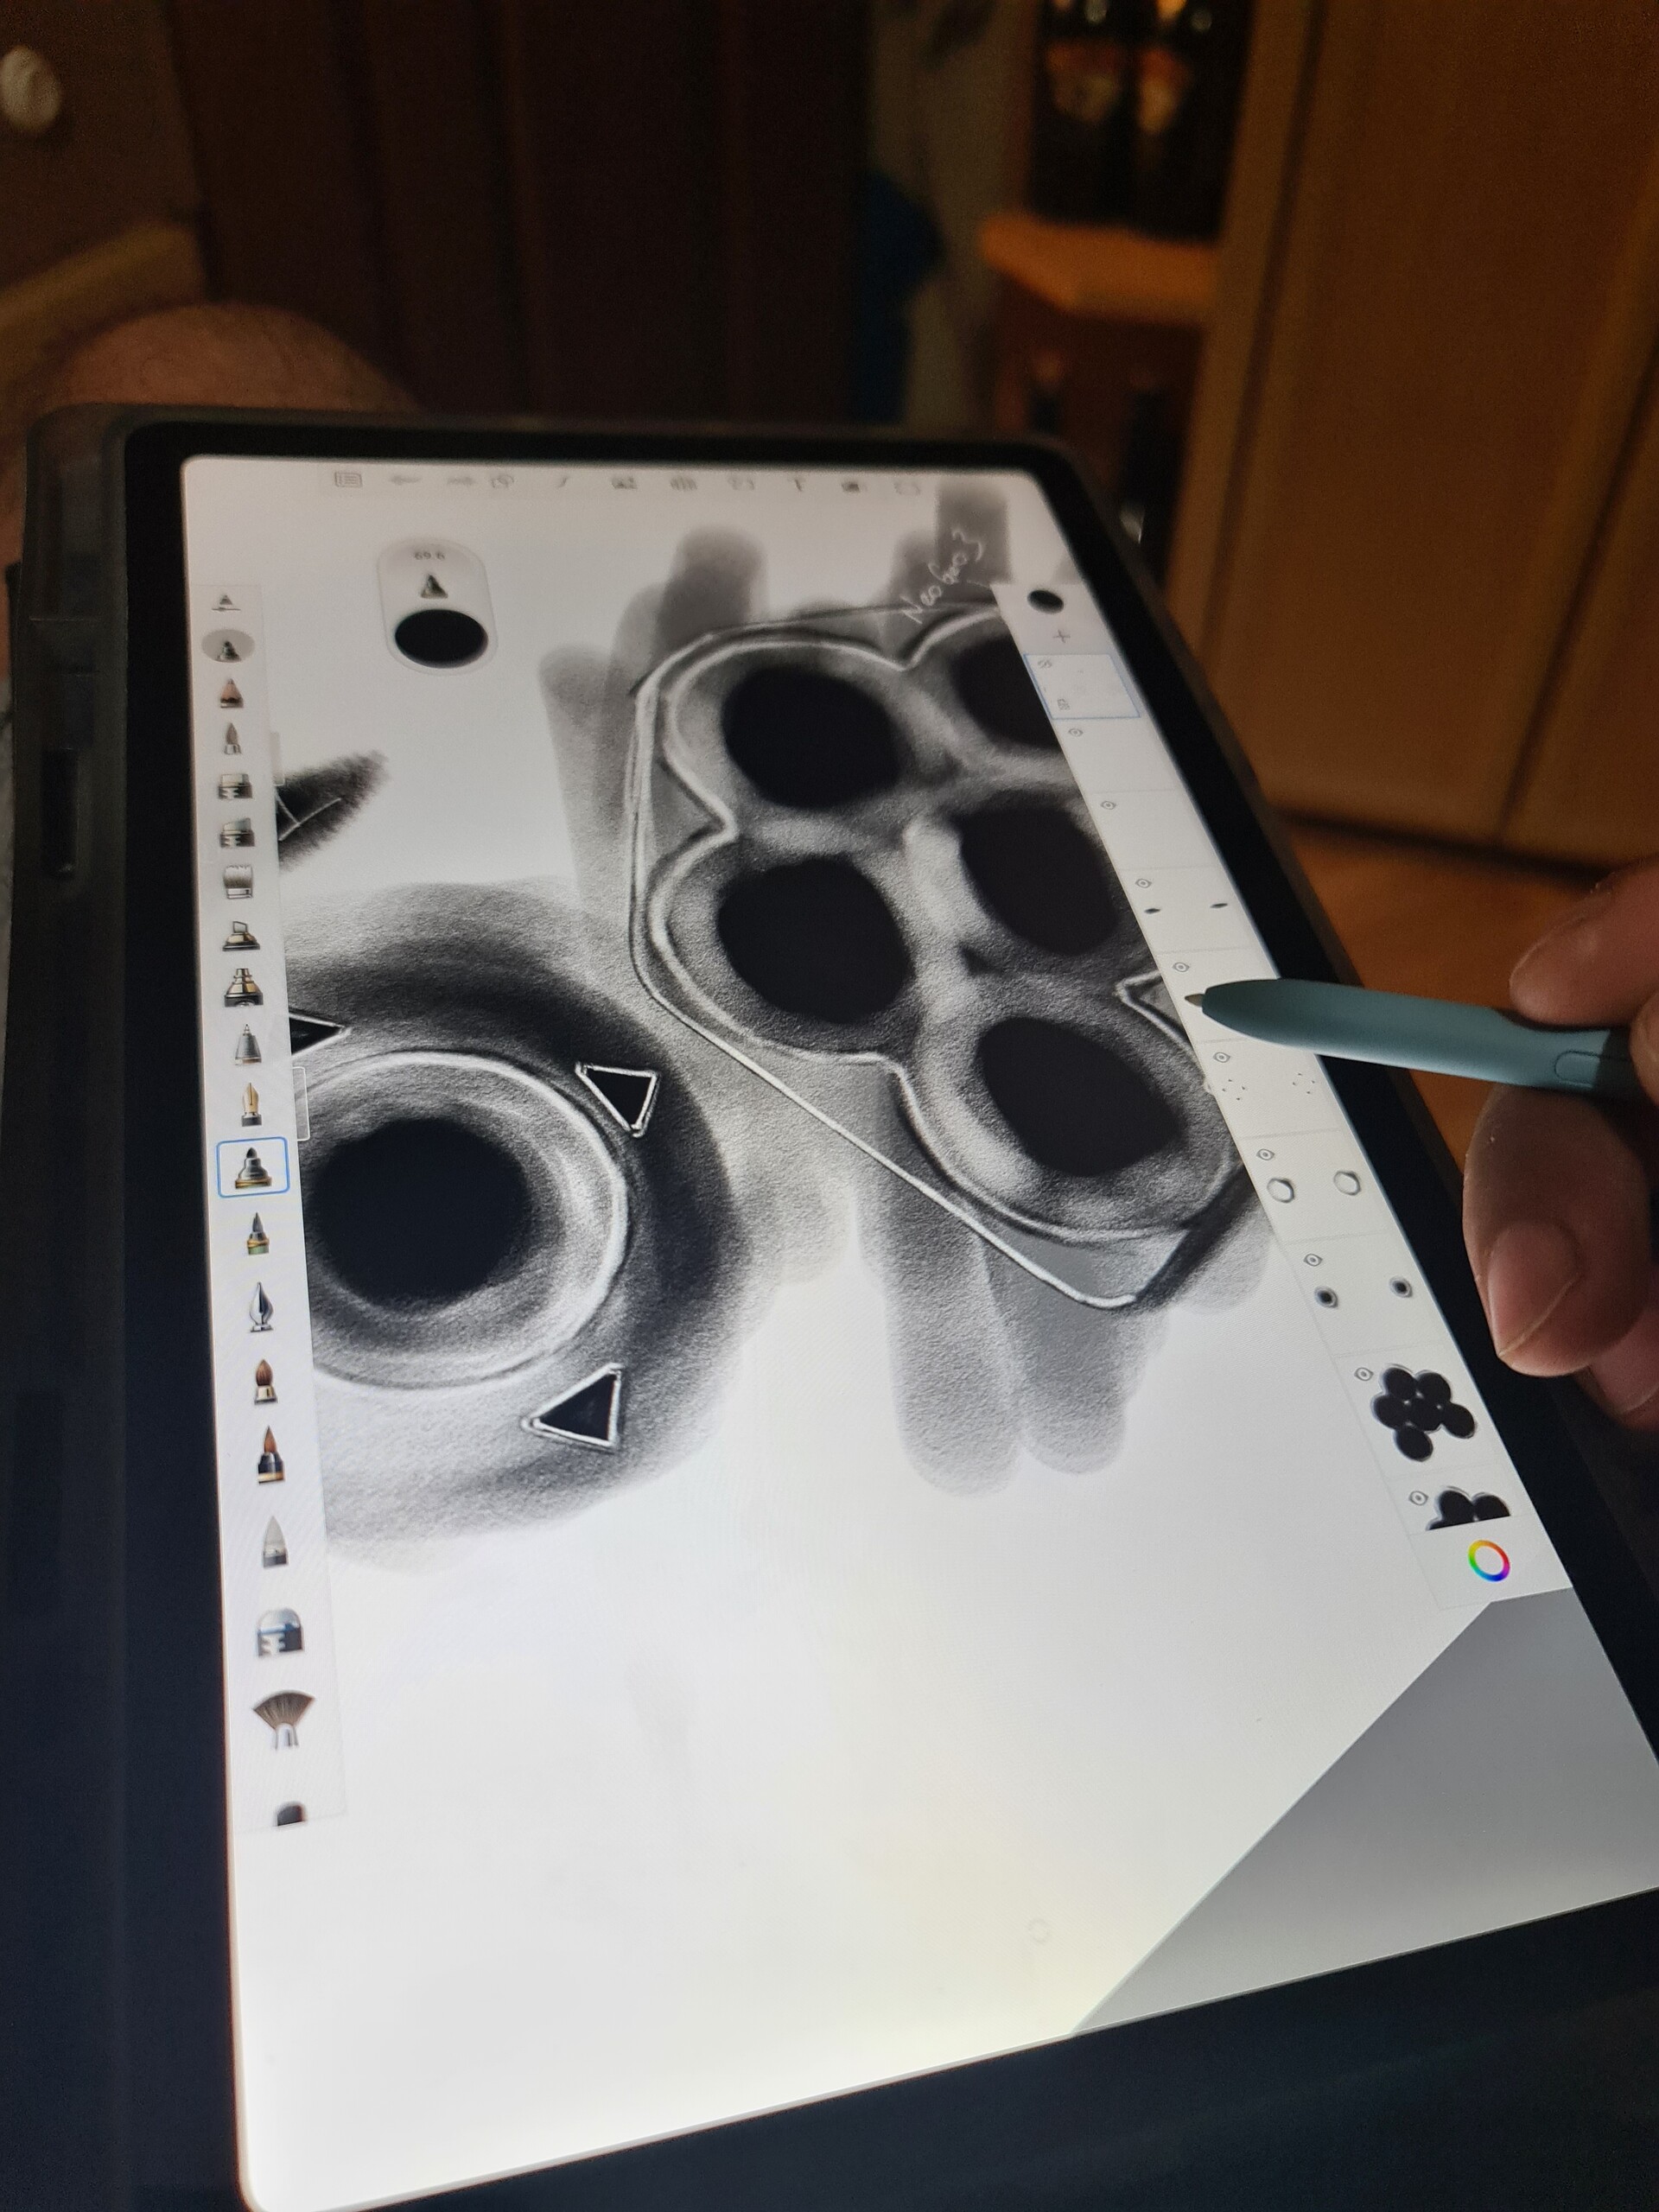
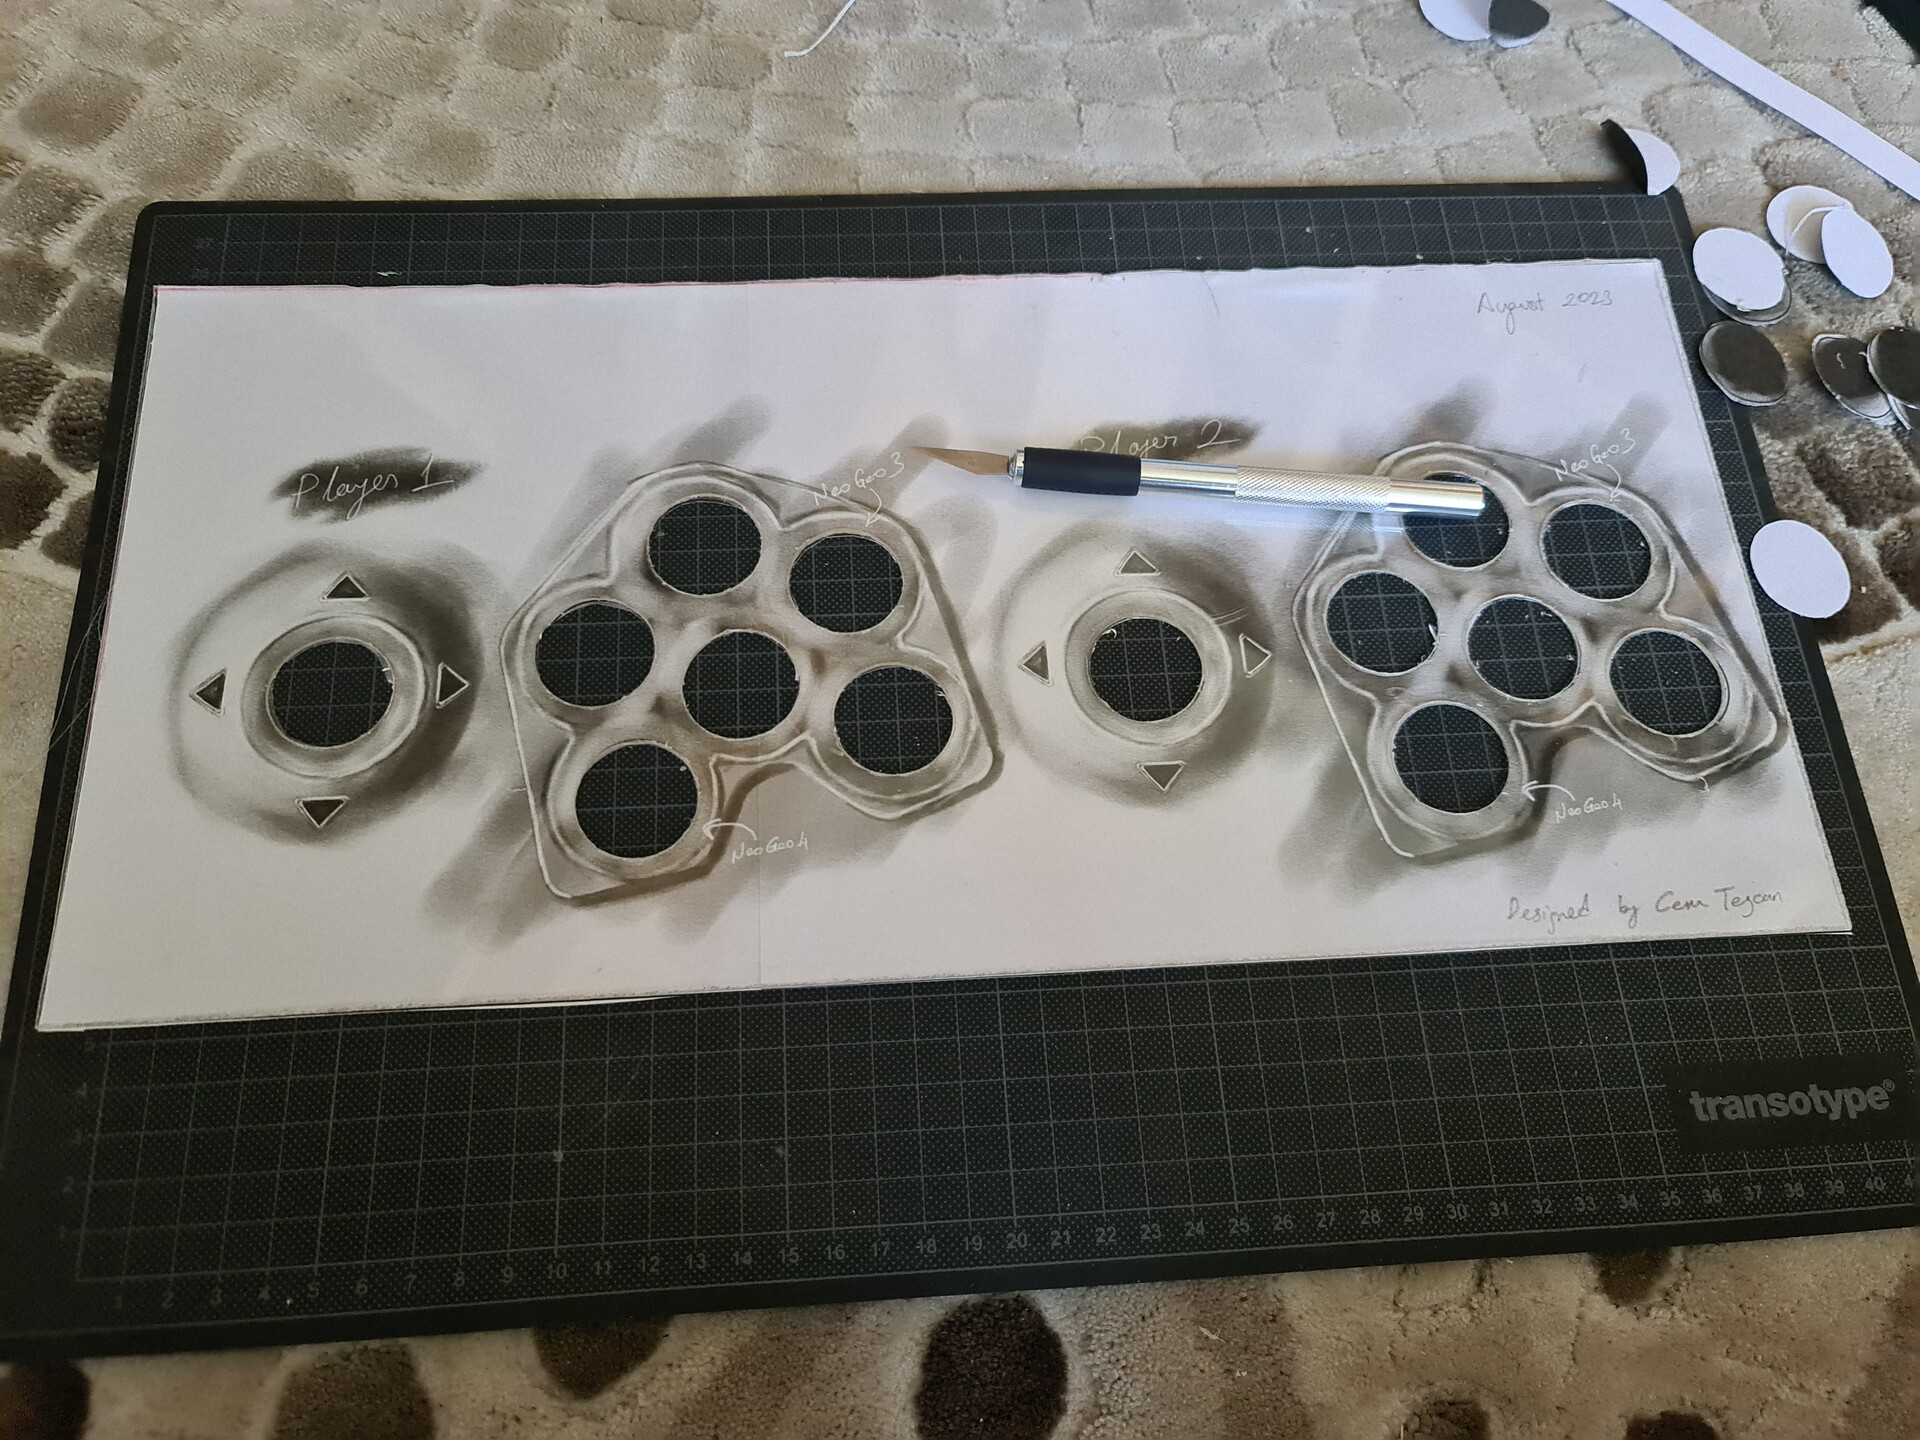
Since I was using a translucent plate, I decided to add a personal touch to print and apply it between the MDF and the Plexiglass. I exported this sketch and made a drawing with my good old Samsung Tablet.
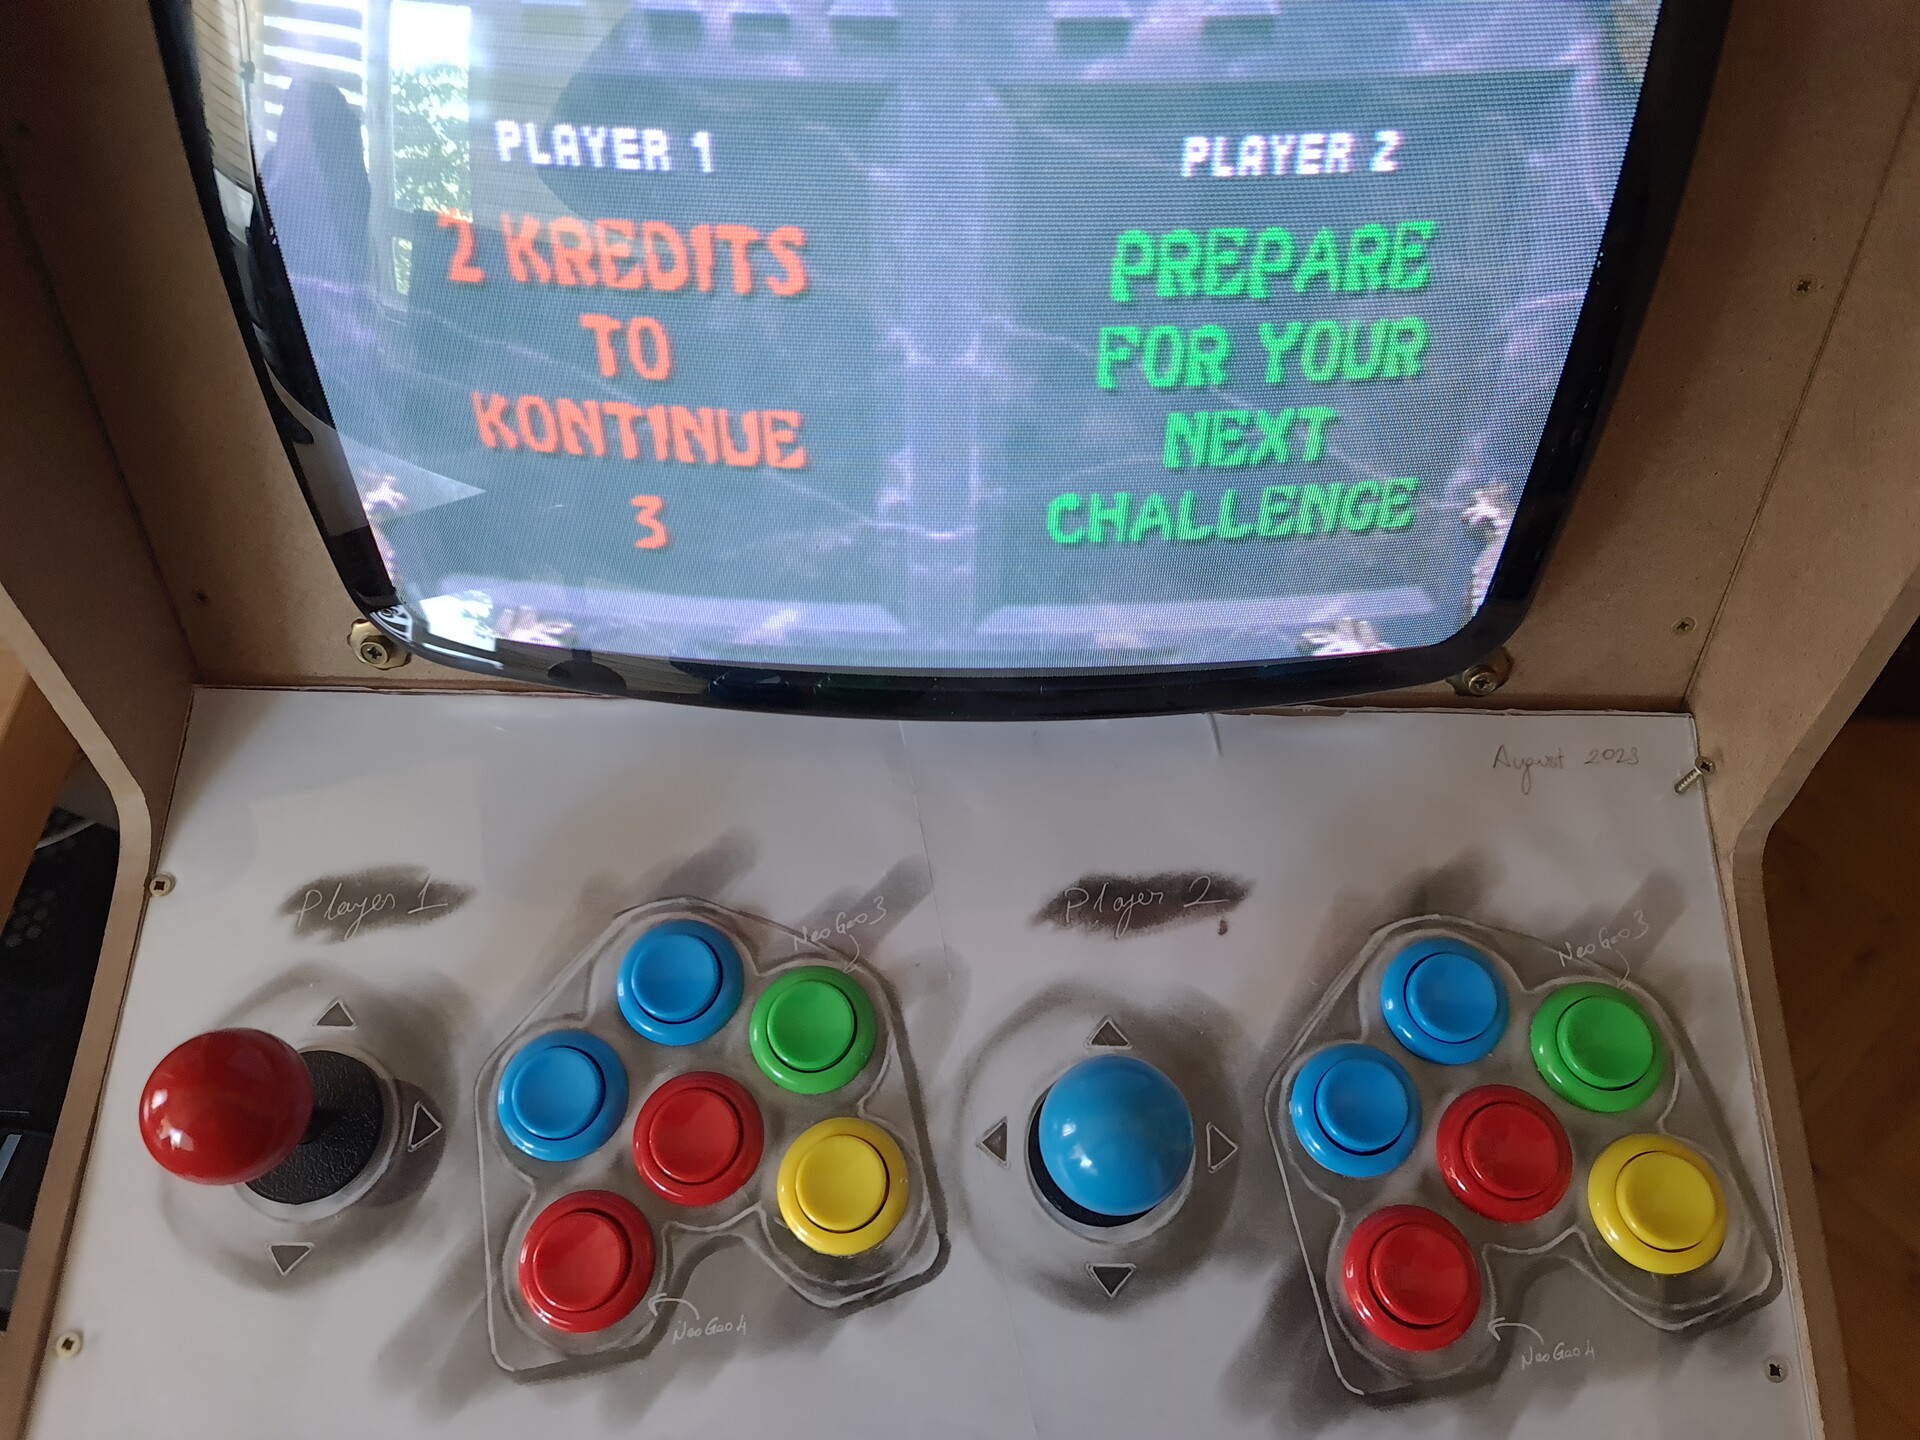
I printed out the sketch top two A4 paper and align them. Next I cut the holes and then mounted the controls back.

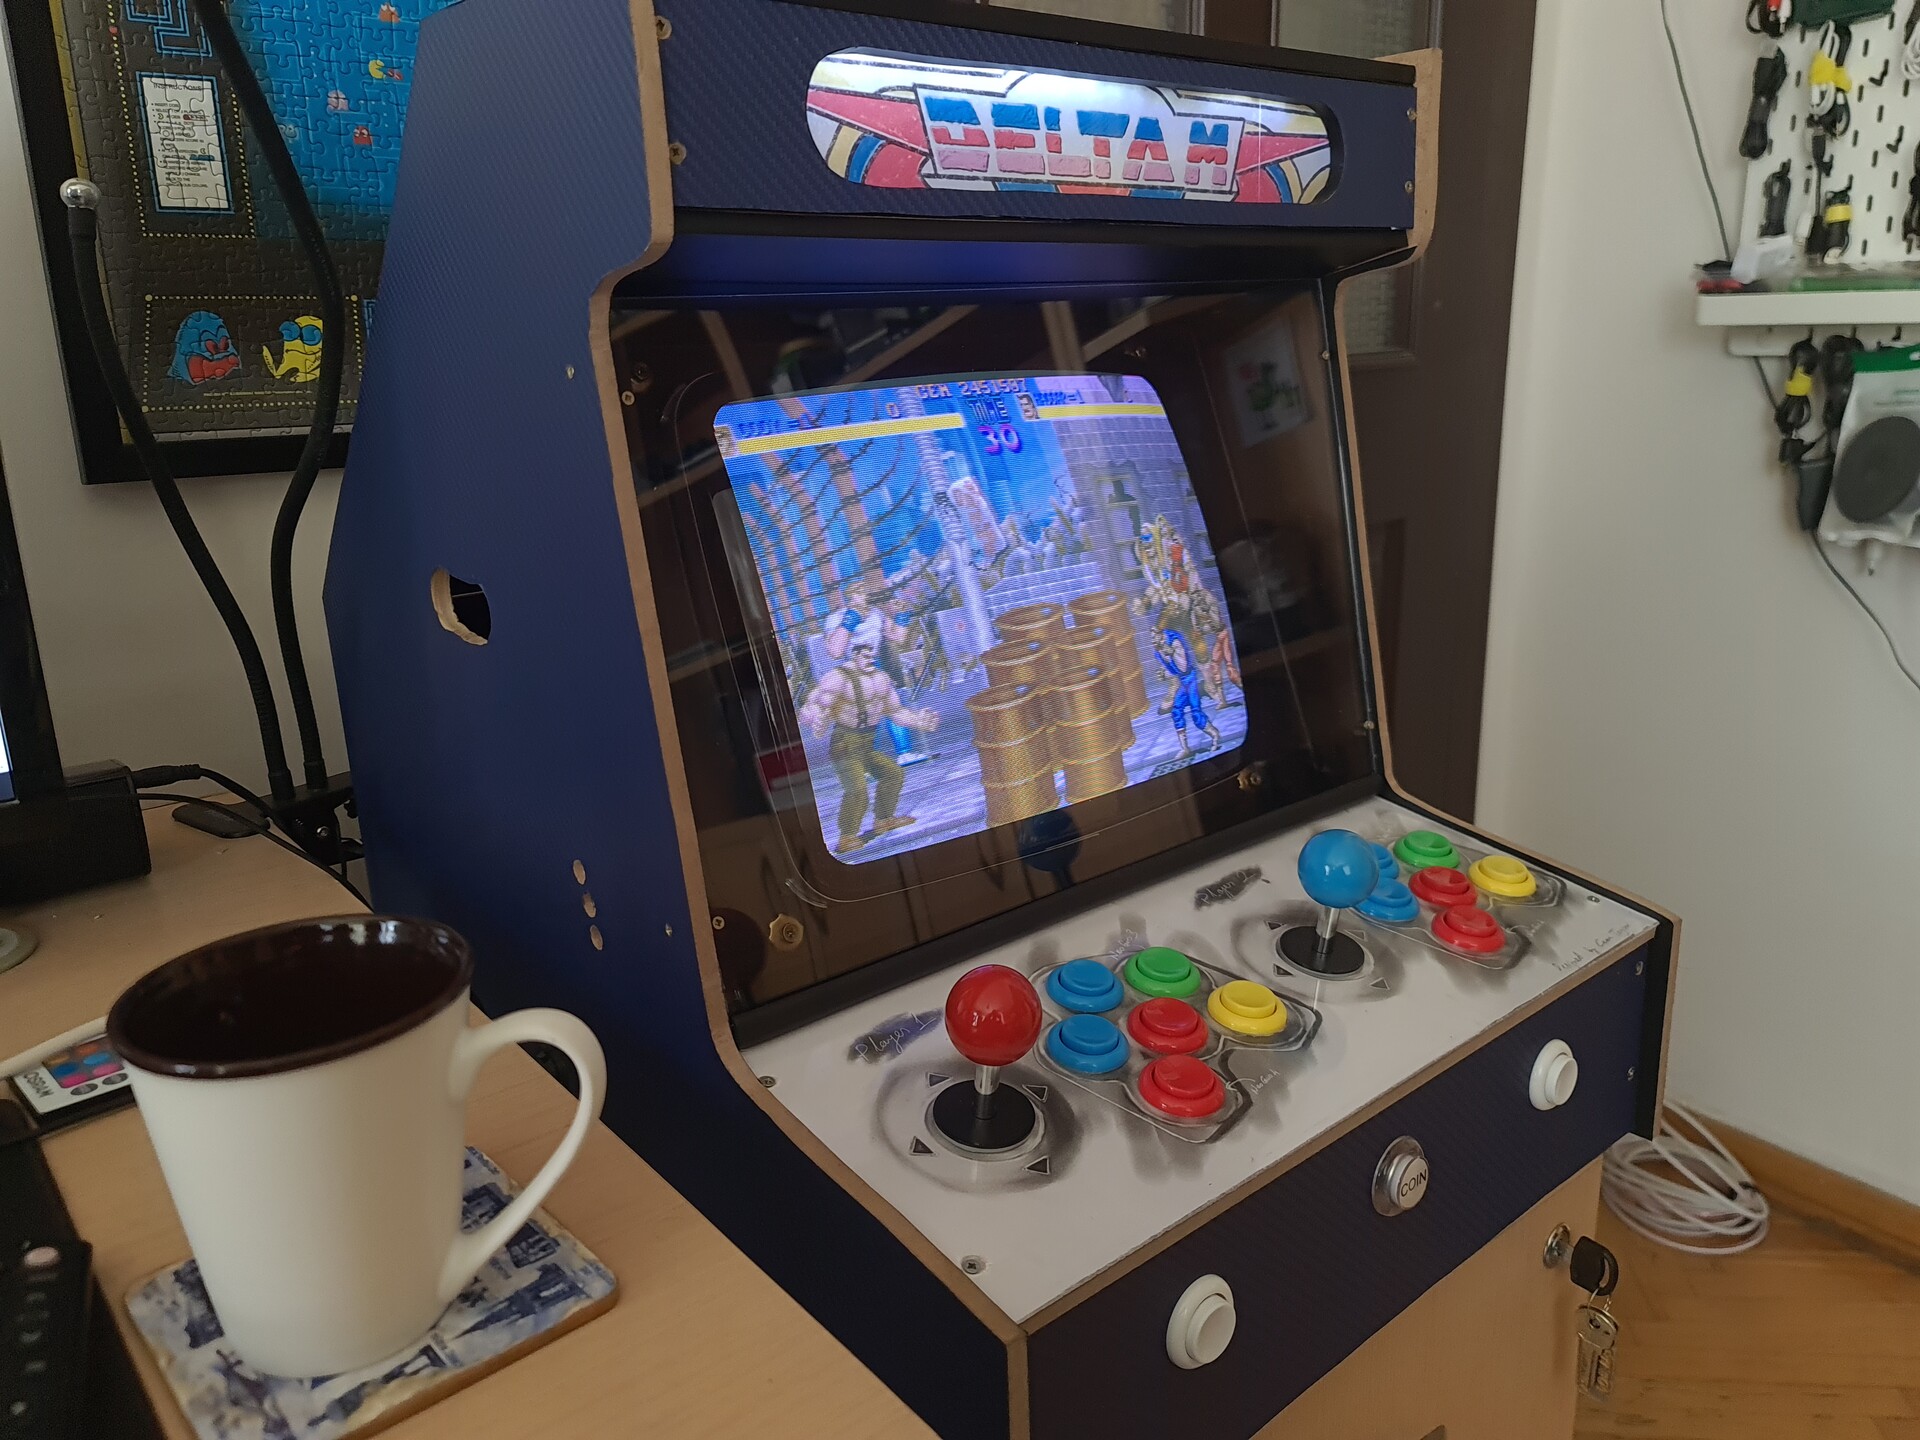
Now we got a nice shiny look.
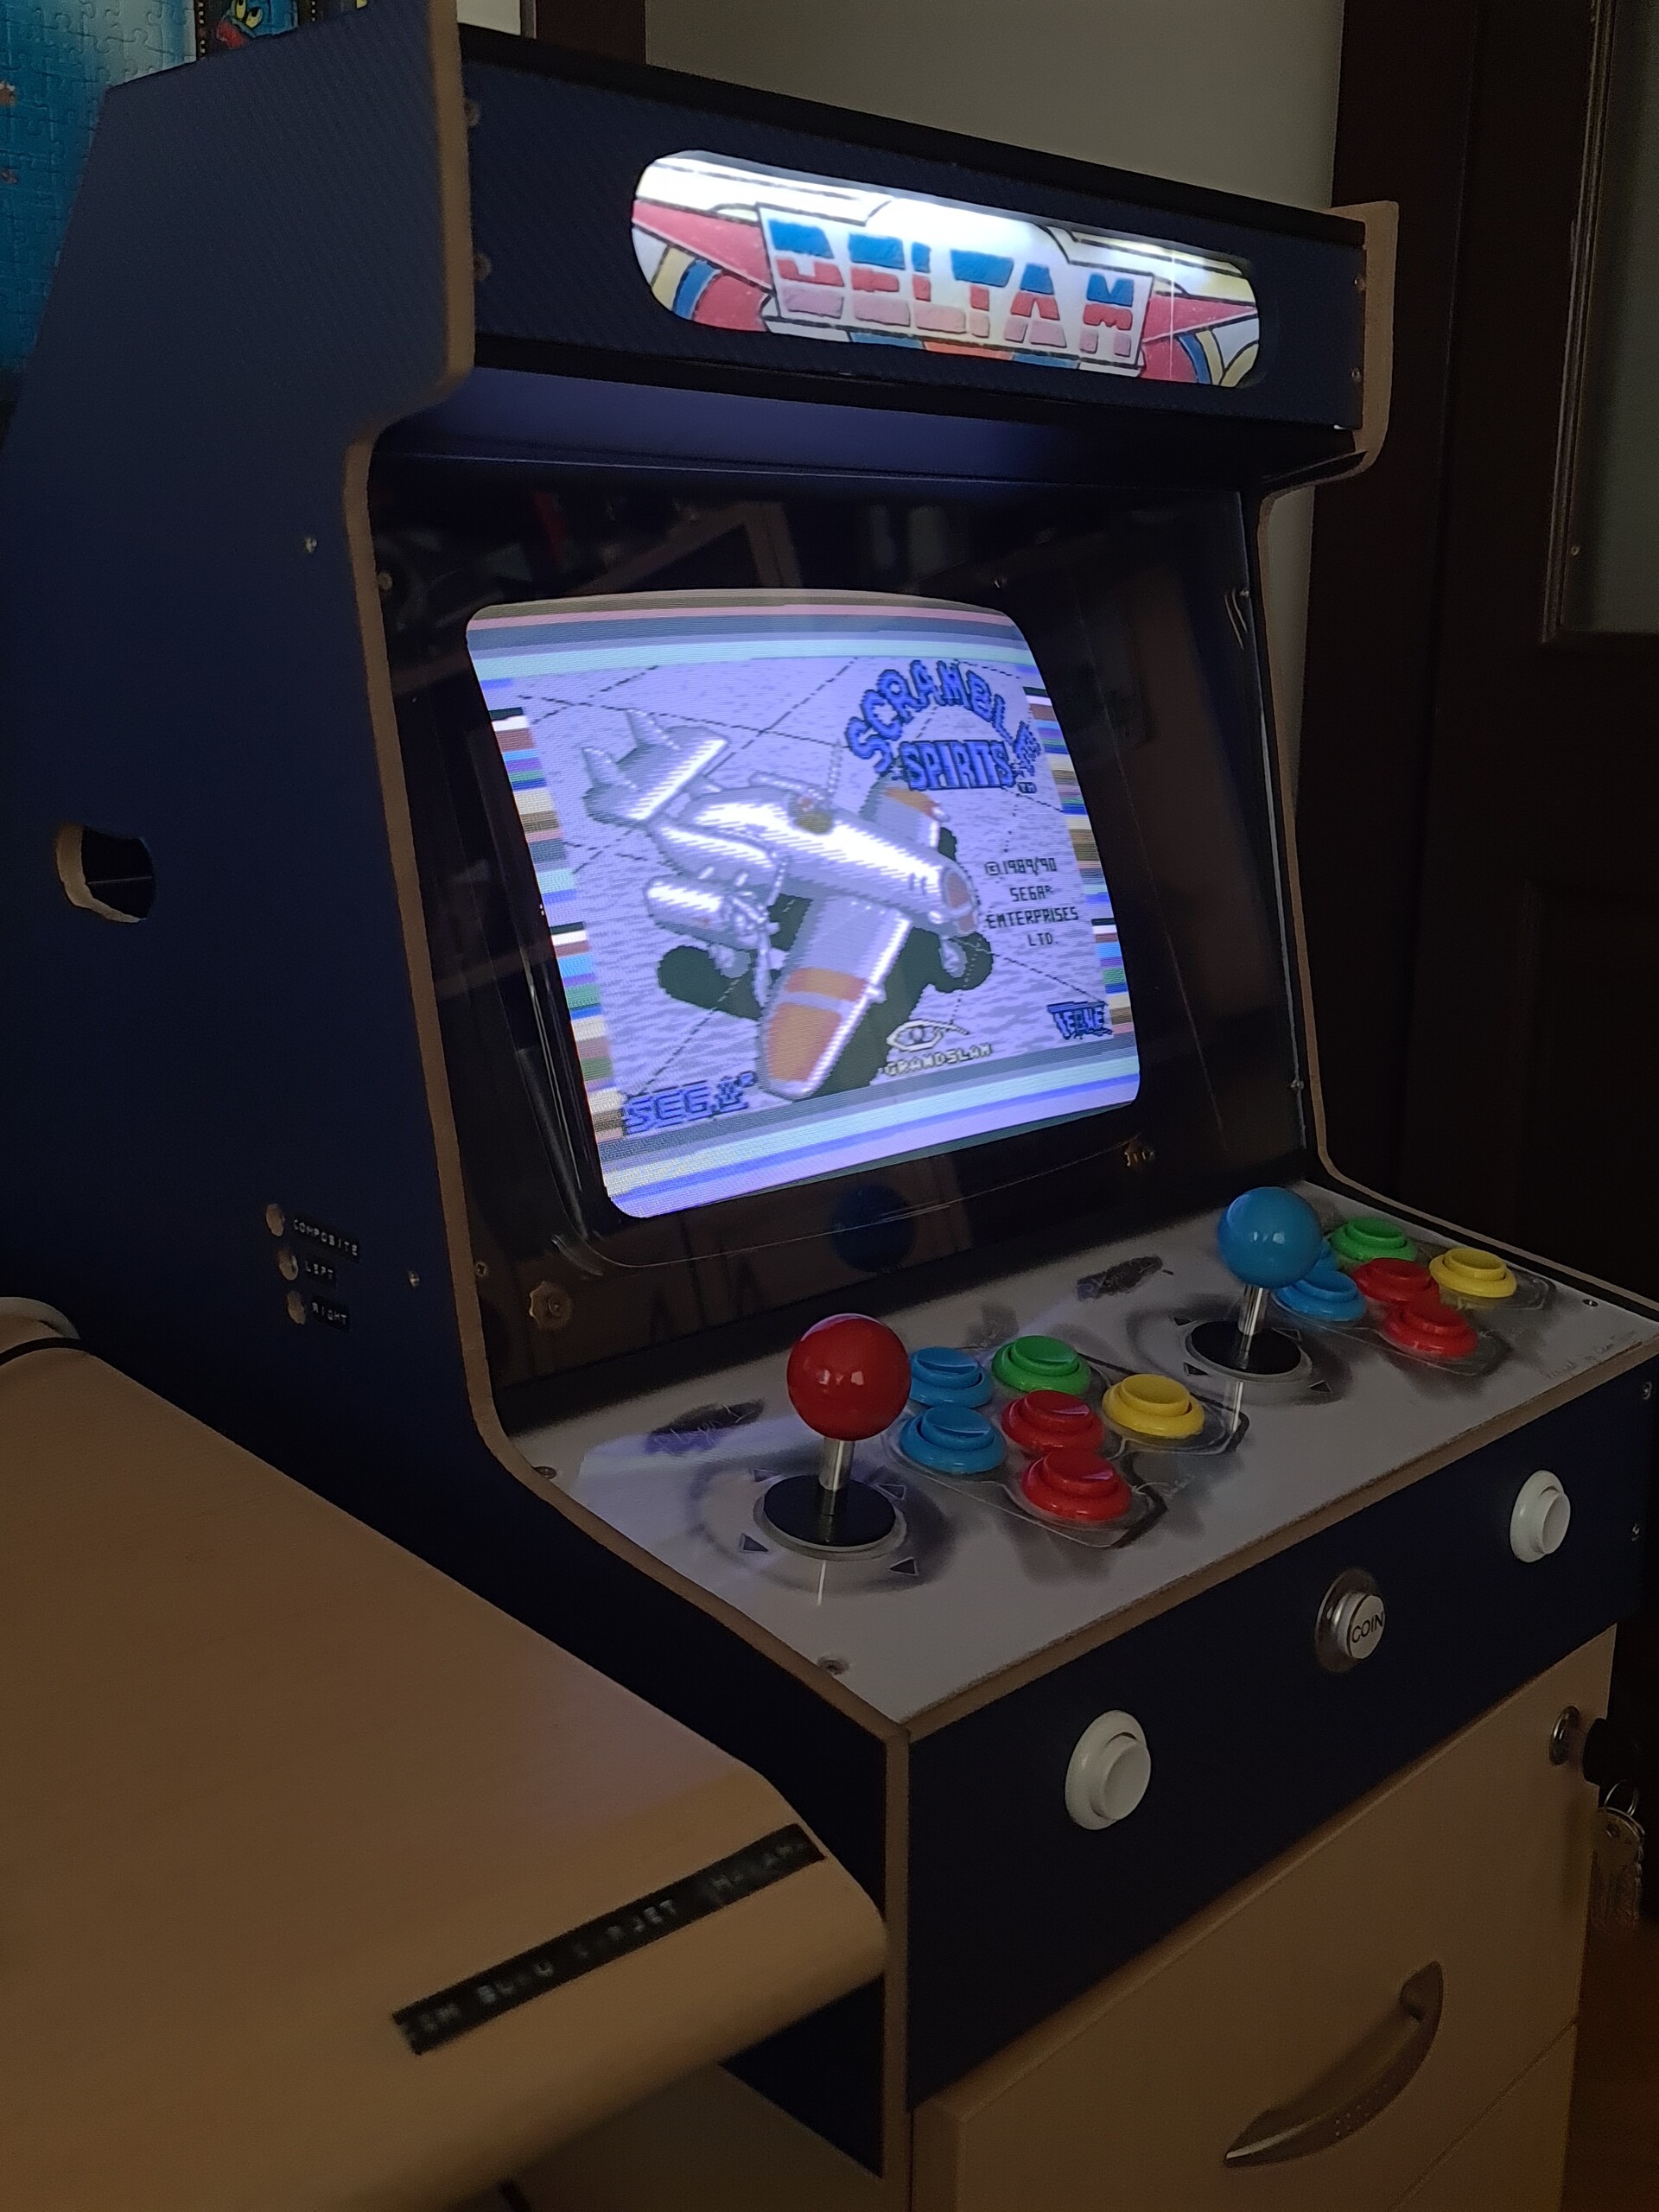
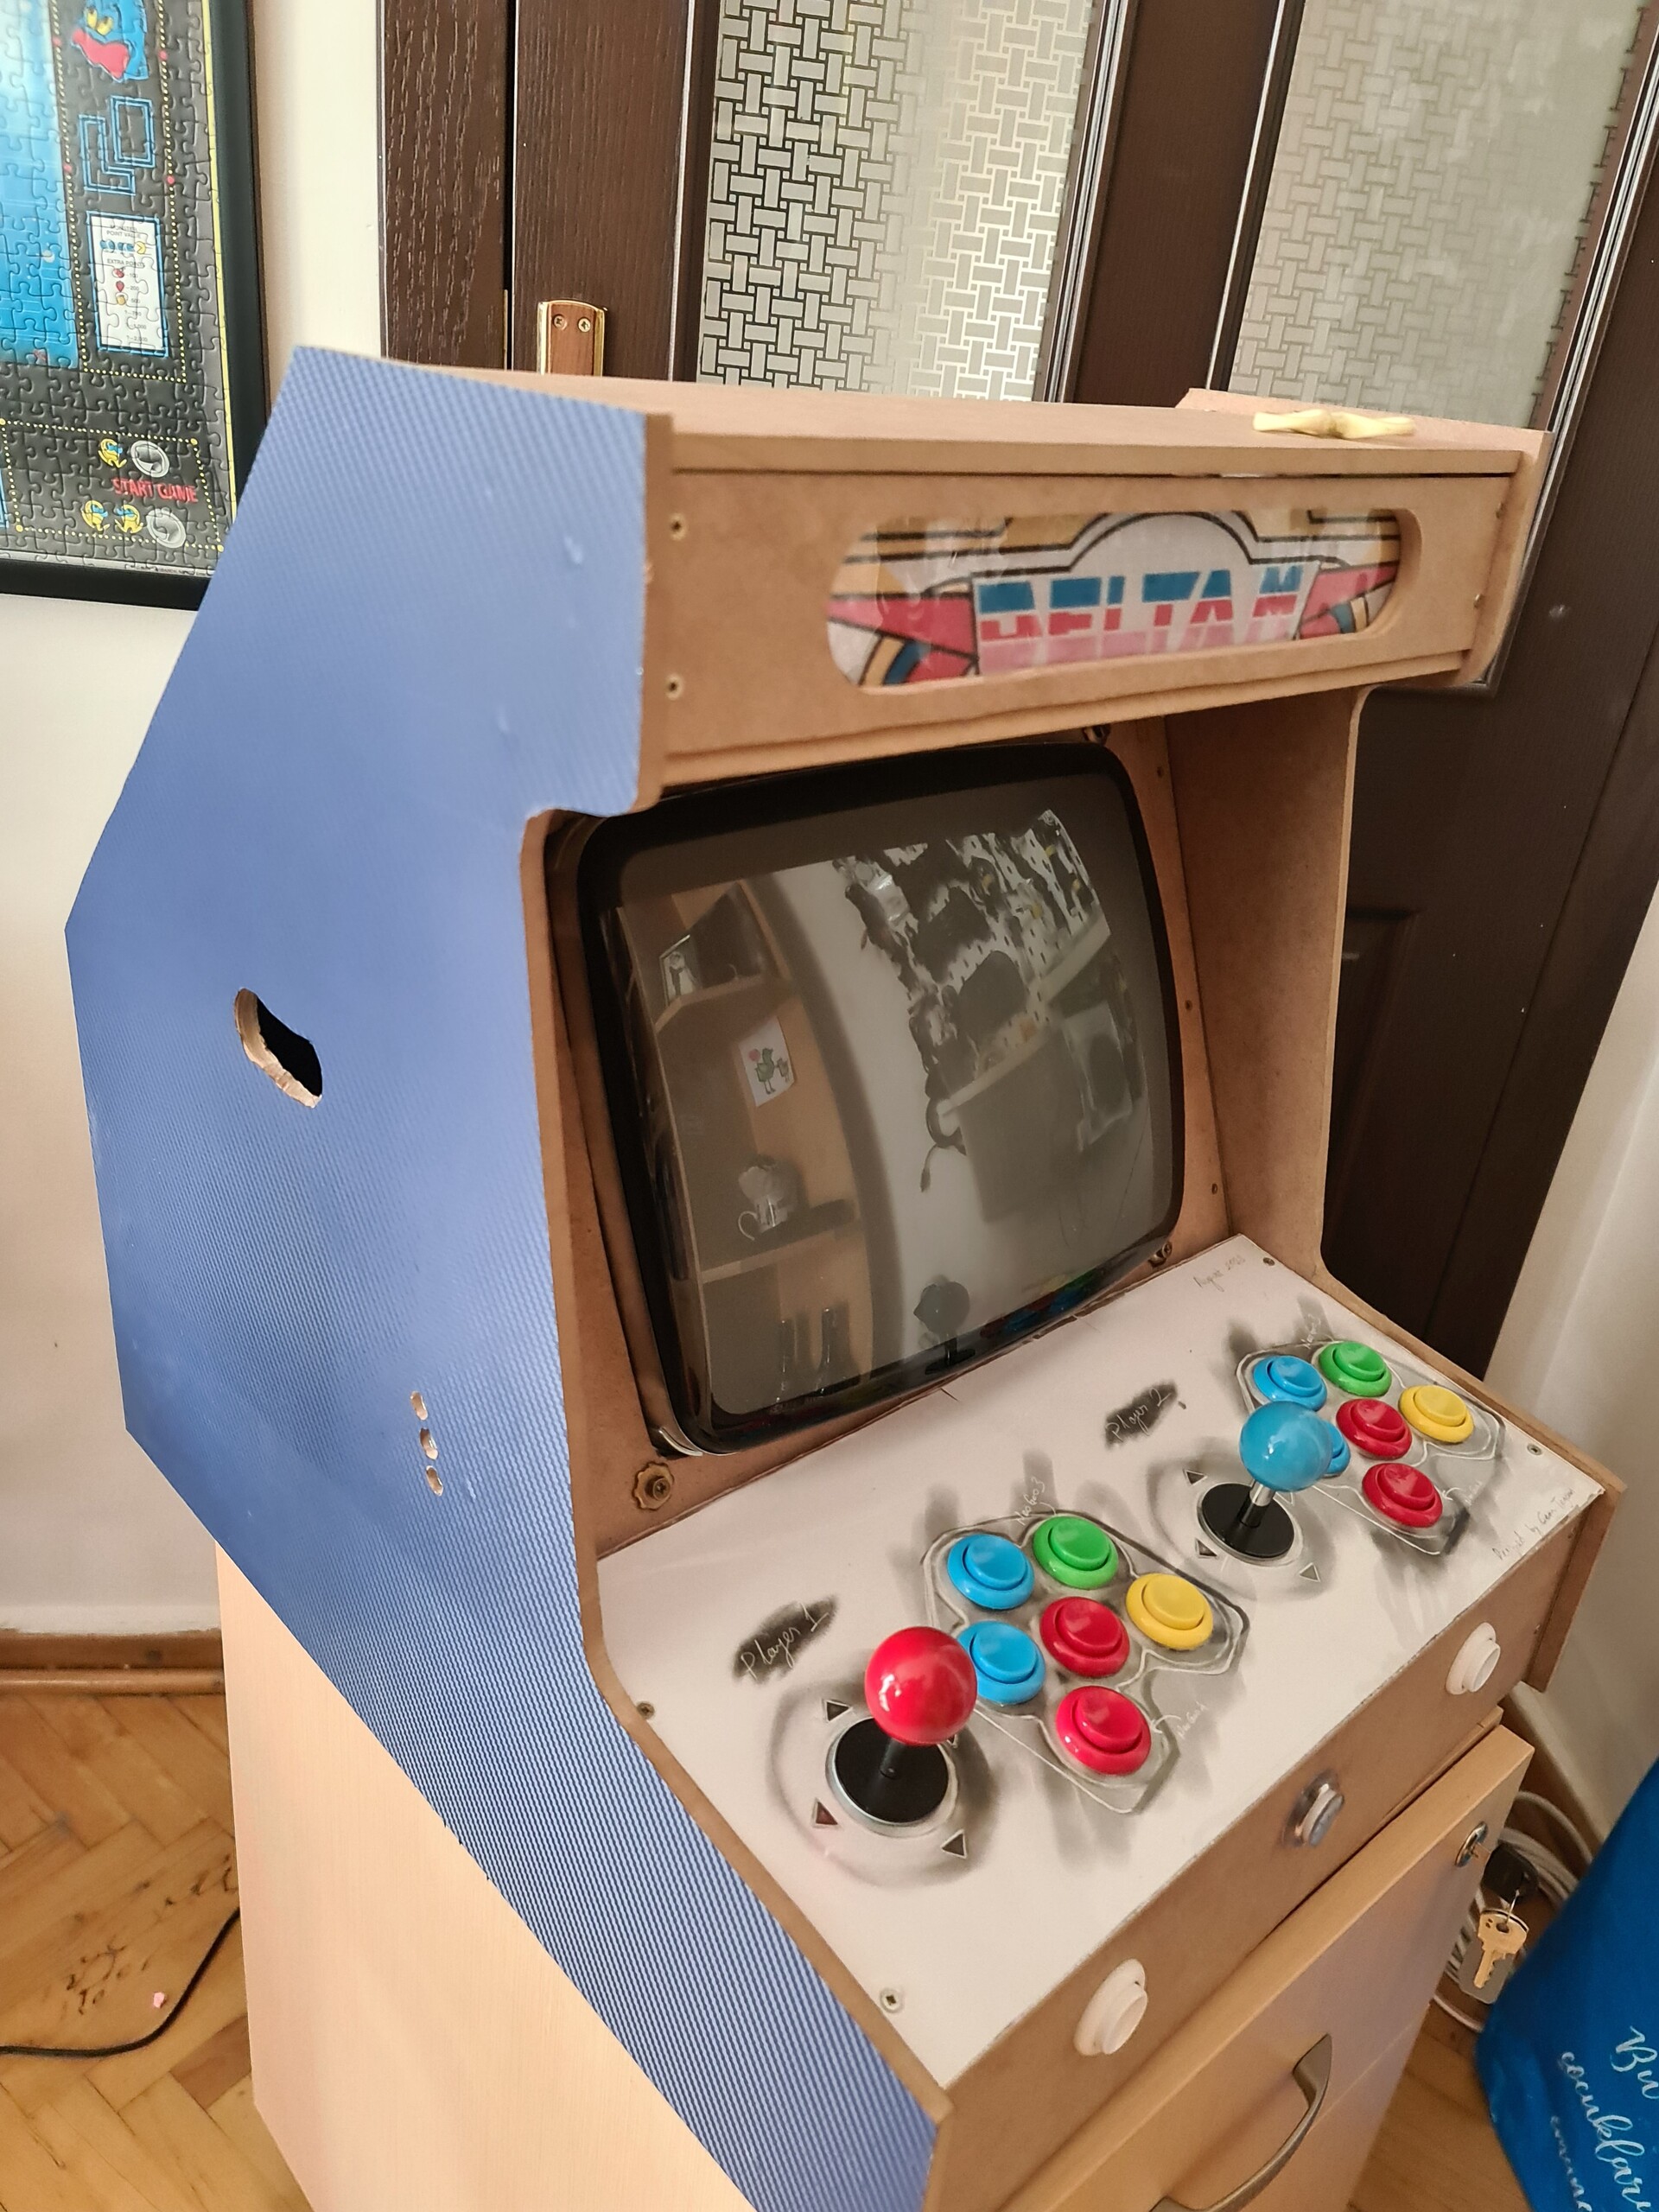
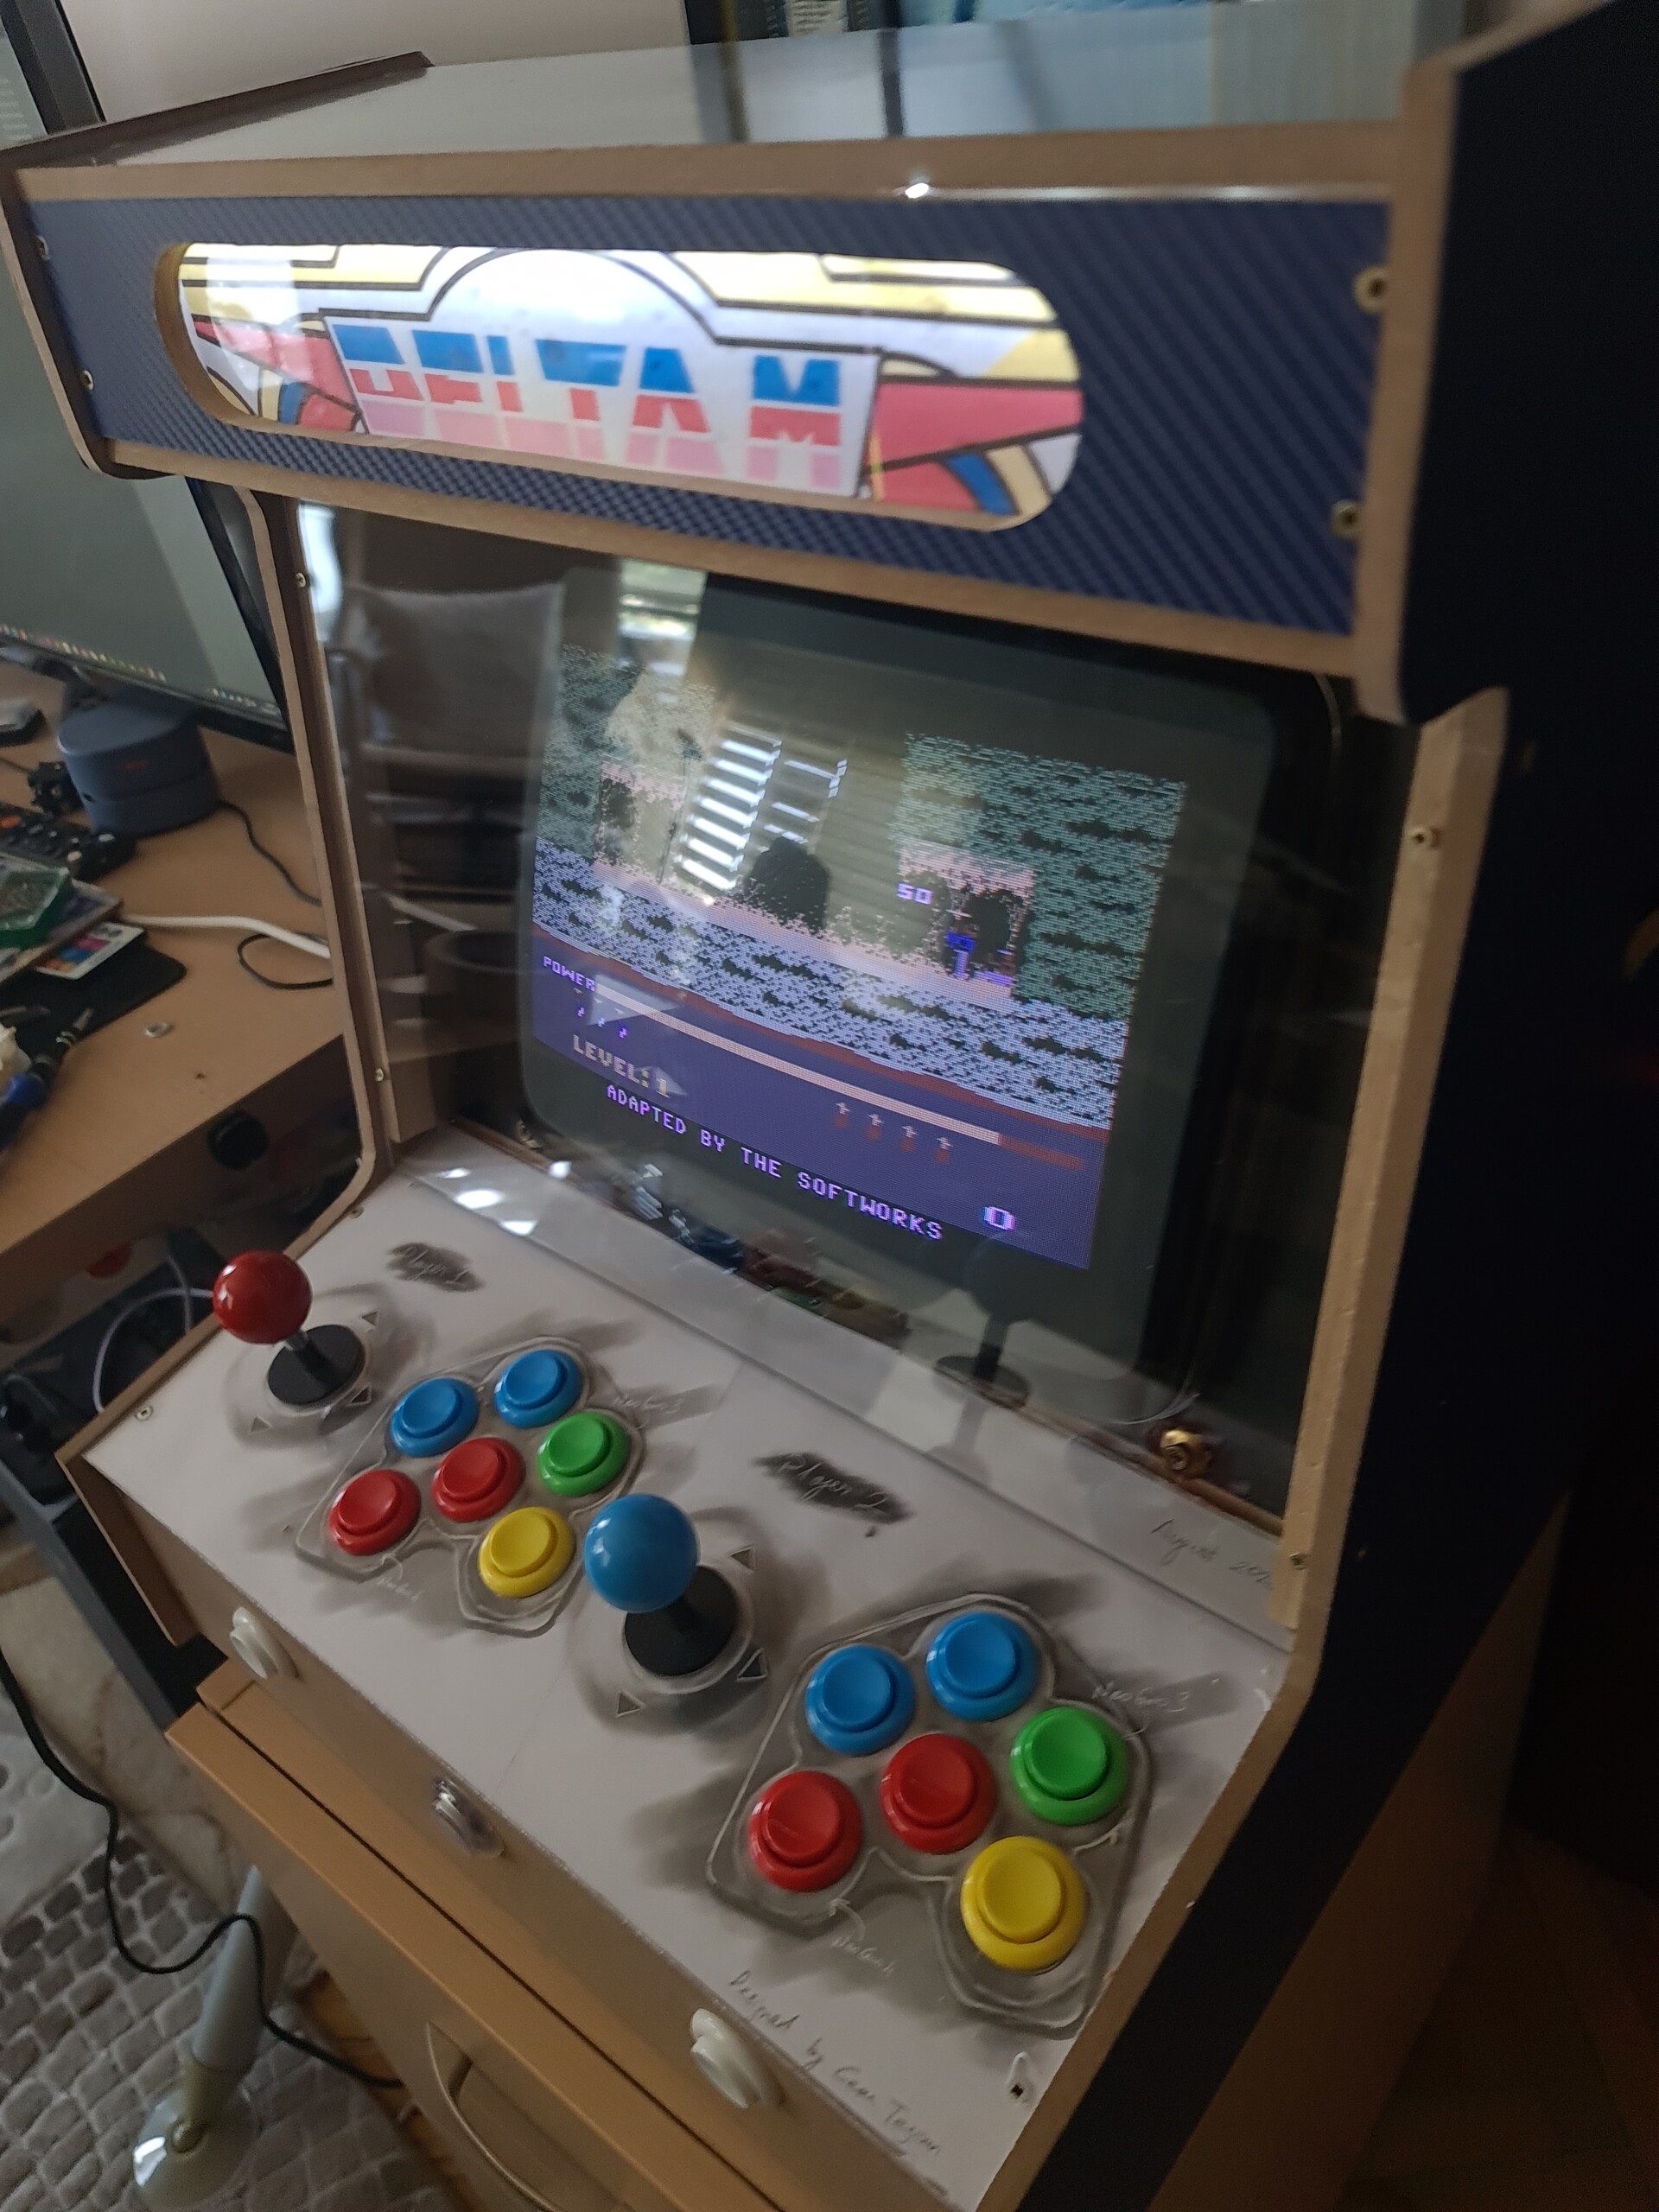
Next, I cut a slot hole on the marquee board and mounted another translucent plexiglass behind it.
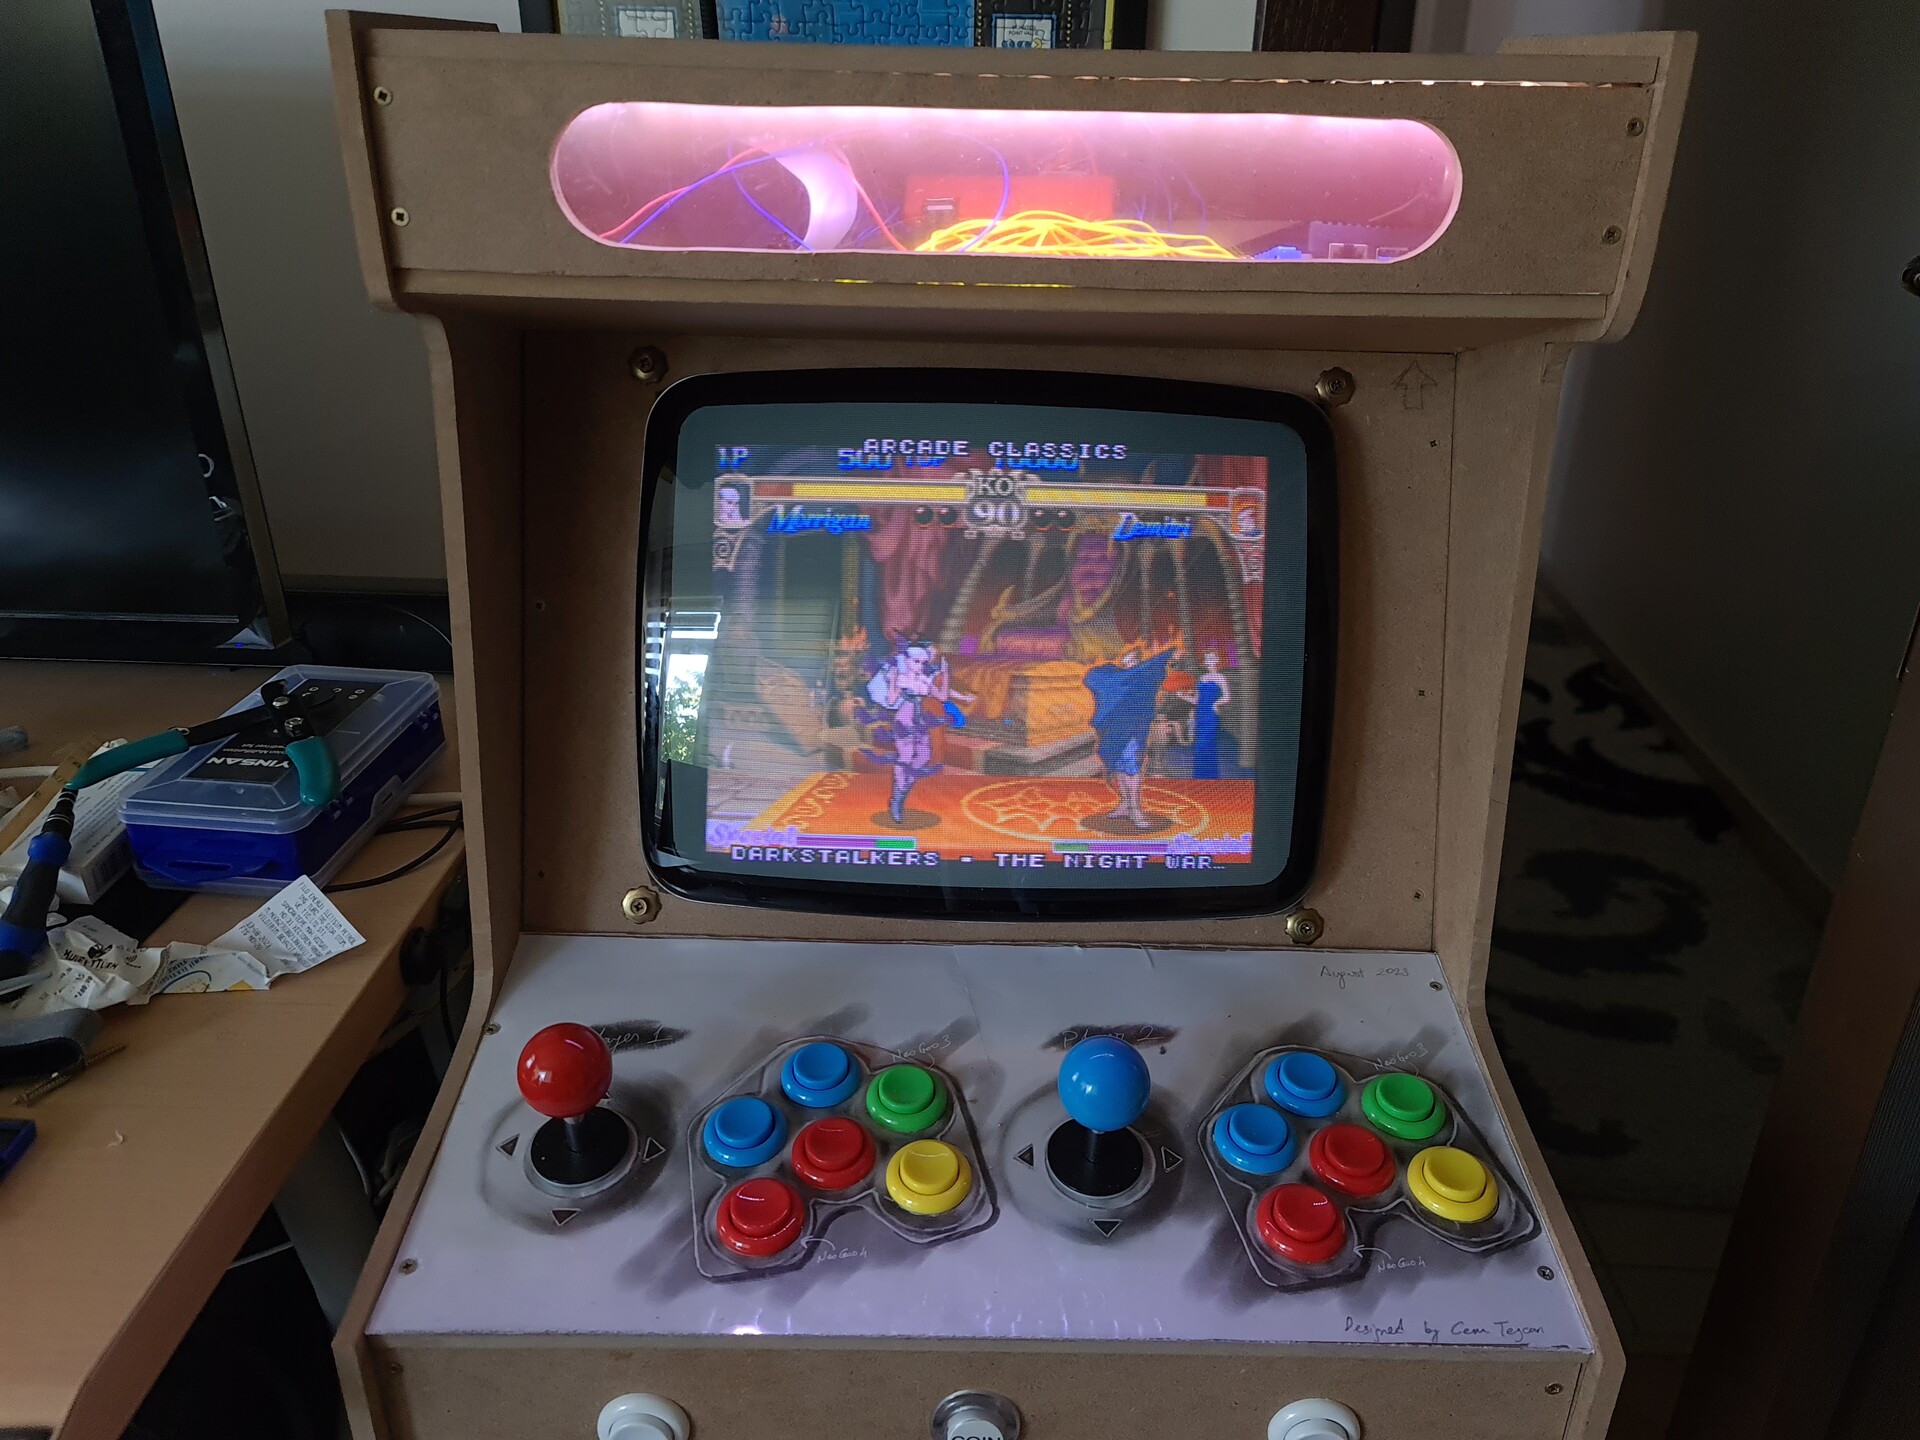
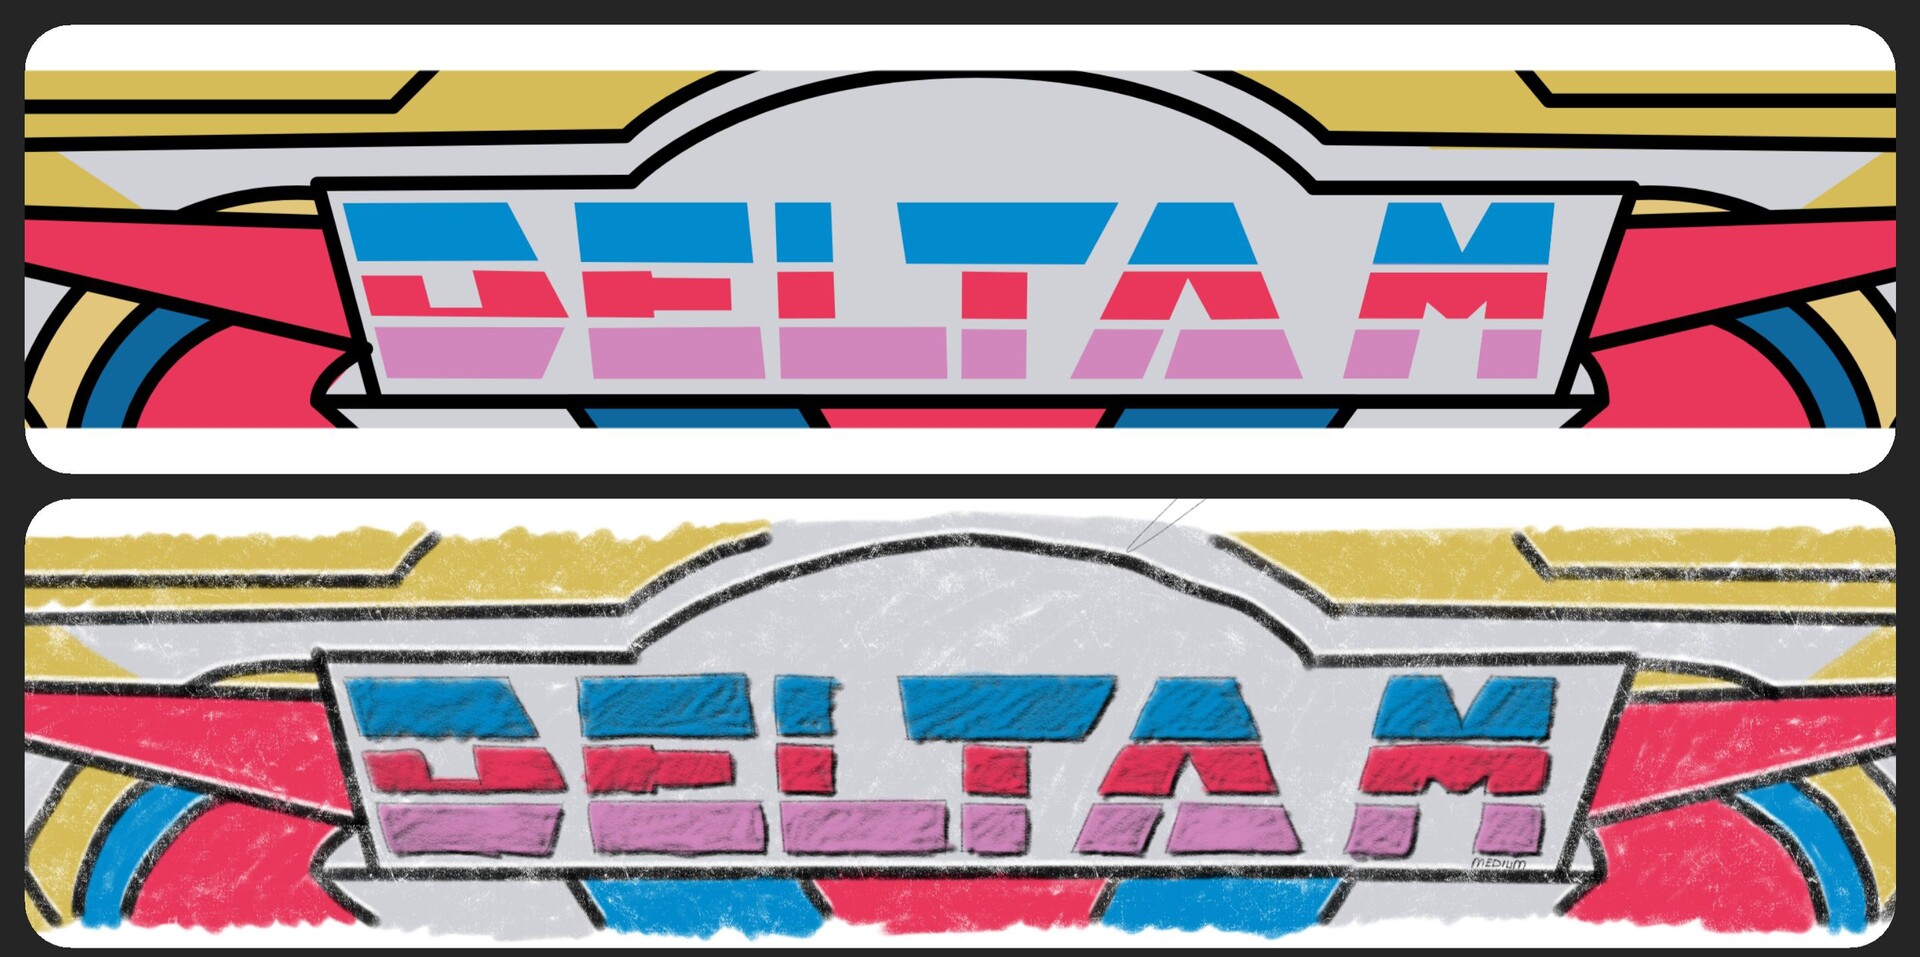
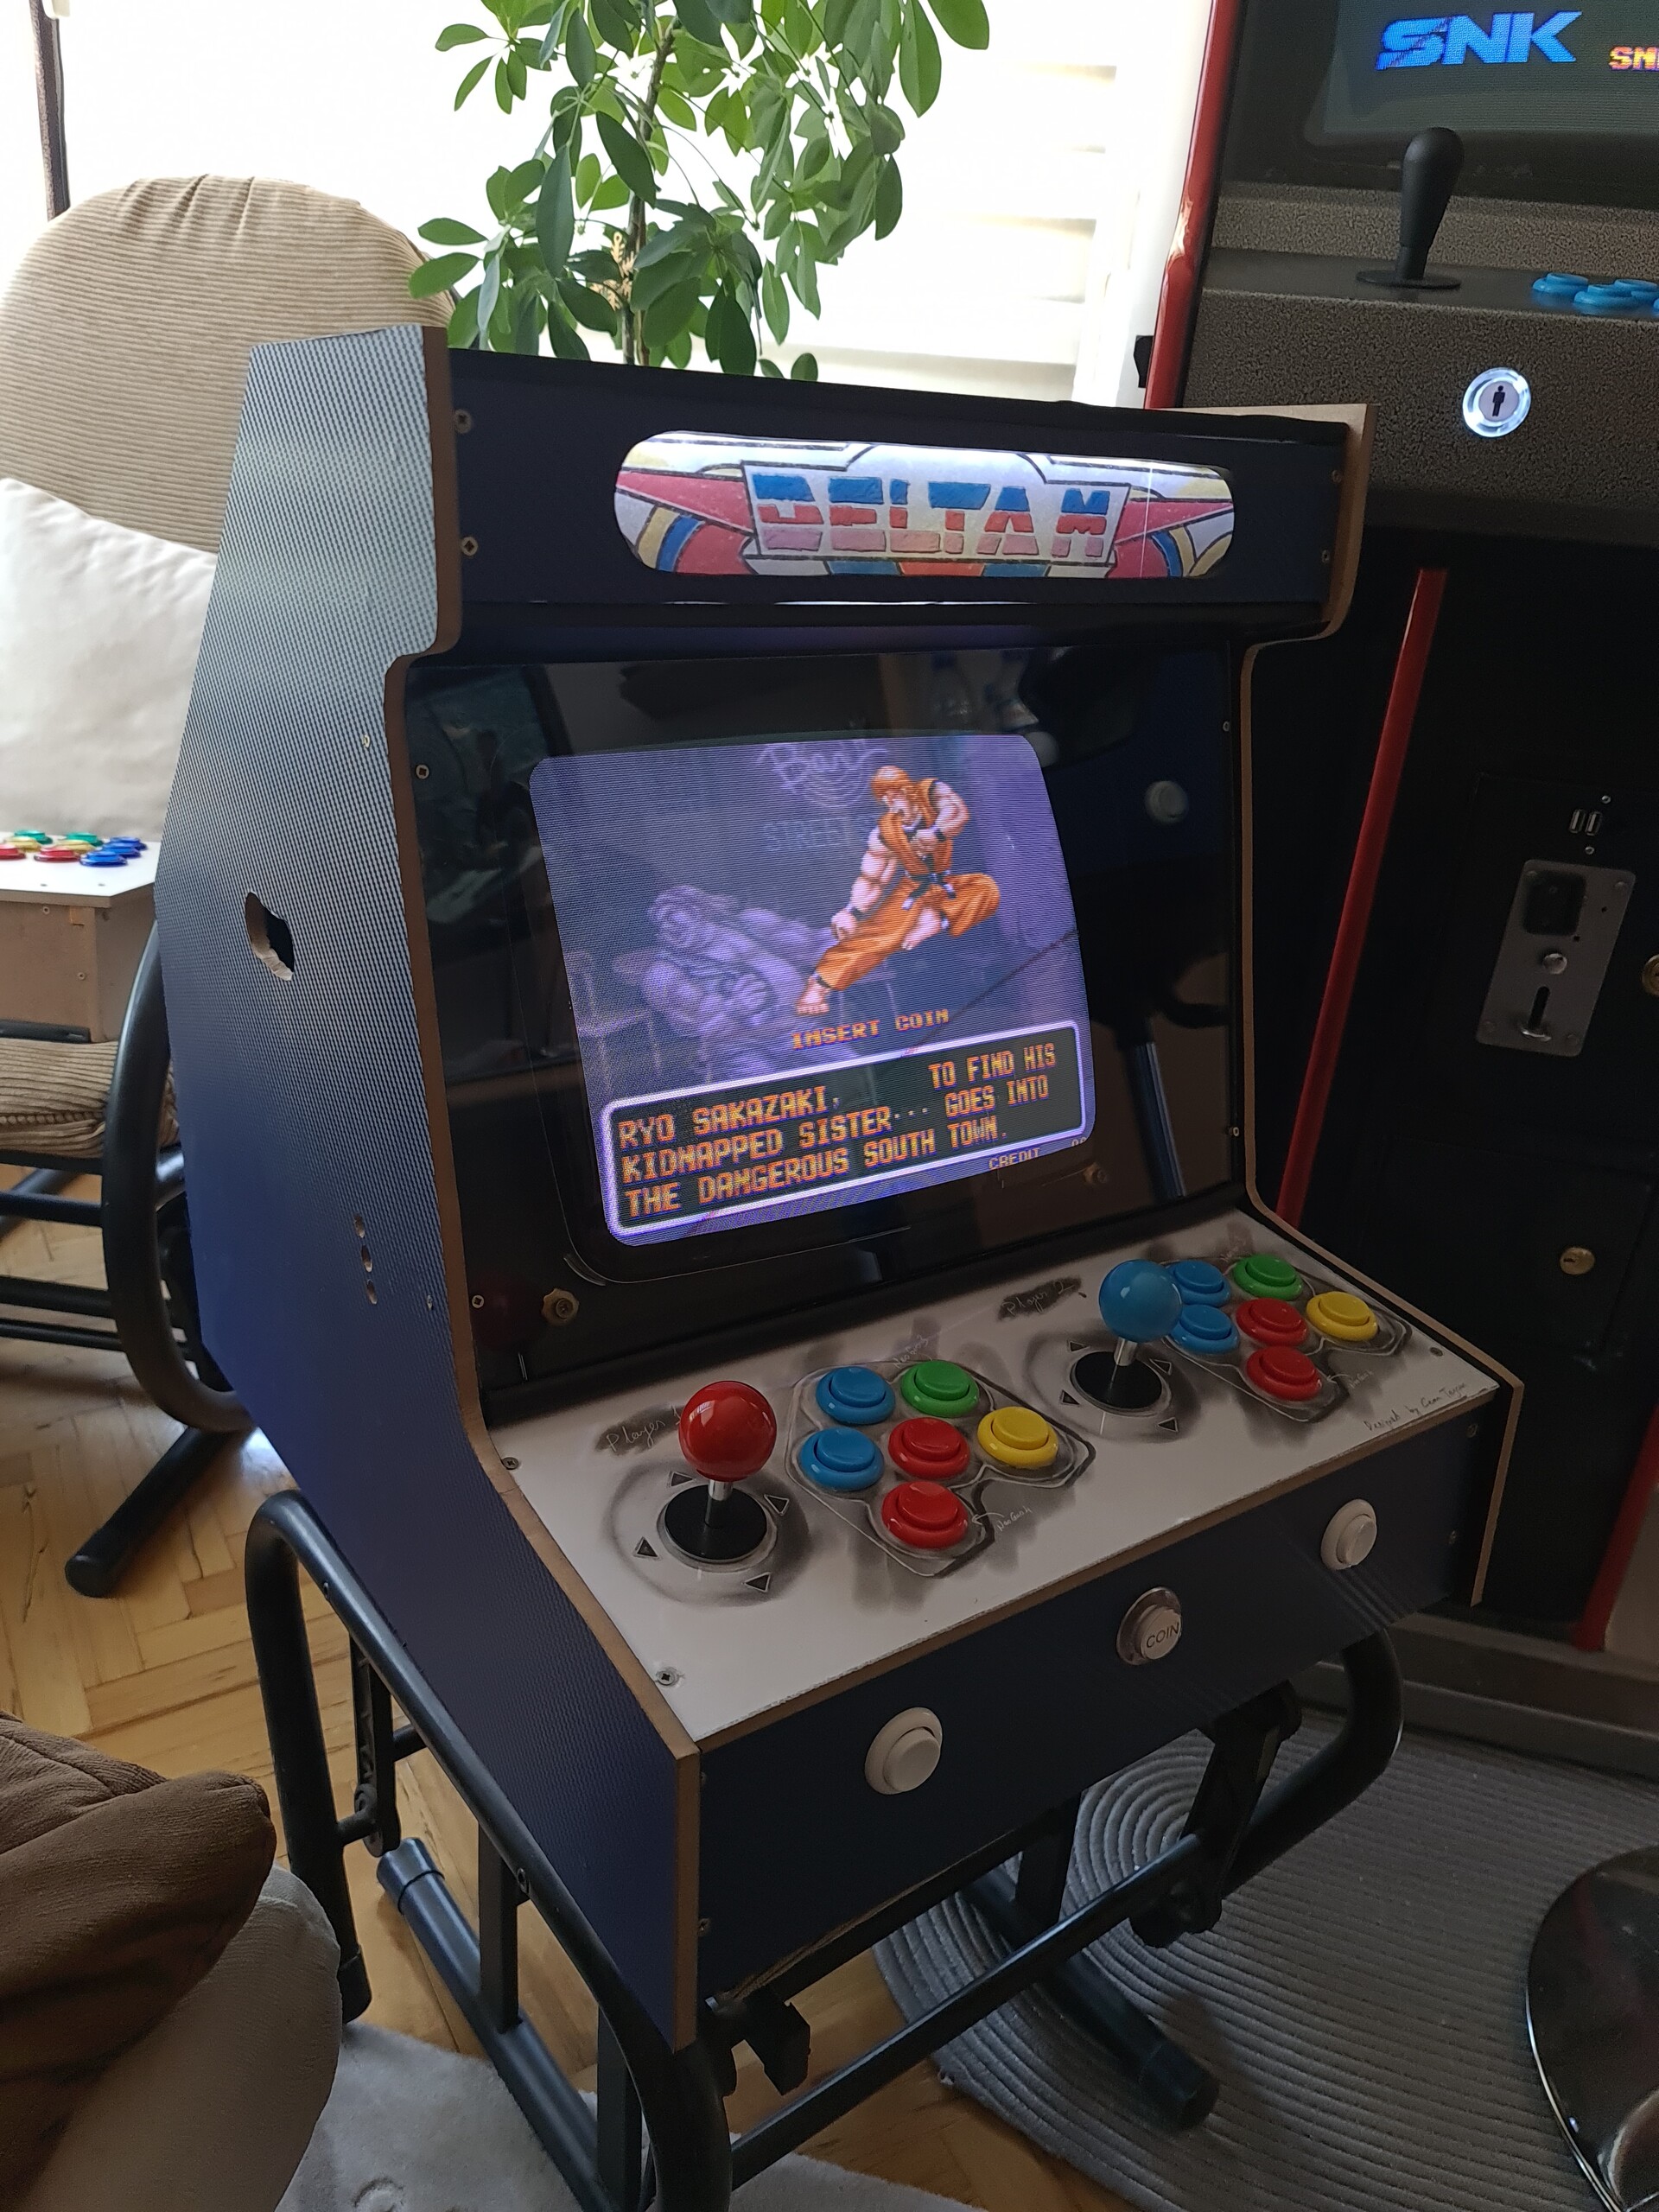
I printed out another visual. I revised the "Delta" brand and called this Bartop Cabinet as "Delta M" which stands for medium size :) I also added LED lights to lit the marquee part.

I revised the same design with a hand sketch look with my tablet as well.
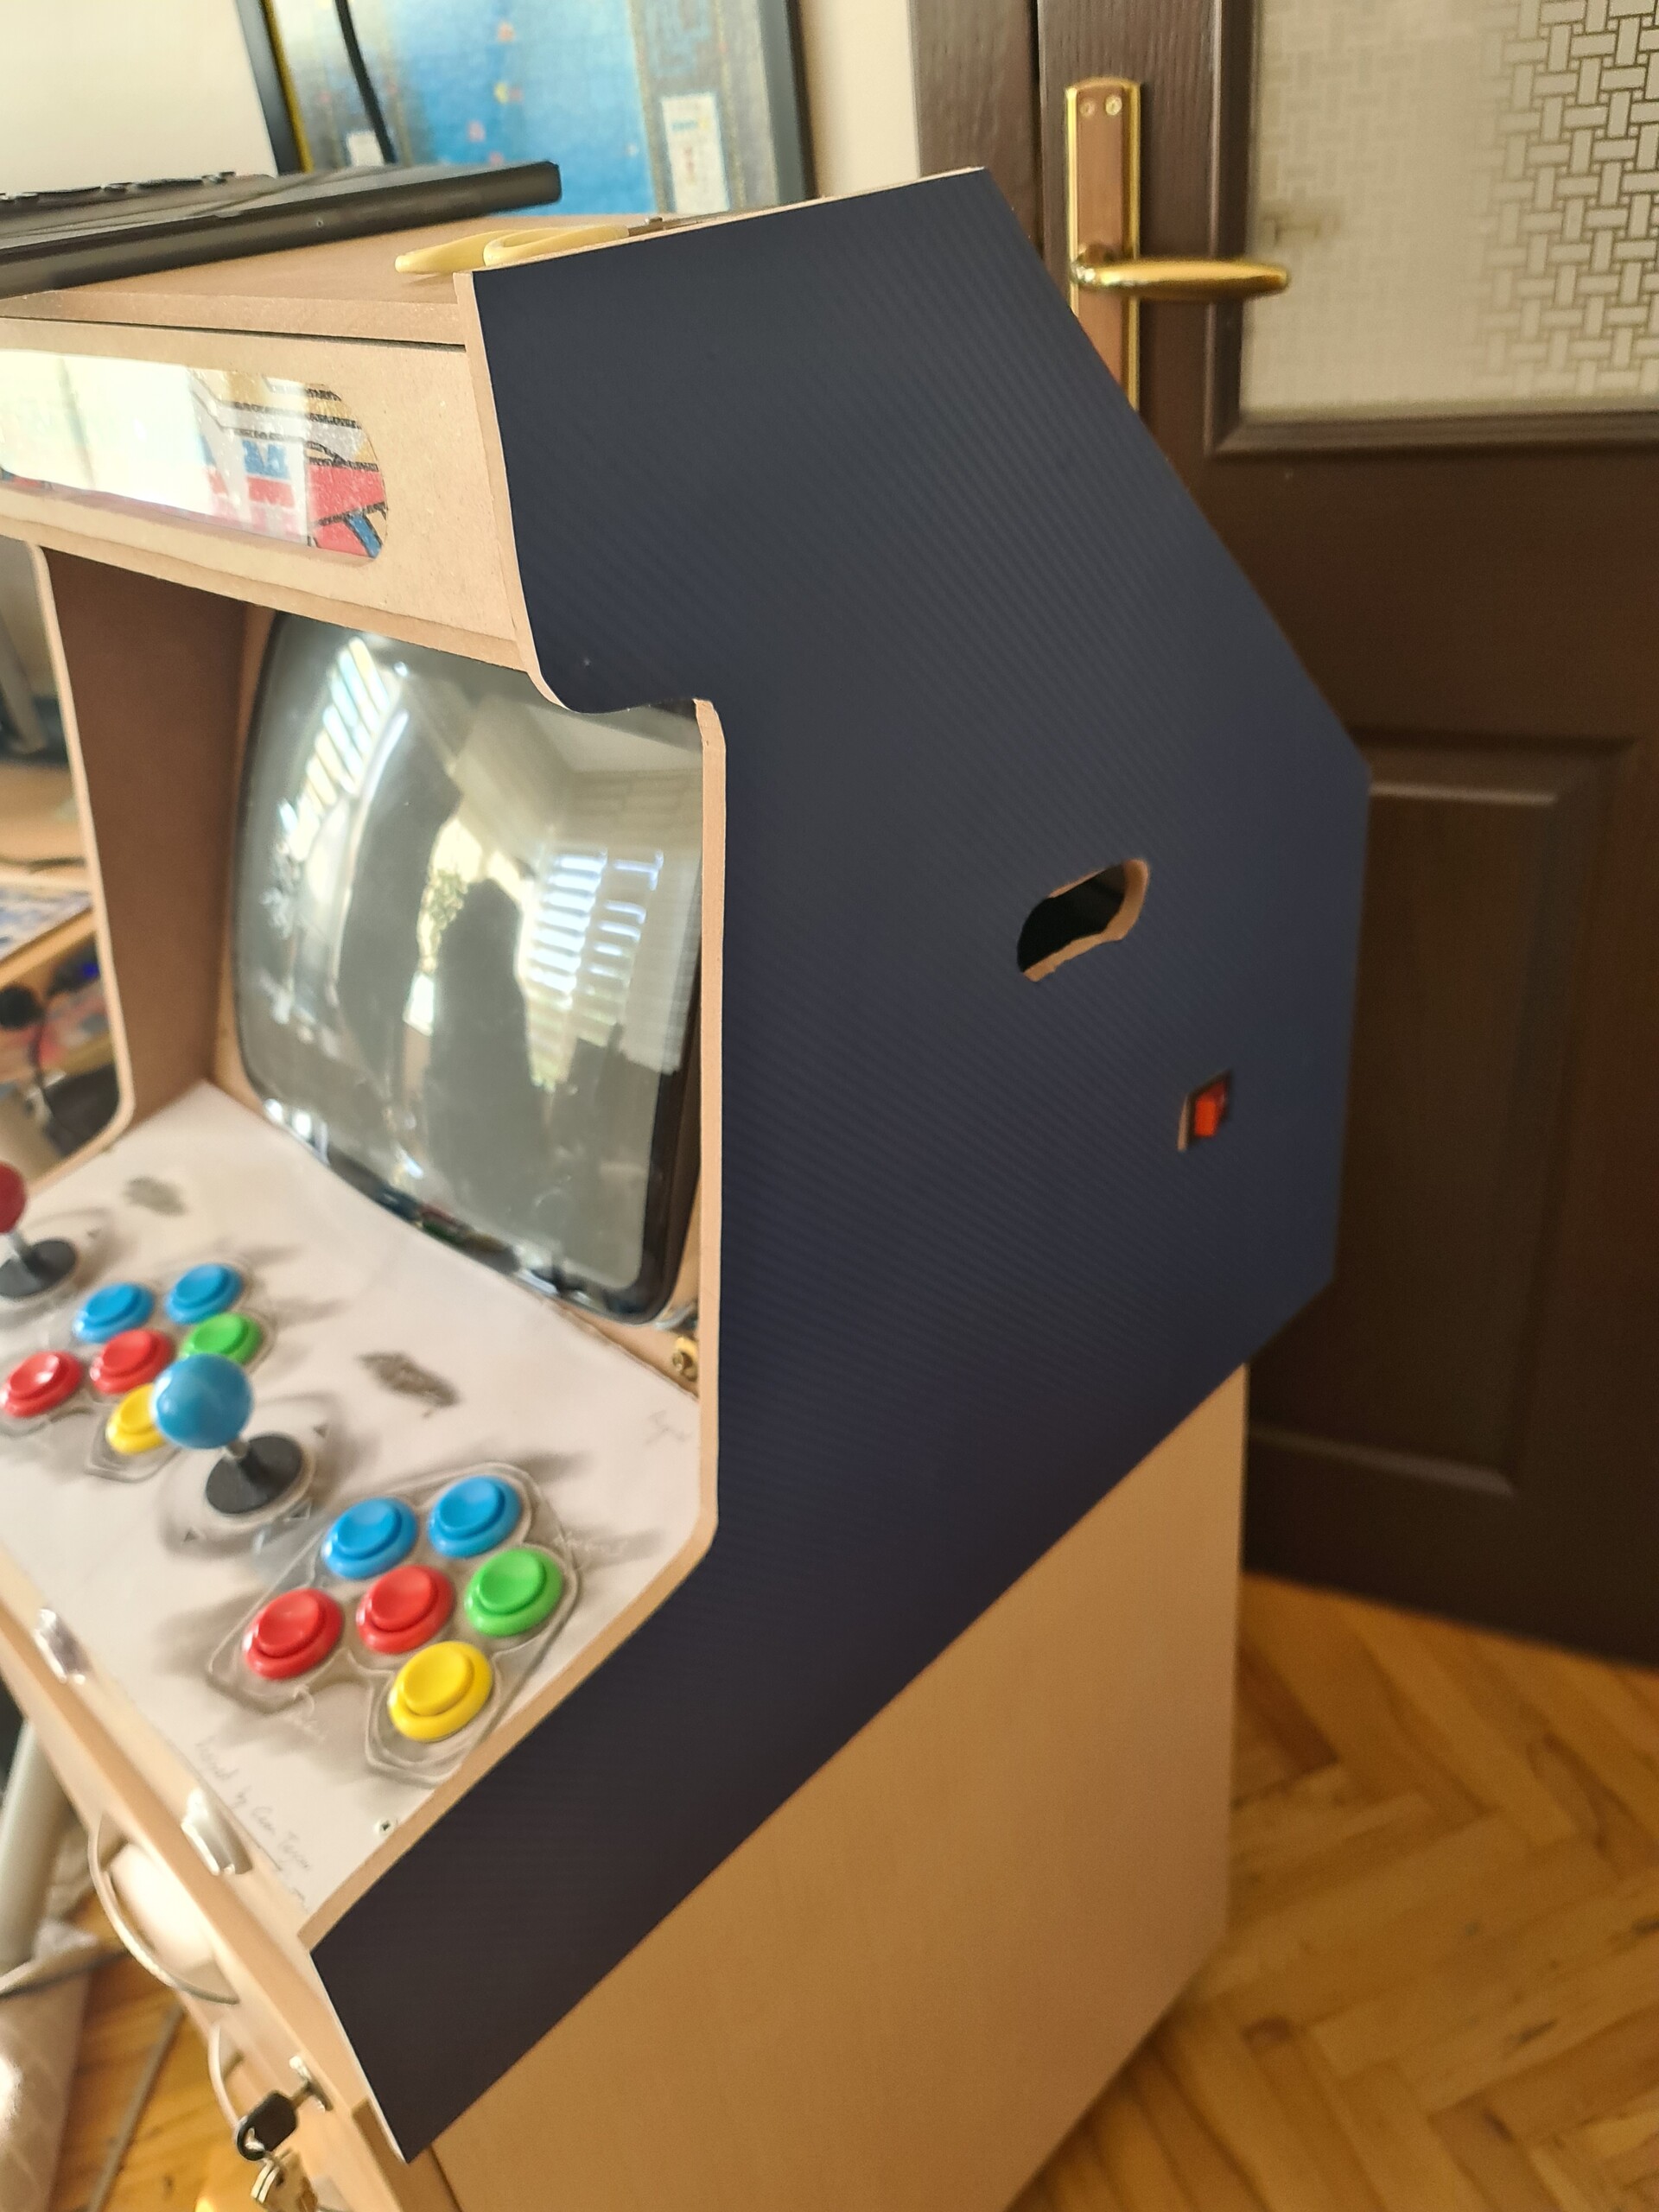
Now I used spare foils that I had from the previous cabinet and applied to the cabinet starting from side surfaces.
.jpg?1692899399)
After covering the side surfaces, I moved on by covering the frame of the CRT screen with black foil.

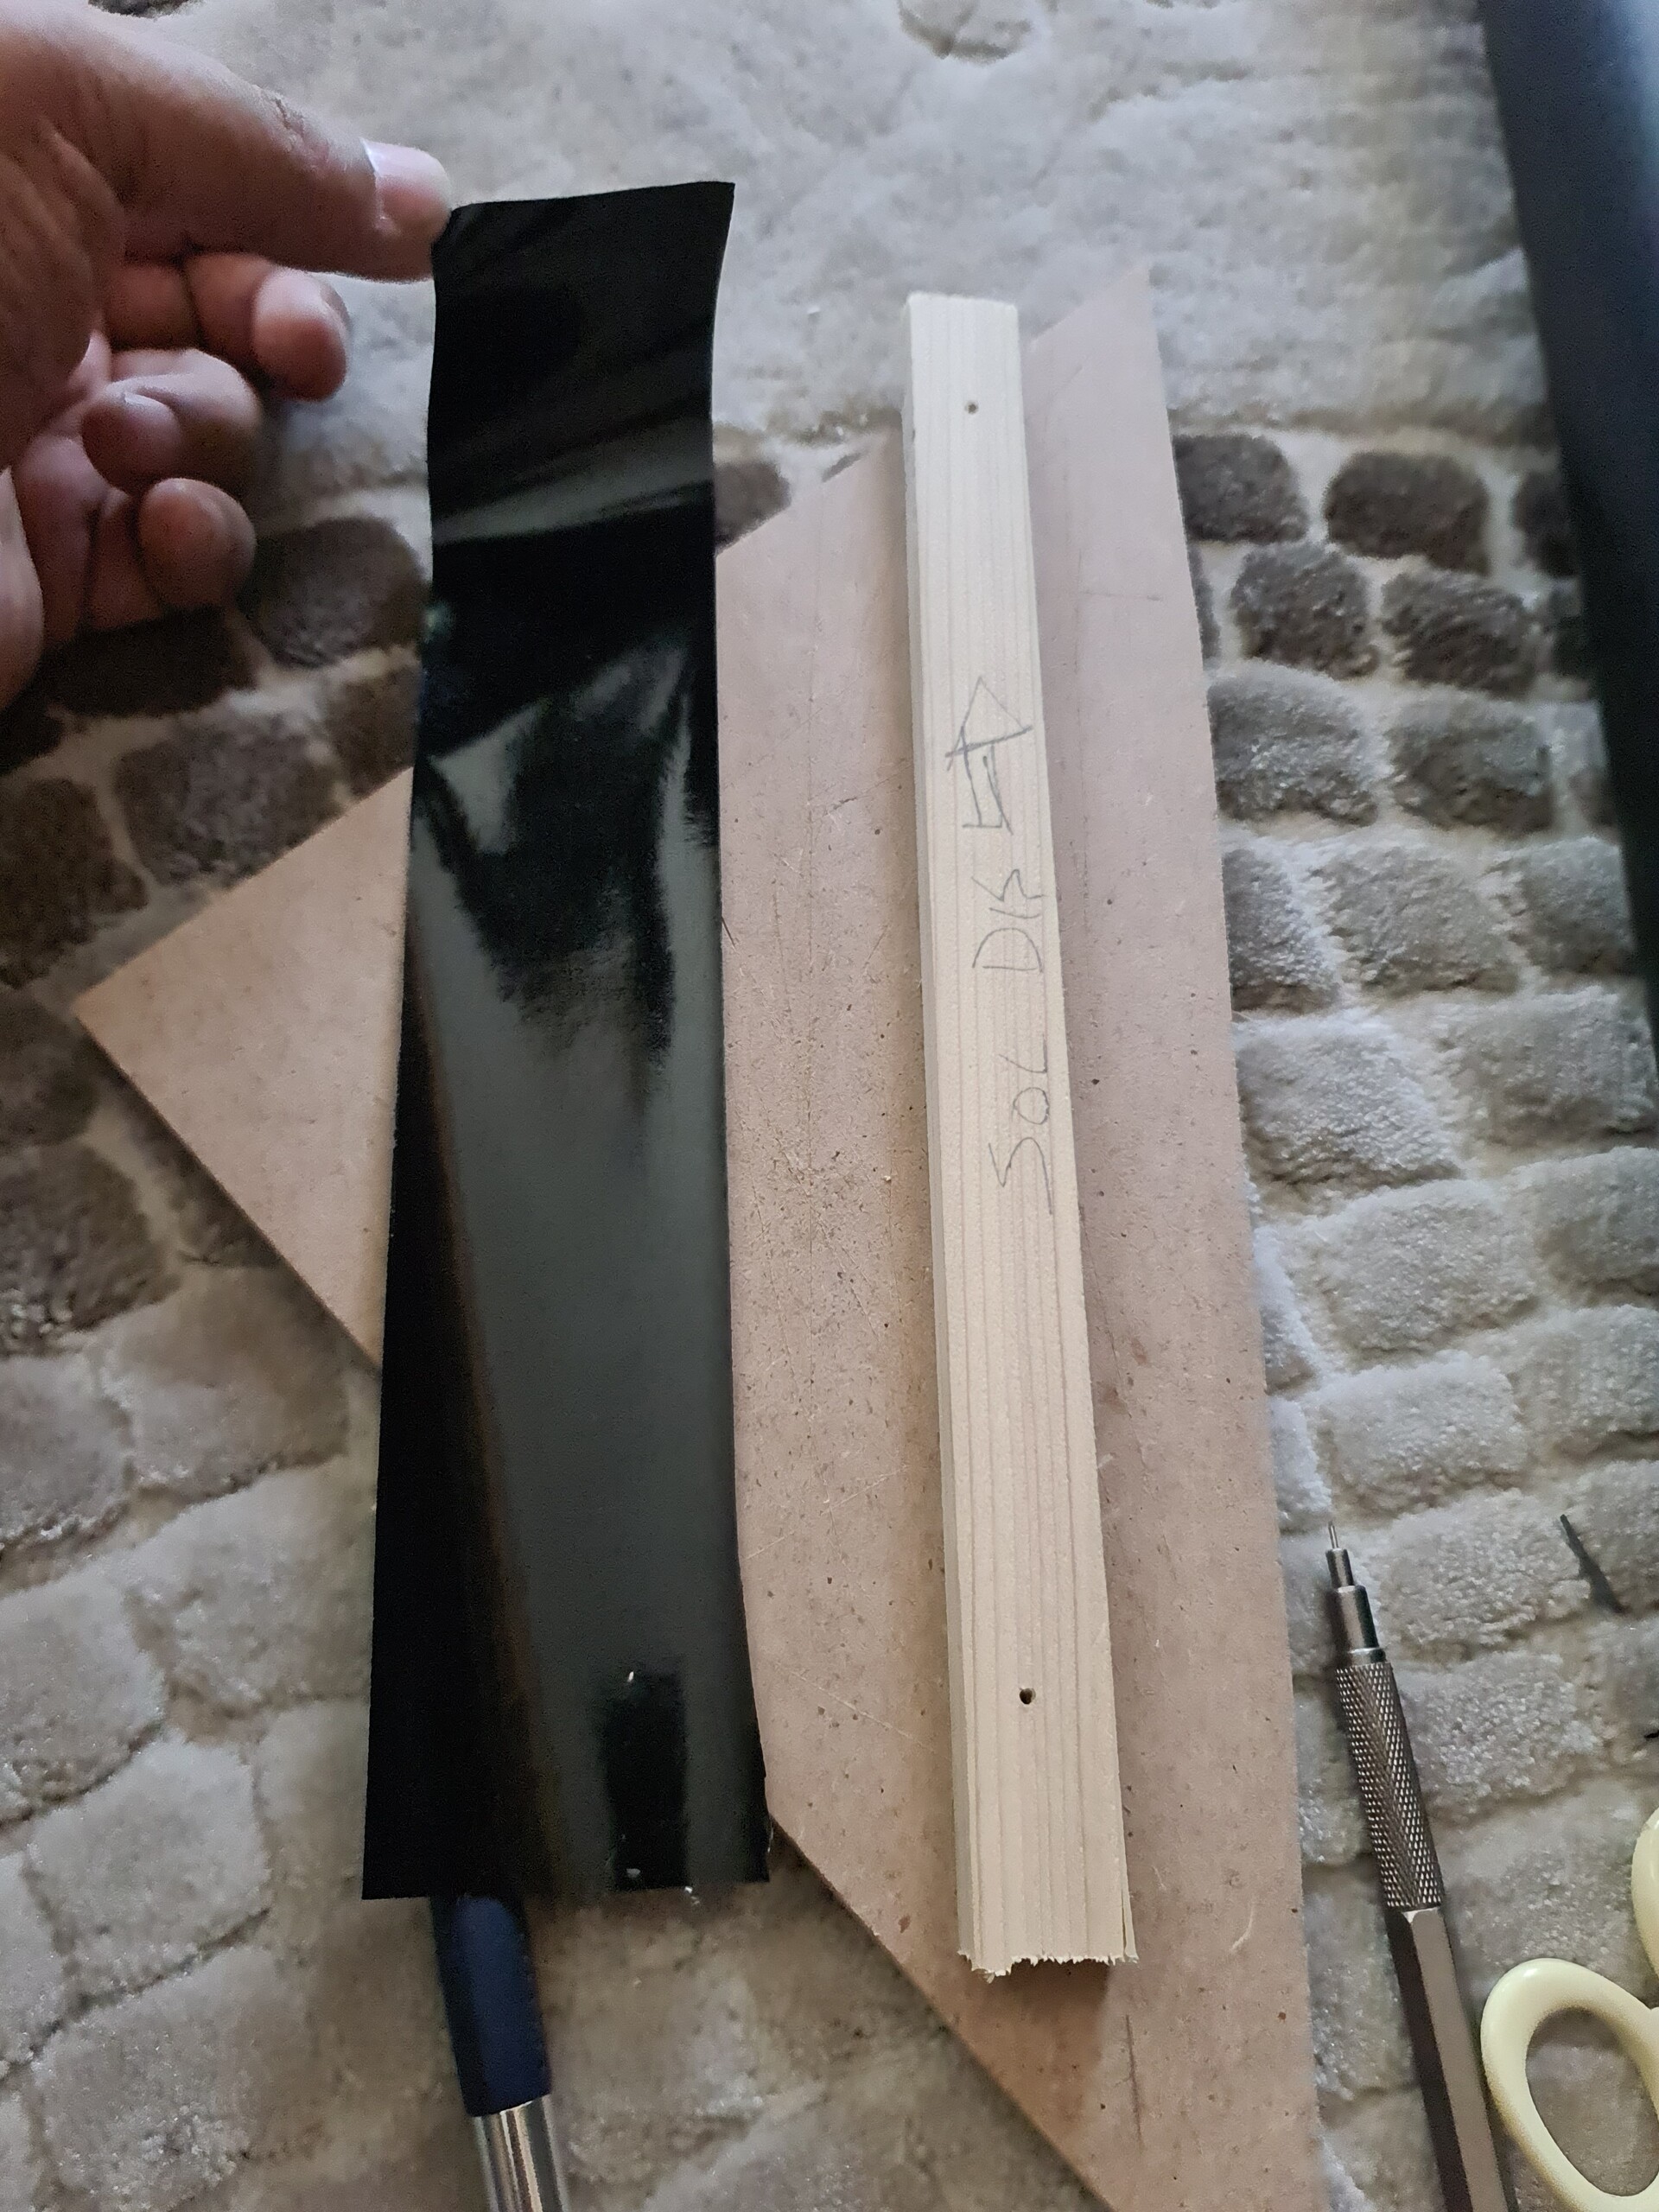
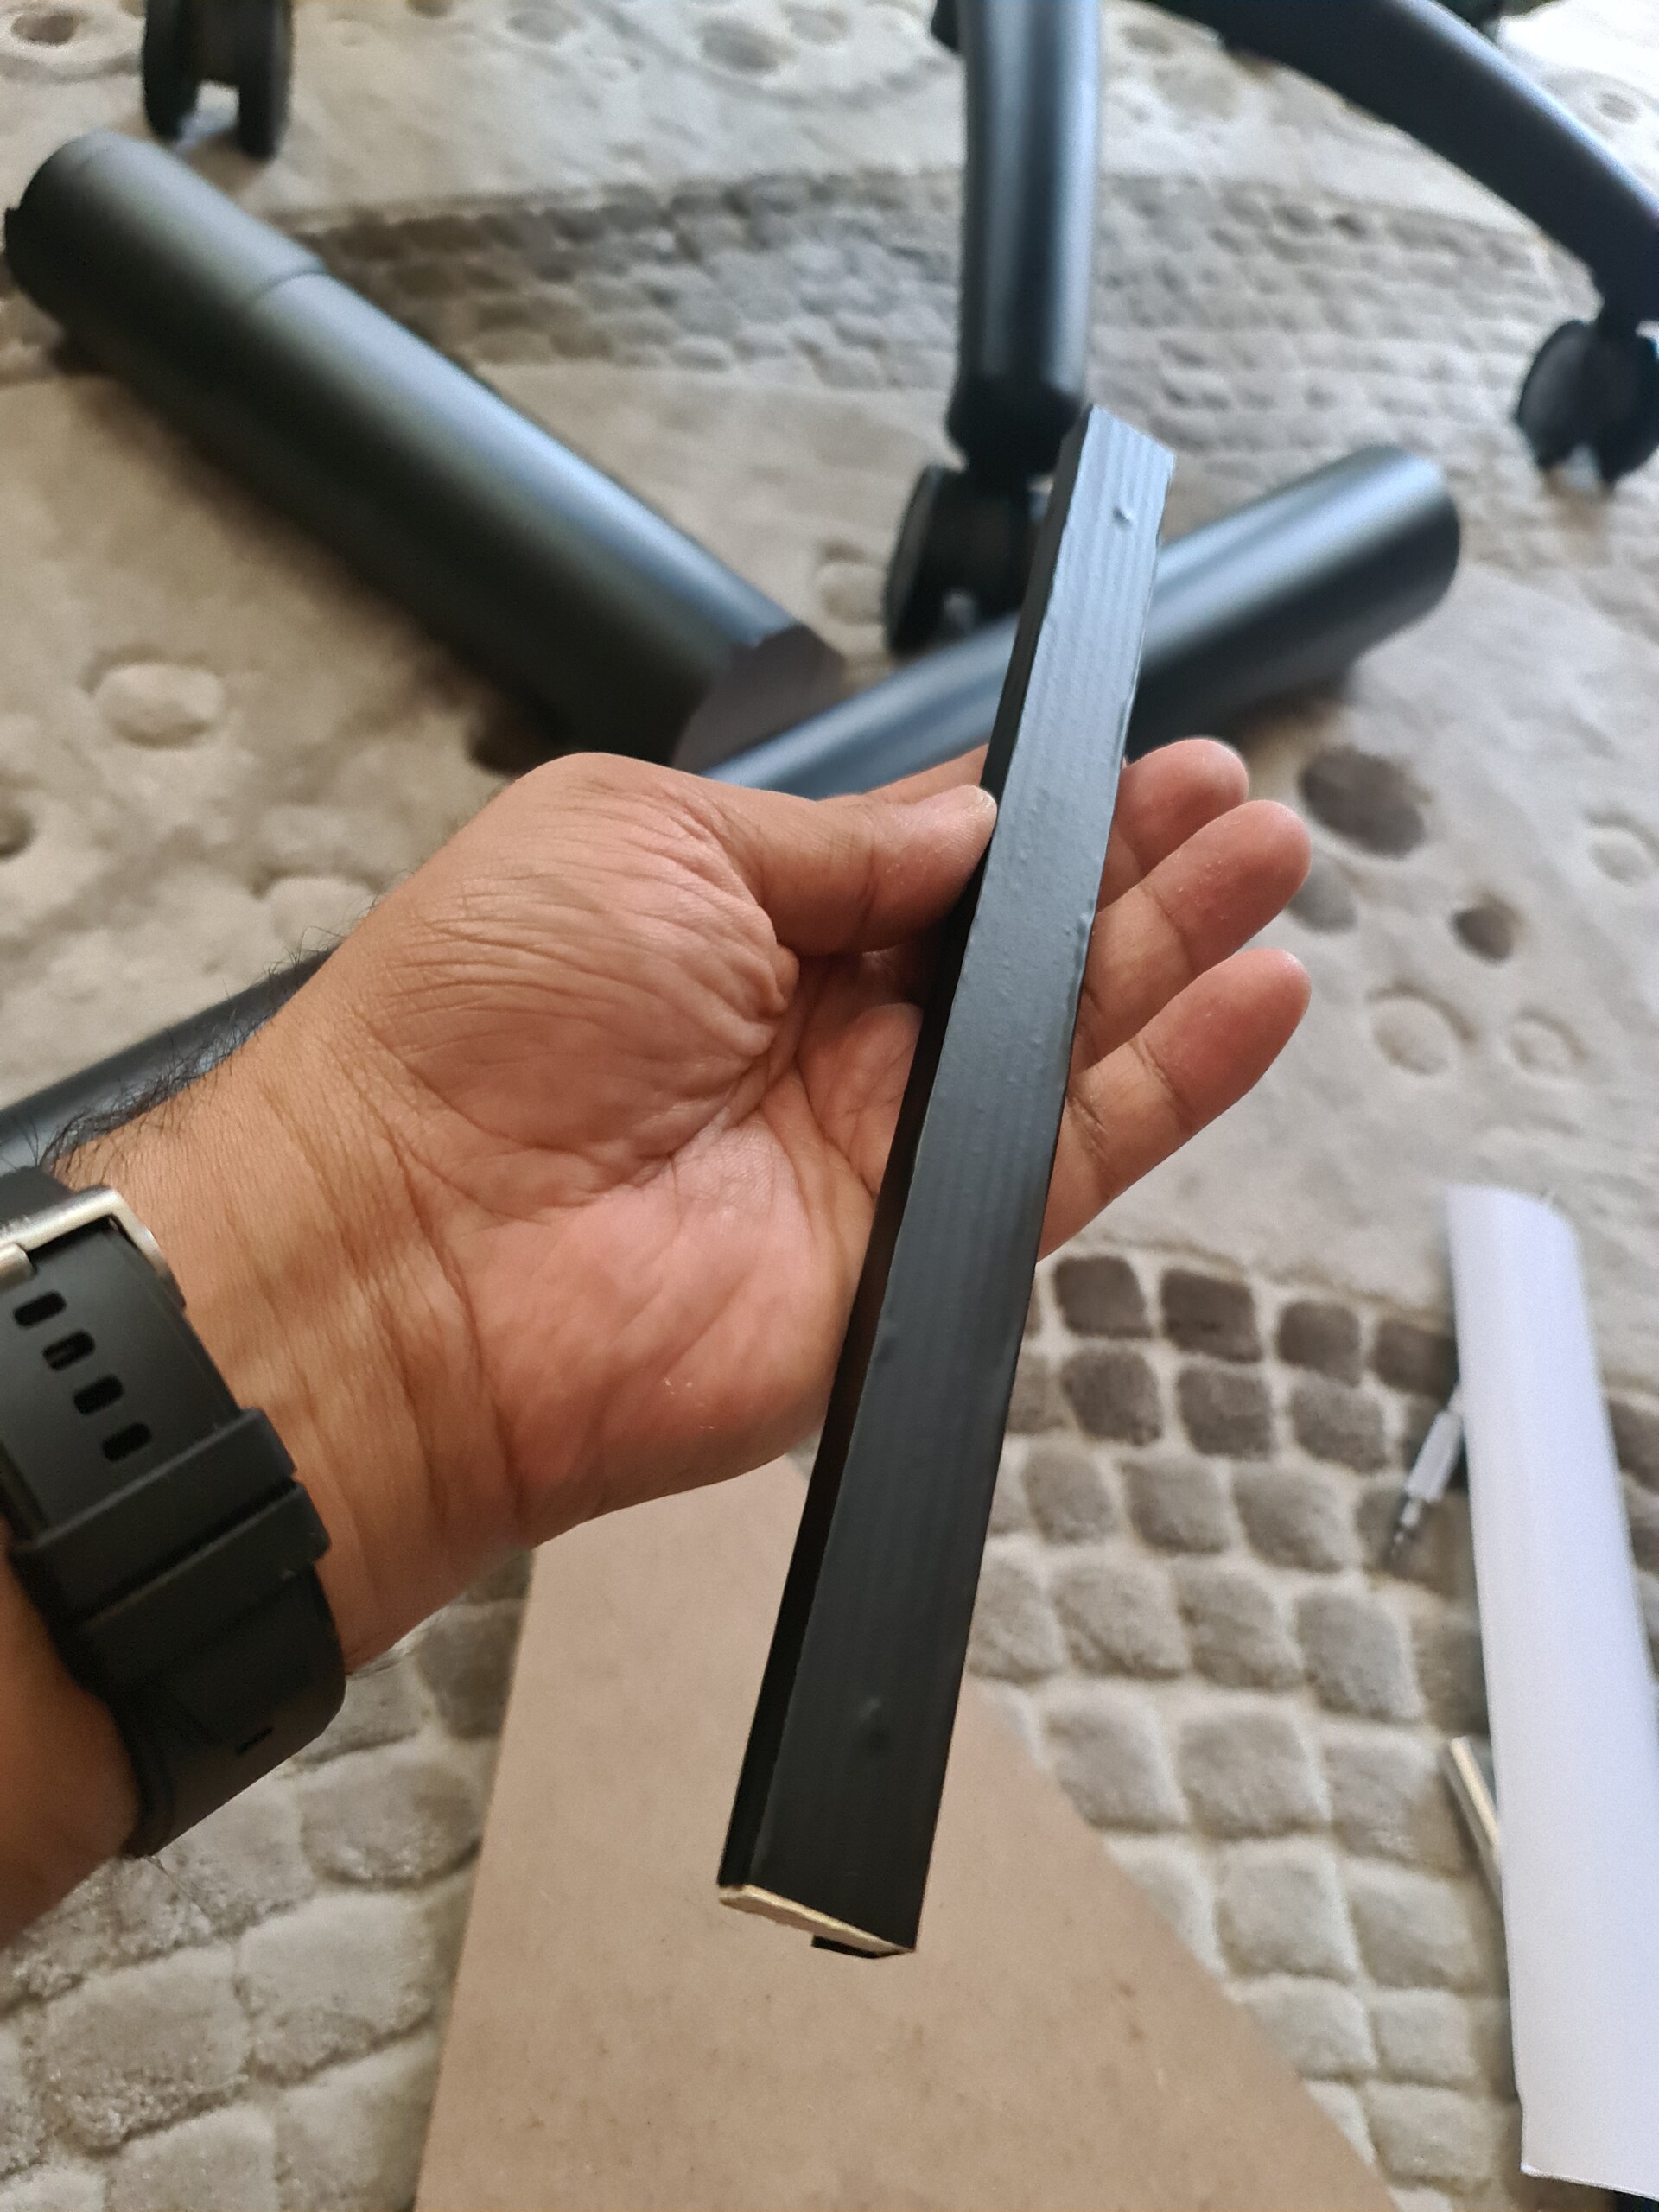
Now it's time for applying the glass in front of the screen. I used another plexiglass for that. I added 2 wooden slats to the sides. Also I drilled holes on plexiglass and fixed it with screws.
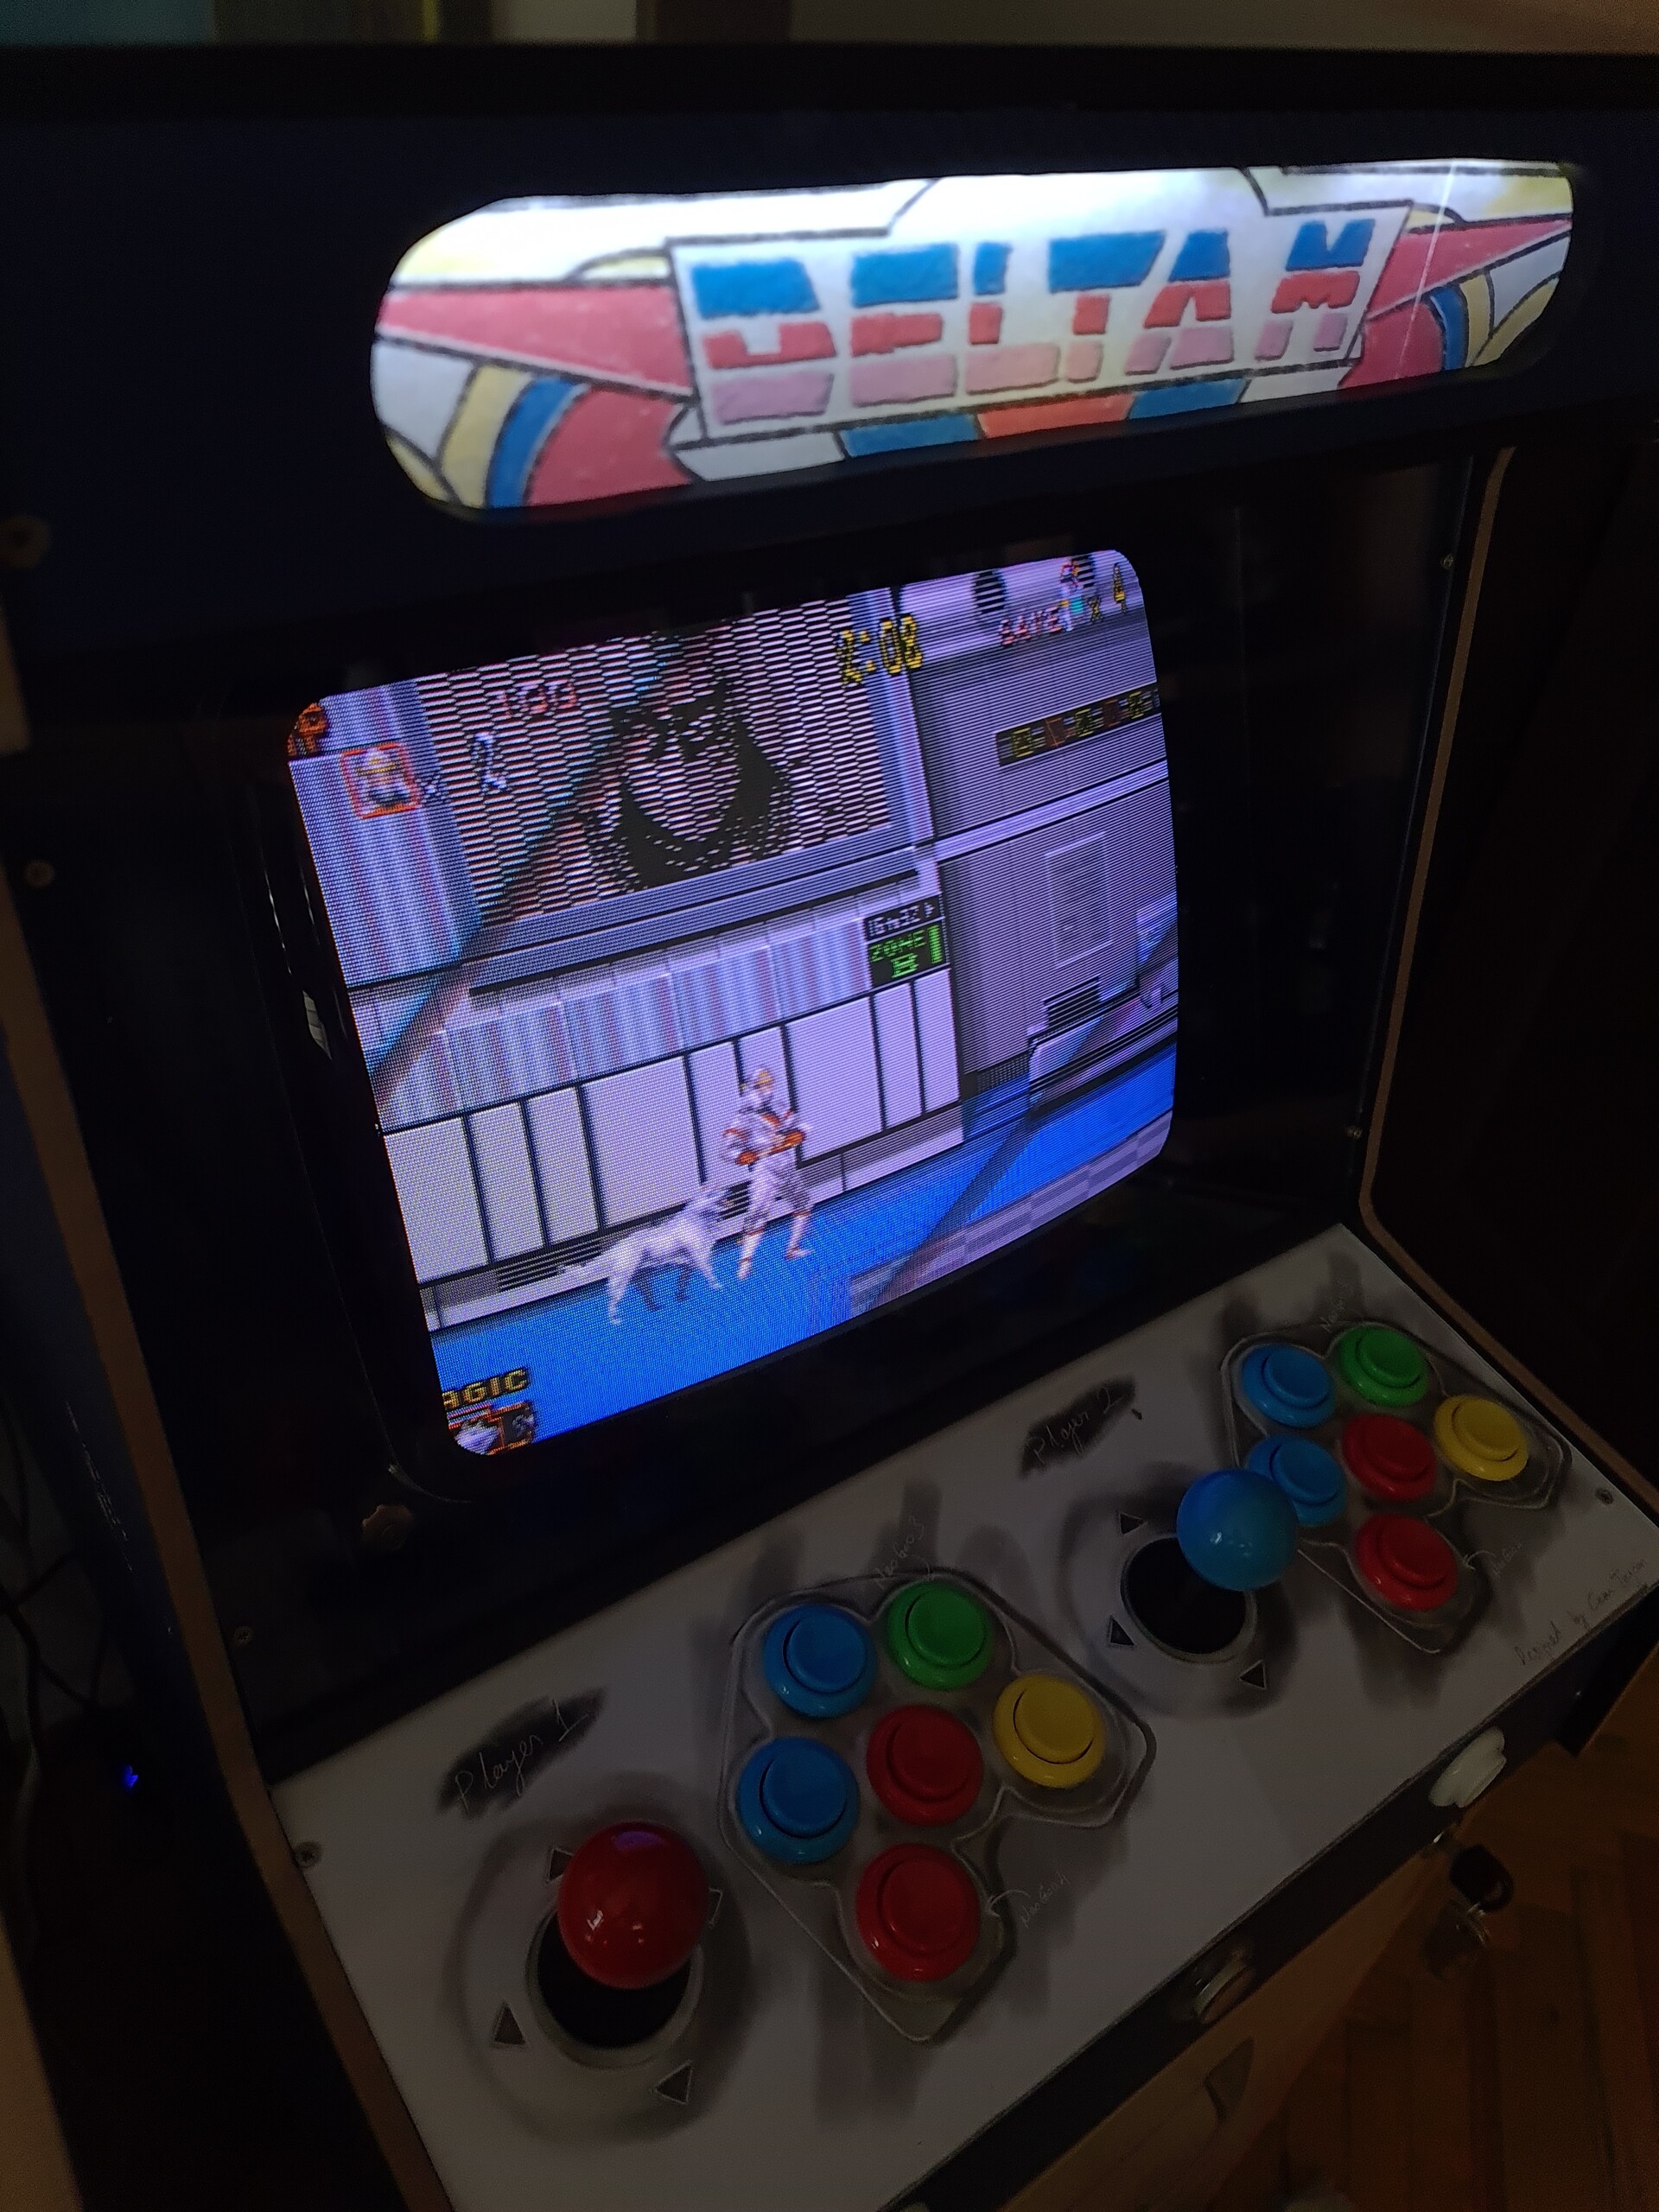
Looks shiny!
Now it's time for making everything black inside the outer glass. I started by using black sticker foils on the slats, and then the inside surfaces.
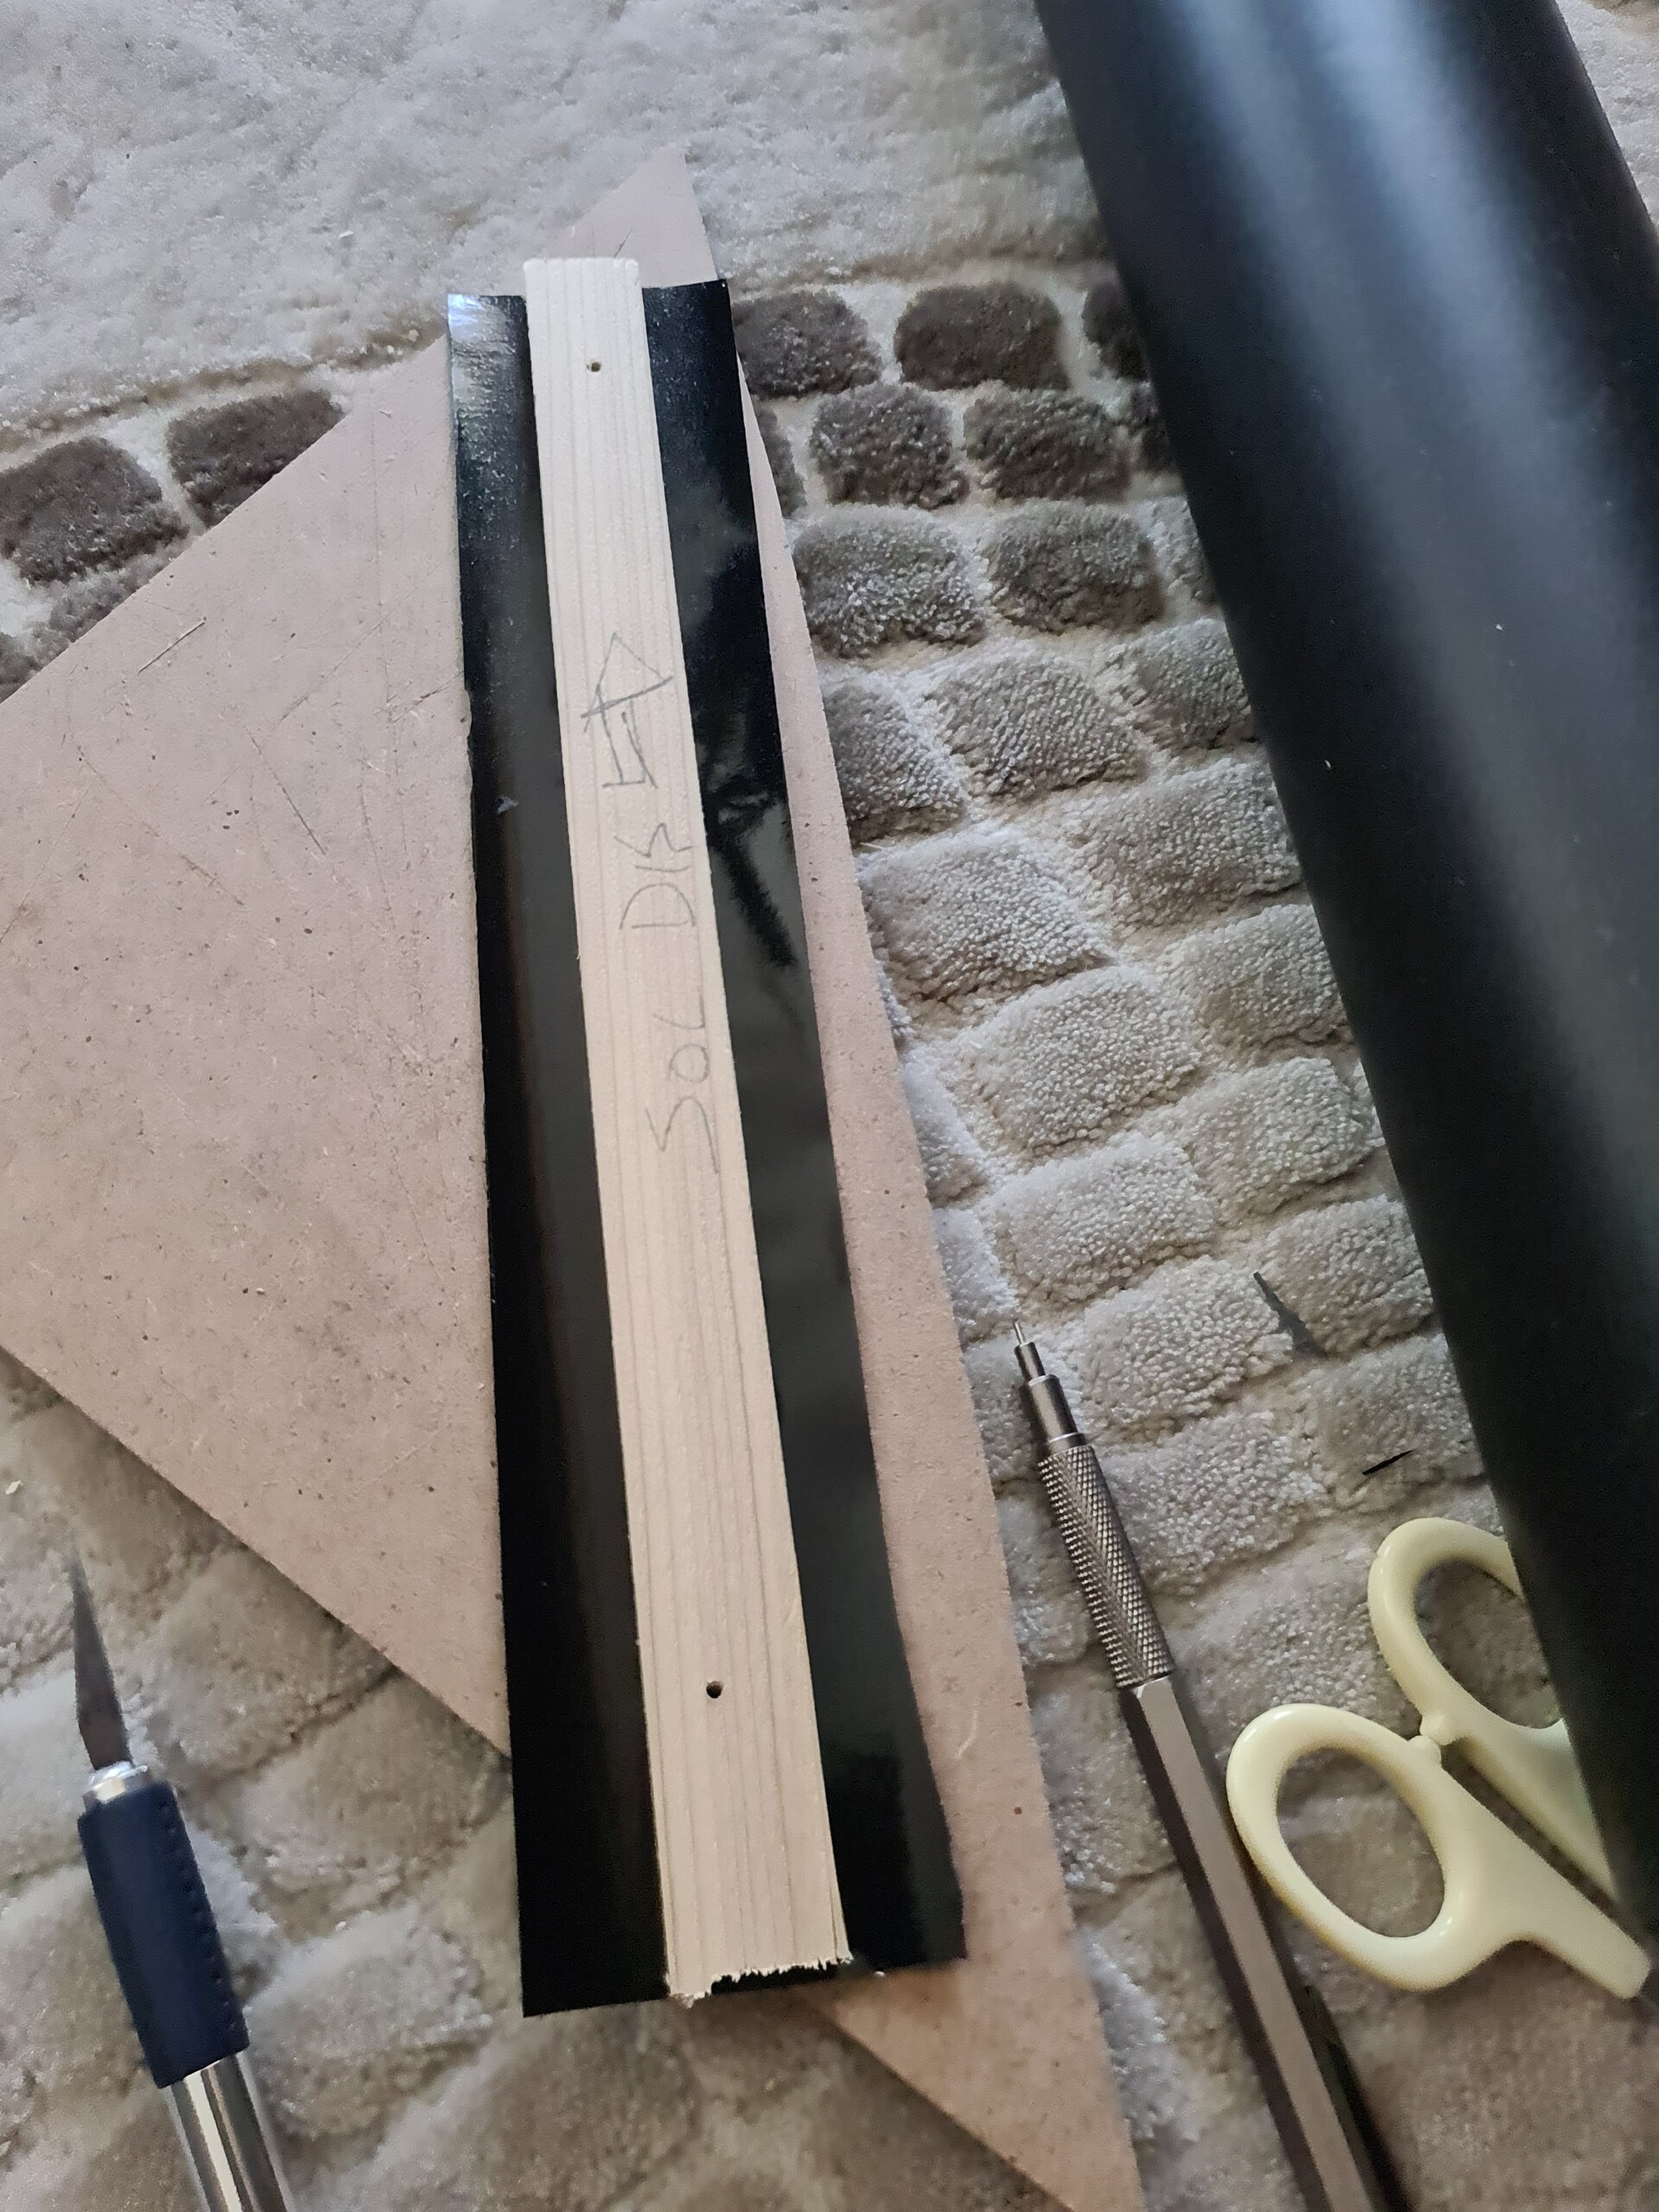

.jpg?1692899680)
The difference is remarkable!
And I added a rubber edge corner to the screen glass to make a better intersection with plexiglass of the controller glass.

7. Peripherals Add-On
As a final touch, I decided to add the following:
- 2 ports USB extension
- Video Sync port for Guncon Lightguns
- On/Off Switch for the Marquee Lighting
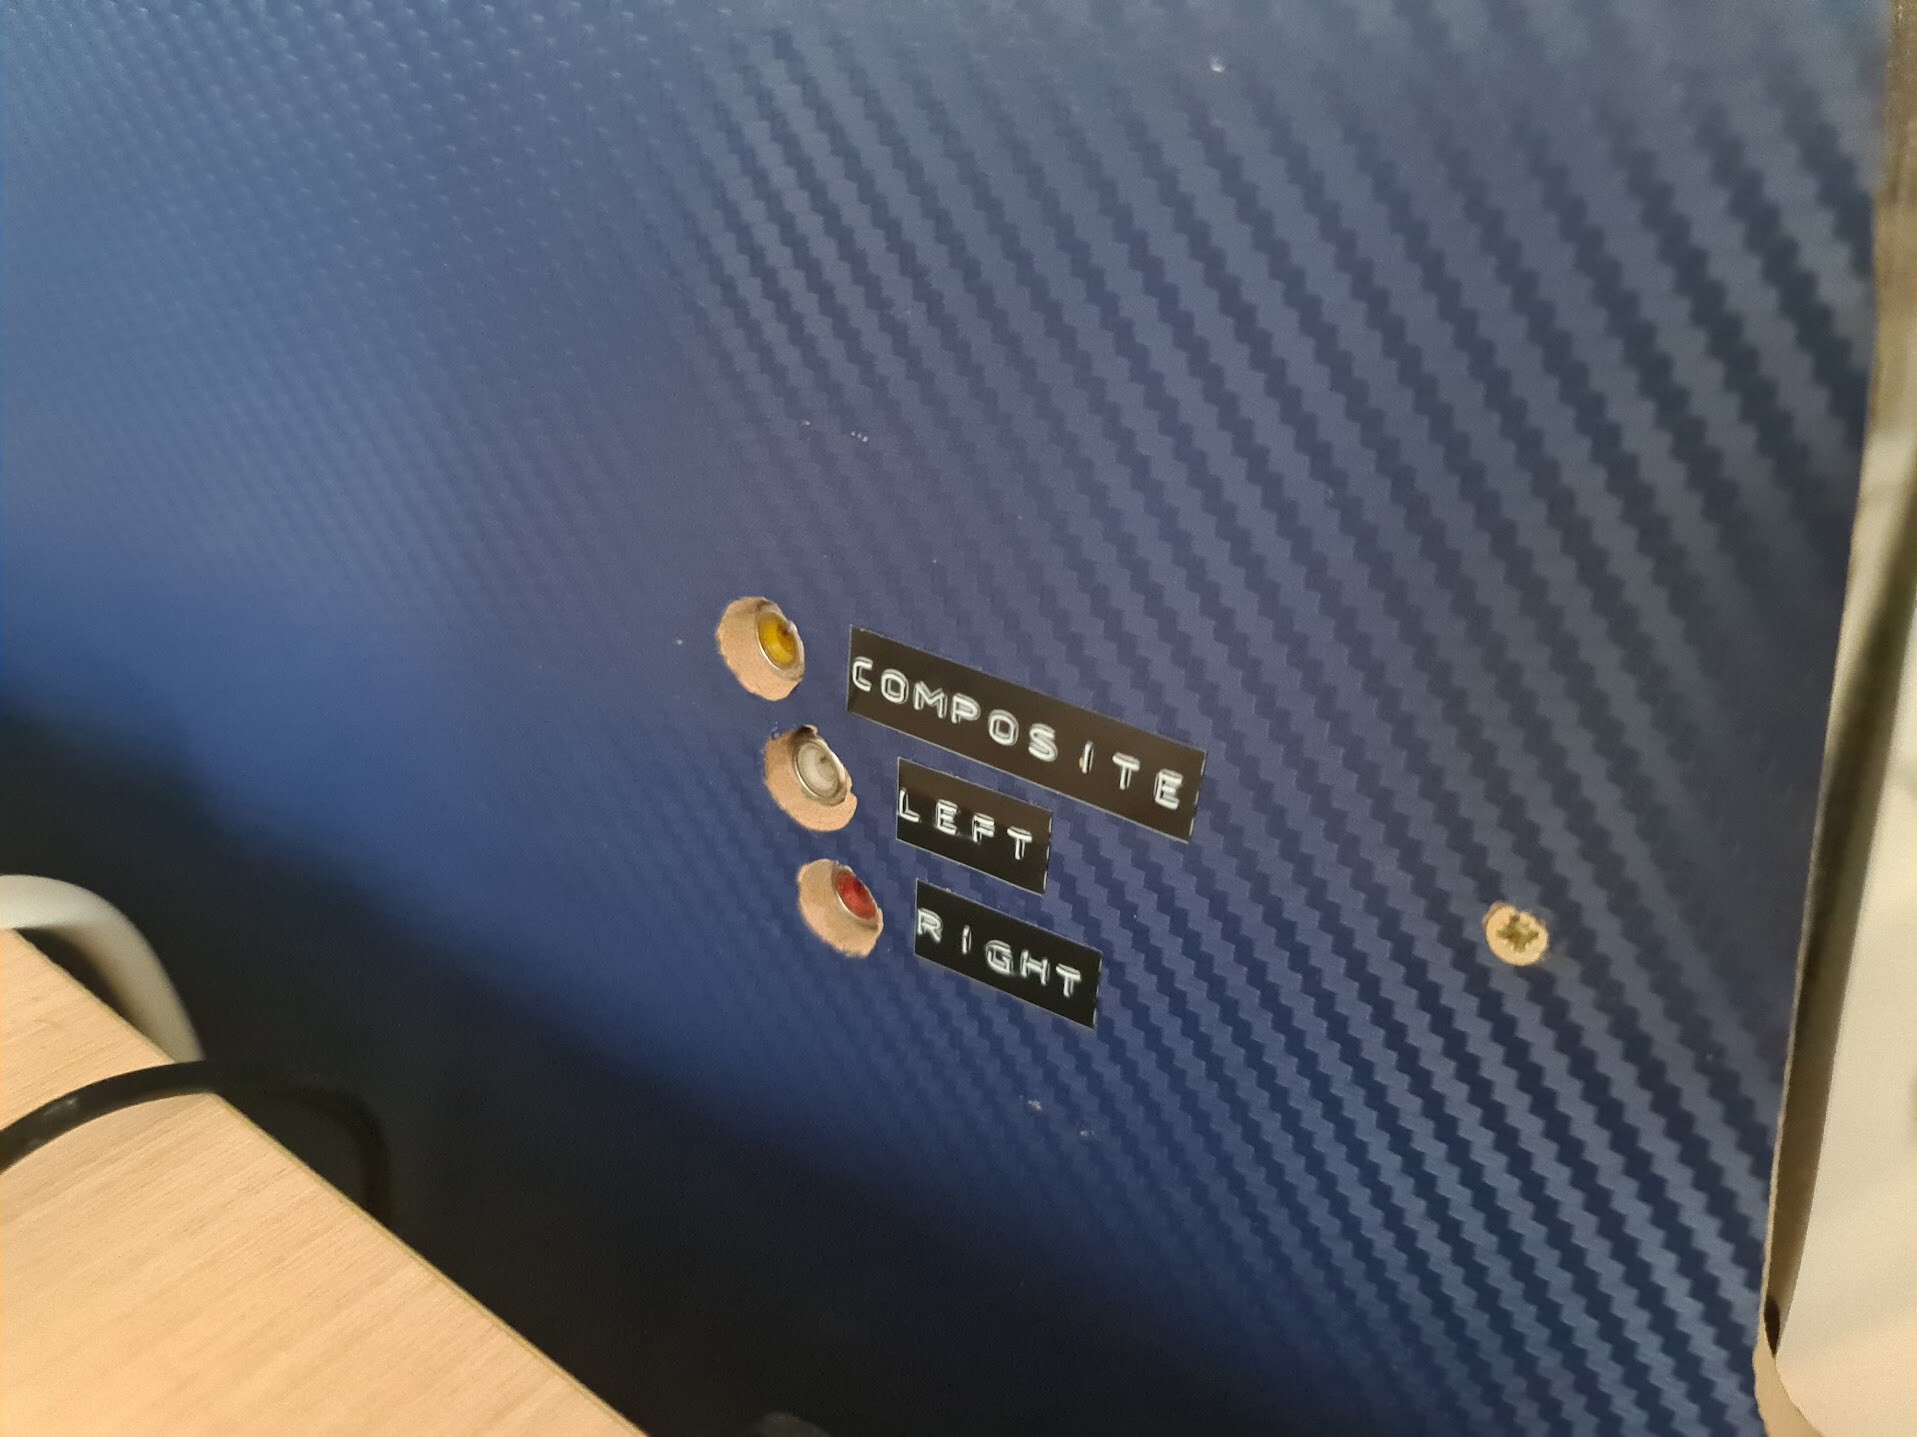
- On/Off Switch for the 12V adapter, so it cuts off the jamma connection (This is needed for using composite input, otherwise TV can't process both signals from composite input and the jamma,/scart)
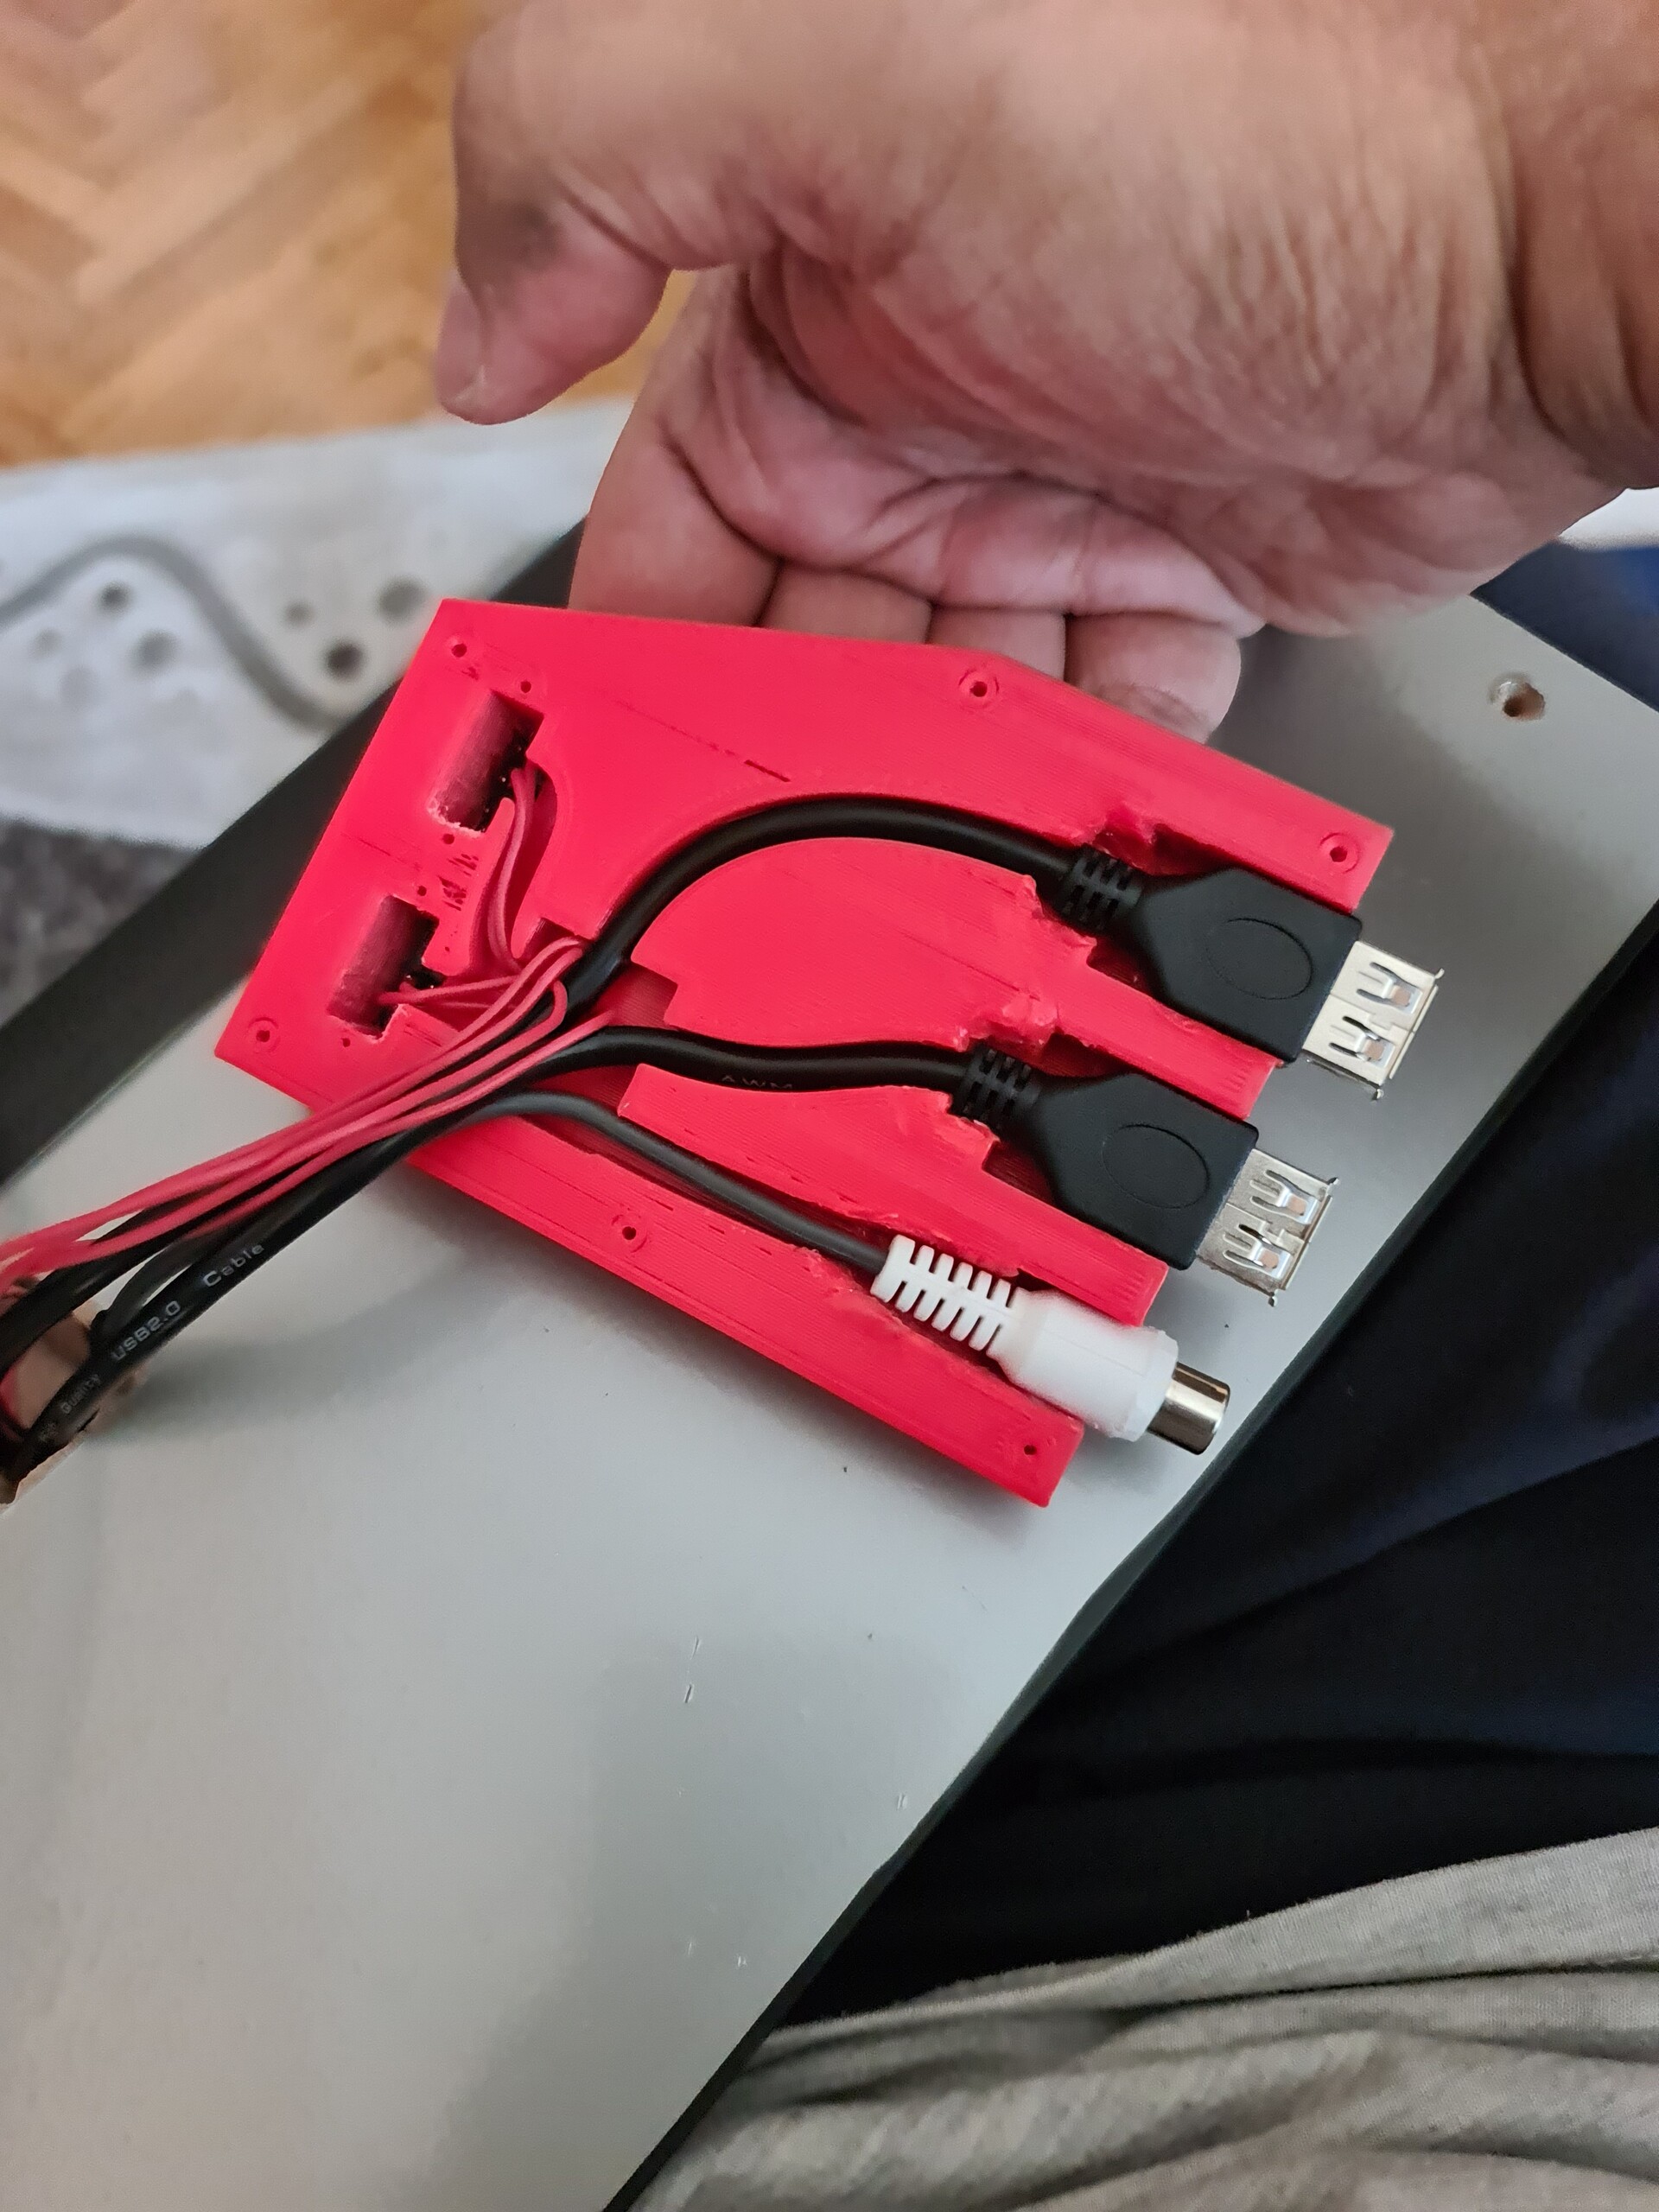
For that purpose I used USB extension cables and a female RCA port and 2 pieces of switches. I also 3d modeled and 3d printed a part to hold these switches and ports.

Because of a minor design mistake, I used a 3d print finishing tool (it's more like a soldering gun with a flat tip) I melted part to comply with the cables.


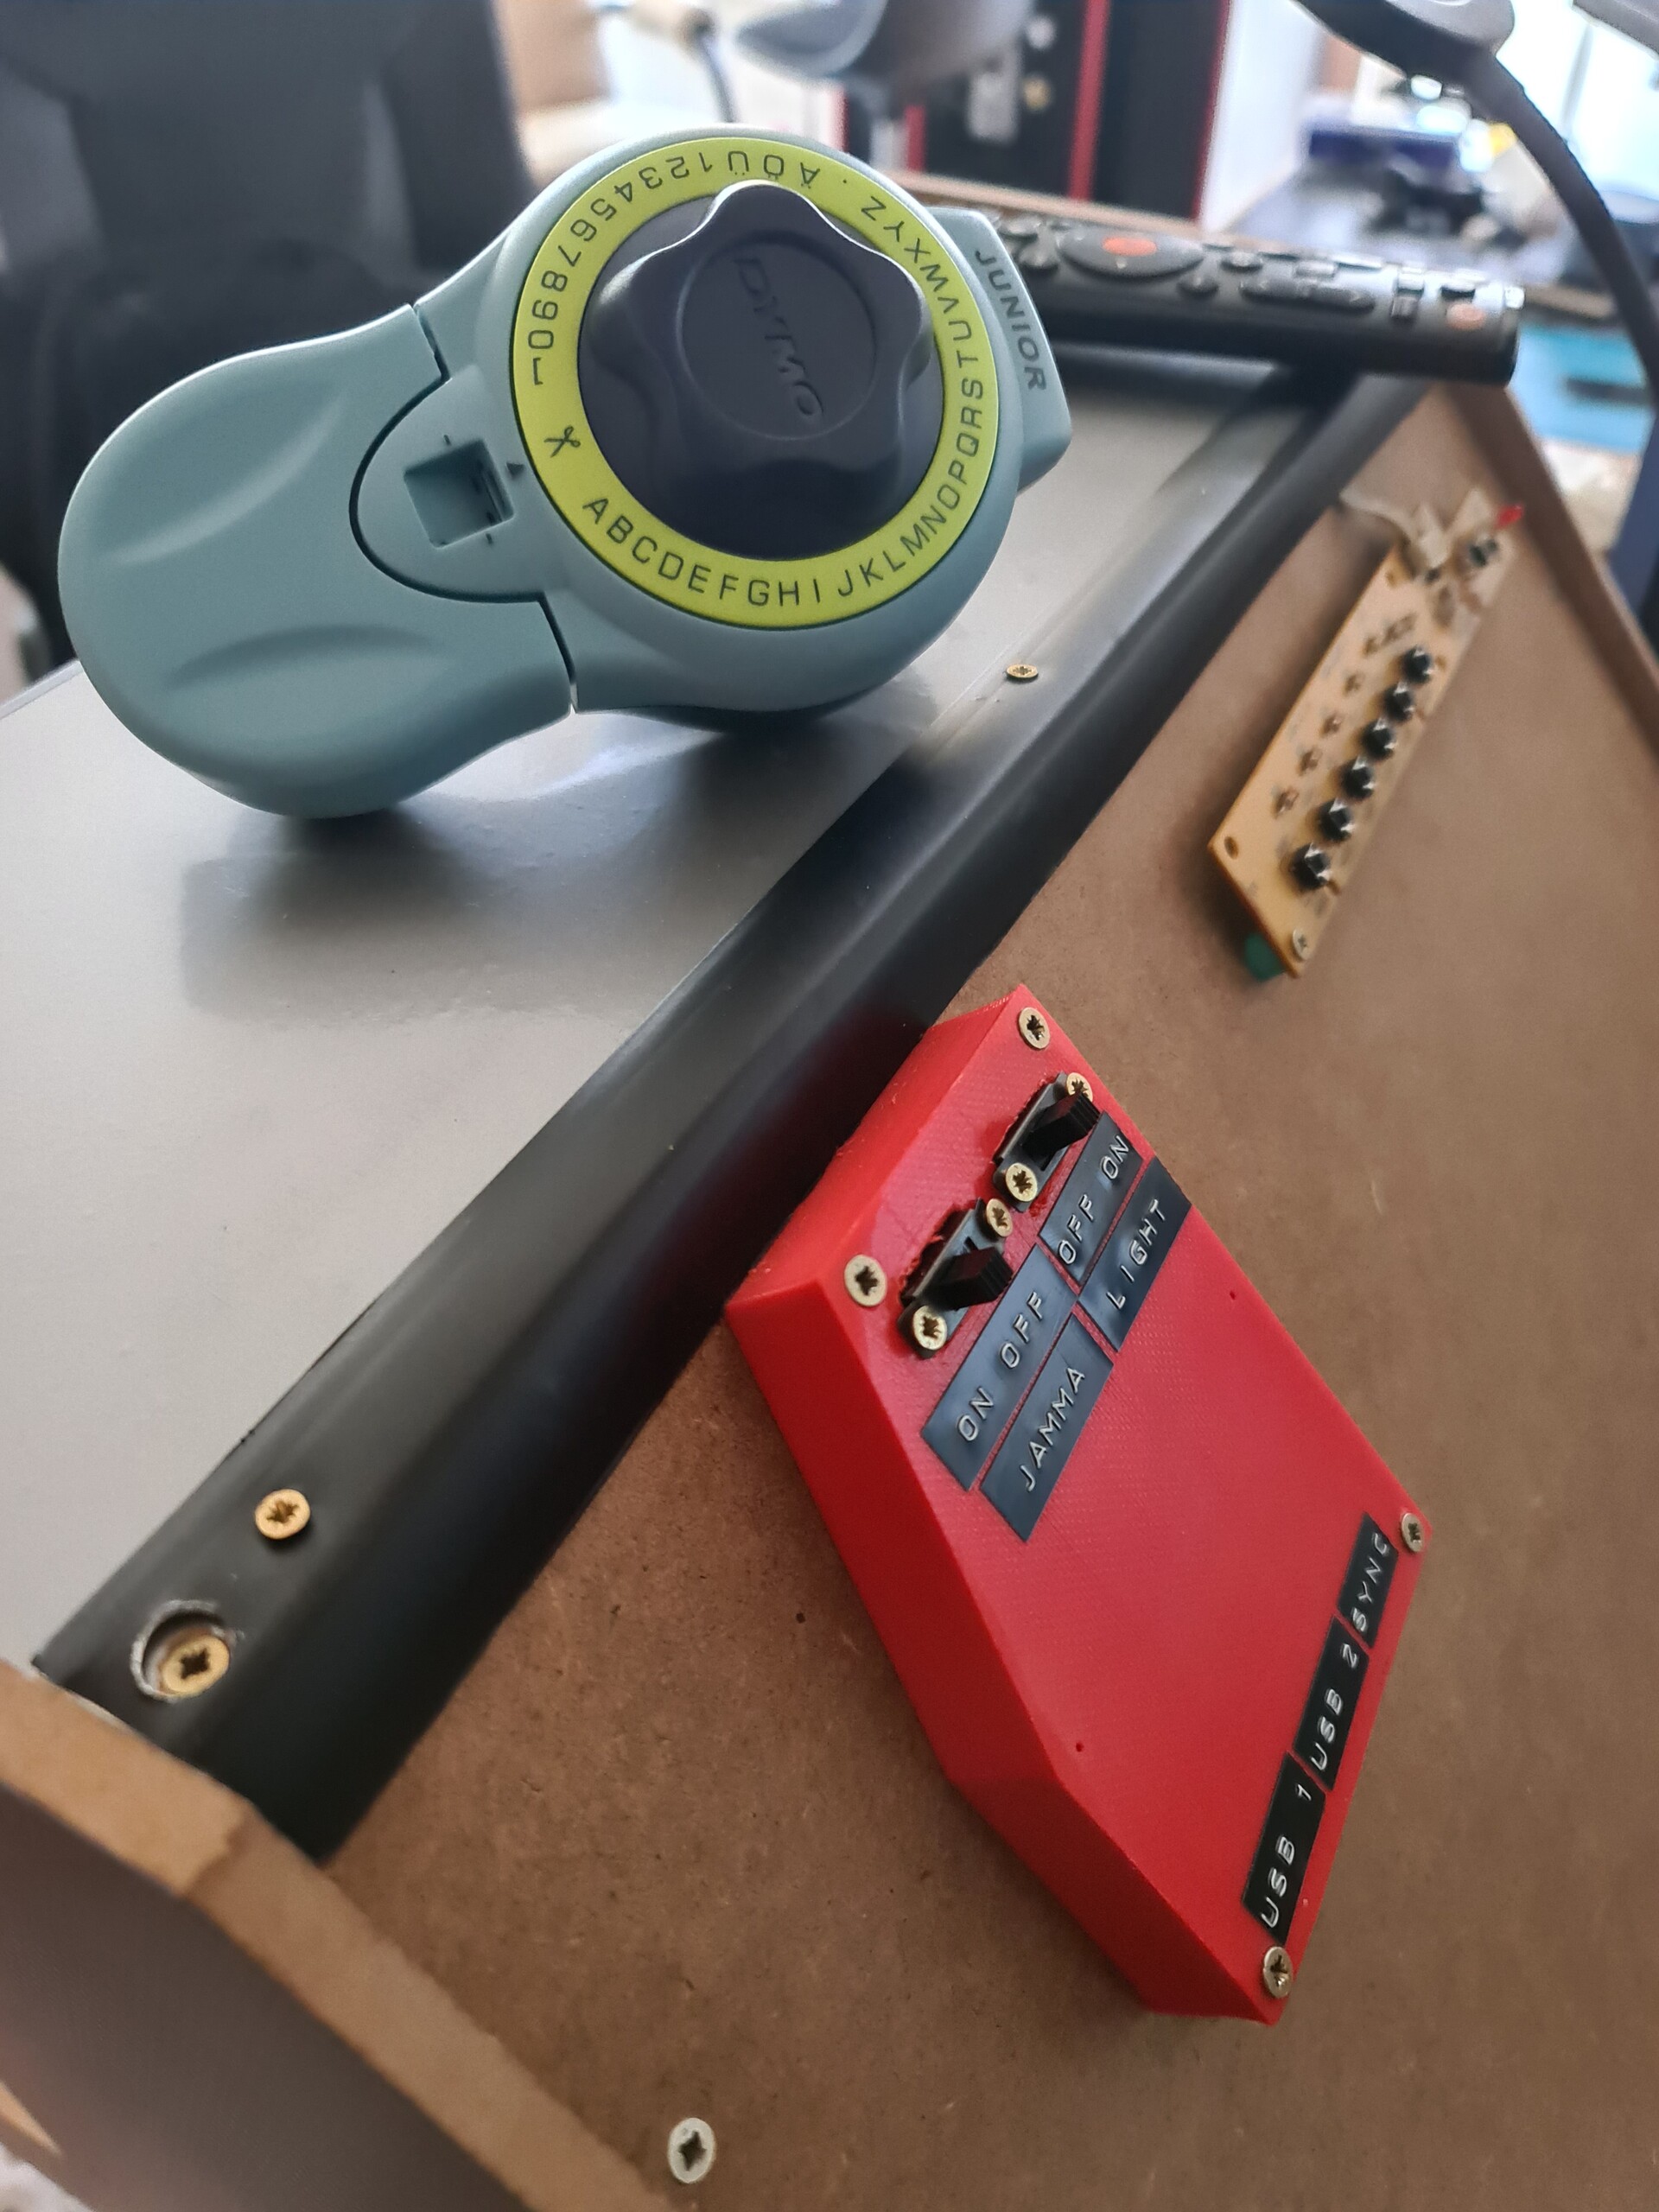
Finally I mounted the part to the back board of the cabinet. And used my labeling machine to stamp some labels.
With this add on I can connect Guncon 2 lightguns to play gun games, like this:
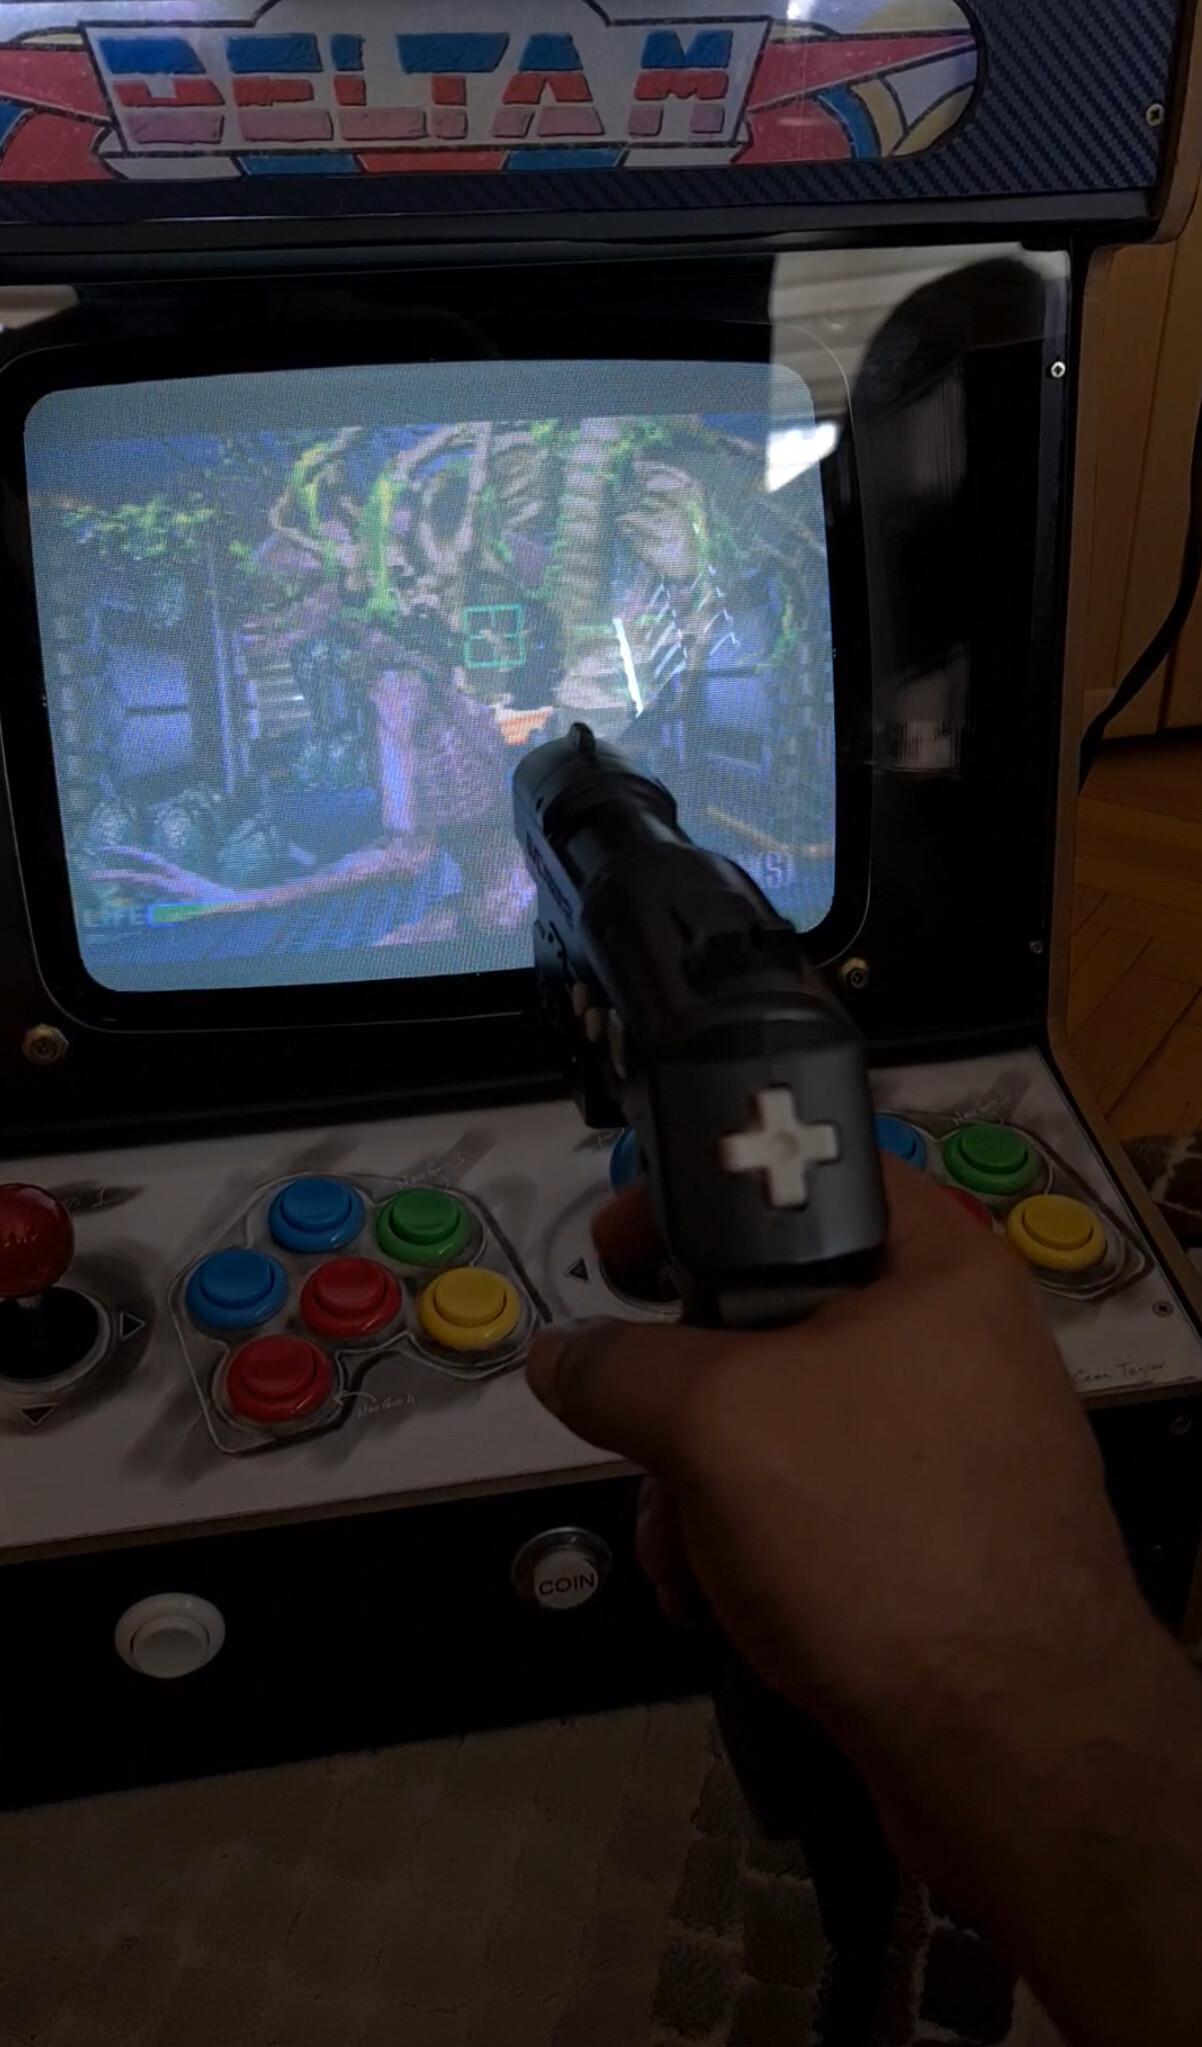
You can check this Youtube Short: https://youtube.com/shorts/yp4mpSSyPnc
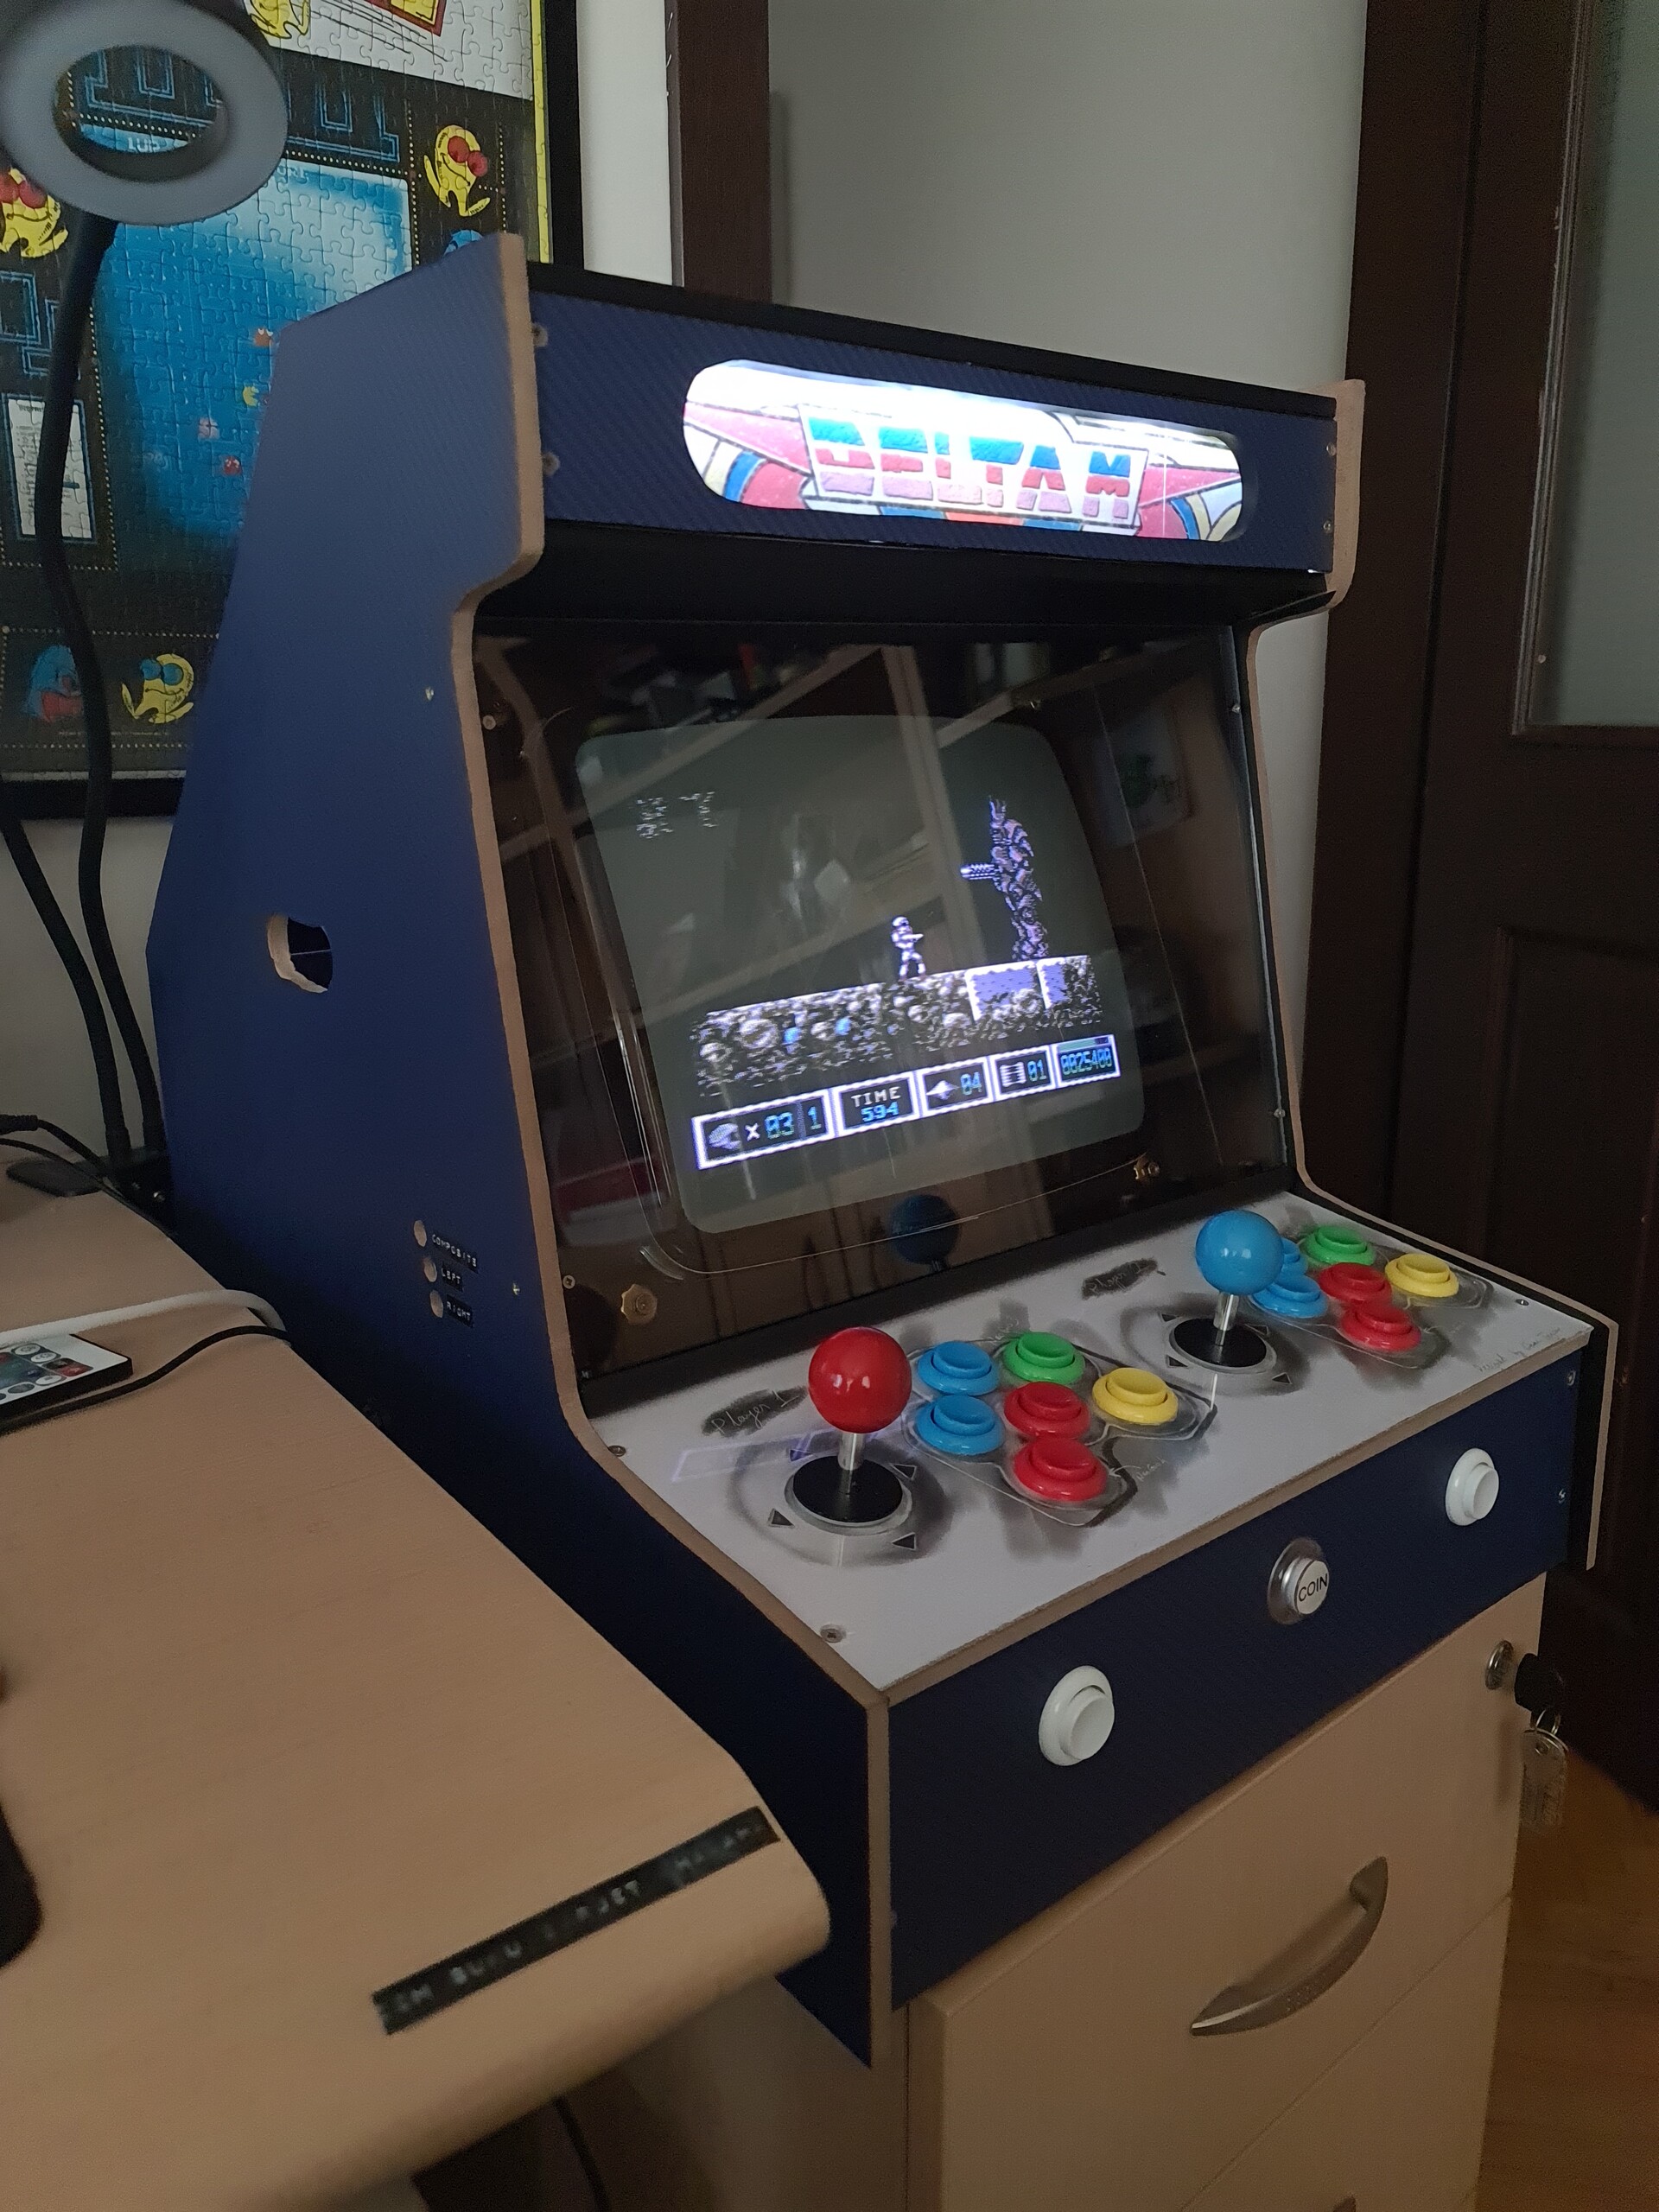
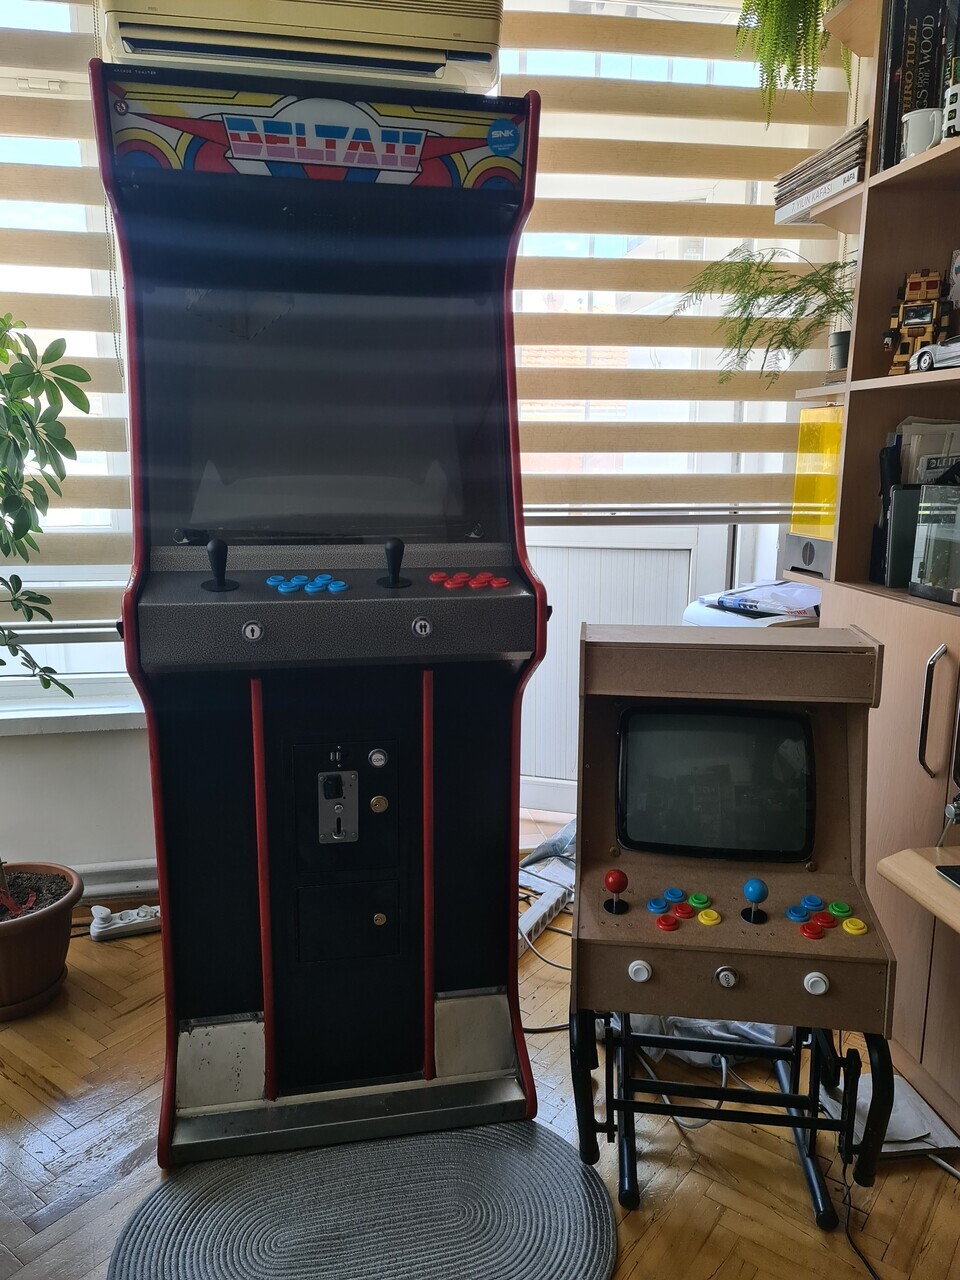
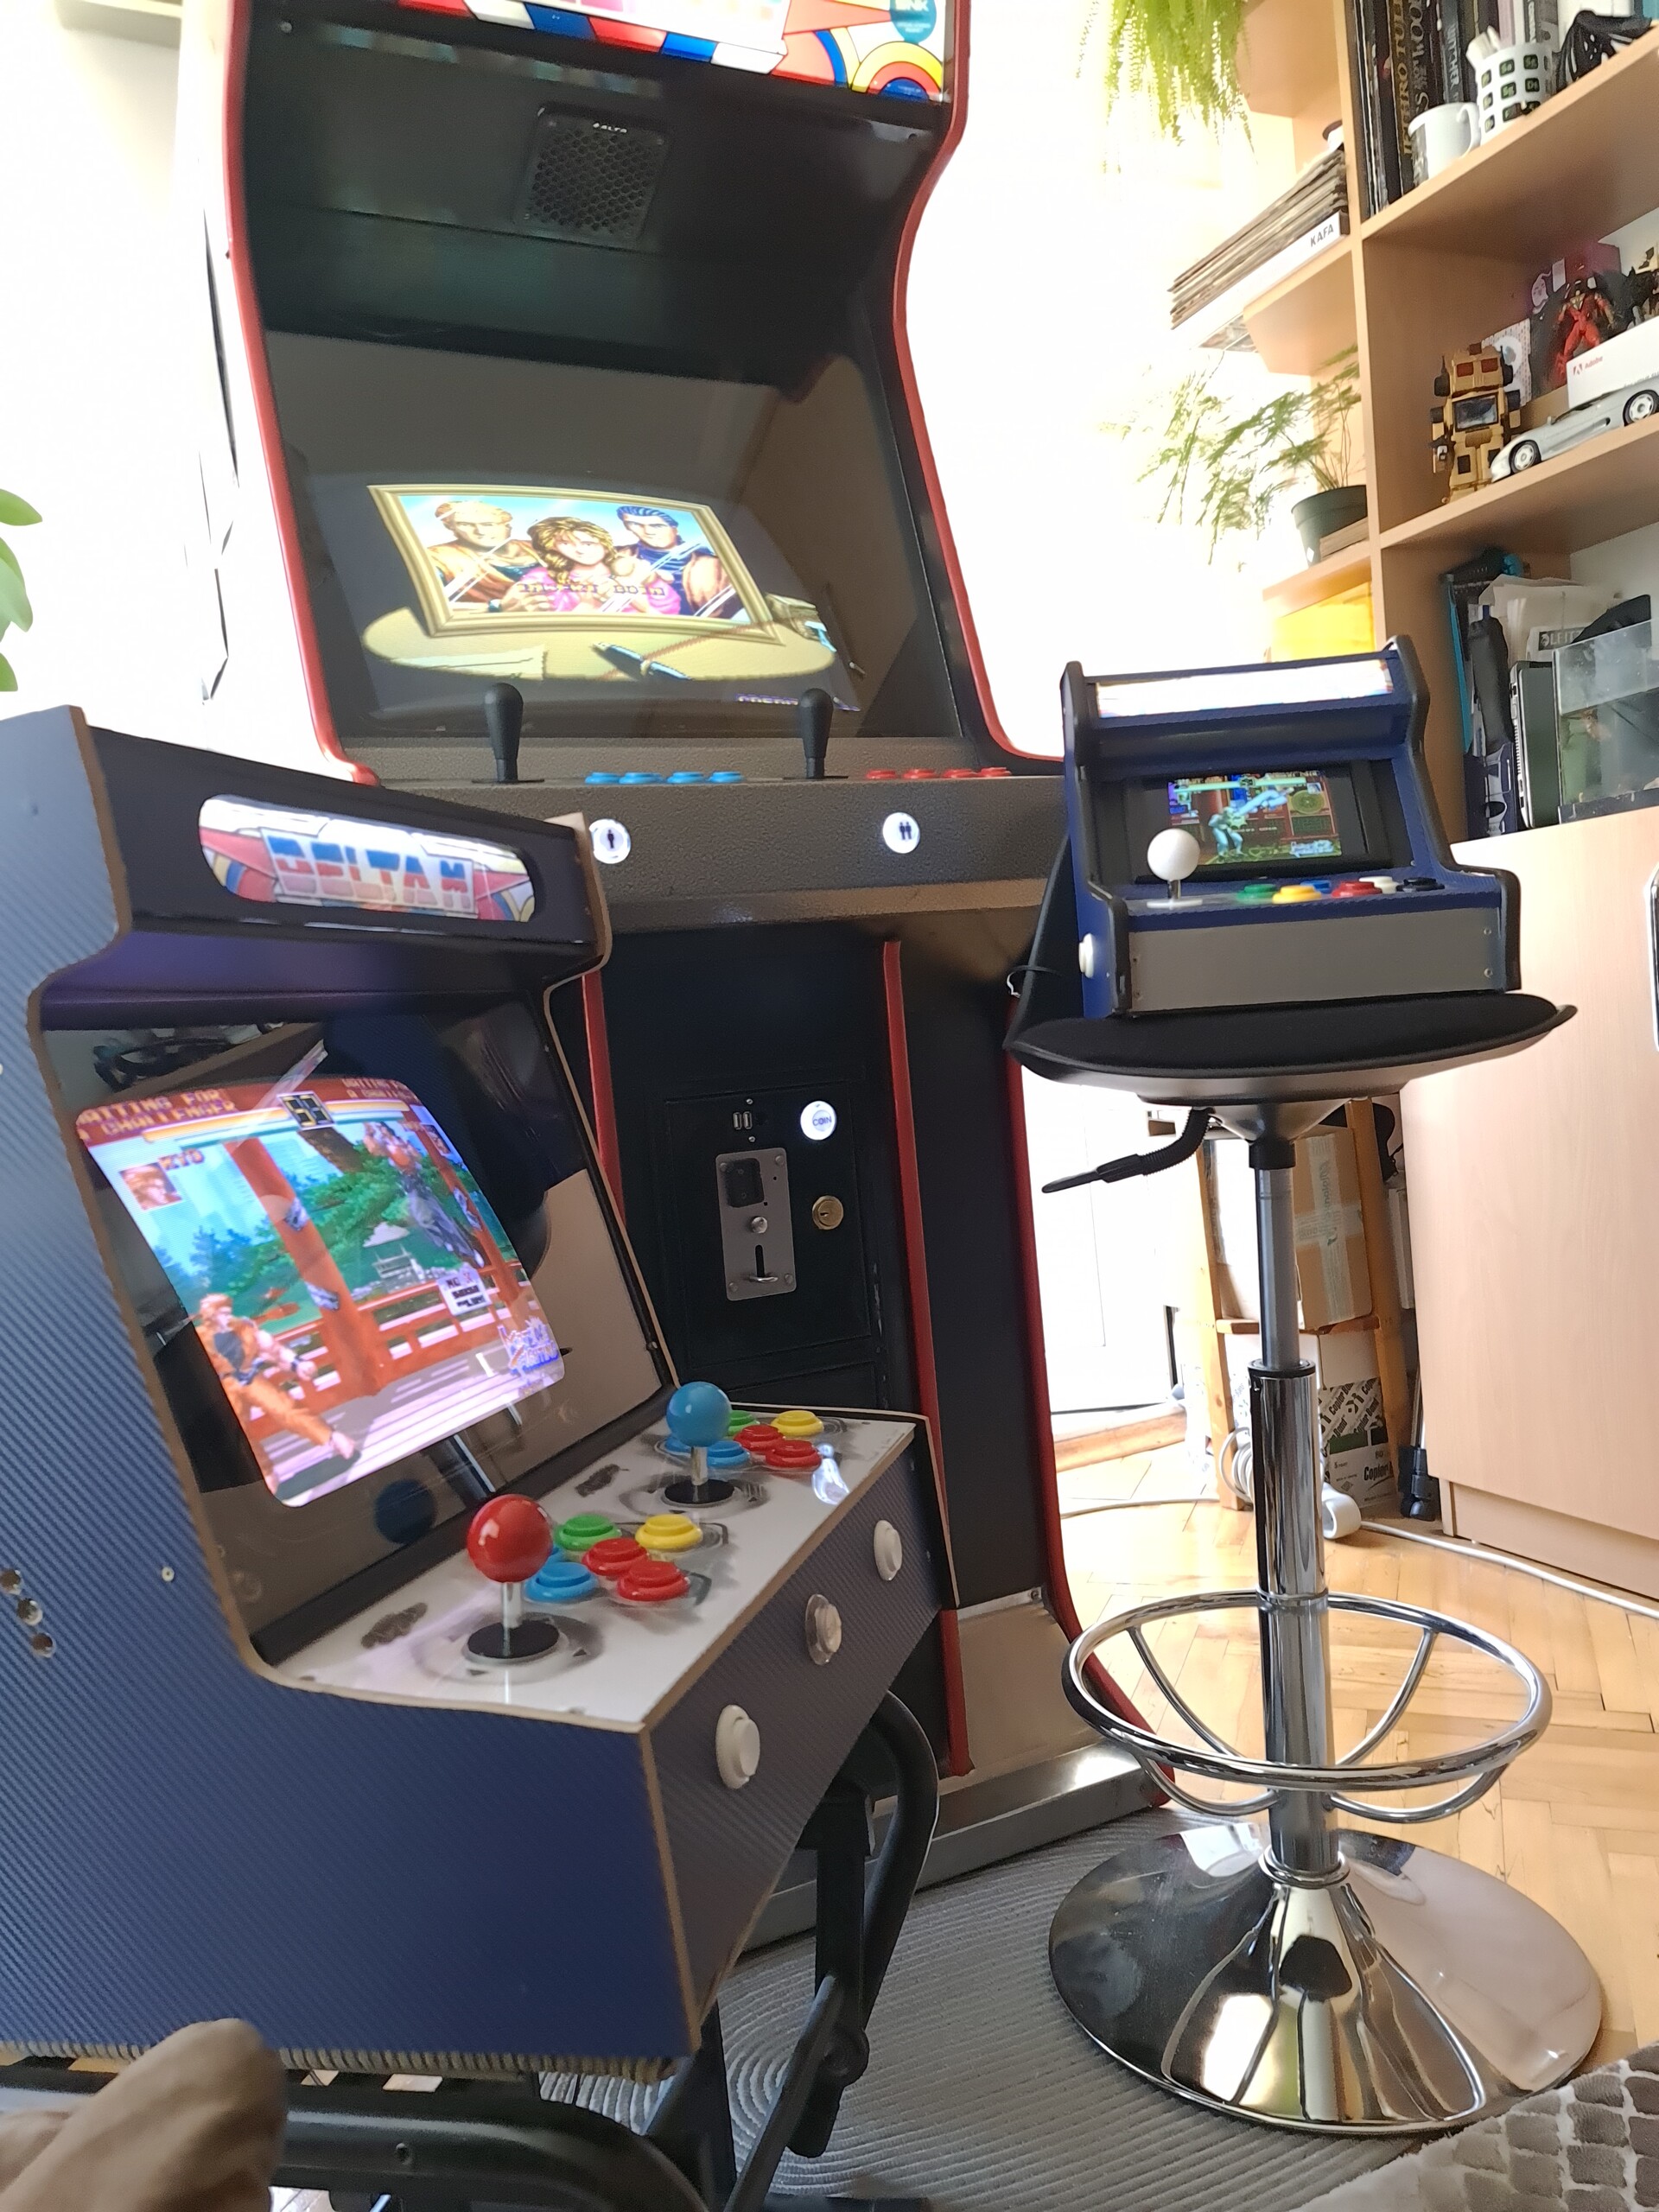
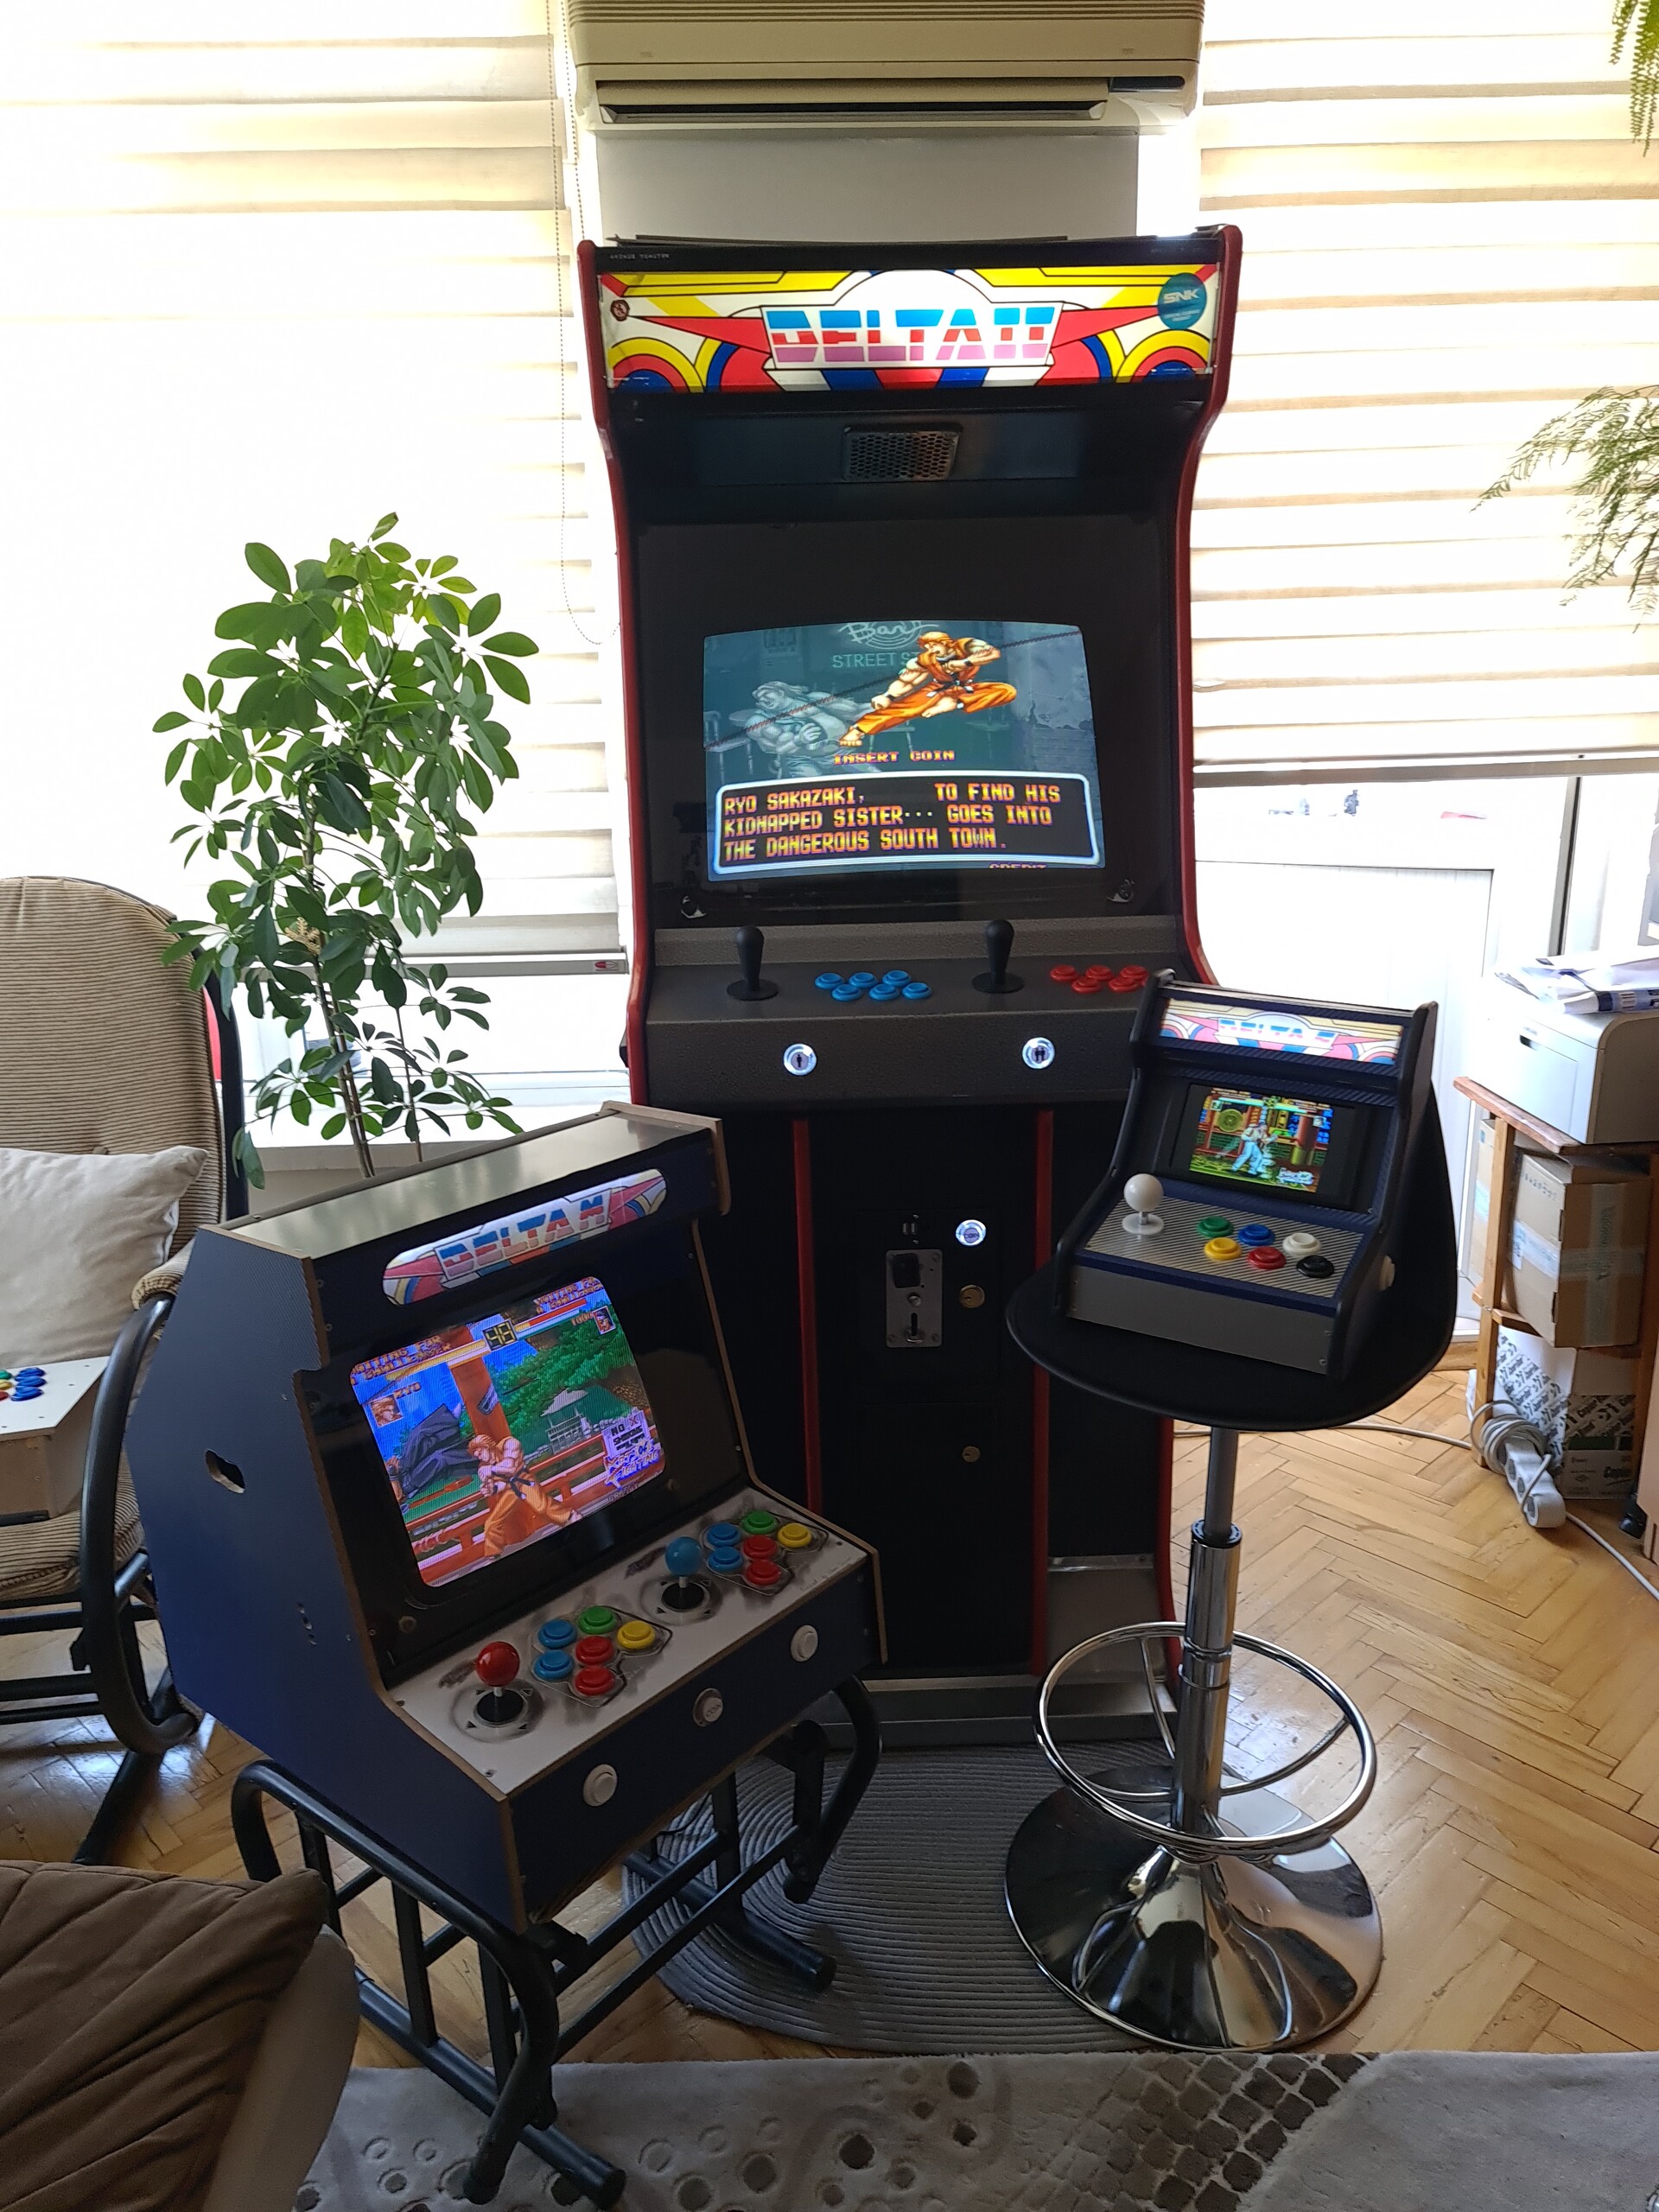
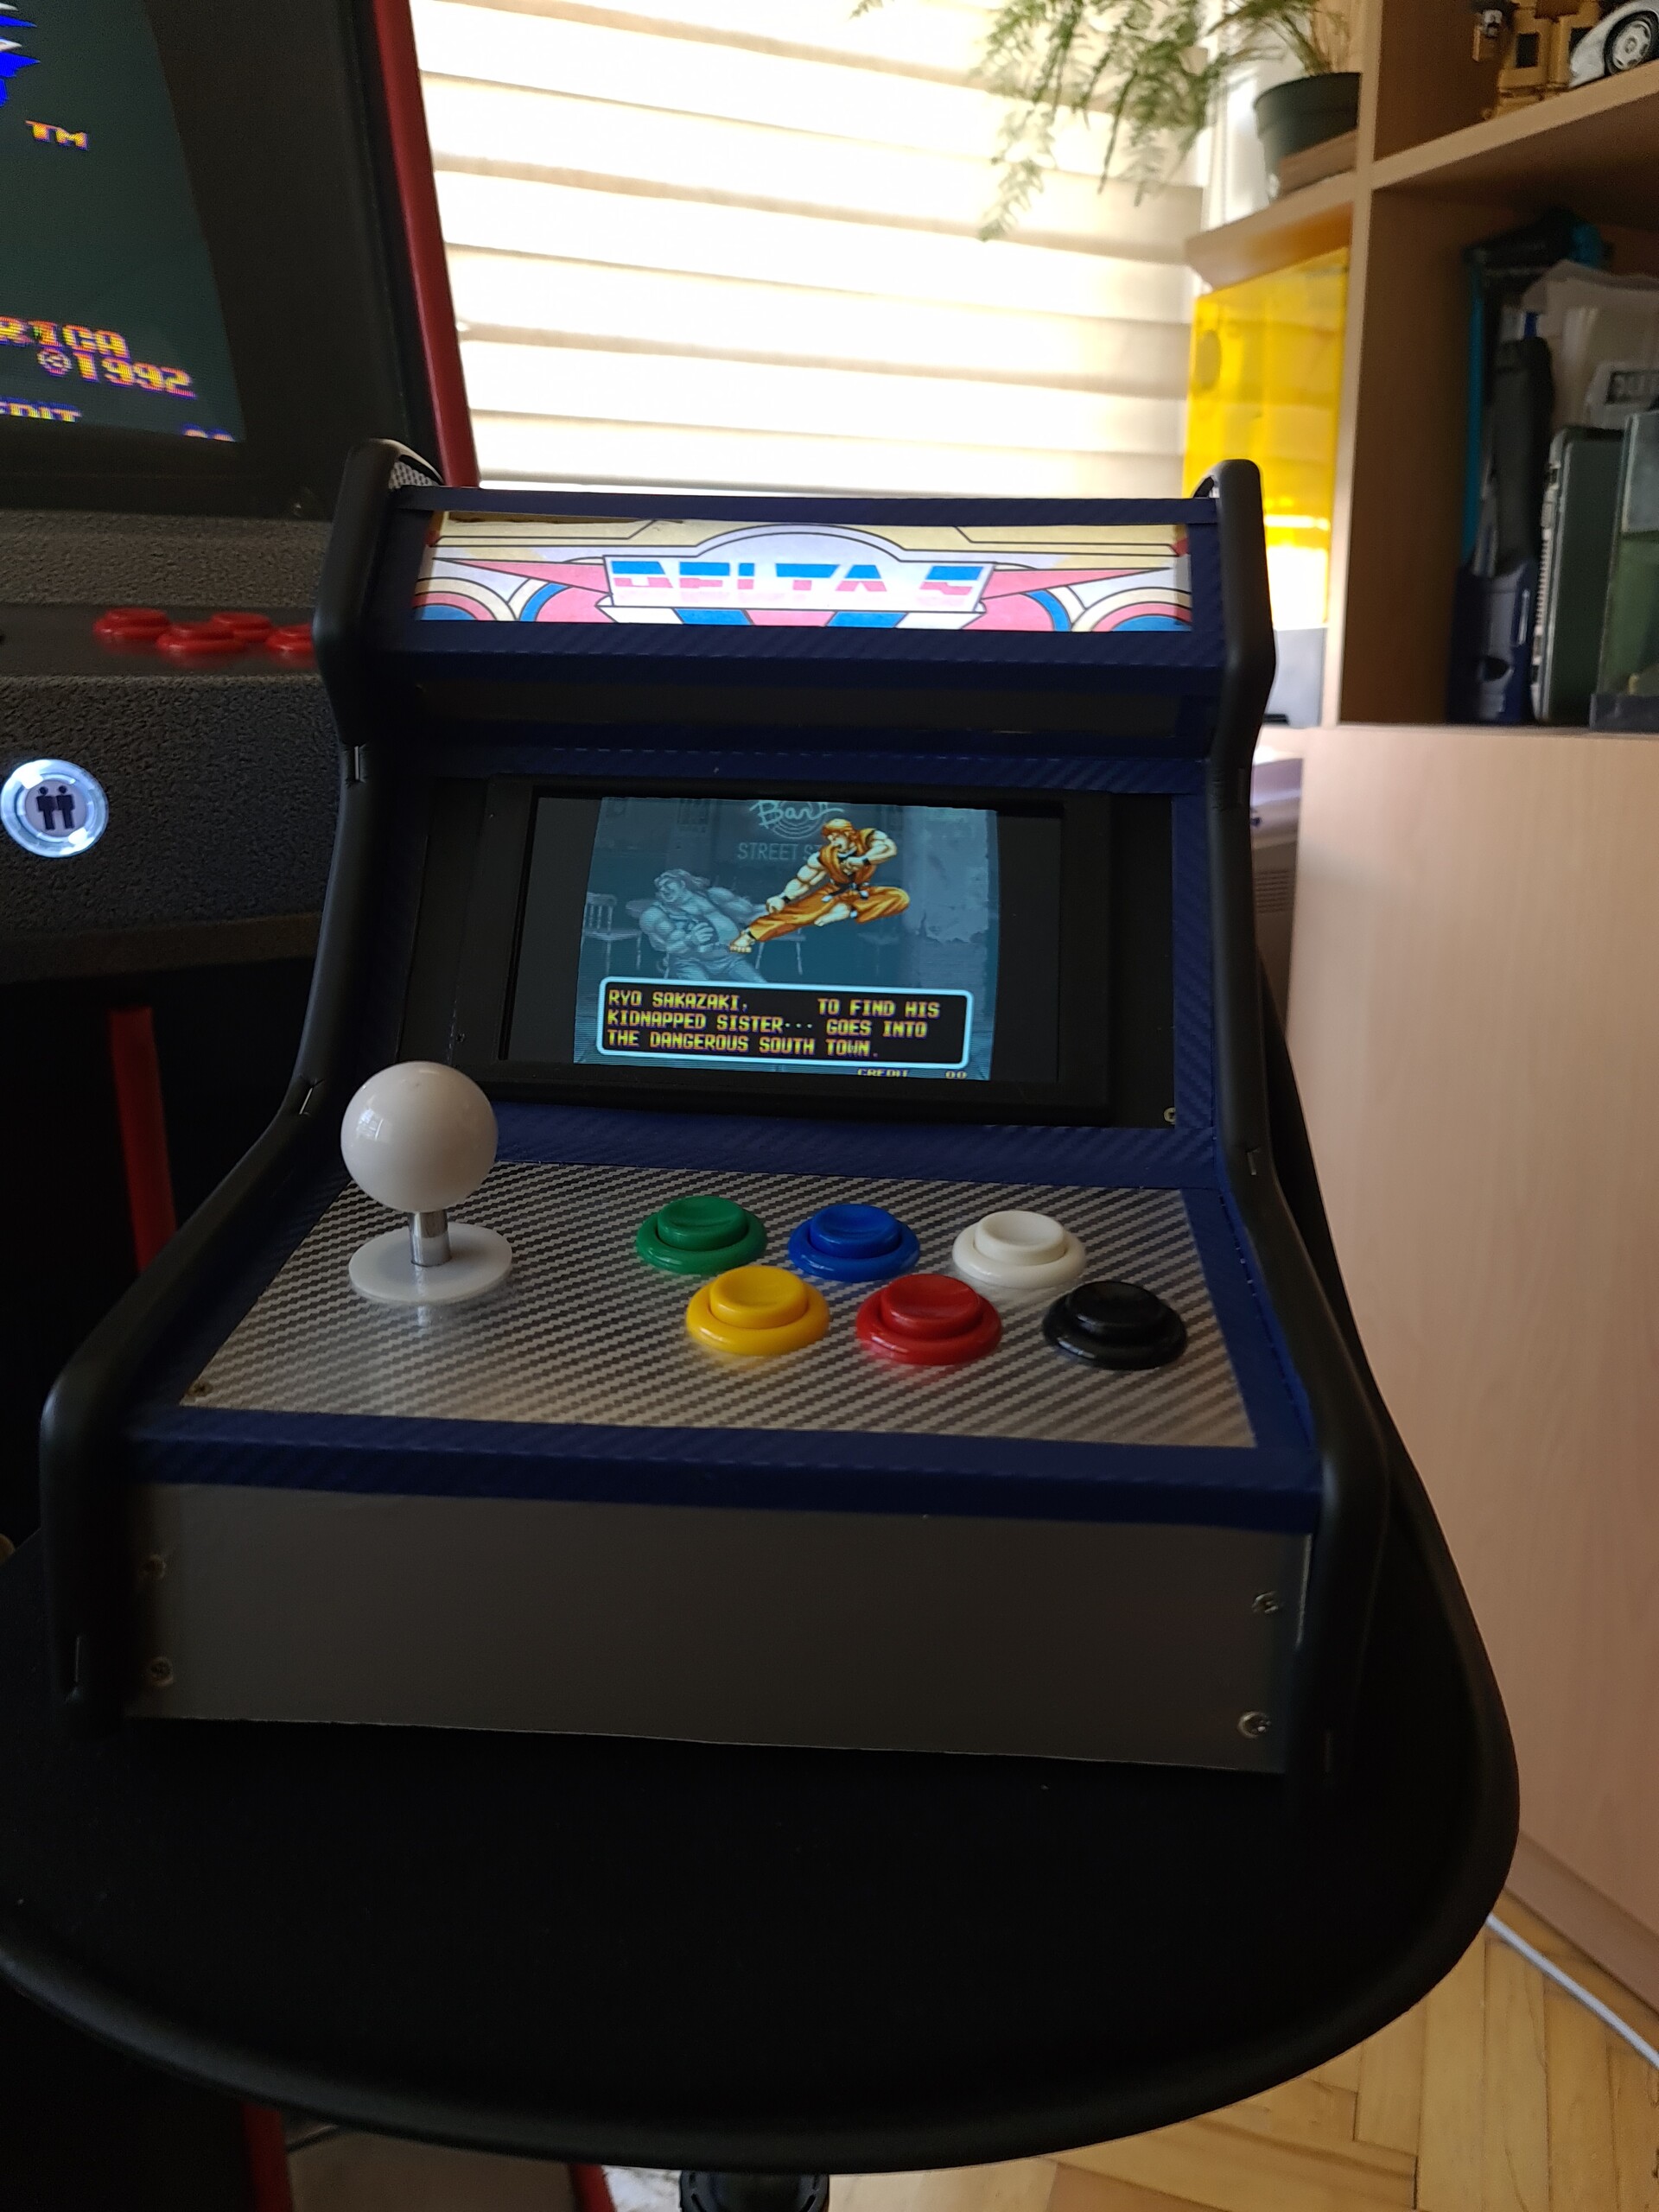
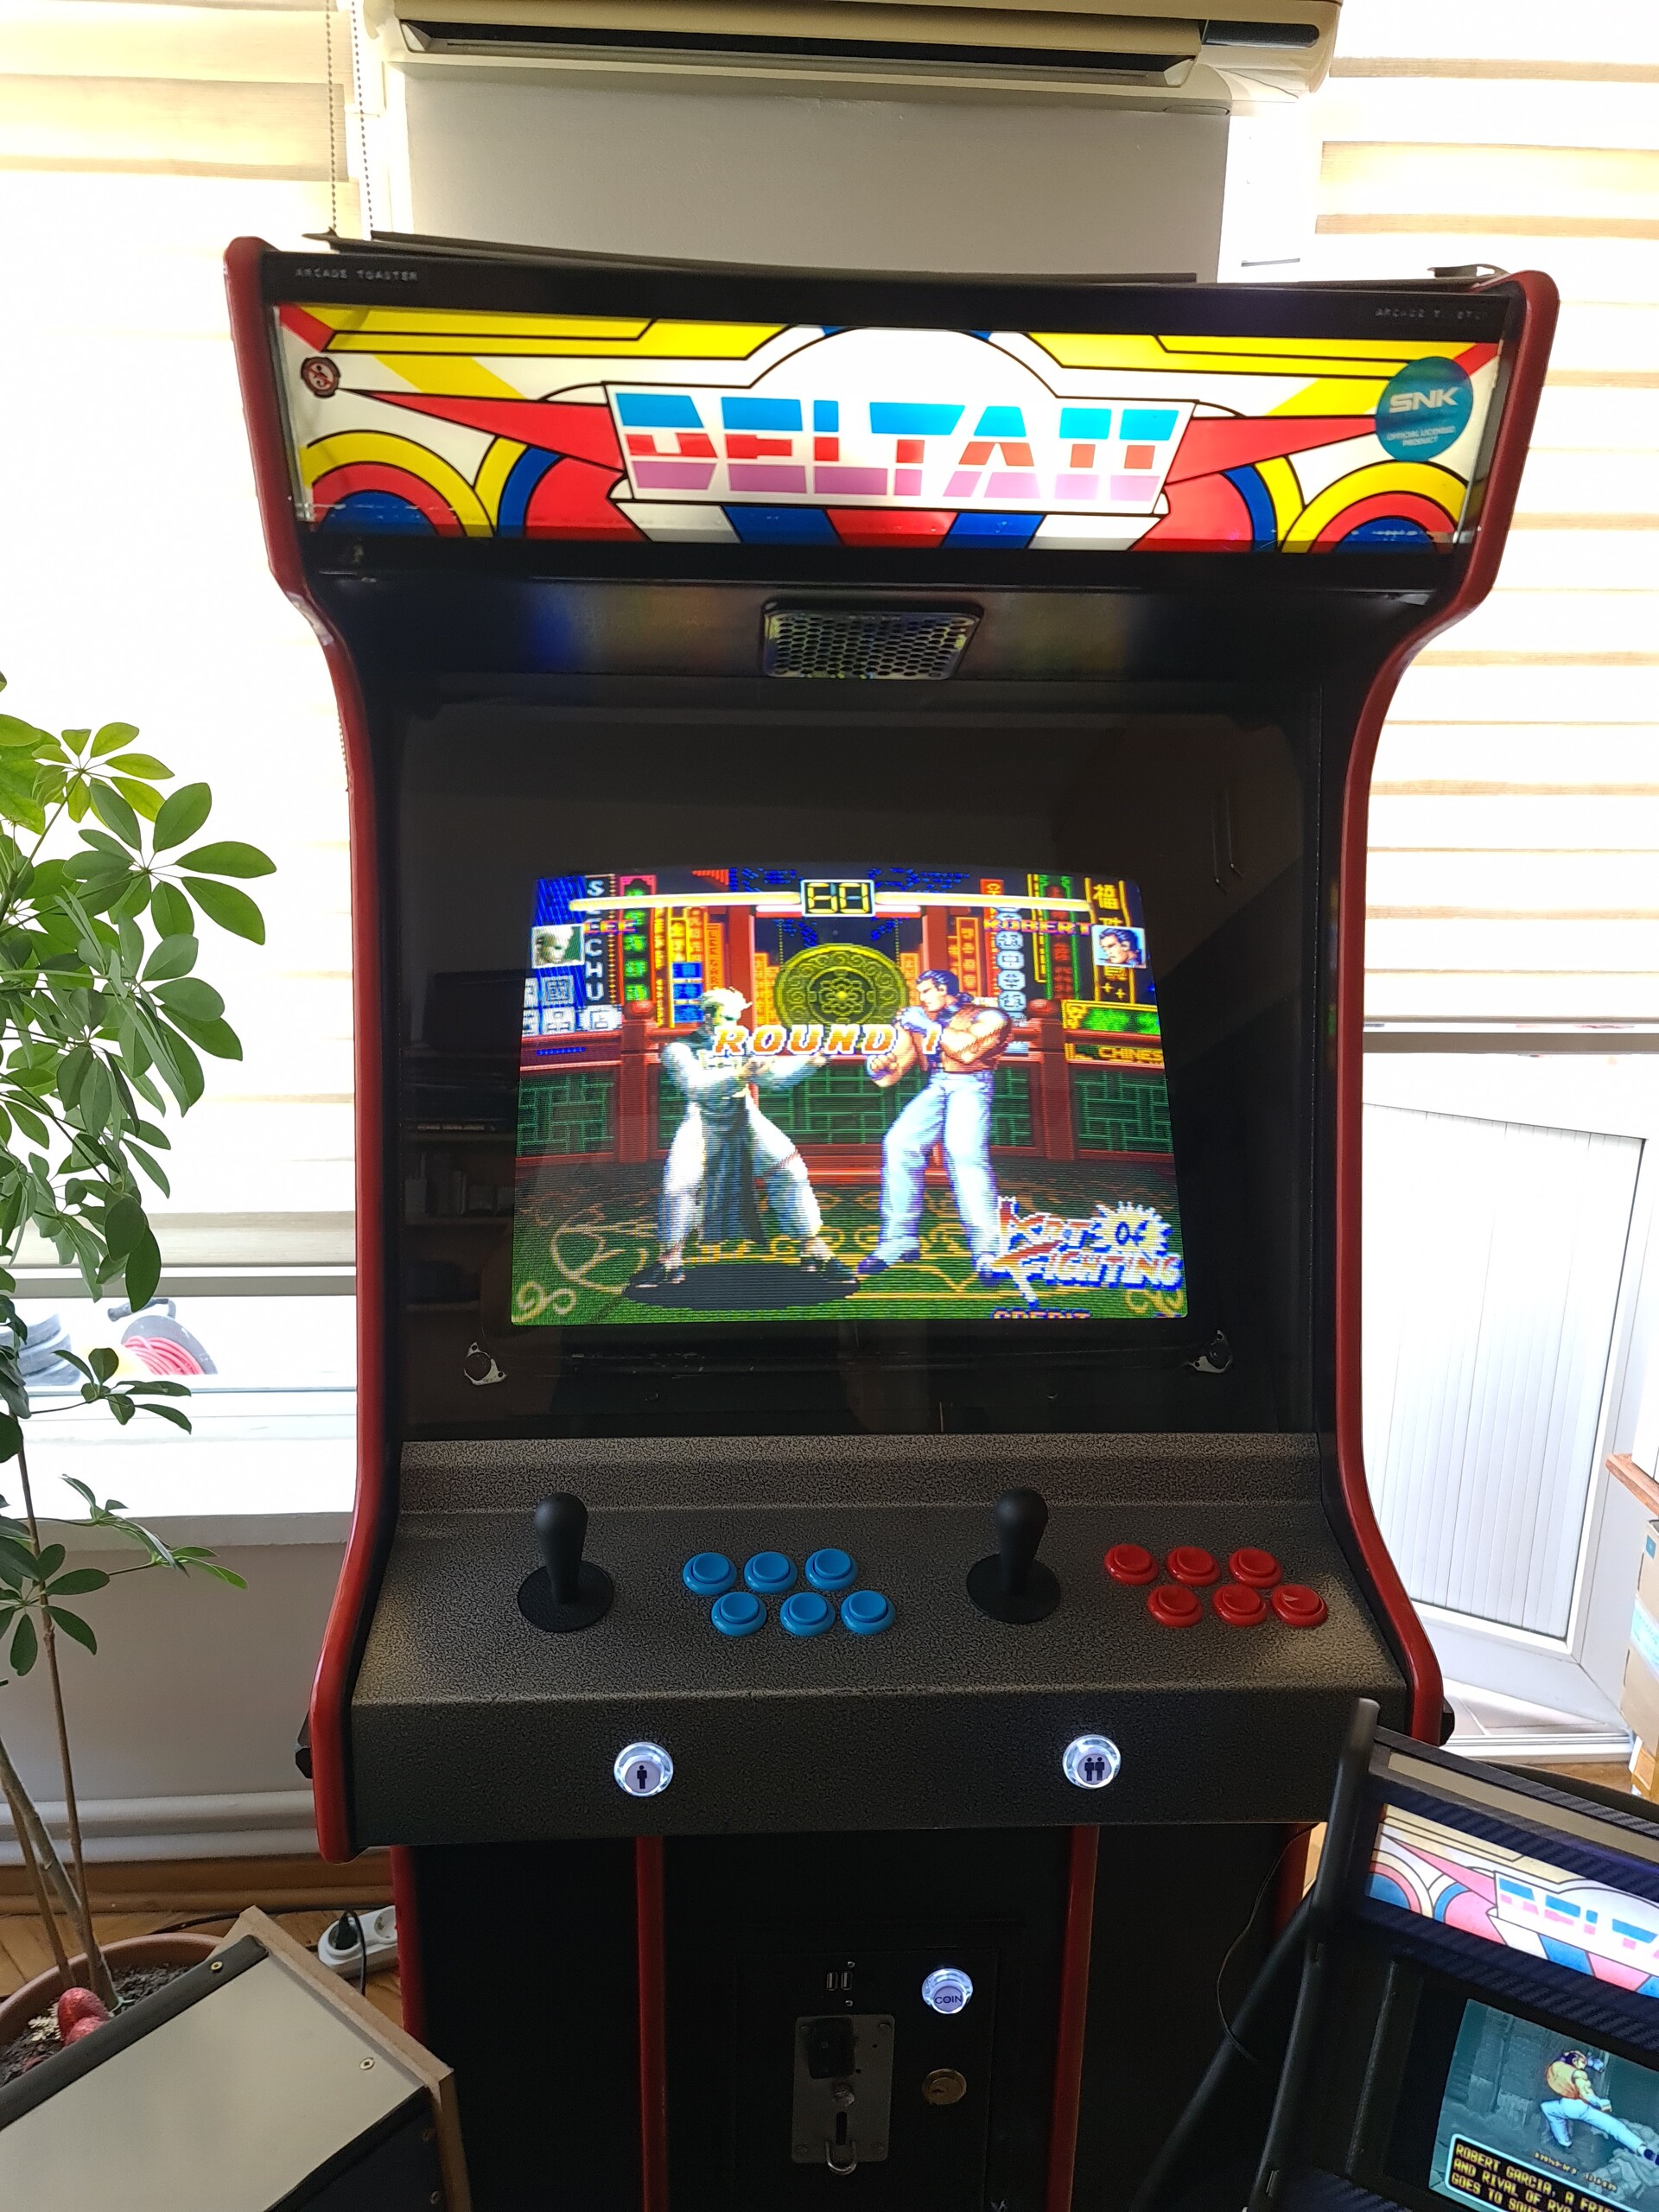
I'm also attaching some family photos of Delta series. Delta II, Delta S and the new member: Delta M.
8. Conclusion
It was a great experience to build this cabinet. What I love with this cabinet is like these:
- Screen size and the overal size is really good/compact.
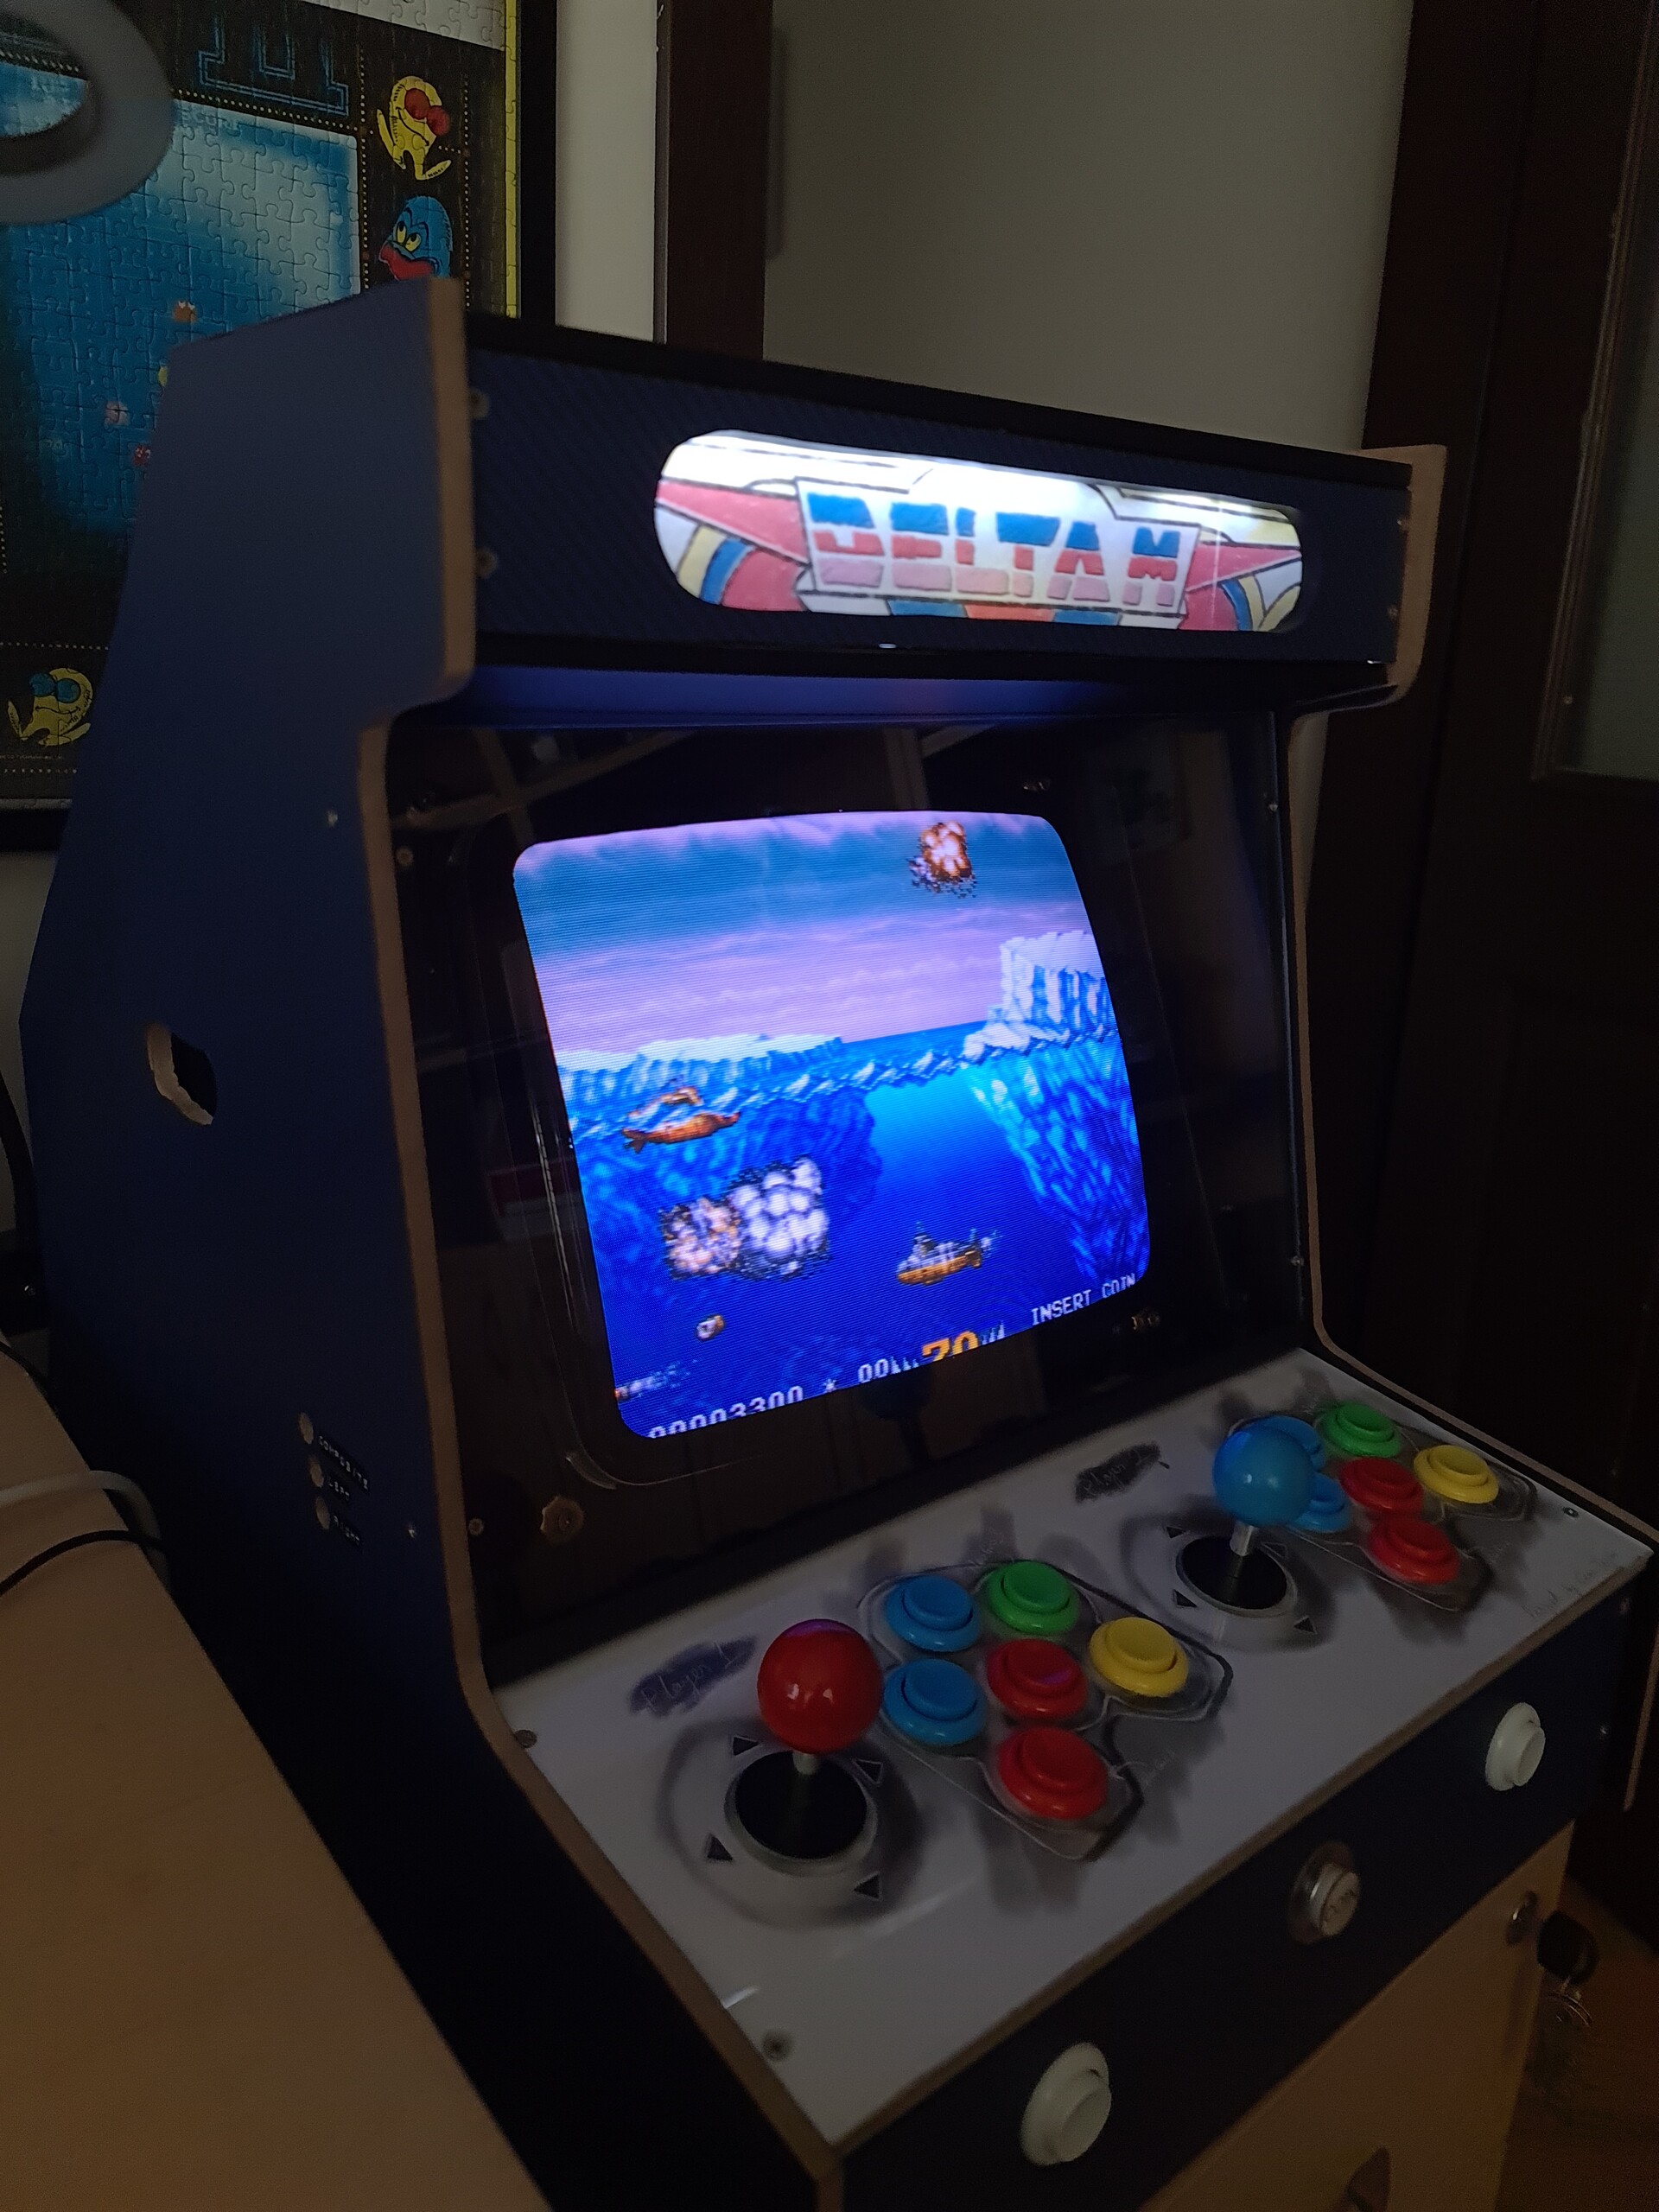
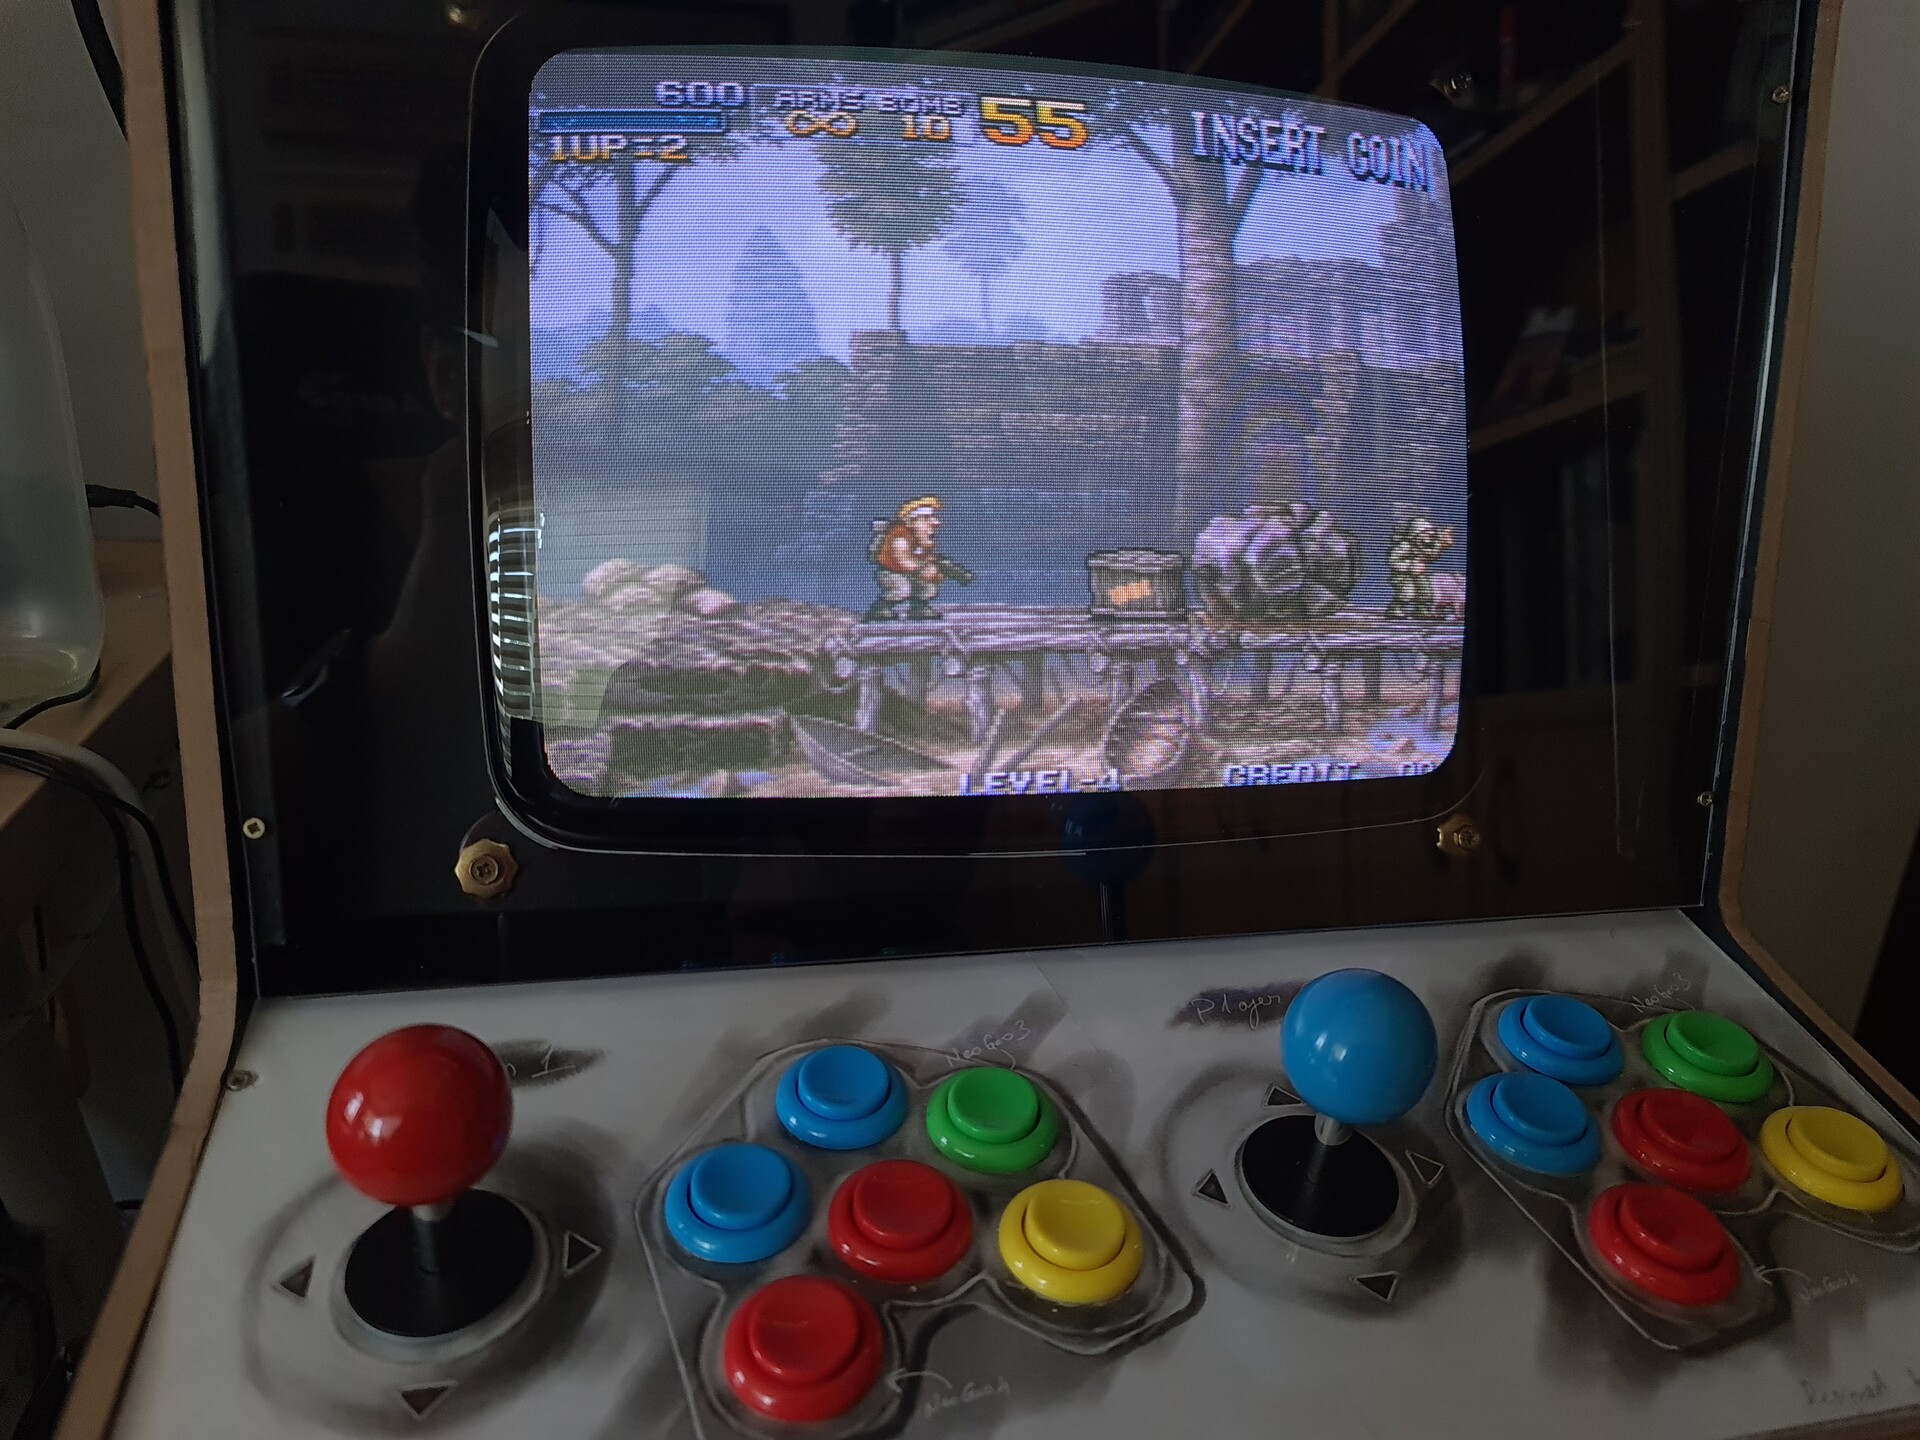
- It has CRT, which is the best experience with the "pixels."
- Smooth scrolling emulation with RGB-Pi in precise on frame rate specific for any game or gaming system is amazing. This makes you perfectionist :)
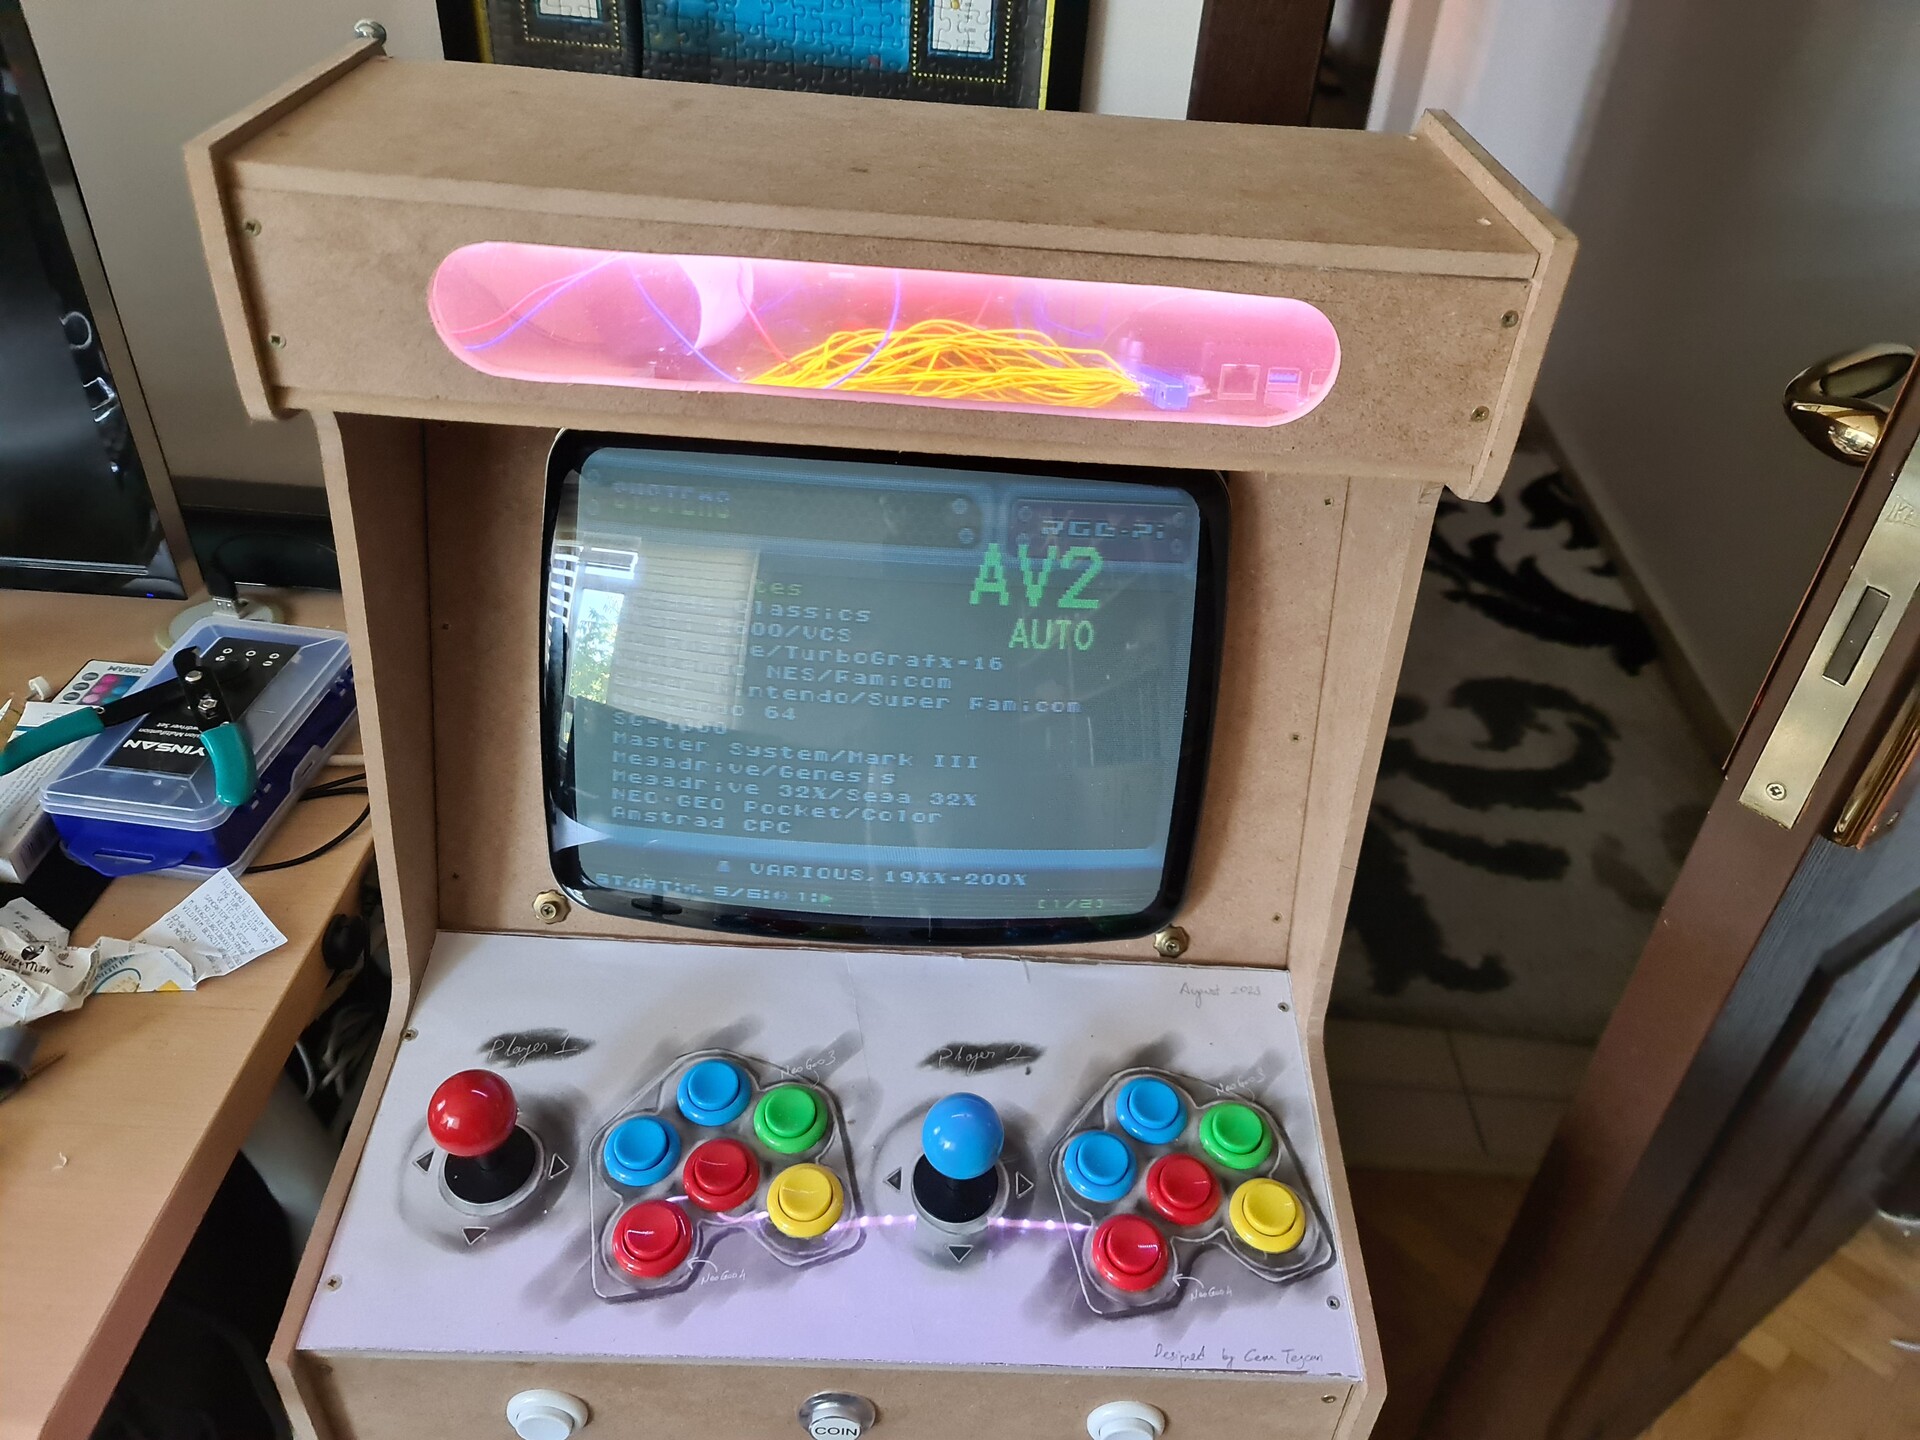
- System also can emulate other 8-bit and 16-bit systems like Megadrive, Commodore 64, Snes, Amiga, even Playstation.
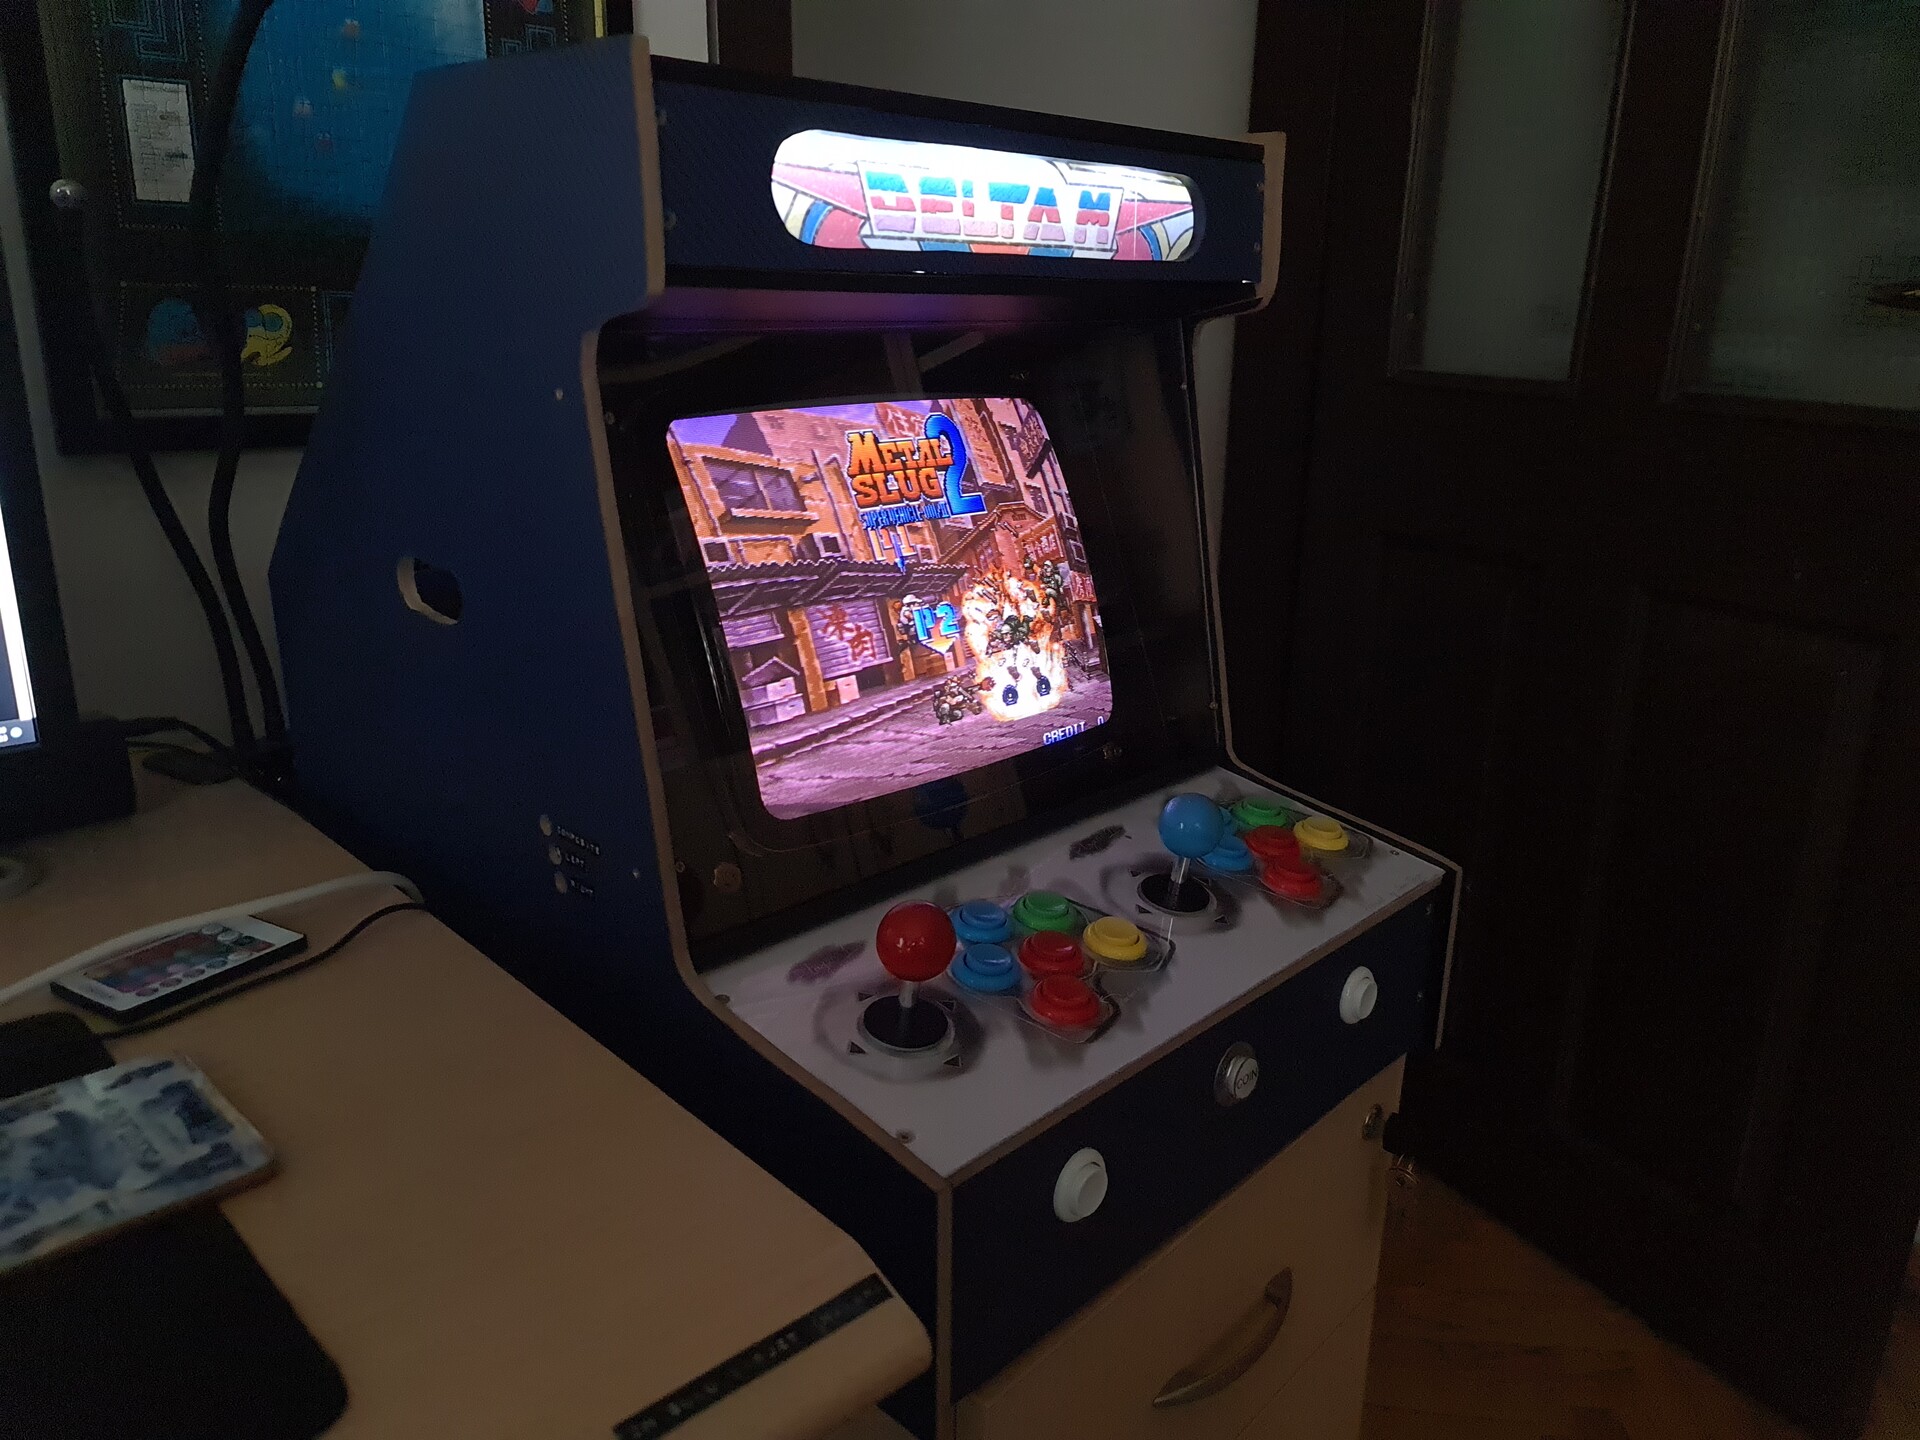
- Jamma port allows me to use origibal arcade boards to use on this cabinet.
- Composite input allows the system to be used as a simple monitor for attaching any old-school console.
- 2 or more player can play games together with additional USB ports.
- Guncon2 Lightguns are supported to play virtua cop etc.
Thanks for reading this, I hope you like the process, and I hope it can be helpful to you on creating your own arcade system. See you soon.
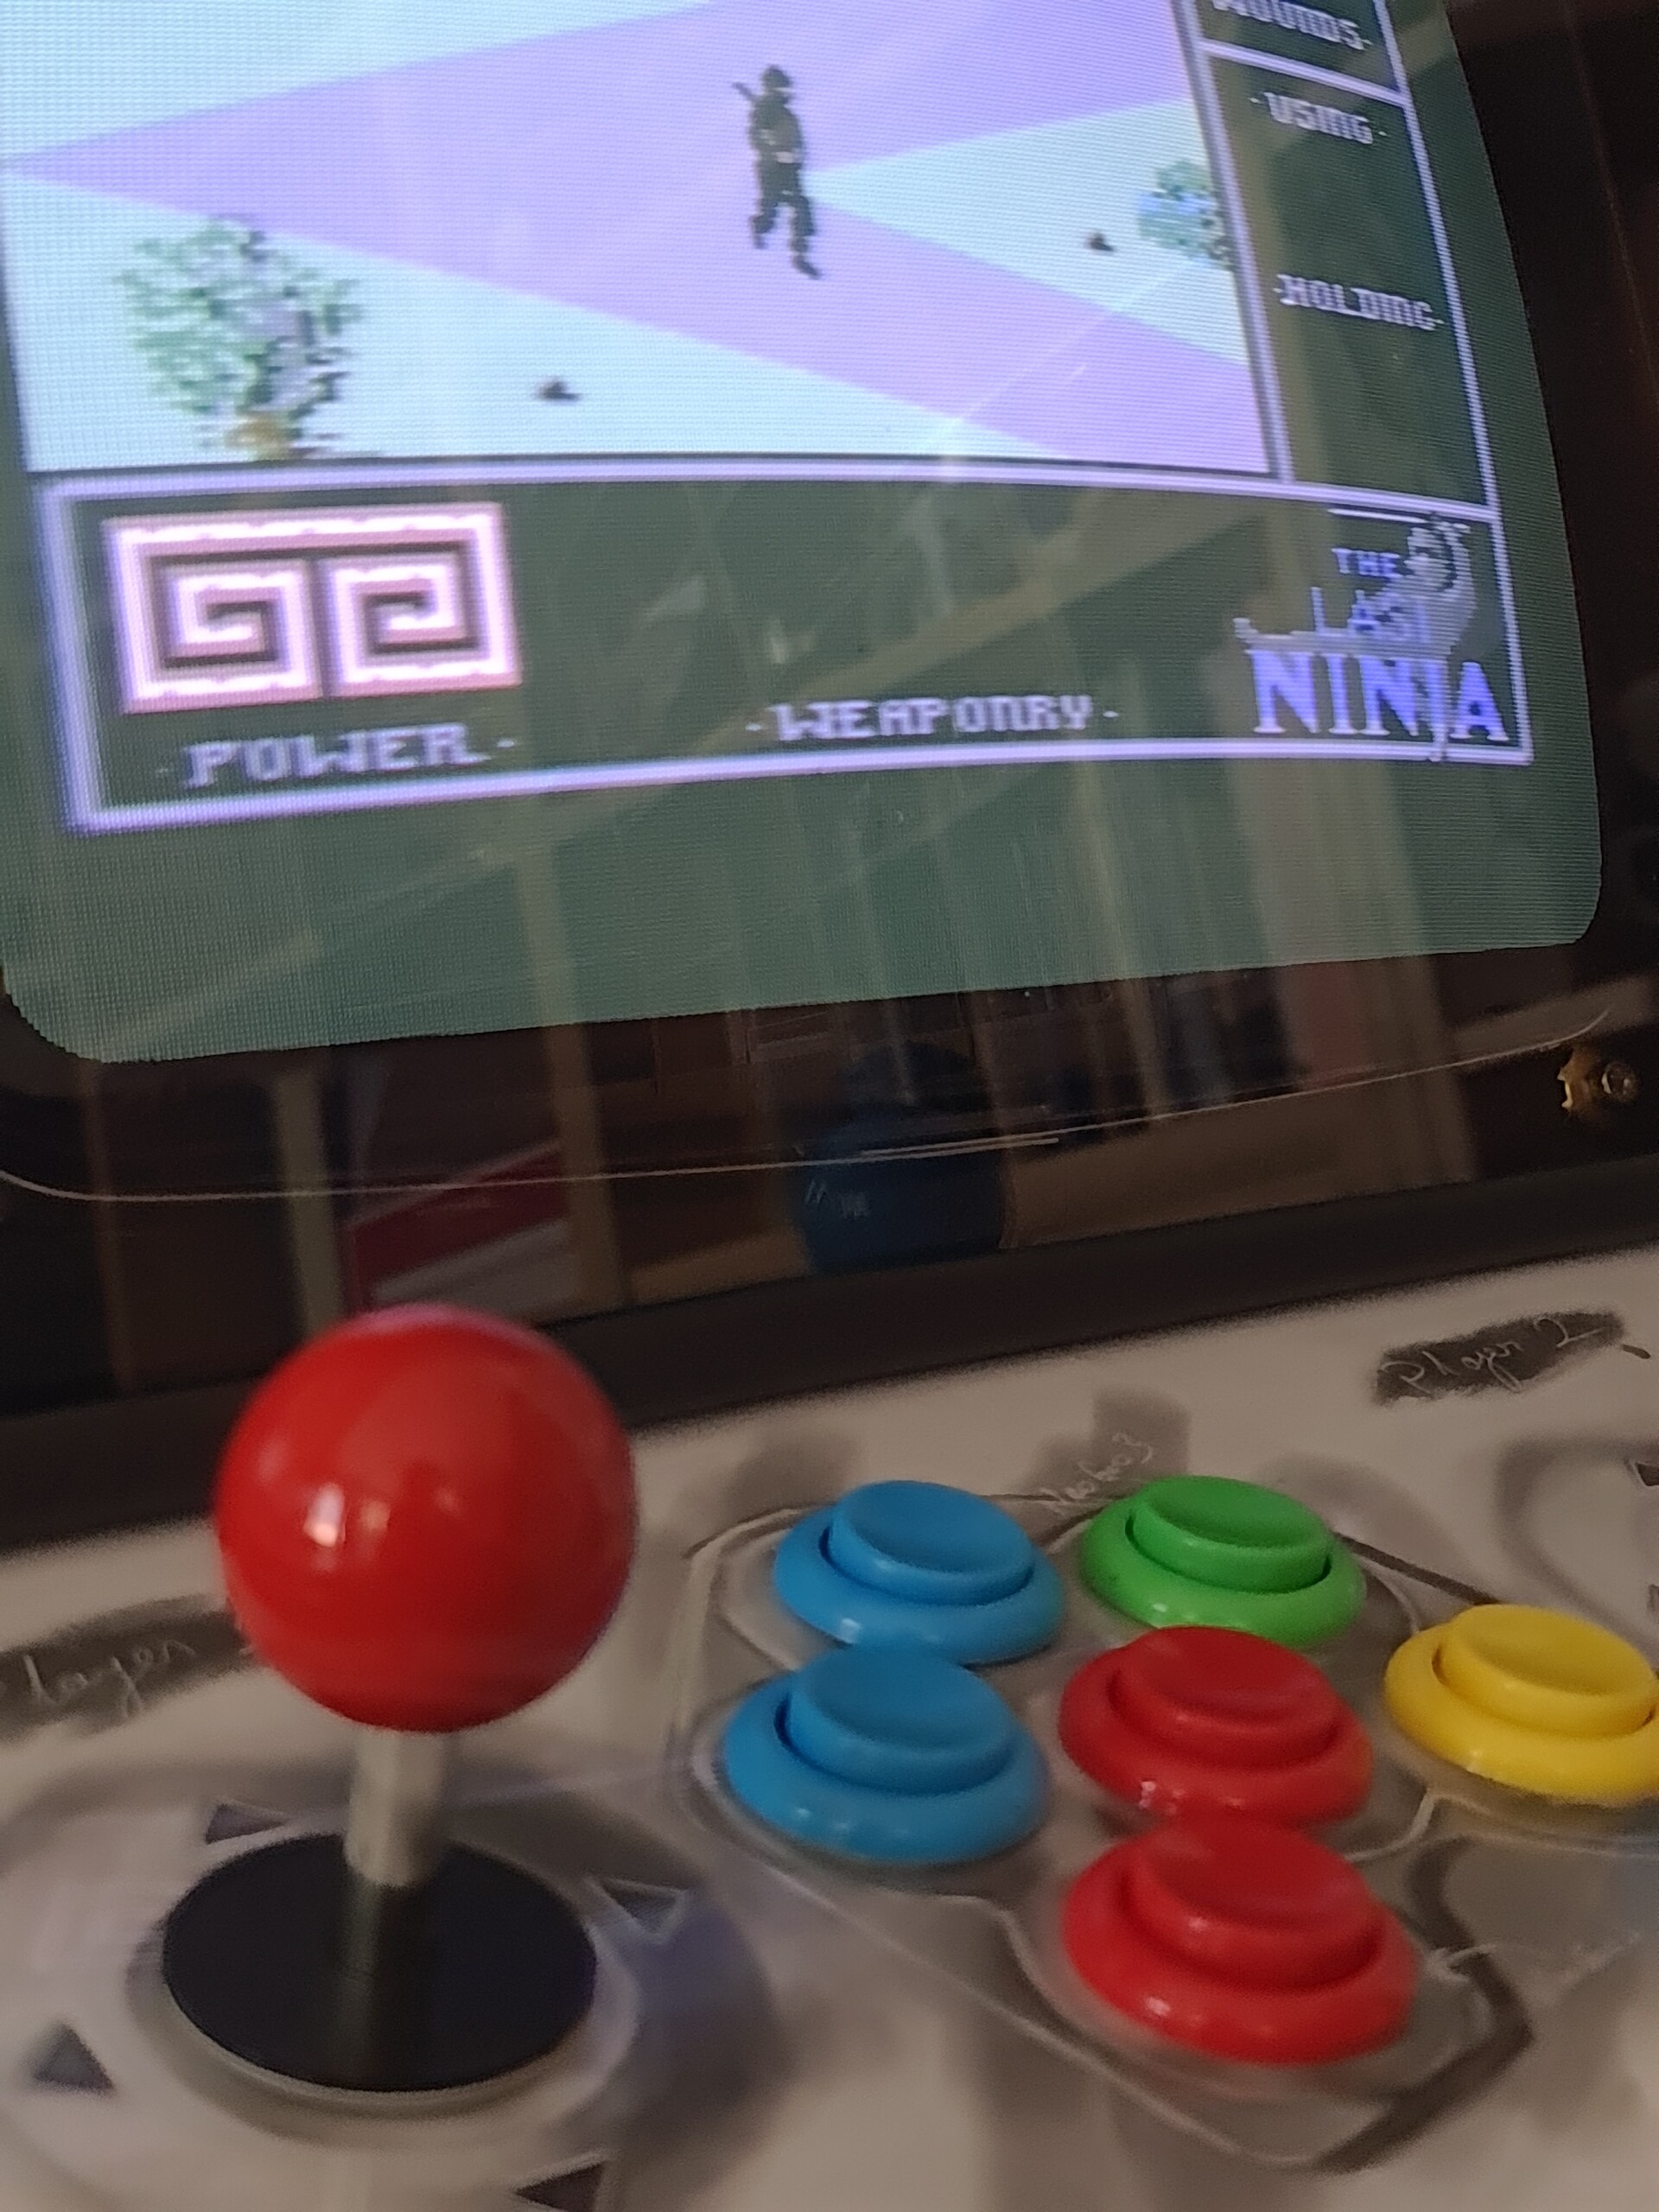
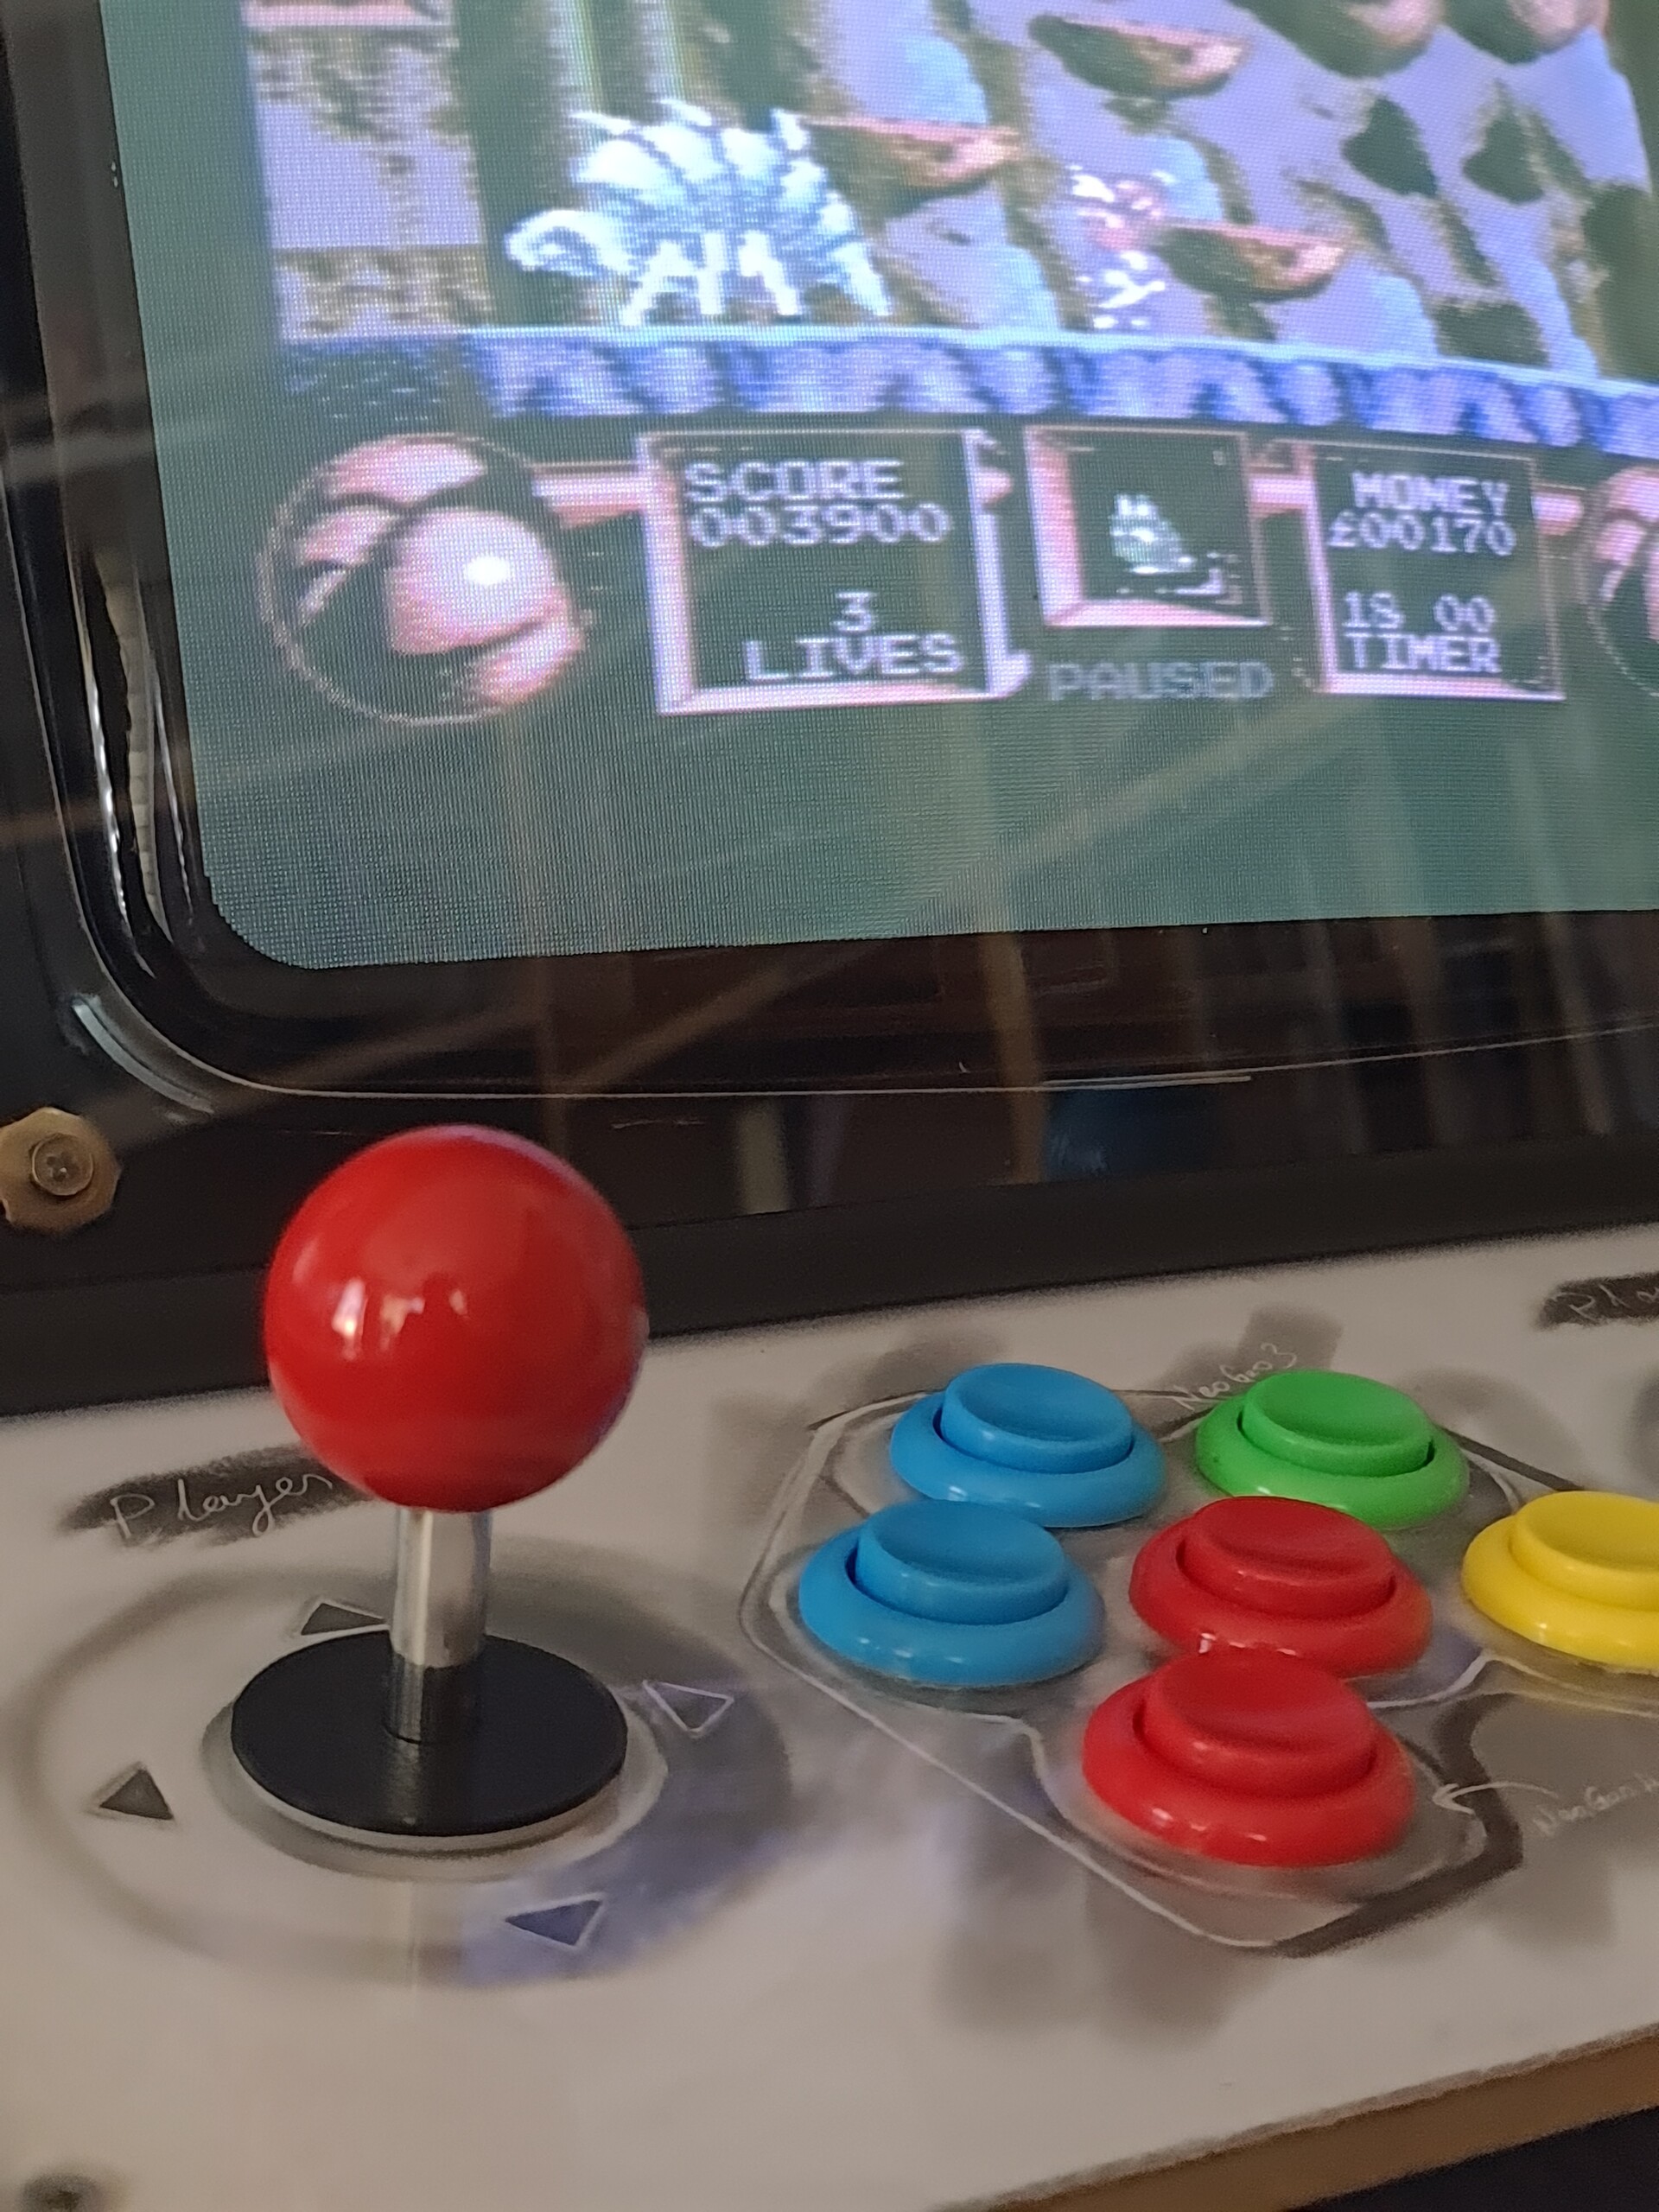
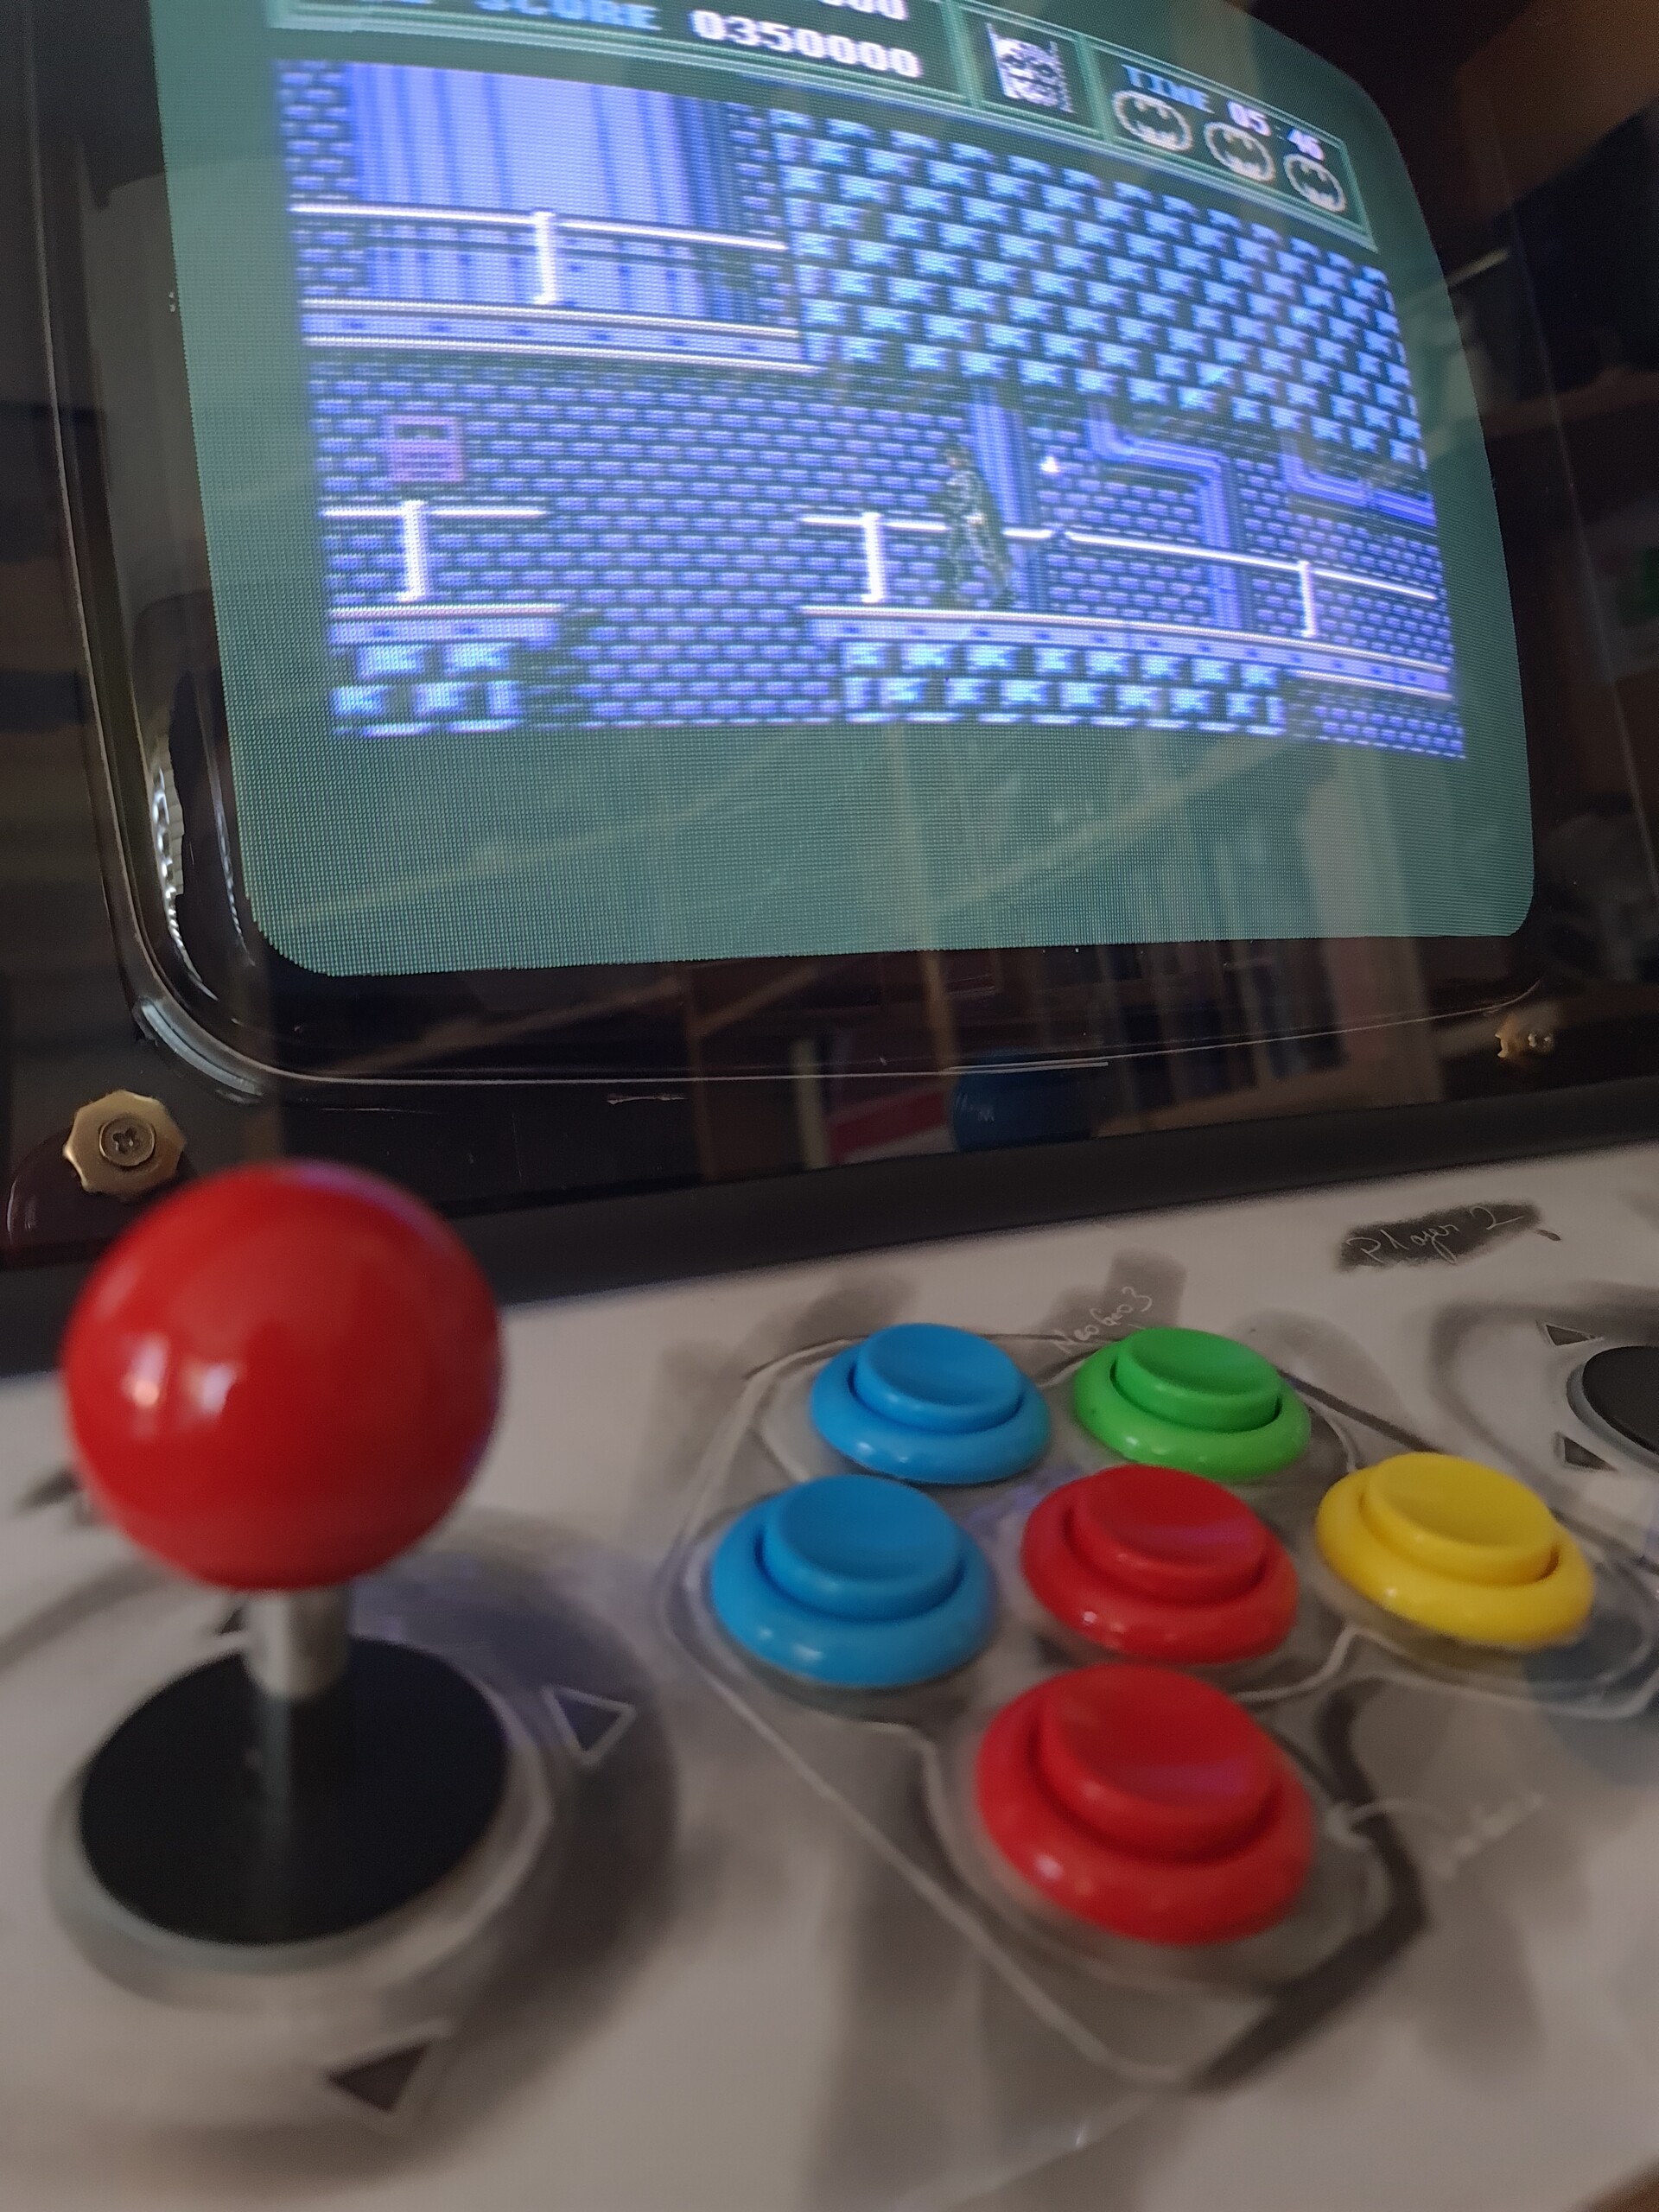
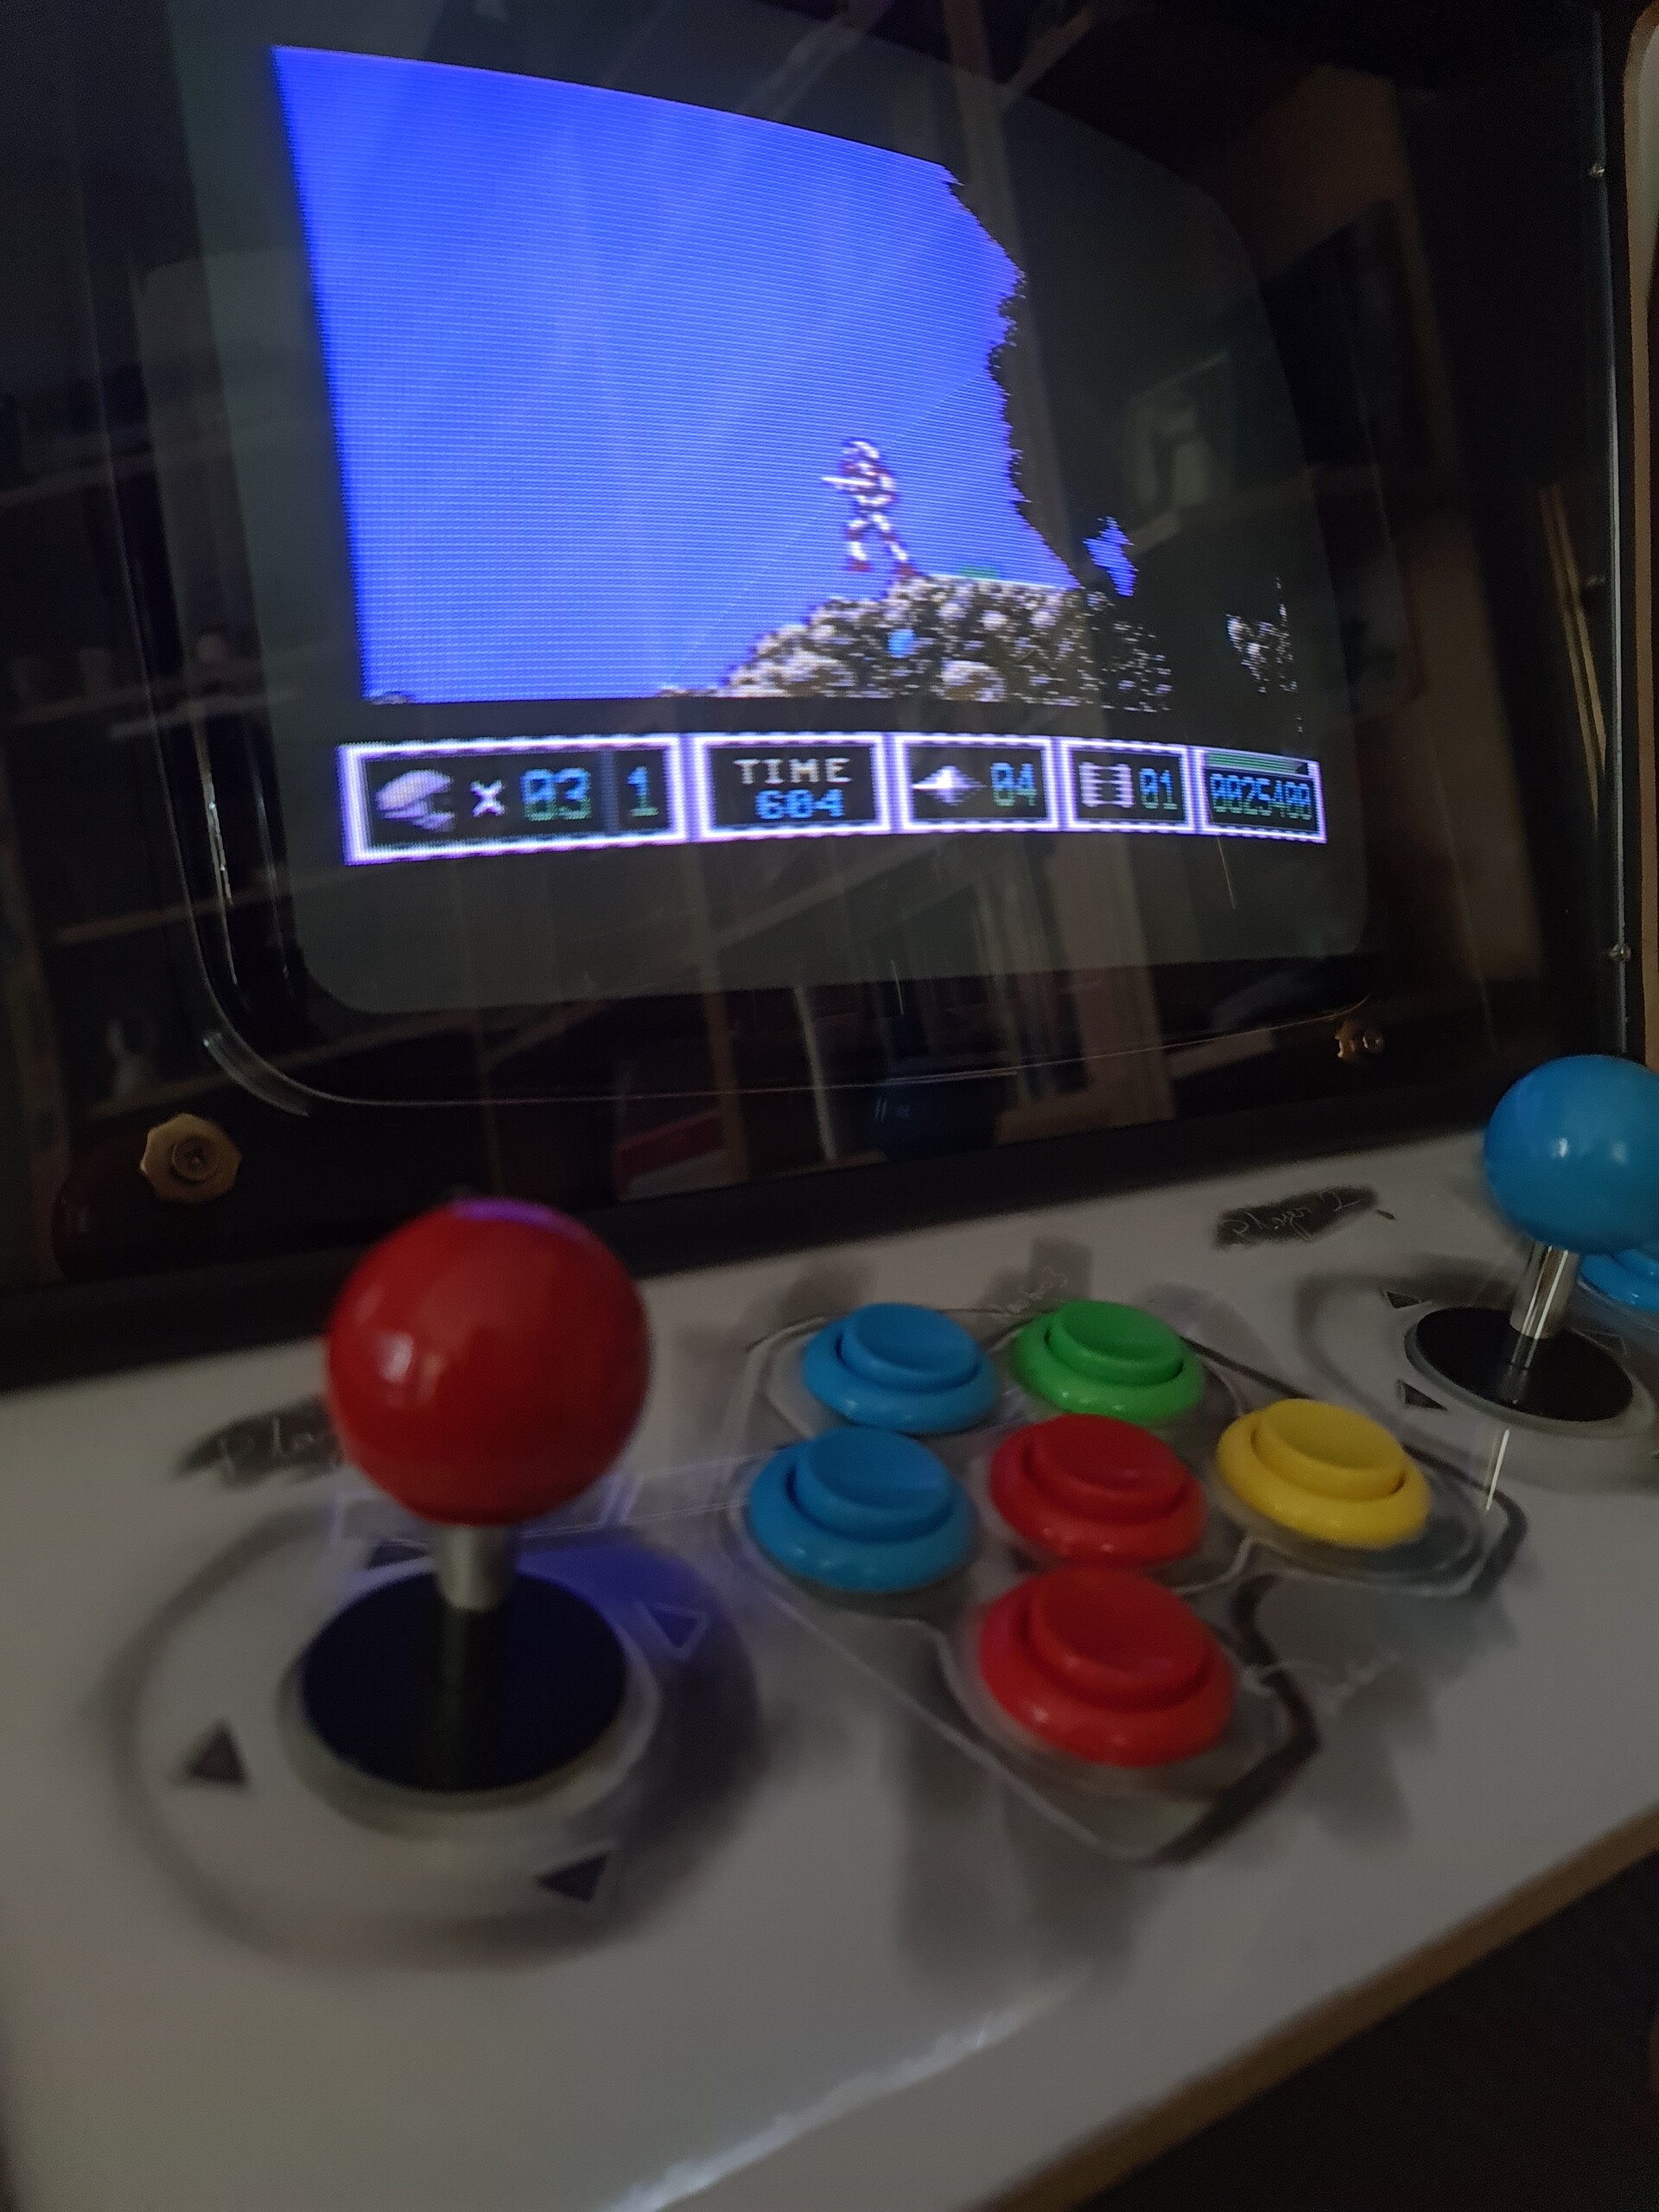
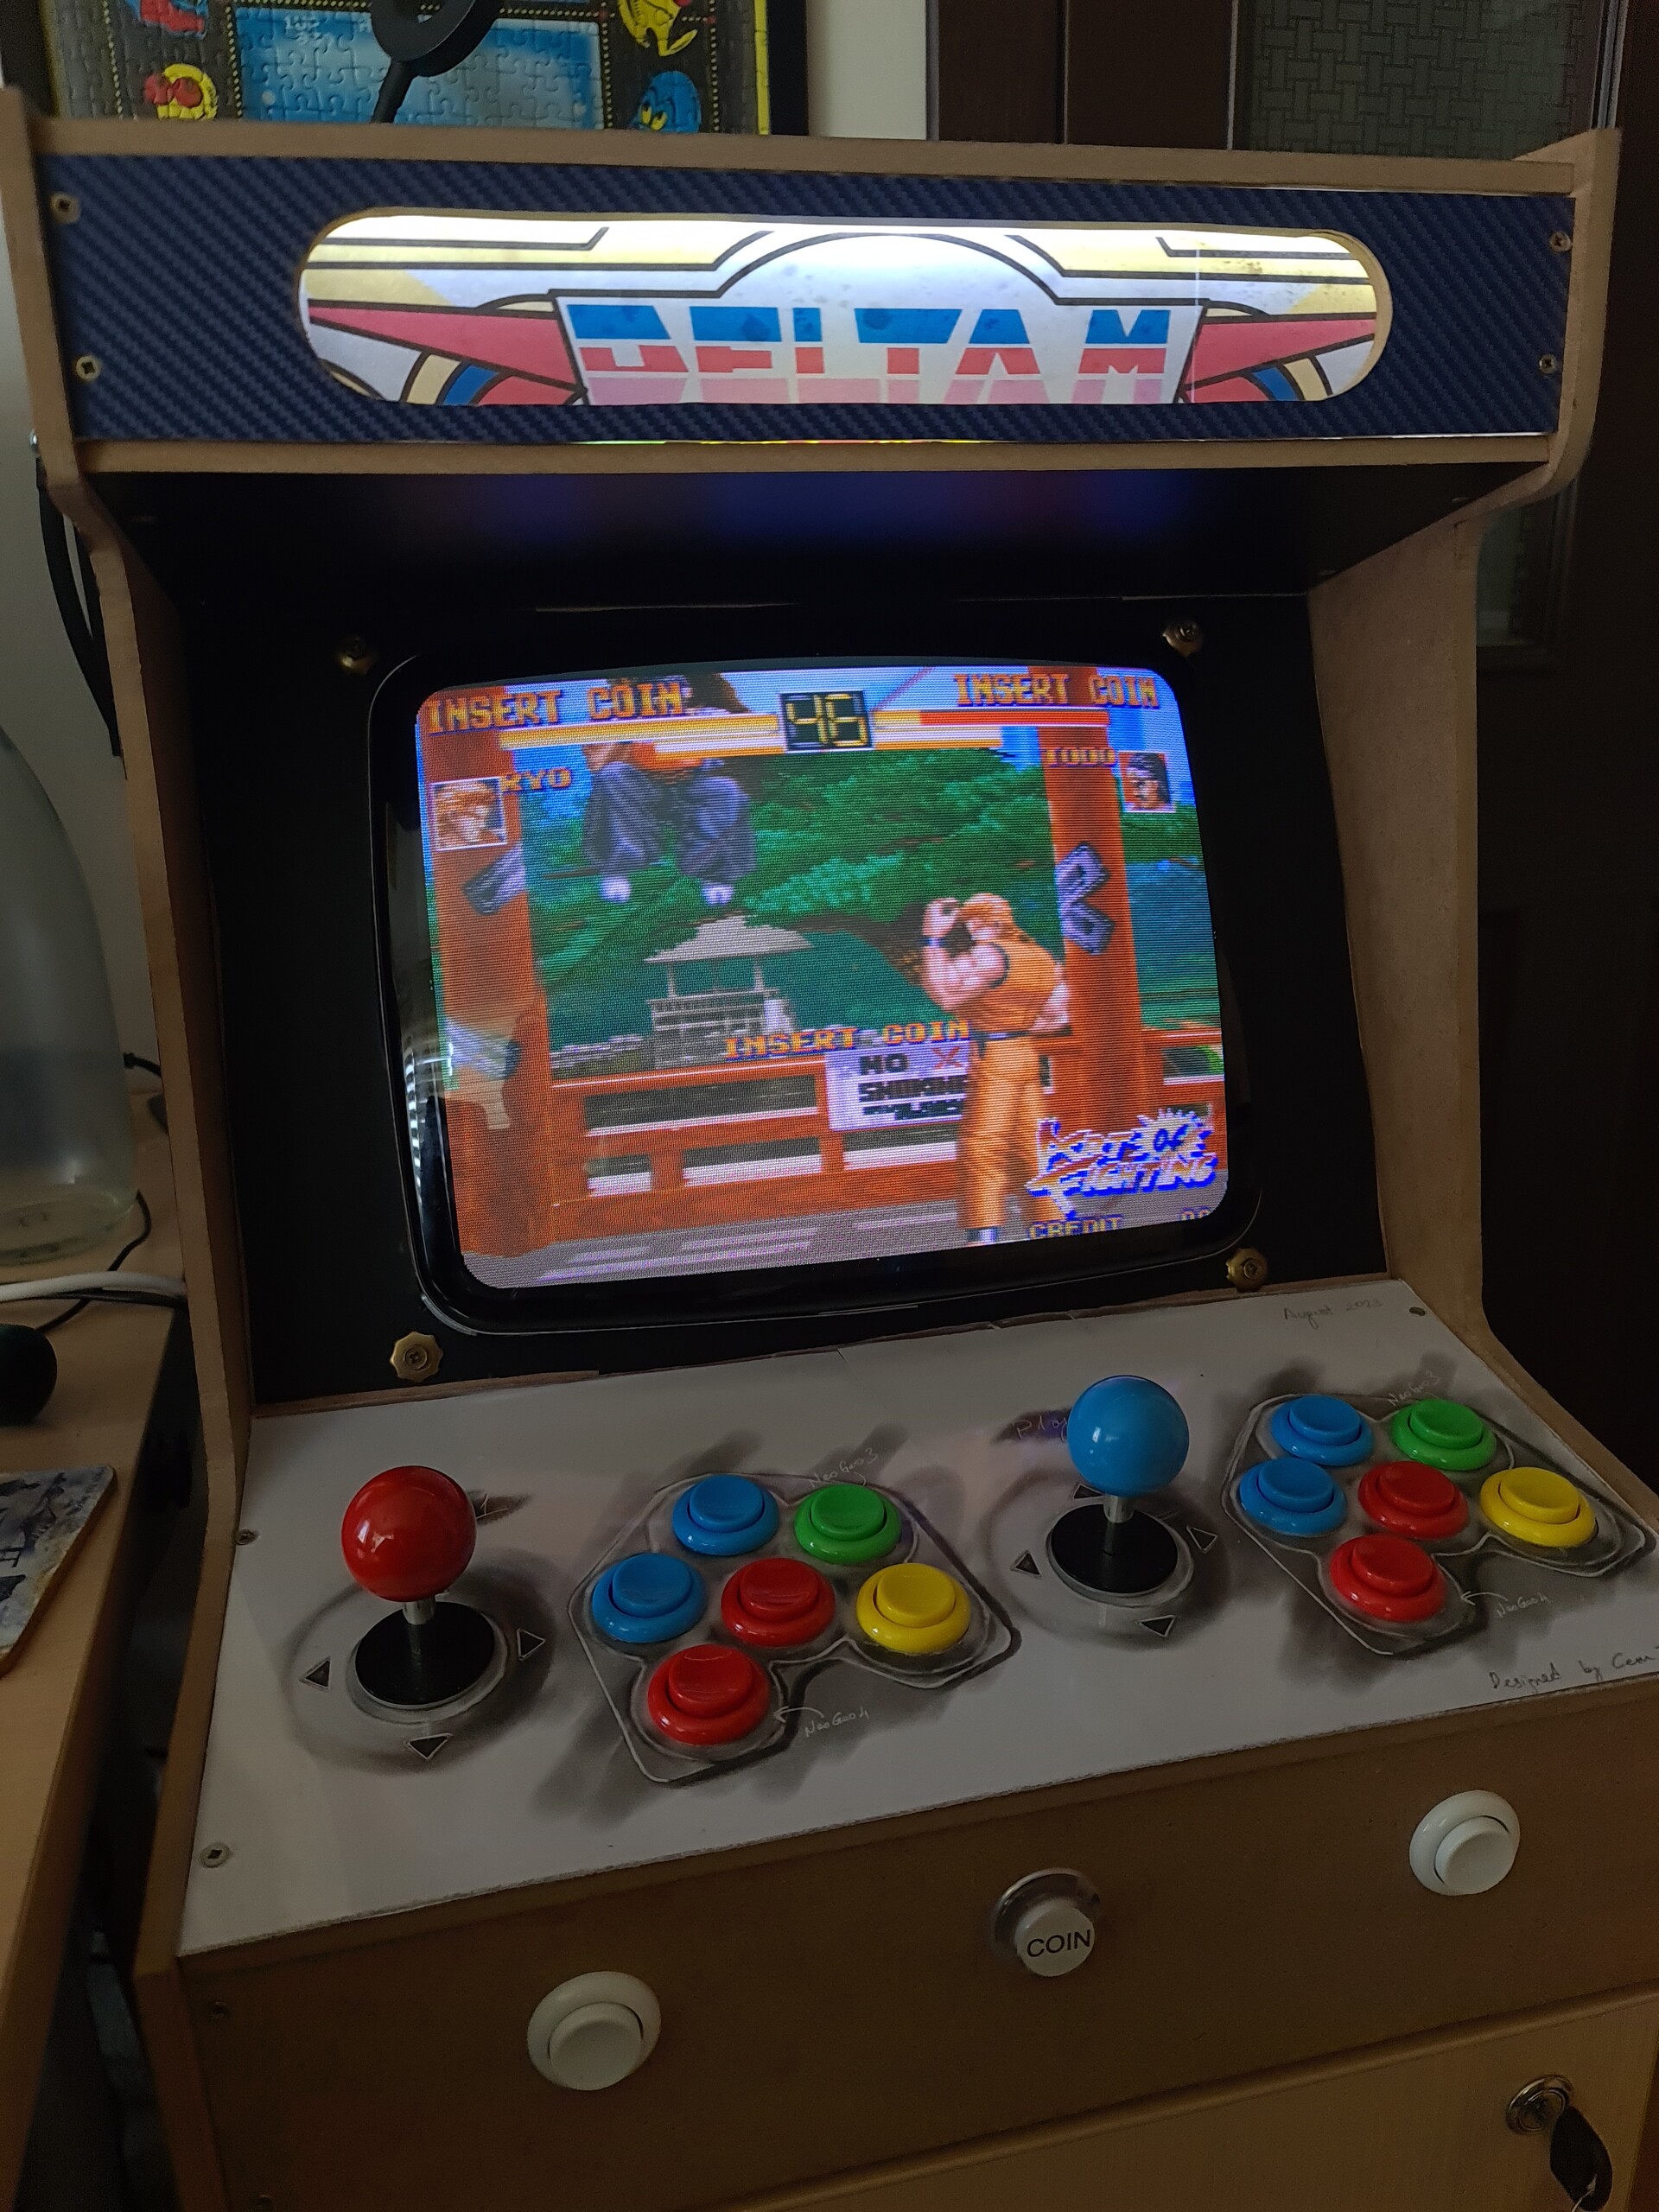
I'm adding some random visuals of the cabinet with different systems and games. Enjoy & cheers!