Hello! Previously I was modifying an arcade cabinet for the best way of using it according to my needs. Now this is the second part of the journey.
You can find the first part in my blog, and by this link:
https://www.artstation.com/blogs/blockmind/wd1p/my-arcade-cabinet-purchase-and-modification-journey-part-1
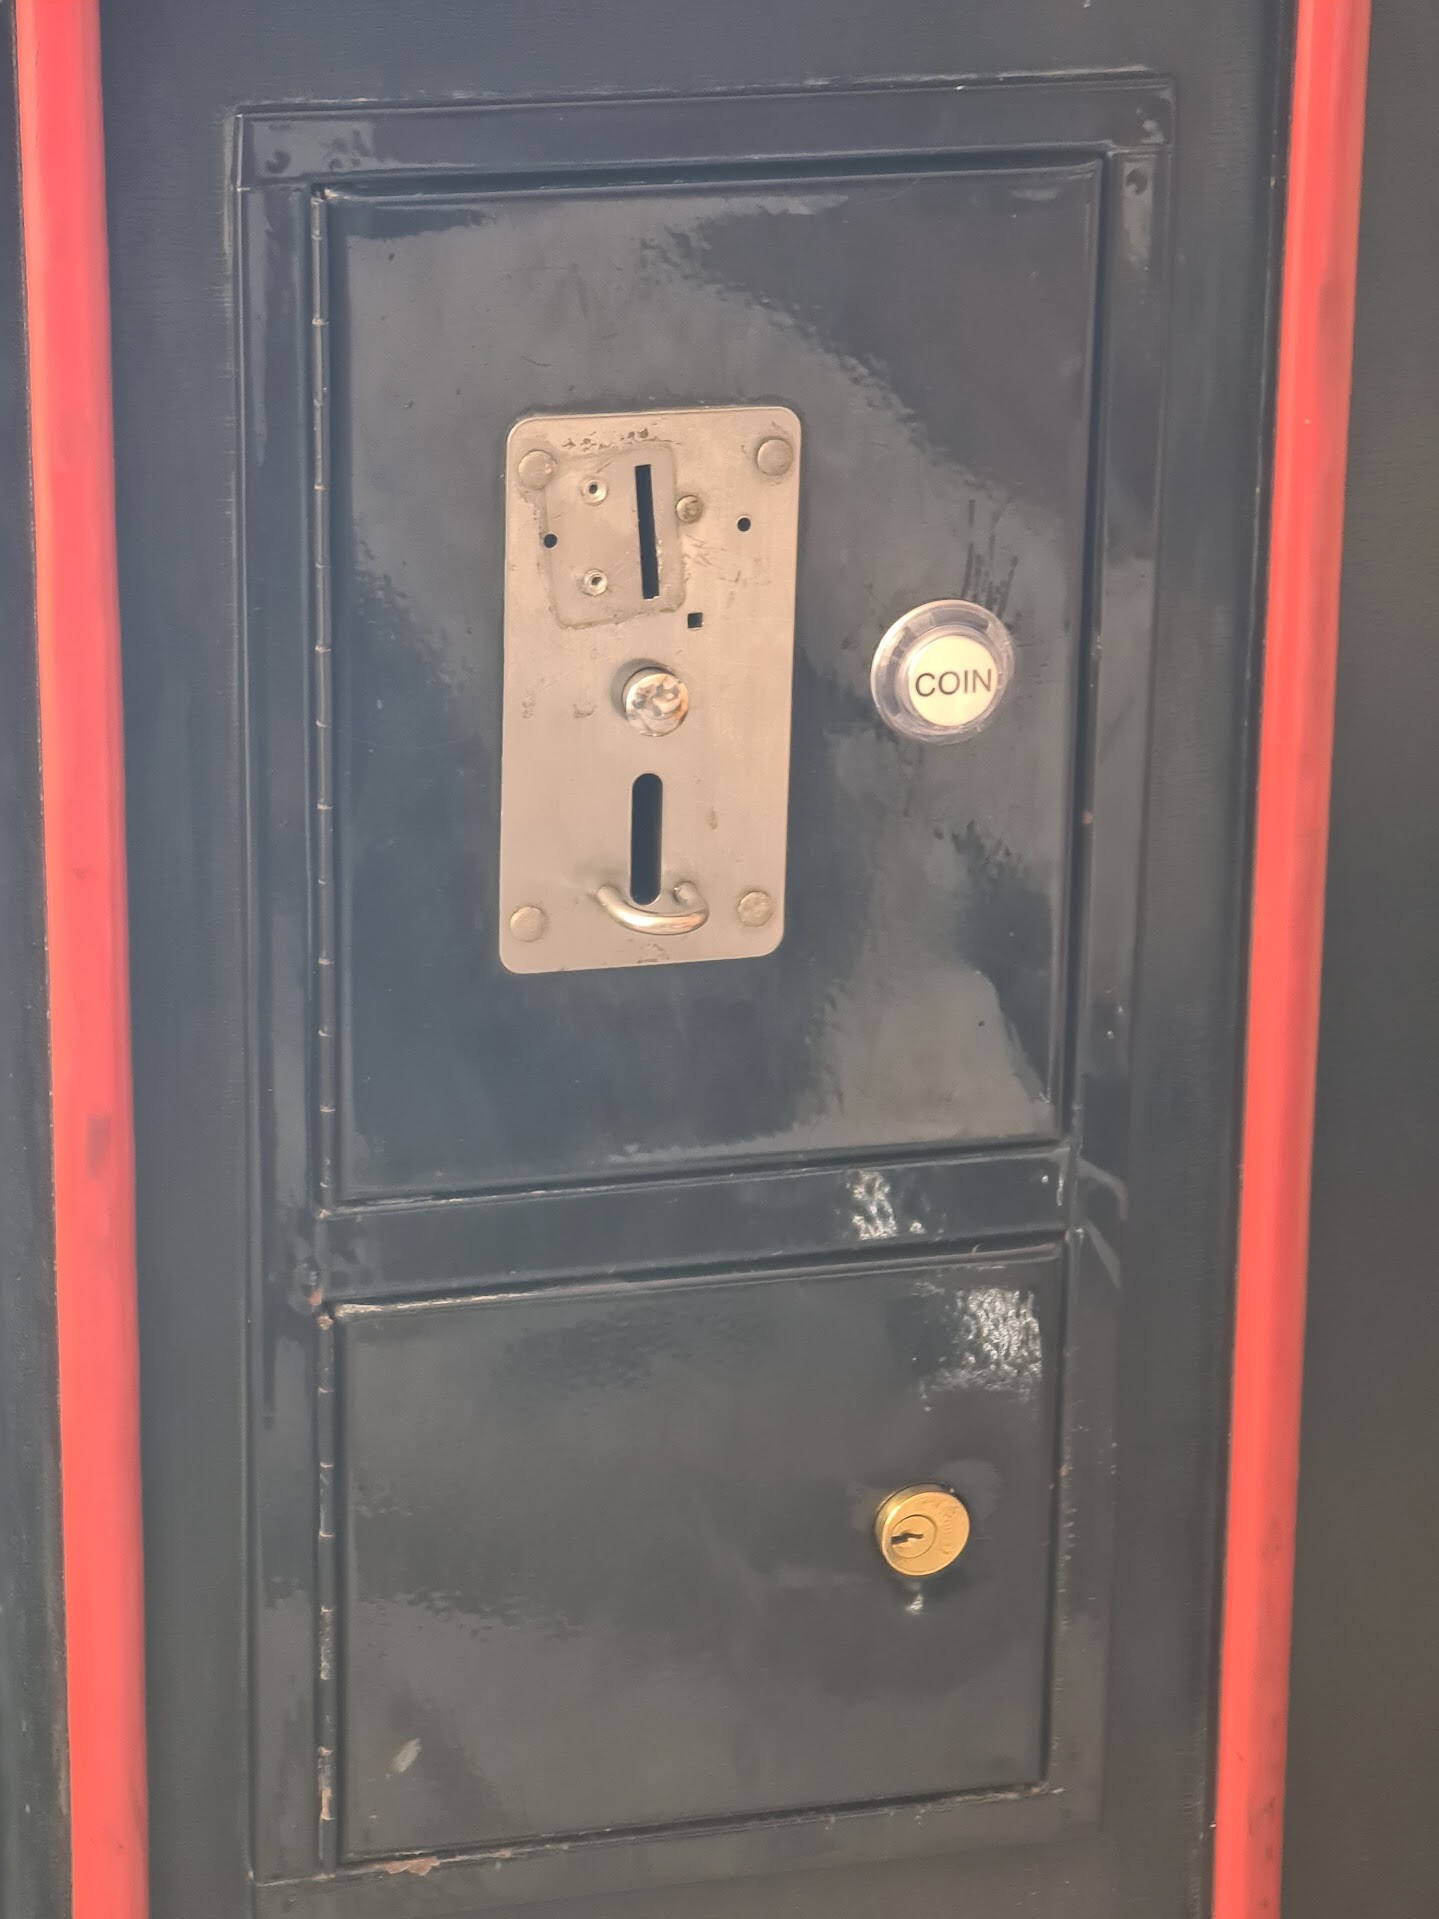
1. Fixing the cosmetics on the Coin Slot
Coin slot has a removed plate on it. Possible that plate was having the shape of the section profile of the coins that used on that machine. That kind of coins were haing S shaped section profile.
Anyway, it was looking very bad, so I decided to make it look better.
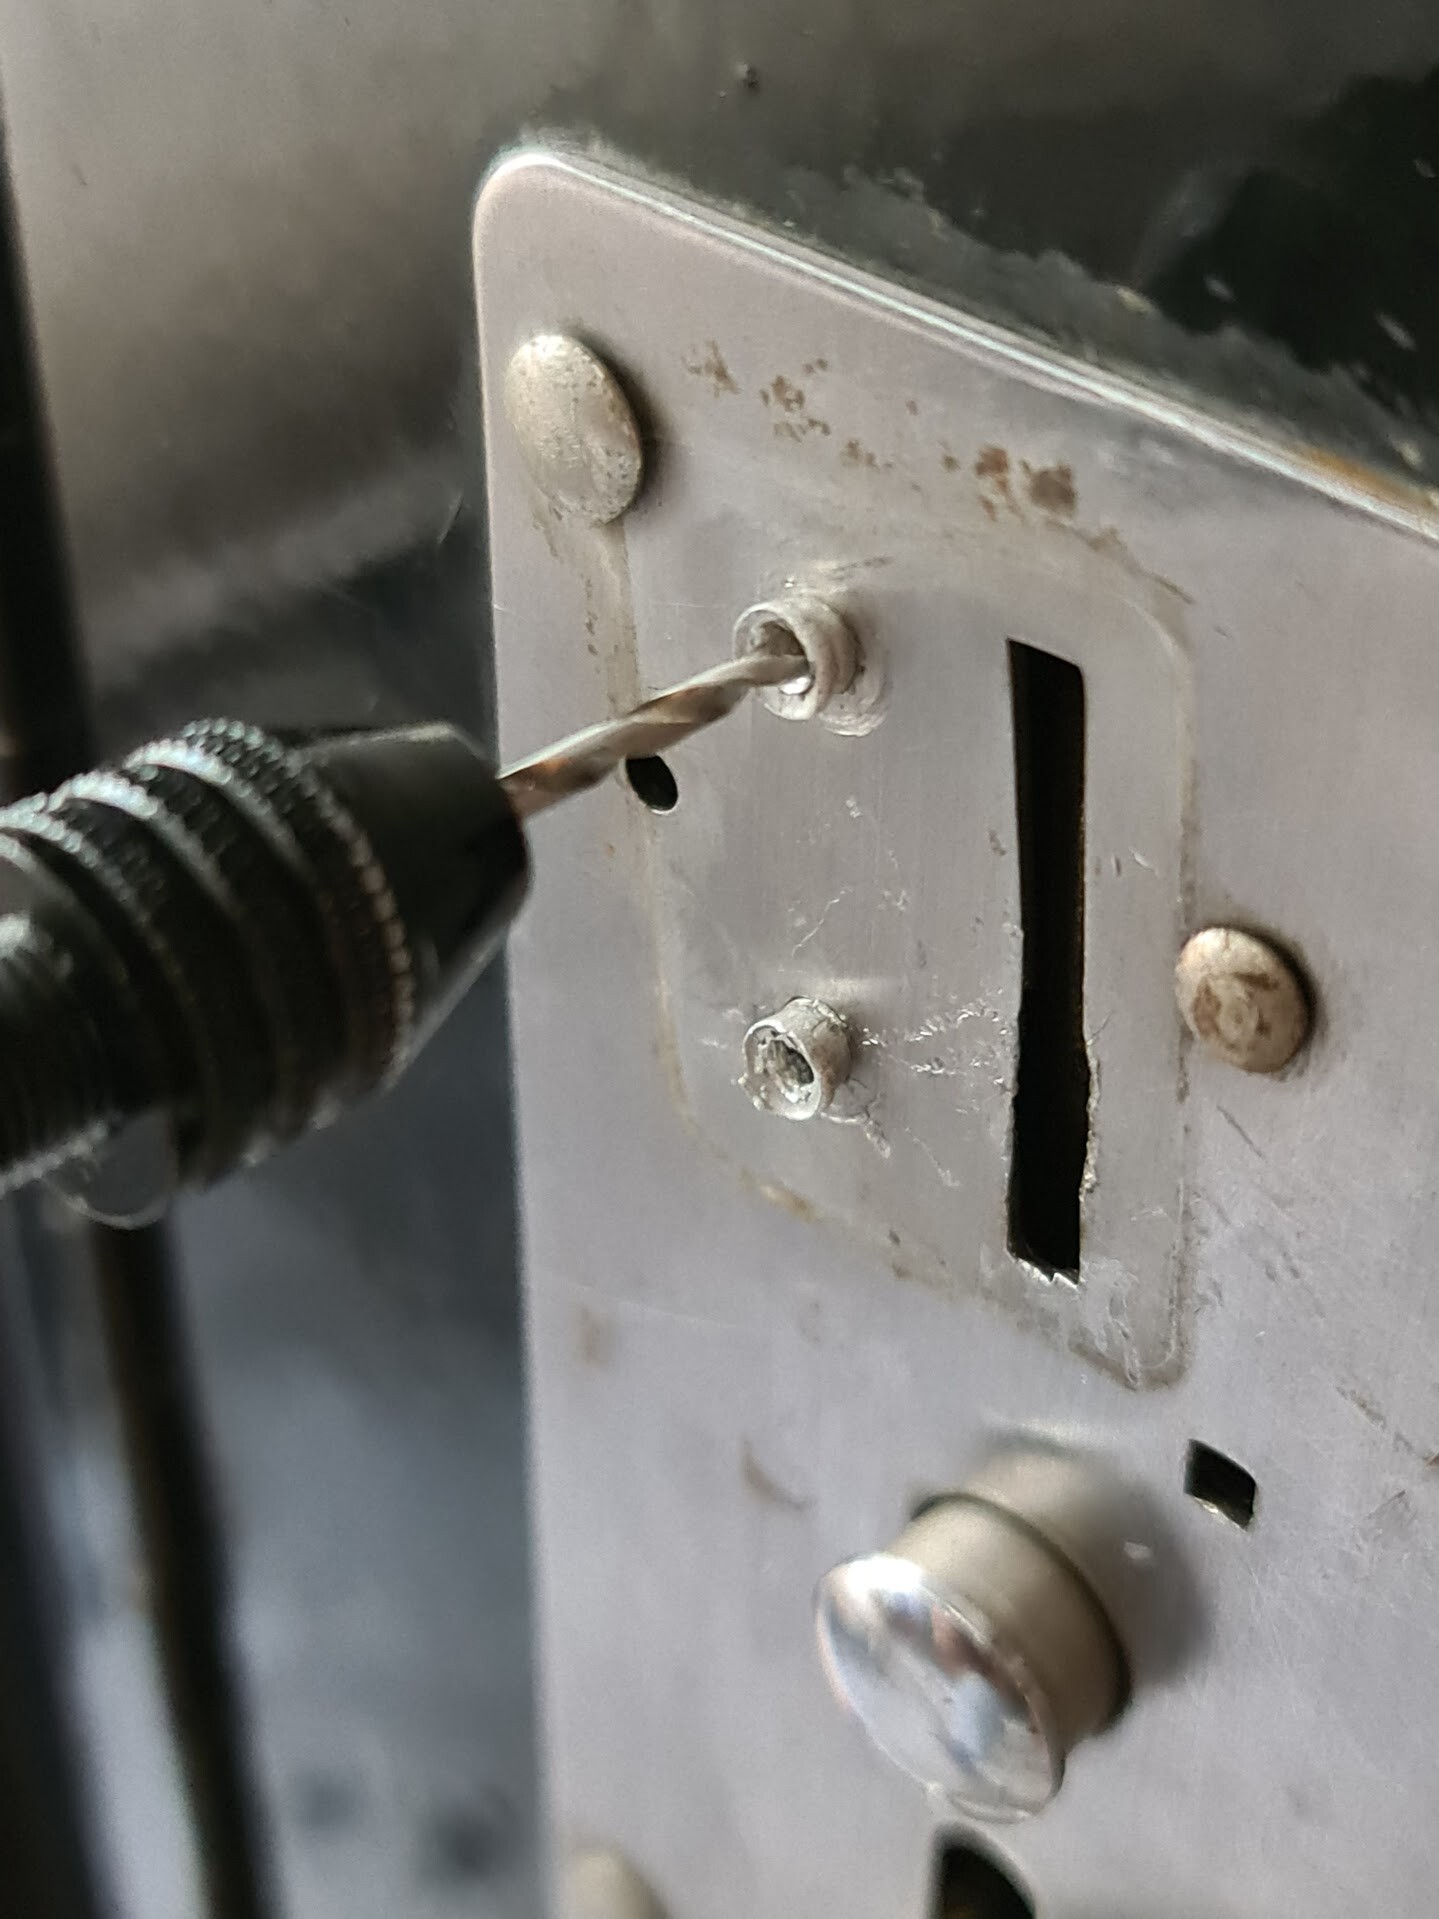
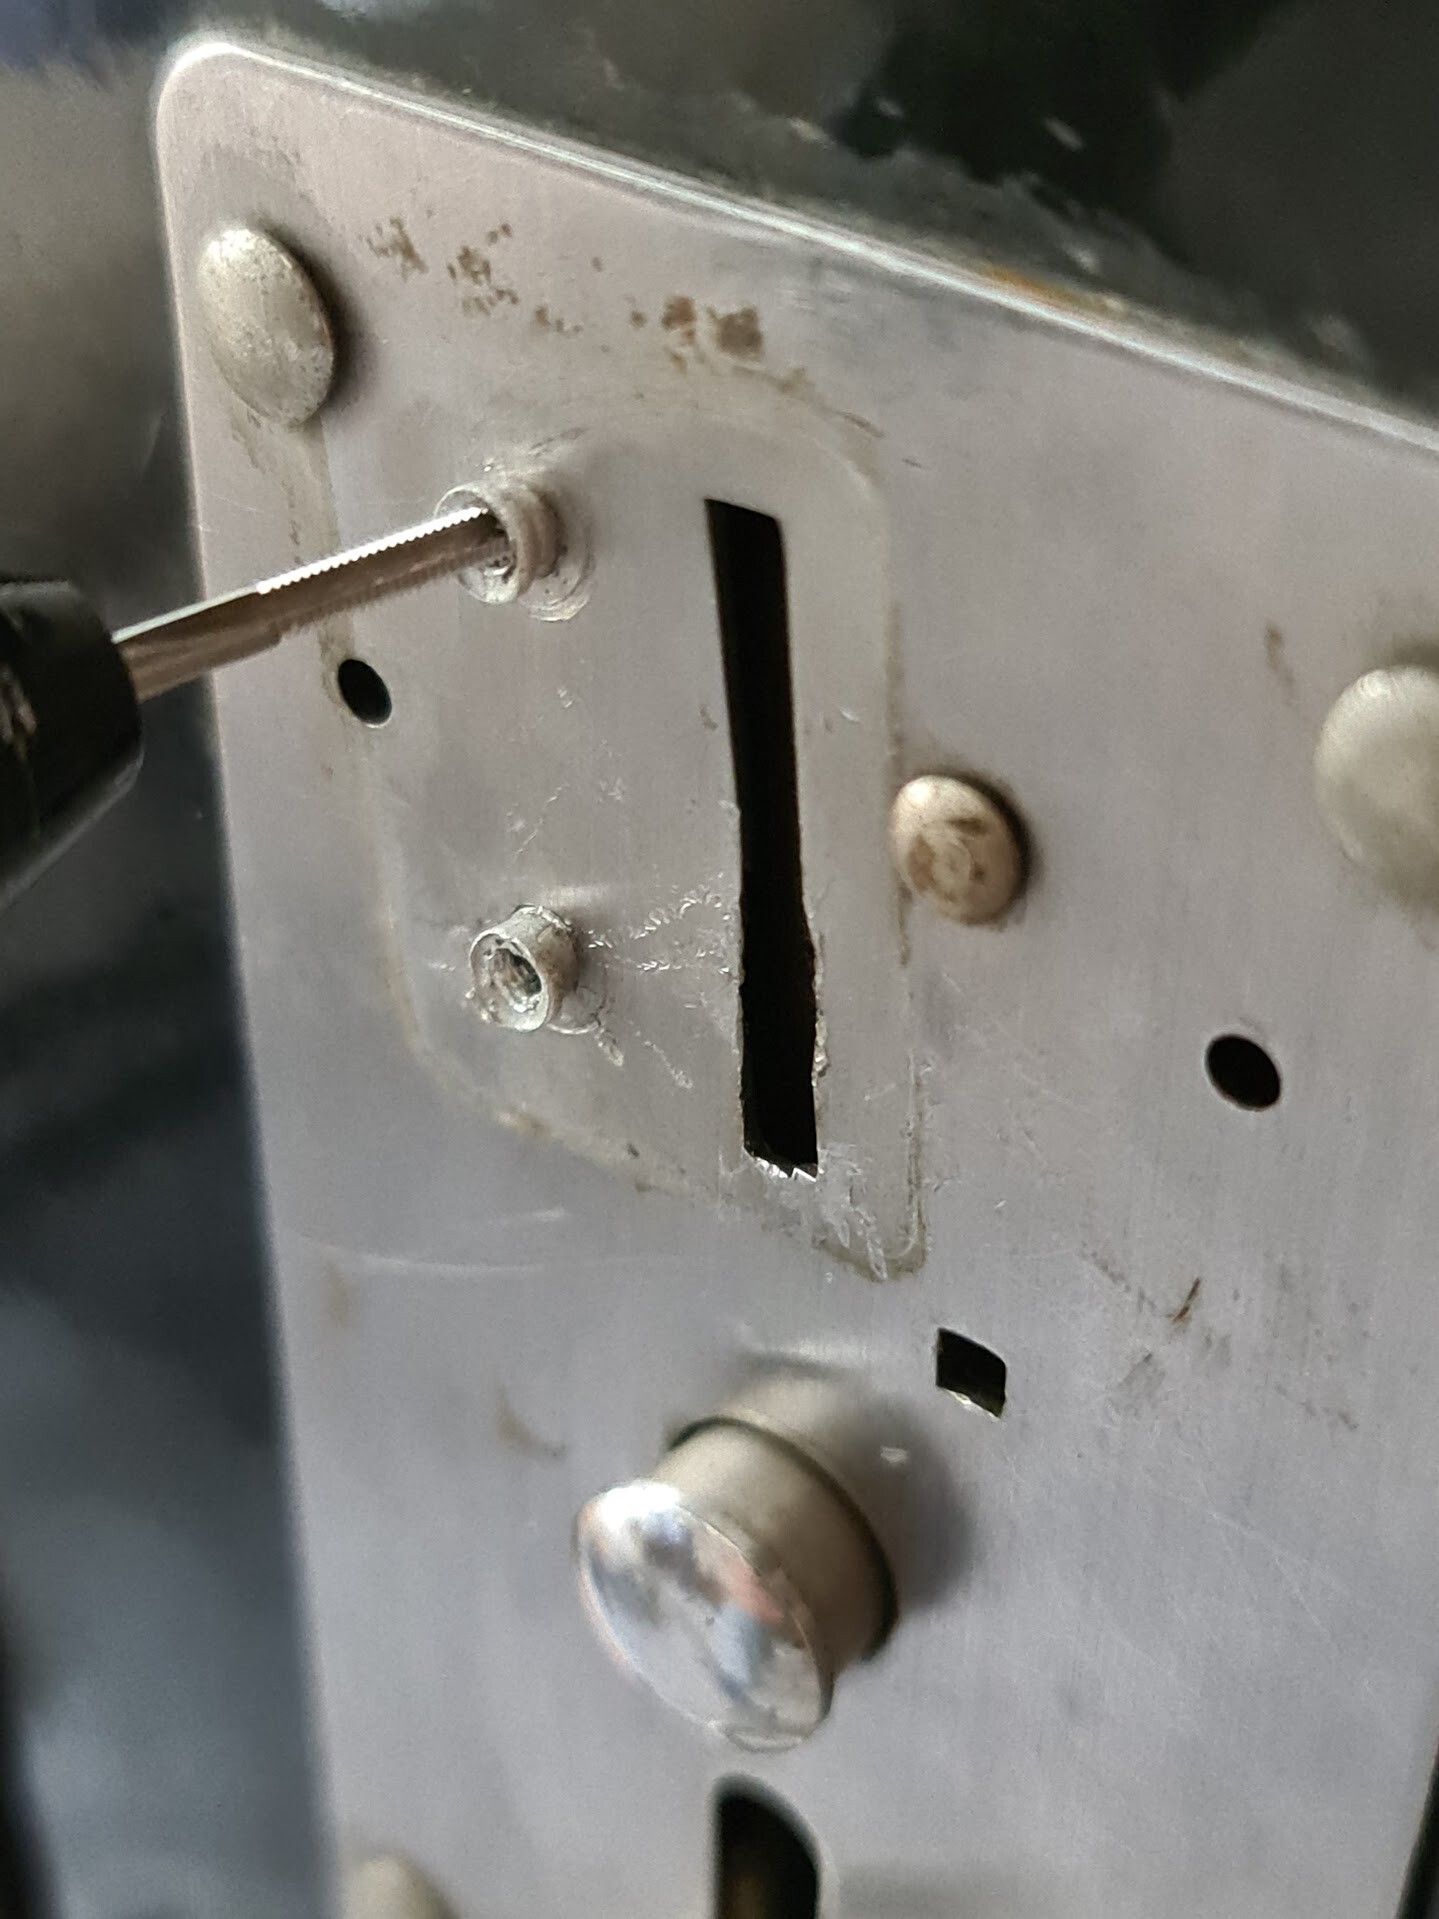
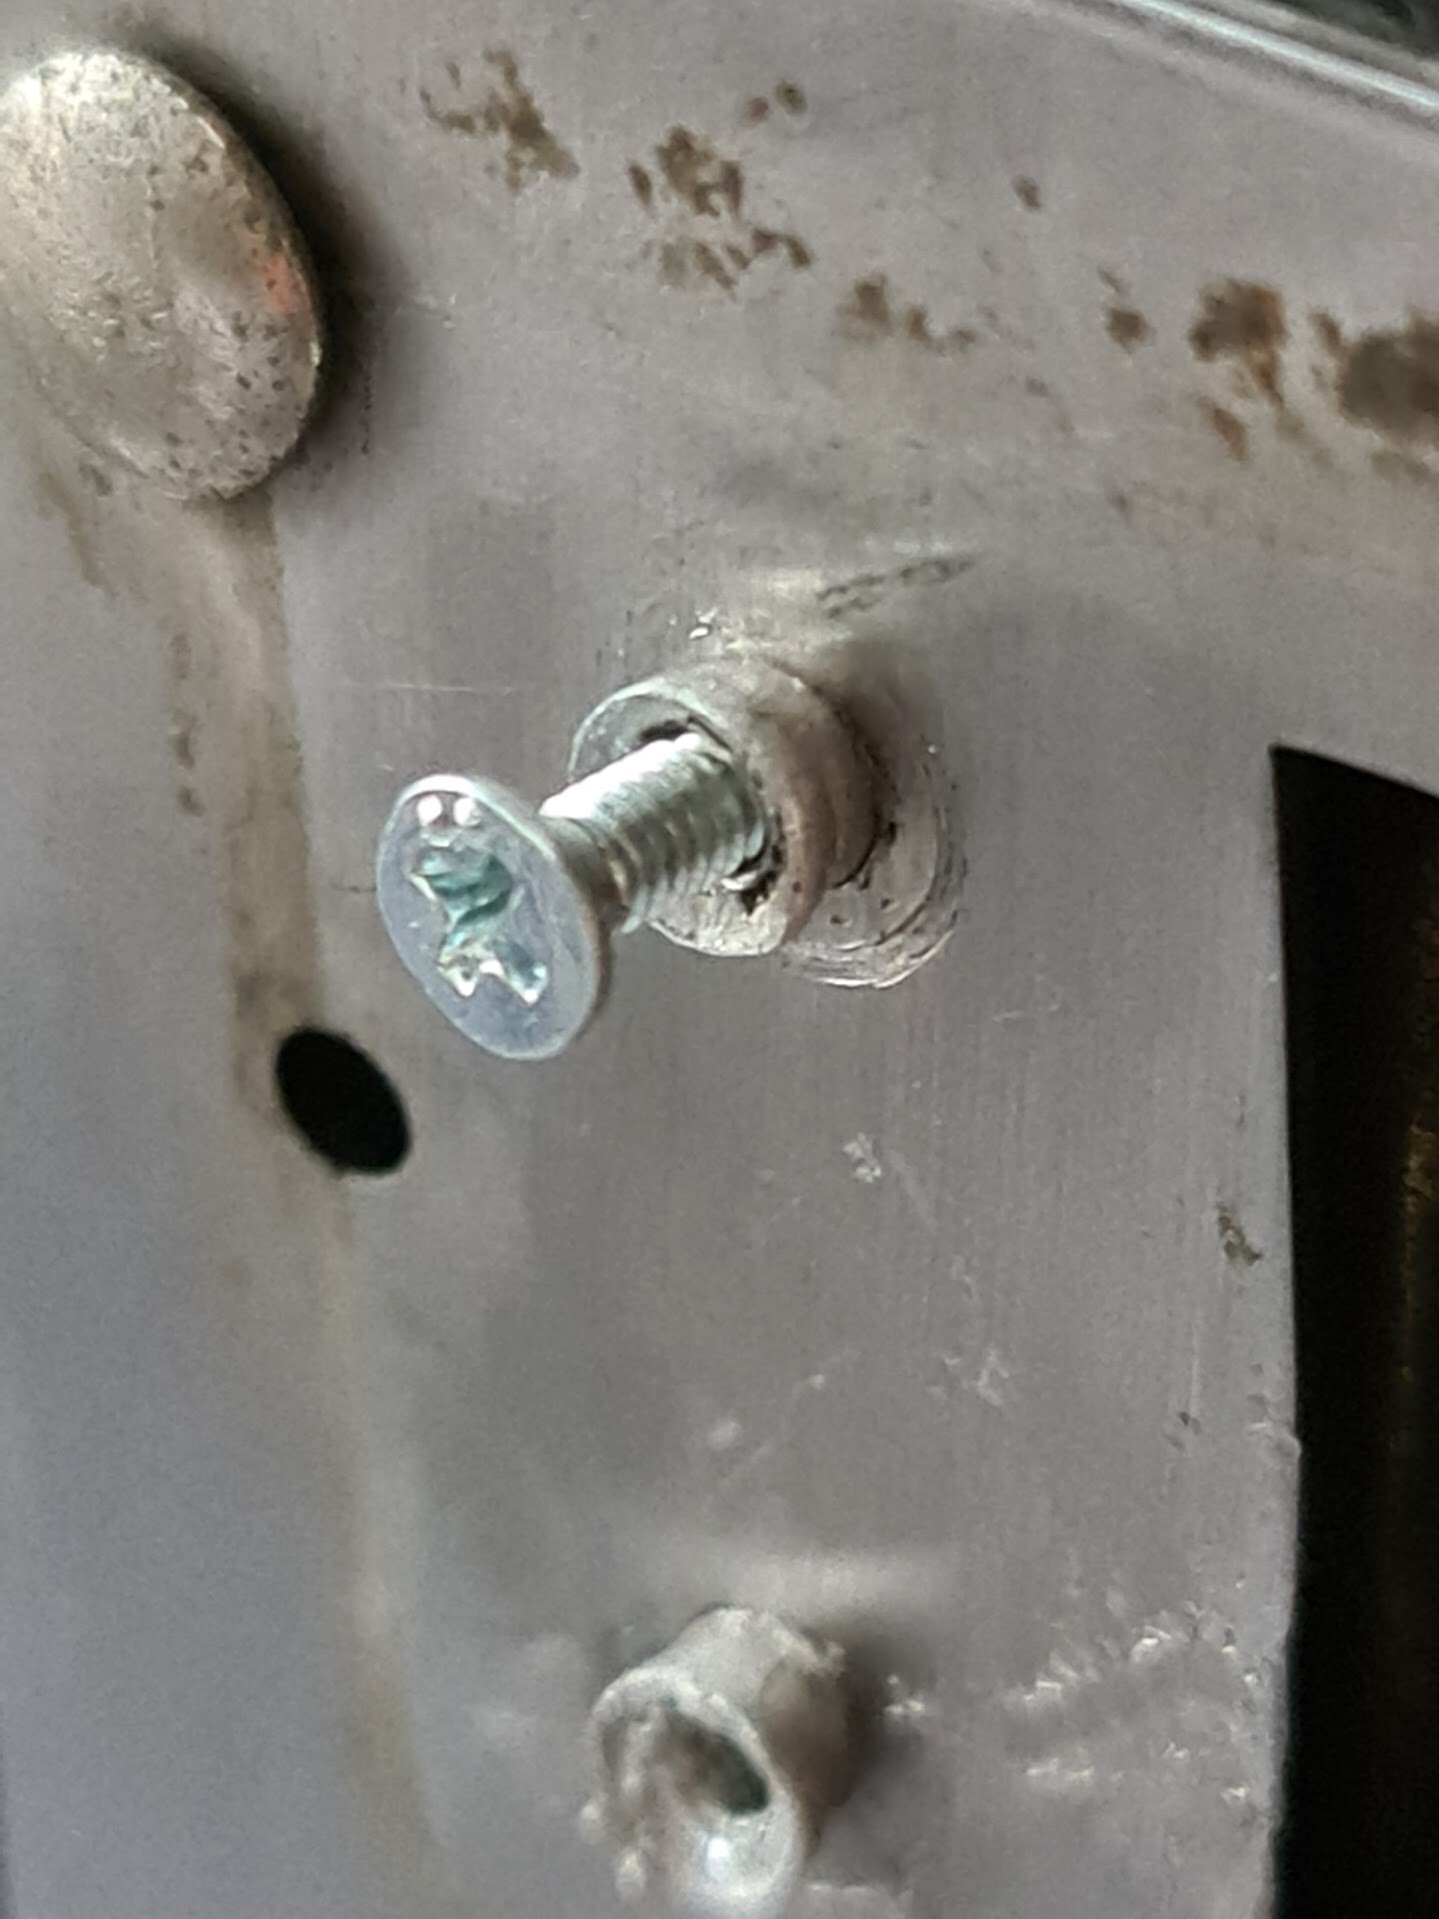
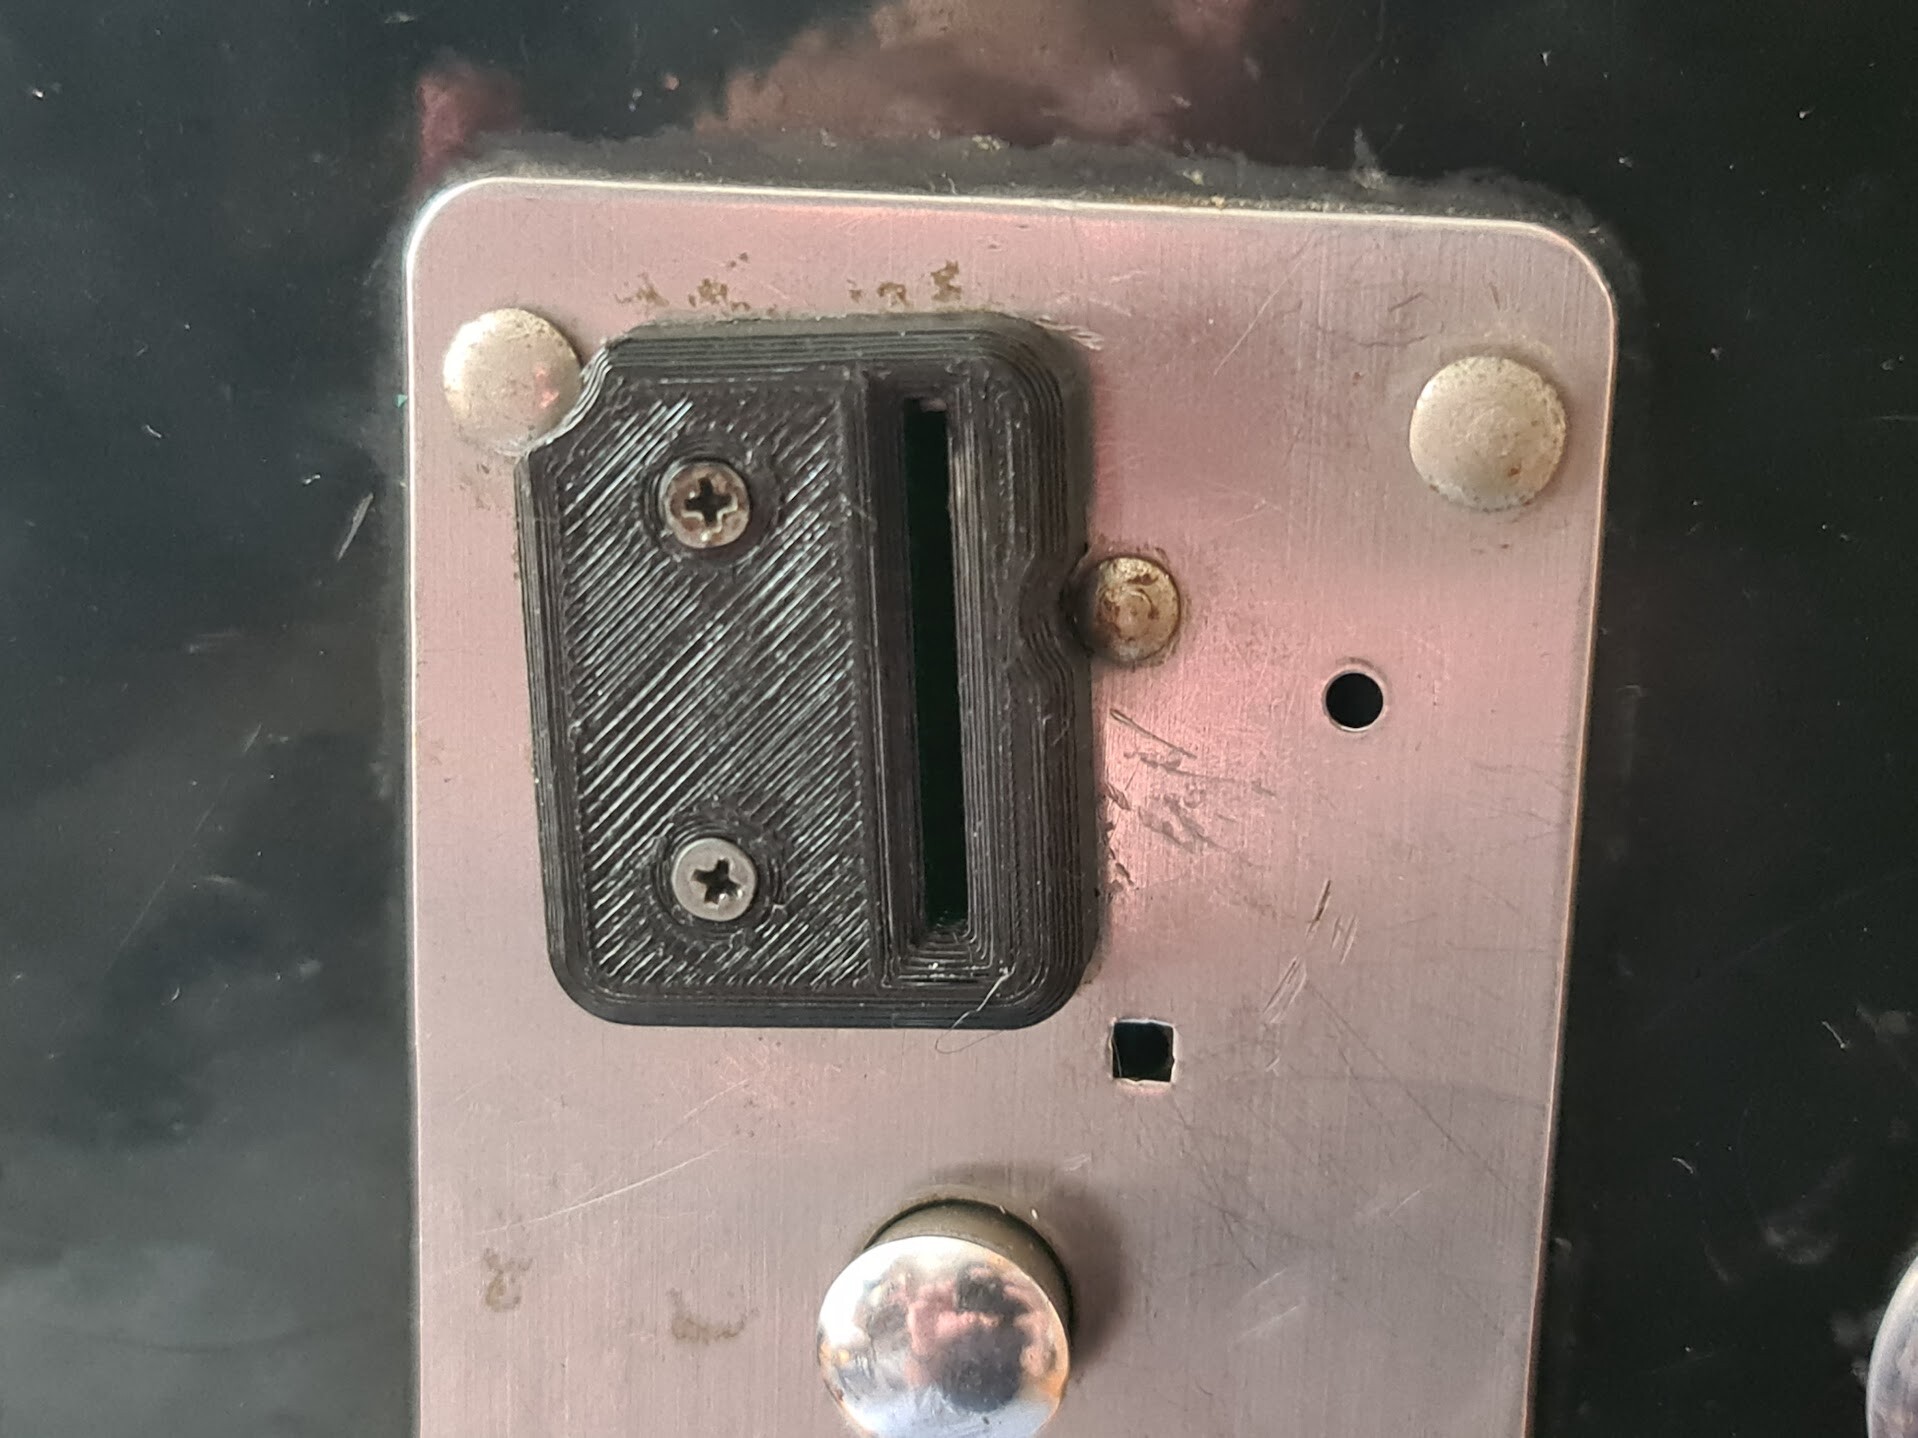
As a starter I used the existing blown rivets to hold the screws I'm going to add. I dirlled a hole through them with M2 drill by hand.
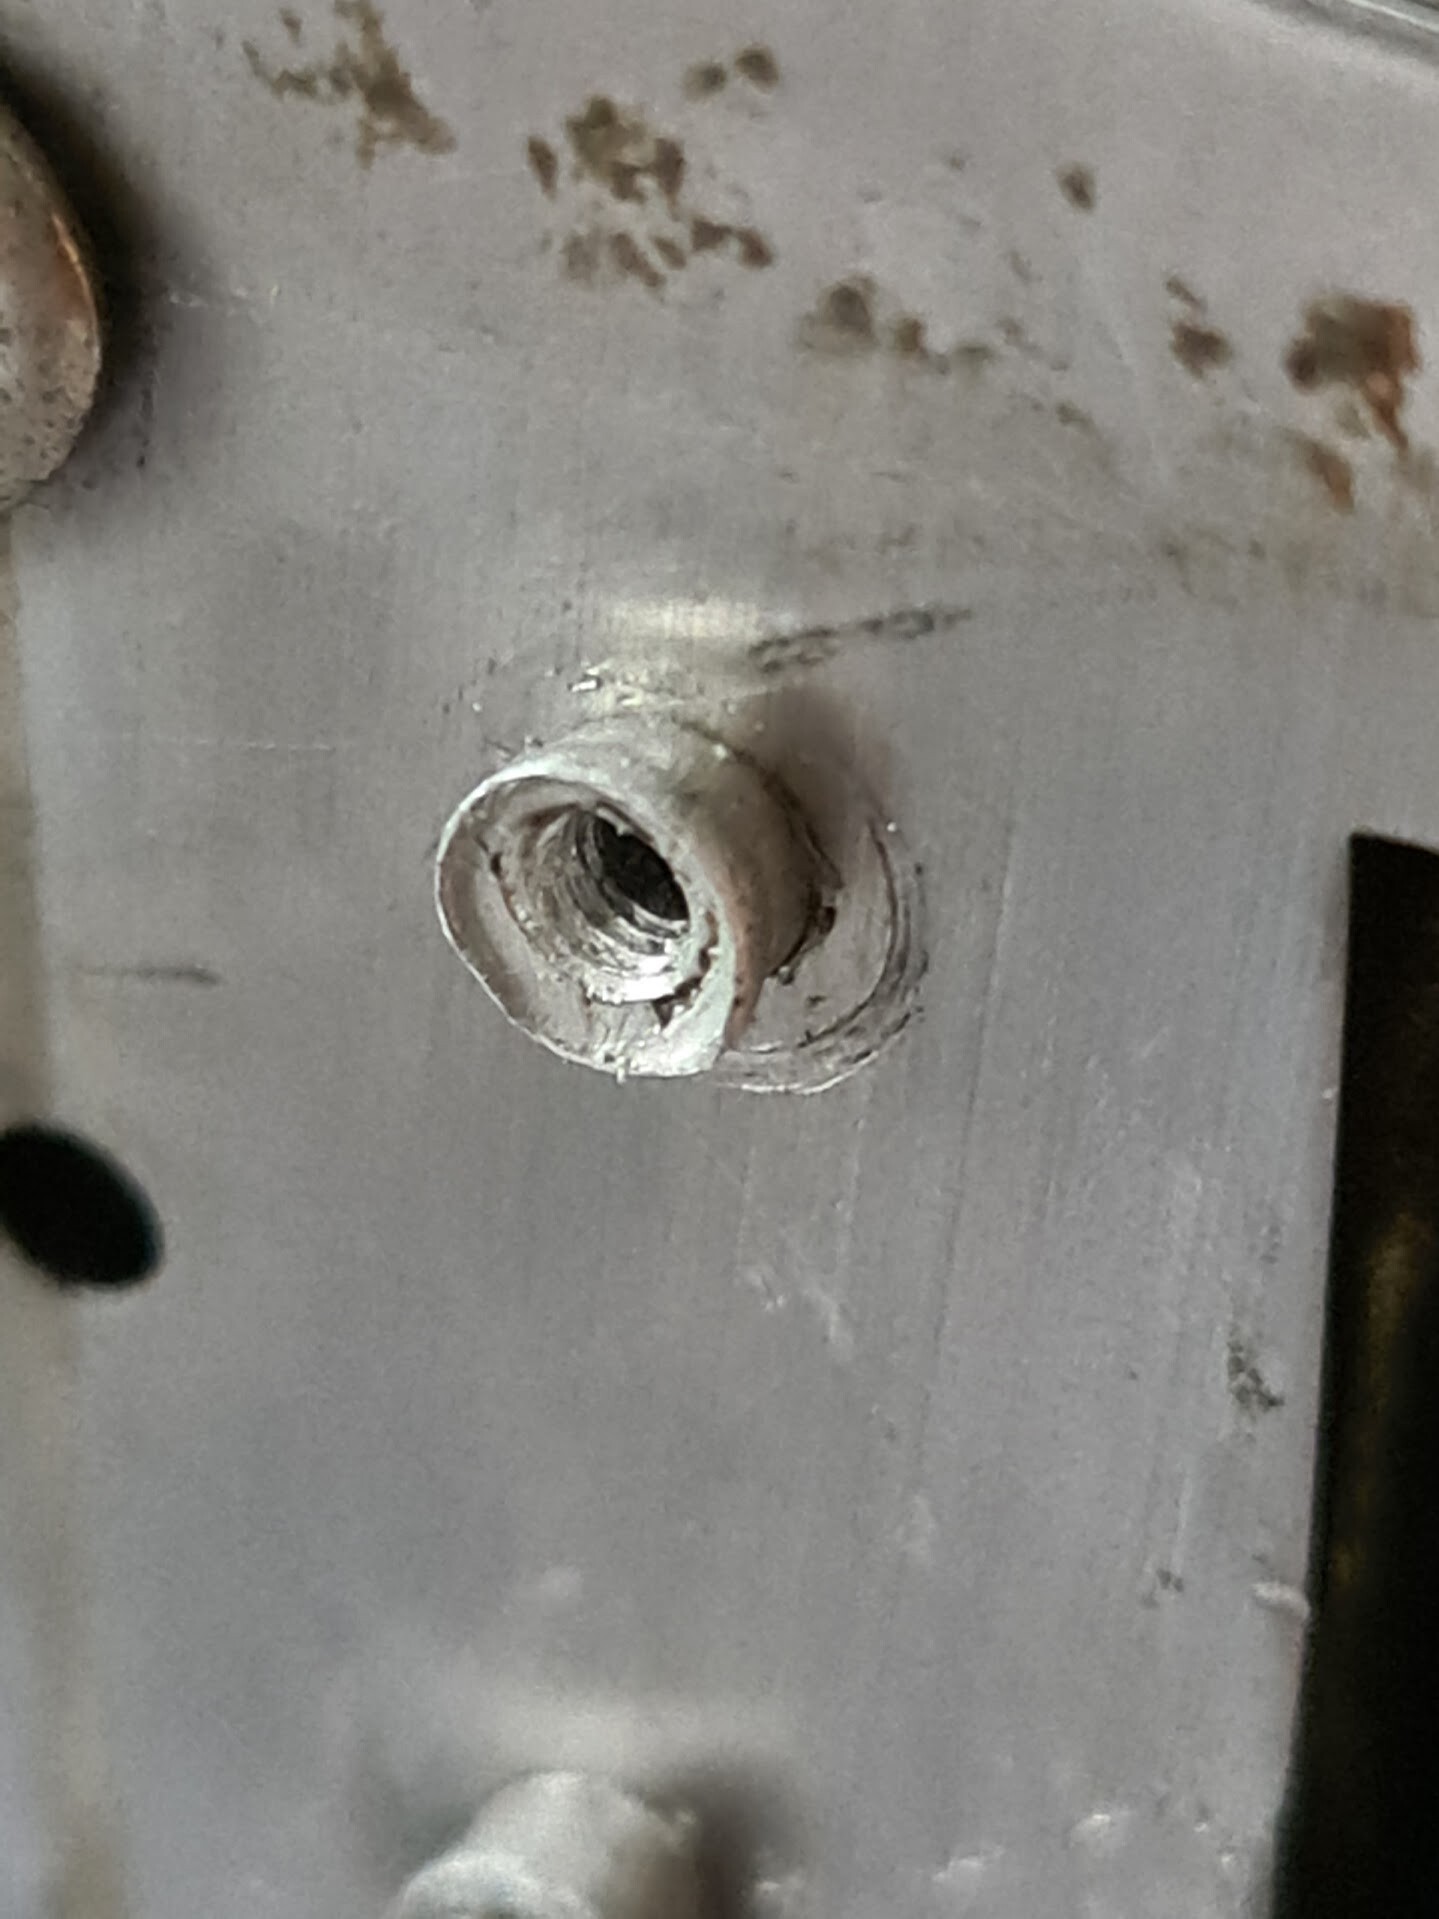
Next I used M2.5 "Tap" to open threads on that hole.
You can see the threads inside.
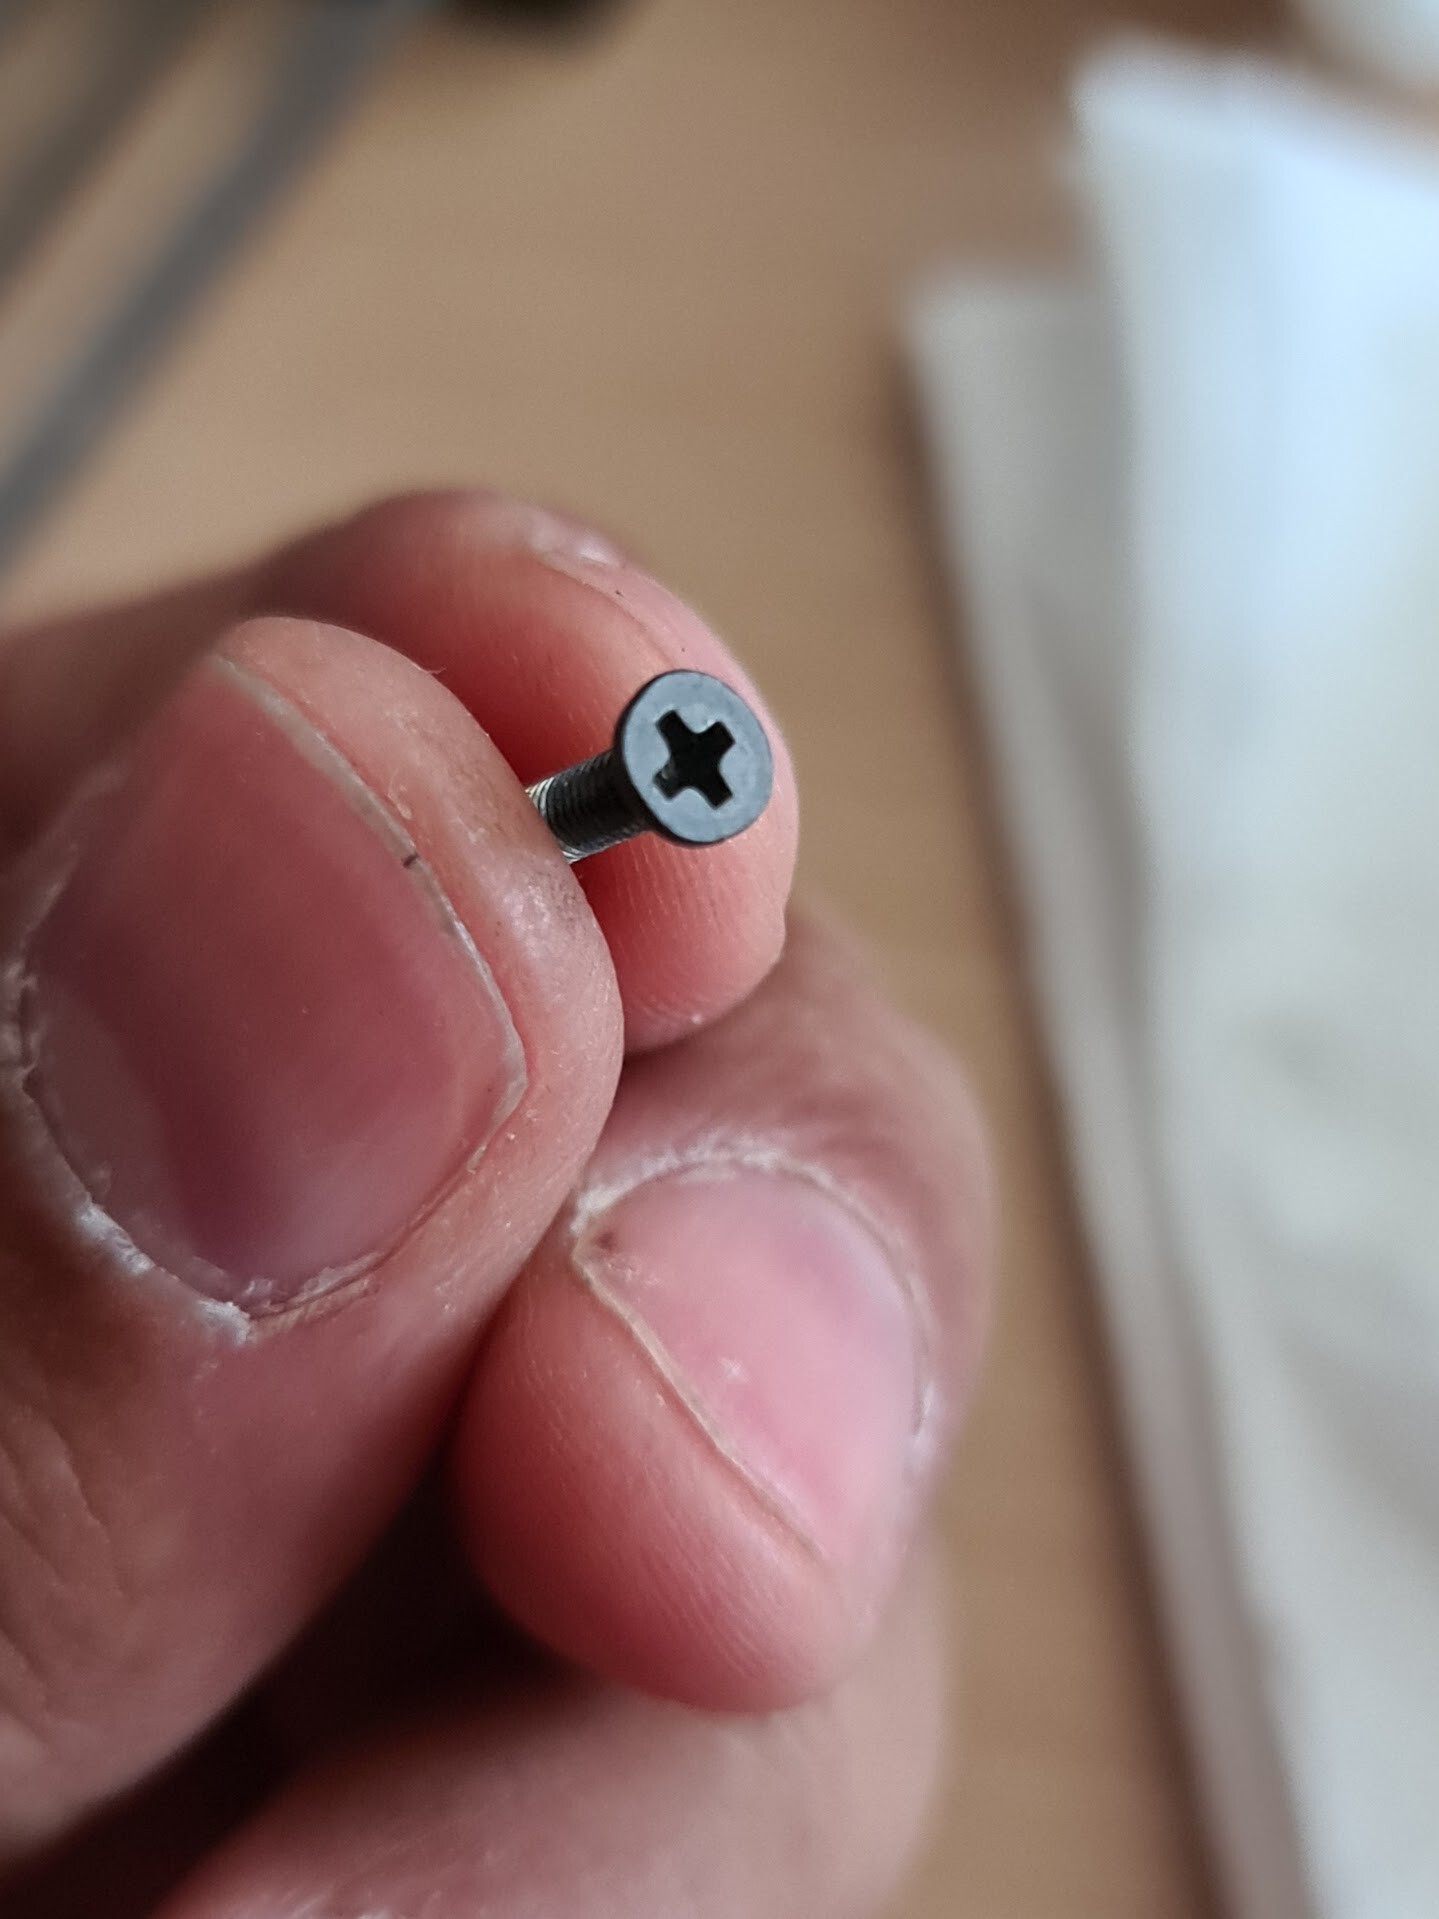
And M2.5 countersunk screw driven very good.
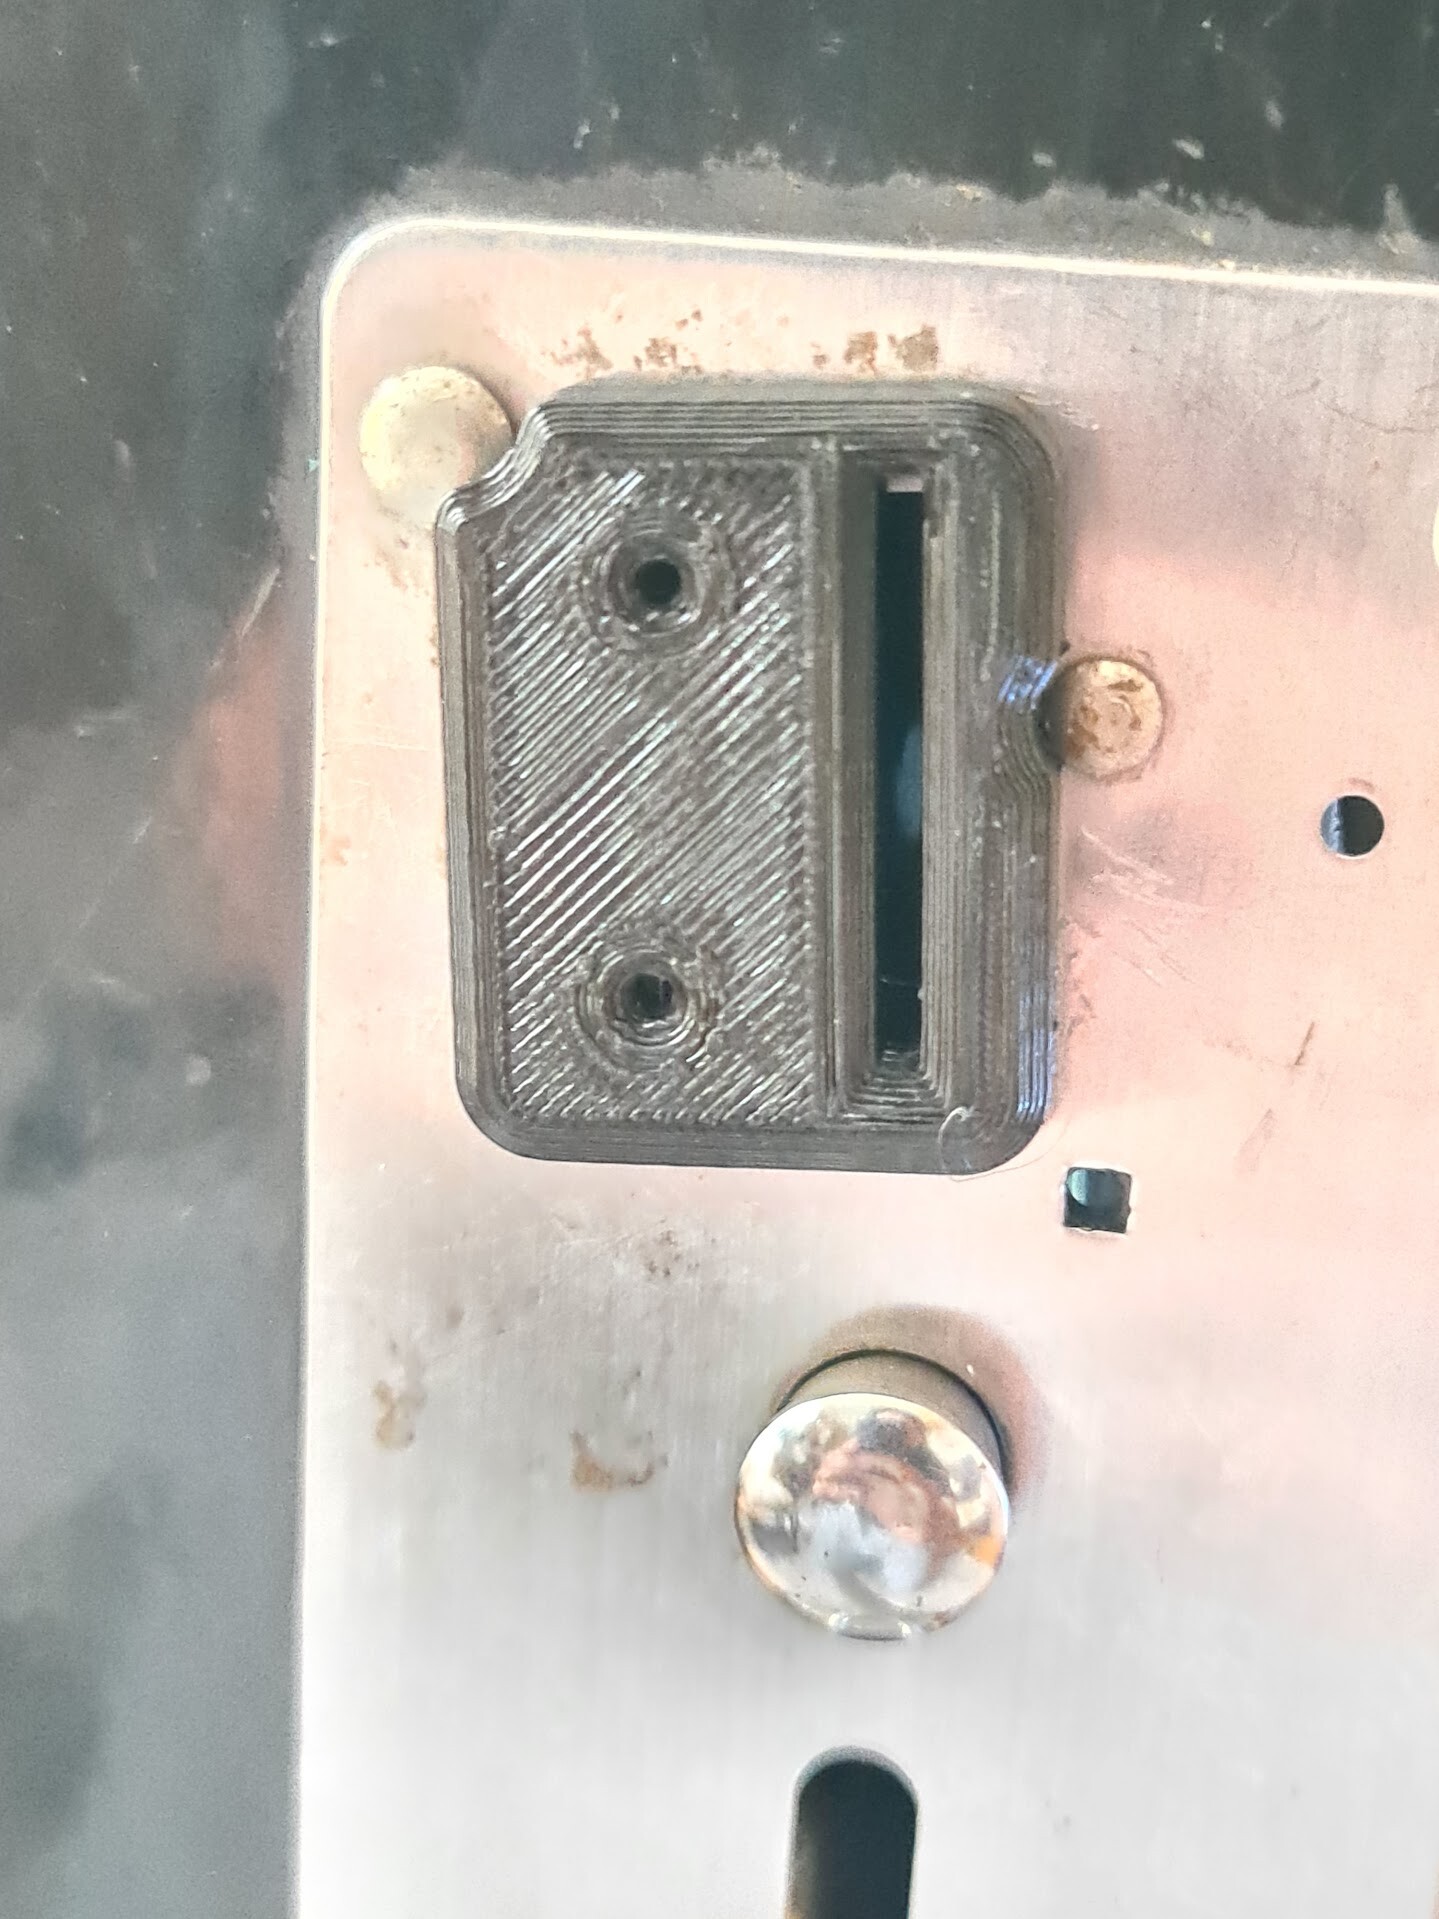
I measured all the geometry around the slot to design a 3d printed frame on it. I used solidworks to model it.
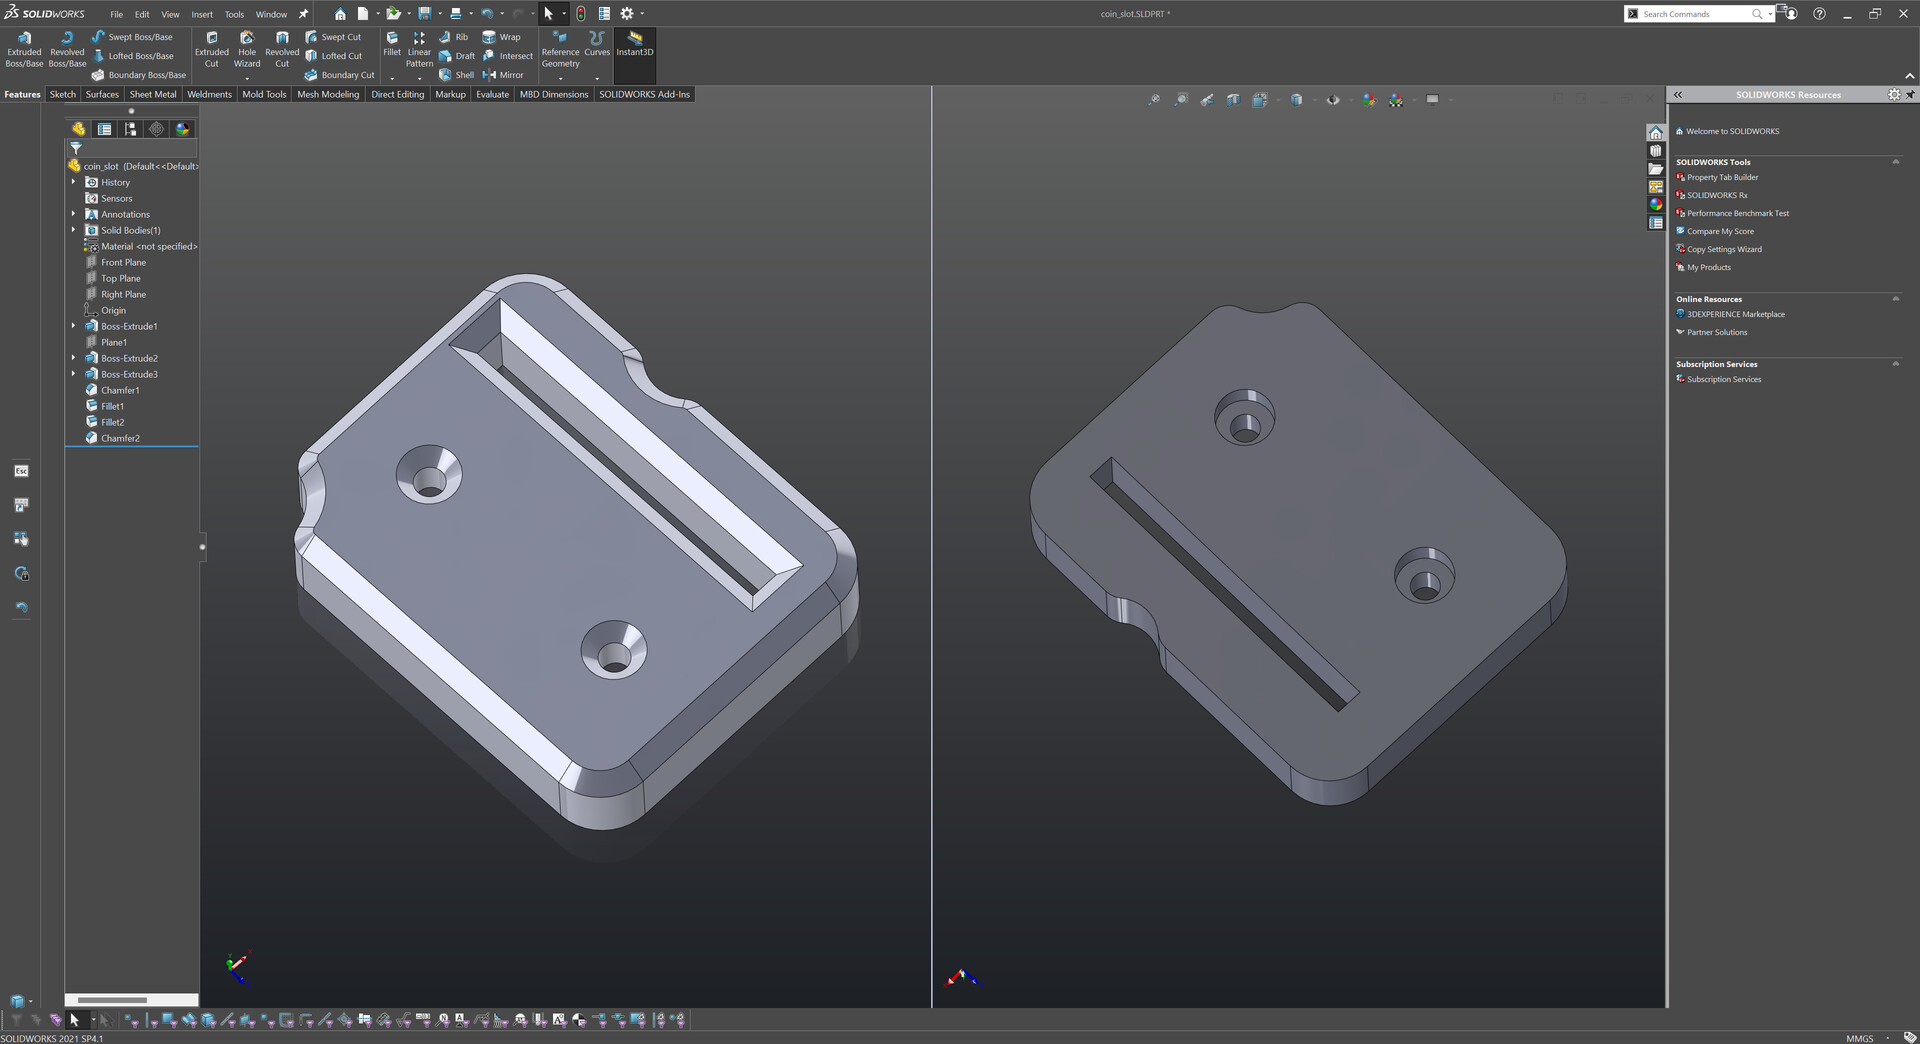
I made some measurement mistake on the top left corner of the part but it's not so important for the mounting, so I keep it like that.
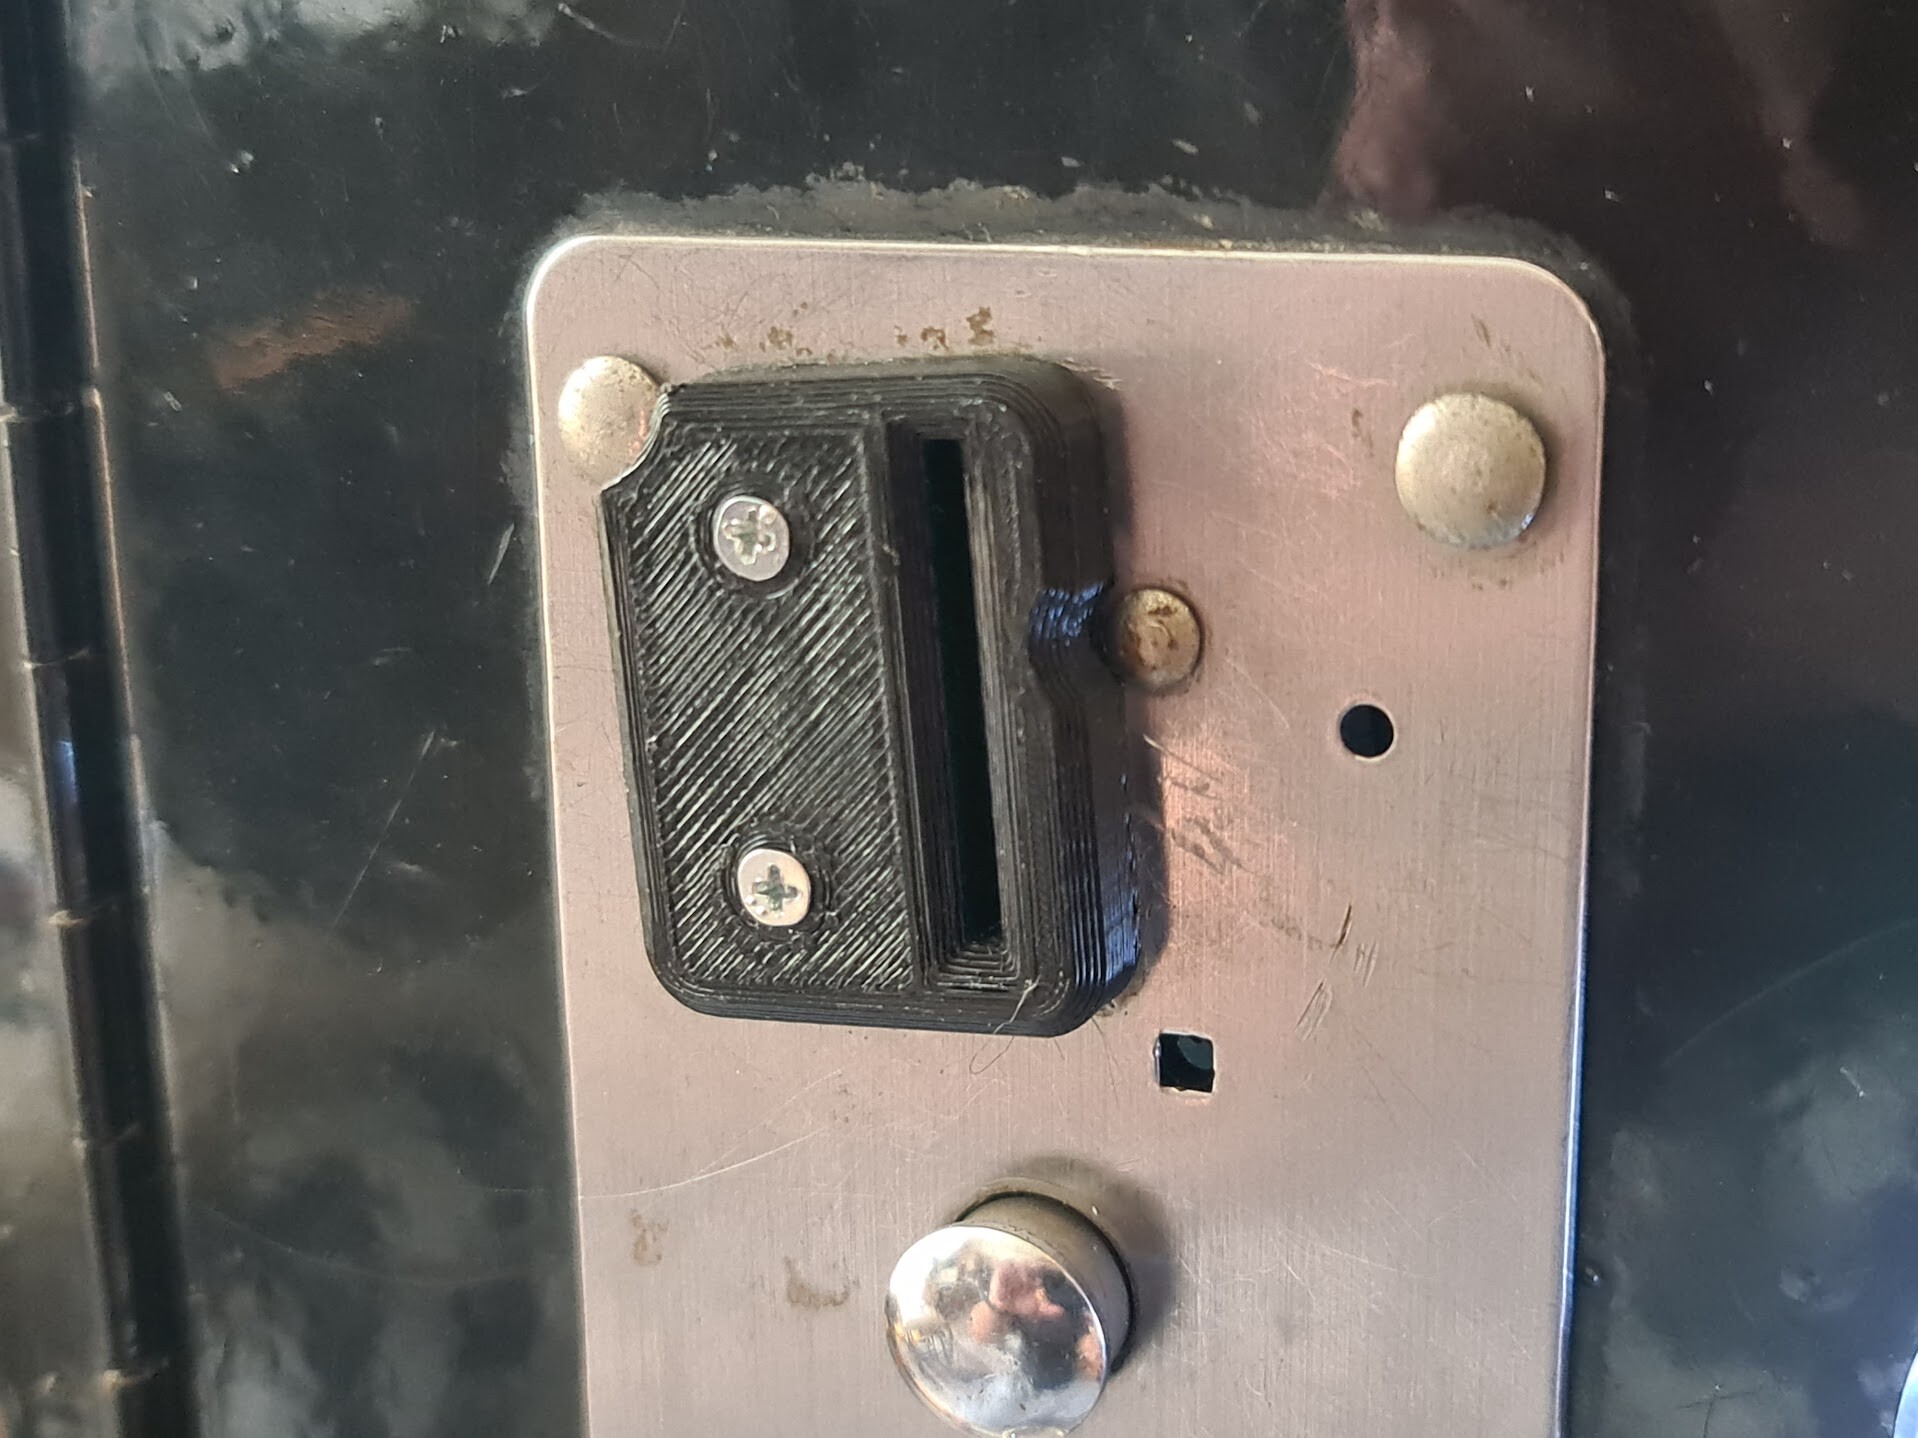
Screws didn't look good on the black part because they were very shiny. I made a partial "bluing" on the screws. That means I heated them and dropped into a cooking oil. That protects it from rusting and gives a black color which was the main purpose.
More info about bluing: https://youtu.be/5Sty5upsadY
And this is how it looks.
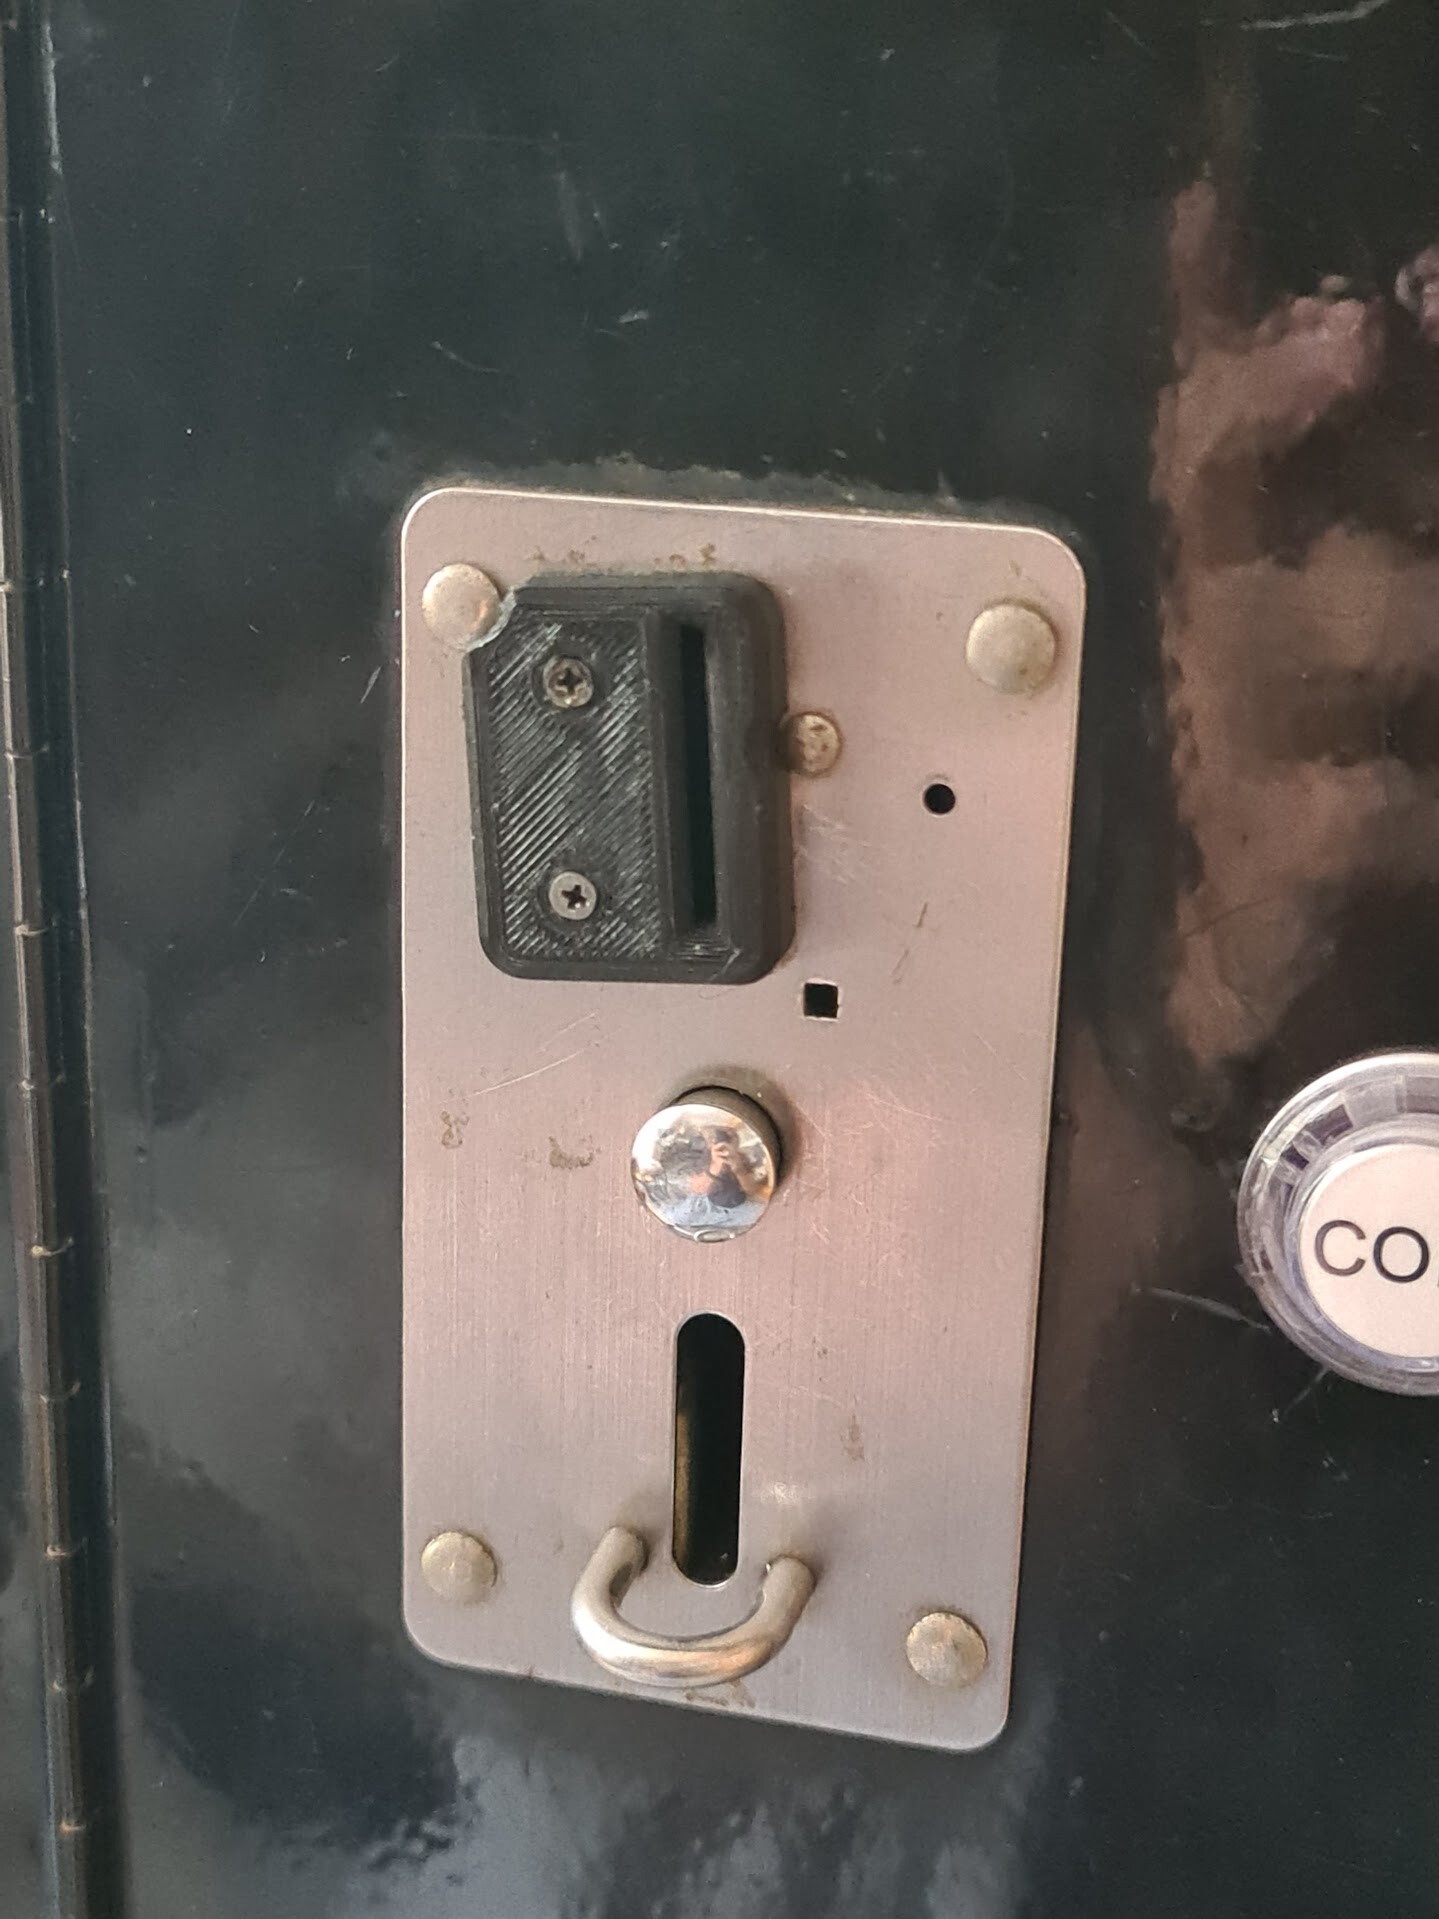
Insterting some coins.
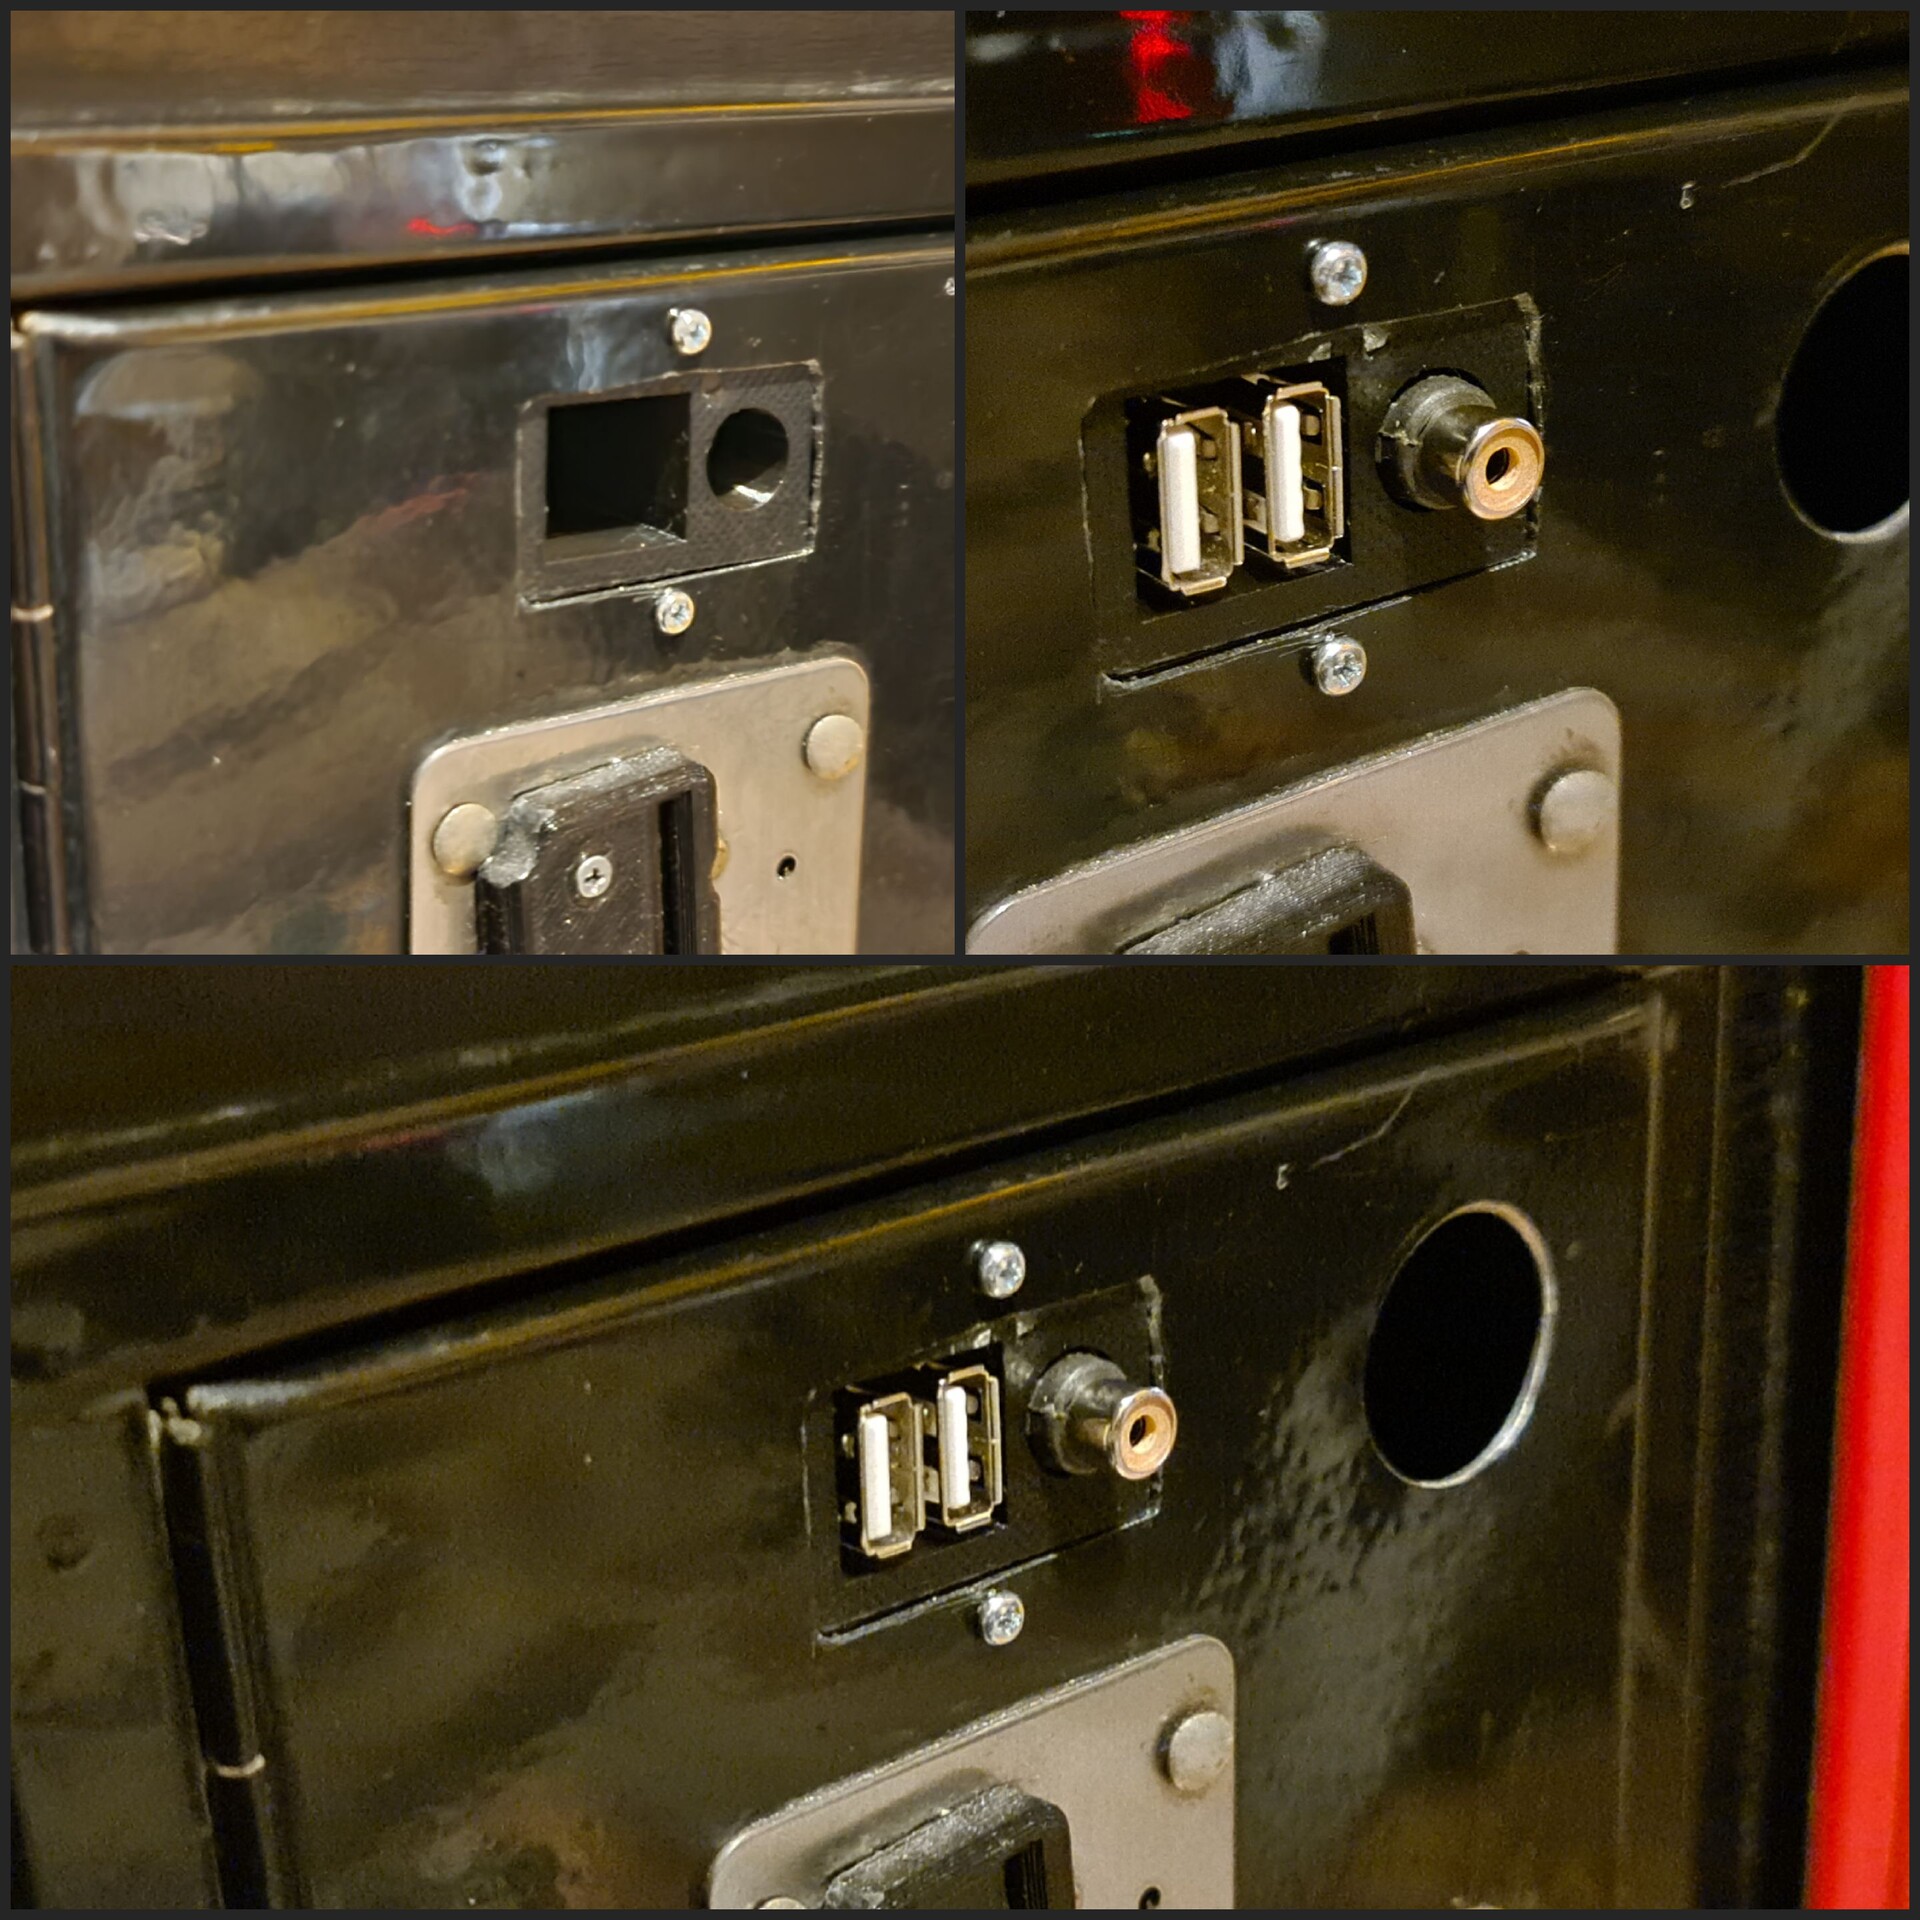
2. Adding USB Extention Ports and Sync Port for Light Guns
Since there is also a Raspberry Pi inside the cabinet, adding USB ports outside the cabinet would be a nice touch to play 3-4 player games or, playing away from the cabinet with gamepads etc.
The other port that I wanted to add was the RCA port for the Sync signal of the CRT screen. This signal is important for the "light guns" that are used for playing gun games by tracking the coordinate of the screen where the gun is pointed. For that purpose I acquired 2 pieces of Namco Guncon 2 lightgun from Ebay.
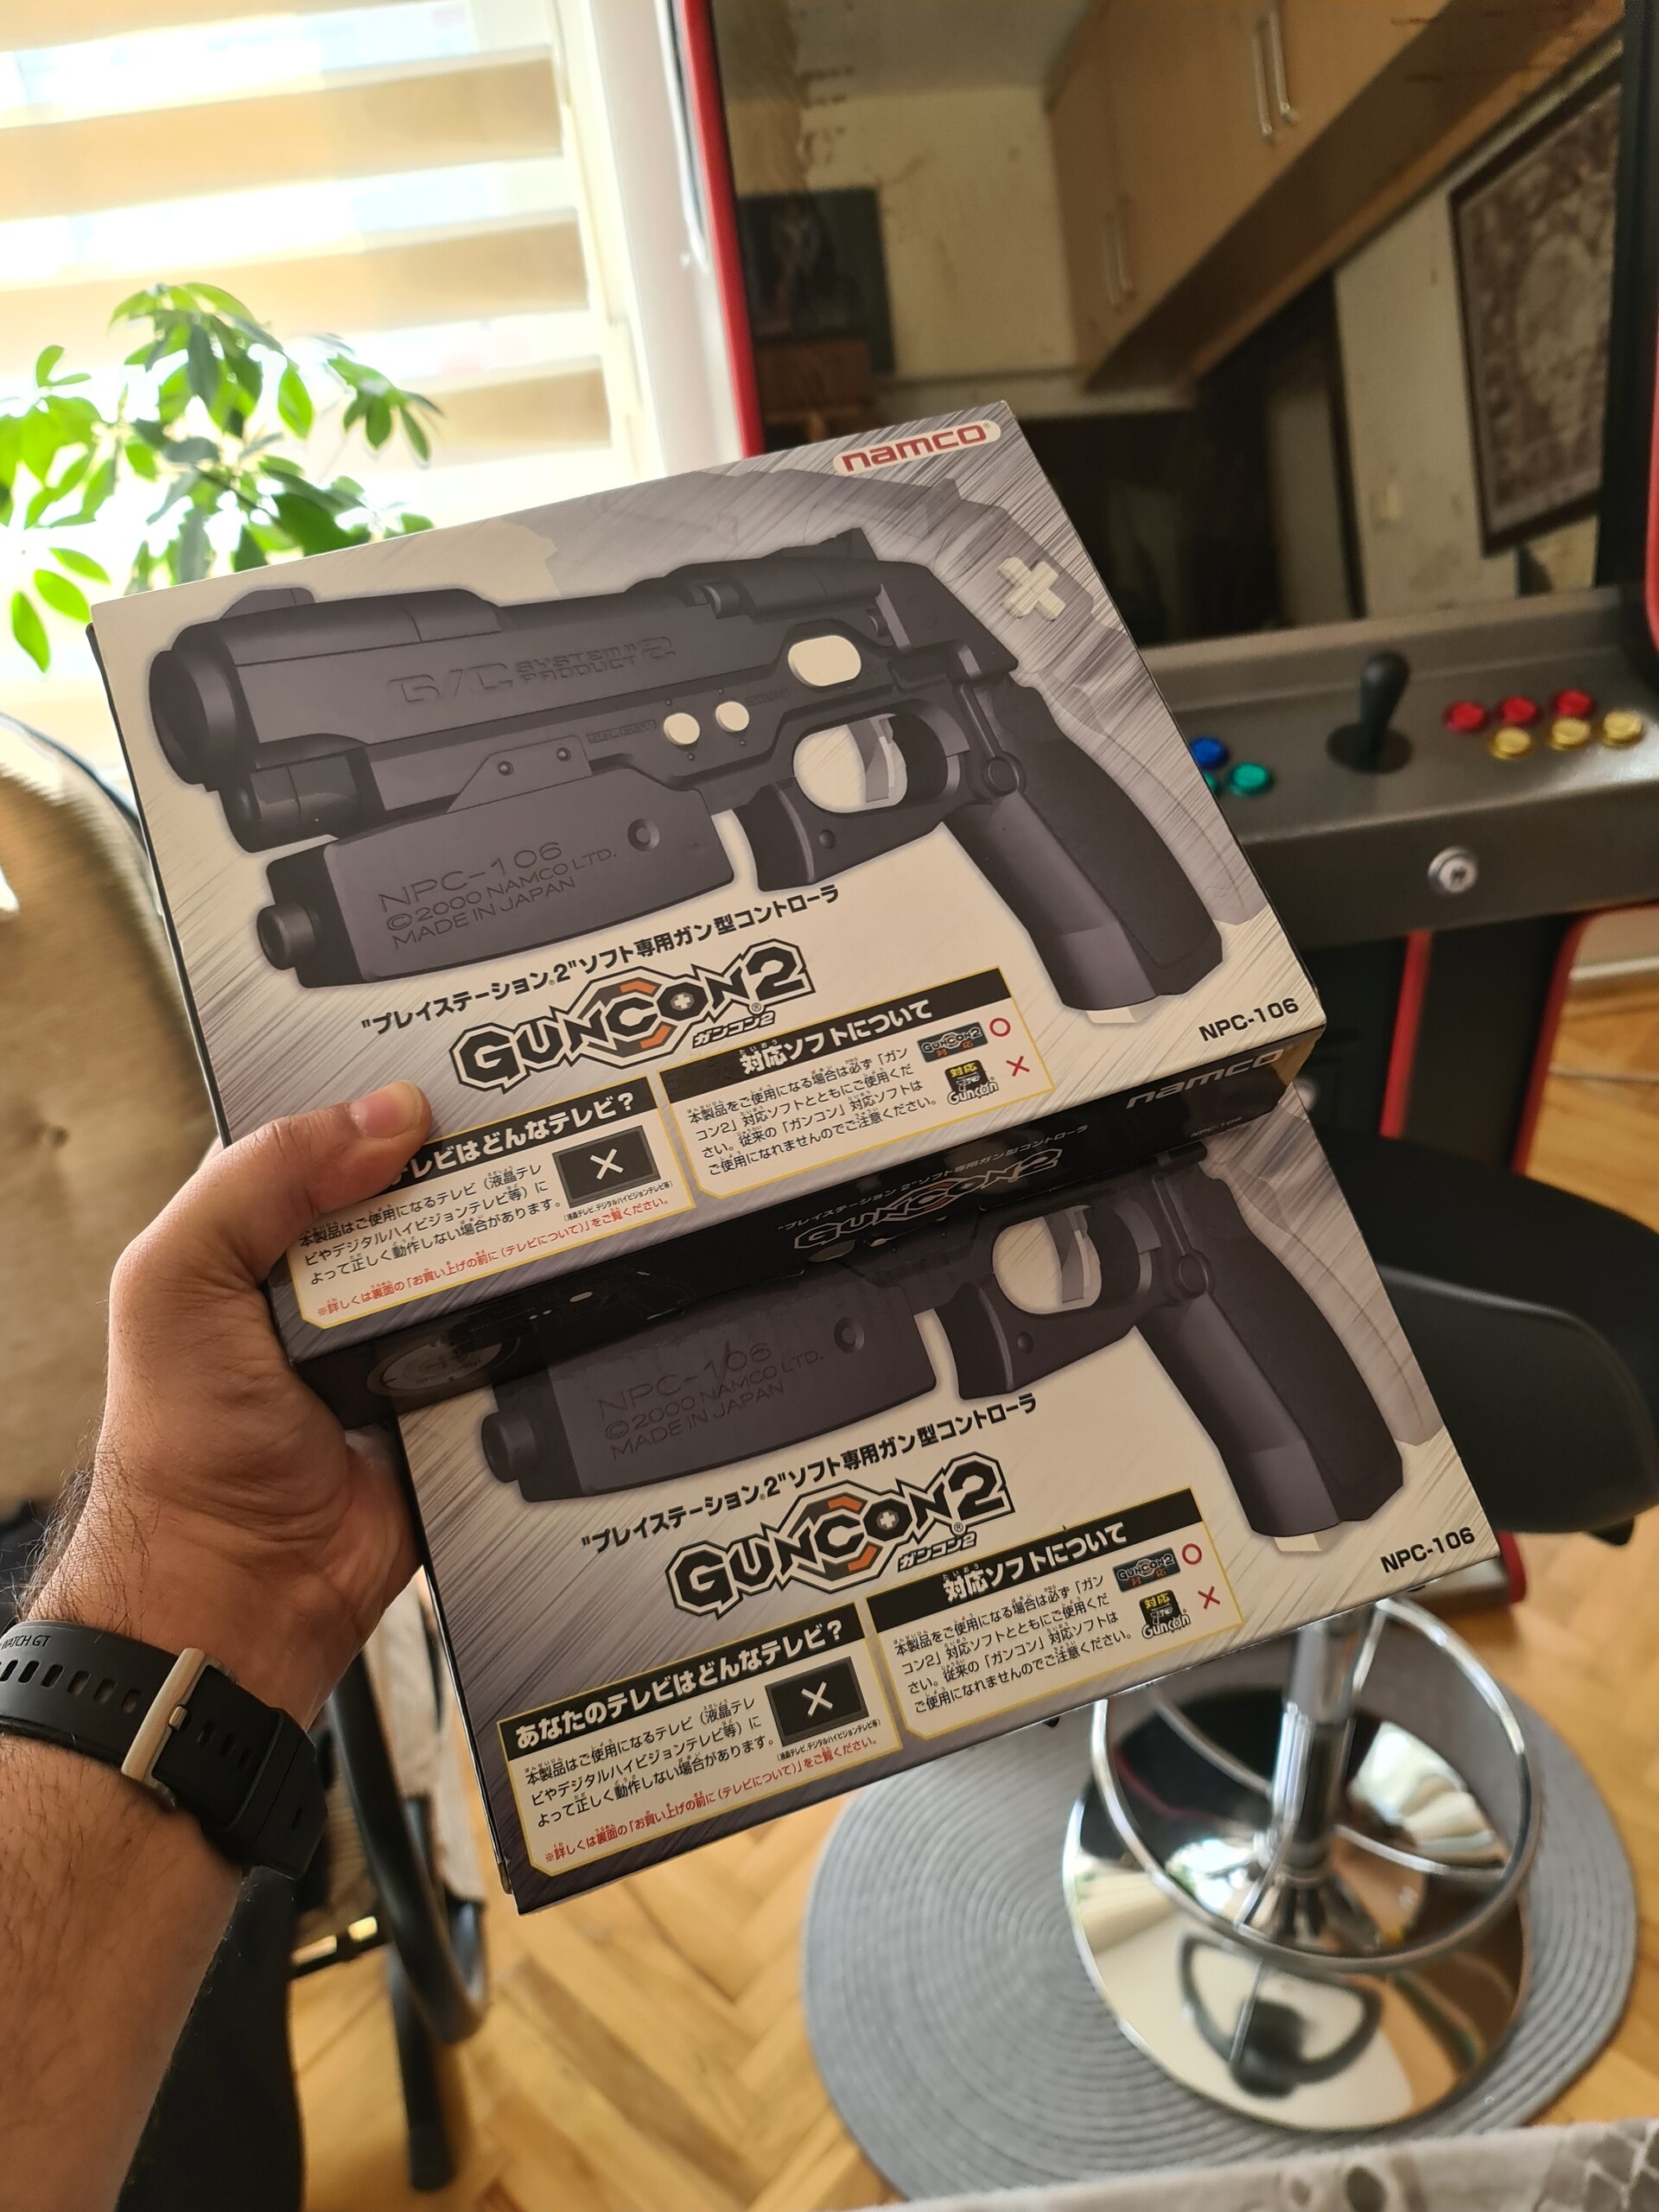
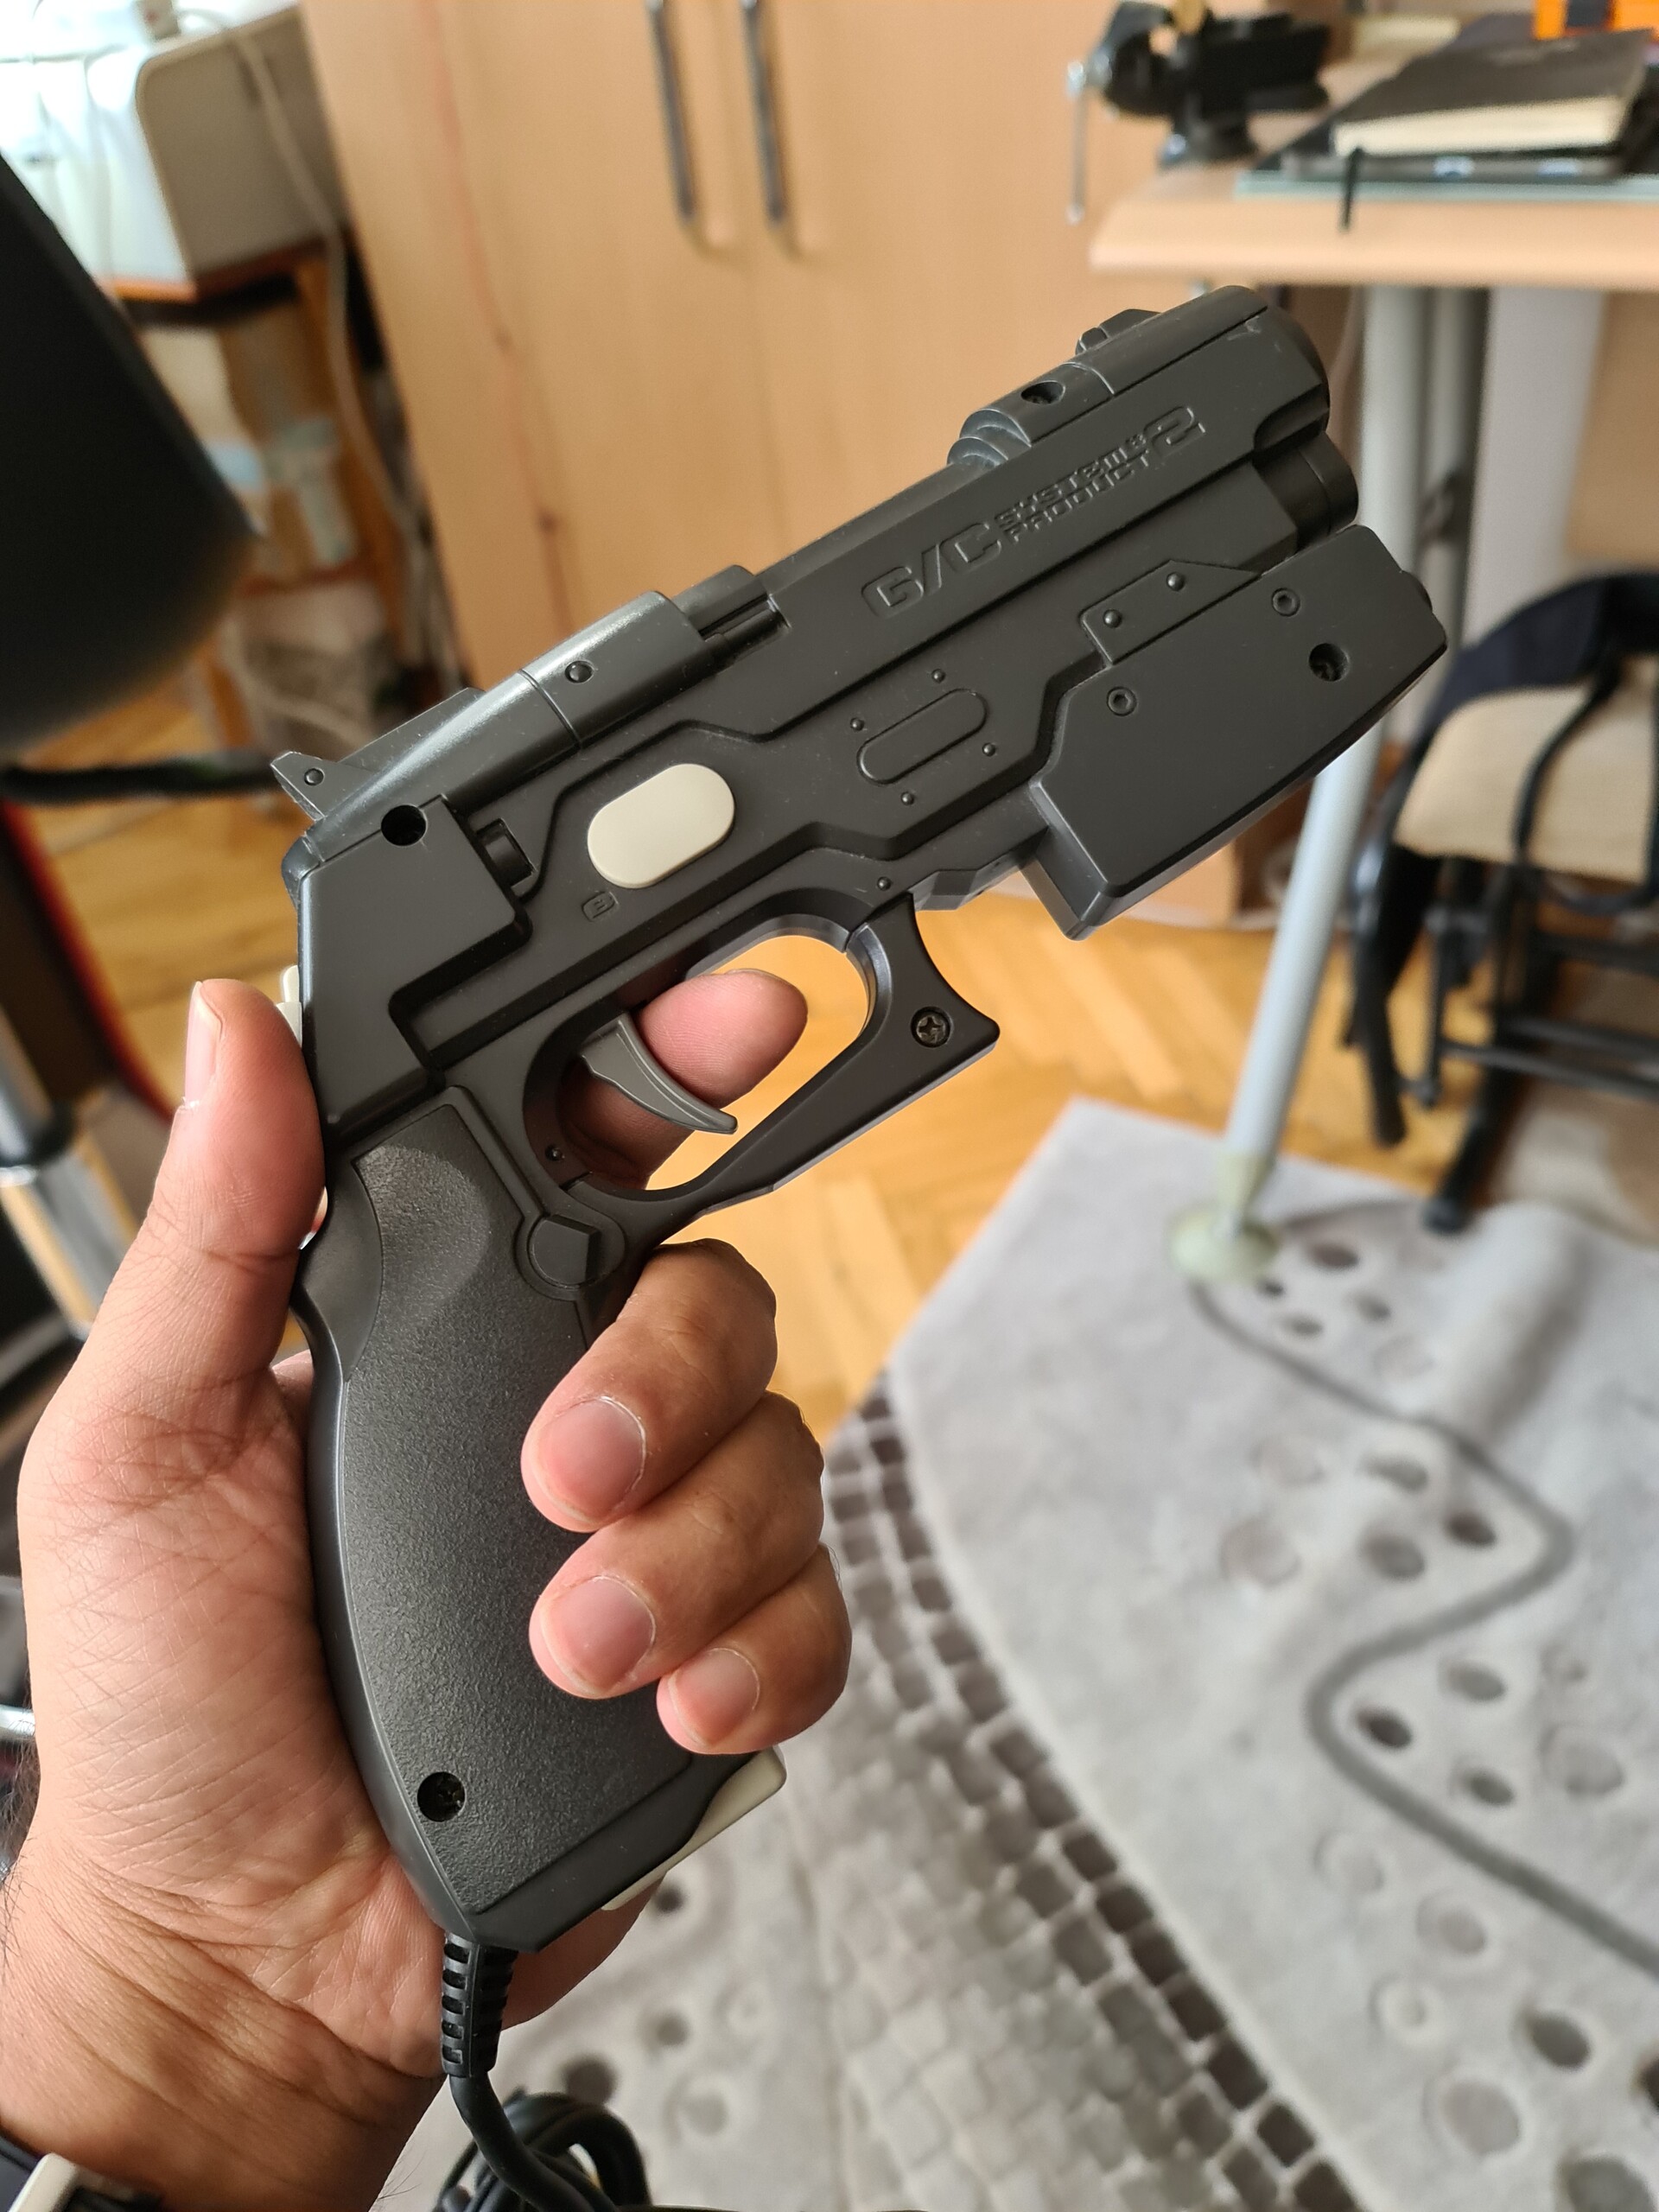
These guns are connected by both USB plug and sync connector. Otherwise they don't work.
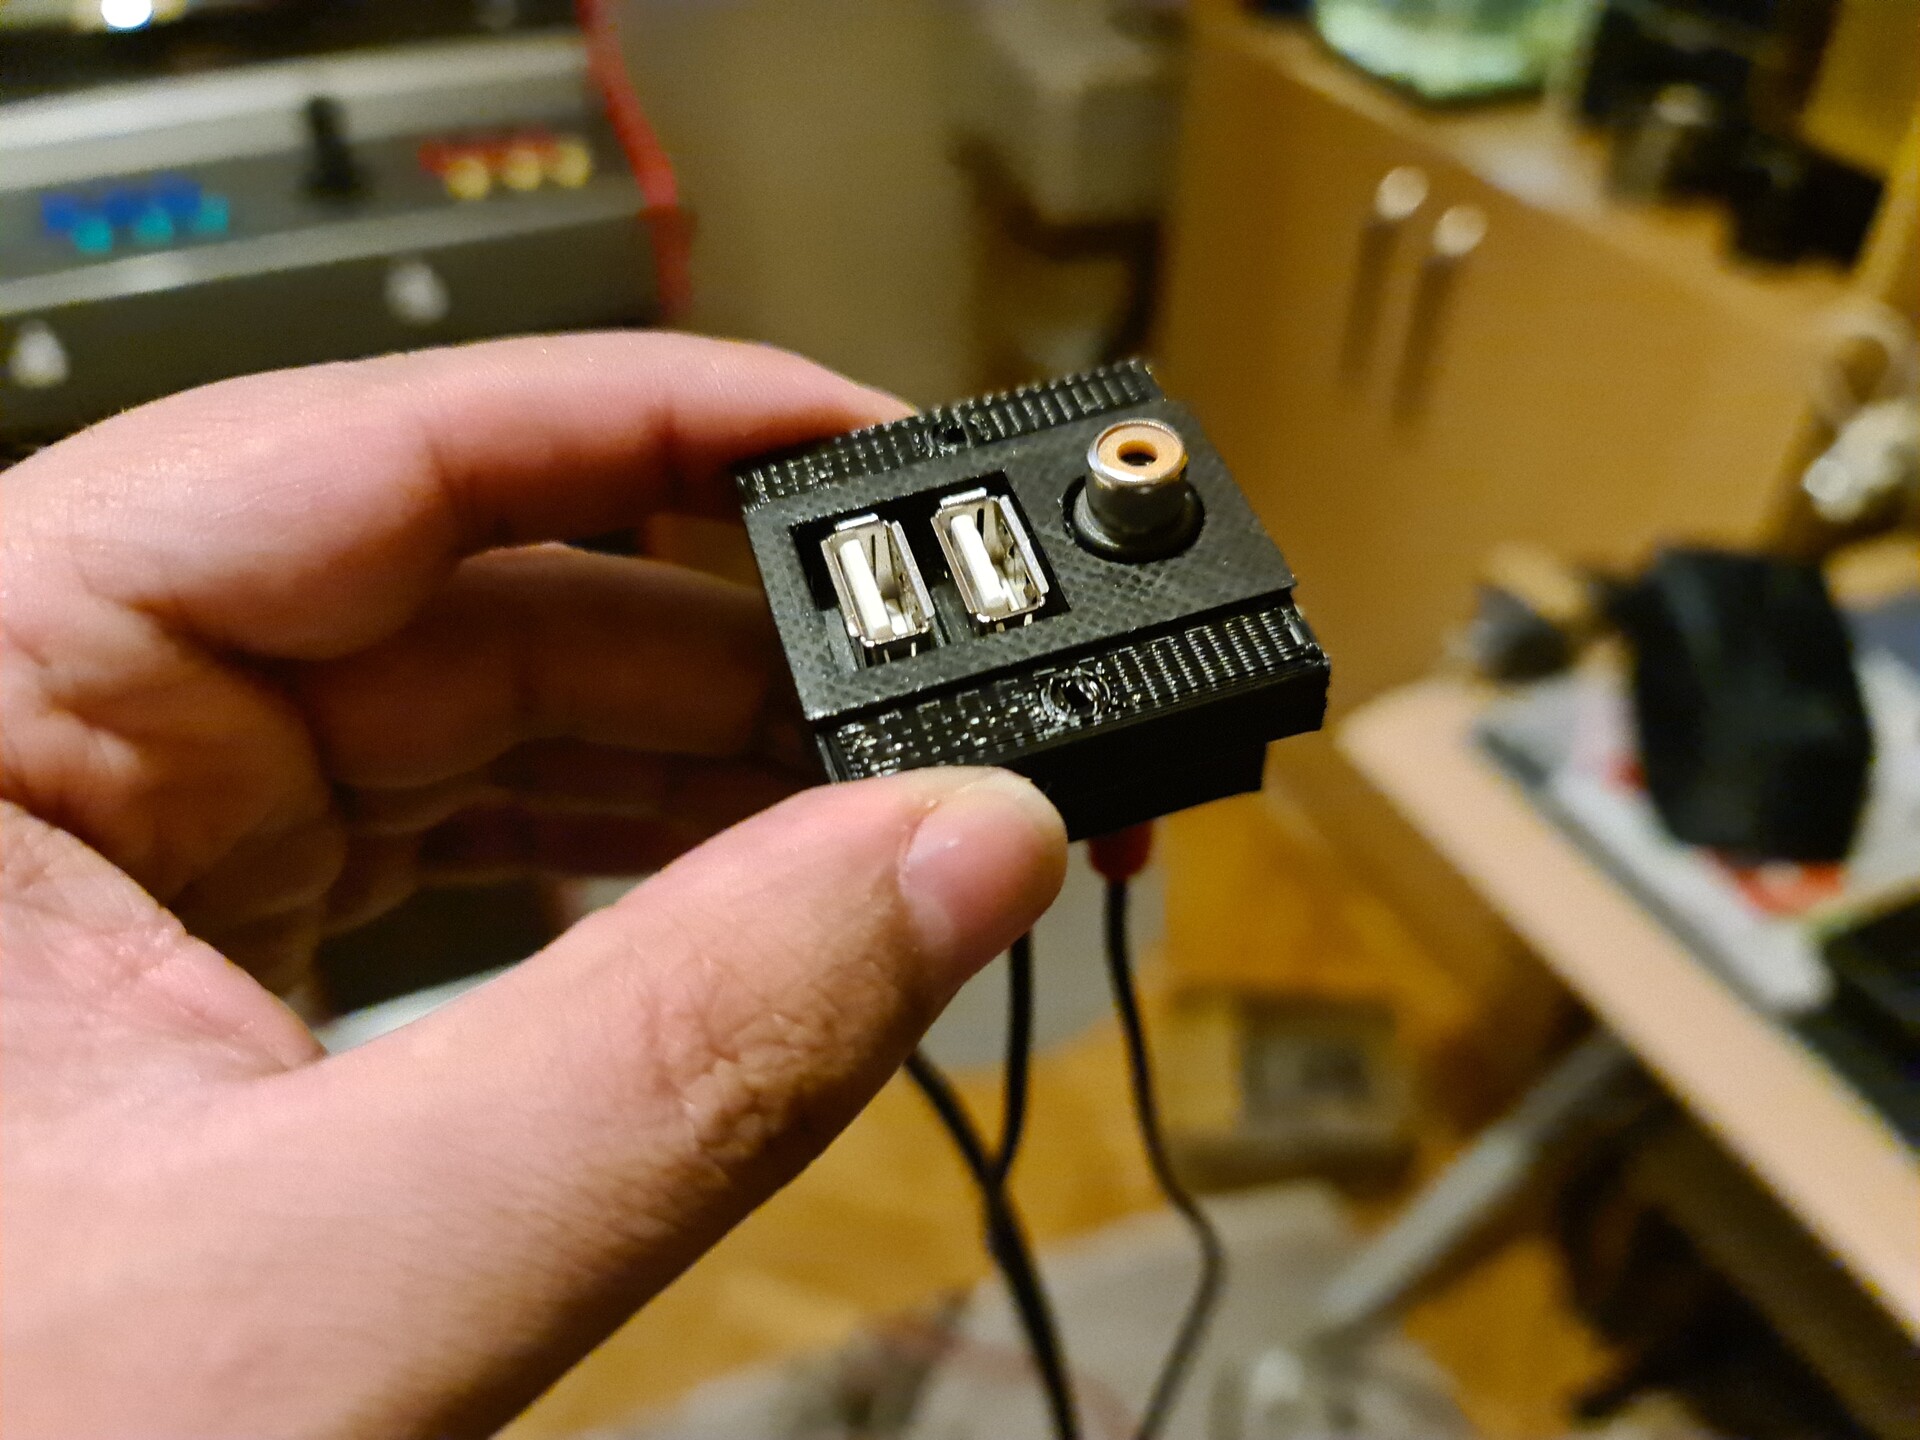
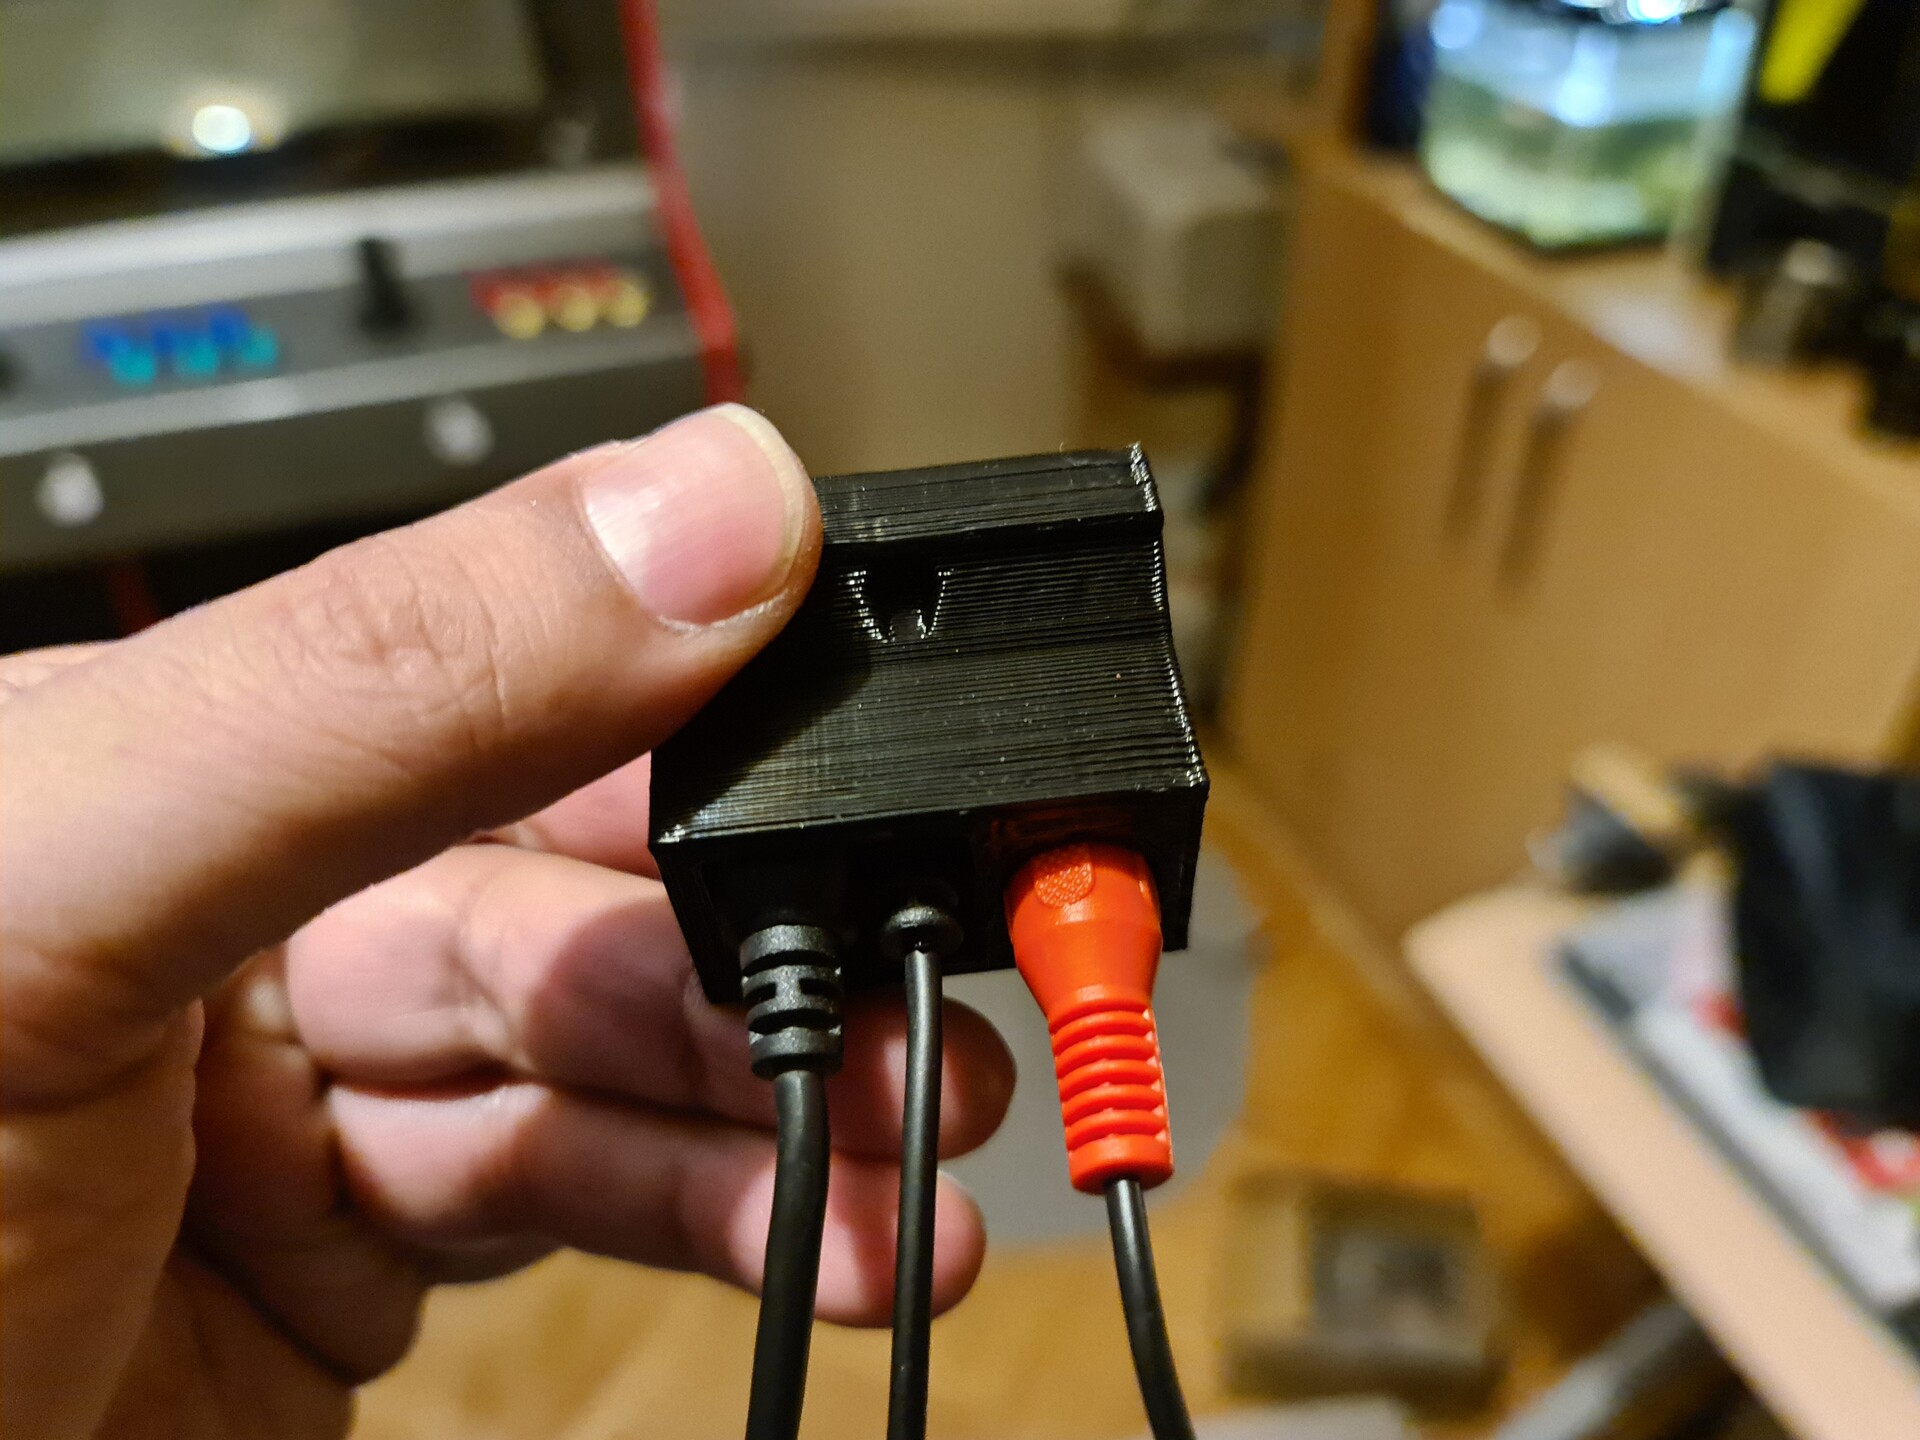
I used simple USB extenstion cables, but first, I needed to cut the front hatch of the cabinet. I drilled a hole, and used fret saw to cut the panel.
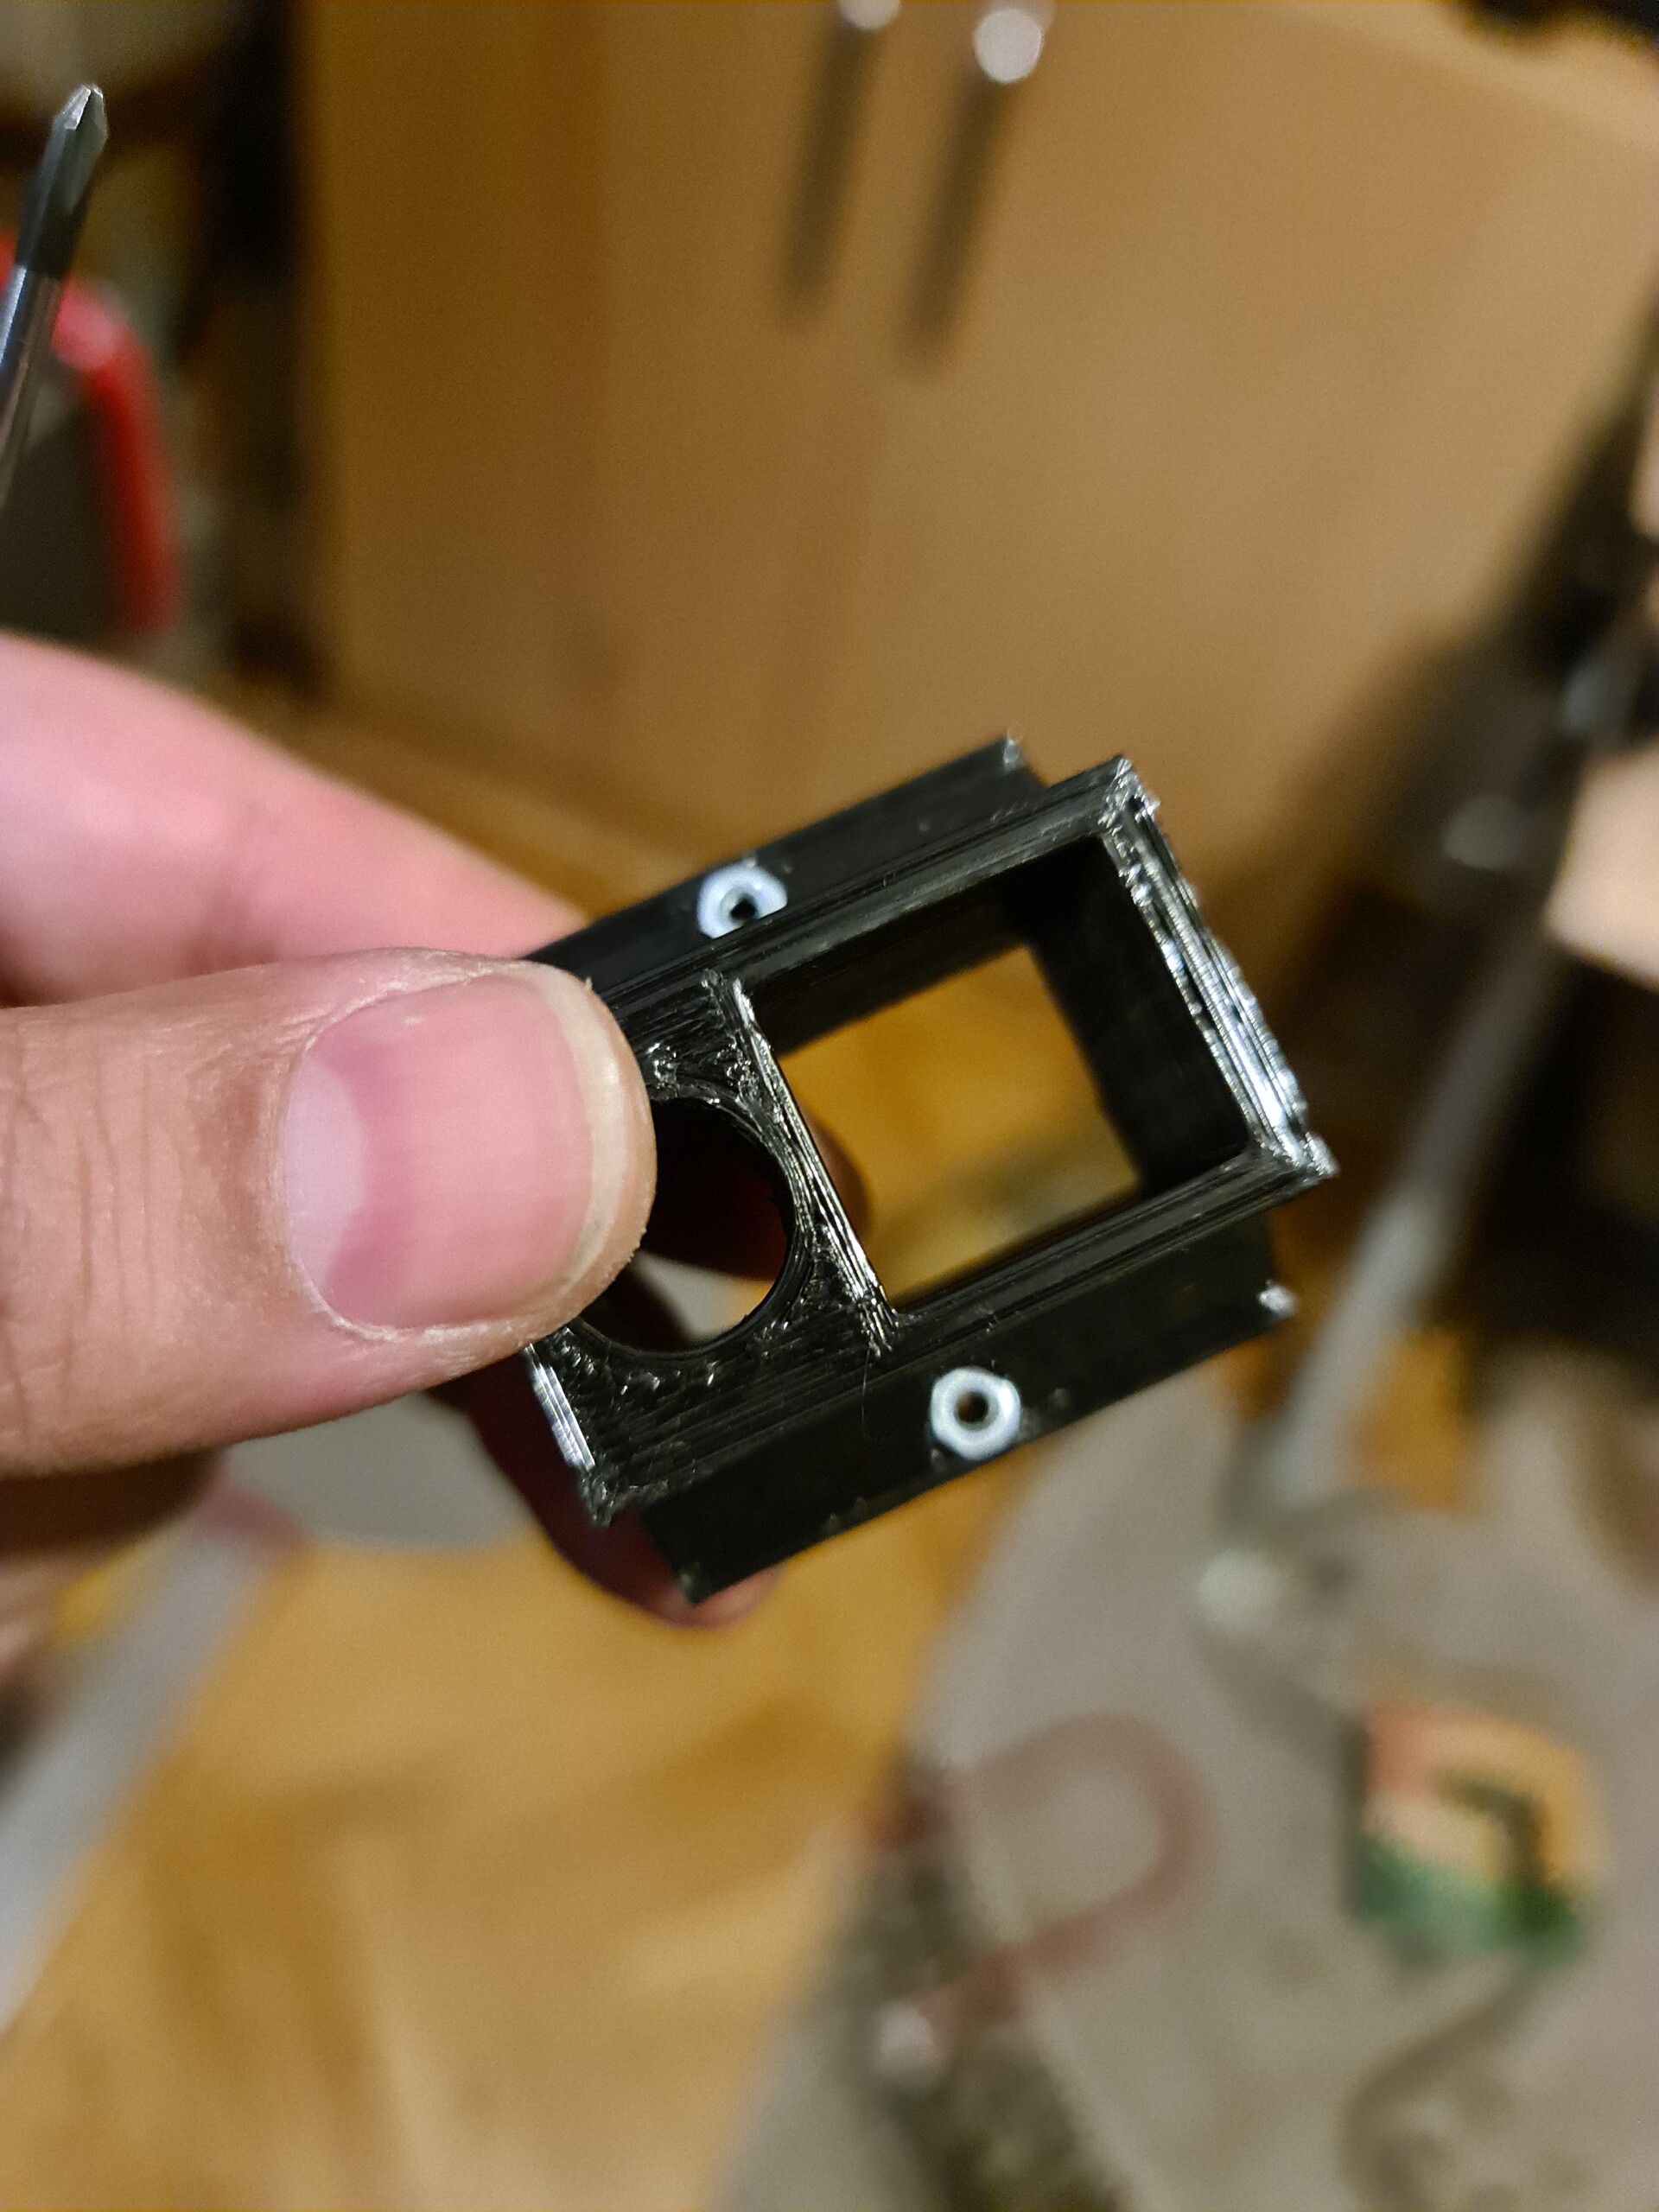
I designed a little part to hold the ports and 3D printed it.

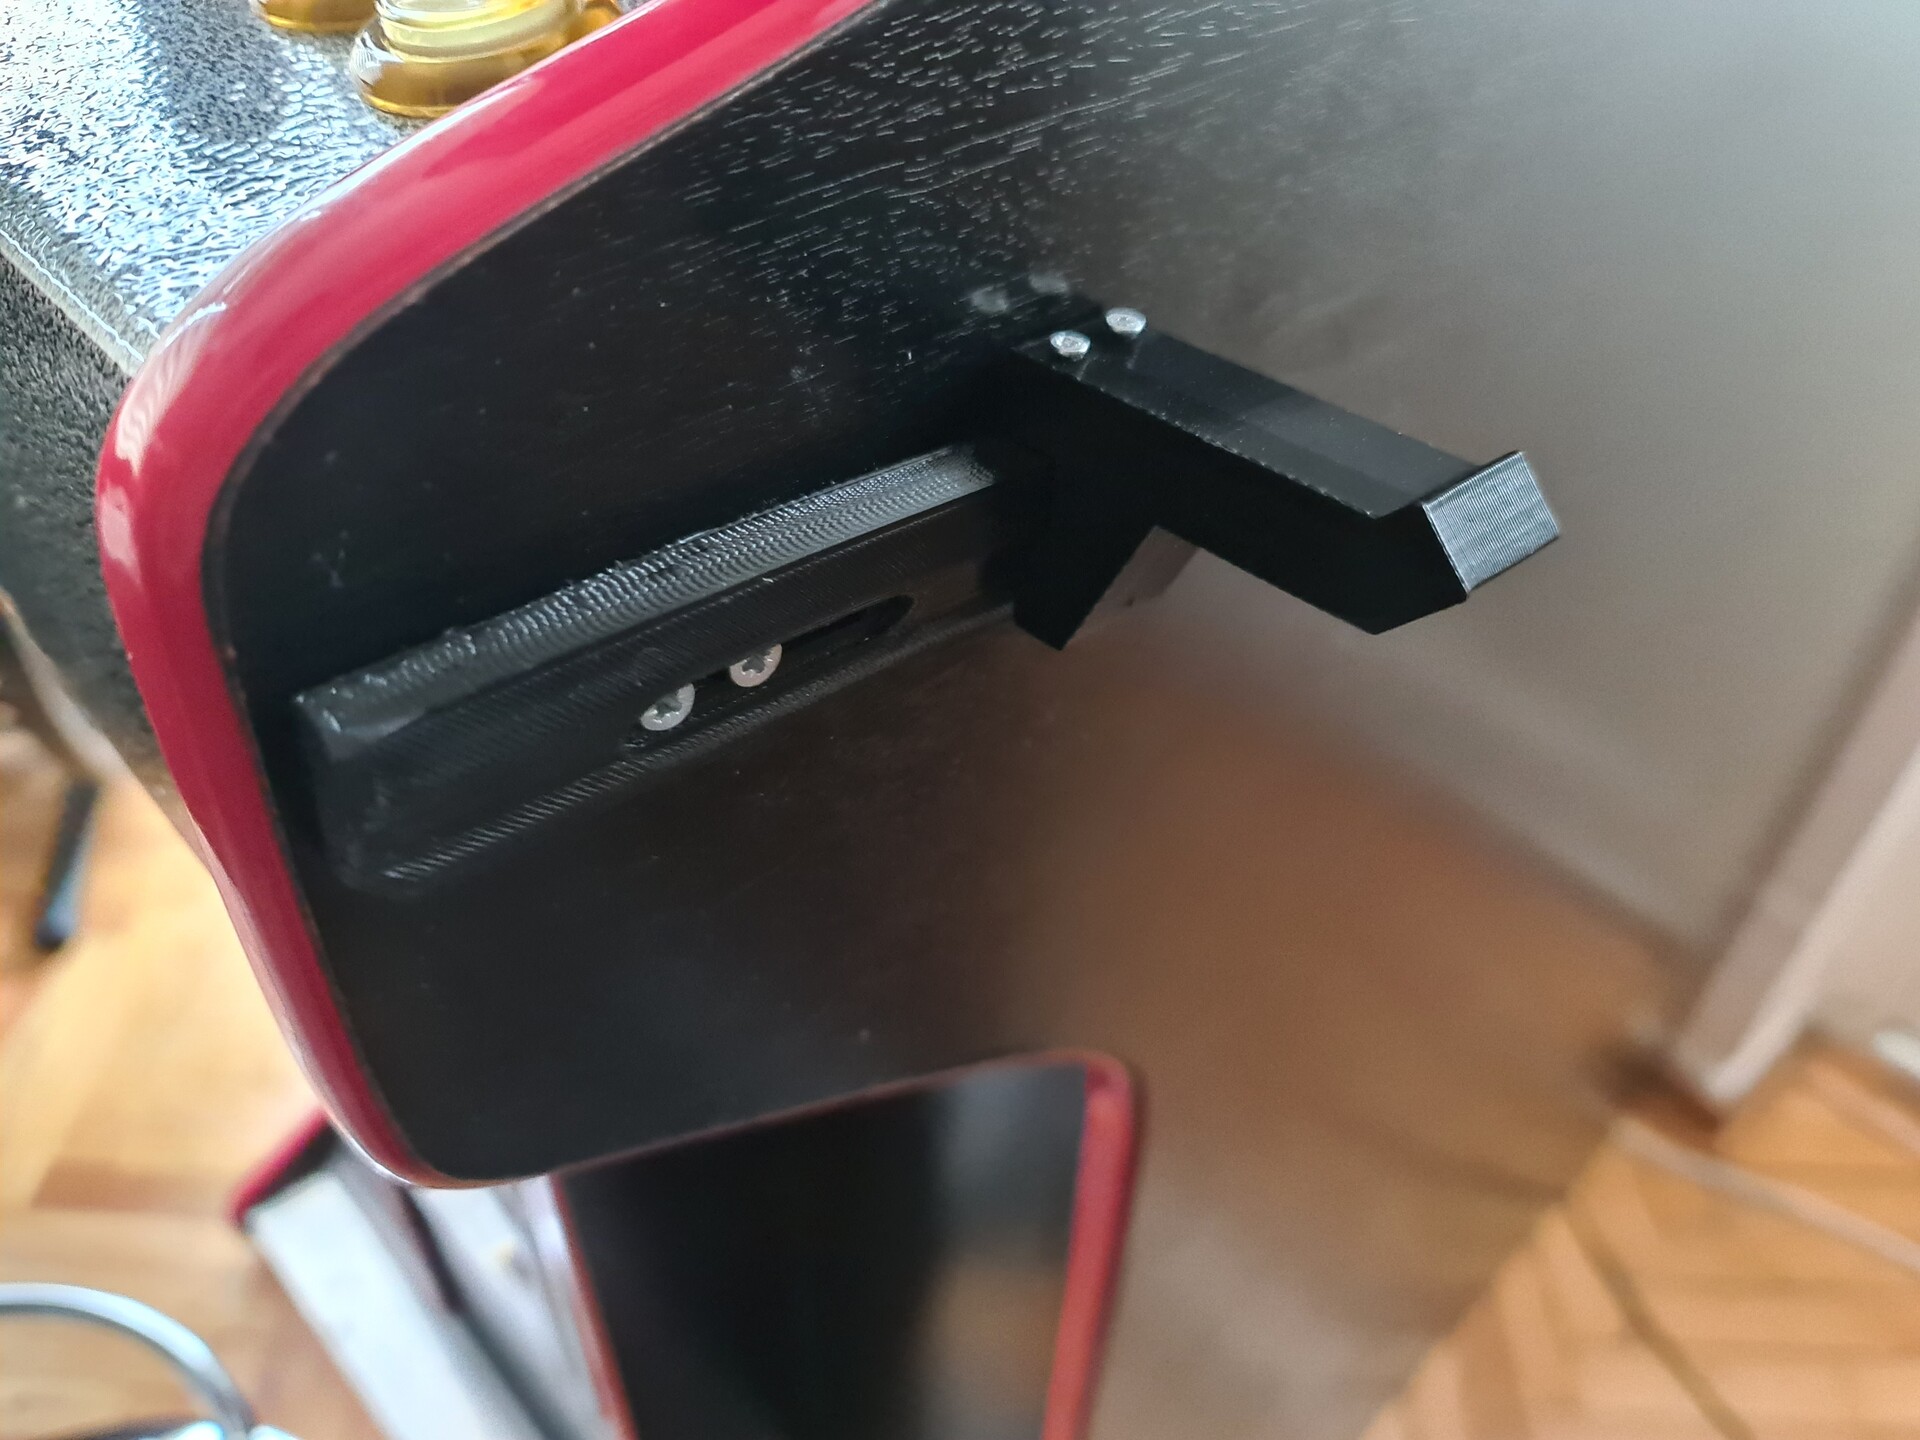
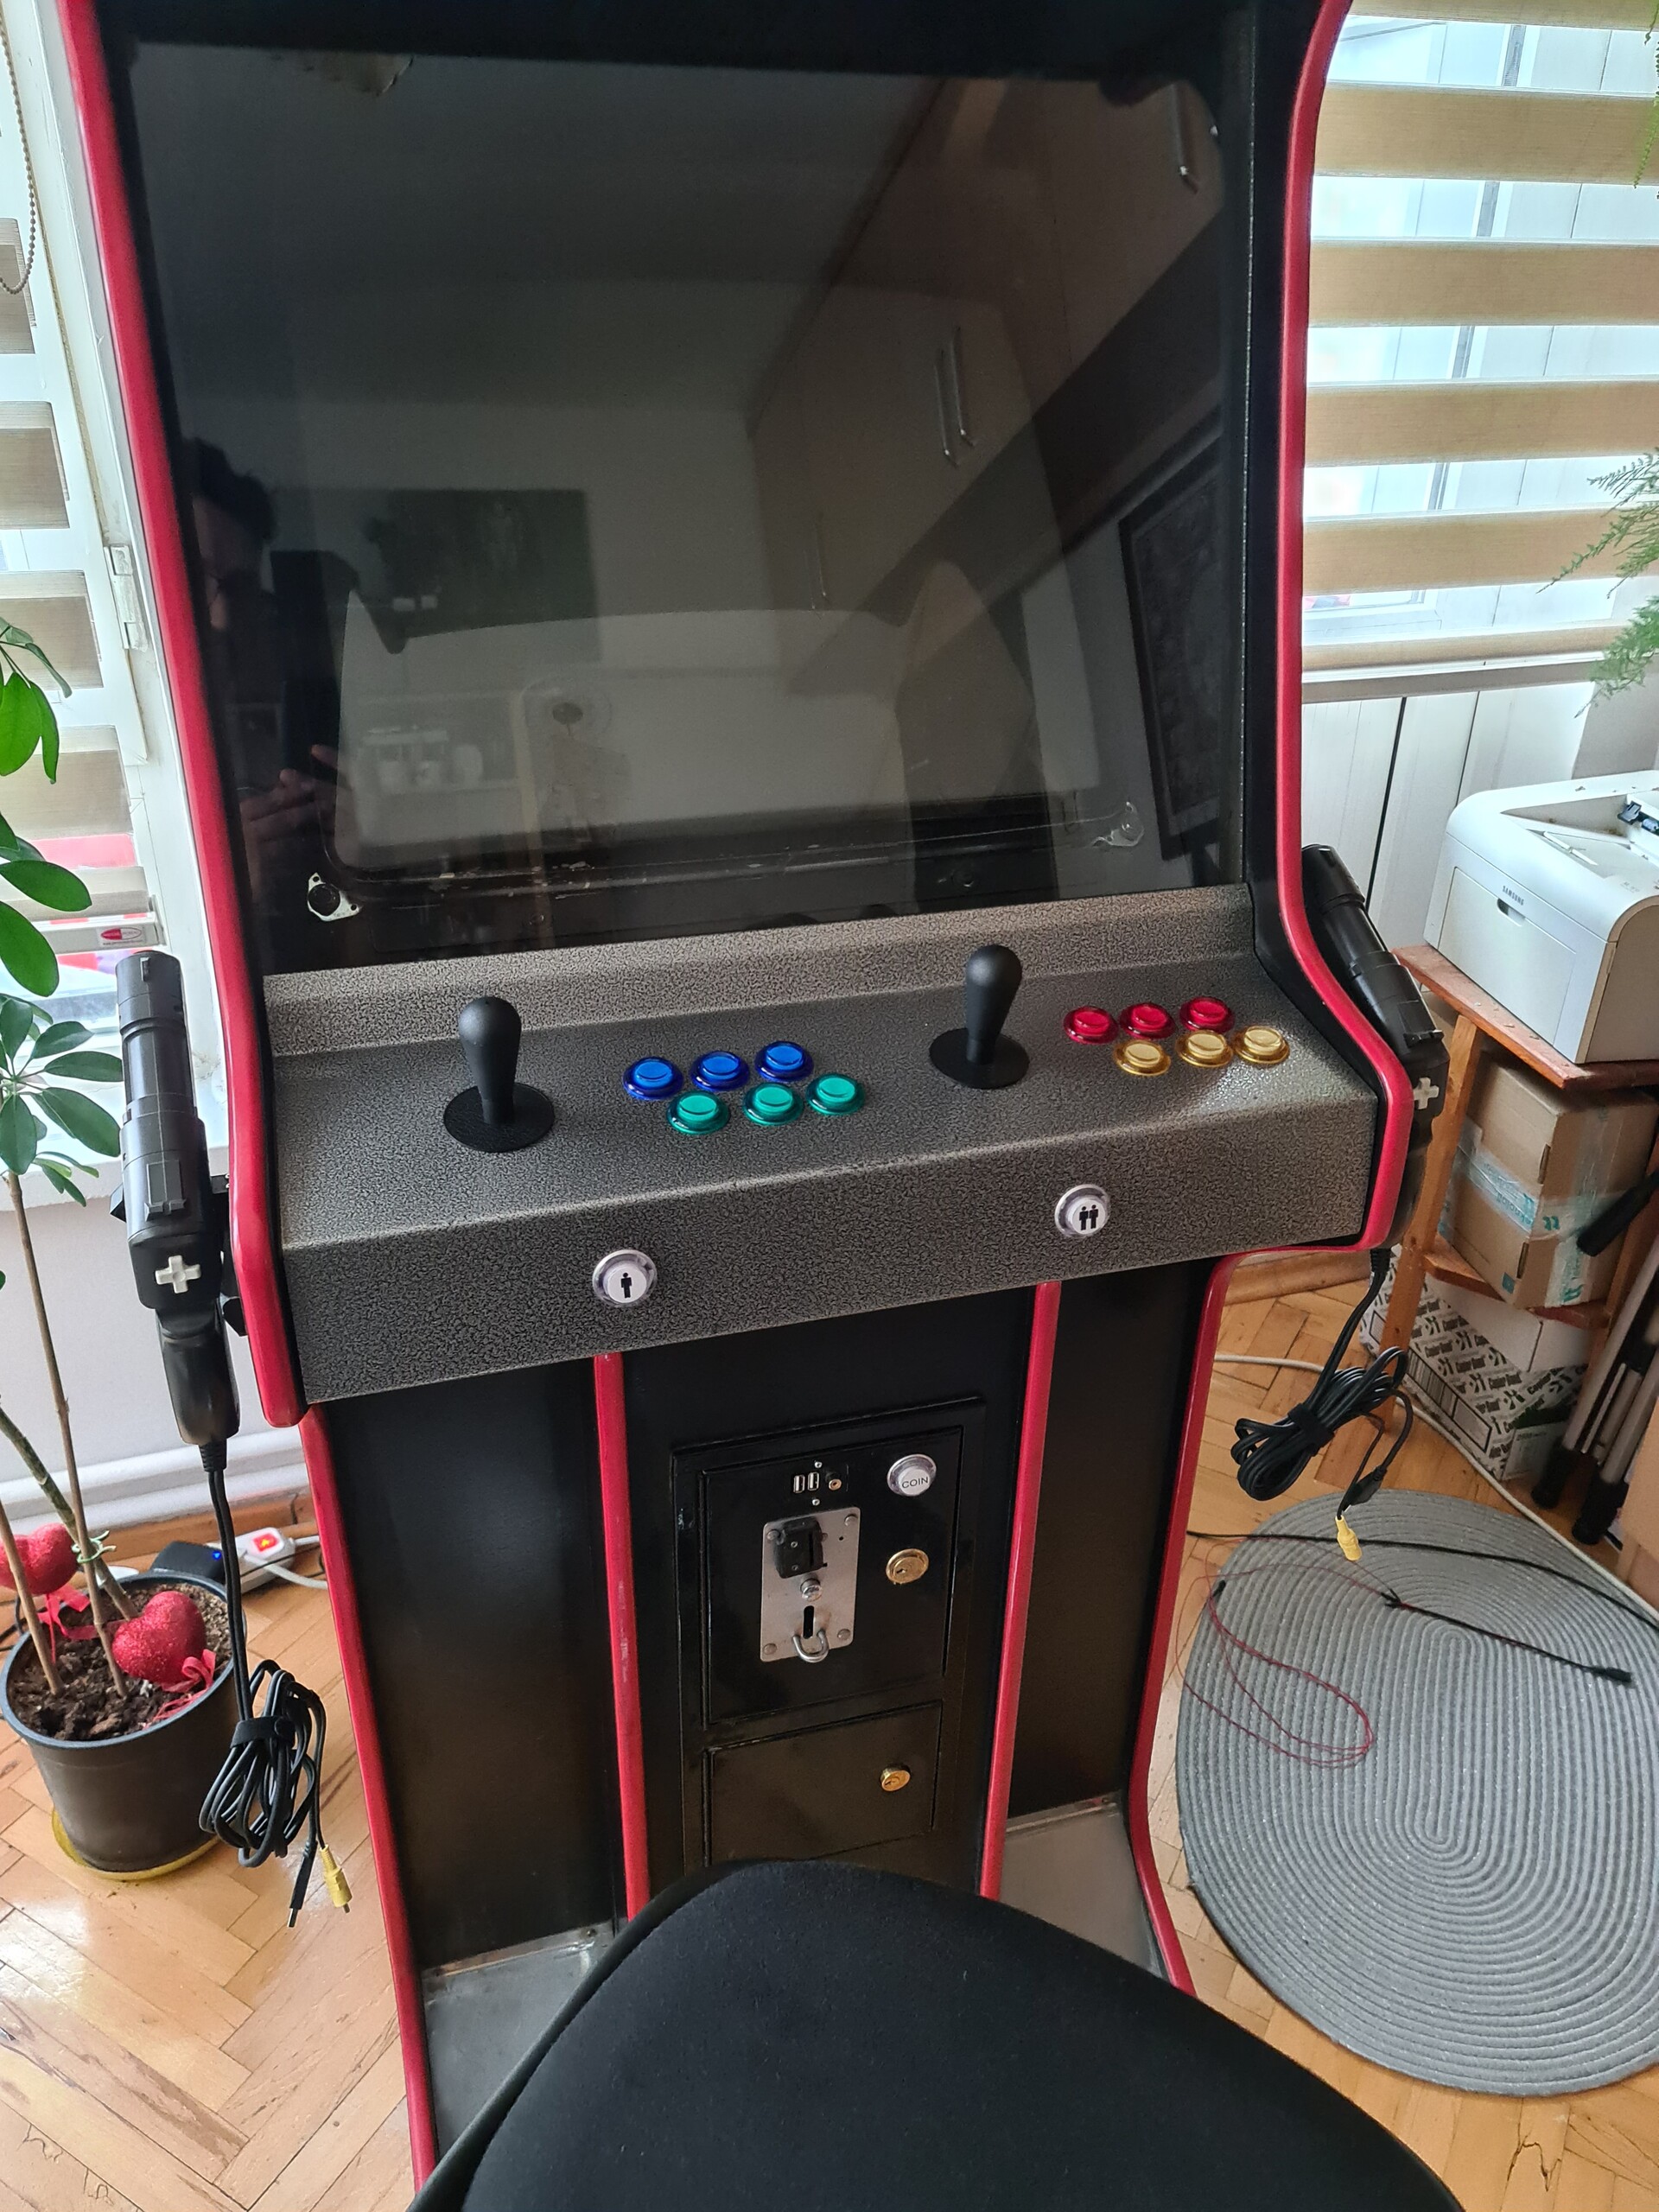
I also 3d-printed some hangers to put the guns on the cabinet. Later on I removed them but it was looking not bad :)

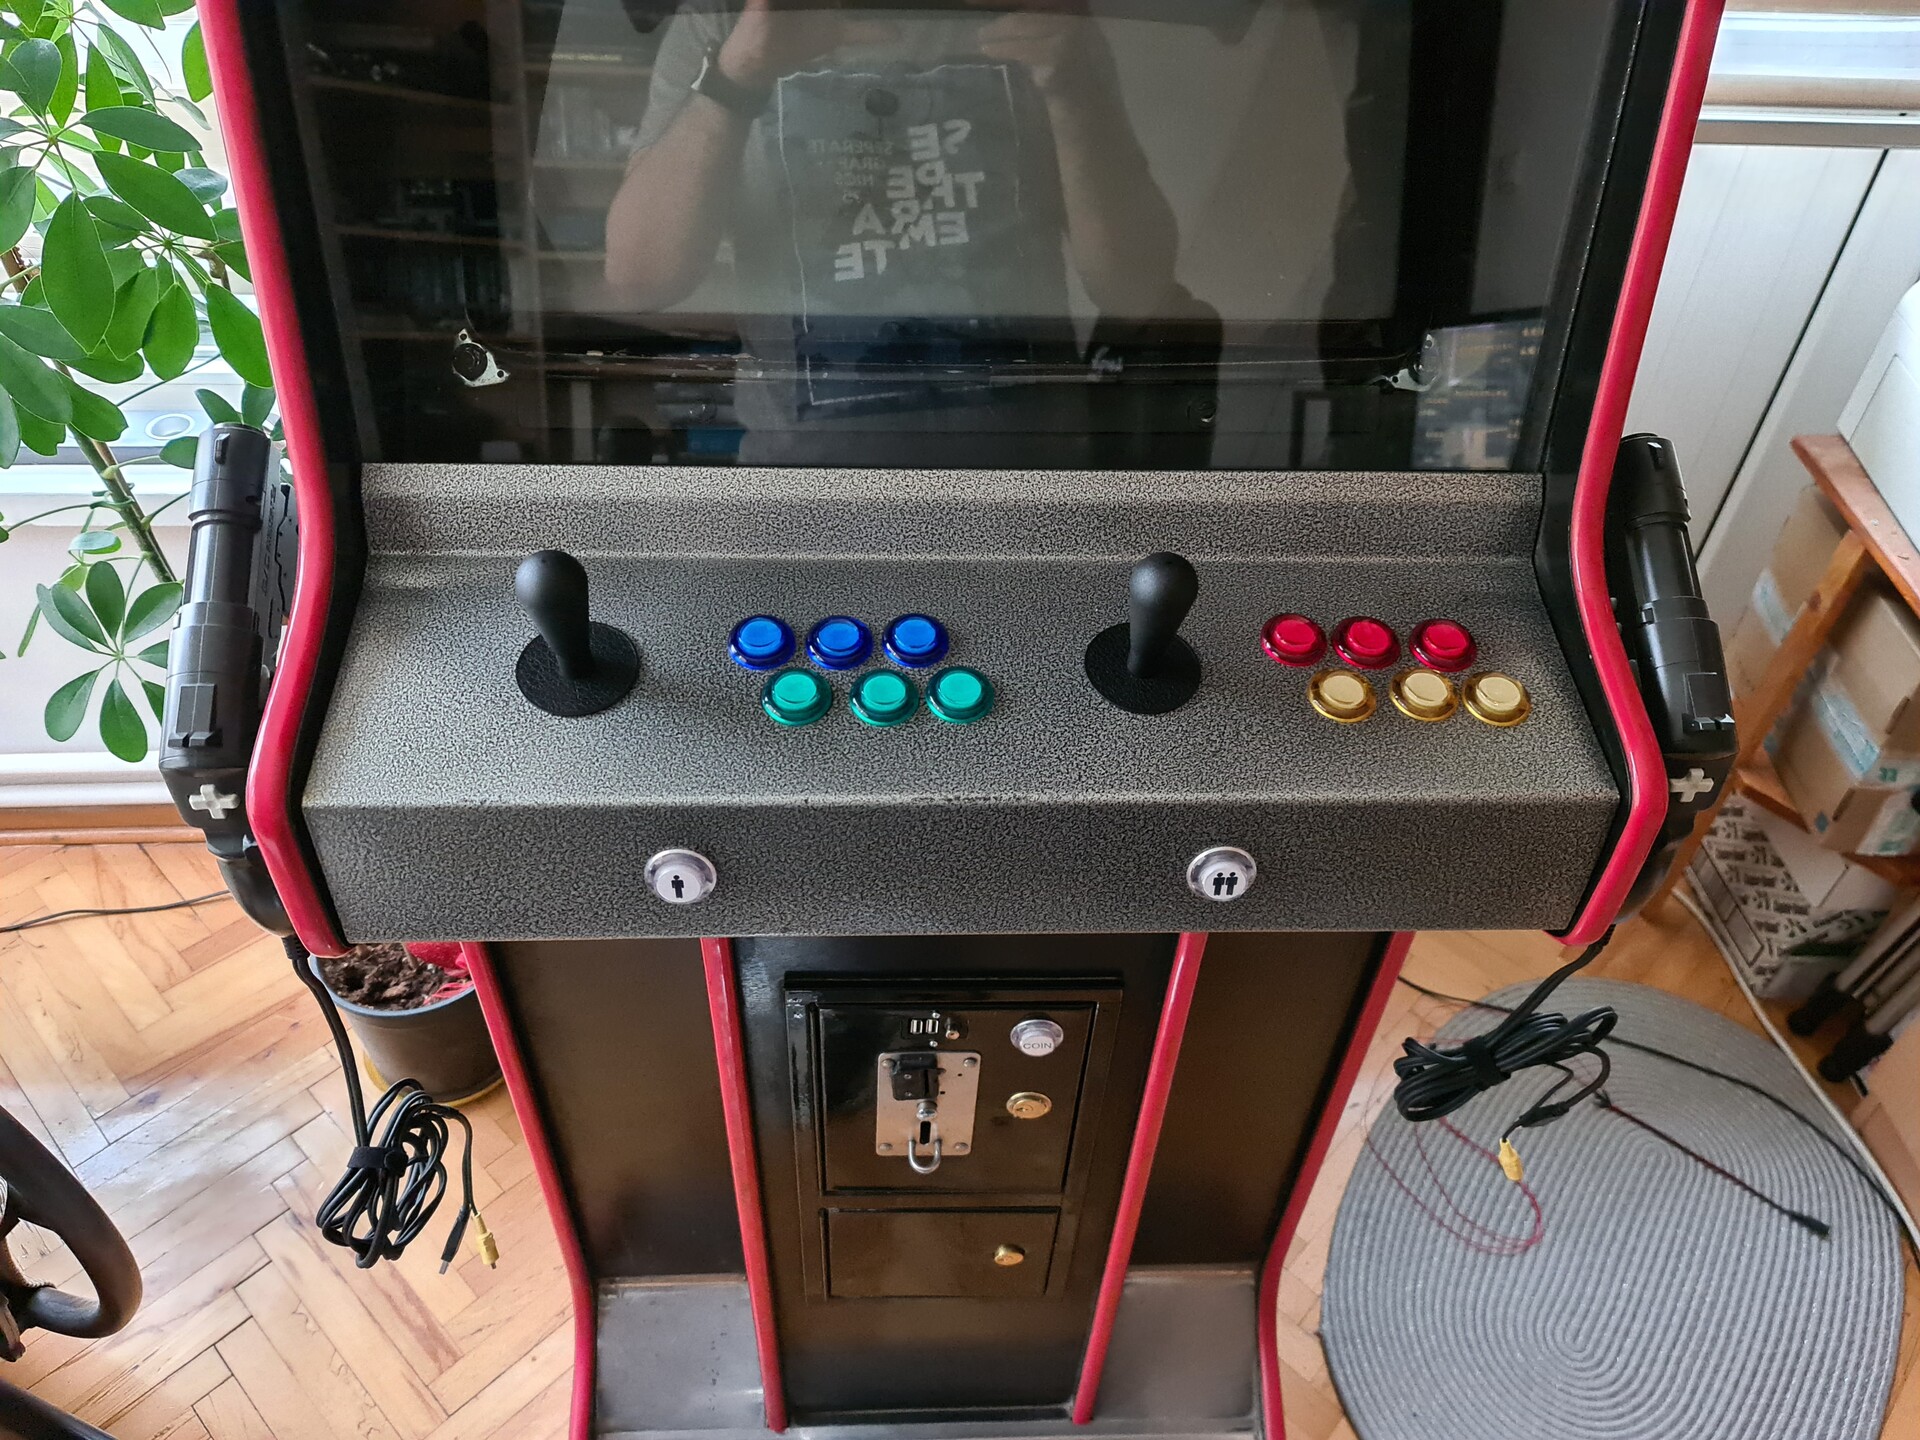
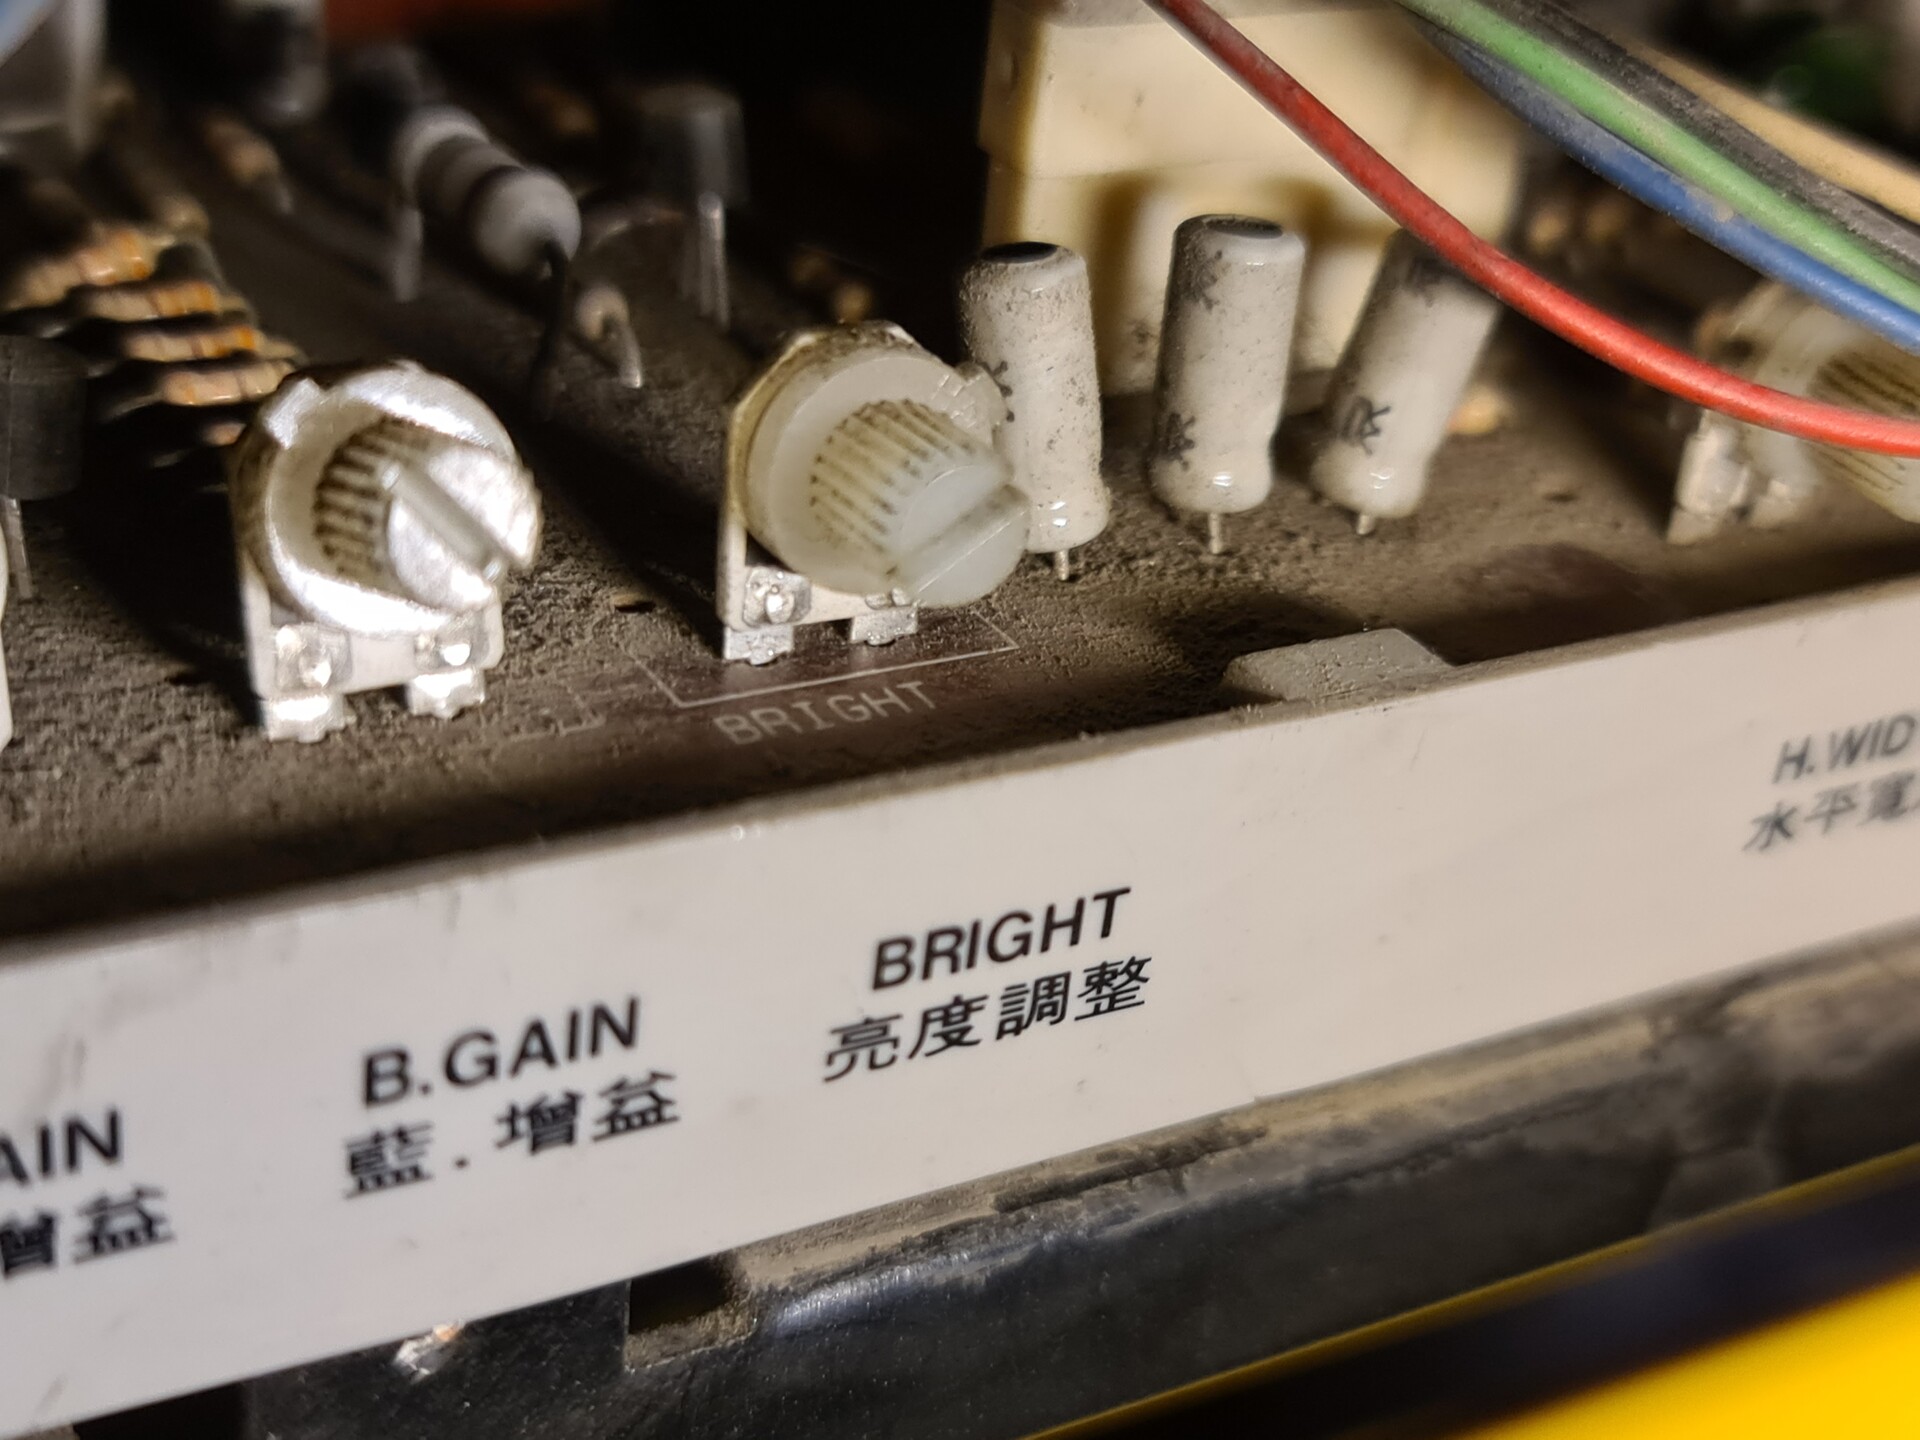
Now I'm able to play with the light guns but other important thing for that guns is they need high brightness on the screen. But that high brightness is not good for other games because this way screen lacks of good contrast and saturation. So, I needed a potentiometer to control the screen brightness easily without accessing the back door of the cabinet each time.
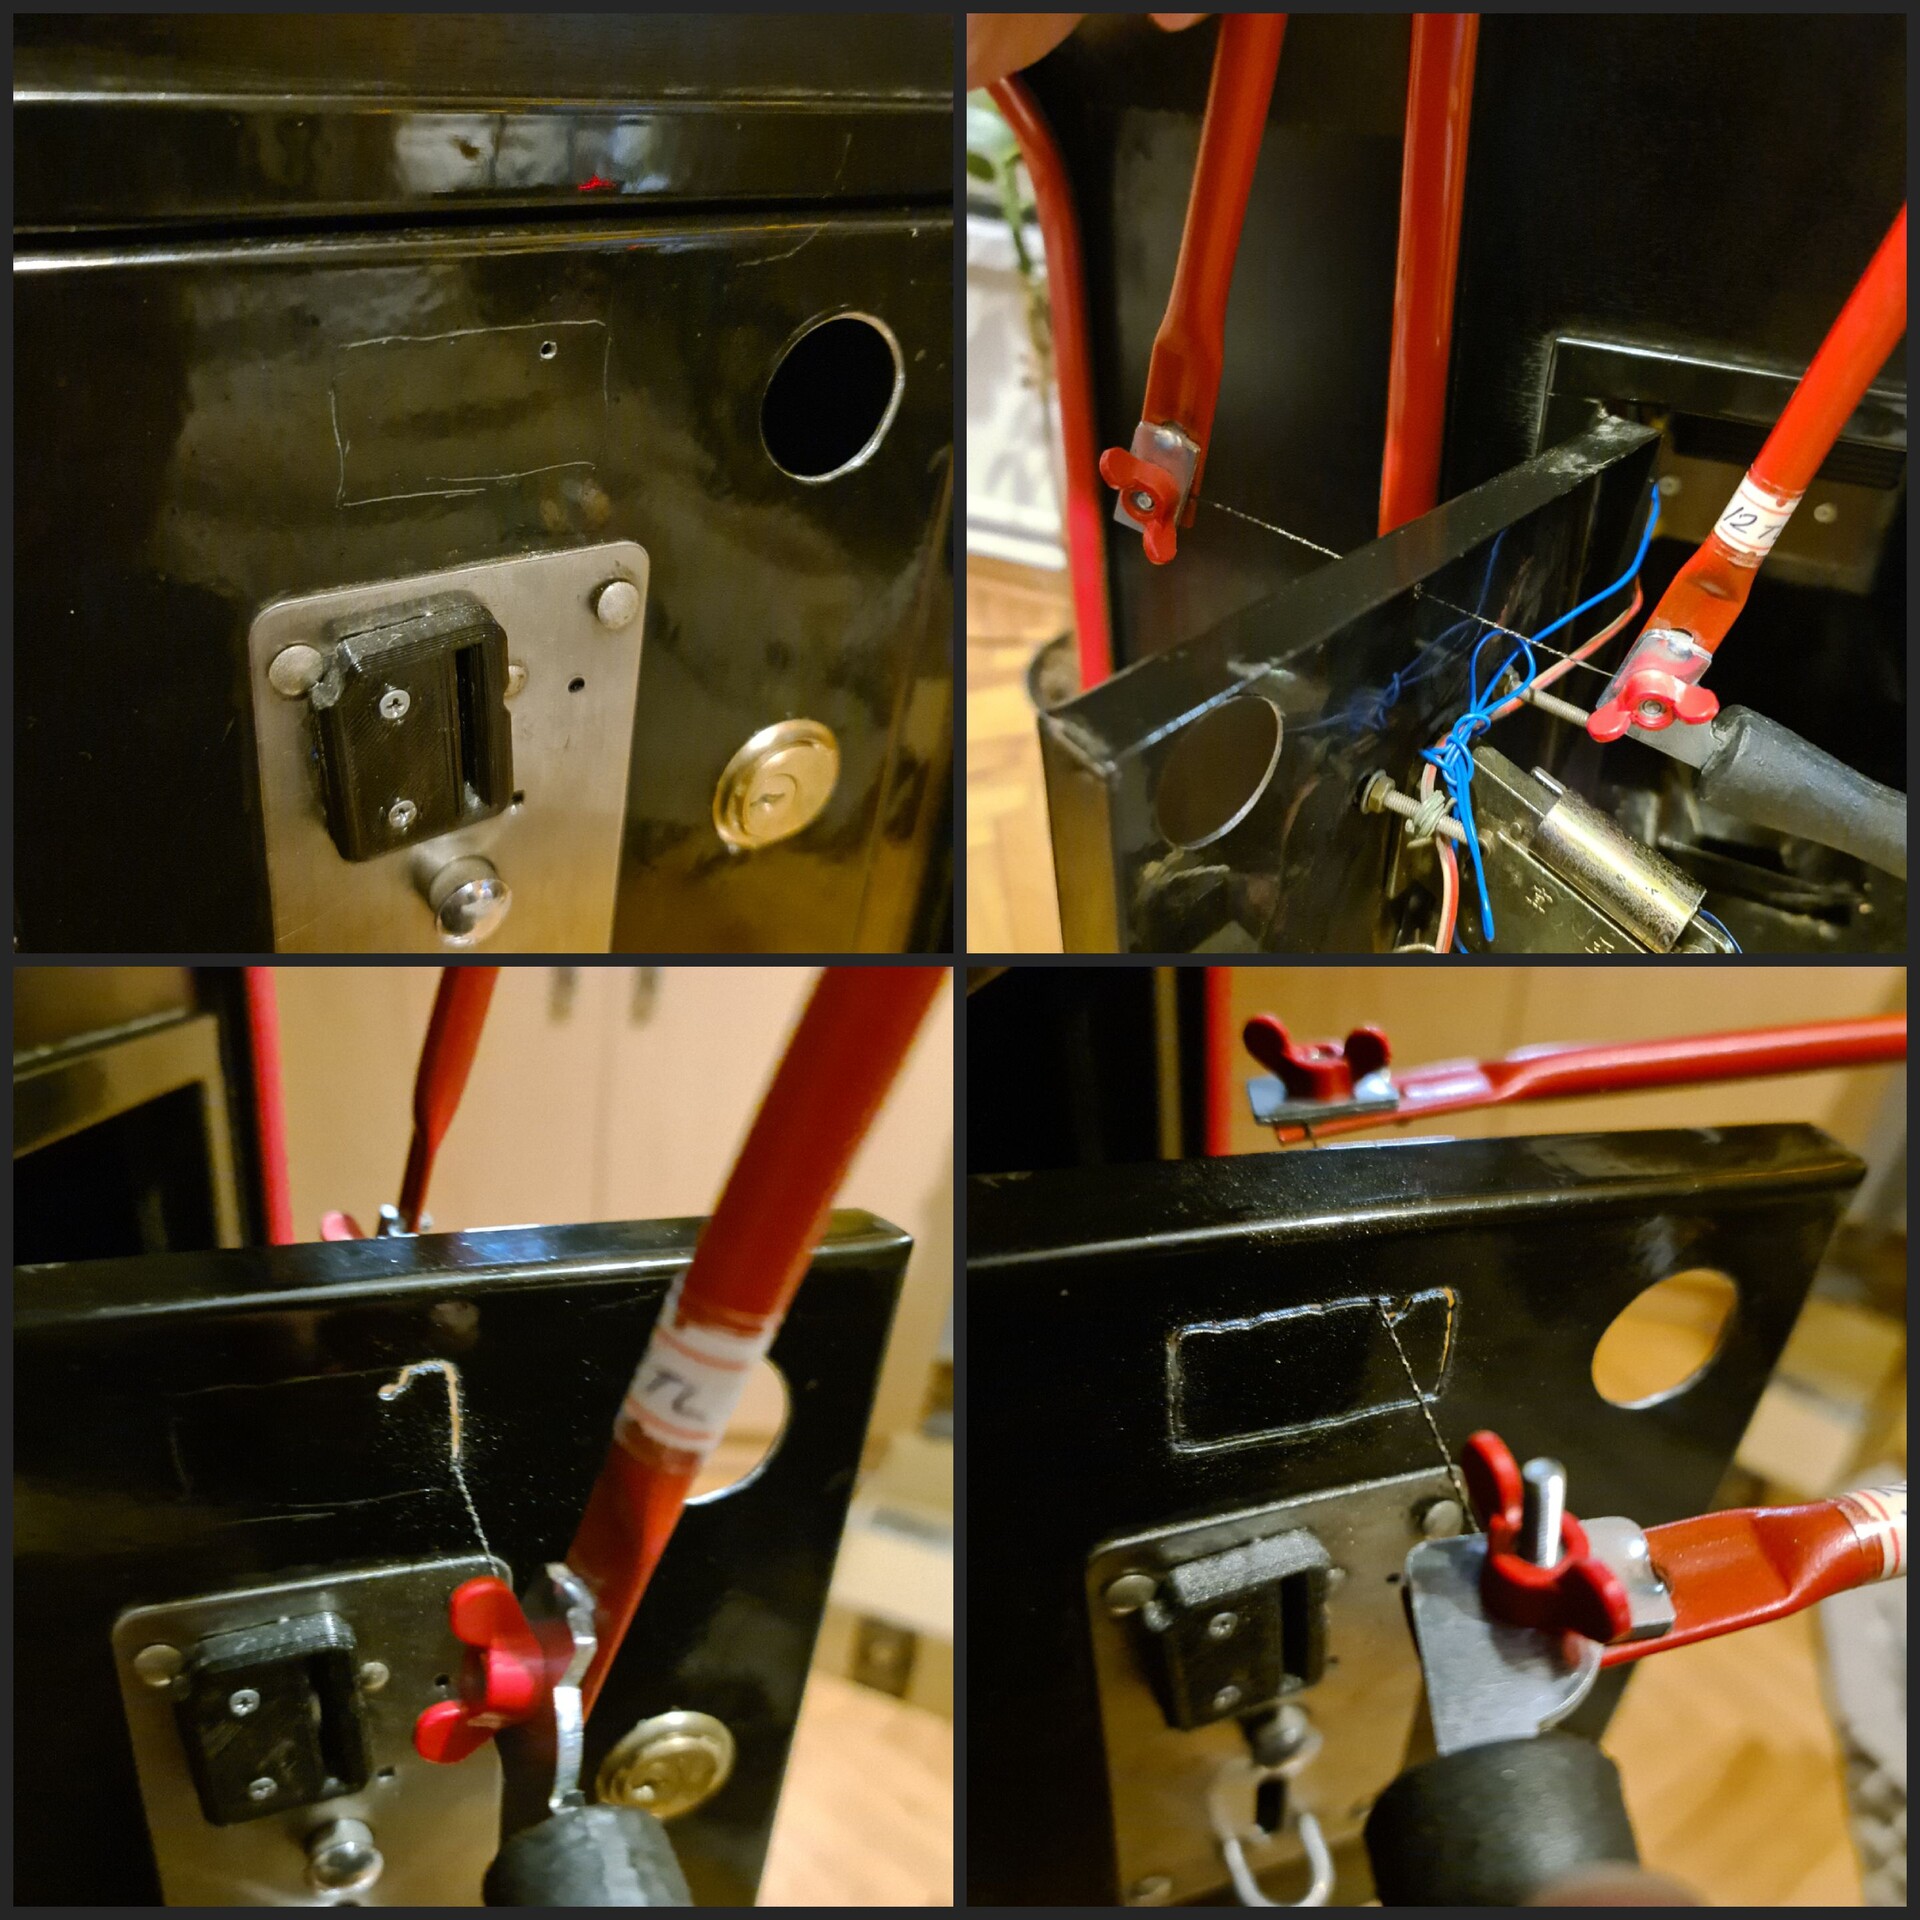
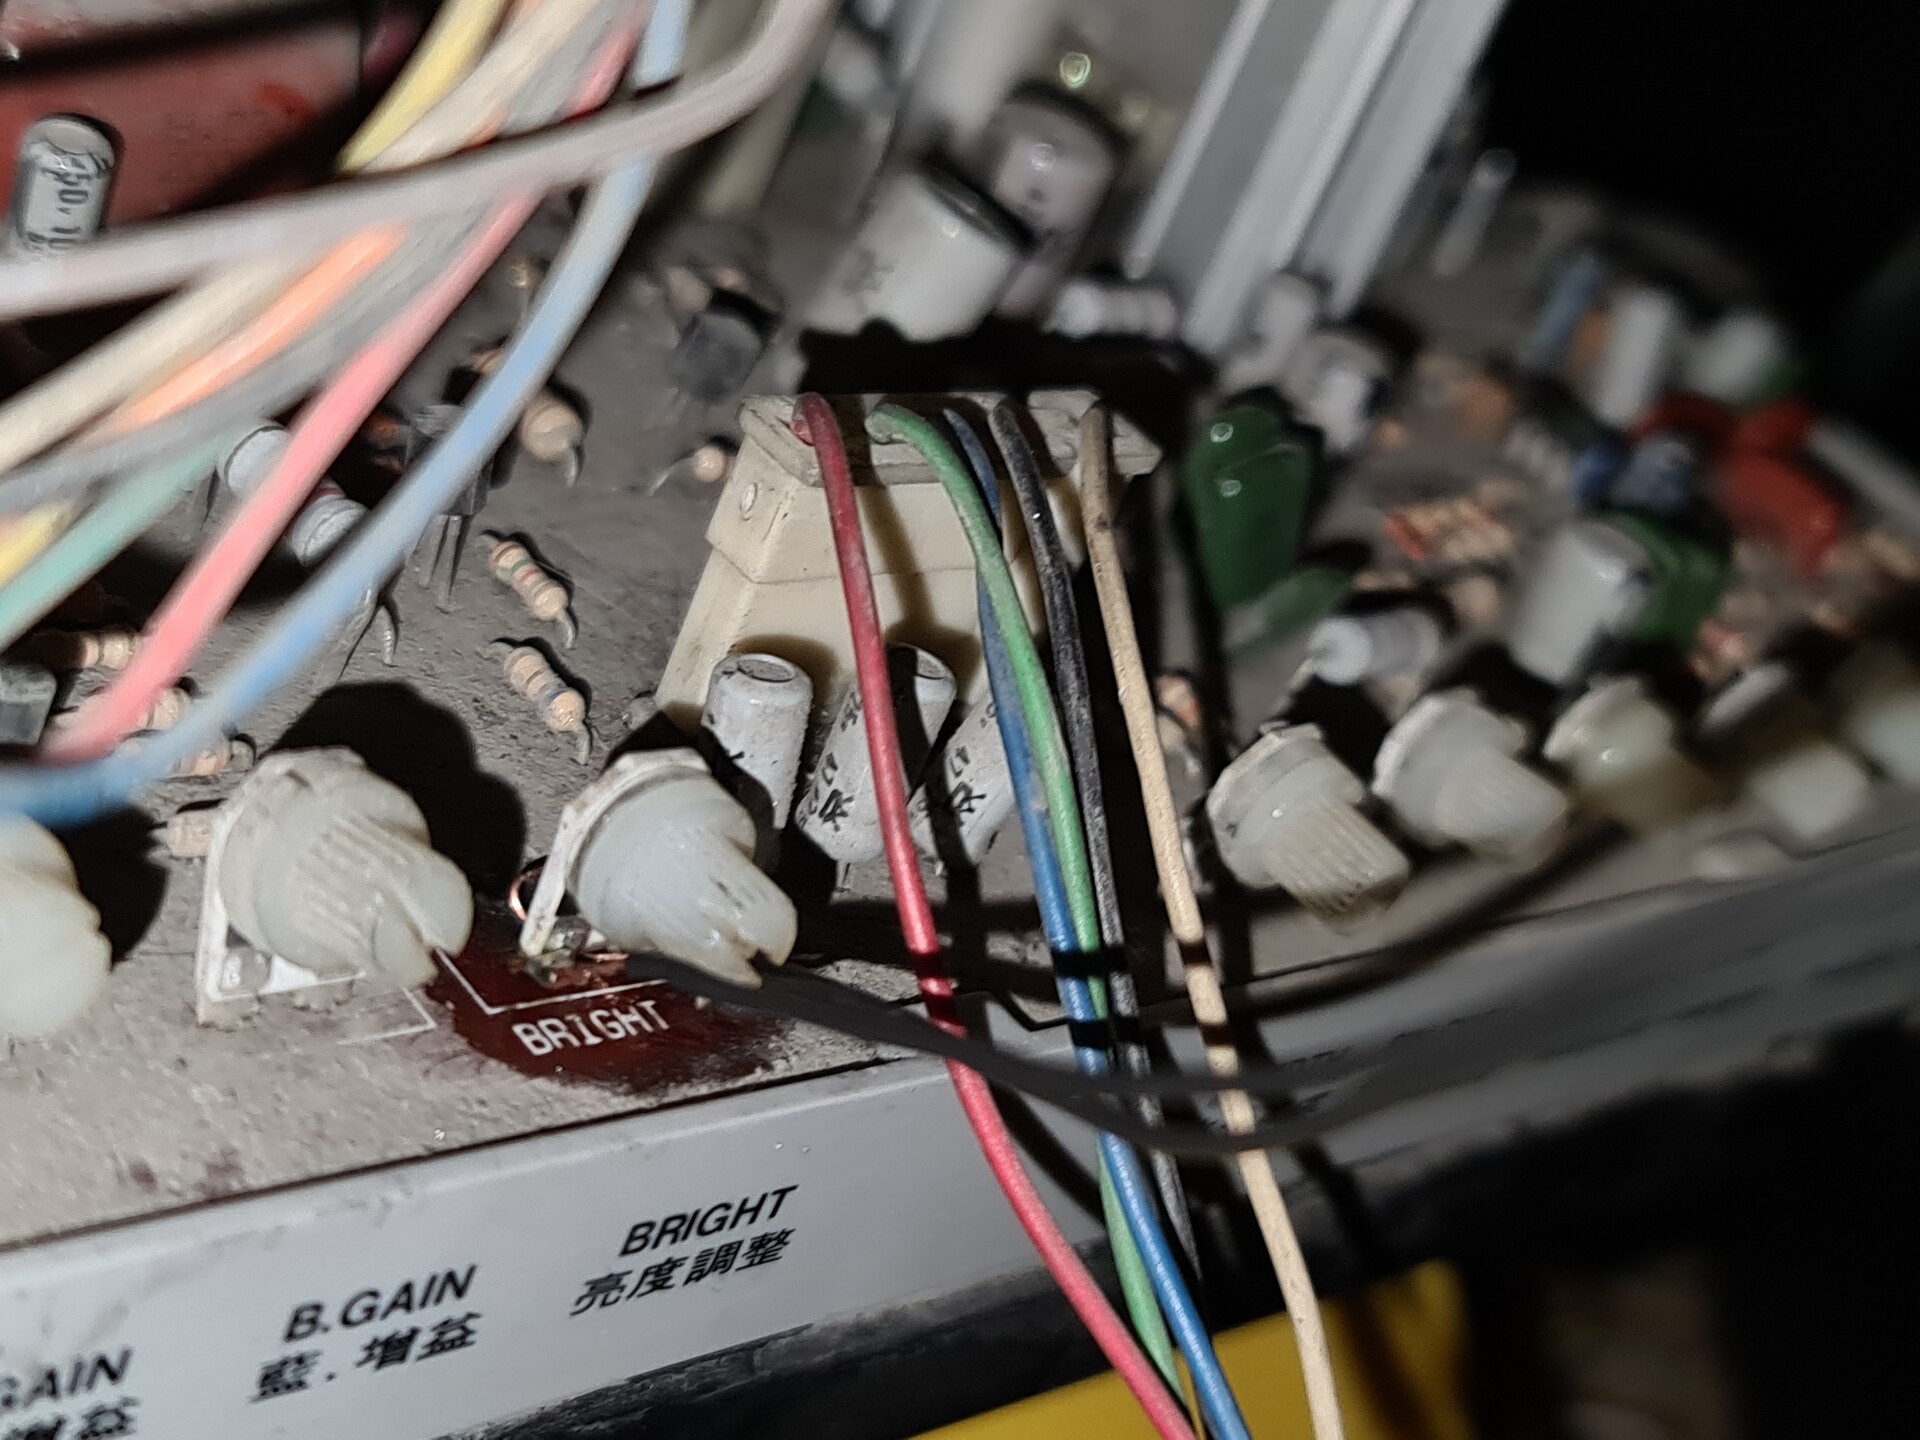
So I soldered a paralled connection to the existing potentiometer of the screen controller board inside the cabinet and soldered a potentiometer to that cable. And fixed the new potentiometer to the back of the cabinet for easy access.
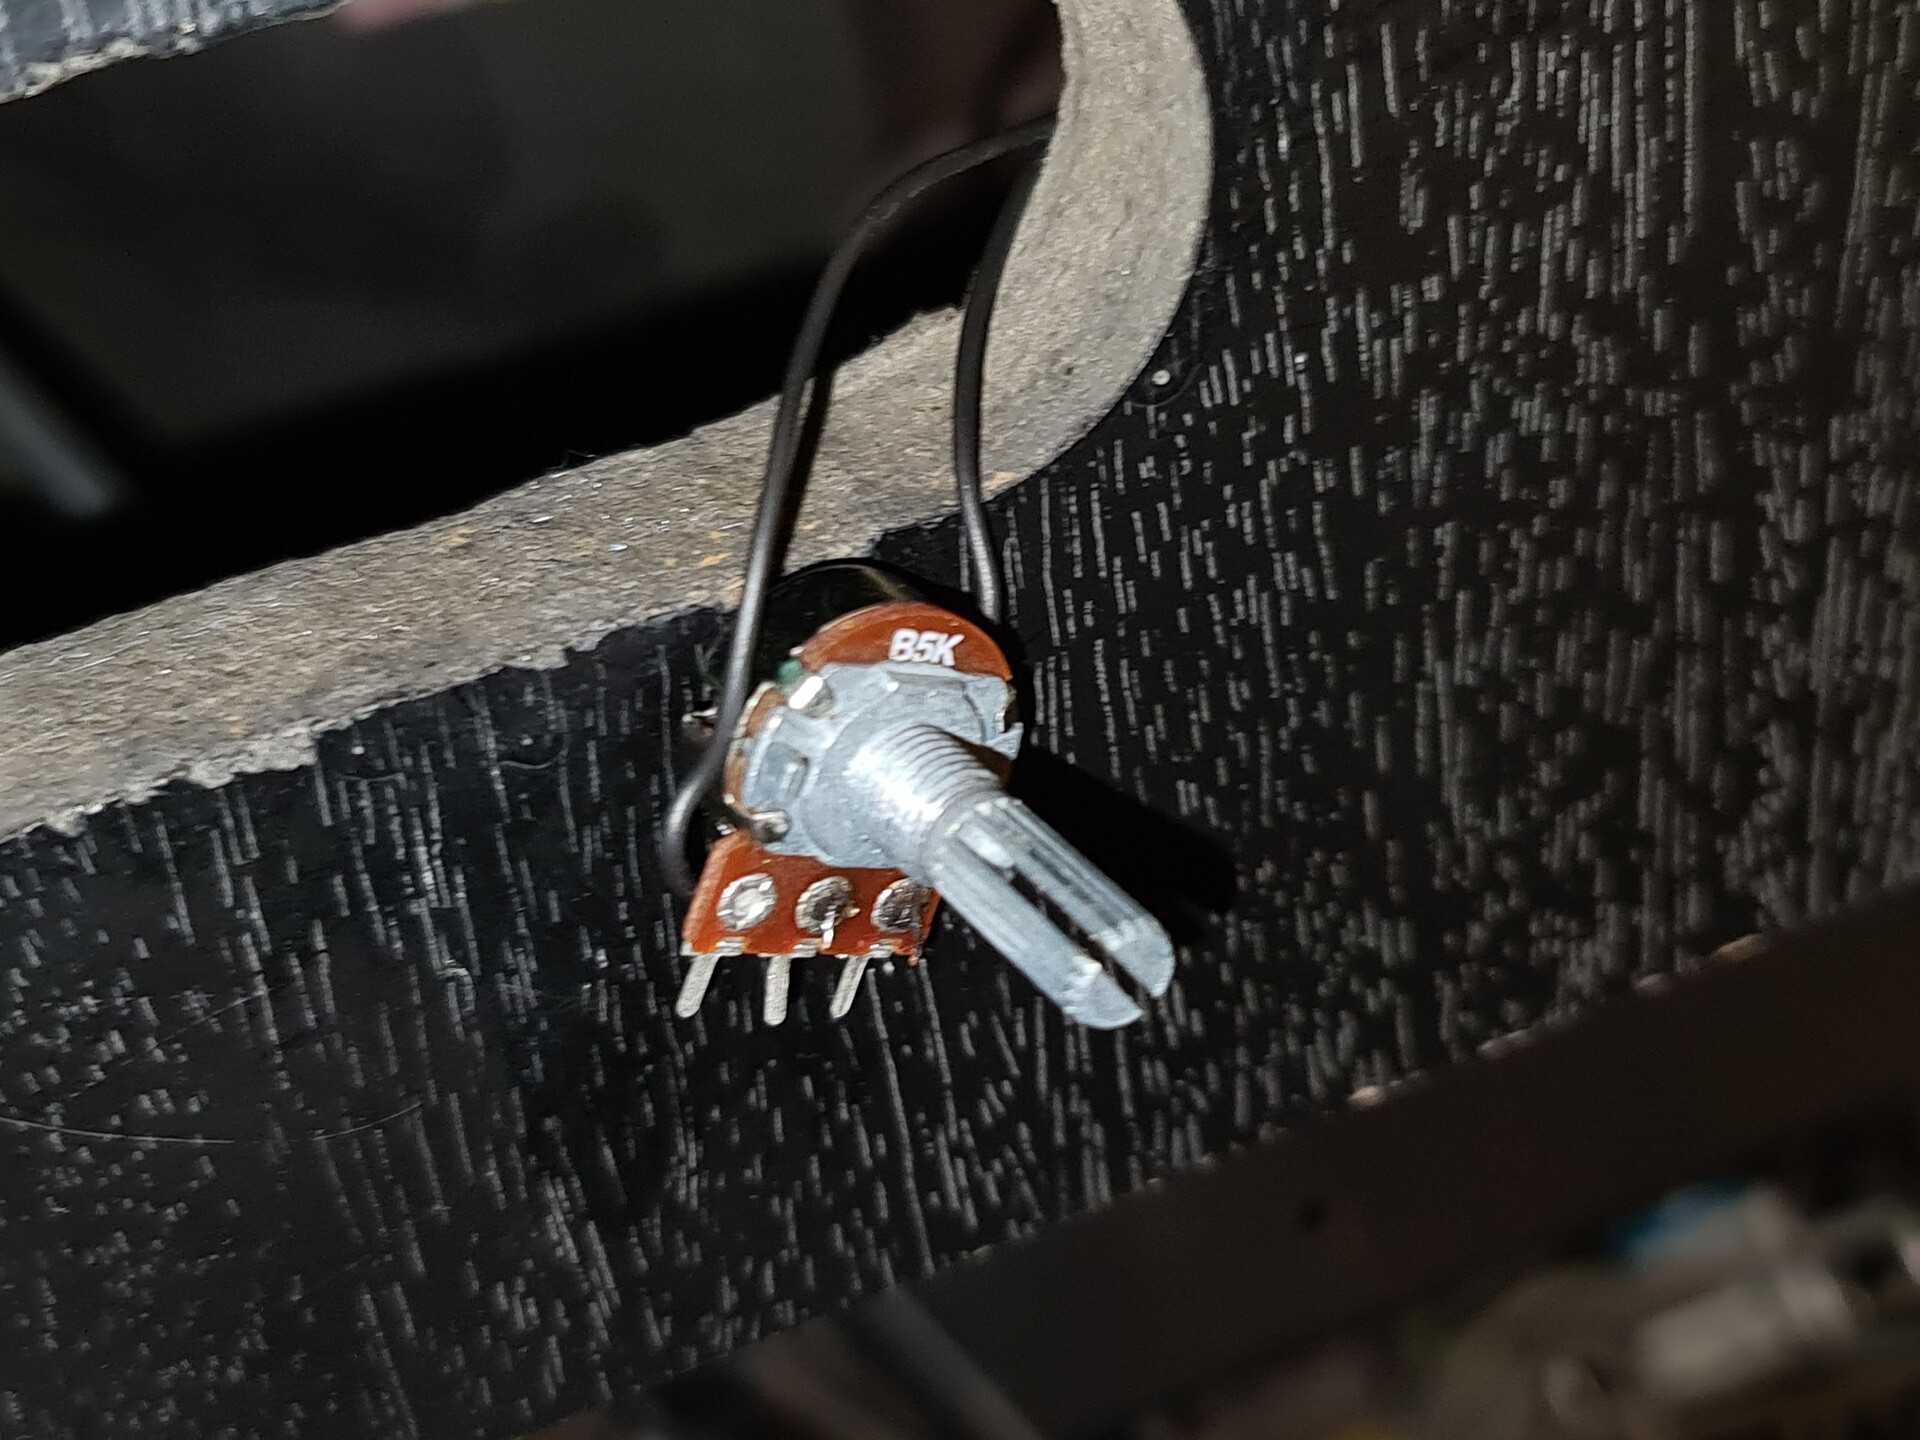
This is not a good looking installation but it's backstage. So I can live with that :D

And this is how it's played :)
Well, this is the end of my arcade cabinet adventure, at least limited with this cabinet... Thanks for reading, and see you soon!